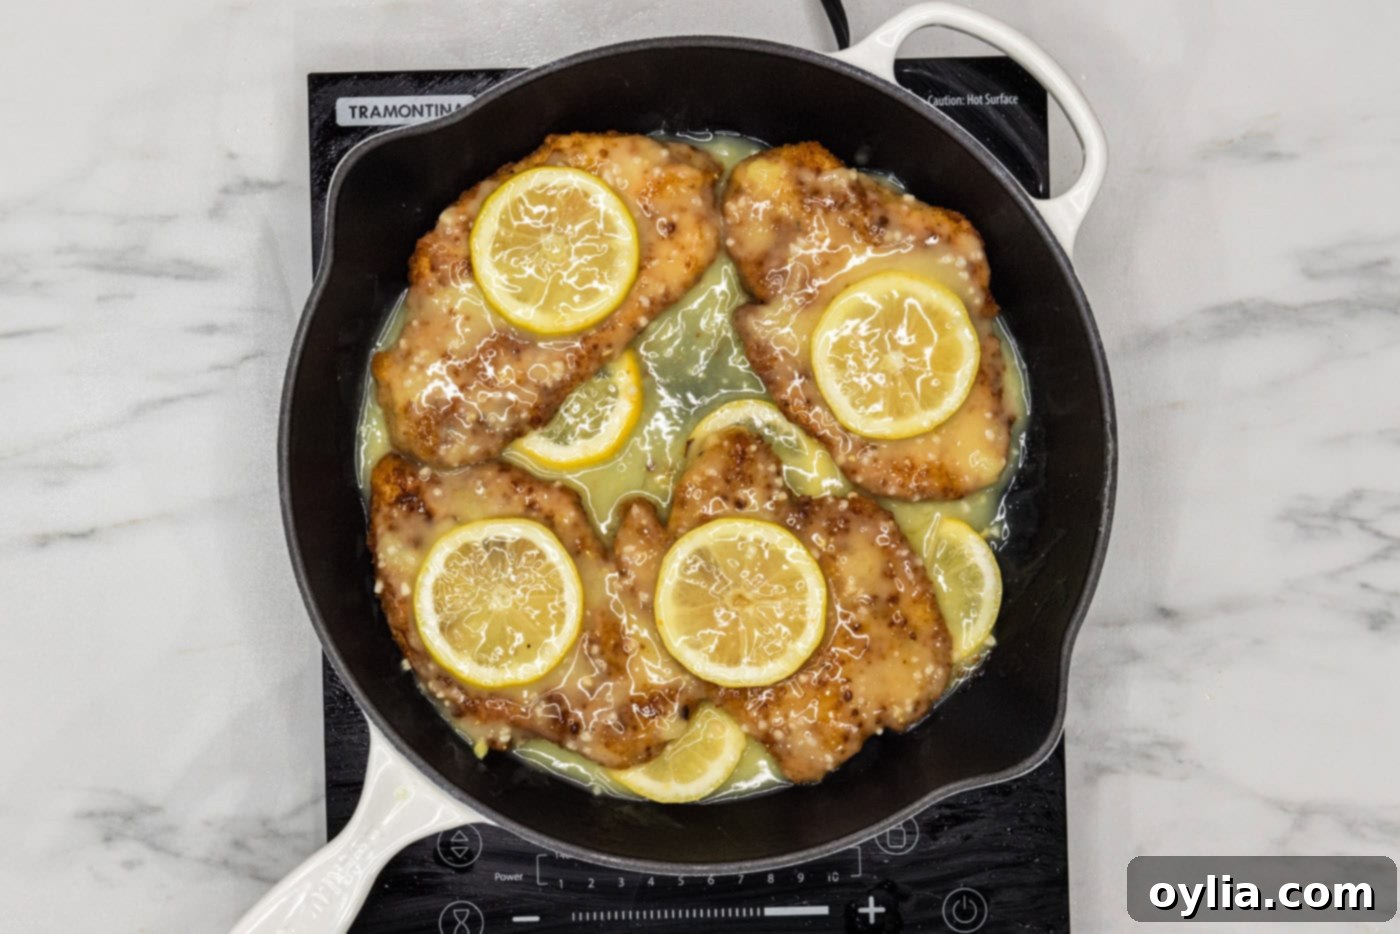
Crispy Lemon Chicken with Zesty Garlic Butter Sauce: Your New Favorite Dinner
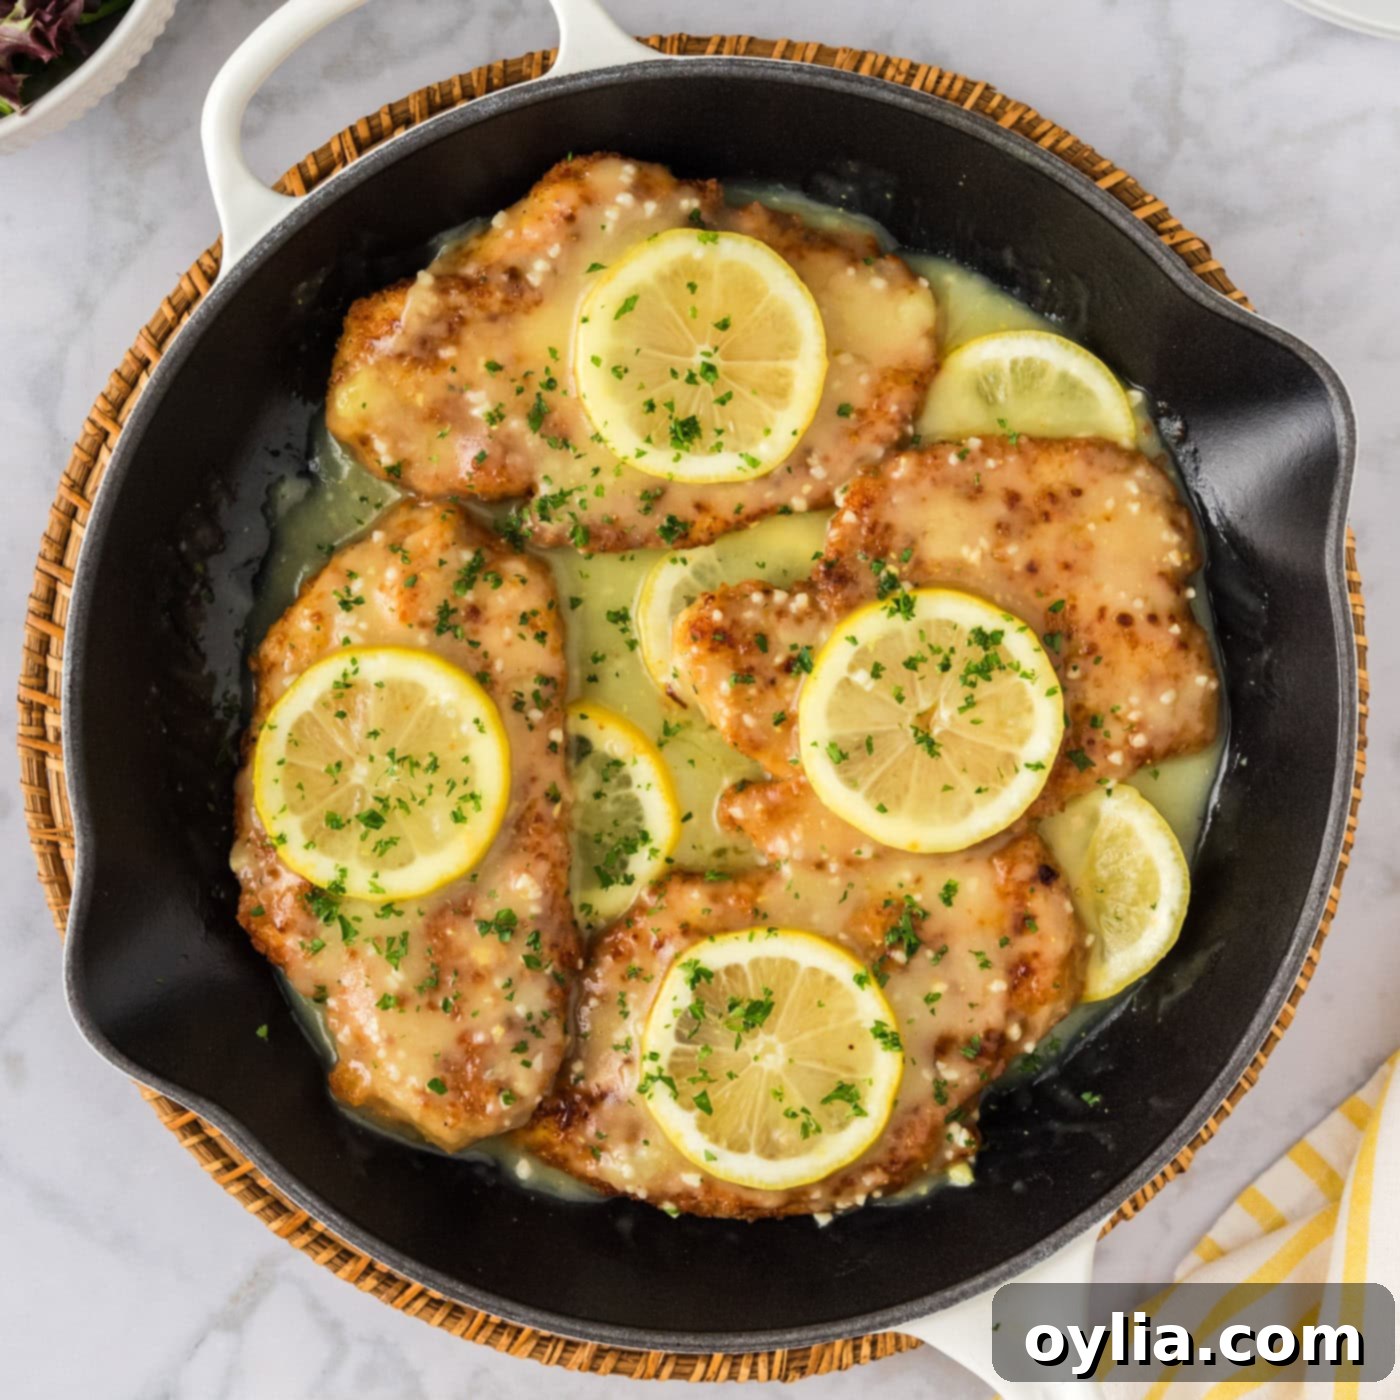
Prepare to be amazed by this incredibly easy lemon chicken recipe! It features tender chicken breasts coated in a perfectly crispy breading, finished with a vibrant and savory lemon garlic butter sauce that will have everyone asking for seconds. Forget bland chicken; this dish brings a burst of fresh flavor and satisfying texture to your table, making it an ideal weeknight meal or a show-stopping dish for guests.
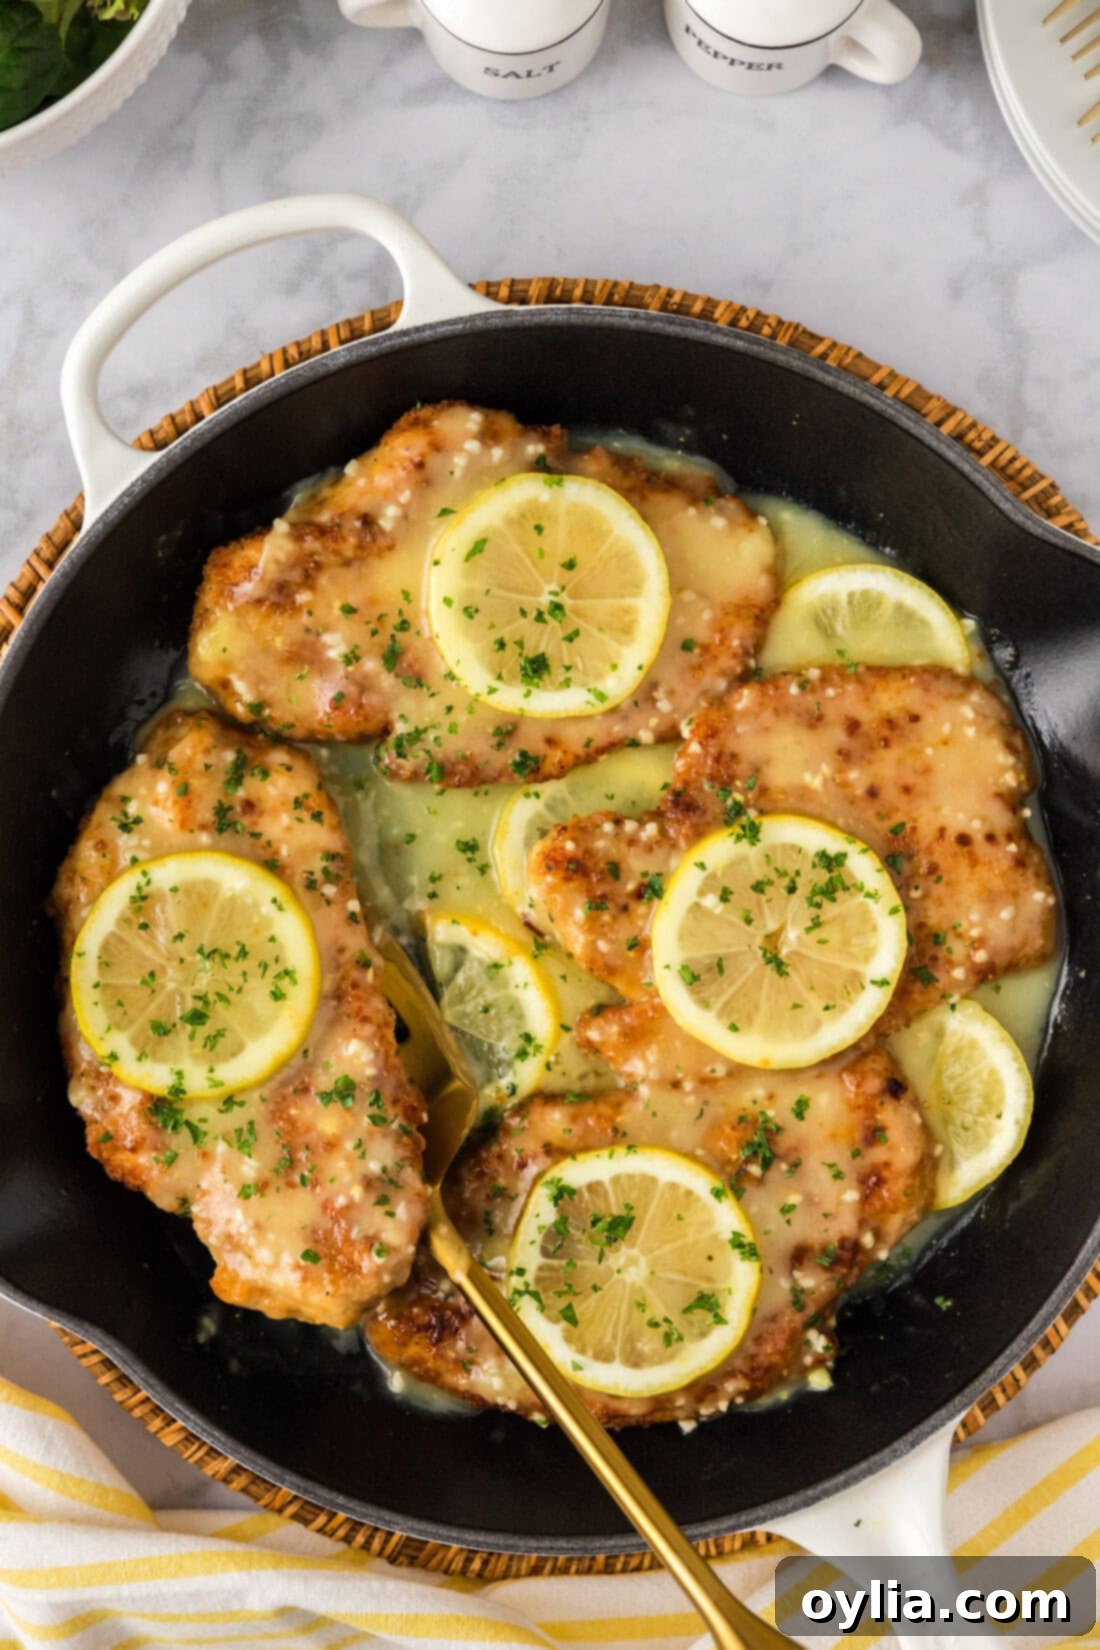
Why This Crispy Lemon Chicken Recipe Shines
In a world full of chicken recipes, what makes this crispy lemon chicken stand out? It’s all about the perfect combination of texture and taste. Unlike many recipes that result in a softer coating, ours utilizes Panko breadcrumbs to deliver an unparalleled crunch with every bite. This golden, crispy exterior is then beautifully complemented by a bright, savory, and aromatic lemon garlic butter sauce. This isn’t just another chicken dish; it’s an experience that elevates simple ingredients into something truly special.
The secret lies in the meticulous breading process and the perfectly balanced sauce. The Panko crumbs create an airy, light crispness that traditional breadcrumbs can’t match, while the lemon garlic butter sauce provides a luscious, tangy counterpoint that cuts through the richness of the fried chicken. It’s a harmonious blend of flavors and textures designed to delight your palate. You can serve this delightful creation Chicken Parmesan style over a bed of buttered noodles, or perhaps alongside creamy Garlic Mashed Potatoes. The possibilities are endless, and the choice is yours!
Why You’ll Love Making This Lemon Chicken
There are countless reasons why this crispy lemon chicken will quickly become a household favorite:
- Unbeatable Texture: The Panko breading ensures a genuinely crispy crust that stays crunchy even with the sauce.
- Vibrant Flavor: Fresh lemon, aromatic garlic, and rich butter combine to create a sauce that’s both comforting and exciting.
- Quick & Easy: Despite its gourmet taste, this recipe comes together in under 30 minutes, making it perfect for busy weeknights.
- Versatile Serving: It pairs beautifully with a wide array of sides, from pasta and mashed potatoes to roasted vegetables and fresh salads.
- Family-Friendly: The flavors are universally appealing, making it a hit with both adults and kids.
- Impressive for Guests: It looks and tastes like something from a fancy restaurant, yet it’s simple enough for any home cook to master.
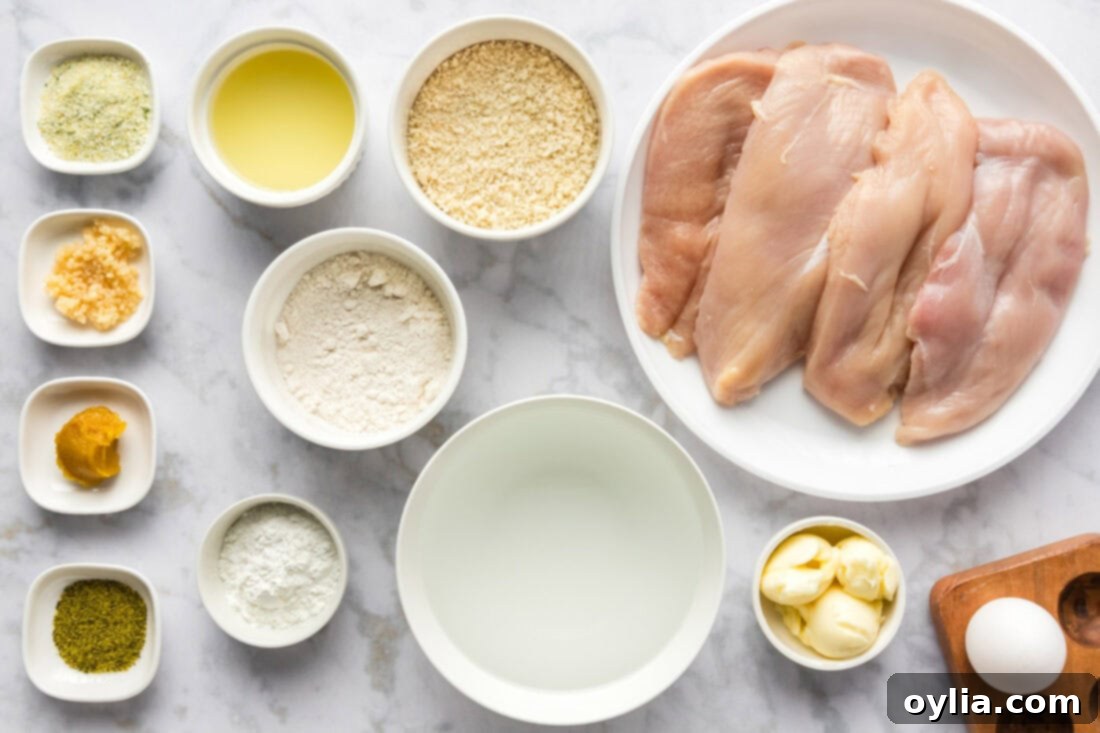
Gather Your Ingredients for Zesty Lemon Chicken
To create this sensational crispy lemon chicken, you’ll need a selection of fresh and pantry staples. While the full list of measurements and step-by-step instructions can be found in the printable recipe card at the end of this post, here’s an overview of the key components:
- Boneless, Skinless Chicken Breasts: The star of the show. We’ll pound these for even cooking.
- All-Purpose Flour: Forms the initial layer for the breading.
- Panko Breadcrumbs: Crucial for that extra-crispy texture.
- Garlic Salt & Lemon Pepper: These seasonings infuse the breading with savory and zesty notes.
- Large Egg & Water: Our egg wash helps the breading adhere perfectly.
- Unsalted Butter: The foundation of our rich and flavorful sauce.
- Minced Garlic: Fresh garlic adds depth and aroma to the butter sauce.
- Better than Bouillon Chicken Base (or broth/stock): Provides a concentrated chicken flavor.
- Fresh Lemon Juice: The essential ingredient for that bright, tangy lemon kick.
- Cornstarch & Water: Used to create a simple slurry for thickening the sauce.
- Cooking Oil for Frying: Vegetable, canola, or peanut oil are great choices for achieving a golden crust.
Ingredient Spotlight & Expert Tips
Chicken Perfection
CHICKEN BREASTS: For optimal results, use boneless, skinless chicken breasts. Pounding the chicken breast with a meat mallet is a crucial step. This ensures an even thickness throughout each piece, which guarantees that your chicken cooks uniformly and doesn’t end up dry on one end and undercooked on the other. Aim for about a 1/2-inch thickness. Always cook chicken to an internal temperature of 165°F (74°C), verifiable with an instant-read thermometer for food safety and perfect doneness.
Chicken Thighs: While this recipe calls for breasts, boneless, skinless chicken thighs can also be used. They tend to stay juicier due to their higher fat content, but may require slightly longer cooking times. Pound them to an even thickness just like the breasts.
The Secret to Our Savory Sauce
SAUCE BASE: We often use a concentrated bouillon base, such as “Better than Bouillon,” in our recipes instead of traditional broth or stock. It’s incredibly convenient, takes up minimal pantry space, and can be easily reconstituted with water. However, if you prefer, you can certainly substitute with an equal amount of chicken broth or stock. Just ensure you adjust the seasoning as bouillon can be saltier.
Fresh Lemon Juice: Always opt for fresh lemon juice over bottled if possible. The bright, zesty flavor of fresh lemon is incomparable and makes a significant difference in the sauce. For extra lemon aroma, consider adding a pinch of lemon zest to the sauce!
Garlic: Freshly minced garlic provides the best flavor. If you’re short on time, jarred minced garlic can work, but reduce the amount slightly as its flavor can be more intense.
Cornstarch Slurry: The cornstarch and water slurry is key to achieving a perfectly thickened sauce without lumps. Ensure the sauce is boiling gently when you add the slurry and stir continuously until it reaches your desired consistency.
Crafting Your Delicious Lemon Chicken: Step-by-Step
These step-by-step photos and detailed instructions are here to guide you visually through the process. For a concise, printable version of this recipe with all measurements and instructions, please Jump to Recipe at the bottom of this post.
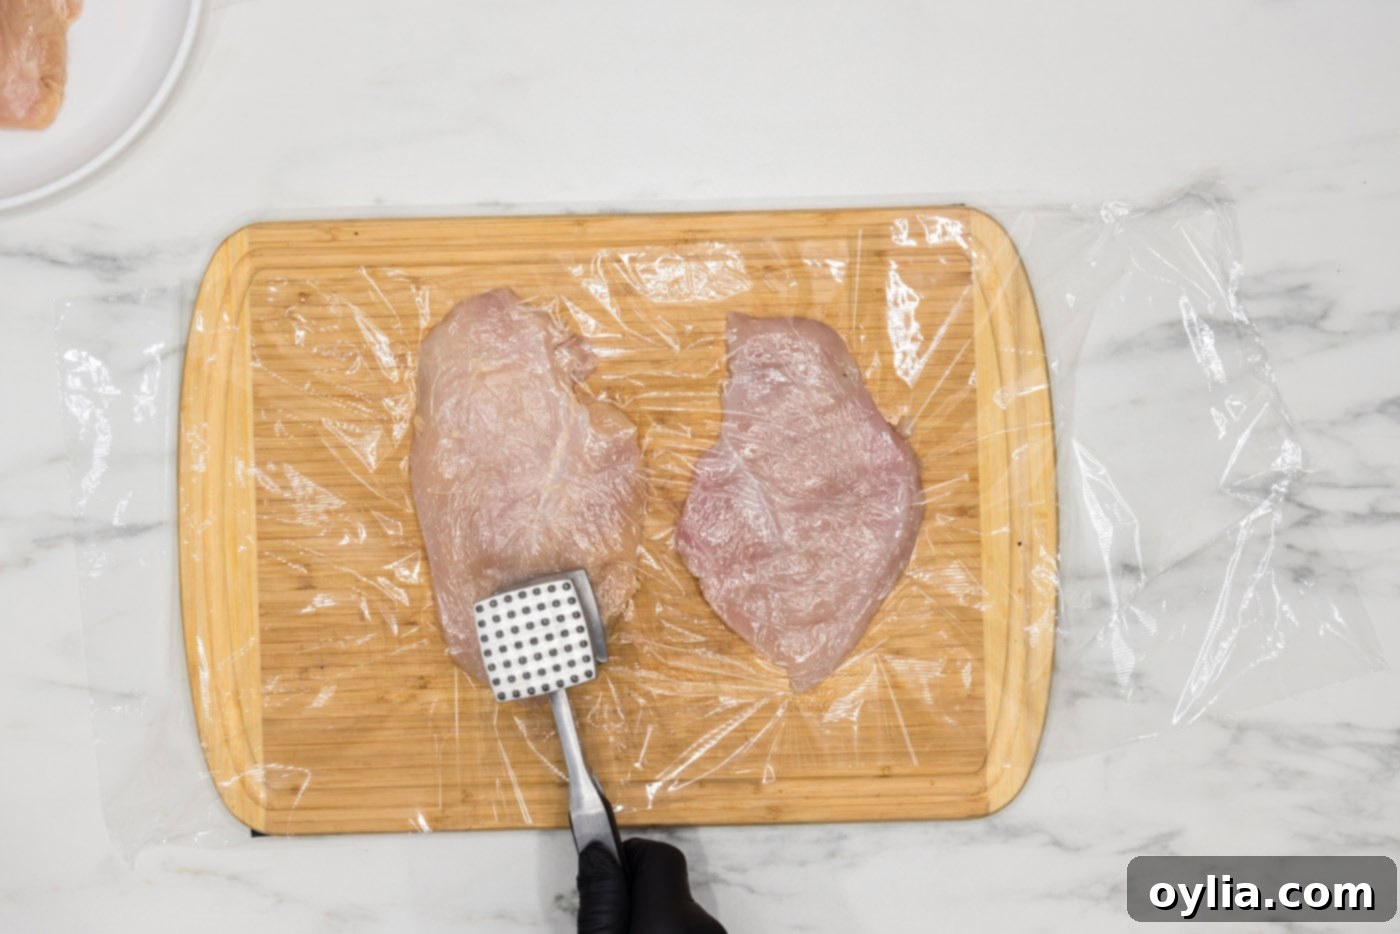
- Prepare the Chicken: Start by trimming any excess fat from your boneless, skinless chicken breasts. To ensure even cooking and tenderness, place each breast between two sheets of plastic wrap or parchment paper and pound them gently with a meat mallet until they are about 1/2-inch thick. This step is crucial for preventing dry spots and ensuring uniform doneness.

- Set Up Breading Stations: Prepare two breading trays. In the first tray, combine the all-purpose flour, Panko breadcrumbs, garlic salt, and lemon pepper. Stir these ingredients thoroughly to ensure the seasonings are evenly distributed. In the second tray, whisk together the large egg with a tablespoon of water until well combined. This creates your classic dredging setup.
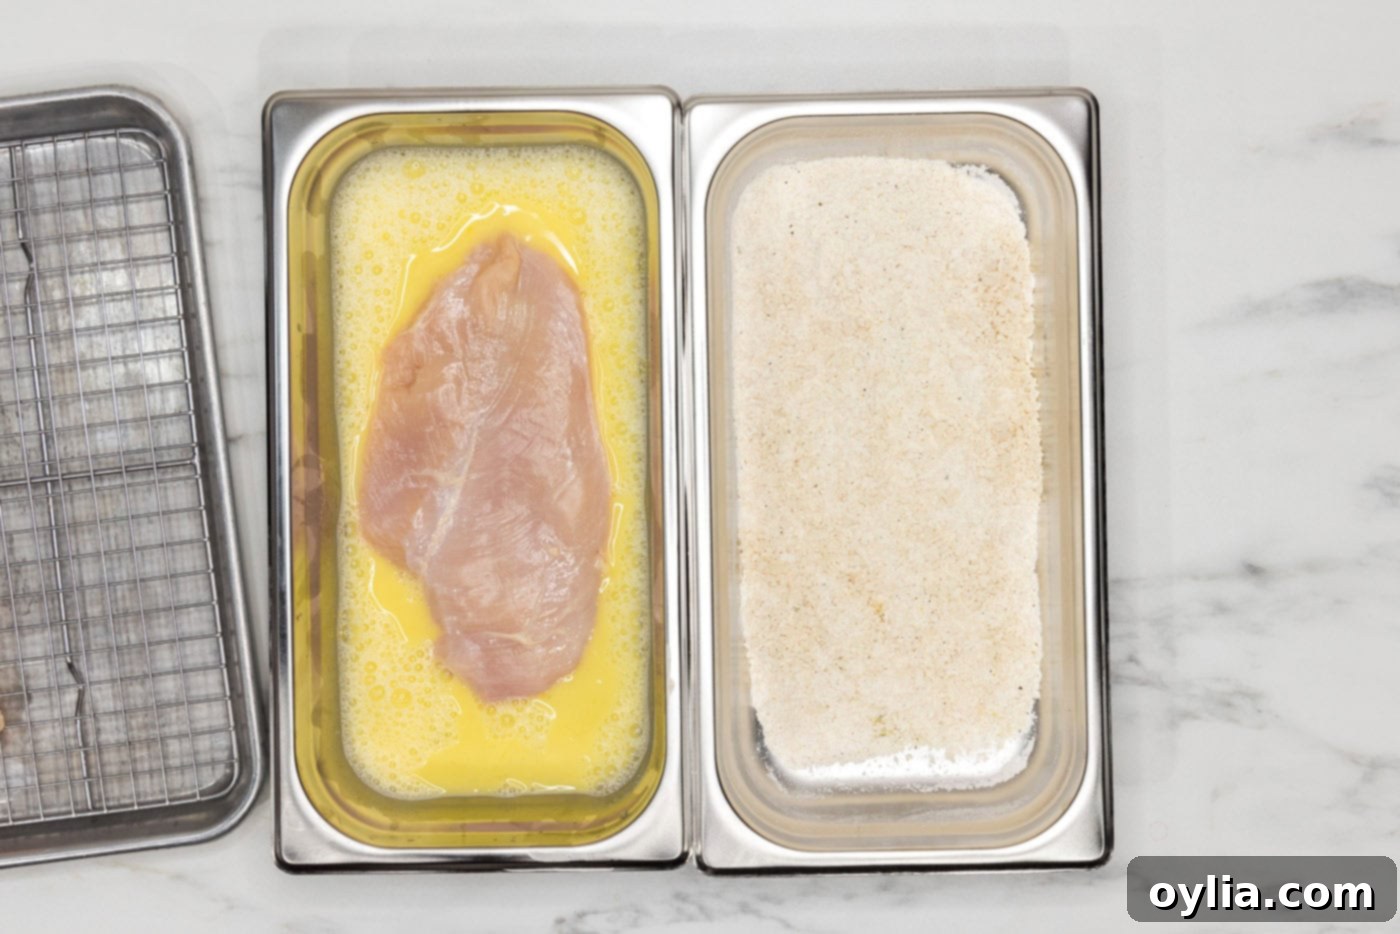
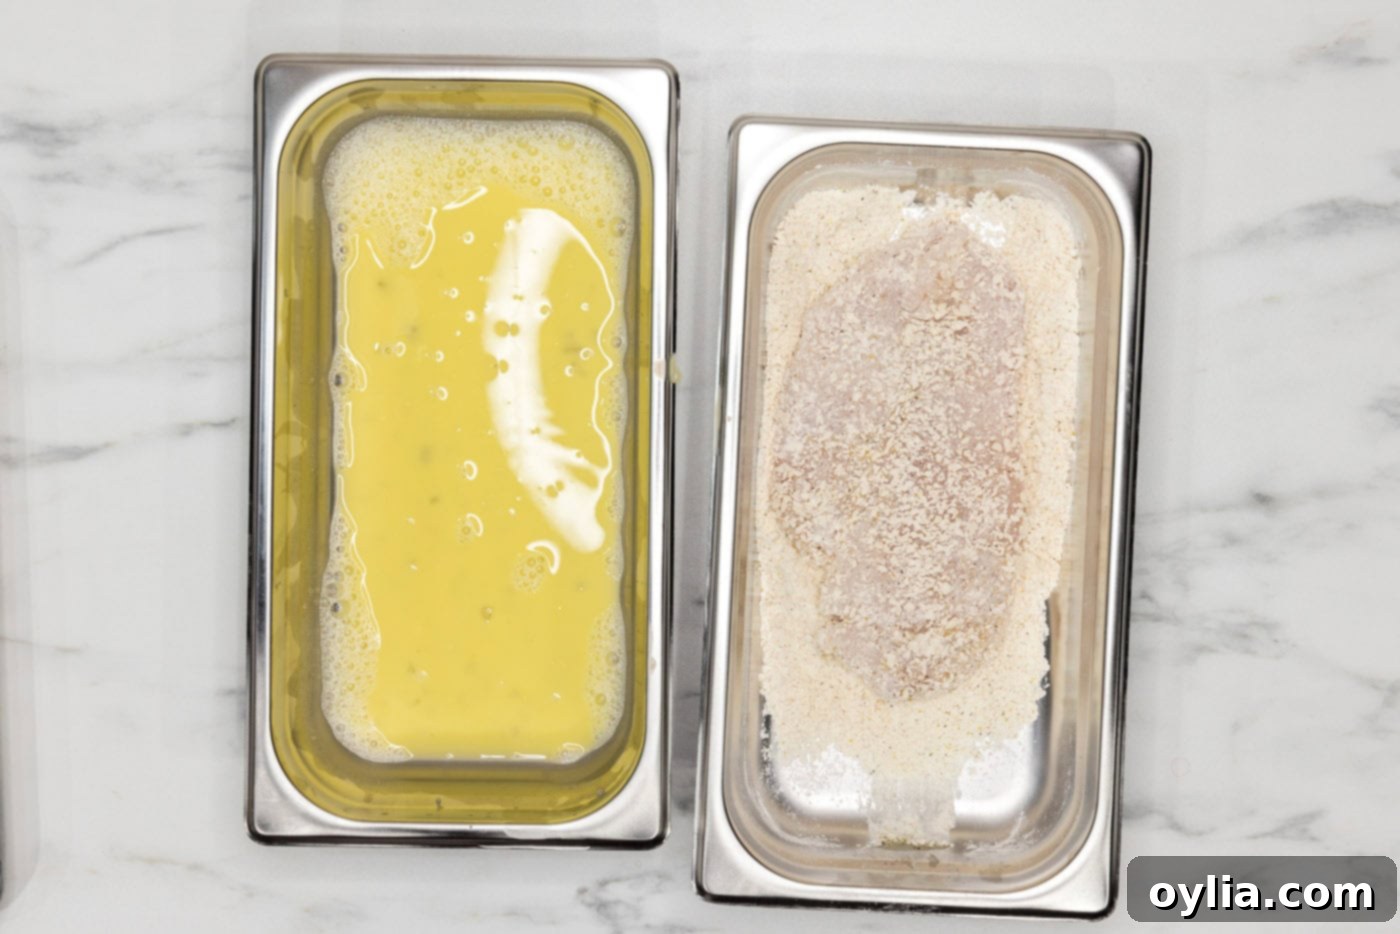
- Bread the Chicken: Take each pounded chicken breast and first dip it into the egg mixture, ensuring both sides are fully coated. Lift the chicken and allow any excess egg to drip off. Then, transfer it to the flour and Panko mixture. Turn the chicken over and gently press it into the breadcrumbs to create a firm, even coating on all sides. This careful coating is essential for that perfect crisp.


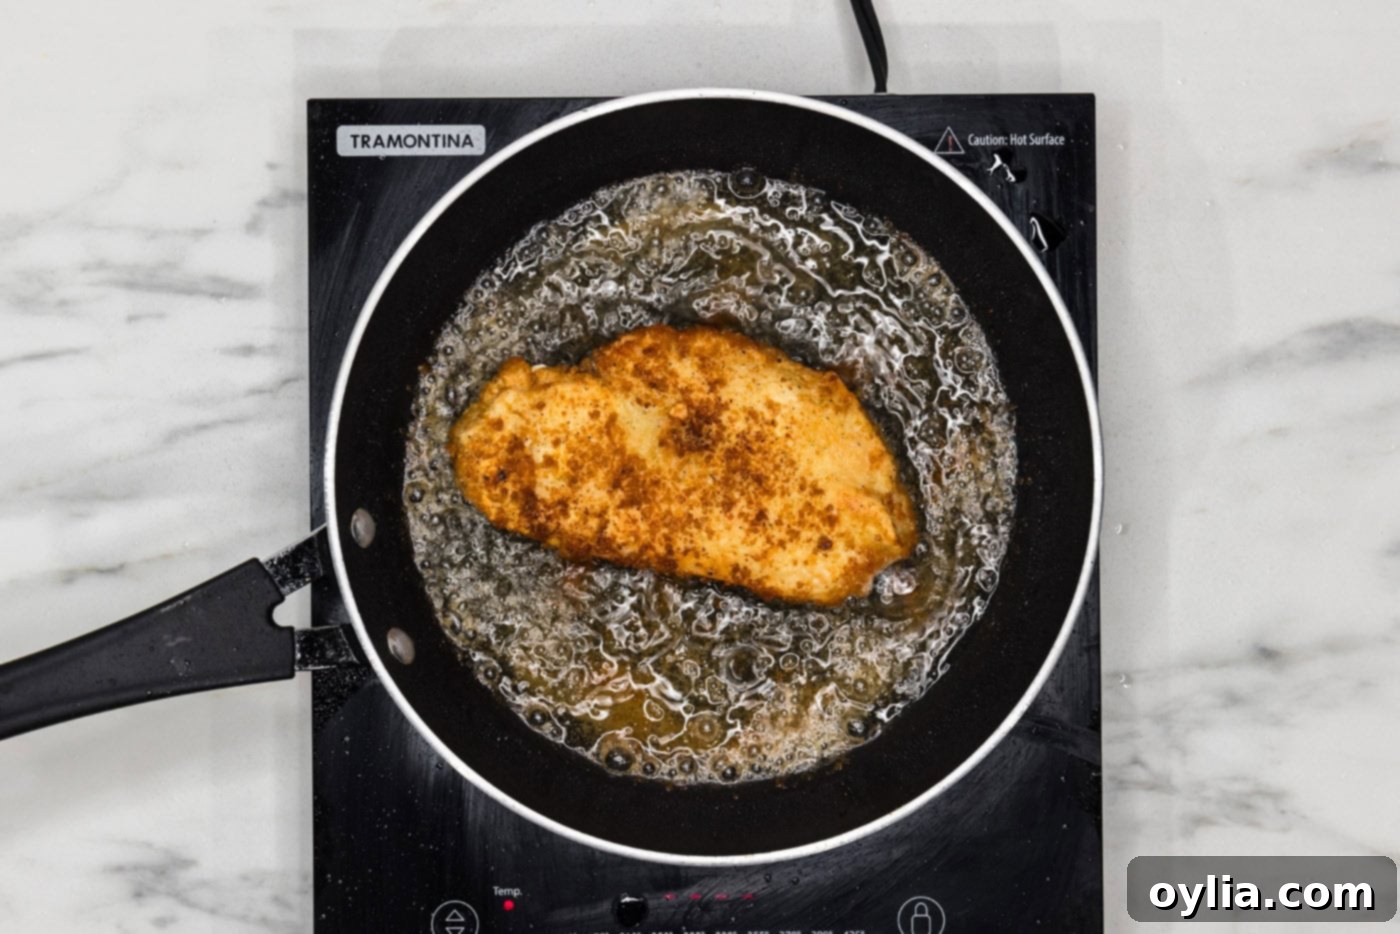
- Pan-Fry to Golden Perfection: Heat your chosen cooking oil in a large skillet over medium-high heat. You’ll want enough oil to come about 1/2-inch up the sides of the pan. A key to crispy chicken is ensuring the oil is hot enough, ideally around 350°F (175°C). Carefully place the breaded chicken into the hot oil and cook for about 4-6 minutes per side, or until both sides are beautifully golden brown and crispy, and the internal temperature of the chicken reaches 165°F (74°C) using your instant-read thermometer. Once cooked, transfer the chicken to a wire rack set over a baking sheet to rest while you prepare the sauce. This helps maintain crispiness.

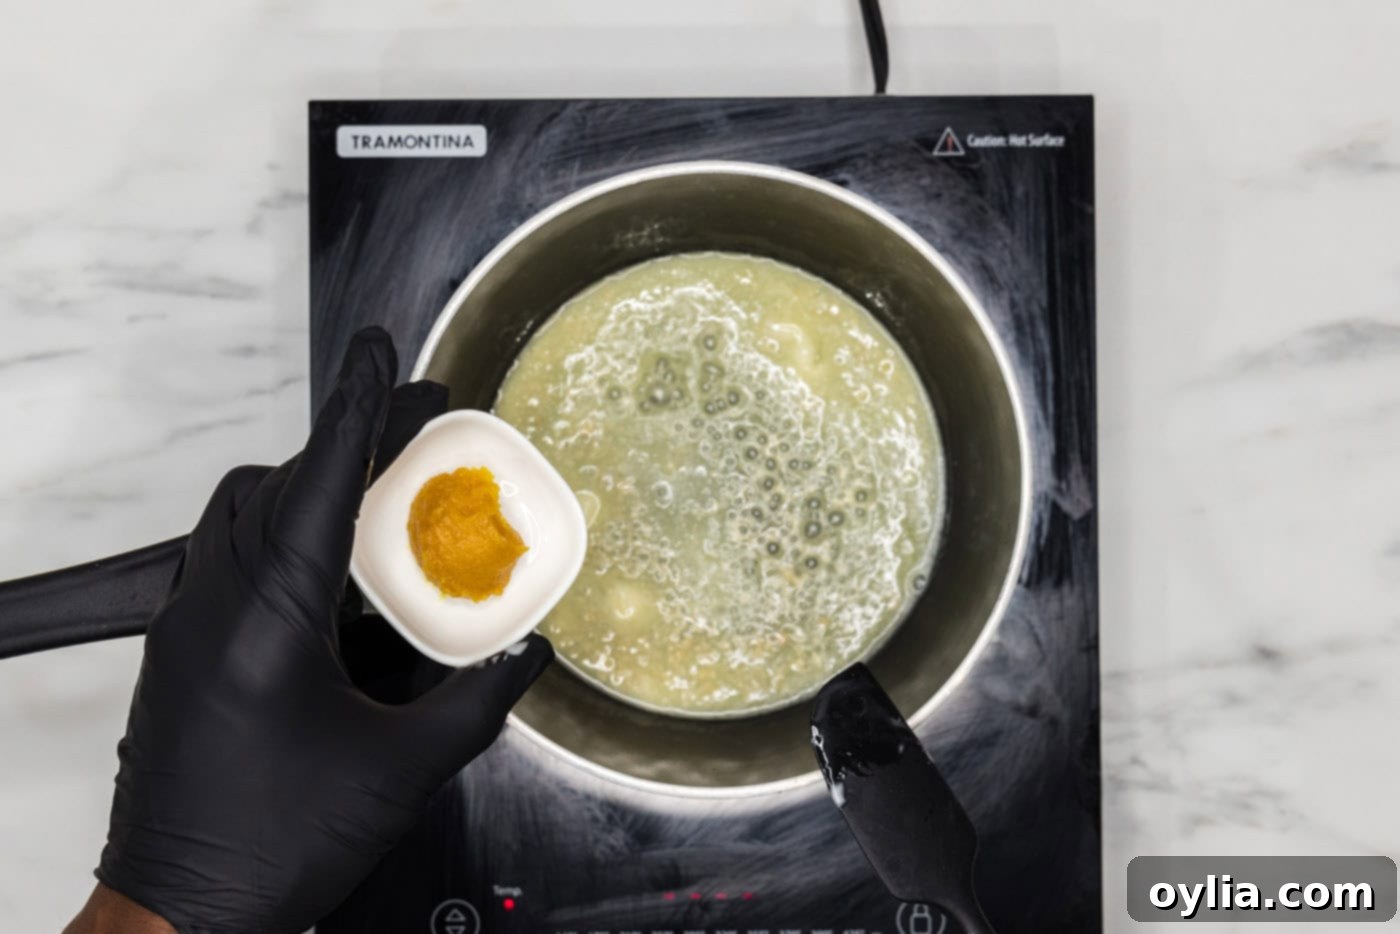
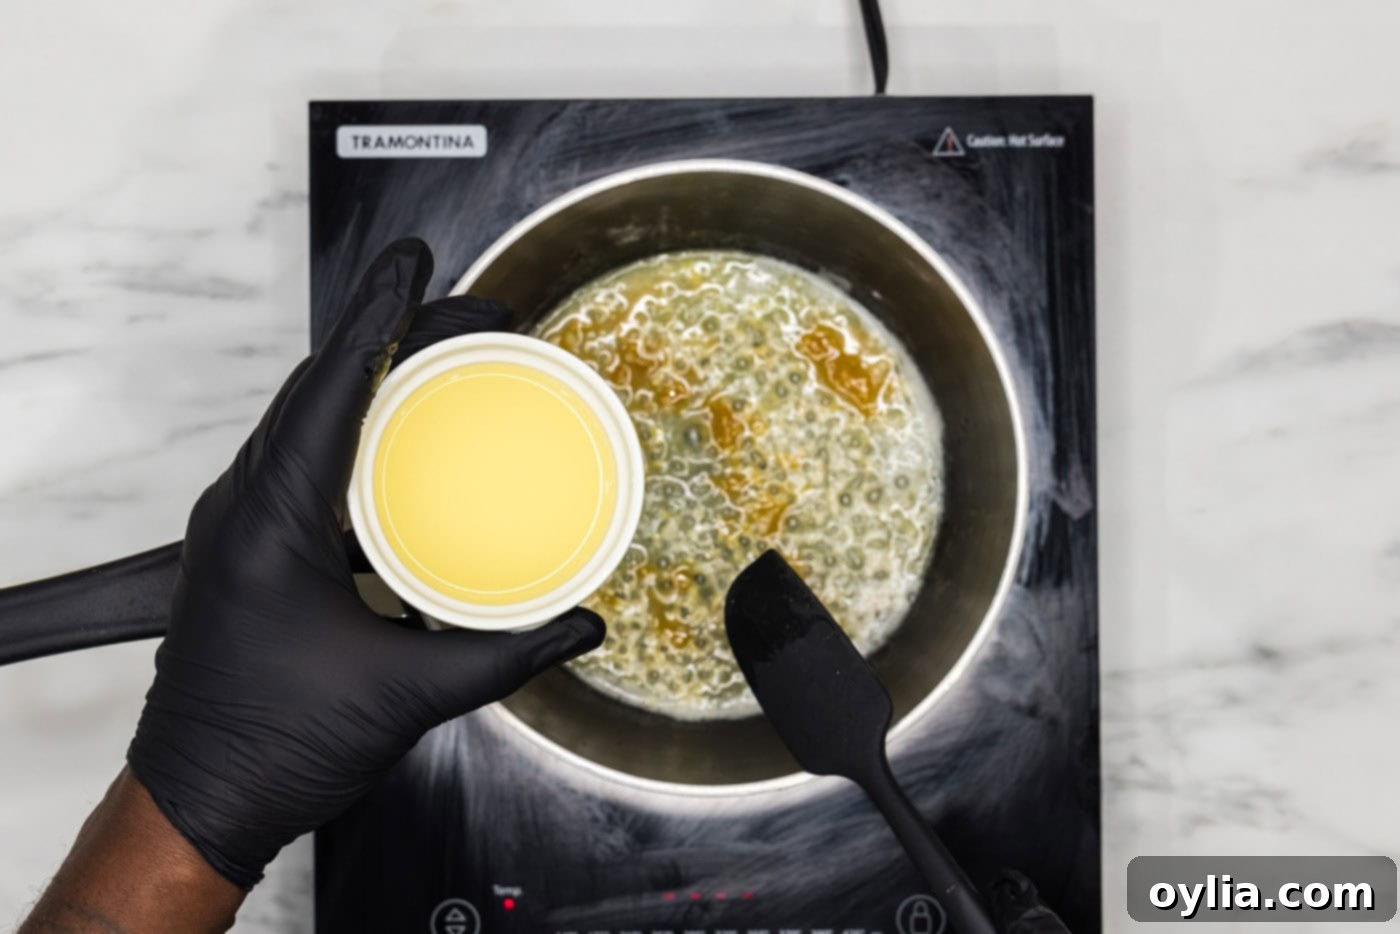
- Whip Up the Lemon Garlic Butter Sauce: In a clean saucepan over medium-high heat, melt the unsalted butter. Add the minced garlic and sauté for just 1 minute until fragrant, being careful not to burn it. Stir in the chicken base (or broth/stock) and fresh lemon juice, bringing the mixture to a gentle boil.


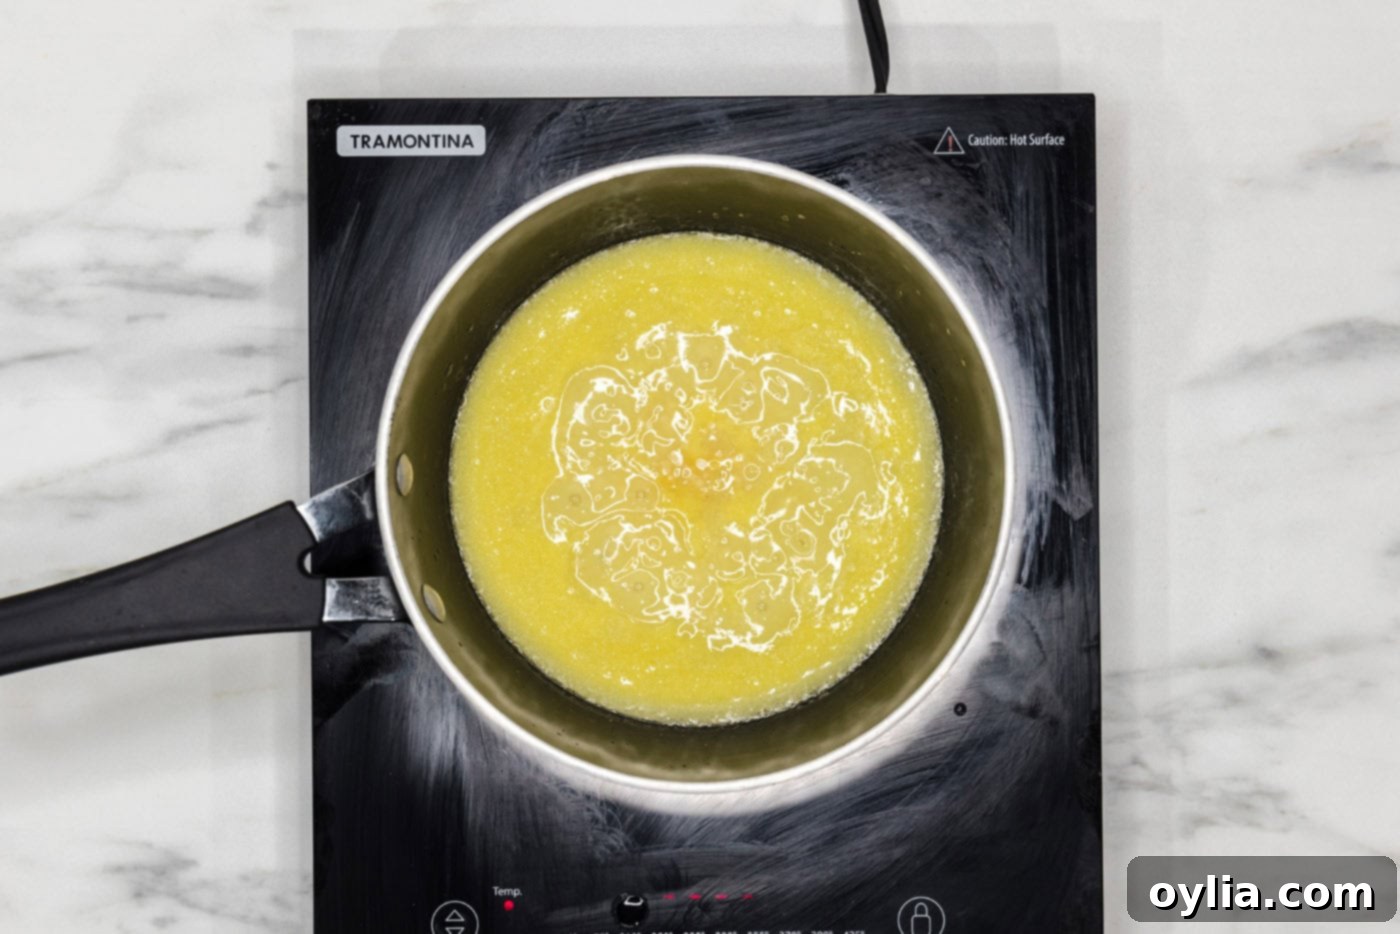
- Thicken the Sauce: In a small bowl, whisk together the cornstarch and water to create a smooth slurry. Gradually add this slurry to the boiling sauce in the saucepan, stirring continuously. Continue to cook, stirring occasionally, until the sauce thickens to your desired consistency. It should be rich and glossy.

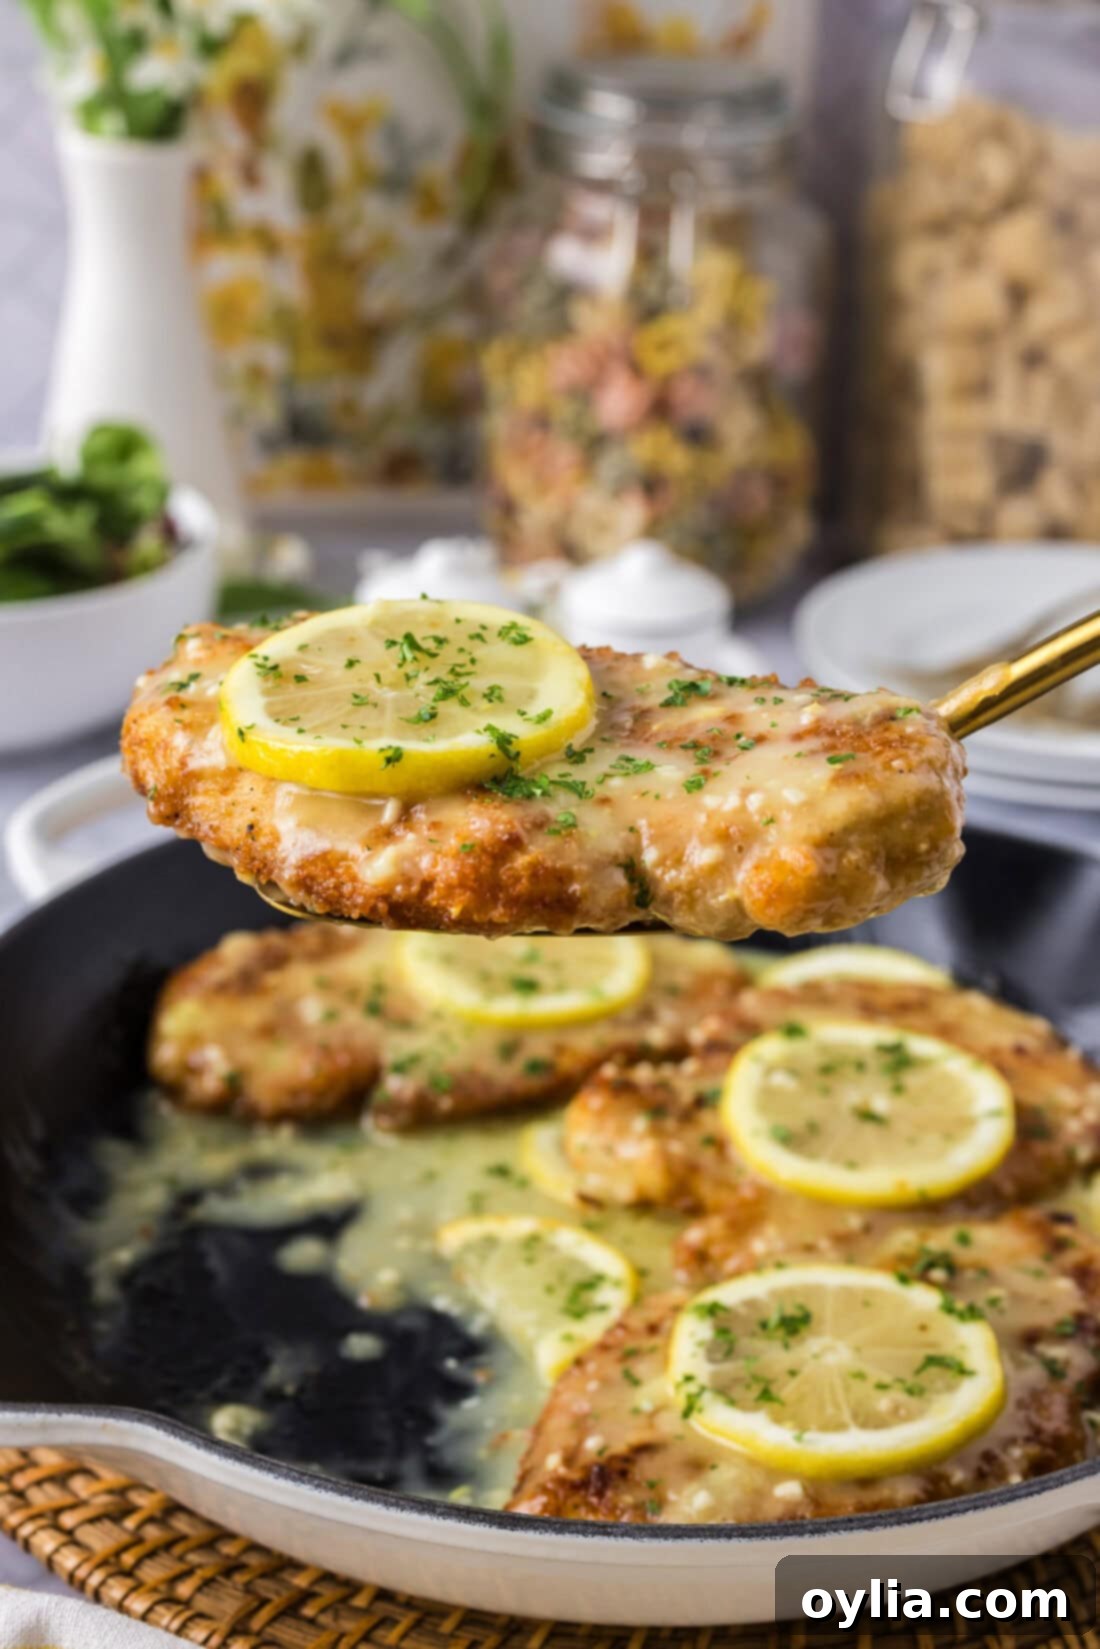
- Serve: Drizzle the luscious lemon garlic butter sauce generously over the crispy chicken breasts and serve immediately.
Optional Finishing Touch: For an even deeper infusion of flavor and to ensure the chicken is piping hot, you can return the cooked chicken to a clean skillet. Pour the warm sauce over the chicken and simmer for a few minutes, turning once, until everything is heated through and gloriously coated.

Frequently Asked Questions & Expert Tips for Success
To maintain the crispy texture of your lemon chicken, it’s highly recommended to store the chicken and sauce separately if you anticipate having leftovers. Place the cooled chicken breasts in an airtight container and the sauce in a separate container, both kept in the refrigerator for up to 4 days.
For the best results and to retain that delightful crispiness, reheat your lemon chicken in a skillet with a dash of oil over medium heat until warmed through and the crust is revitalized. Alternatively, an air fryer works wonders! Use its reheat function at around 350°F (175°C) for 5-7 minutes, checking for crispiness. Avoid the microwave, as it will make the breading soggy.
While pan-frying offers the ultimate crisp, you can bake or air fry for a healthier option. To bake, preheat your oven to 400°F (200°C). Place breaded chicken on a wire rack over a baking sheet and bake for 20-25 minutes, flipping halfway, until golden and cooked through. For air frying, preheat to 375°F (190°C), spray chicken lightly with oil, and air fry for 15-20 minutes, flipping halfway, until golden and crispy.
If your sauce is too thin, create another small cornstarch slurry (1 teaspoon cornstarch with 1 tablespoon water) and whisk it into the simmering sauce gradually until it thickens to your liking. If it’s too thick, add a tablespoon of chicken broth or water at a time until you reach the desired consistency.
Yes! Simply substitute the all-purpose flour with a gluten-free all-purpose flour blend and use gluten-free Panko breadcrumbs. Ensure your chicken base/broth is also gluten-free.
Expert Tips for the Best Crispy Lemon Chicken
- Even Thickness is Key: Don’t skip pounding the chicken! This ensures uniform cooking and prevents dry spots.
- Oil Temperature Matters: Too cold, and your chicken will be greasy; too hot, and the breading will burn before the chicken cooks through. Use a thermometer to aim for 350°F (175°C).
- Don’t Crowd the Pan: Cook chicken in batches if necessary to avoid dropping the oil temperature and steaming the chicken instead of frying it. This is crucial for crispiness.
- Rest the Chicken: Letting the cooked chicken rest on a wire rack allows juices to redistribute and helps keep the crust crisp while you finish the sauce.
- Fresh Ingredients: Fresh lemon juice and minced garlic truly make a difference in the sauce’s flavor.
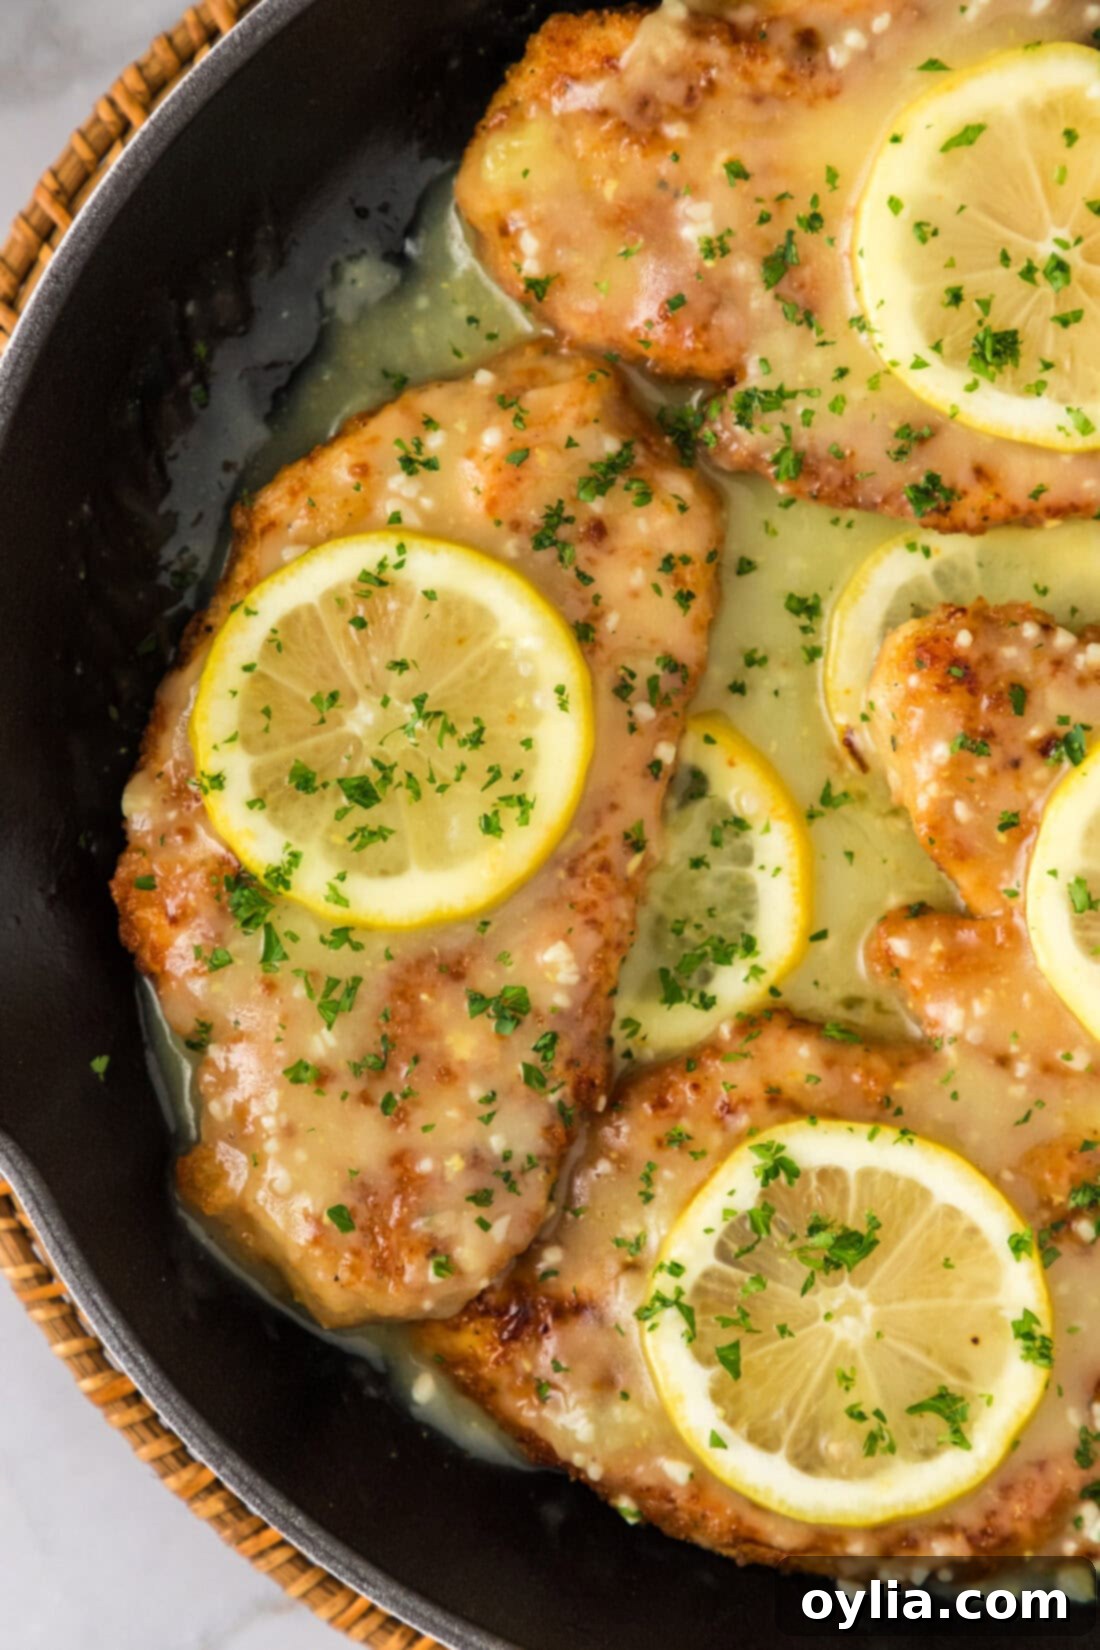
Delightful Serving Suggestions for Your Lemon Chicken
This versatile lemon chicken pairs beautifully with a variety of sides, making it easy to create a complete and satisfying meal. For a classic, comforting experience, serve your crispy lemon chicken over a bed of creamy mashed potatoes or tender buttered egg noodles, allowing the extra lemon sauce to mingle with them for an explosion of flavor. Consider adding some steamed or roasted green beans or asparagus for a balanced plate.
If you’re looking for lighter options, pair it with fluffy white rice, couscous, or quinoa to soak up every drop of that irresistible sauce. A fresh, crisp side salad with a light vinaigrette also provides a refreshing contrast. For a truly Mediterranean touch, a sprinkle of fresh parsley or chives before serving adds a lovely finish. Don’t forget a glass of crisp white wine, like a Sauvignon Blanc or Pinot Grigio, to complement the citrusy notes of the dish. Enjoy crafting your perfect lemon chicken meal!
More Irresistible Chicken Recipes to Explore
If you loved this lemon chicken, you’re in for a treat! We have a wide array of delicious chicken recipes perfect for any occasion. From savory and rich to light and zesty, there’s a chicken dish waiting to become your next family favorite. Be sure to check out these other popular options:
- Chicken Piccata: A classic Italian-American dish with capers and lemon.
- Chicken Francese: Egg-dipped chicken cutlets in a delectable lemon-butter sauce.
- Marry Me Chicken: A creamy, sun-dried tomato and Parmesan chicken that’s famously irresistible.
- Almond Crusted Chicken: A crunchy, nutty alternative to traditional breading.
- Coconut Chicken: A tropical-inspired dish with a sweet and savory flair.
I absolutely adore sharing my culinary adventures and kitchen creations with all of you! Staying updated with new recipes can be tricky, which is why I offer a super convenient newsletter delivered straight to your inbox every time a new recipe is posted. Simply subscribe here and start receiving your free daily dose of delicious recipes!
Lemon Chicken
IMPORTANT – There are often Frequently Asked Questions within the blog post that you may find helpful. Simply scroll back up to read them!
Print It
Pin It
Rate It
Save ItSaved!
Course: Dinner
Cuisine: American
Ingredients
- 1 ½ pounds boneless skinless chicken breast
- ½ cup all purpose flour
- ½ cup panko breadcrumbs
- 2 teaspoons garlic salt
- 1 teaspoon lemon pepper
- 1 large egg
- 4 Tablespoons unsalted butter
- 1 Tablespoon minced garlic
- 1 teaspoon Better than Bouillon chicken base
- ¼ cup lemon juice juice from about 1 1/4 lemons
- 1 Tablespoon cornstarch
- ¼ cup water
- oil for frying such as vegetable, canola, or peanut
Things You’ll Need
-
Meat mallet
-
2 Breading trays
-
Large heavy bottomed skillet
-
Saucepan
Before You Begin
- We use a concentrated bouillon base for most of our recipes instead of broth or stock. It’s convenient, takes up a lot less space, and is easily reconstituted with water. You can certainly use broth or stock instead.
Instructions
-
Trim chicken breasts and pound them with a meat mallet to achieve an even thickness.1 1/2 pounds boneless skinless chicken breast
-
To one of the breading trays add flour, panko bread crumbs, garlic salt, and lemon pepper. Stir to combine well.1/2 cup all purpose flour, 1/2 cup panko breadcrumbs, 2 teaspoons garlic salt, 1 teaspoon lemon pepper
-
To the second breading tray add the egg and a tablespoon of water. Whisk well.1 large egg
-
Place chicken breast into egg mixture and coat on both sides. Lift and allow excess to drip off before placing in the flour mixture.
-
Turn the chicken over and gently press to coat.
-
To the skillet, add enough cooking oil to come about 1/2-inch up the sides of the pan. Heat oil over medium-high until it reaches a temperature of 350 F.
-
Cook chicken in hot oil until both sides are nicely browned and the internal temperature reaches 165 F. Move chicken to a wire rack to rest while you make the sauce.
-
In a saucepan over medium-high heat, melt butter.4 Tablespoons unsalted butter
-
Add minced garlic and saute for 1 minute.1 Tablespoon minced garlic
-
Add the chicken base and lemon juice and bring to a boil.1 teaspoon Better than Bouillon chicken base, 1/4 cup lemon juice
-
Make a slurry by combining the cornstarch and water. Add to the saucepan and continue cooking until the sauce begins to thicken.1 Tablespoon cornstarch, 1/4 cup water
-
Drizzle sauce over chicken and serve.
If you know you will have leftovers when serving, I would suggest keeping the chicken separate from the sauce so it does not get soggy.
-
Optional – you can place the chicken back into a clean skillet and add the sauce. Simmer for a few minutes to heat through.
Expert Tips & FAQs
- Store leftovers in an air-tight container kept in the refrigerator for up to 4 days. You can reheat your lemon chicken in a skillet with a dash of oil or pop it in the air fryer using the reheat function to maintain the same crispy texture.
Nutrition
Tried this Recipe? Pin it for Later!Follow on Pinterest @AmandasCookin or tag #AmandasCookin!
The recipes on this blog are tested with a conventional gas oven and gas stovetop. It’s important to note that some ovens, especially as they age, can cook and bake inconsistently. Using an inexpensive oven thermometer can assure you that your oven is truly heating to the proper temperature. If you use a toaster oven or countertop oven, please keep in mind that they may not distribute heat the same as a conventional full sized oven and you may need to adjust your cooking/baking times. In the case of recipes made with a pressure cooker, air fryer, slow cooker, or other appliance, a link to the appliances we use is listed within each respective recipe. For baking recipes where measurements are given by weight, please note that results may not be the same if cups are used instead, and we can’t guarantee success with that method.
