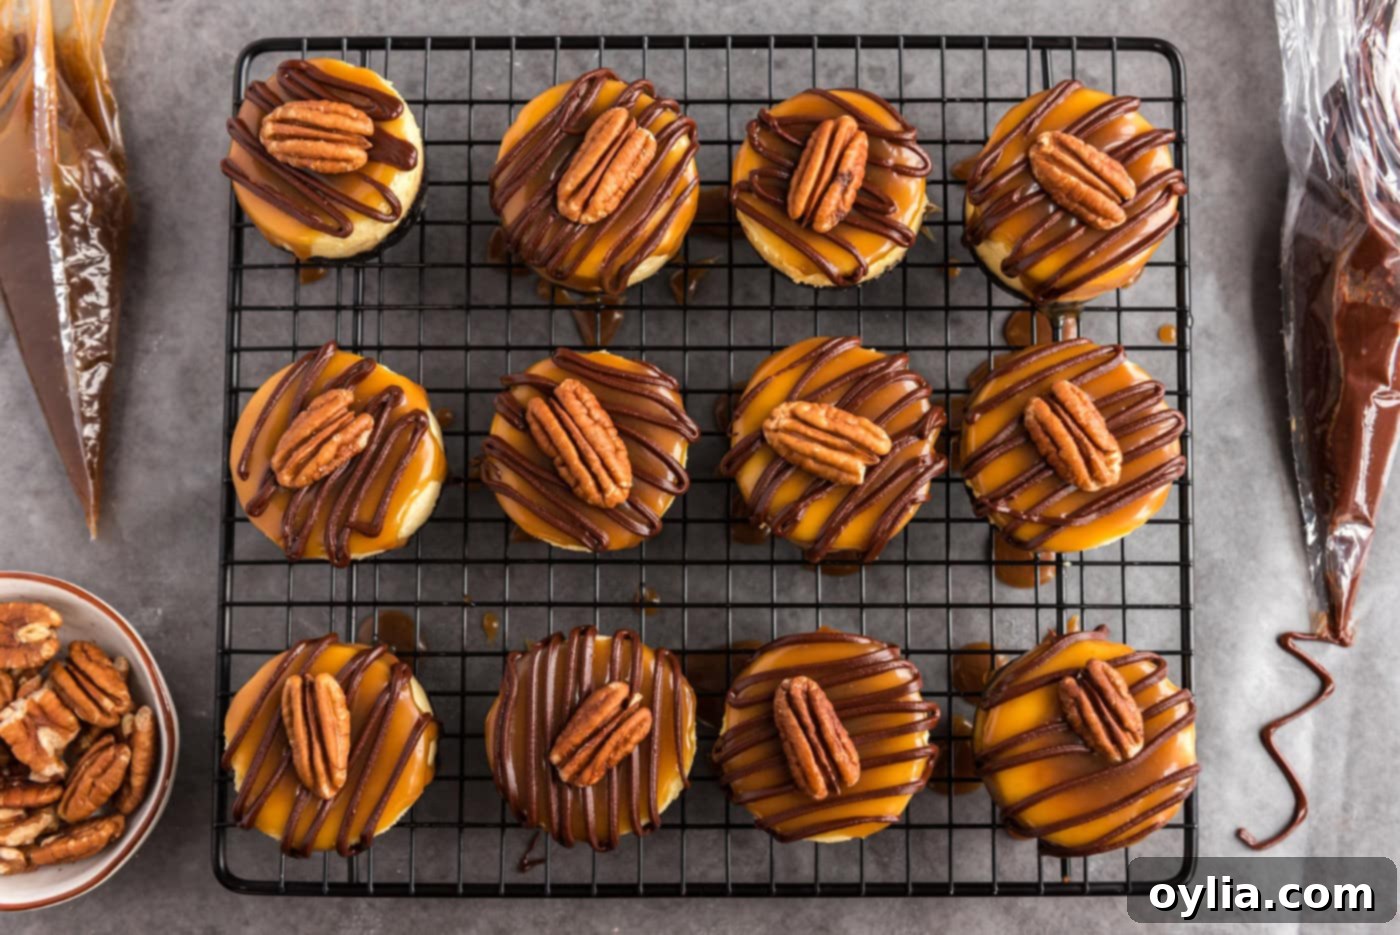
The Best Mini Turtle Cheesecakes: Easy Recipe for Decadent Caramel, Chocolate & Pecan Treats
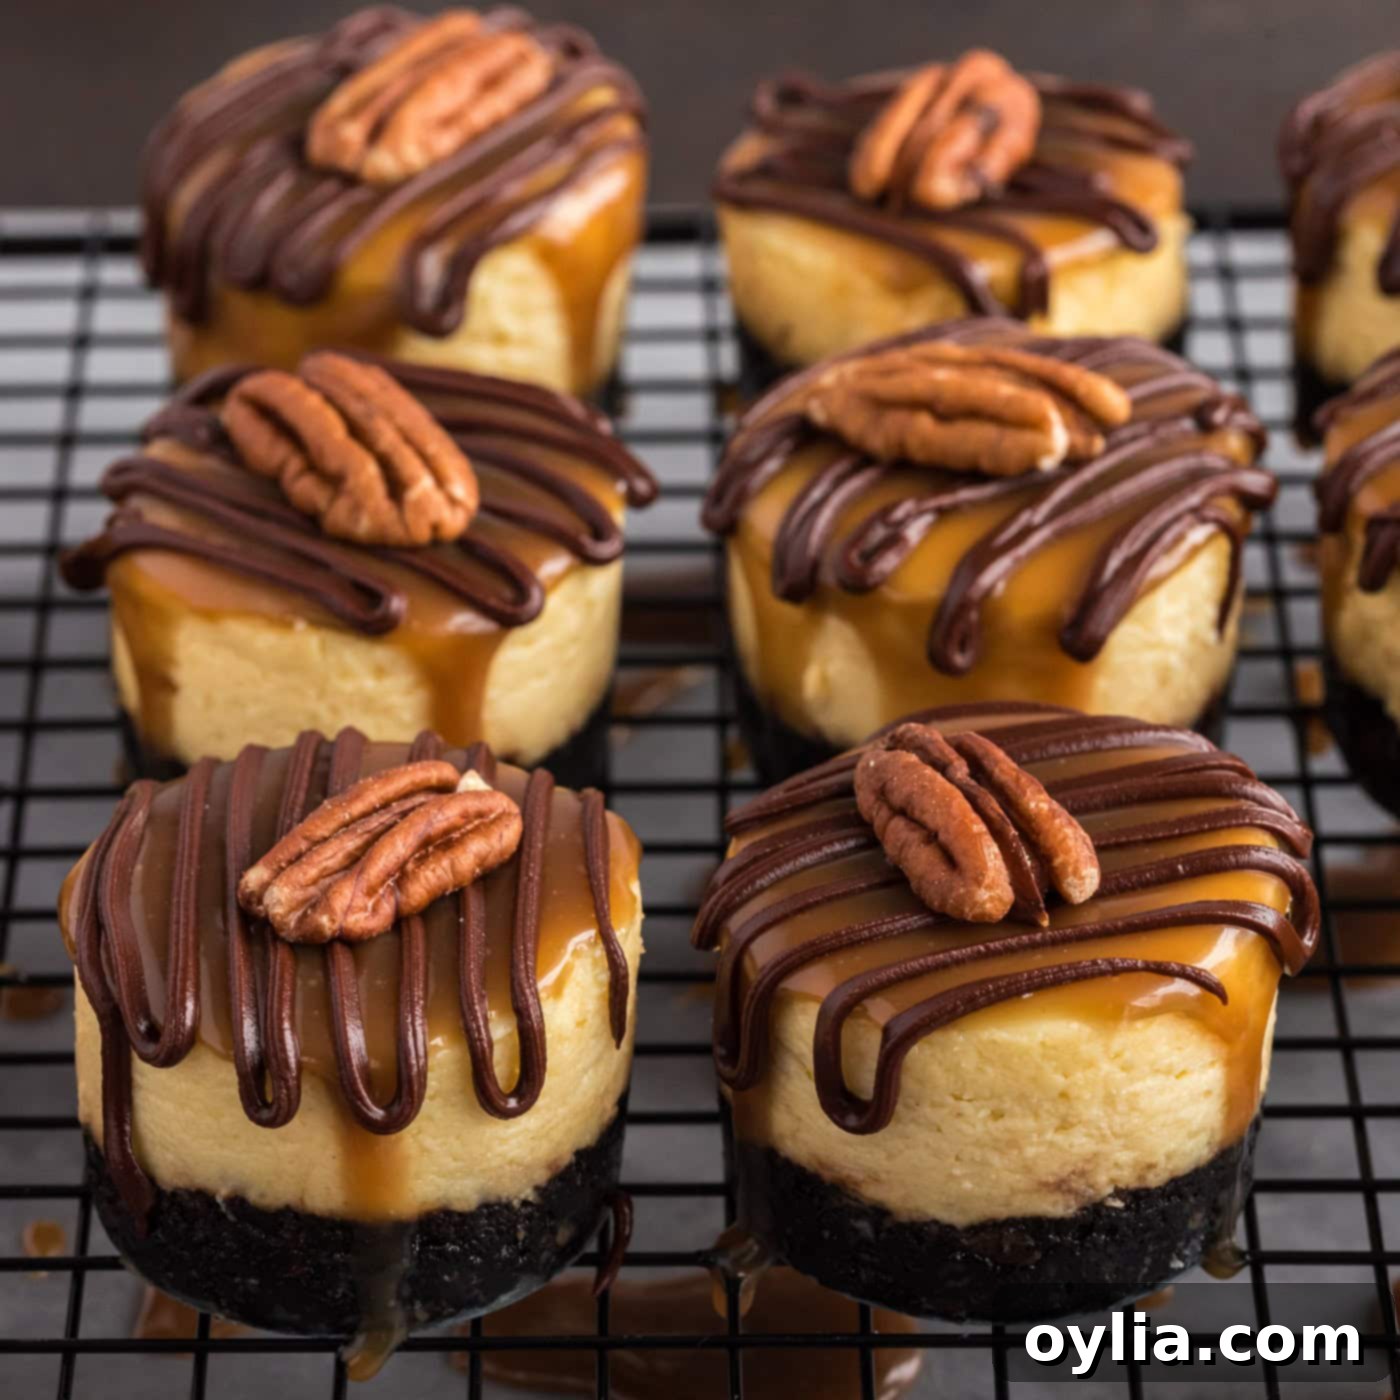
Prepare for an explosion of flavor with these exquisite mini turtle cheesecakes! Each bite is a journey into pure bliss, featuring a rich, creamy cheesecake nestled on a unique pecan-graham cracker crust. Topped with luscious caramel, a delicate chocolate drizzle, and crunchy pecans, these individual desserts are not just treats – they’re miniature masterpieces. Perfect for any gathering, they offer all the decadent taste of a classic turtle candy in a sophisticated, easy-to-serve format.
Why This Mini Turtle Cheesecake Recipe is a Must-Try
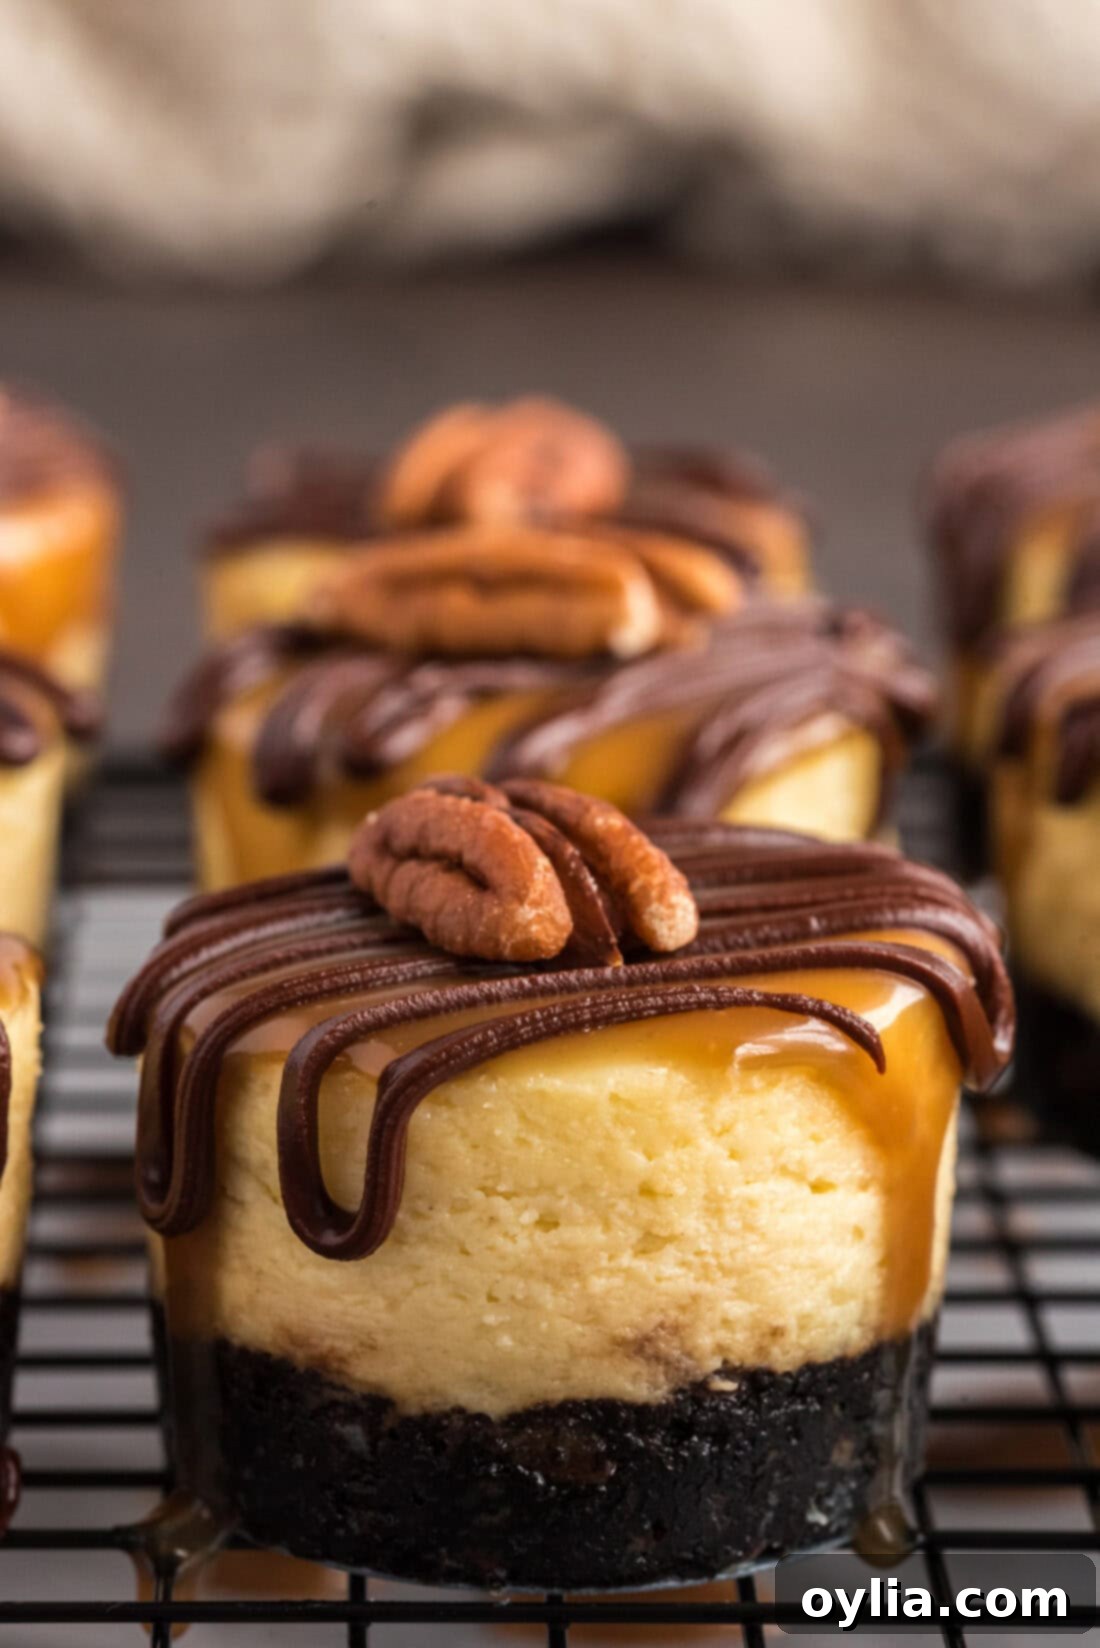
This recipe for mini turtle cheesecakes isn’t just another dessert; it’s a guaranteed showstopper that delights every palate. The magic begins with a perfectly balanced crust, blending the classic crunch of graham crackers with the rich, nutty notes of pecans and a hint of chocolate. This sturdy yet flavorful base provides the ideal foundation for the star of the show: a lusciously smooth and creamy cheesecake filling that melts in your mouth.
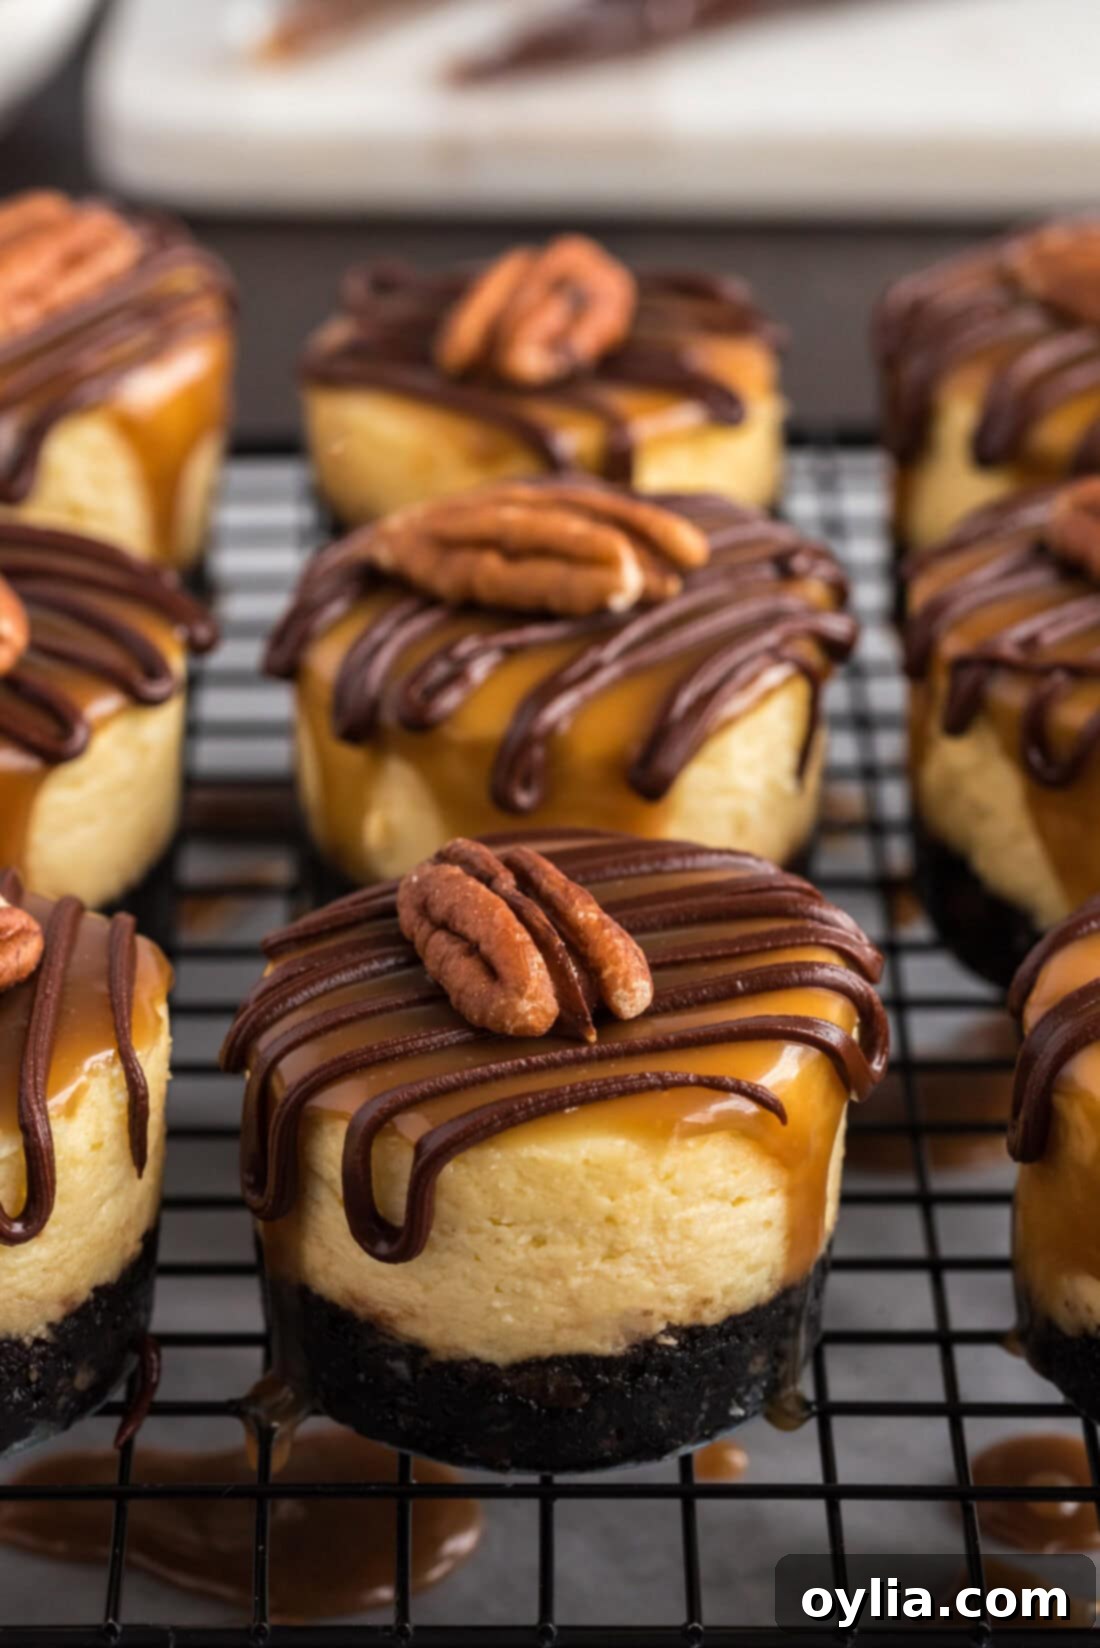
What truly sets these cheesecakes apart are their decadent toppings. A generous pool of rich, homemade caramel sauce creates a sweet, buttery counterpoint to the tangy cream cheese. This is beautifully complemented by a delicate drizzle of melted chocolate, adding another layer of classic turtle flavor. Finally, a crisp pecan crown delivers the signature crunch and earthy finish that makes these “turtle” cheesecakes so utterly irresistible. They are individually portioned, making them easy to serve, visually appealing on any dessert table, and incredibly convenient for guests to enjoy.
Mini cheesecakes are truly the perfect dessert for virtually any occasion. Whether you’re celebrating birthdays, hosting a casual party, enjoying a summer cookout, or simply craving something sweet, these little treats fit the bill. Their individual size means no messy slicing and serving, and they impress guests every single time. They’re a staple on my dessert table, and once you try them, they’ll become a staple on yours too!
Gather Your Ingredients for Divine Mini Cheesecakes
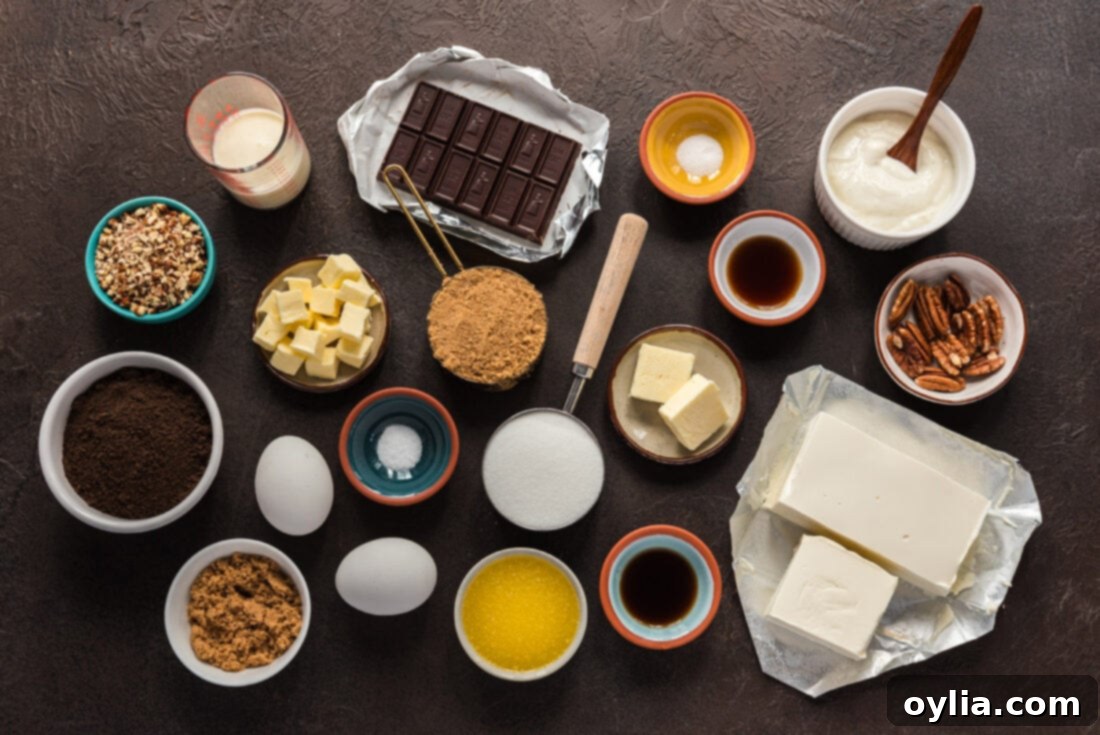
Crafting these mini turtle cheesecakes requires a selection of fresh, high-quality ingredients that come together to create a symphony of flavors. From the foundational crust to the luxurious toppings, each component plays a crucial role. Below, you’ll find a detailed breakdown of what you’ll need. For precise measurements and step-by-step instructions, please refer to the printable recipe card located at the end of this post.
Ingredient Insight & Clever Substitutions
Understanding each ingredient’s role and knowing possible substitutions can make your baking experience even more enjoyable and adaptable. Here’s what you need to know about the key components of these mini turtle cheesecakes:
CRUST – Our signature crust is a delightful mix of chocolate graham cracker crumbs, finely chopped pecans, a touch of brown sugar for warmth, and cooled melted butter to bind it all together. The chocolate graham crackers add a deep cocoa flavor that perfectly complements the turtle theme. If you don’t have chocolate graham crackers, feel free to use regular graham cracker crumbs; the result will still be delicious, just with a slightly different flavor profile. The finely chopped pecans are key for that signature nutty crunch and aroma, but if you have a nut allergy or prefer a simpler crust, you can certainly omit them. Just increase the graham cracker crumbs slightly to maintain the volume.
CARAMEL – While we highly recommend whipping up our homemade caramel sauce for its unparalleled richness and depth of flavor, we understand that sometimes convenience is key. In a pinch, a good quality store-bought caramel sauce works wonderfully. Look for a brand that is thick and rich, not too runny. For an extra layer of flavor that echoes gourmet turtle candies, consider using a salted caramel. You can find an excellent recipe for that on our salted caramel cheesecake post, which can easily be adapted for these mini treats.
CHOCOLATE – For the ultimate smooth and glossy chocolate drizzle, chopped baking chocolate bars are generally preferred over chocolate chips. Baking chocolate typically contains a higher cocoa butter content, allowing it to melt more evenly and achieve a better drizzling consistency without seizing. However, in a pinch, good quality chocolate chips will certainly work; just be mindful that they might be slightly thicker when melted. Both semi-sweet and dark chocolate are fantastic options, offering a delightful contrast to the sweet caramel and creamy cheesecake. Avoid milk chocolate if you want a more complex flavor profile that isn’t overly sweet.
CREAM CHEESE – This is the heart of your cheesecake, so paying attention to its preparation is vital. Always ensure your cream cheese is at room temperature before you begin mixing. Cold cream cheese will result in a lumpy batter and an unevenly textured cheesecake. To speed up the process, you can cut the cream cheese into smaller cubes and let it sit on your countertop for about 30 minutes. This allows it to soften uniformly, guaranteeing a silky smooth, lump-free cheesecake filling that bakes beautifully.
YOGURT – The recipe calls for vanilla yogurt, which adds a subtle tang and helps create a wonderfully light and creamy texture for the cheesecake filling. It also contributes to the moistness without making the cheesecake too heavy. If vanilla yogurt isn’t available, plain full-fat Greek yogurt can be used in its place. You might want to add an extra splash of vanilla extract to the filling to compensate for the missing vanilla flavor from the yogurt.
Crafting Your Mini Turtle Cheesecakes: Step-by-Step Guide
These step-by-step photos and instructions are here to help you visualize how to make this recipe successfully. You can Jump to Recipe to get the printable version of this recipe, complete with precise measurements and instructions at the bottom.
Preparing the Perfect Pecan-Graham Cracker Crust
- Preheat your oven to 325°F (160°C). Prepare your mini cheesecake pan by placing the removable bottoms into each cup. This specialized pan is crucial for easily releasing your mini cheesecakes once they are baked and cooled.
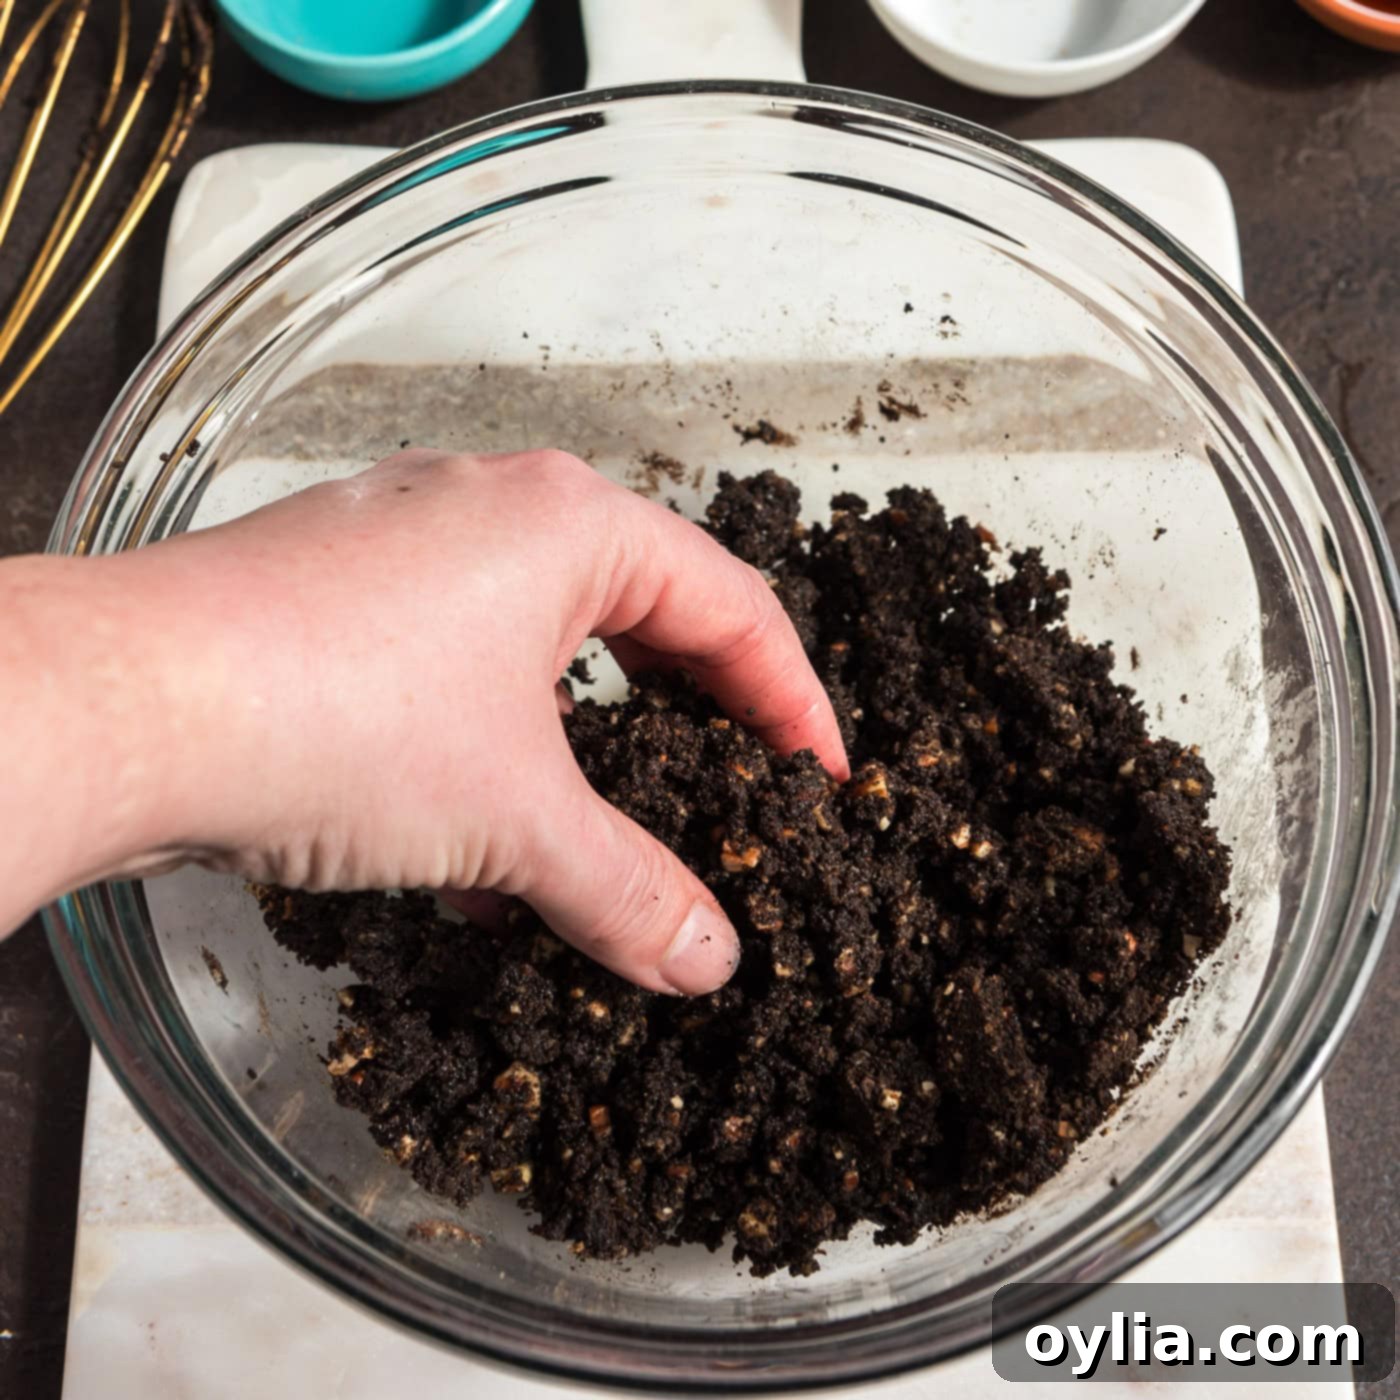
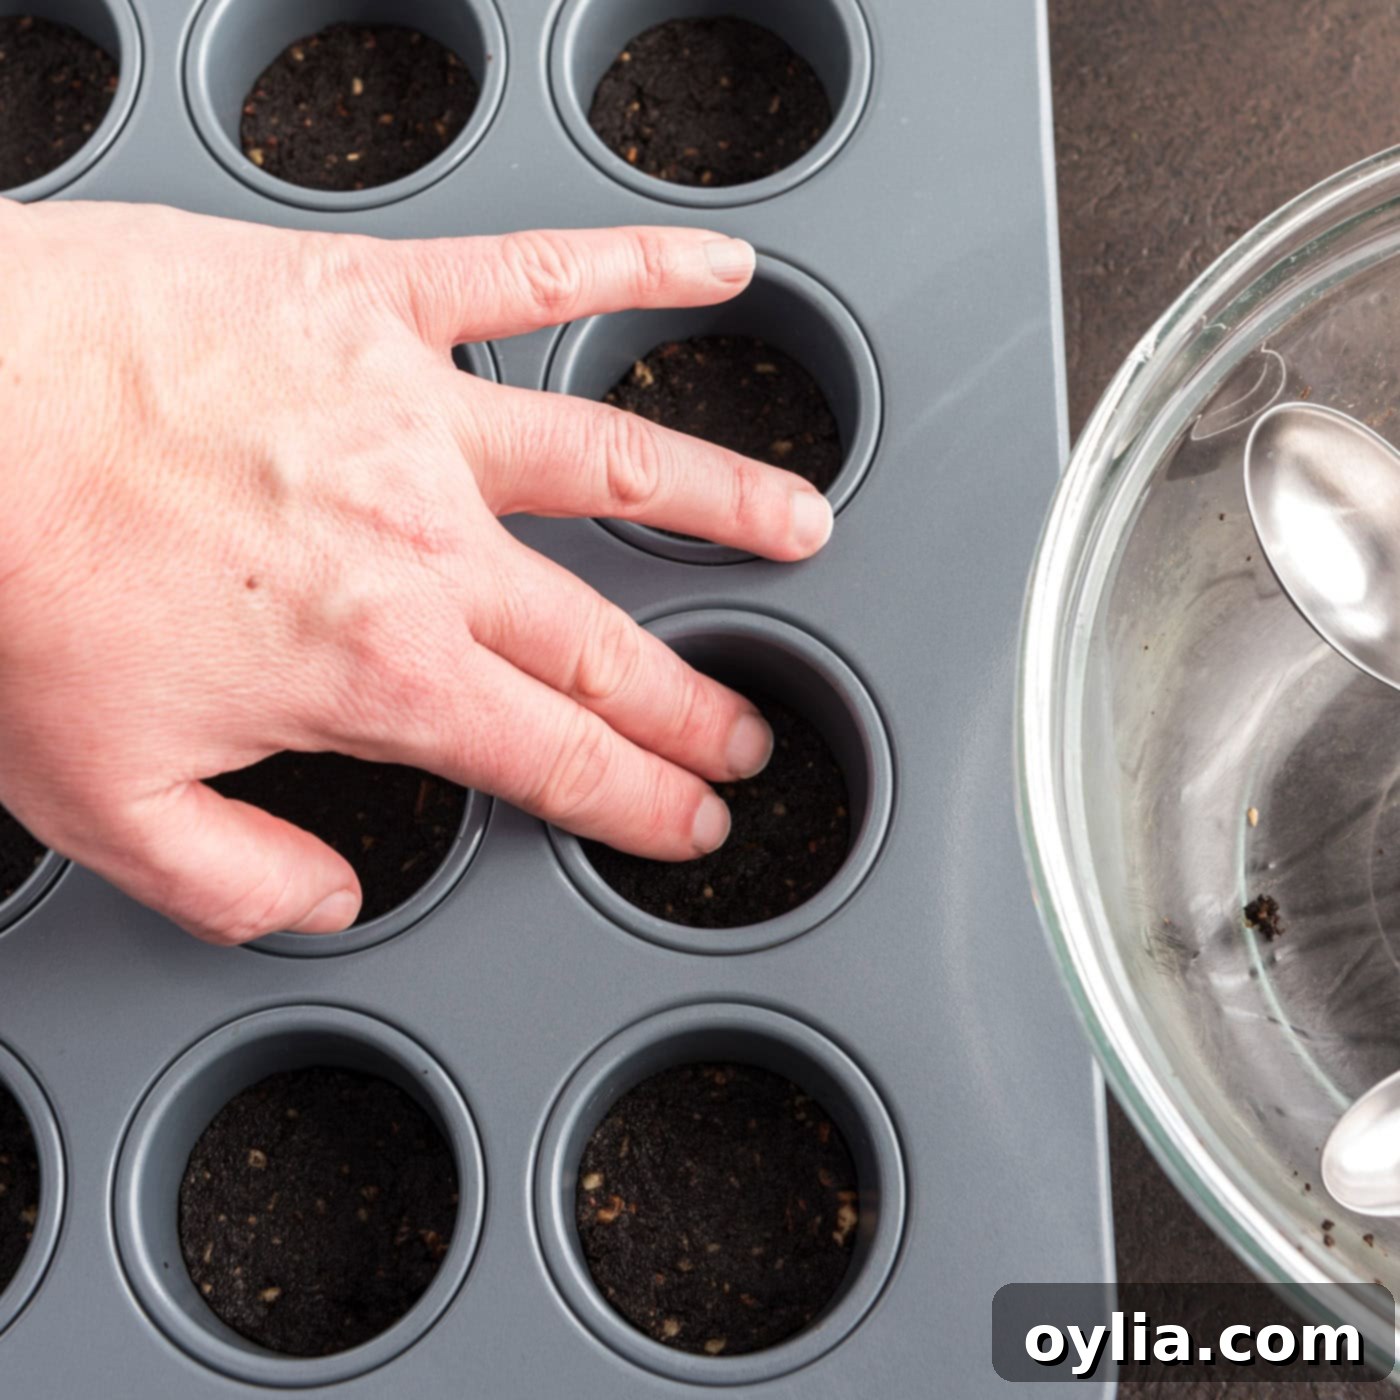
- To make the crust, combine the chocolate graham cracker crumbs, finely chopped pecans, brown sugar, and cooled melted butter in a medium bowl. Use your fingers to thoroughly combine the ingredients until the mixture resembles wet sand. Spoon a generous tablespoon (plus a teaspoon for good measure) of the crust mixture into the bottom of each cup in the mini cheesecake pan. Using your fingers or the back of a spoon, press the mixture down lightly but firmly to create a compact, even base. This ensures a stable crust that won’t crumble. Bake for 5 minutes; this brief bake time helps to set the crust and prevent it from becoming soggy. Remove from the oven and set aside to cool slightly while you prepare the filling.


Crafting the Silky Smooth Cheesecake Filling
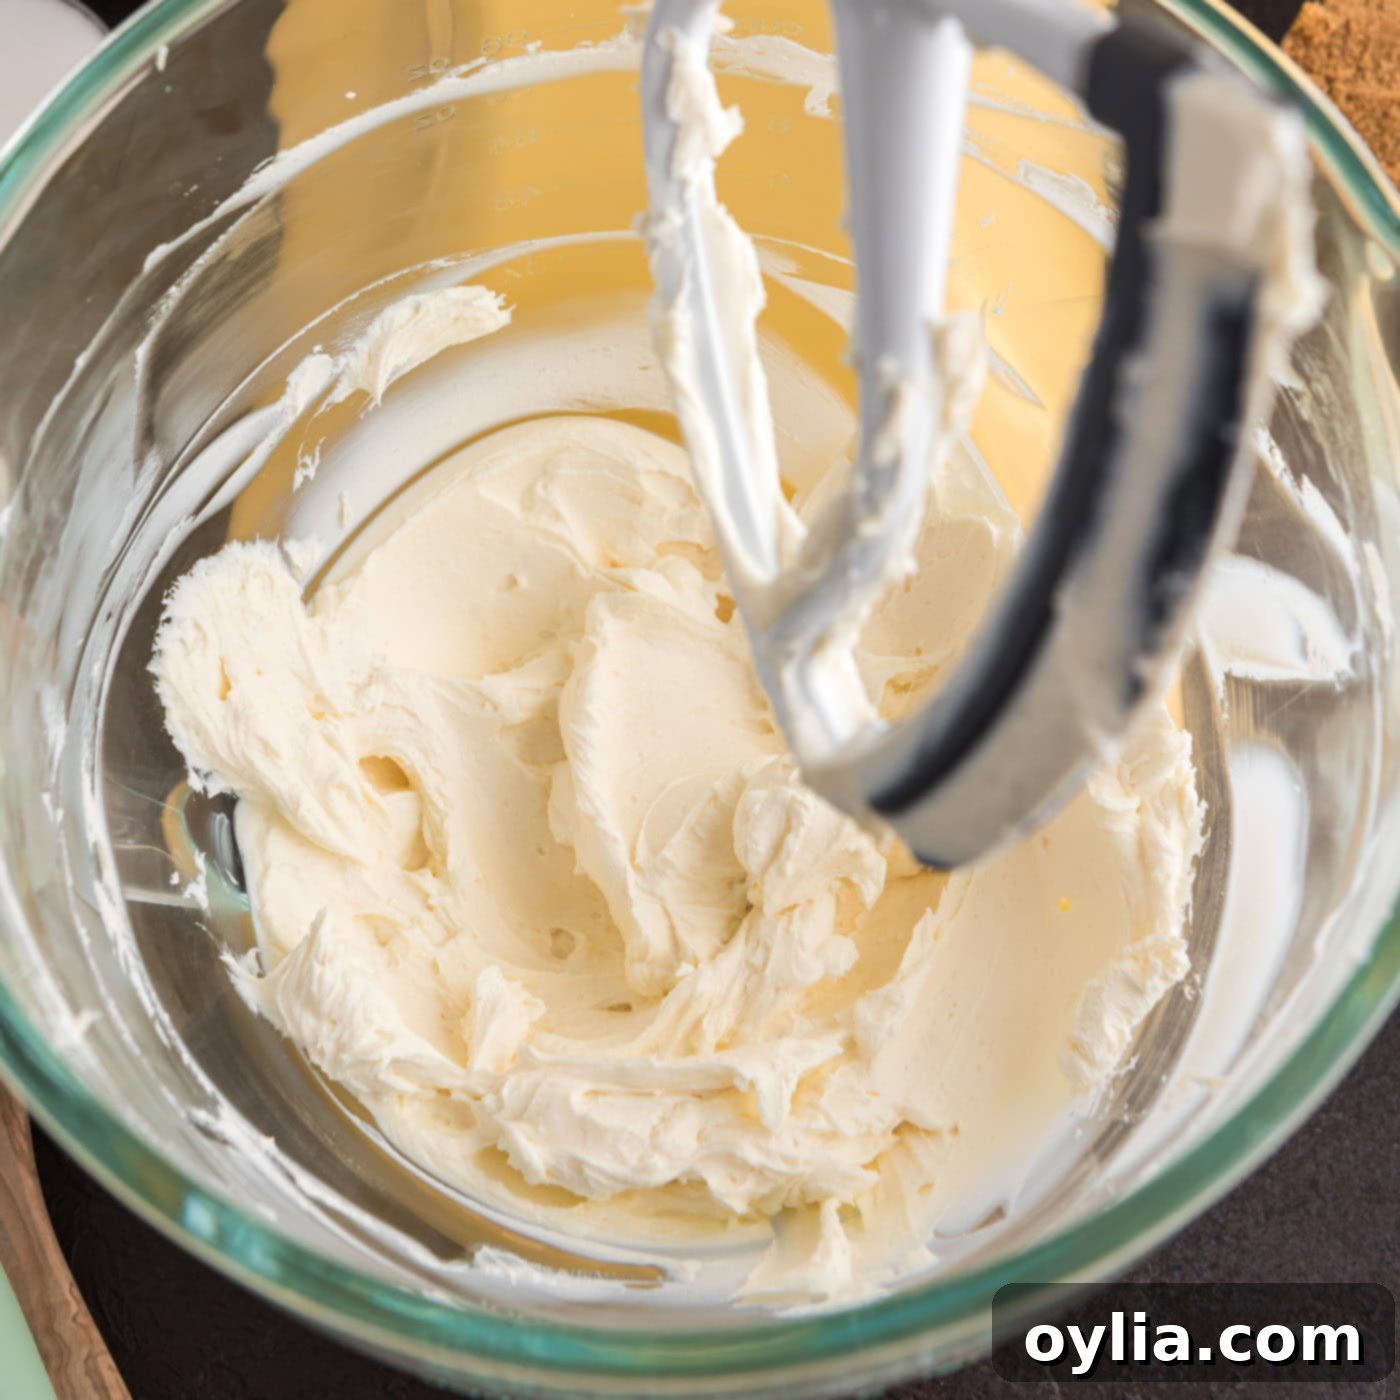
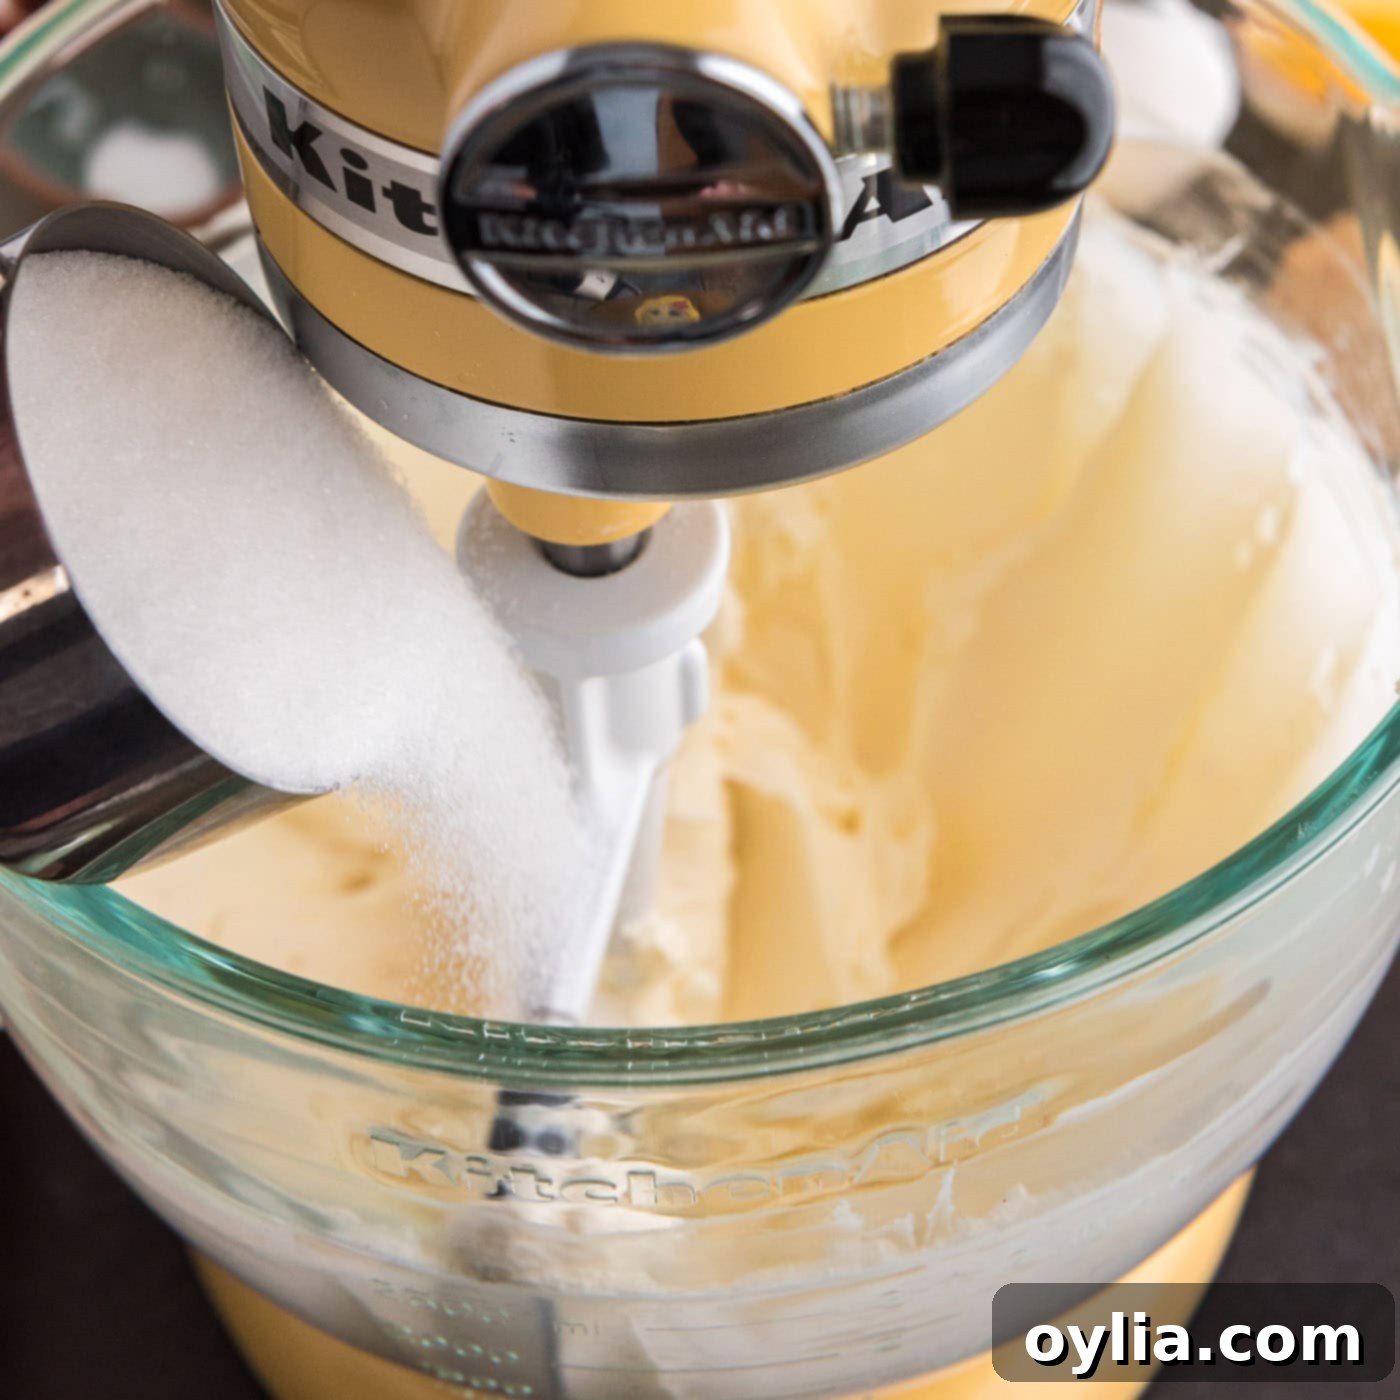
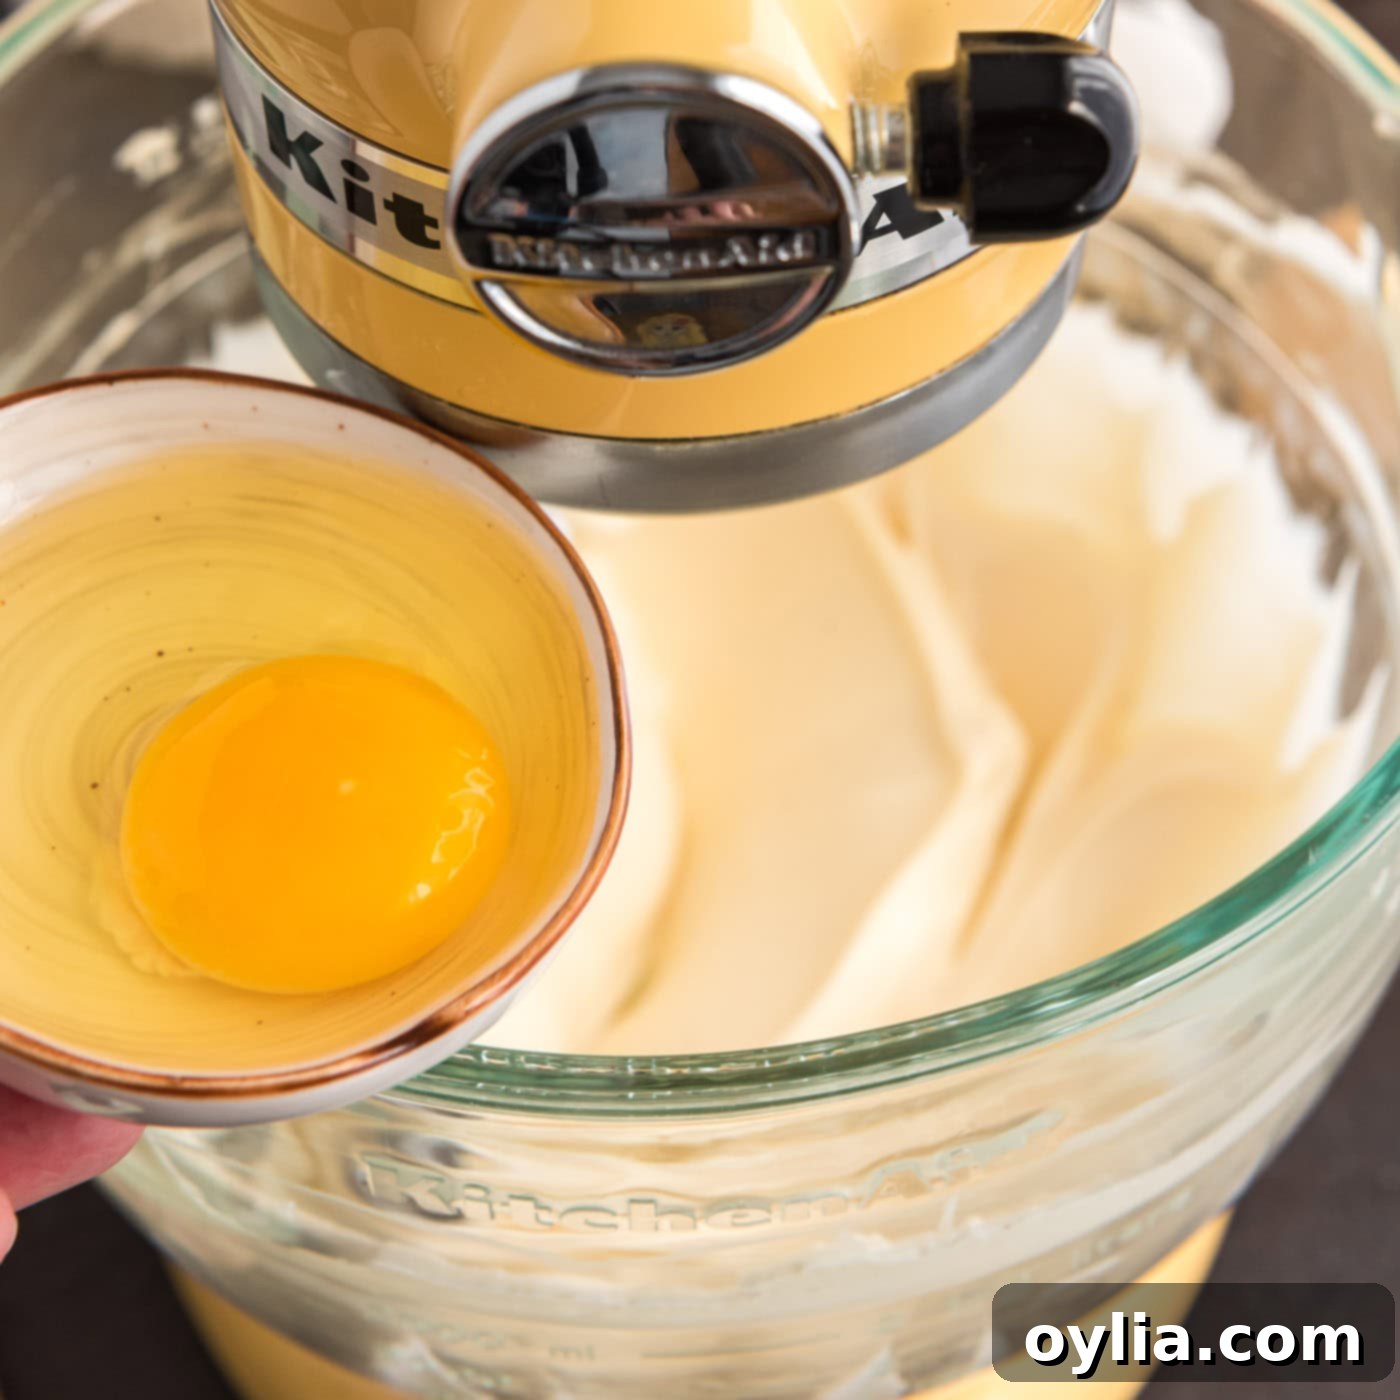
- For the cheesecake filling, begin by beating the room-temperature cream cheese in a large mixing bowl using a standing mixer or a hand mixer. Beat until it’s completely creamy and smooth, with no lumps. This is crucial for a perfectly smooth cheesecake. With the mixer running on low speed, gradually add the granulated sugar, salt, and vanilla extract. Beat well until fully incorporated and light. Next, slowly mix in the vanilla yogurt. Finally, add the eggs one at a time, mixing just until each egg is blended into the mixture. Be careful not to overmix at this stage, as over-beating can incorporate too much air, which can lead to cracks in your baked cheesecake.


- For an ultra-silky texture, scrape the entire cheesecake mixture out of the mixer bowl and transfer it into a food processor. Process for about 45 seconds, or until the mixture is completely smooth and velvety. This extra step helps break down any remaining tiny lumps of cream cheese and ensures a perfectly uniform filling.
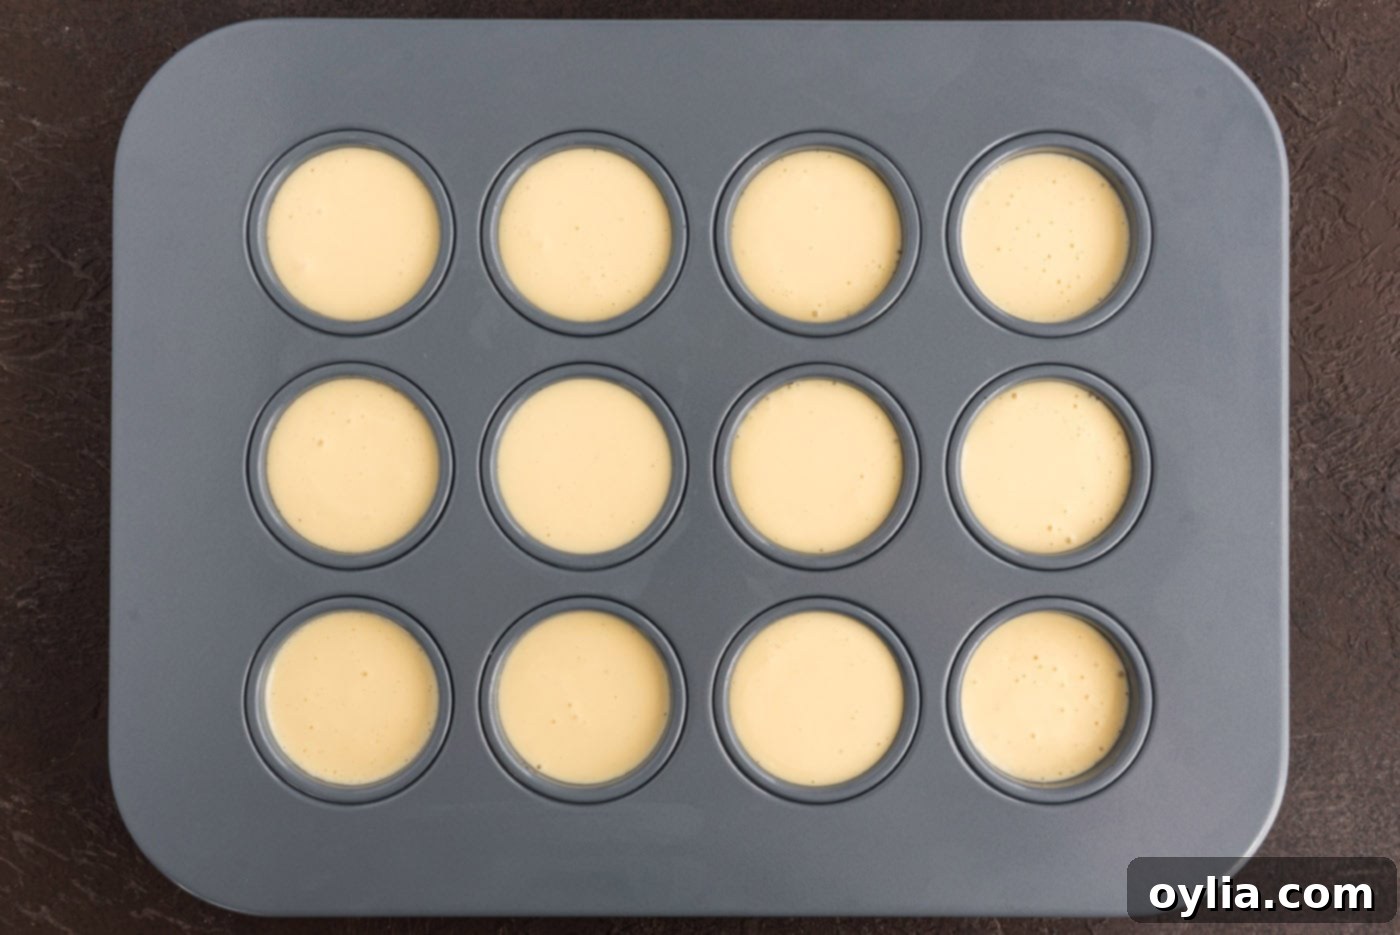
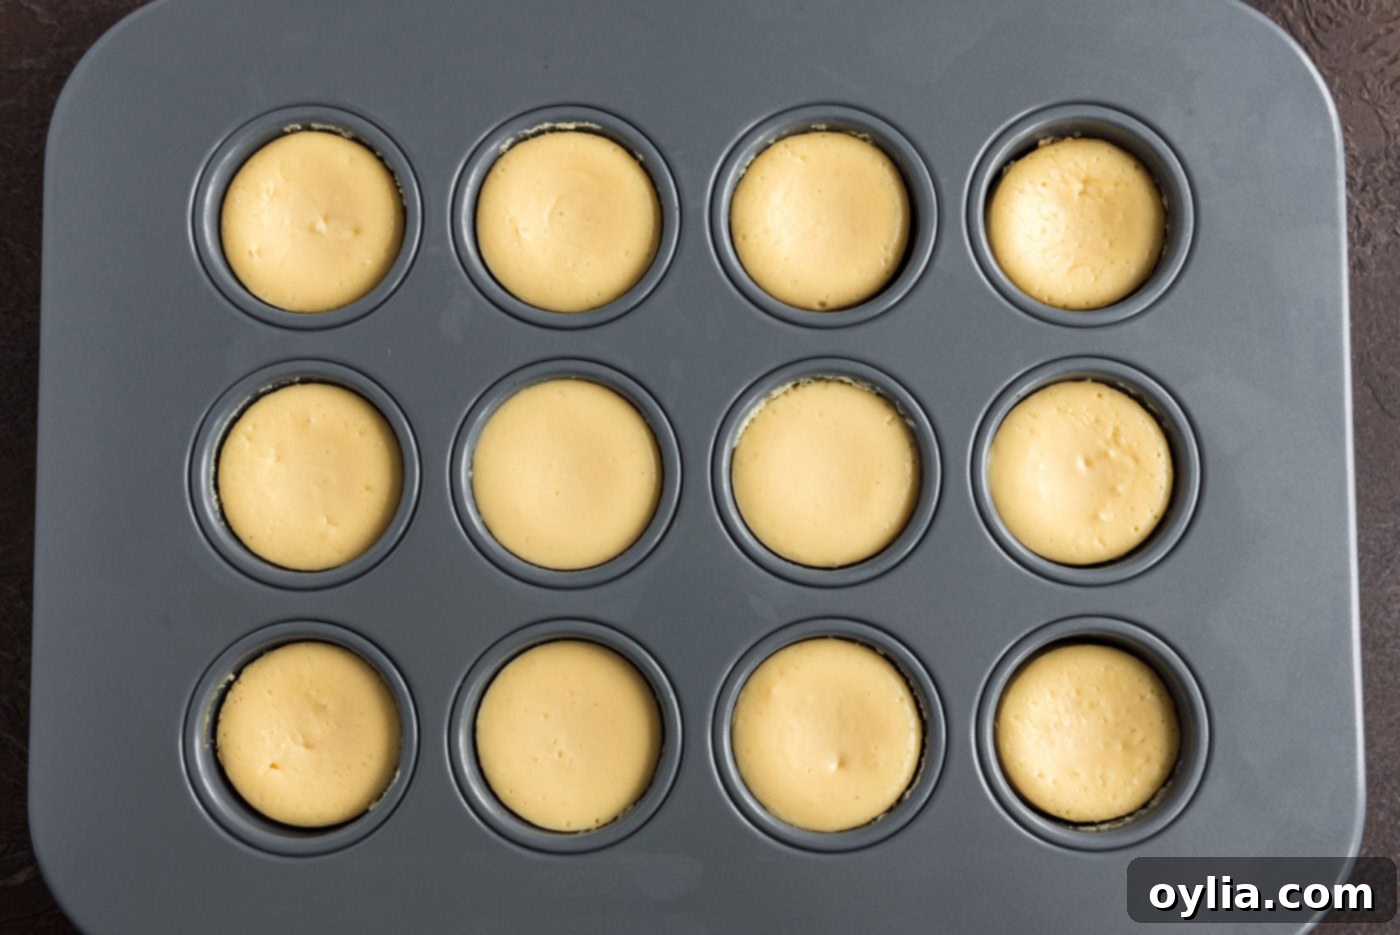
- Carefully fill each cup of the mini cheesecake pan with the creamy cheesecake batter, almost to the top. Bake for 20 minutes. The cheesecakes are done when the edges appear dry and slightly puffed, but the centers still have a slight jiggle. This slight jiggle is normal and indicates they are perfectly cooked without being overbaked. Turn off the oven, prop the door open slightly, and allow the cheesecakes to cool slowly in the oven for 30 minutes. This gradual cooling process helps prevent cracking. Remove them from the oven to a cooling rack and let them cool completely to room temperature. Once cool, refrigerate for 1-2 hours before decorating to allow them to firm up properly.


Creating the Decadent Caramel and Chocolate Toppings
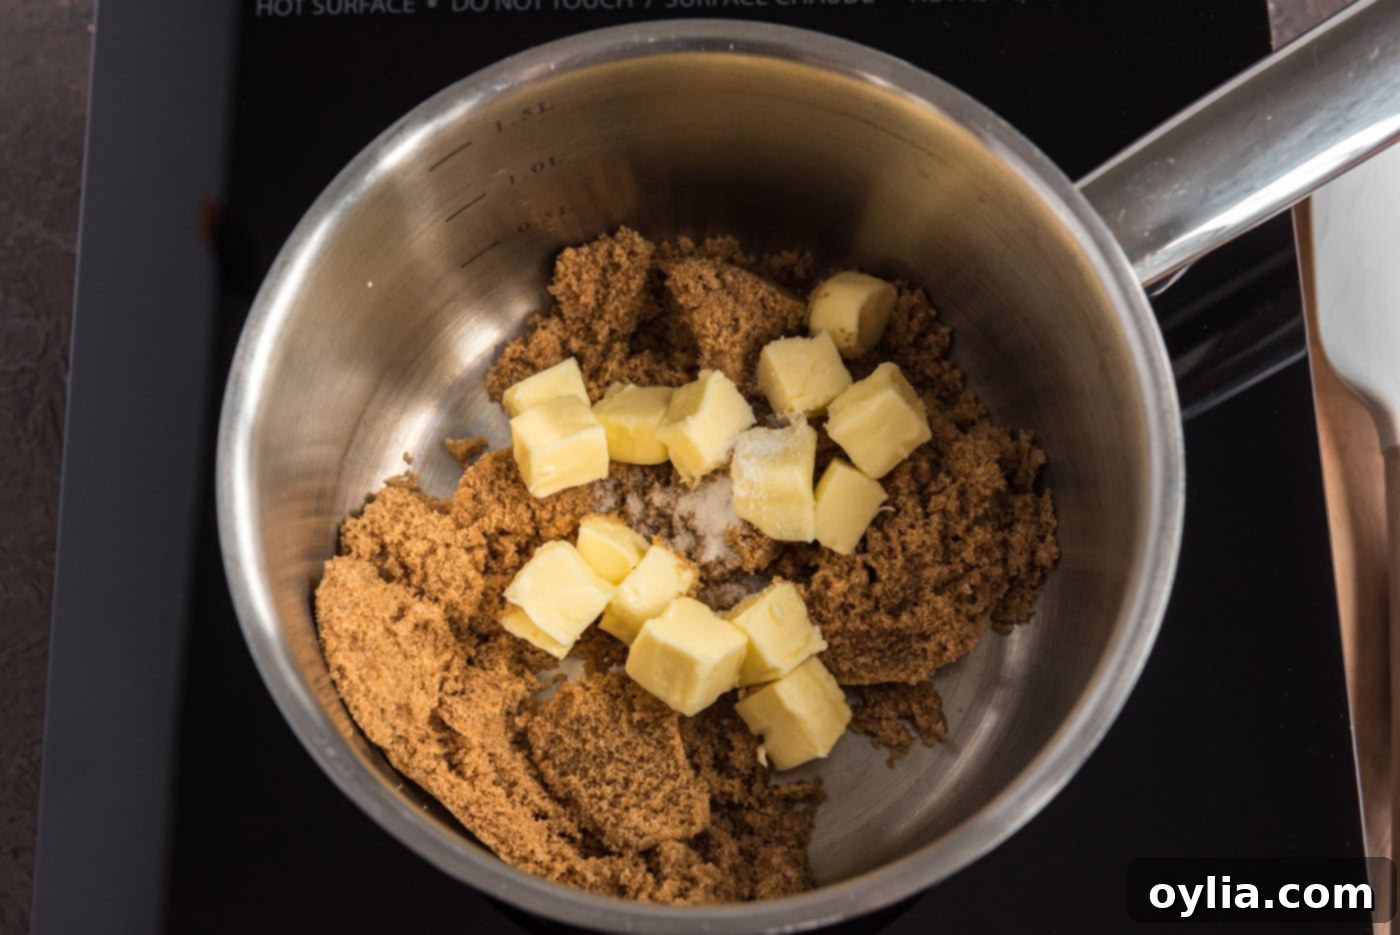
- To make the homemade caramel drizzle, combine the cubed unsalted butter, packed brown sugar, and a pinch of salt in a medium saucepan over medium heat. Stir with a wooden spoon as the butter melts and the sugar begins to dissolve. The mixture will start to bubble. Stir once or twice, then insert a candy thermometer. You’re aiming for the soft ball stage, which is 238°F (114°C). This temperature ensures the caramel will be perfectly chewy yet pourable when cooled.

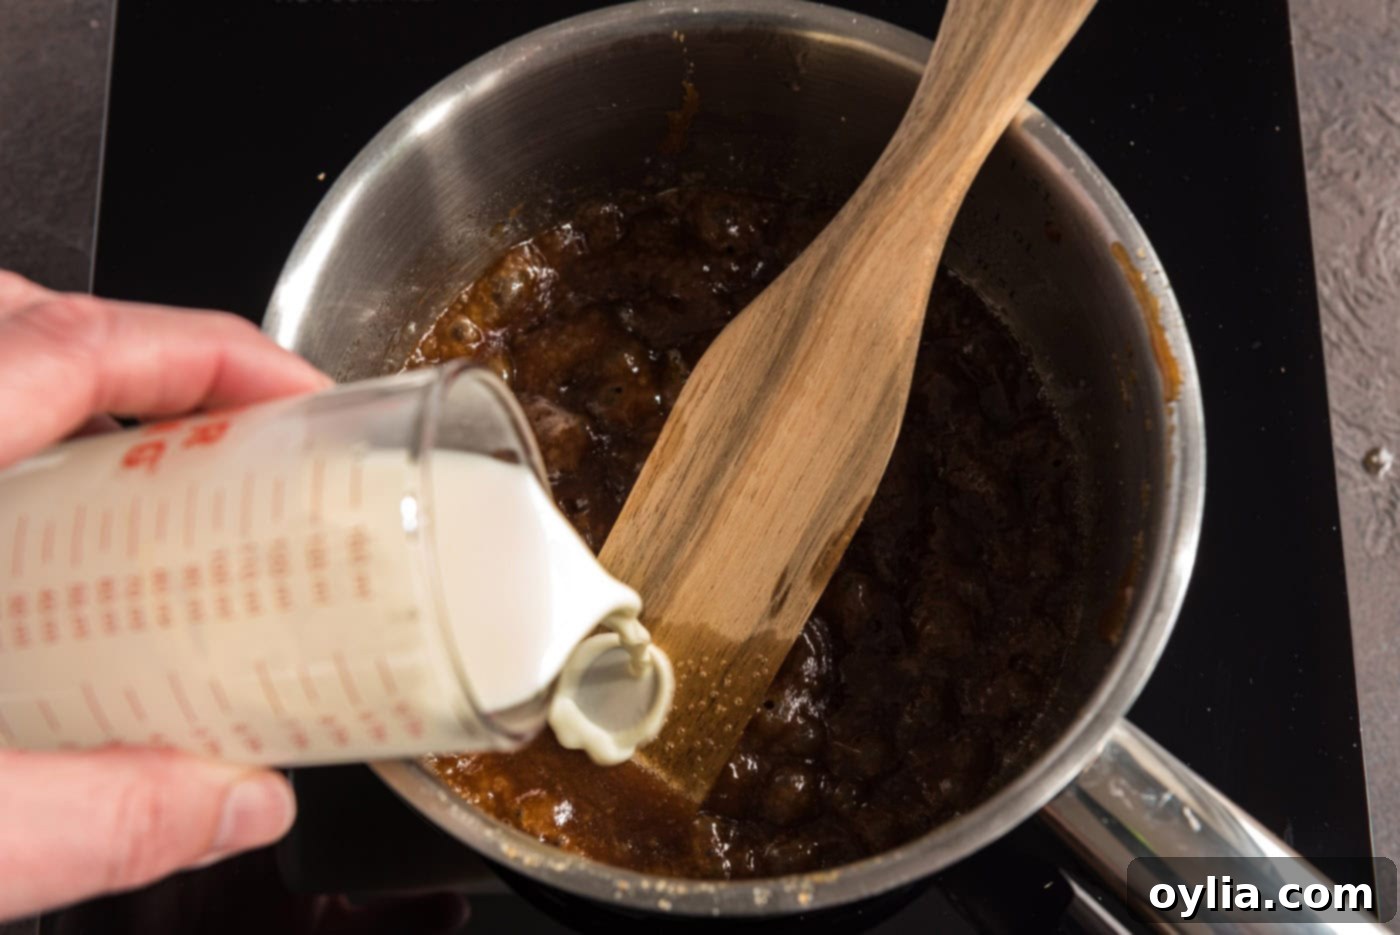
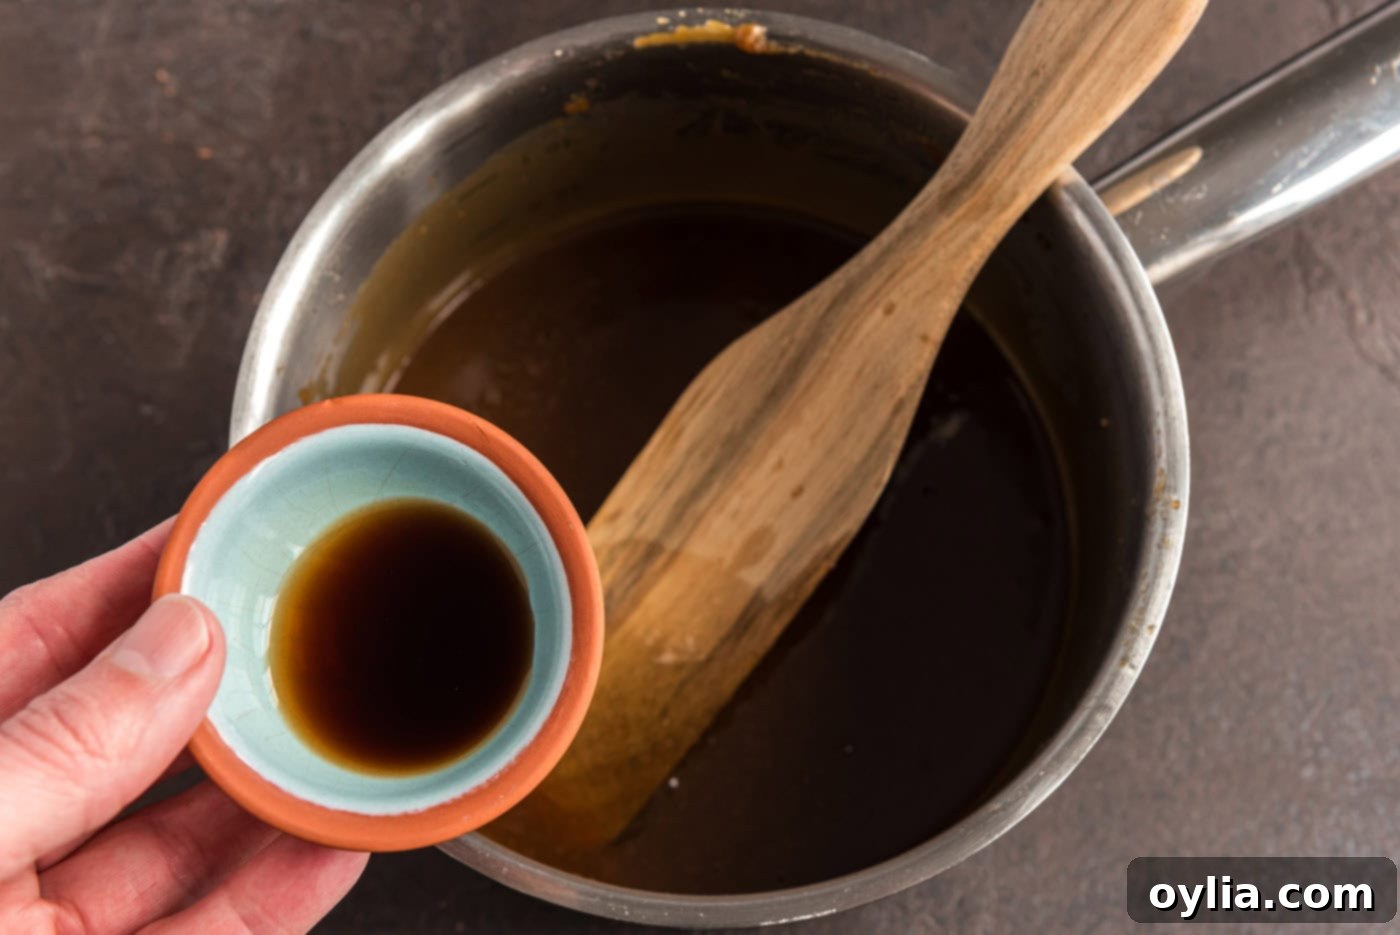
- Once the caramel reaches 238°F, slowly and carefully pour in the room-temperature heavy whipping cream while continuously stirring with your wooden spoon. The mixture will bubble vigorously, so proceed with caution. Continue stirring until the caramel is smooth and uniformly combined. Remove from the heat and stir in the vanilla extract. Allow the caramel to cool completely before using; it will thicken as it cools.


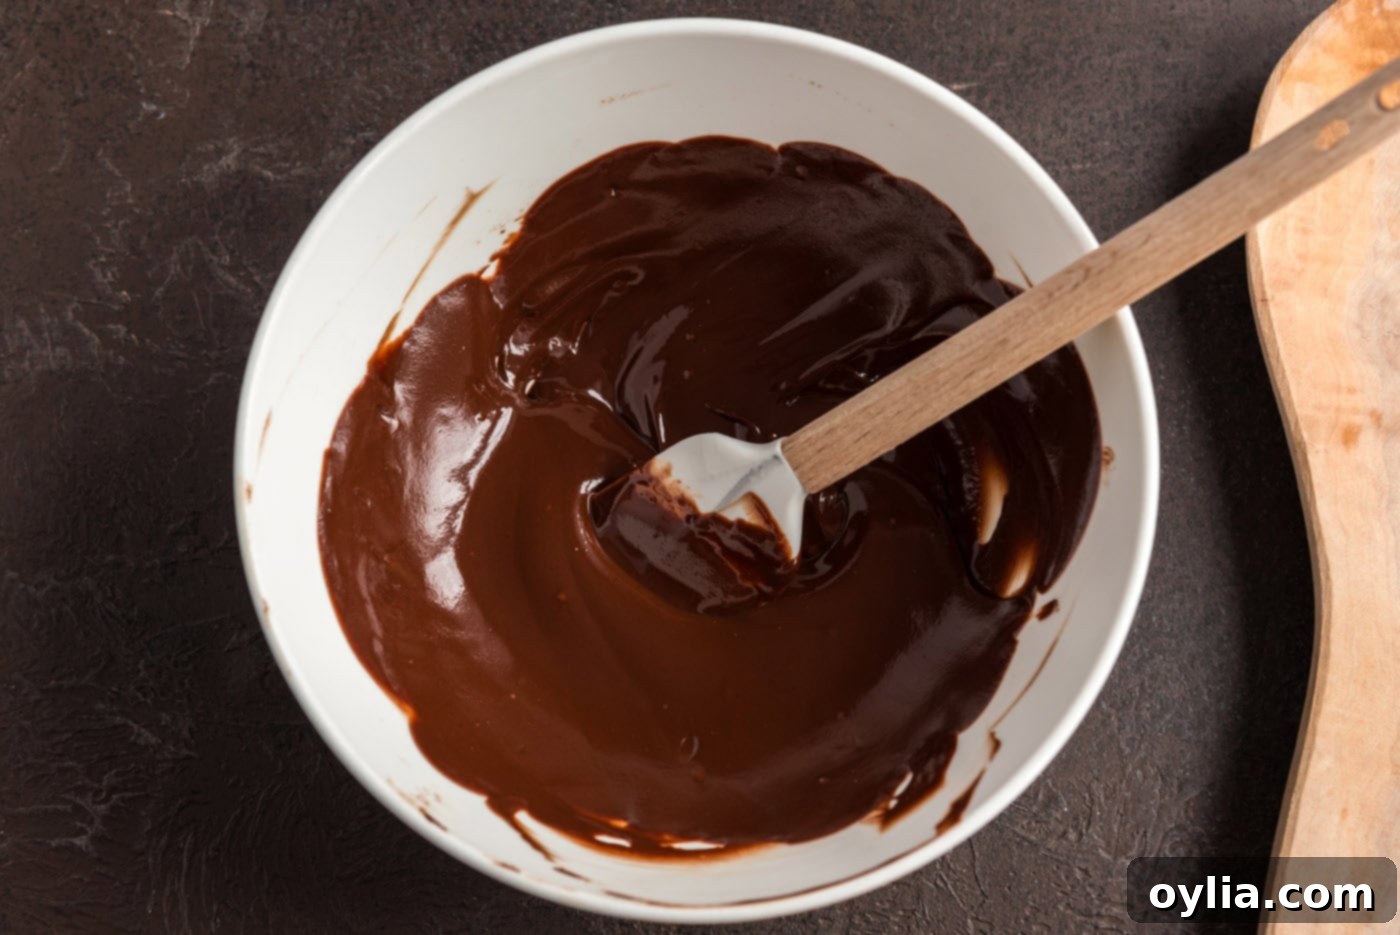
- For the chocolate drizzle, combine 2 tablespoons of unsalted butter and the chopped chocolate in a microwave-safe bowl. Microwave for one minute. Remove and stir until all the chocolate is completely melted and the mixture is smooth and glossy. If necessary, microwave for another 15-30 seconds, stirring in between, until fully melted. Allow the chocolate drizzle to cool slightly before use; it should be warm enough to flow but not hot.

Assembling Your Masterpiece: Decorating Mini Turtle Cheesecakes
- To assemble, first, carefully remove the chilled cheesecakes from their pan. If they seem stuck or are too cold to release easily, a gentle trick is to use a hairdryer to warm the outside of the pan cups for a few seconds. This will slightly loosen the cheesecake from the metal. Once released, place the cheesecakes on a cooling rack, which you’ve positioned over waxed paper to catch any drips from the toppings.
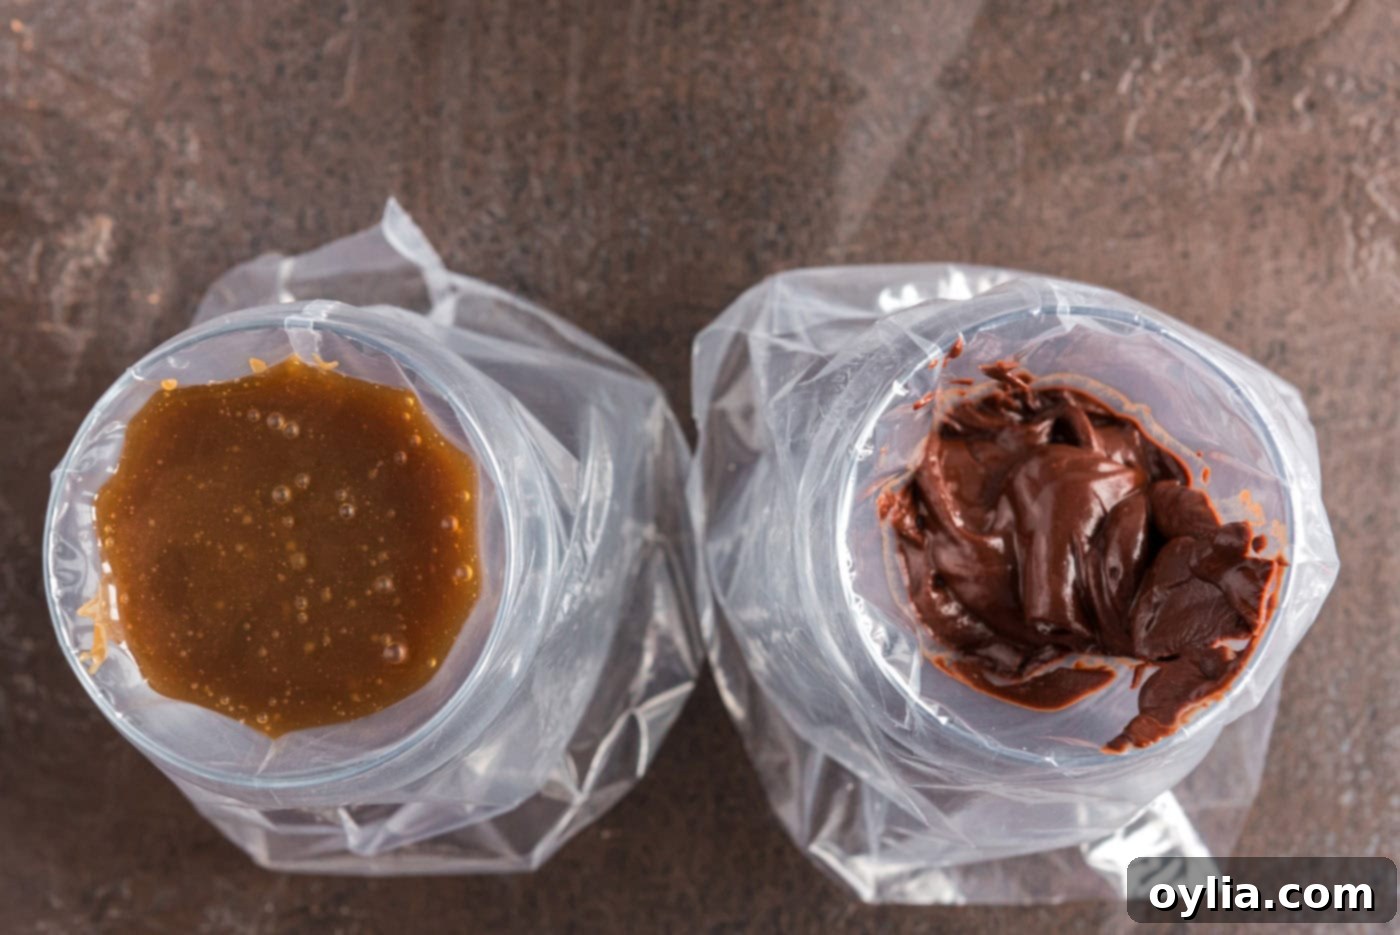
- Prepare your piping bags for the caramel and chocolate. Line a drinking glass with a fold-top sandwich bag, then carefully empty the cooled caramel into the bag. Twist the open end of the bag closed, then snip off a tiny corner with scissors, creating a small opening for drizzling. Repeat this process with the melted chocolate. Using sandwich bags as makeshift piping bags gives you excellent control over your drizzle.

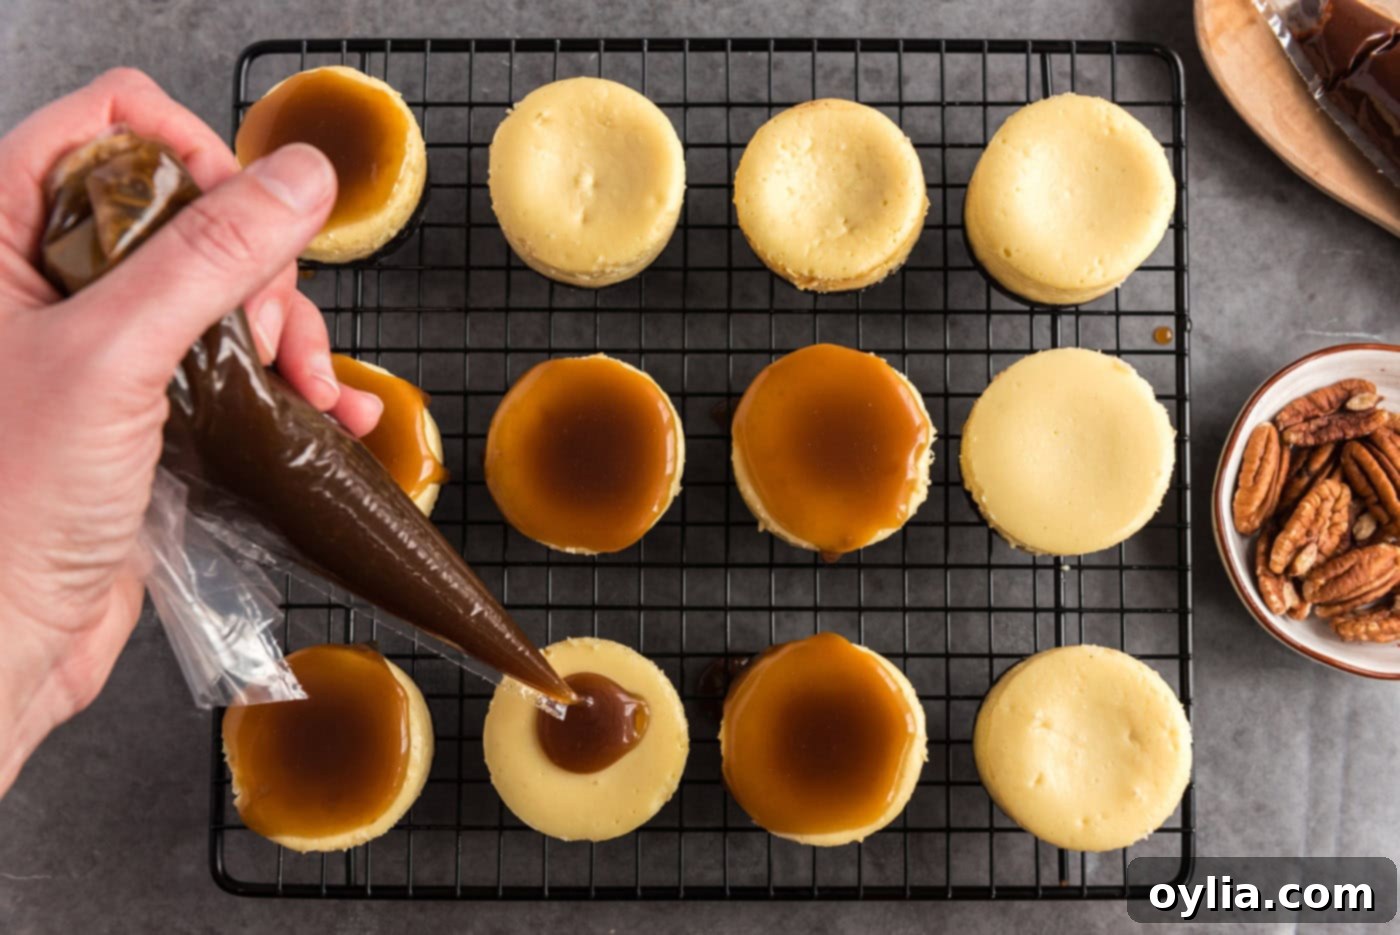
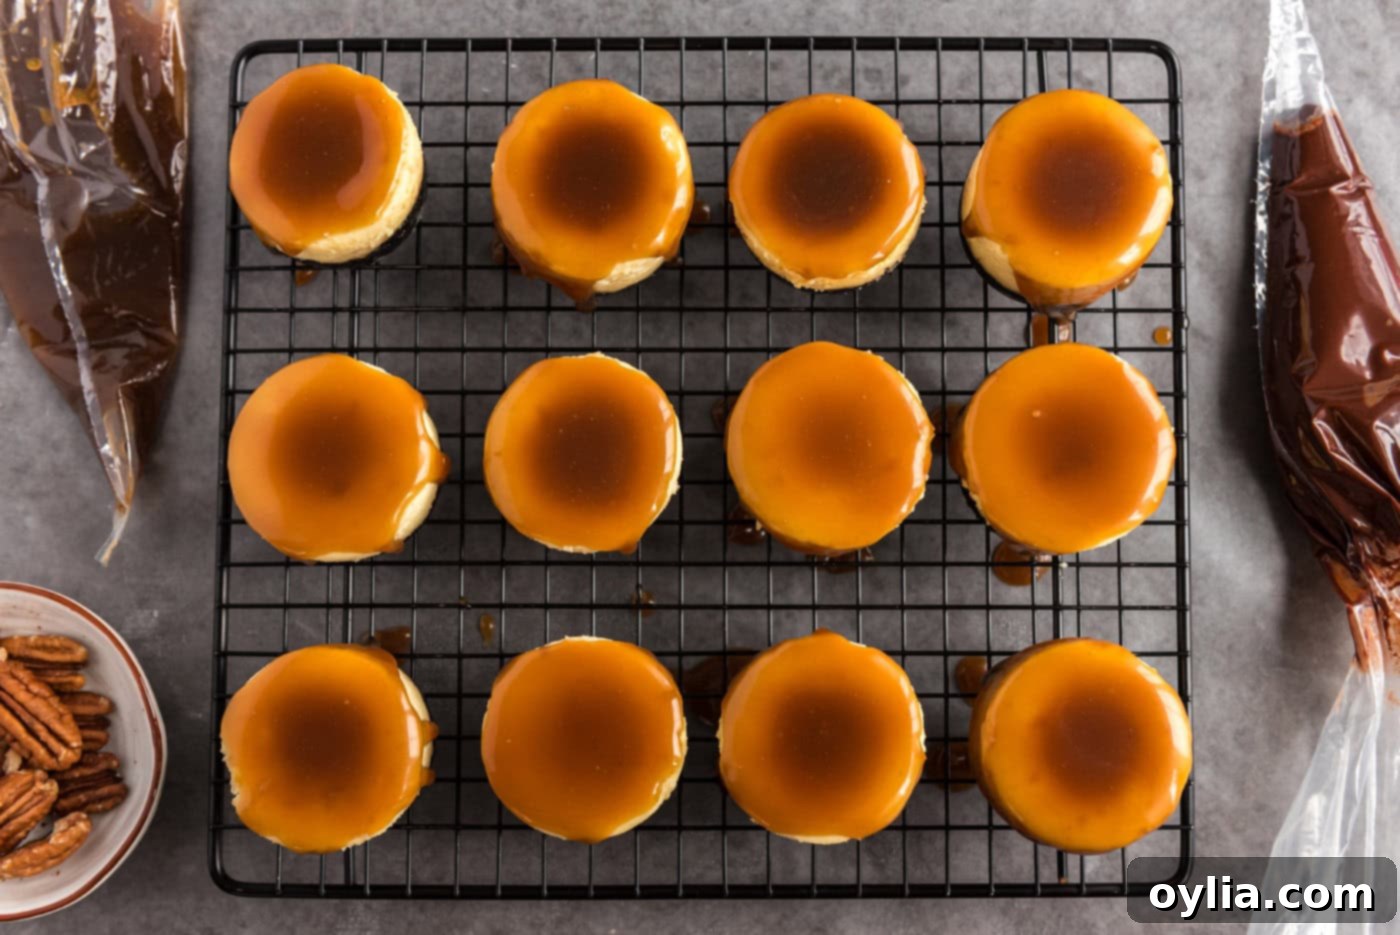
- Carefully squeeze the caramel from the end of the bag, piping a small, attractive pool onto the center of each mini cheesecake. Aim for an even amount on each, ensuring every bite is rich with caramel flavor.


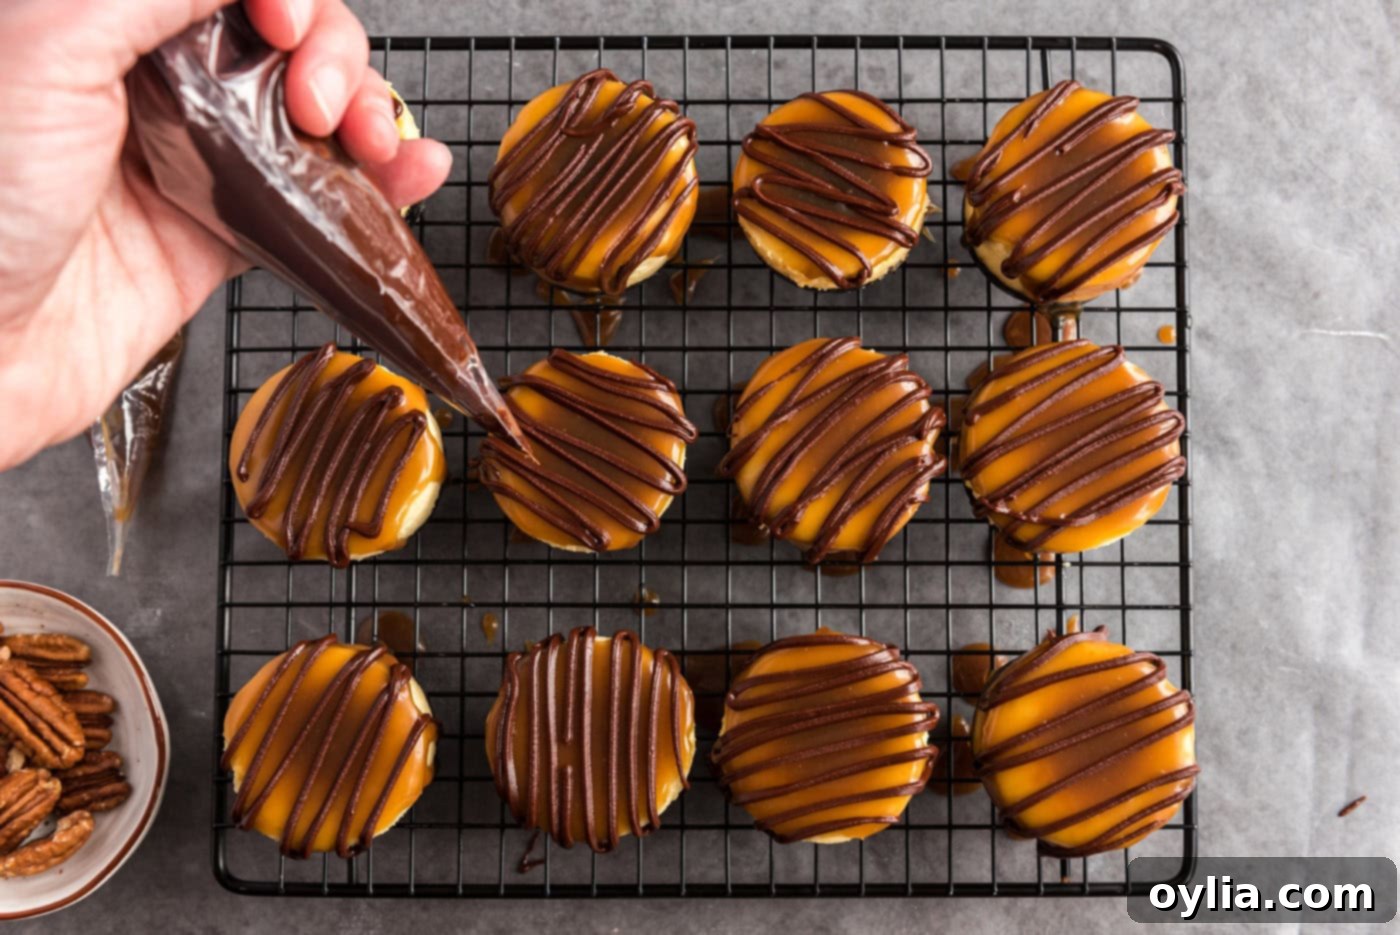
- Next, take your bag of melted chocolate and drizzle it artfully over the caramel and the cheesecakes. You can create crisscross patterns, zigzags, or simply a random swirl—whatever looks most appealing!

- To complete the “turtle” effect, gently place a whole pecan half in the center of each cheesecake. This adds a beautiful visual element and a final textural crunch.

- Keep the decorated cheesecakes refrigerated until you are ready to serve them. Chilling for at least 20 minutes allows the toppings to set slightly and the flavors to fully meld. Before serving, ensure you remove the removable pan bottoms from each cheesecake for the best presentation and ease of eating.
Frequently Asked Questions & Expert Tips for Perfect Mini Turtle Cheesecakes
Absolutely! These mini cheesecakes are an excellent make-ahead dessert, perfect for reducing stress on the day of an event. You can prepare the cheesecakes (without the caramel, chocolate drizzle, and pecans) up to 3 days in advance. Store them in an airtight container in the refrigerator to keep them fresh. When you’re ready to serve, simply add the toppings.
Yes, mini cheesecakes freeze exceptionally well! To ensure the best quality upon thawing, I highly recommend holding off on adding the caramel and chocolate drizzle, as well as the pecans, until you are ready to serve. To freeze, place the plain, baked, and cooled cheesecakes on a baking sheet and flash-freeze them until they are solid (this prevents them from sticking together). Once solid, transfer them to an airtight freezer-safe container or wrap them individually in plastic wrap and then foil. They can be frozen for up to 2 months. When you’re ready to enjoy, thaw them in the refrigerator overnight, then add your fresh caramel, chocolate drizzle, and pecans just before serving for that perfect finish.
Proper storage is key to keeping your mini turtle cheesecakes fresh and delicious. Store the cheesecakes in an airtight container and keep them refrigerated. They will stay fresh and delightful for 4-5 days. Ensure the container is truly airtight to prevent them from absorbing any unwanted odors from the refrigerator.
Expert Tip: Avoiding Cheesecake Cracks: The slow cooling method described in the recipe (cooling in the oven with the door ajar) is vital for preventing cracks. Rapid temperature changes are the enemy of smooth cheesecake tops! Also, avoid overmixing the batter once the eggs are added, as this can incorporate too much air, which expands during baking and then collapses, leading to cracks.
Expert Tip: Room Temperature Ingredients: Always ensure your cream cheese, eggs, and yogurt are at room temperature. This is not just a suggestion; it’s a critical step for achieving a smooth, lump-free batter and a perfectly textured cheesecake. Cold ingredients don’t emulsify well, leading to a less desirable final product.
Expert Tip: Perfect Caramel Consistency: When making homemade caramel, a candy thermometer is your best friend. Reaching the soft ball stage (238°F) is essential for caramel that is chewy but still pliable for drizzling. Don’t rush this step, and stir continuously to prevent burning.
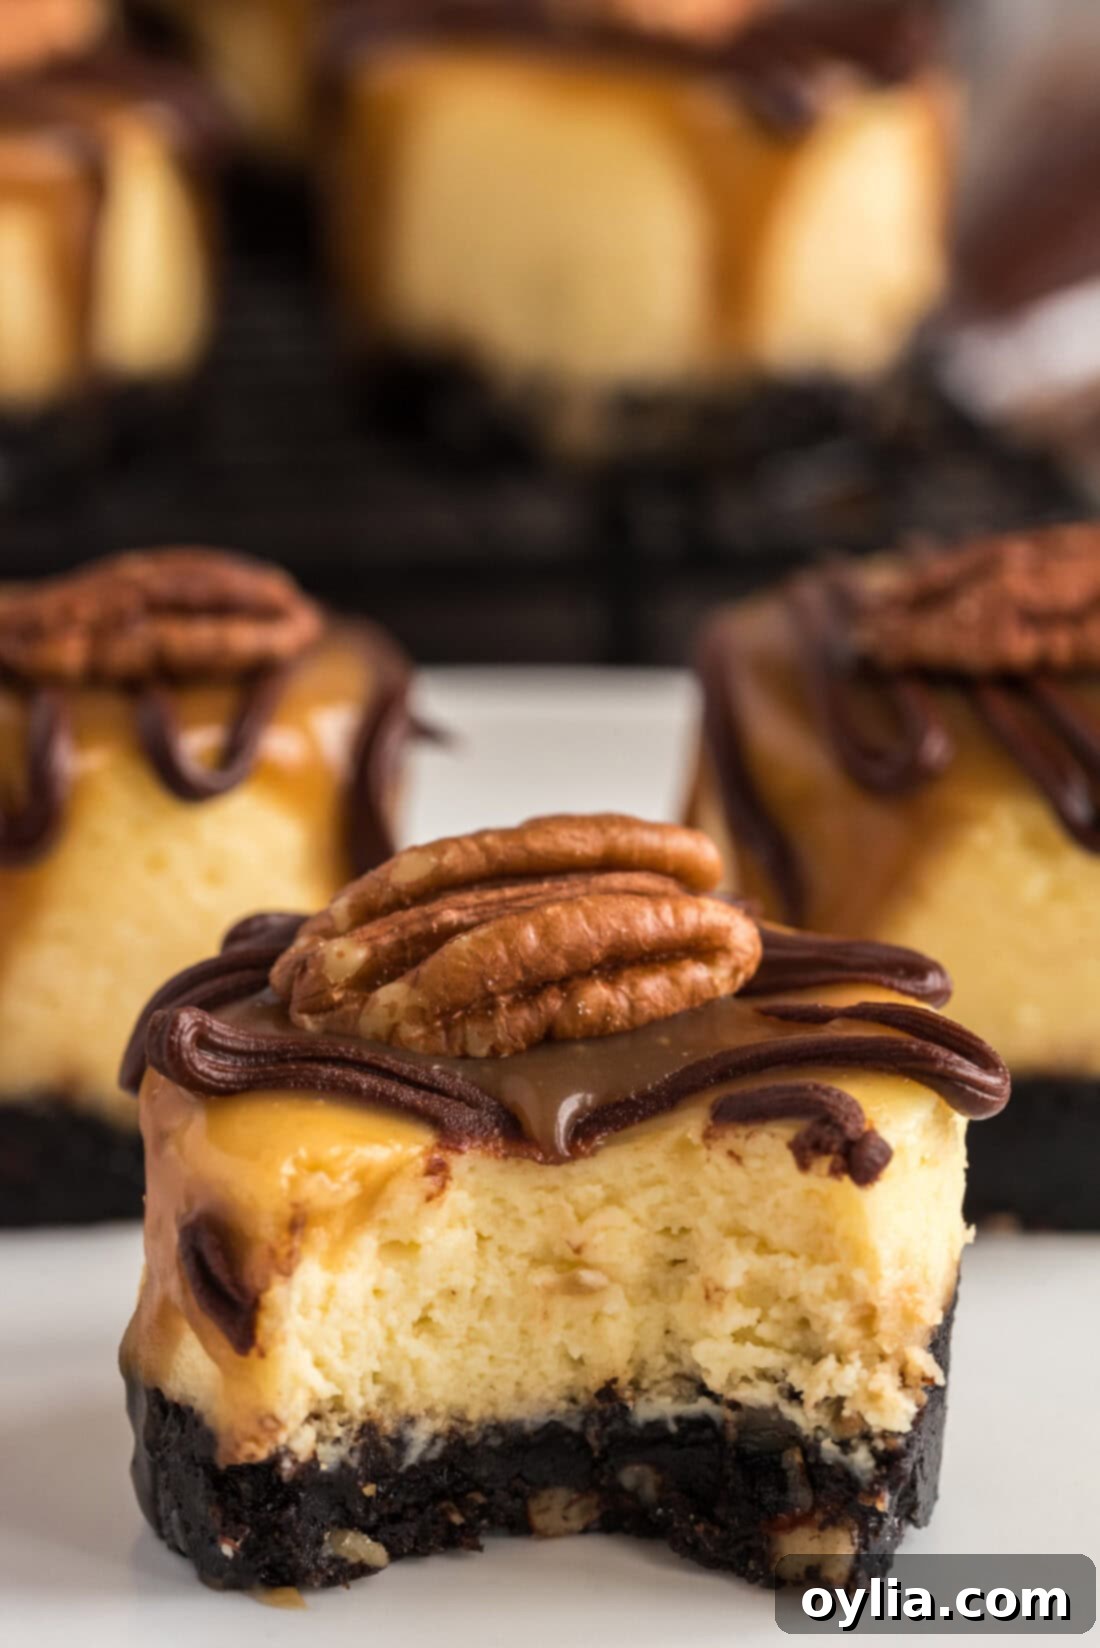
Delightful Serving Suggestions for Your Mini Turtle Cheesecakes
These mini turtle cheesecakes are already a showstopper on their own, but a few thoughtful serving suggestions can elevate the experience even further. While the recipe suggests pooling the caramel for a rich, gooey center, you can certainly drizzle it elegantly over the cheesecakes, similar to how you would apply the chocolate. This creates a more delicate presentation, perfect for formal events.
Garnishing each cheesecake with a single, perfectly placed pecan half truly ties this recipe together in authentic “turtle” fashion, offering a beautiful visual cue and a satisfying crunch. Alternatively, for a different texture, you could finely chop the pecans and sprinkle them generously over the top of the caramel and chocolate drizzle. A sprinkle of flaky sea salt over the caramel can also enhance the flavors by adding a sophisticated sweet-and-salty note.
Always enjoy these mini cheesecakes chilled. Their creamy texture and rich flavors are best appreciated when cold. Pair them with a strong cup of coffee or a delicate espresso for an after-dinner treat, or serve them alongside a scoop of vanilla bean ice cream for an extra indulgent experience. They also make a fantastic addition to any dessert buffet, offering individual portions that are easy for guests to grab and enjoy.
Explore More Irresistible Cheesecake Creations
If you’ve fallen in love with these mini turtle cheesecakes and are eager to explore more delightful cheesecake variations, you’re in luck! Our kitchen is a hub for creamy, dreamy dessert inspiration. Here are some other cheesecake recipes that are sure to satisfy your sweet tooth:
- Classic Mini Cheesecakes: A versatile base recipe for all your mini cheesecake adventures.
- Festive Mini Pumpkin Cheesecakes: Perfect for autumn gatherings with their warm spices and creamy texture.
- Decadent Oreo Cheesecake Brownies: A marvelous mash-up of rich brownies and creamy cheesecake, studded with Oreo cookies.
- Easy No-Bake Cheesecake Bars: A fantastic option for when you want cheesecake without turning on the oven.
- Sweet Mini Strawberry Cheesecakes: Bursting with fresh strawberry flavor, a bright and beautiful dessert.
I absolutely adore sharing my passion for baking and cooking with all of you! Staying updated with new recipes can sometimes be tricky, which is why I offer a convenient newsletter delivered straight to your inbox every time a new recipe is posted. Simply subscribe here and start receiving your free daily recipes – a constant source of delicious inspiration!
Mini Turtle Cheesecakes
IMPORTANT – There are often Frequently Asked Questions within the blog post that you may find helpful. Simply scroll back up to read them!
Print It
Pin It
Rate It
Save ItSaved!
Ingredients
Crust
- ¾ cup ground chocolate graham cracker crumbs about 5 sheets, or 10 squares
- ⅓ cup finely chopped pecans
- 2 Tablespoons brown sugar
- ¼ cup unsalted butter melted and cooled
Cheesecake Filling
- 8 ounces 1/3 less fat cream cheese room temperature
- 4 ounces regular full fat cream cheese room temperature
- ½ cup granulated sugar
- ¼ teaspoon salt
- 1 teaspoon vanilla extract
- 2 large eggs
- ½ cup vanilla yogurt
Caramel
- ¼ cup unsalted butter cut into cubes
- ½ cup brown sugar packed
- ⅛ teaspoon salt
- ¼ cup heavy whipping cream room temperature
- 1 teaspoon vanilla extract
Chocolate
- 3 ounces semisweet chocolate chopped
- 2 Tablespoons unsalted butter
- 12 pecan halves for topping
Things You’ll Need
-
Mini cheesecake pan
-
Stand mixer or hand mixer
-
Food processor
-
Wire cooling racks
Before You Begin
- If preferred, you can use regular graham crackers crumbs. Feel free to omit the pecans in the crust, but we love the nutty flavor and bit of texture it adds.
- You can definitely use store-bought caramel if that’s easier for you.
- Chopped baking chocolate bars are best for melting and drizzling as opposed to chocolate chips. However, chocolate chips will also work in a pinch. Semi-sweet and dark chocolate are both great options!
- Be sure to let the cream cheese reach room temperature before beginning. You can speed up the process by cubing it and letting it rest at room temperature for around 30 minutes. Doing so will ensure a silky smooth cheesecake filling void of any lumps.
Instructions
-
Preheat oven to 325F. Place bottoms into each cup of the mini cheesecake pan.
Crust
-
Combine chocolate graham cracker crumbs, finely chopped pecans, brown sugar, and cooled melted butter. Use your fingers to combine well. Spoon a tablespoon plus a teaspoon into bottom of each cup in the pan and press lightly with your fingers. Bake for 5 minutes; remove from oven and set aside.
Filling
-
Beat cream cheese in a large mixing bowl until creamy. With mixer running, gradually add sugar, salt, and vanilla; beat well. Slowly add in the yogurt followed by the eggs, one at a time, mixing just until blended. Scrape the mixture out of the mixer bowl and into the food processor. Process for about 45 seconds or until silky.
-
Fill each cup of the pan to just about the top. Bake for 20 minutes, the edges will be dry, the tops of cheesecakes will be puffed and the centers will be a bit jiggly. Turn off the oven and prop open the door and cool in the oven for 30 minutes. Remove from the oven to a cooling arch and cool to room temperature. Refrigerate for 1-2 hours before decorating.
Caramel Topping
-
To make the caramel, combine the butter cubes, brown sugar, and salt in a saucepan over medium heat. Stir with a wooden spoon then allow the heat to melt the butter. The sugar will begin to melt and bubble. Stir once or twice then check with a candy thermometer. You want the soft ball stage, which is 238 degrees. When this temperature is reached slowly add in the heavy cream while stirring with a wooden spoon. Stir until smooth then remove from heat and stir in the vanilla. Cool.
Chocolate Topping
-
To make chocolate drizzle, melt 2 tablespoons of butter and the chopped chocolate together in the microwave for one minute. Stir until all the chocolate is melted and mixture is smooth. Cool.
Assembly
-
To assemble, carefully remove the cheesecakes from the pan. If they are too cold and stuck, use a hair dryer to warm the outside of the pan cups. Line counter with waxed paper and place a cooling rack over the waxed paper. Place the cheesecakes on the cooling rack.
-
Line a drinking glass with a fold top sandwich bag and empty the caramel into the bag. Twist the end of the bag closed and snip off a tiny corner of the bag with scissors. Do the same with the melted chocolate.
-
Squeeze out the caramel from the end of the bag and pipe a small pool onto each cheesecake.
-
Drizzle the chocolate over the caramel and cheesecakes.
-
Place a pecan in the center of each cheesecake.
-
Keep refrigerated until serving or for at least 20 minutes. Be sure to remove the removable pan bottoms from each cheesecake before serving.
Expert Tips & FAQs
- Make Ahead – you can prepare the cheesecakes up to 3 days in advance and store them in an air-tight container kept in the refrigerator.
- Storing – Store the cheesecakes in an air-tight container kept in the refrigerator for 4-5 days.
- Freezing – I would recommend holding off on the caramel and chocolate drizzle until ready to serve. Flash-freeze the cheesecakes on a baking sheet until solid and transfer them to an air-tight container. Freeze for up to 2 months. Thaw in the refrigerator overnight and top with caramel, chocolate, and pecans.
Nutrition
The recipes on this blog are tested with a conventional gas oven and gas stovetop. It’s important to note that some ovens, especially as they age, can cook and bake inconsistently. Using an inexpensive oven thermometer can assure you that your oven is truly heating to the proper temperature. If you use a toaster oven or countertop oven, please keep in mind that they may not distribute heat the same as a conventional full sized oven and you may need to adjust your cooking/baking times. In the case of recipes made with a pressure cooker, air fryer, slow cooker, or other appliance, a link to the appliances we use is listed within each respective recipe. For baking recipes where measurements are given by weight, please note that results may not be the same if cups are used instead, and we can’t guarantee success with that method.
This post originally appeared here on March 5, 2012, and has since been updated with new photos, enhanced instructions, and expert tips to provide you with the most comprehensive guide to making these delightful mini turtle cheesecakes.
