The Ultimate Crispy Fried Cauliflower: Your Go-To Appetizer & Side Dish!
Prepare to be amazed by these utterly delicious, crispy, and crunchy fried cauliflower morsels! They are truly the ultimate appetizer for game days, lively parties, or simply as a satisfying snack to elevate any meal. With a beautifully seasoned coating that fries to a golden perfection, each bite offers a delightful crunch followed by a tender, flavorful interior. Forget boring vegetables; these golden florets are incredibly simple to prepare, requiring just a quick dredge and a few minutes in hot oil before being served with your favorite dipping sauces on the side. Get ready to impress everyone with this irresistible dish that’s sure to be a crowd-pleaser!
Why This Crispy Fried Cauliflower Recipe is a Must-Try
This easy fried cauliflower recipe isn’t just about frying; it’s about creating a perfect balance of textures and flavors. We start with a thoughtfully seasoned coating that adheres beautifully to every crevice of the cauliflower florets. This ensures that when cooked, you get a consistently golden and wonderfully crisp shell that shatters gently to reveal a perfectly tender, succulent interior. Unlike some heavily breaded options, this recipe focuses on enhancing the natural taste of the cauliflower without overwhelming it, giving you all the goodness of a deep-fried vegetable without an excessive amount of heavy breading.
These irresistible golden cauliflower nuggets are remarkably simple to make, making them an instant favorite. They consistently prove to be one of the first appetizers to disappear from the table at any gathering, especially during football parties or casual get-togethers. The best part? You can have your first batch served up in less than 25 minutes, meaning less time in the kitchen and more time enjoying delicious food with your guests. So, if you’re looking for a quick, impressive, and utterly satisfying snack or side, let’s dive into how to make these incredible crispy cauliflower bites!
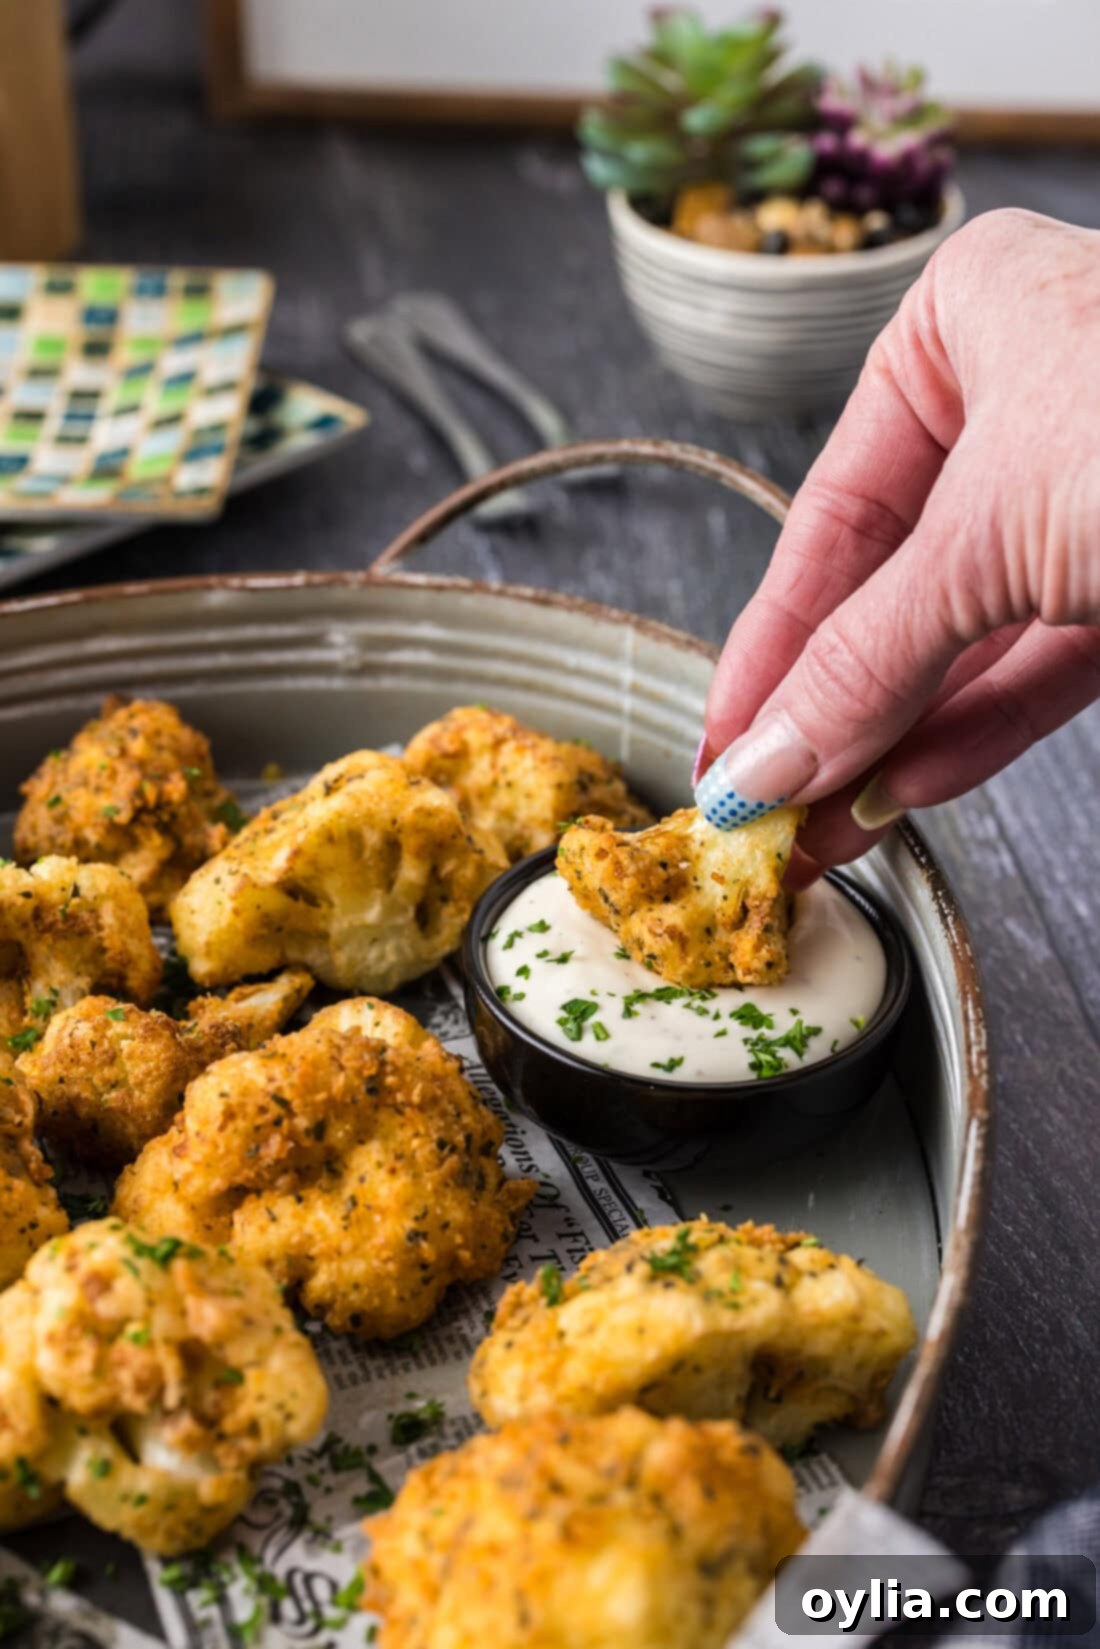
Essential Ingredients for Crispy Fried Cauliflower
Making truly exceptional fried cauliflower starts with quality ingredients. Below is a breakdown of what you’ll need to create these wonderfully crispy cauliflower bites. For exact measurements and a printable version of the full recipe, please refer to the dedicated recipe card at the end of this post.
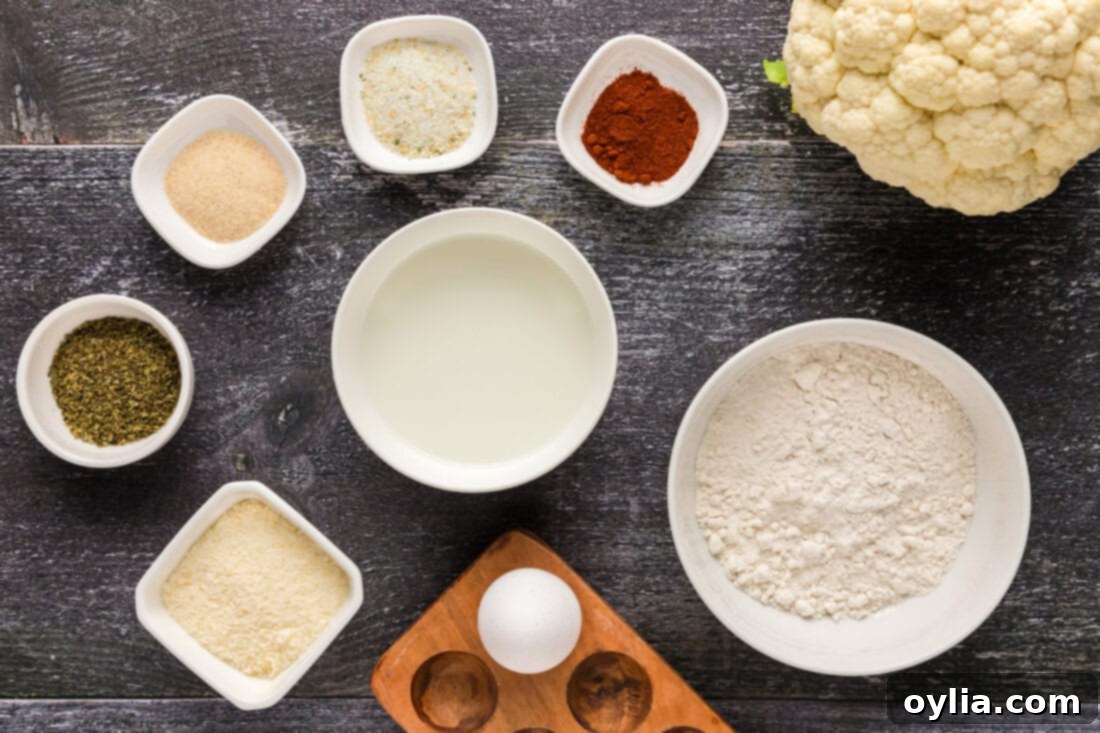
Ingredient Information & Expert Substitution Suggestions
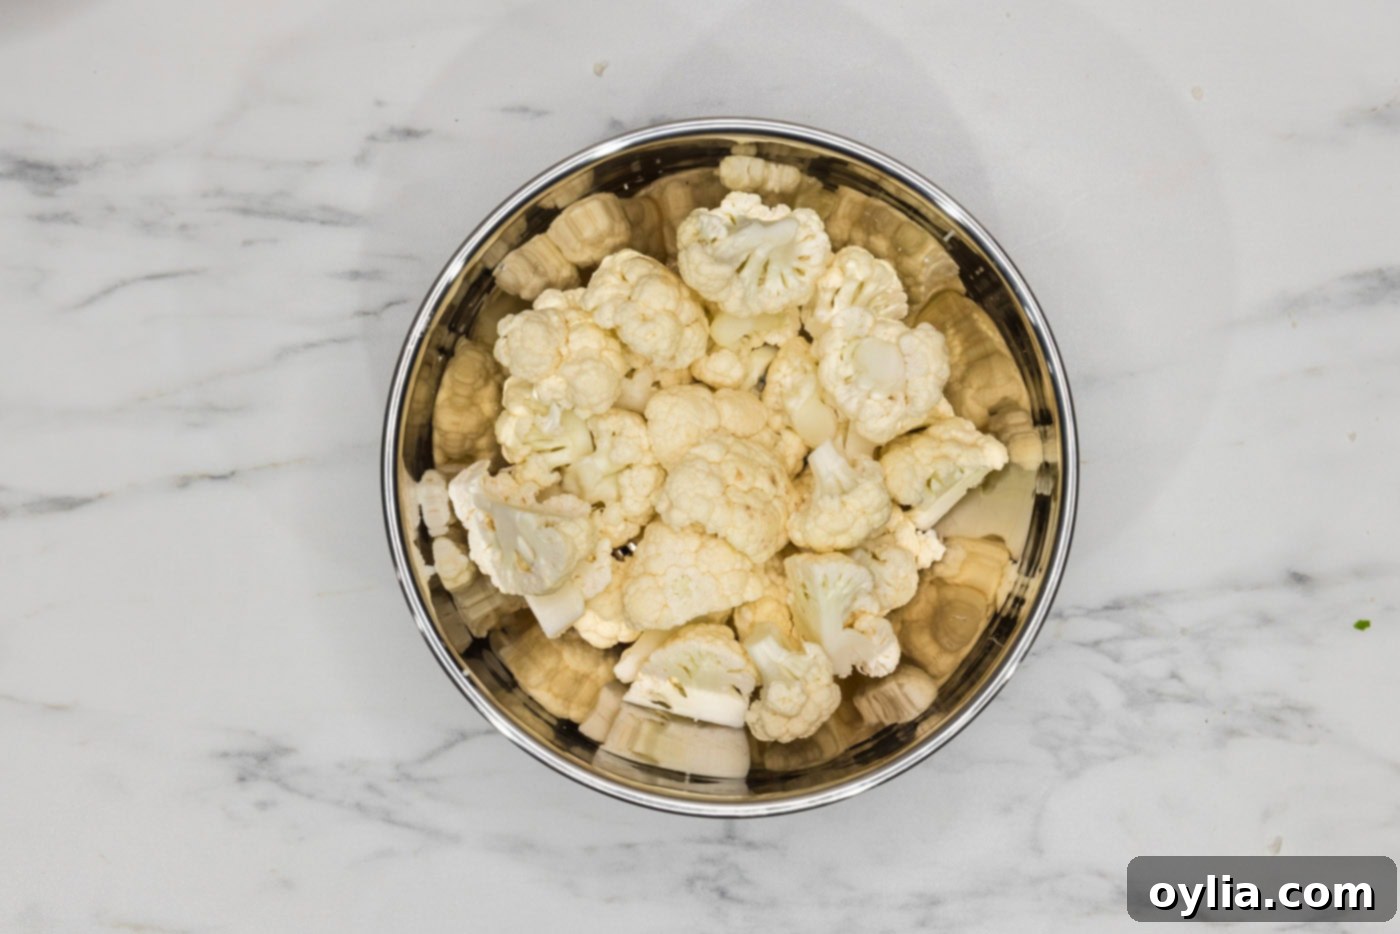
- CAULIFLOWER: A fresh, firm head of cauliflower is key. To prepare it for frying, place the head upright on a cutting board and slice it in half through the center. This technique neatly exposes the main core and the individual stems of the florets, making them much easier to remove. Use the tip of a sharp knife to carefully cut the florets away from their stems. Aim for medium-sized florets, roughly bite-sized, as these will cook evenly and achieve that desirable crispy texture without becoming soggy or undercooked. Larger pieces might require longer frying times or risk being raw in the center, while excessively small pieces could burn.
- COATING (Flour & Spices): The magic of these fried cauliflower bites lies in their flavorful coating. The blend of all-purpose flour, paprika, oregano, onion powder, garlic salt, and grated Parmesan cheese creates a savory, aromatic crust.
- Spice Variations: Feel free to customize the spice blend to your liking! For a little kick, consider incorporating a teaspoon or two of Cajun seasoning. If you do, remember to taste your mixture before adding extra salt, as many pre-made Cajun blends already contain a significant amount of sodium. Other great additions could include a pinch of cayenne pepper for heat, smoked paprika for depth, or a dash of chili powder for a different flavor profile.
- Gluten-Free Option: To make this recipe gluten-free, simply substitute the all-purpose flour with a 1:1 gluten-free baking flour blend. Ensure your chosen blend contains xanthan gum for optimal texture.
- EGG & MILK: These two ingredients form the essential wet dredge, helping the seasoned flour adhere perfectly to the cauliflower florets. The egg acts as a binder, while the milk thins it slightly to create an even, light coating. Any type of milk (dairy or non-dairy like almond milk or soy milk) can be used here. For an even crispier result and a richer flavor, you could consider soaking the cauliflower florets in buttermilk for 30 minutes to an hour before dredging. This slight acidity helps tenderize the cauliflower and provides a tang that complements the savory coating.
- OIL FOR FRYING: Choosing the right oil is crucial for successful deep frying. Opt for oils with a high smoke point, such as vegetable oil, canola oil, peanut oil, or sunflower oil. These oils can withstand the high temperatures needed for frying without burning or imparting off-flavors. Avoid olive oil or butter for deep frying, as they have lower smoke points. You’ll need enough oil to submerge the cauliflower florets completely, usually about 3-4 inches deep in your frying vessel.
Mastering the Art of Crispy Fried Cauliflower: Step-by-Step Guide
These step-by-step photos and detailed instructions are here to help you visualize exactly how to make this mouthwatering recipe. For a convenient printable version, complete with precise measurements and full instructions, you can Jump to Recipe at the very bottom of this post.
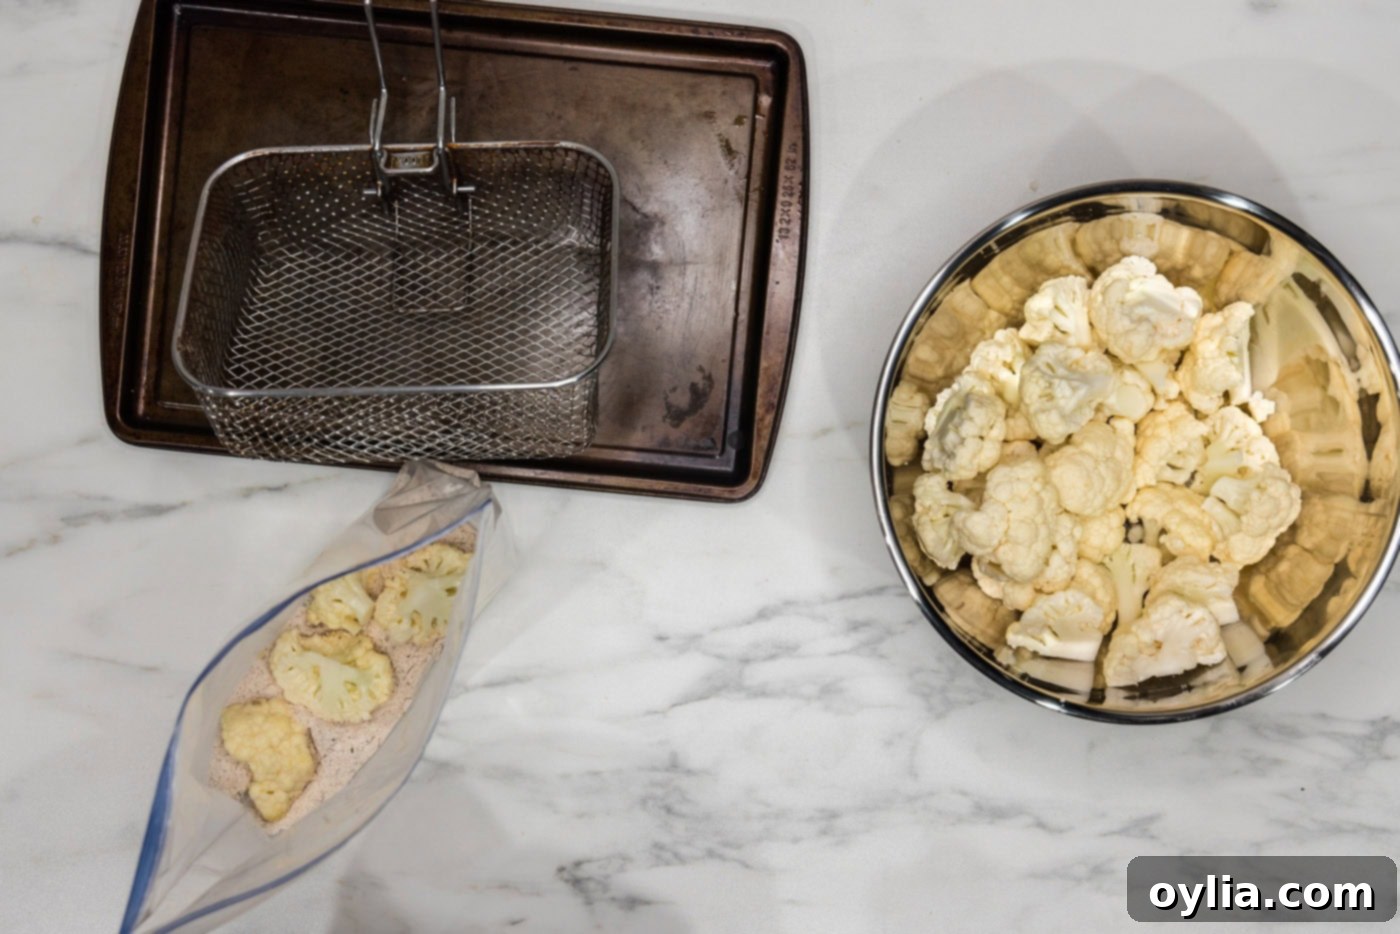
- Prepare the Cauliflower: Begin by taking your medium head of cauliflower and carefully cutting it into large, bite-sized florets. It’s helpful to halve the cauliflower first to better expose the core, making it easier to separate the florets cleanly. Ensure the florets are relatively uniform in size for even cooking.

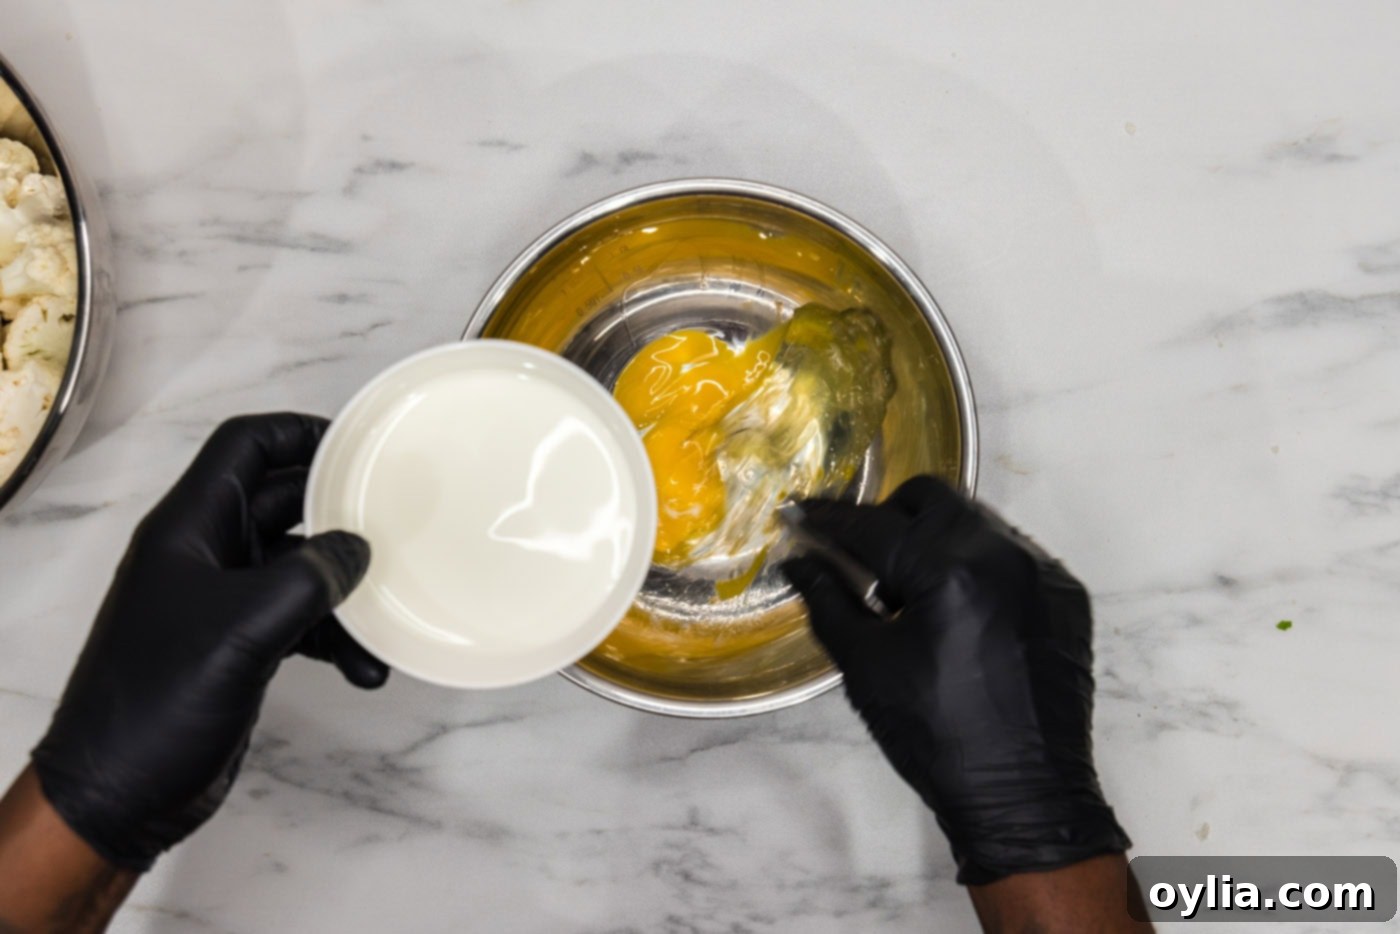
- Create the Wet Mixture: In a large bowl, whisk together the egg and milk until well combined. This creates the essential liquid base that will help the dry coating adhere evenly to each piece of cauliflower. A thorough whisk ensures a consistent mixture.

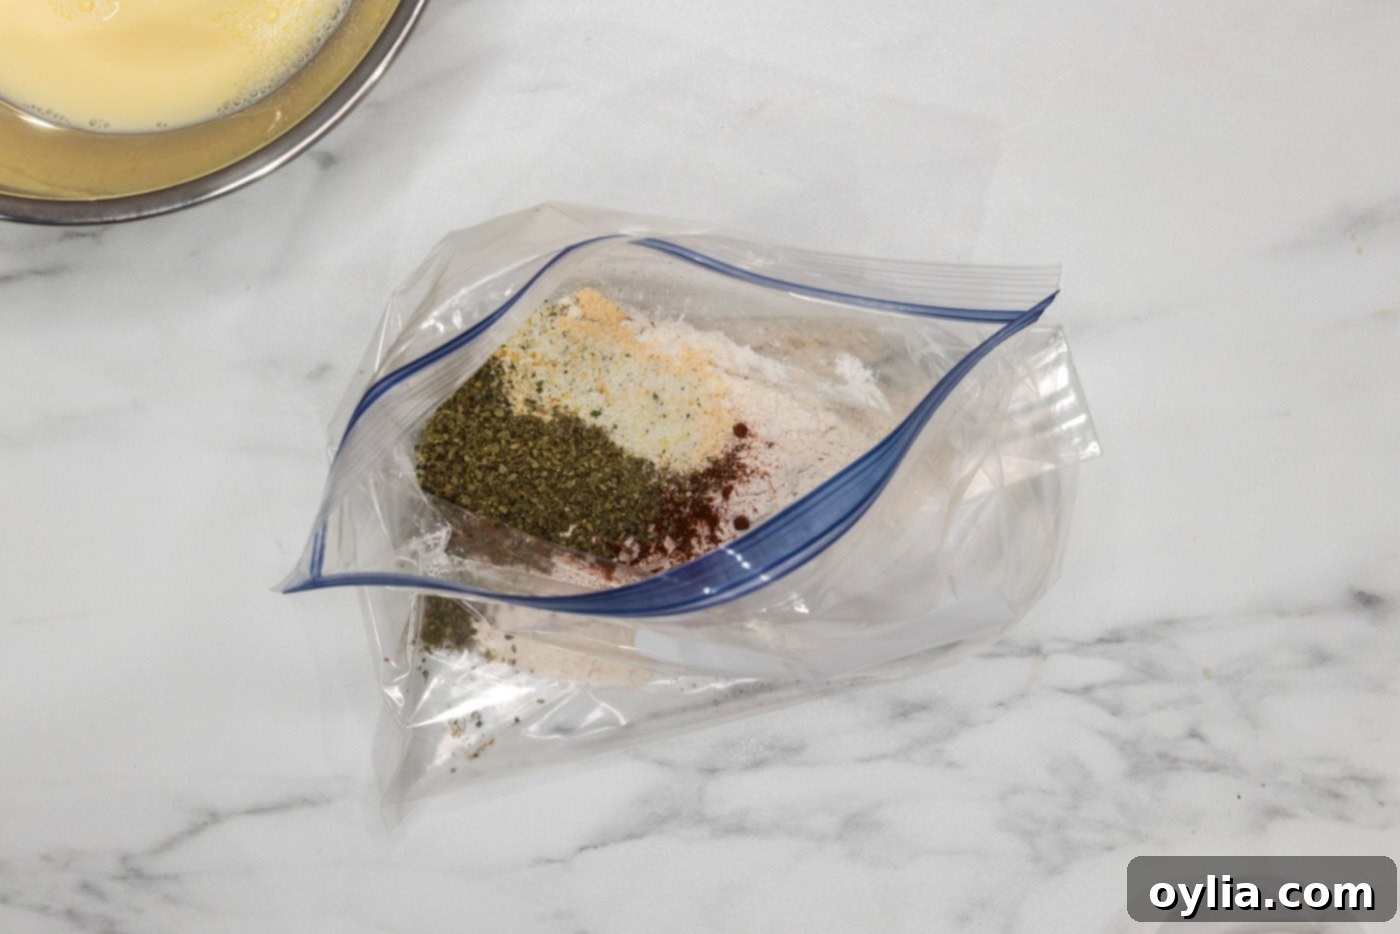
- Prepare the Dry Seasoning: Take a gallon-sized zipper-top bag – this will make coating the cauliflower much easier and less messy. Add the all-purpose flour, paprika, dried oregano, onion powder, garlic salt, and grated Parmesan cheese into the bag. Securely close the bag and shake vigorously to thoroughly combine all the ingredients. This ensures an even distribution of flavor in your crispy coating.

- Preheat the Oil: If using a deep fryer, fill it with oil to the recommended level and preheat to 335°F (168°C). If you’re using a large, deep-sided skillet, add enough oil to ensure the cauliflower florets will be fully submerged, about 3-4 inches deep. Use a reliable clip-on thermometer to monitor the oil temperature accurately. Maintaining the correct temperature is vital for crispy, non-greasy results.
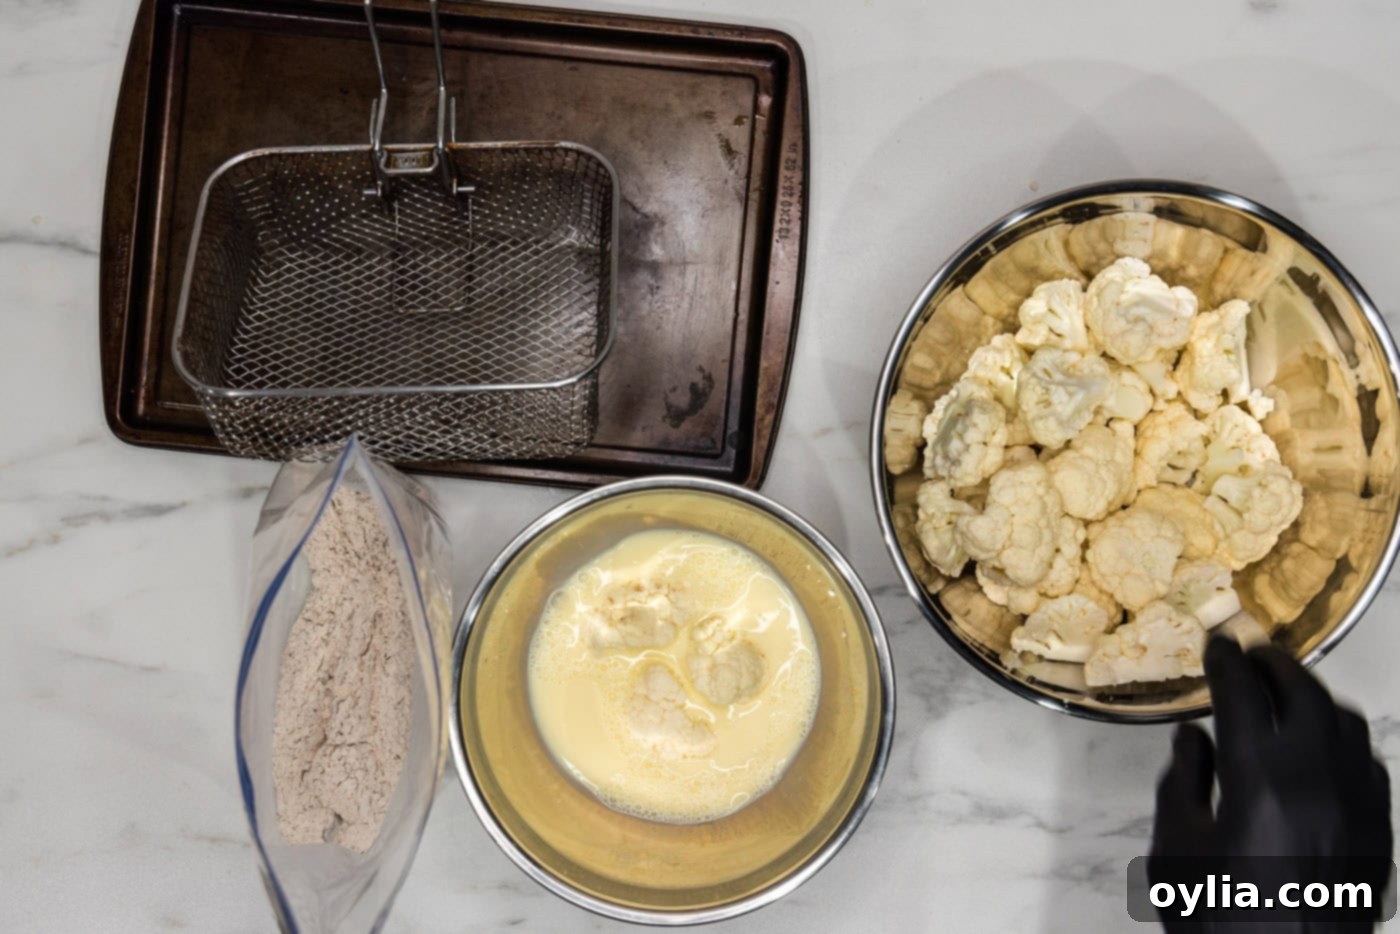
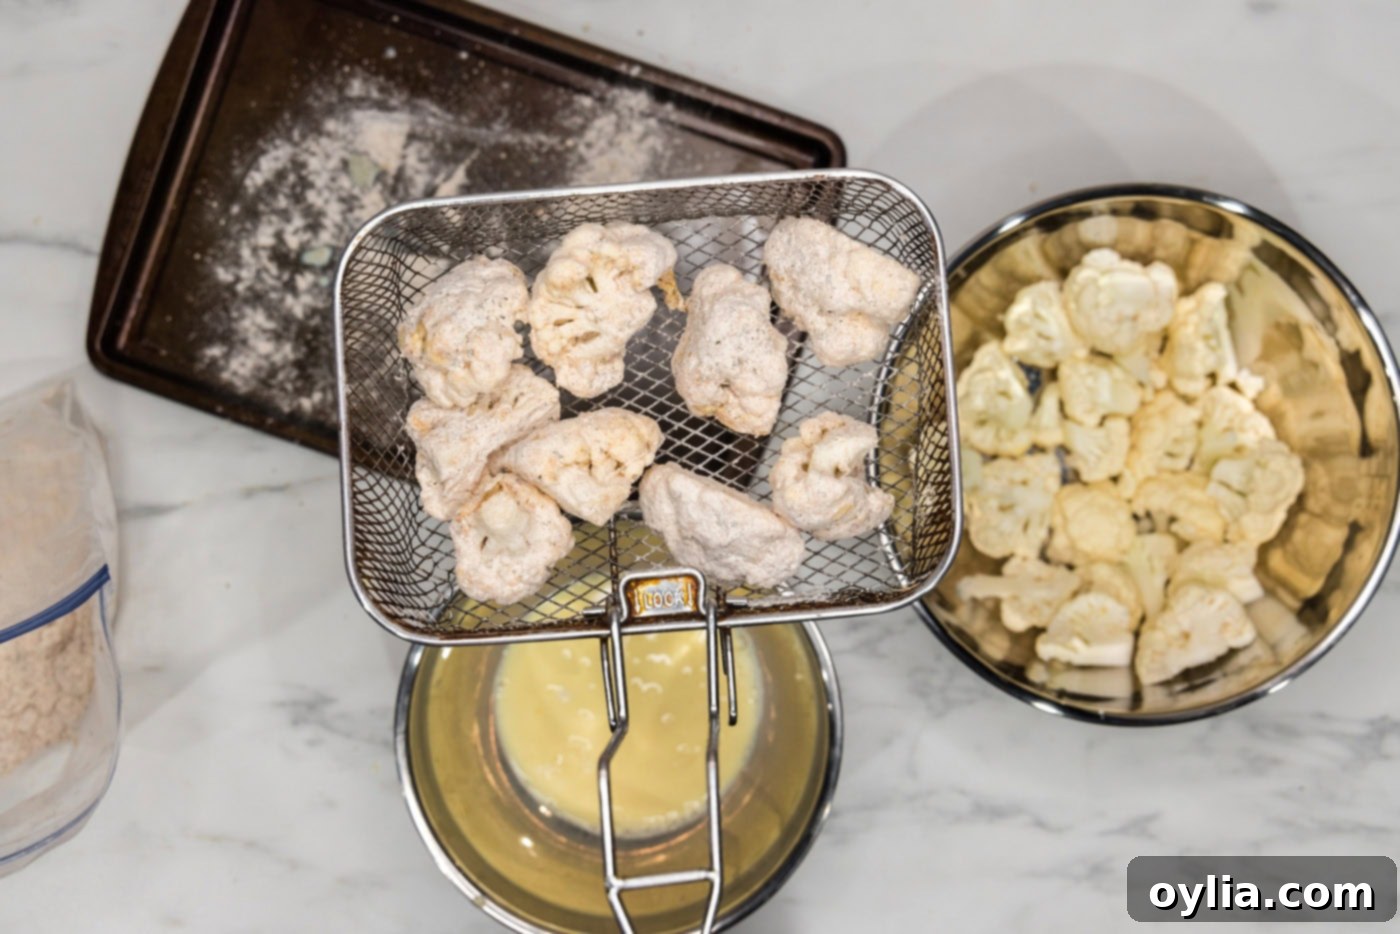
- Dredge the Cauliflower: While the oil is heating, begin coating the cauliflower. Take a few cauliflower florets at a time and drop them into the whisked egg and milk mixture, ensuring they are fully coated. Lift them out, letting any excess liquid drip off, then transfer them into the gallon bag with the seasoned flour. Close the bag tightly and shake thoroughly until all the florets are completely and evenly coated. Transfer the breaded florets to your fryer basket, ready for frying. Avoid overcrowding the basket.


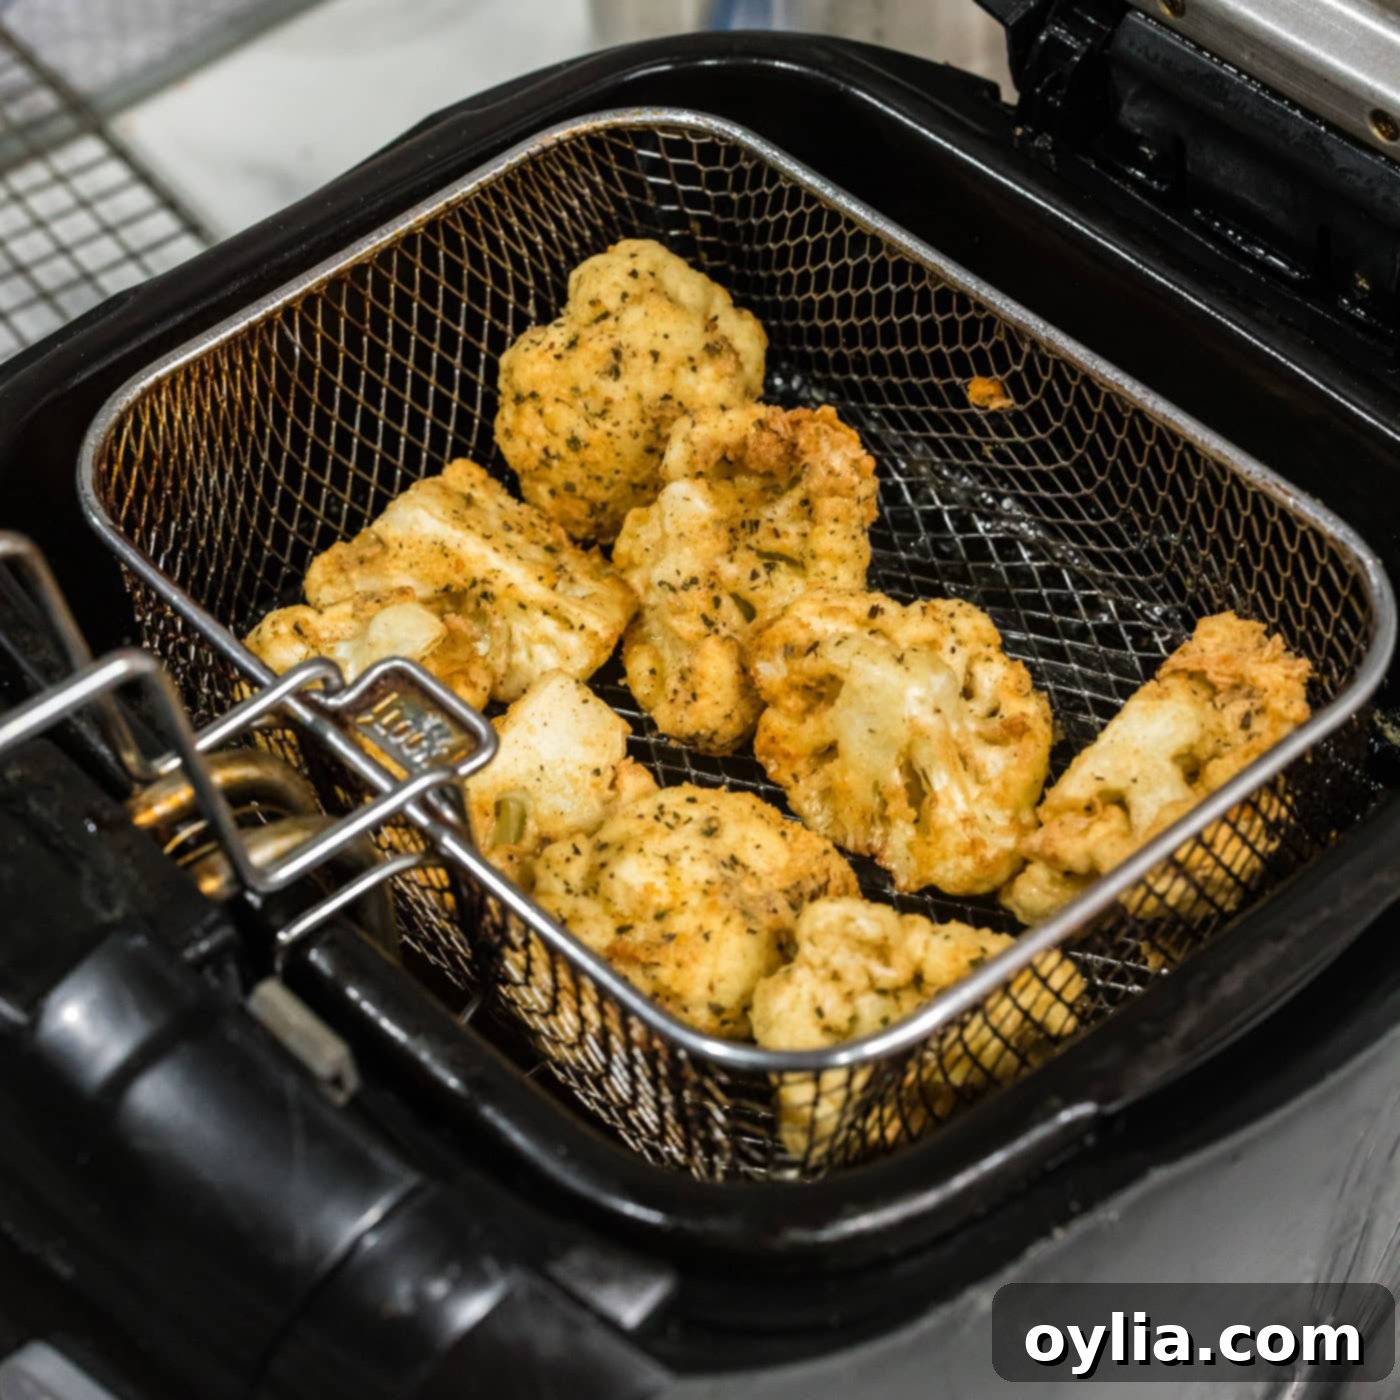
- Repeat and Fry in Batches: Continue the dredging process for all your cauliflower florets. Once the oil is at the correct temperature, carefully lower one basketful of breaded cauliflower into the hot oil. Fry for approximately 2-3 minutes, or until they achieve a beautiful golden-brown color and are wonderfully crispy. In our testing, 2½ minutes yielded perfect results – beautifully crisp on the outside and tender within. Frying in batches is crucial to maintain oil temperature and ensure even cooking. Overcrowding the fryer will cause the oil temperature to drop, resulting in soggy cauliflower.

- Drain Excess Oil: Once fried to perfection, carefully remove the basket from the oil and transfer the crispy fried cauliflower florets to a paper towel-lined tray or a wire rack set over a baking sheet. This allows any excess oil to drain off, helping them stay wonderfully crisp. Serve immediately with your preferred dipping sauces!
Frequently Asked Questions & Expert Tips for Perfect Fried Cauliflower
To keep your fried cauliflower delicious, ensure any cooled leftovers are stored in an airtight container in the refrigerator for up to 3-4 days. When it’s time to enjoy them again, avoid the microwave! Reheating fried foods in the microwave often leads to a soggy texture. For best results, use an air fryer on its reheat function or place them in a preheated oven at 350°F (175°C) for about 10-15 minutes, or until thoroughly warmed and re-crisped. The goal is to bring back that satisfying crunch.
Absolutely! A deep fryer is convenient, but not essential. You can easily use a large, deep-sided skillet or a Dutch oven as an alternative. Just make sure to add enough oil so that it comes up about 3-4 inches on the sides, or enough to completely submerge your cauliflower florets. When deep frying in a skillet, precise temperature control is paramount. I highly recommend using a clip-on thermometer to accurately gauge the oil temperature. If the oil isn’t hot enough, your fried cauliflower can absorb too much oil and become greasy and soggy. Conversely, if it’s too hot, the exterior might burn before the interior cooks through, leaving you with dry or raw cauliflower. Remember to maintain the oil temperature consistently between batches for optimal results.
Several factors contribute to extra crispy fried cauliflower. First, ensure your oil is at the correct temperature (335°F or 168°C) and maintained throughout frying. Second, avoid overcrowding the fryer; cook in small batches. Overcrowding drops the oil temperature, leading to soggy results. Third, after dredging, let the coated florets sit for 5-10 minutes before frying. This allows the coating to dry slightly and adhere better, preventing it from flaking off. Lastly, ensure they are properly drained on a wire rack after frying to prevent steam from softening the crust.
Yes, absolutely! To make this recipe gluten-free, simply substitute the all-purpose flour in the coating with a high-quality 1:1 gluten-free all-purpose flour blend. Most good blends already contain xanthan gum, which helps with the texture and binding, ensuring your fried cauliflower is just as crispy and delicious as the traditional version. No other major adjustments should be needed.
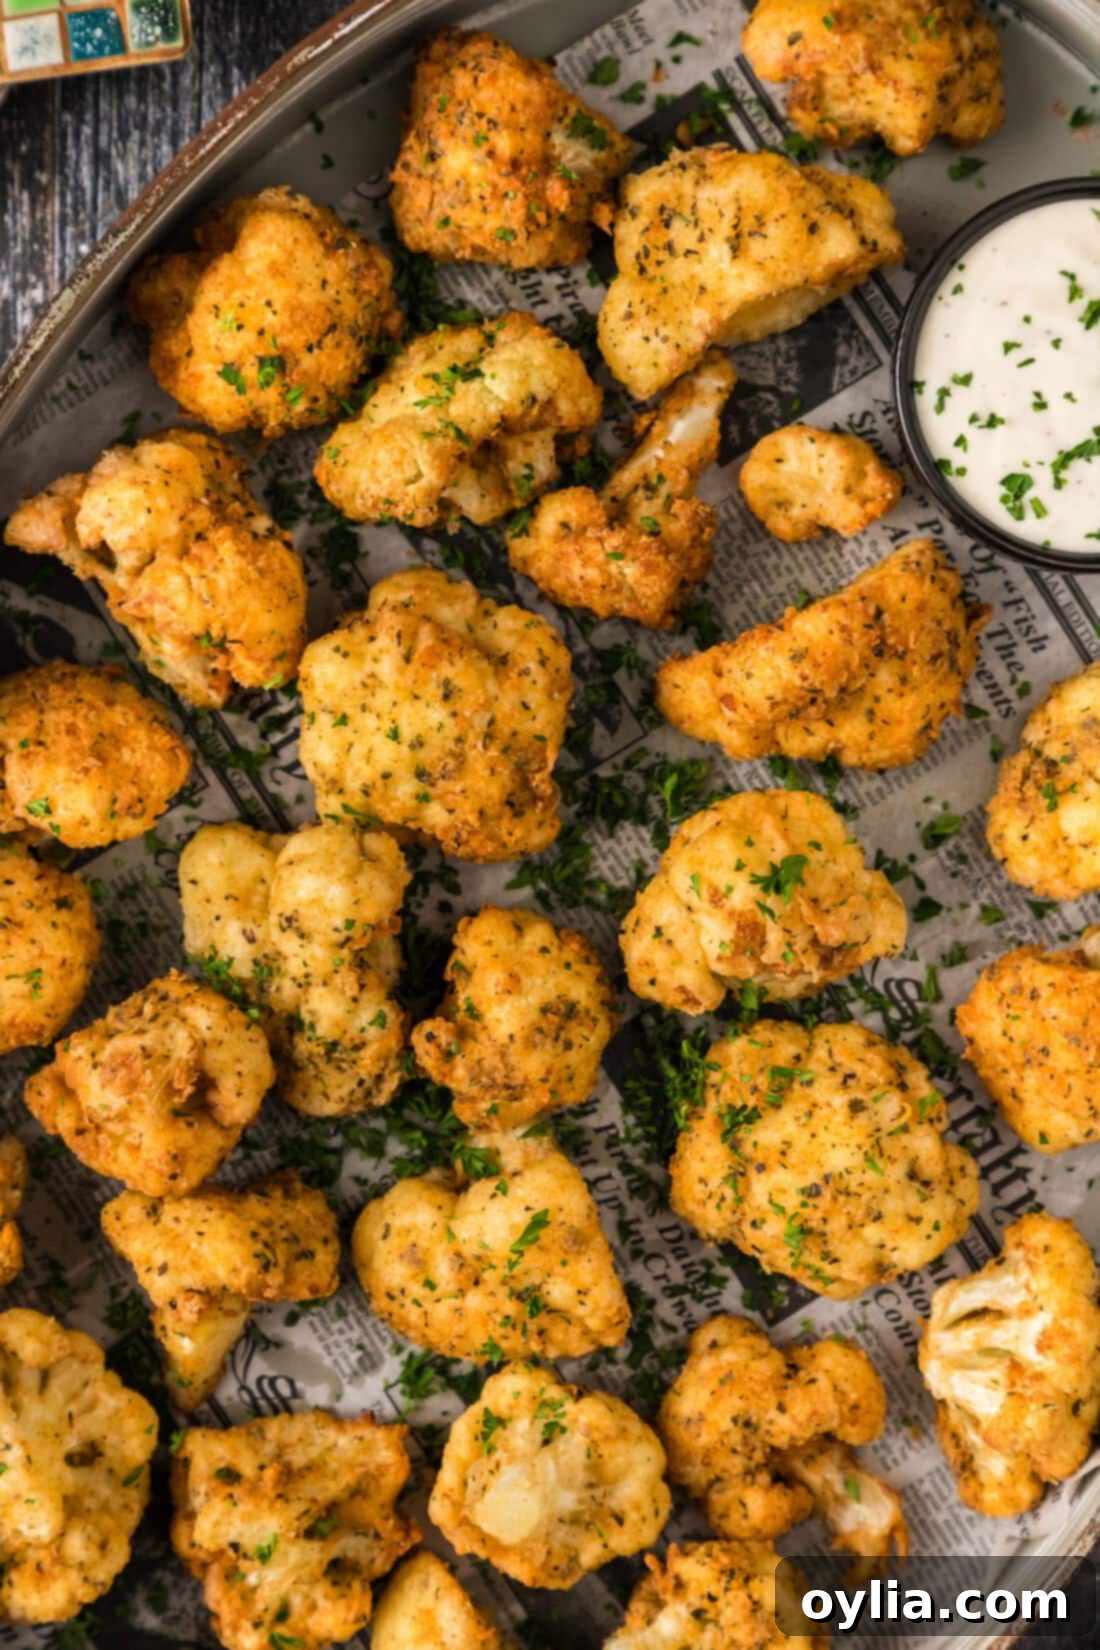
Delicious Serving Suggestions for Fried Cauliflower
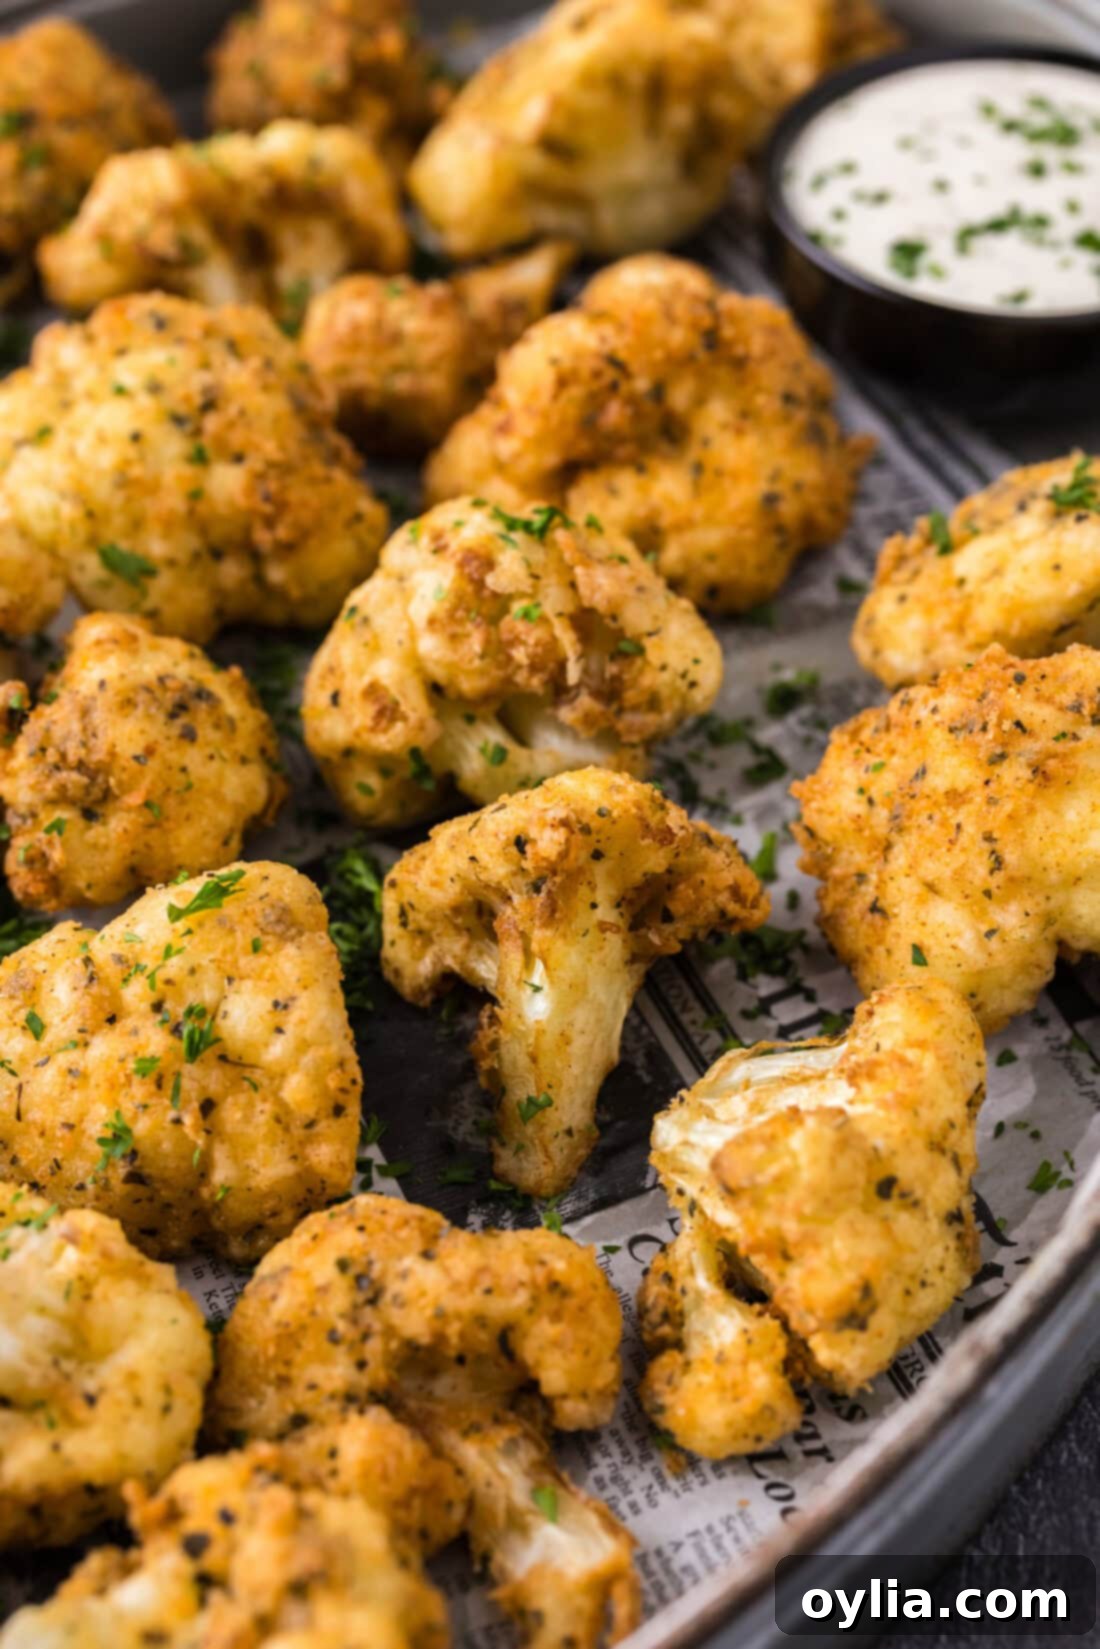
These crispy fried cauliflower bites are incredibly versatile and pair wonderfully with a variety of dips and accompaniments. For game day or party appetizers, offer a selection of classic dipping sauces like creamy ranch dressing, tangy buffalo sauce, or a rich blue cheese dip. For those who enjoy a little heat, a homemade sriracha-mayo mixture or a sweet chili sauce would be fantastic. Beyond appetizers, don’t hesitate to serve them alongside your everyday dinners! They make a fantastic vegetarian side dish for grilled chicken, burgers, or even a simple pasta dish, adding a delightful crunch and burst of flavor to any meal. Garnish with fresh parsley or chives for an extra touch of color and freshness.
More Irresistible Appetizer Recipes You’ll Love
- Spicy Wings: A classic crowd-pleaser, perfect for those who love a fiery kick.
- Fried Zucchini: Another delicious deep-fried vegetable option, offering a tender interior and crisp coating.
- Fried Asparagus: A gourmet twist on a healthy vegetable, made irresistible with a golden crust.
- Appetizer Veggie Pizza: A fresh, colorful, and lighter option that’s always a hit at parties.
I absolutely love creating and sharing delicious recipes, bringing my kitchen experiences directly to you! It can be tough to remember to check back every day for new ideas, which is why I offer a super convenient newsletter delivered right to your inbox every time a fresh recipe is posted. Simply subscribe here and start receiving your free daily recipes – never miss a bite!

Crispy Golden Fried Cauliflower
IMPORTANT – There are often Frequently Asked Questions within the blog post that you may find helpful. Simply scroll back up to read them!
Print It
Pin It
Rate It
Save ItSaved!
Ingredients
- 1 medium head of cauliflower
- 1 large egg
- ¾ cup milk
- 1 cup all purpose flour
- 2 teaspoons paprika
- 1 Tablespoon dried oregano
- 2 teaspoons onion powder
- 2 teaspoons garlic salt
- ¼ cup grated parmesan cheese
- oil for frying (e.g., vegetable, canola, or peanut oil with a high smoke point)
Equipment You’ll Need
-
Deep fryer or a large, heavy-bottomed, deep-sided skillet (like a Dutch oven)
-
Gallon sized zipper bag
-
Clip-on thermometer (highly recommended if not using a deep fryer)
Chef’s Notes & Pro Tips
- Oil Temperature is Key: Whether using a deep fryer or a skillet, maintaining the oil at 335°F (168°C) is crucial. Too low, and your cauliflower will be greasy and soggy. Too high, and the outside will burn before the inside cooks through. A clip-on thermometer is invaluable for skillet frying. Adjust heat between batches to keep the temperature consistent.
- Perfect Florets: For easy cutting, place the cauliflower head stem-down and slice it in half. This exposes the core, allowing you to easily cut the florets from their stems. Aim for uniform, bite-sized pieces for even cooking.
- Spice it Up: Experiment with your dry coating! Adding a touch of cayenne pepper, smoked paprika, or even a different herb blend can significantly change the flavor profile. Just be mindful of salt content if using pre-mixed seasonings.
- Reheating for Crispness: Leftovers are best reheated in an air fryer or oven at 350°F (175°C) until warm and re-crisped. The microwave will make them soggy.
Step-by-Step Instructions
-
Cut Cauliflower: Carefully cut the medium head of cauliflower into evenly sized, large florets. Refer to the “Chef’s Notes & Pro Tips” for an easy cutting method.
-
Prepare Wet Batter: In a large mixing bowl, whisk together the large egg and milk until the mixture is smooth and thoroughly combined.
-
Mix Dry Coating: In a gallon-sized zipper-top bag, combine the all-purpose flour, paprika, dried oregano, onion powder, garlic salt, and grated Parmesan cheese. Seal the bag and shake vigorously to ensure all dry ingredients are perfectly blended.
-
Heat Oil: Add oil to your deep fryer or large, deep-sided skillet, ensuring it’s about 3-4 inches deep. Preheat the oil to 335°F (168°C). Use a thermometer to verify the temperature, especially if using a skillet.
-
Dredge Cauliflower: Working in small batches, dip a few cauliflower florets into the egg mixture, ensuring they are fully coated. Lift and let excess drip off. Transfer them to the seasoned flour bag, seal, and shake until each floret is completely coated. Carefully place the breaded florets into your fryer basket, ready for cooking.
-
Repeat Coating: Continue the dredging process until all your cauliflower florets are coated and ready for frying.
-
Fry Cauliflower: Fry the breaded cauliflower, one basketful at a time, for 2-3 minutes. Look for a beautiful golden-brown color and a crispy texture. For us, 2½ minutes was the sweet spot for perfect doneness. Avoid overcrowding the fryer to maintain optimal oil temperature.
-
Drain & Serve: Once fried, transfer the cauliflower to a paper towel-lined tray or a wire rack to drain any excess oil. Serve your crispy fried cauliflower immediately with your favorite dipping sauces. Enjoy!
Additional Tips for Success
- Consistency is Key: Ensure your cauliflower florets are roughly the same size for even cooking. Small pieces might overcook quickly, while larger ones could remain firm in the center.
- Don’t Overcrowd: This is the golden rule of frying. Frying too many florets at once will drop the oil temperature, leading to greasy, less crispy results. Work in batches for the best outcome.
- Seasoning the Coating: Don’t be afraid to taste a tiny bit of your dry seasoning mixture (before adding to raw food, of course!) and adjust spices to your preference. A pinch of garlic powder or a little extra paprika can make a big difference.
- Draining Properly: After frying, transfer the cauliflower to a wire rack set over a baking sheet, rather than directly onto paper towels. This allows air to circulate around all sides, preventing steam buildup that can make the crust soggy.
- Dipping Sauce Pairings: While classic ranch is always a hit, consider a creamy sriracha mayo, a sweet chili sauce, honey mustard, or even a homemade aioli for an elevated experience.
Nutrition Facts
The recipes on this blog are tested with a conventional gas oven and gas stovetop. It’s important to note that some ovens, especially as they age, can cook and bake inconsistently. Using an inexpensive oven thermometer can assure you that your oven is truly heating to the proper temperature. If you use a toaster oven or countertop oven, please keep in mind that they may not distribute heat the same as a conventional full sized oven and you may need to adjust your cooking/baking times. In the case of recipes made with a pressure cooker, air fryer, slow cooker, or other appliance, a link to the appliances we use is listed within each respective recipe. For baking recipes where measurements are given by weight, please note that results may not be the same if cups are used instead, and we can’t guarantee success with that method.
