Classic No-Bake Nanaimo Bars: Your Ultimate Guide to This Decadent Canadian Treat
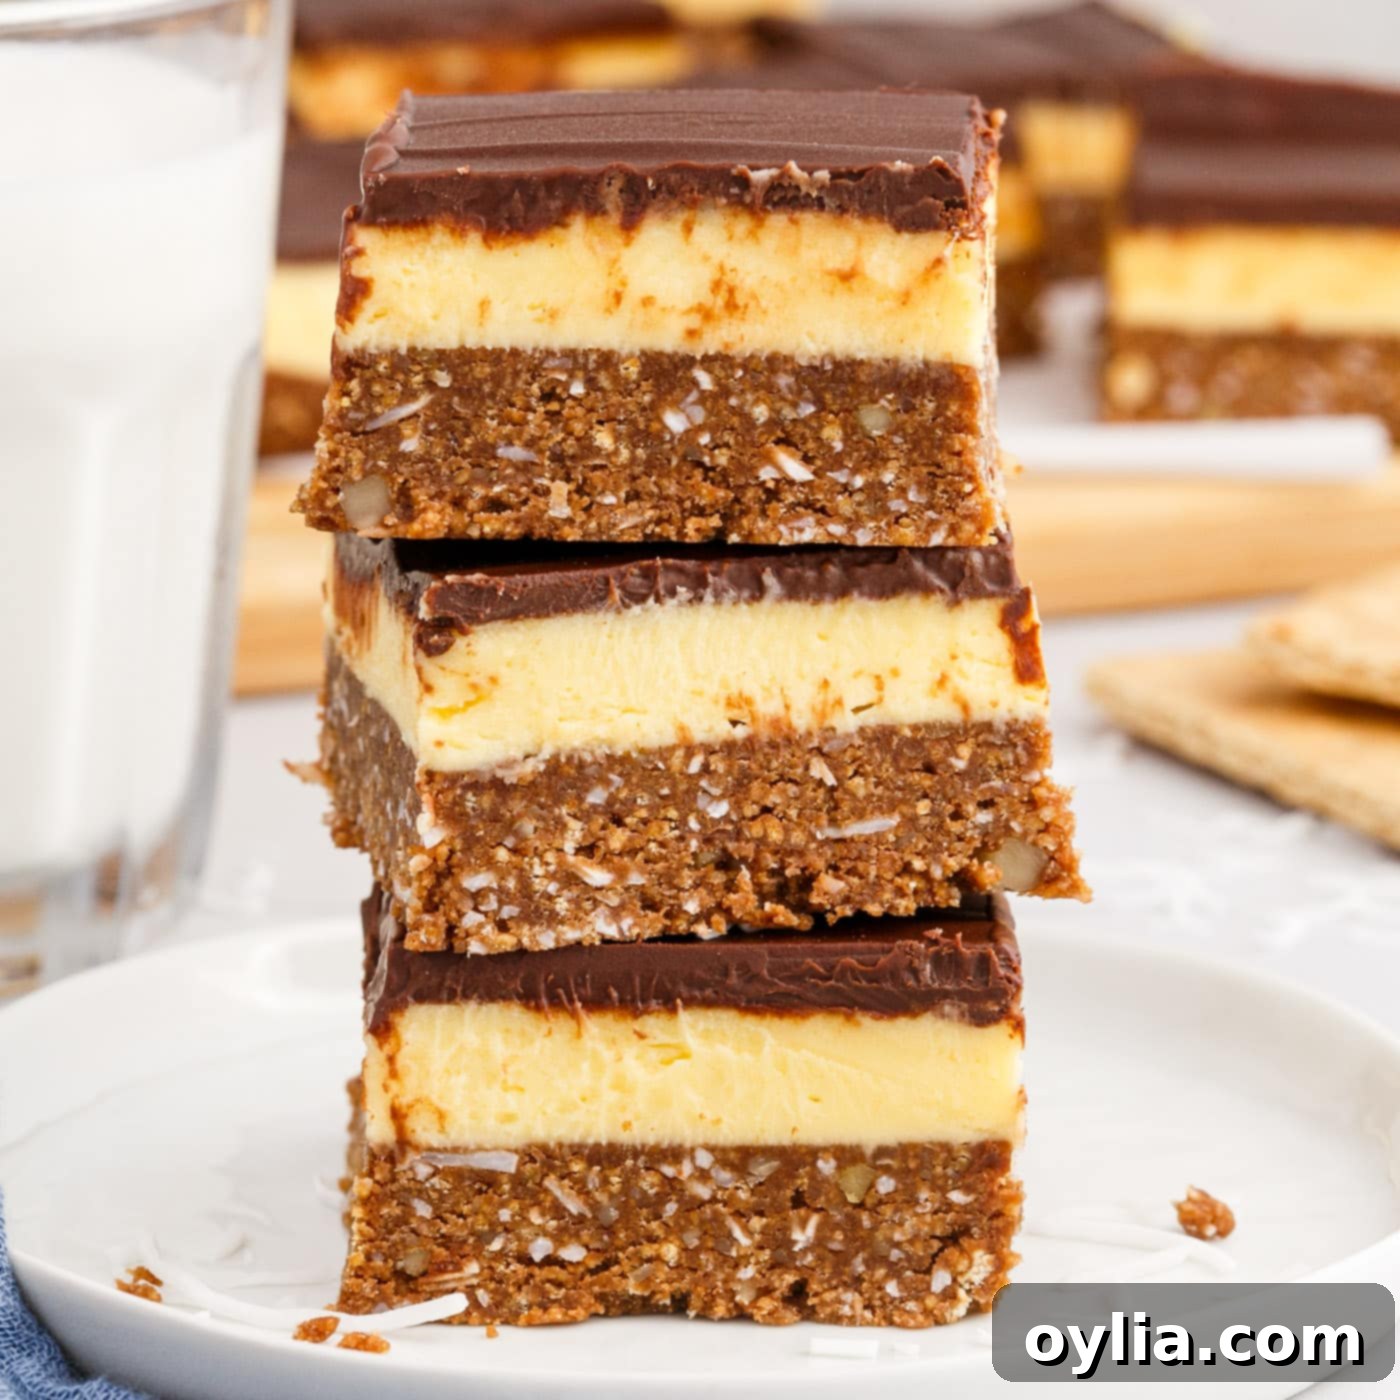
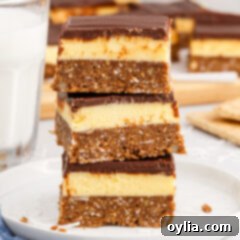
Prepare to be enchanted by the irresistible allure of Nanaimo bars, a cherished Canadian dessert renowned for its luxurious layers and no-bake simplicity. This exquisite confection features a trio of distinct textures and flavors: a rich, nutty coconut graham cracker crust, a velvety smooth custard filling, and a luscious layer of silky chocolate on top. Each bite offers a harmonious blend of crunch, creaminess, and deep chocolate satisfaction, making it a truly decadent and unforgettable treat. Whether you’re a seasoned baker or new to the kitchen, this classic Nanaimo bar recipe promises a delightful experience from start to finish.
Why This Classic Nanaimo Bar Recipe Will Be Your New Favorite
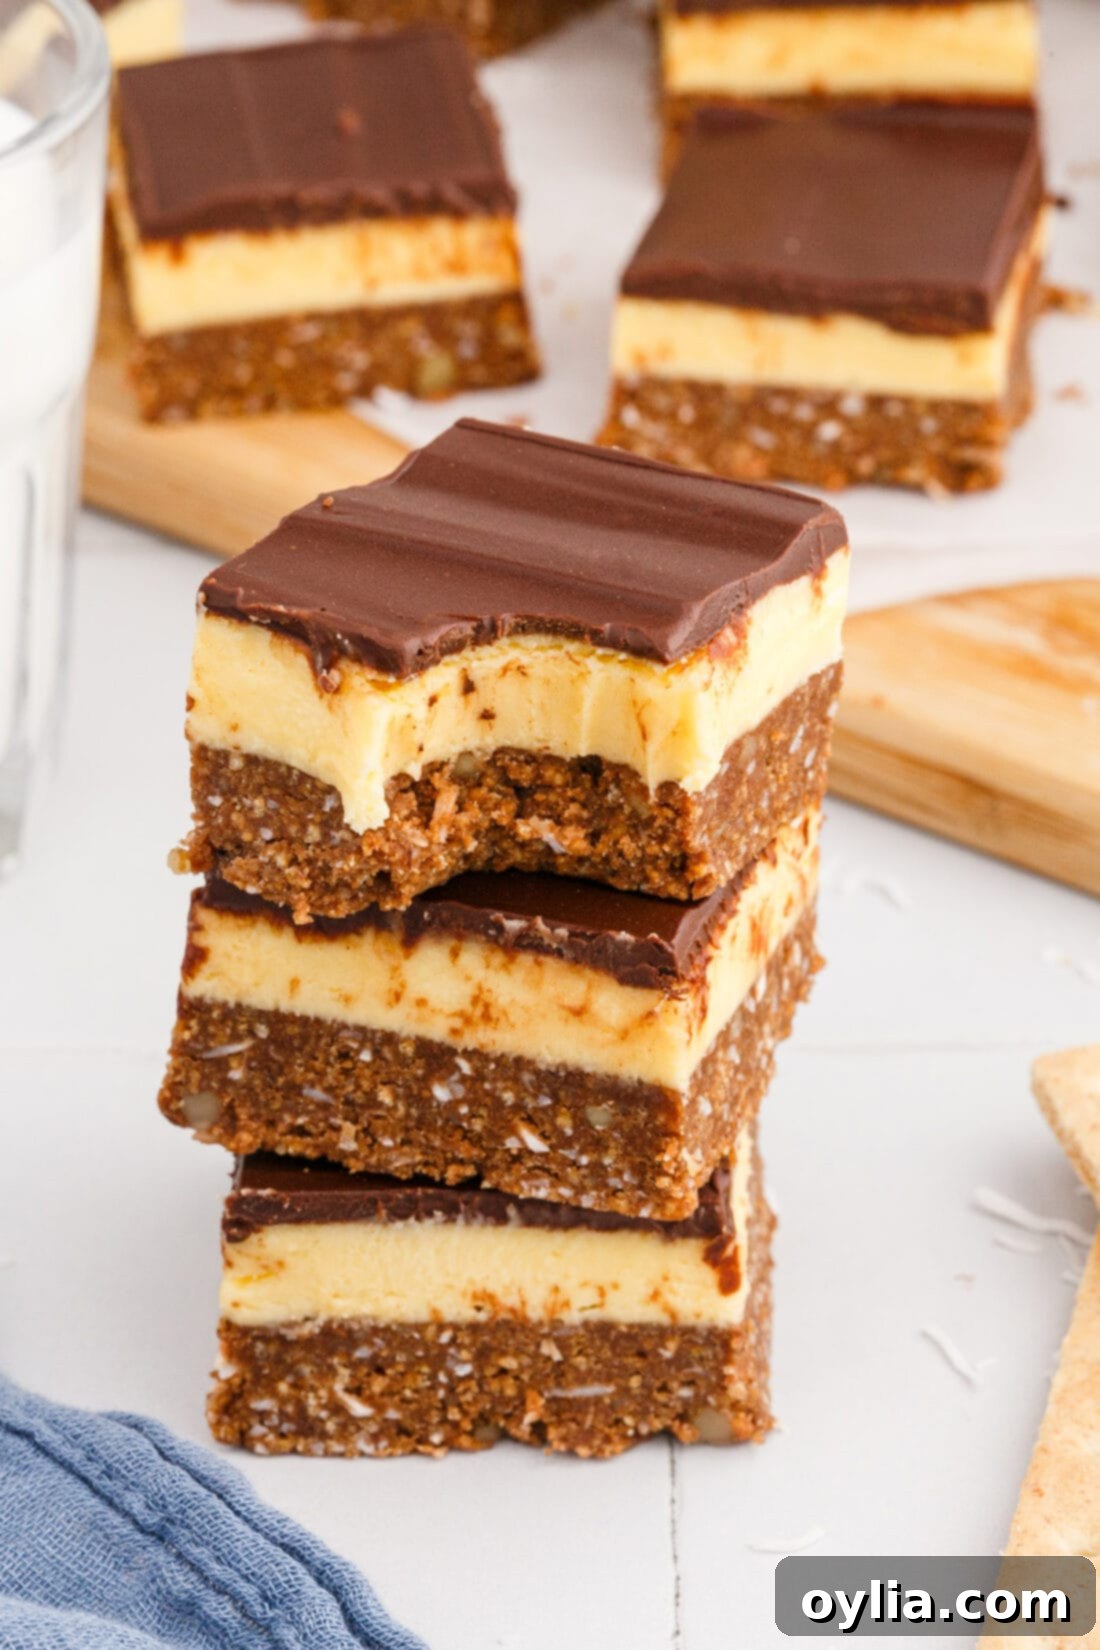
This particular Nanaimo bar recipe stands out for several reasons, making it a reliable and delicious choice for anyone eager to recreate this iconic Canadian dessert. First and foremost, its **no-bake nature** means you can achieve a sophisticated, multi-layered treat without ever turning on your oven. This not only saves time and energy but also makes it an ideal dessert for warmer months or when oven space is limited.
The recipe expertly balances the three crucial layers: a **firm yet tender base** of graham cracker, coconut, and walnuts; a **creamy, rich custard filling** that provides a delightful counterpoint to the sweetness; and a **glossy, snappy chocolate topping** that seals in all the goodness. Each layer is perfectly proportioned to ensure every bite is an explosion of complementary textures and flavors. Many variations exist, but this recipe adheres closely to the traditional elements that have made Nanaimo bars a beloved staple across Canada and beyond.
Furthermore, the detailed instructions and helpful tips provided ensure success, even for those who might be new to no-bake confections. It addresses common pitfalls, such as cracking chocolate and ensuring the layers set properly, empowering you to create a professional-looking dessert every time. It’s a versatile treat, perfect for potlucks, holidays, or simply as an indulgent weekend project.
The Storied History of Nanaimo Bars
The Nanaimo bar holds a special place in Canadian culinary history, its origins deeply rooted in the city of Nanaimo, British Columbia. While the exact inventor remains a mystery, references to similar three-layered confections can be found in cookbooks dating back to the early 20th century. The earliest confirmed recipe for what we now recognize as the “Nanaimo Bar” appeared in the 1953 Women’s Auxiliary of the Nanaimo Hospital Cookbook.
Over the decades, this delightful bar quickly grew in popularity, becoming synonymous with Canadian home baking and café culture. Its simple yet elegant design, combined with the convenience of being a no-bake treat, made it a favorite for gatherings and everyday indulgence. The distinct combination of its specific layers – the crumbly base, the creamy middle, and the chocolate top – became a culinary benchmark, eventually leading to its official recognition as a Canadian culinary icon. Today, Nanaimo bars are celebrated across the country, with countless variations and personal twists, but the classic three-layer structure remains universally adored.
Essential Ingredients for Your Nanaimo Bars
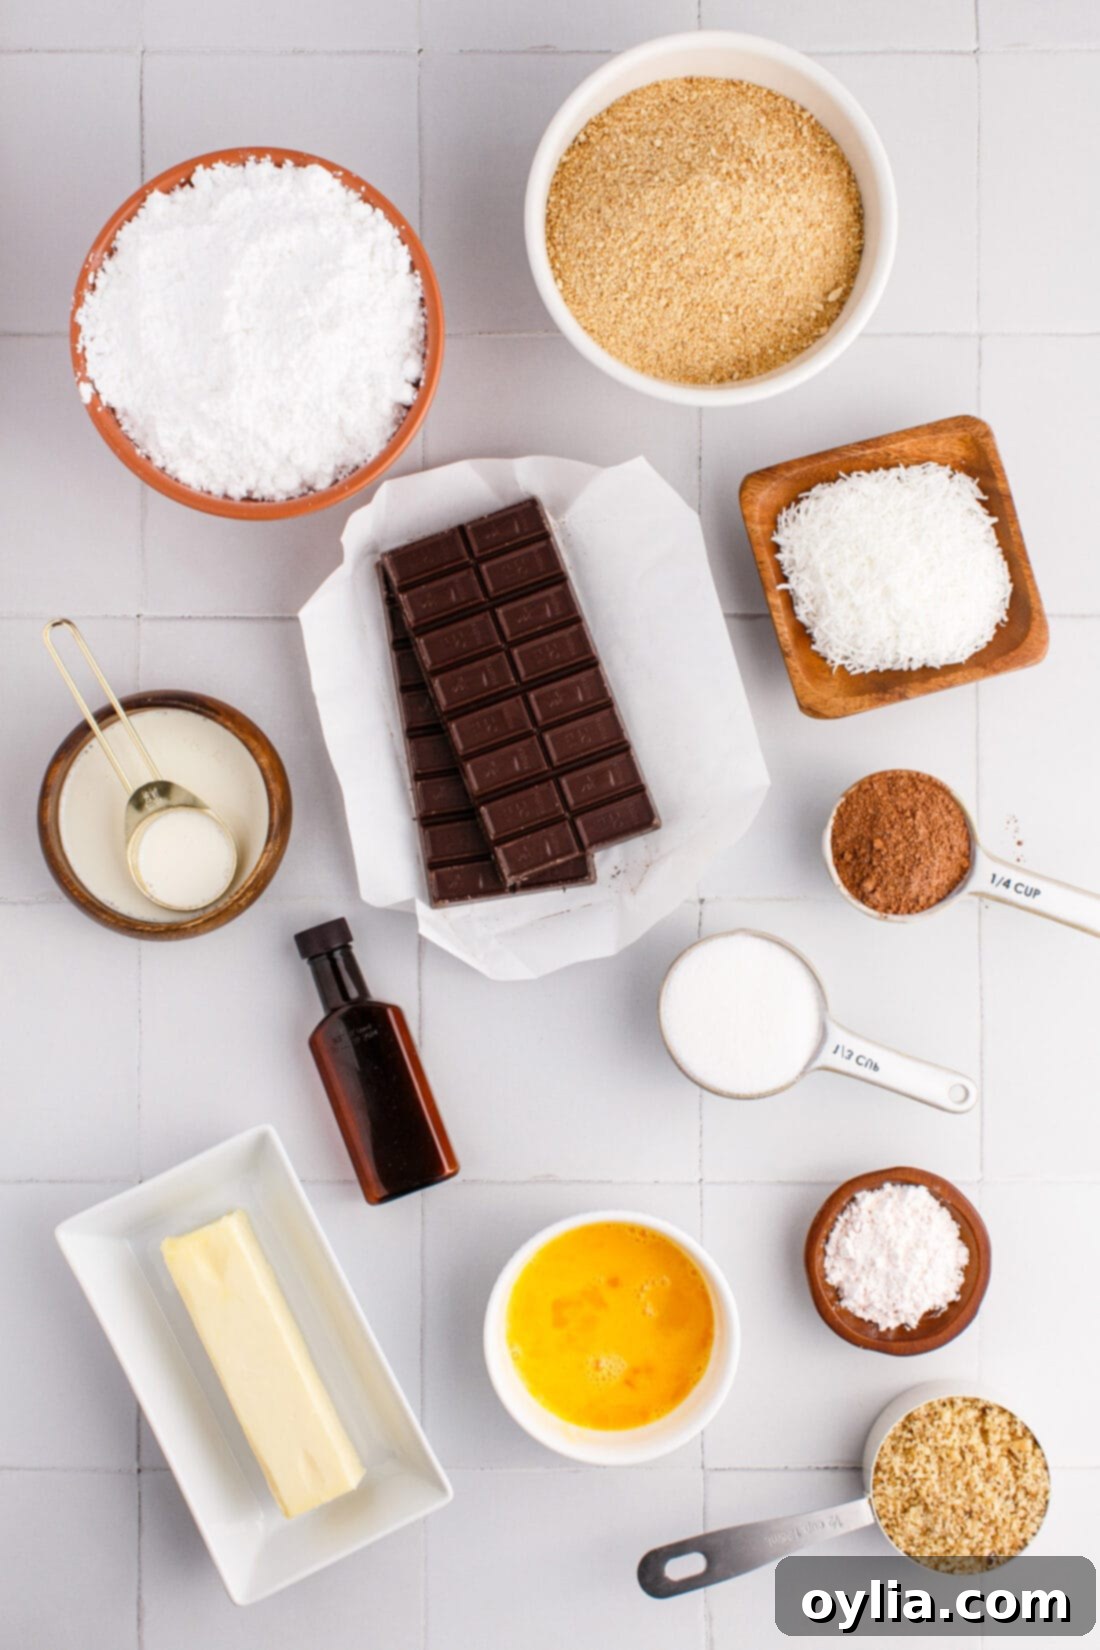
Crafting these delectable Nanaimo bars requires a selection of readily available ingredients, many of which you might already have in your pantry. Each component plays a vital role in creating the distinct layers and signature taste. For precise measurements and step-by-step instructions, refer to the printable recipe card at the end of this post.
You’ll need ingredients for three main parts: the **crust**, the **creamy filling**, and the **chocolate topping**. These include common baking staples like butter, sugar, cocoa powder, and vanilla extract, alongside specific items such as graham cracker crumbs, shredded coconut, walnuts, custard powder, icing sugar, and semi-sweet chocolate. Opting for good quality ingredients will always yield the best flavor and texture in your final product.
Ingredient Spotlight: Tips for Optimal Flavor and Texture
Understanding each ingredient and potential substitutions can elevate your Nanaimo bar experience. Here’s a deeper dive:
- Custard Powder – This is the heart of the Nanaimo bar’s creamy middle layer. Traditional custard powder, particularly Birds Custard Powder, is thicker and richer than typical American pudding mixes because it often uses egg as a thickening agent, resulting in a distinctly smooth and full-bodied texture. You can find Birds Custard Powder in the international aisle of many grocery stores or readily online. If you’re feeling adventurous and want to make a homemade custard, you could adapt the custard layer from an English trifle recipe, ensuring it’s thick enough to hold its shape. However, for authentic flavor and ease, the powder is highly recommended.
- Chocolate for the Topping – The quality of your chocolate significantly impacts the final taste and appearance of your Nanaimo bars. We strongly recommend using a good quality **baking chocolate bar** (like semi-sweet or dark chocolate) over chocolate chips or almond bark. Baking chocolate melts more smoothly and sets with a beautiful, glossy finish, providing that satisfying snap when you bite into it. Chocolate chips often contain stabilizers that prevent them from melting as smoothly, potentially resulting in a duller, less refined topping. Semi-sweet chocolate provides a balanced sweetness that complements the rich custard and crust.
-
Crust Ingredients – The foundation of your Nanaimo bars is a delightful combination of graham crackers, walnuts, and coconut.
- Graham Cracker Crumbs: You can purchase pre-crushed graham cracker crumbs for convenience. Alternatively, crush about 16-18 full sheets of graham crackers yourself in a food processor or by placing them in a Ziploc bag and crushing with a rolling pin until you achieve approximately 2 cups of fine crumbs.
- Walnuts: Finely pulsed walnuts add a wonderful nutty depth to the crust. If you have a nut allergy or simply prefer not to use them, you can omit them entirely or substitute with another finely chopped nut like pecans or almonds, though walnuts are traditional.
- Shredded Coconut: Unsweetened shredded coconut is preferred to control the overall sweetness of the bar. If you only have sweetened on hand, you might slightly reduce the sugar in the crust layer. The coconut adds a lovely chewiness and tropical note that’s quintessential to Nanaimo bars.
- Butter: Salted butter is generally recommended as it helps balance the sweetness and enhances the flavors. If using unsalted butter, a tiny pinch of salt can be added to the crust mixture.
- Egg in the Crust: A key, traditional element in the crust is a lightly beaten egg. This egg is tempered over heat with the melted butter, sugar, and cocoa. While not fully “cooked” in the conventional sense, the tempering process significantly raises its temperature. However, for those with concerns about consuming raw or undercooked eggs (such as the elderly, young children, pregnant individuals, or those with compromised immune systems), please be aware of this and proceed with caution or consider an alternative recipe that doesn’t use egg in the crust. This is a very important consideration for food safety.
Step-by-Step Guide: Crafting Your Perfect Nanaimo Bars
These step-by-step photos and detailed instructions are here to help you visualize how to make this recipe. You can Jump to Recipe to get the printable version of this recipe, complete with measurements and instructions at the bottom.
Creating classic Nanaimo bars is a rewarding process, especially with their no-bake convenience. Follow these steps carefully to achieve perfectly layered, irresistible treats.
For the Decadent Crust:
- Prepare your pan: First, line an 8×8 inch baking pan with parchment paper, leaving an overhang on two sides. This will create “handles” to easily lift the finished bars out of the pan. Lightly spray the parchment paper with non-stick spray to ensure no sticking.
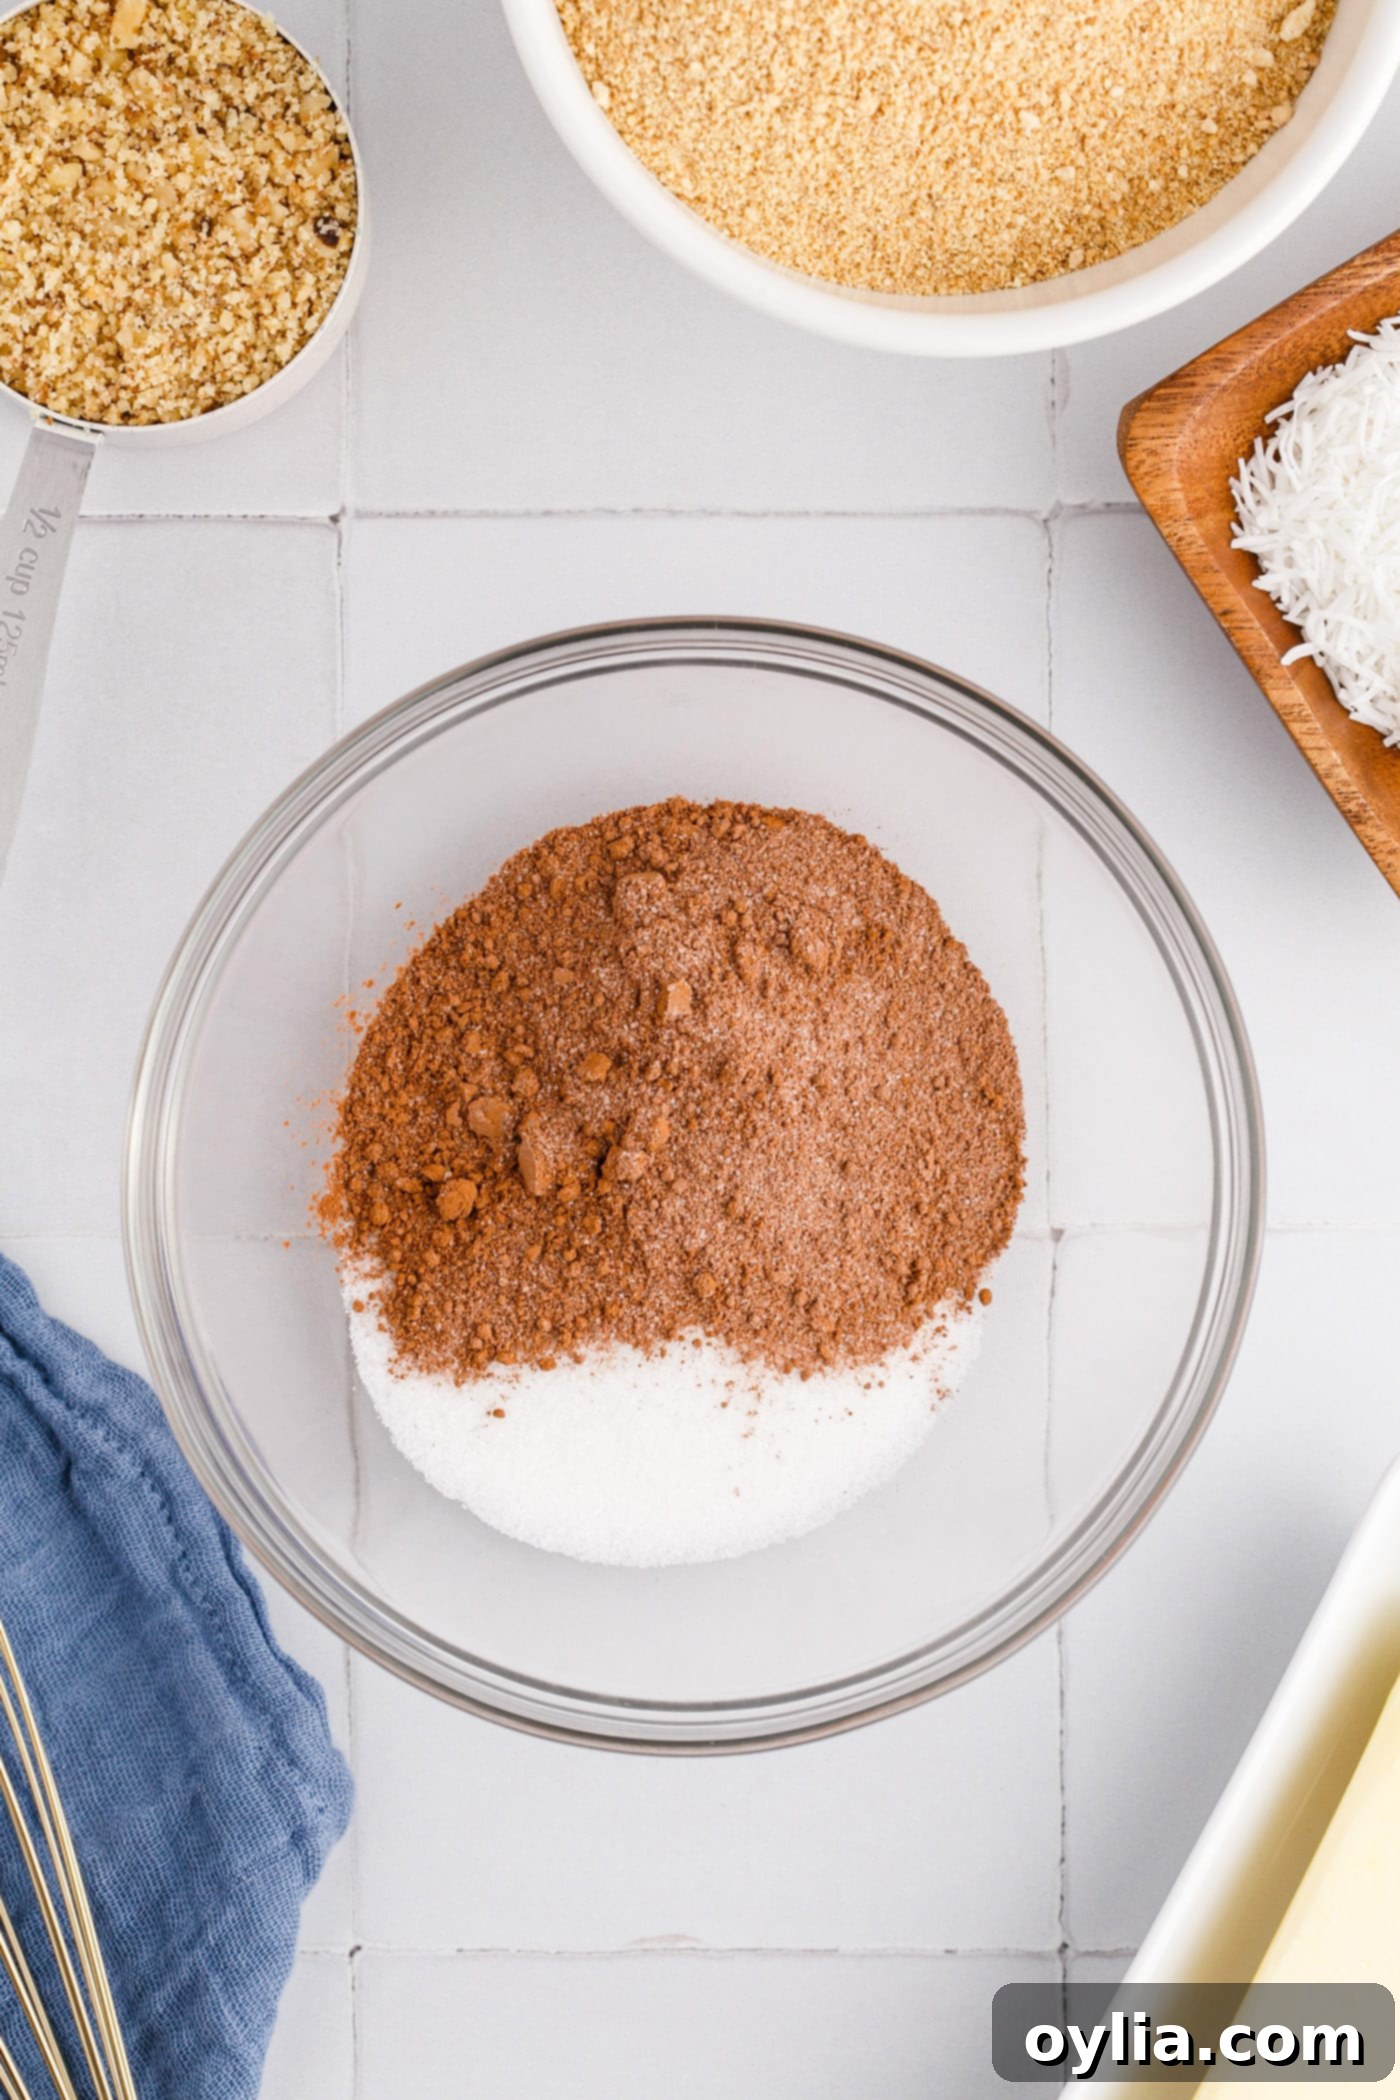
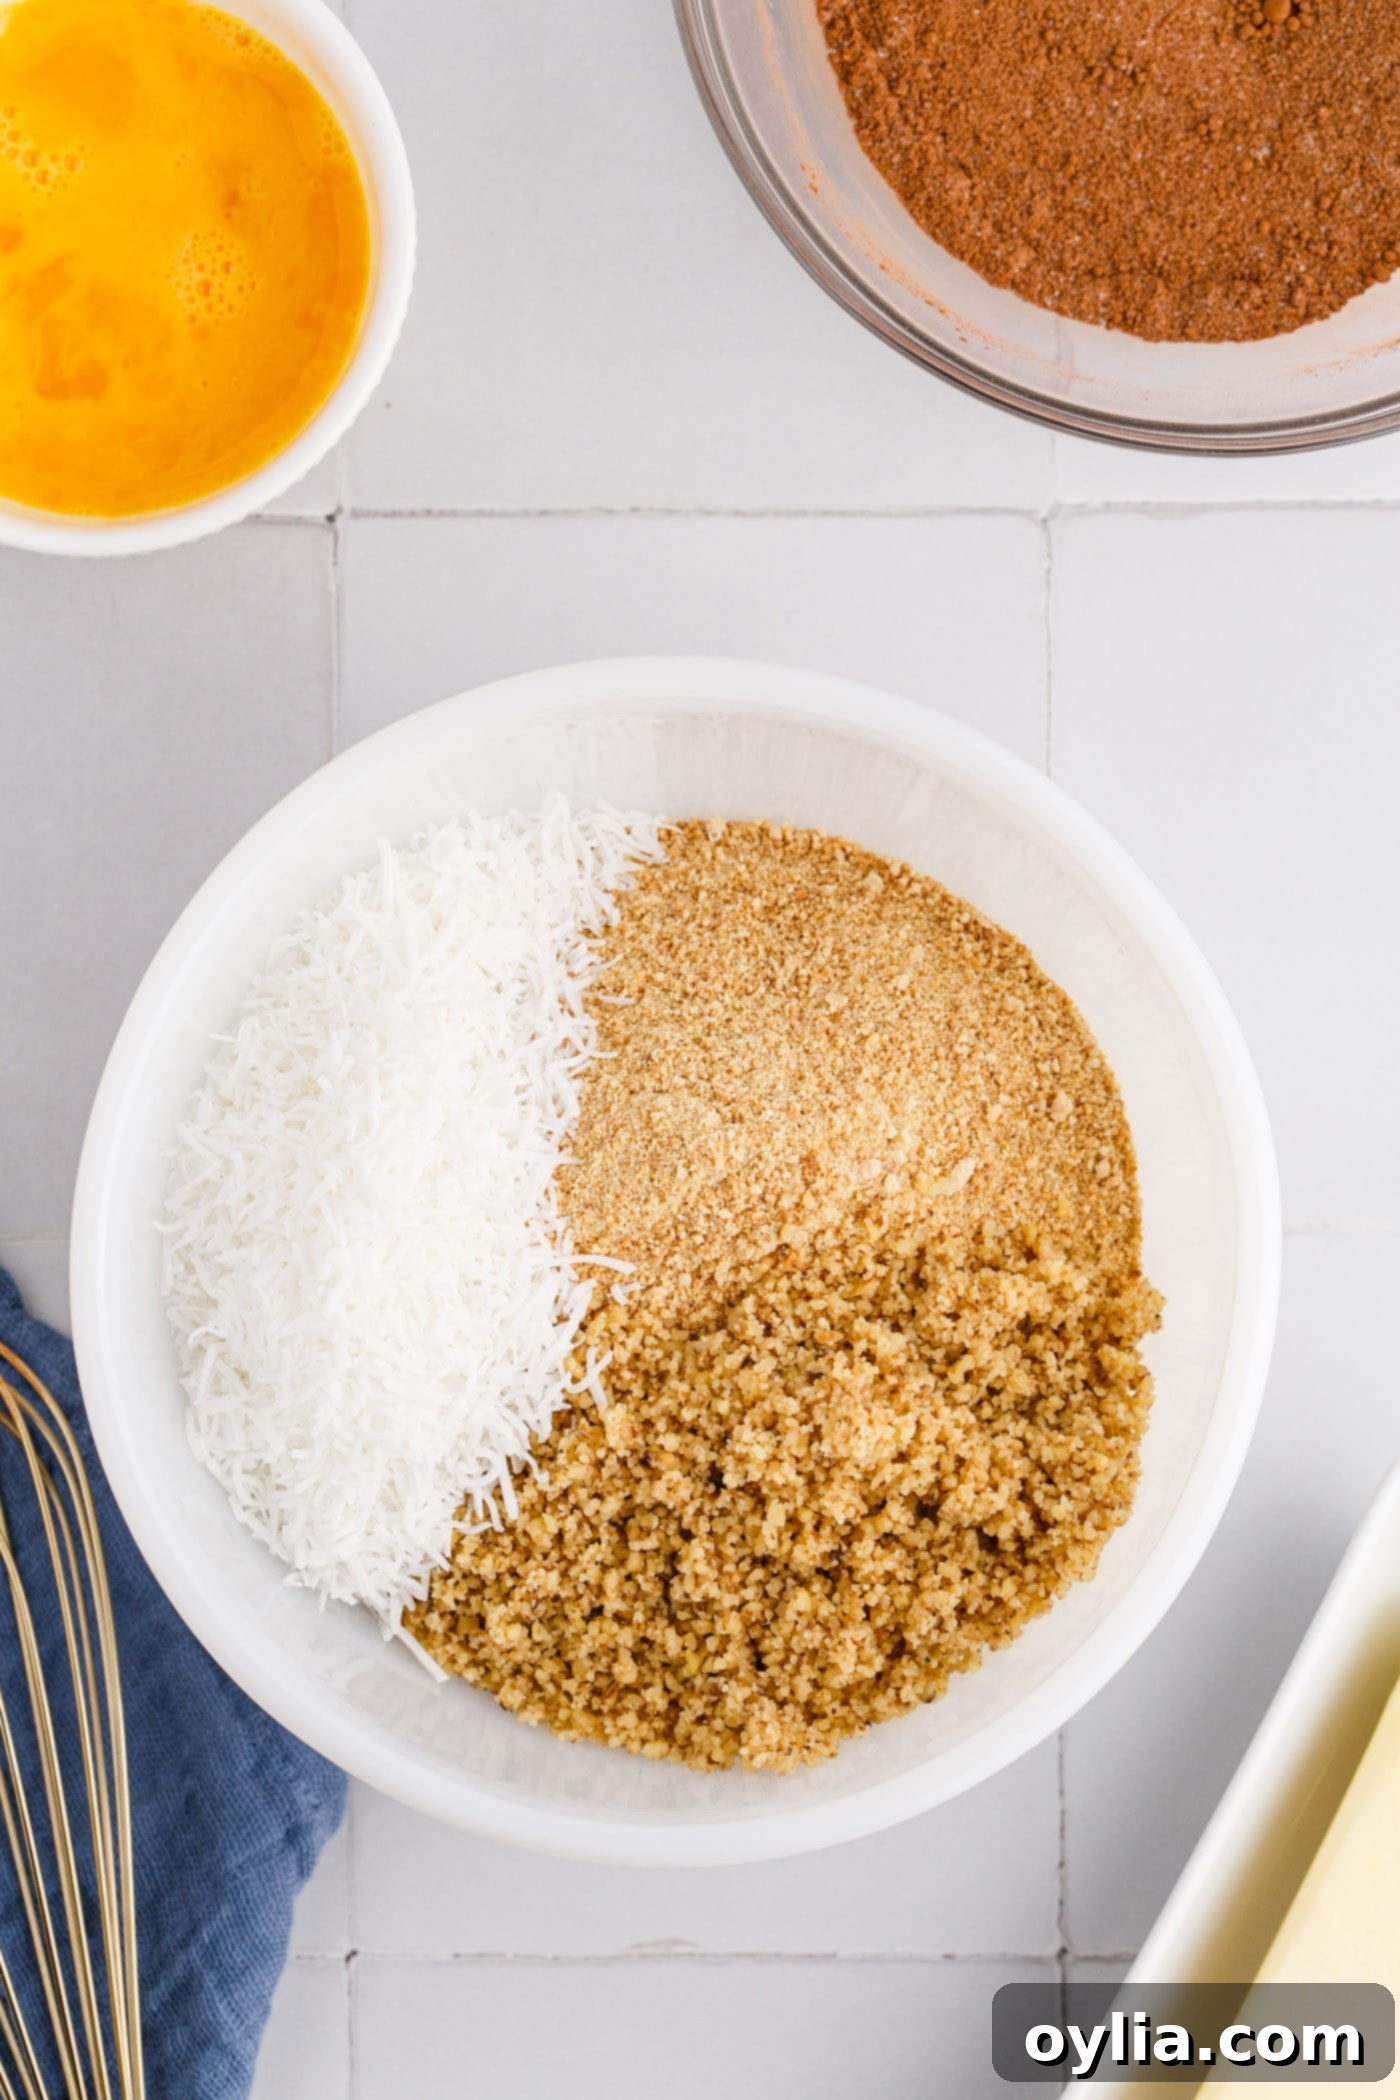
- Combine dry ingredients: In a small bowl, whisk together the granulated sugar and cocoa powder until well combined. In a separate, larger bowl, mix the graham cracker crumbs, finely pulsed walnuts, and shredded coconut. Set both aside.
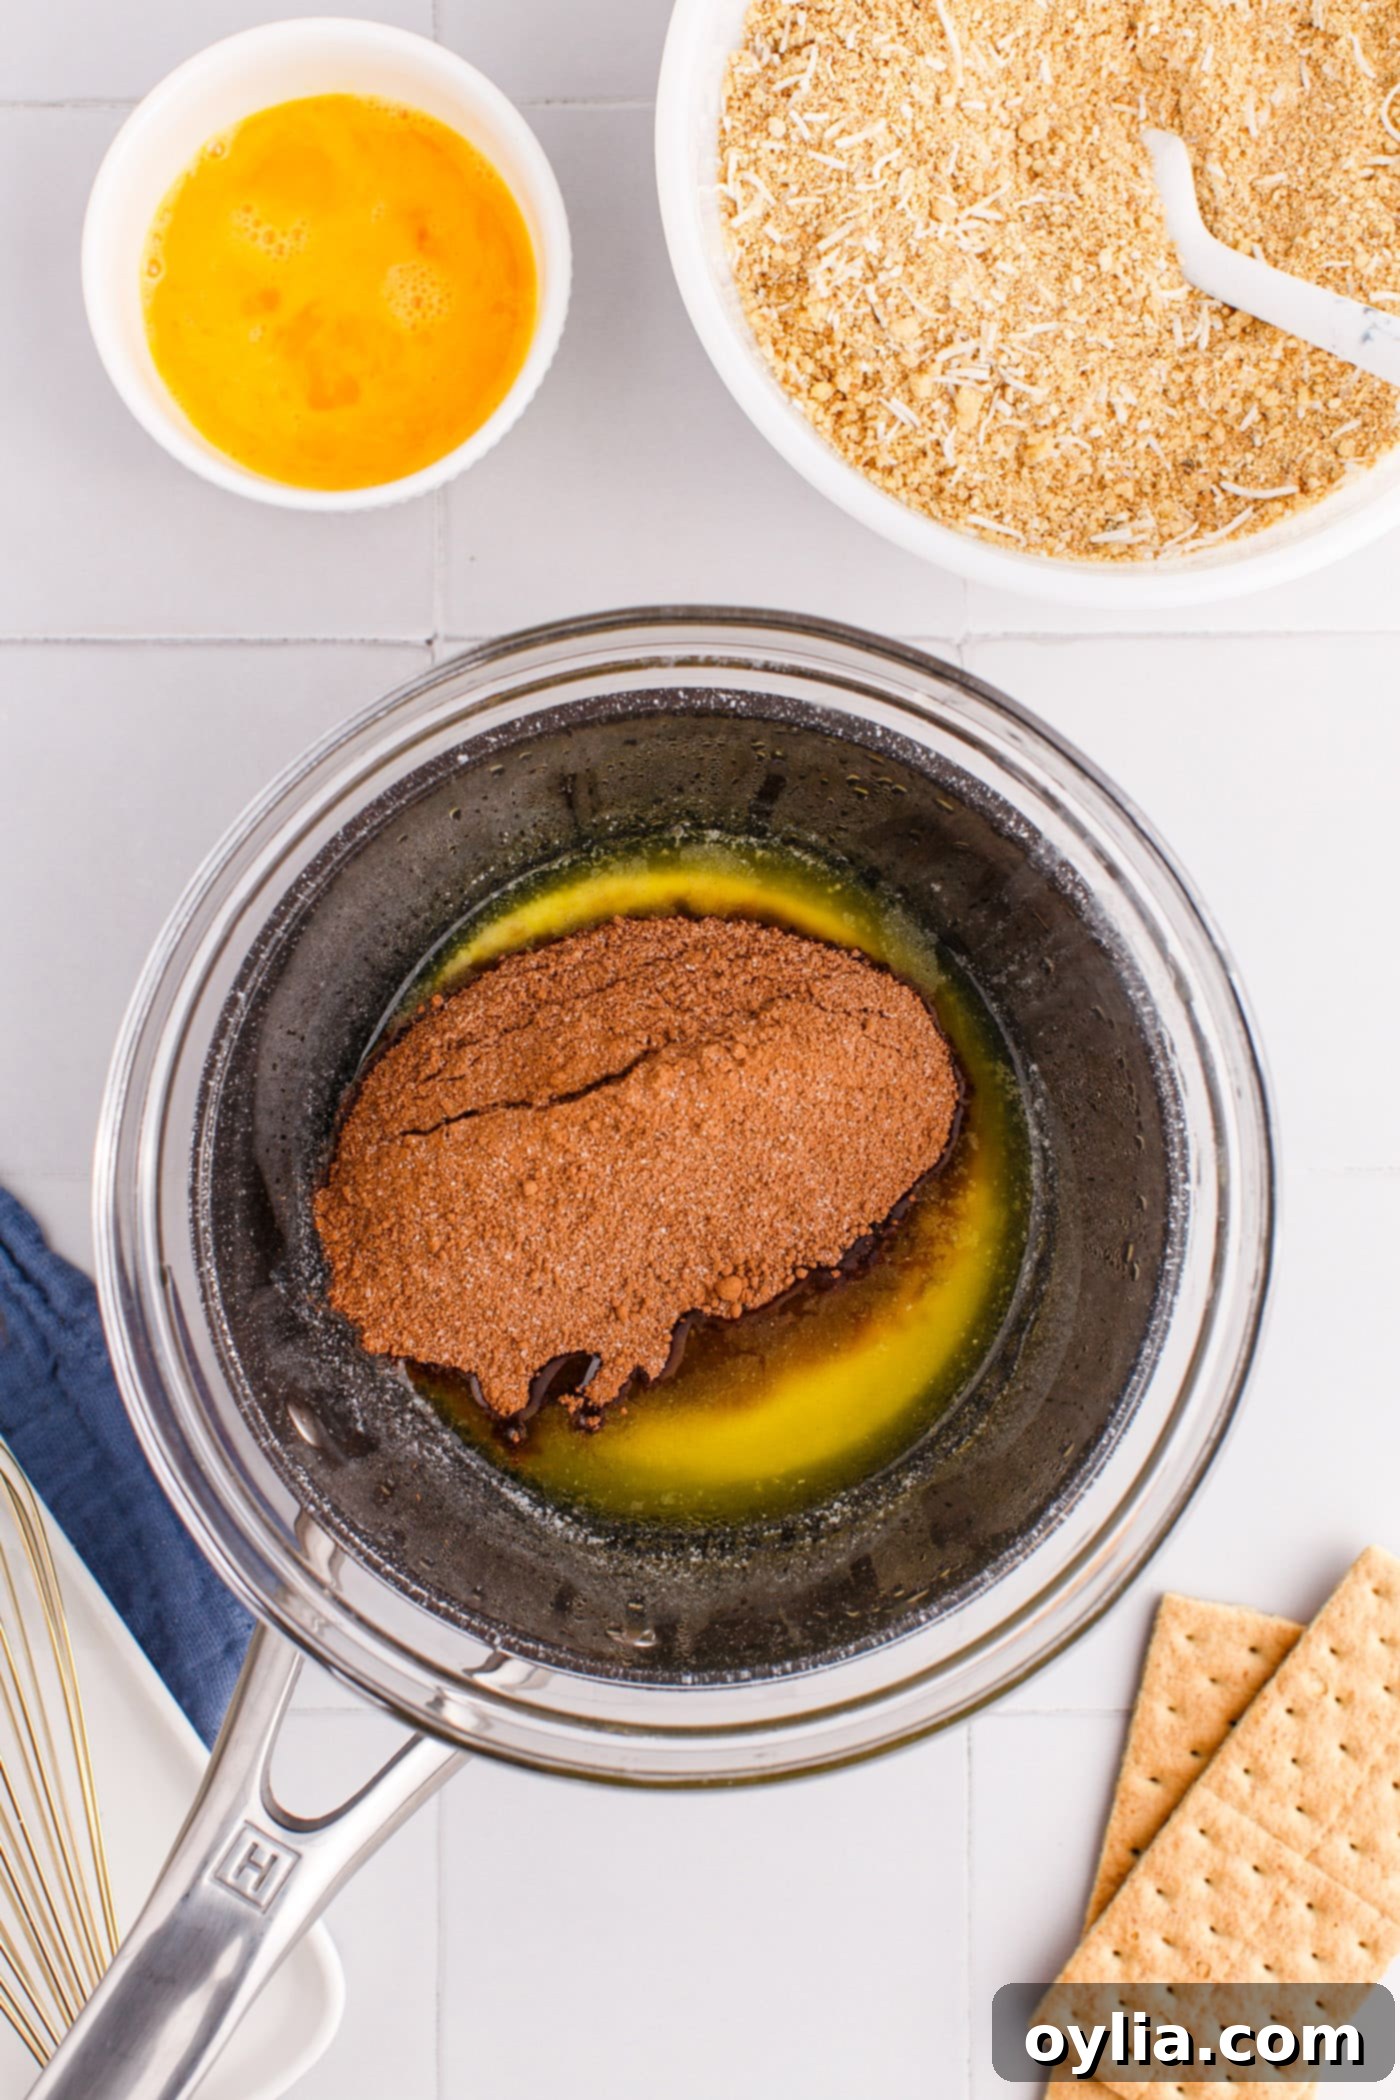
- Melt butter and chocolate mixture: Using a heat-proof bowl set over a pot of simmering water (creating a double boiler), slowly melt the butter over low-medium heat. Once the butter is fully melted, remove the bowl from the heat, but keep the stove on a low setting for a moment.
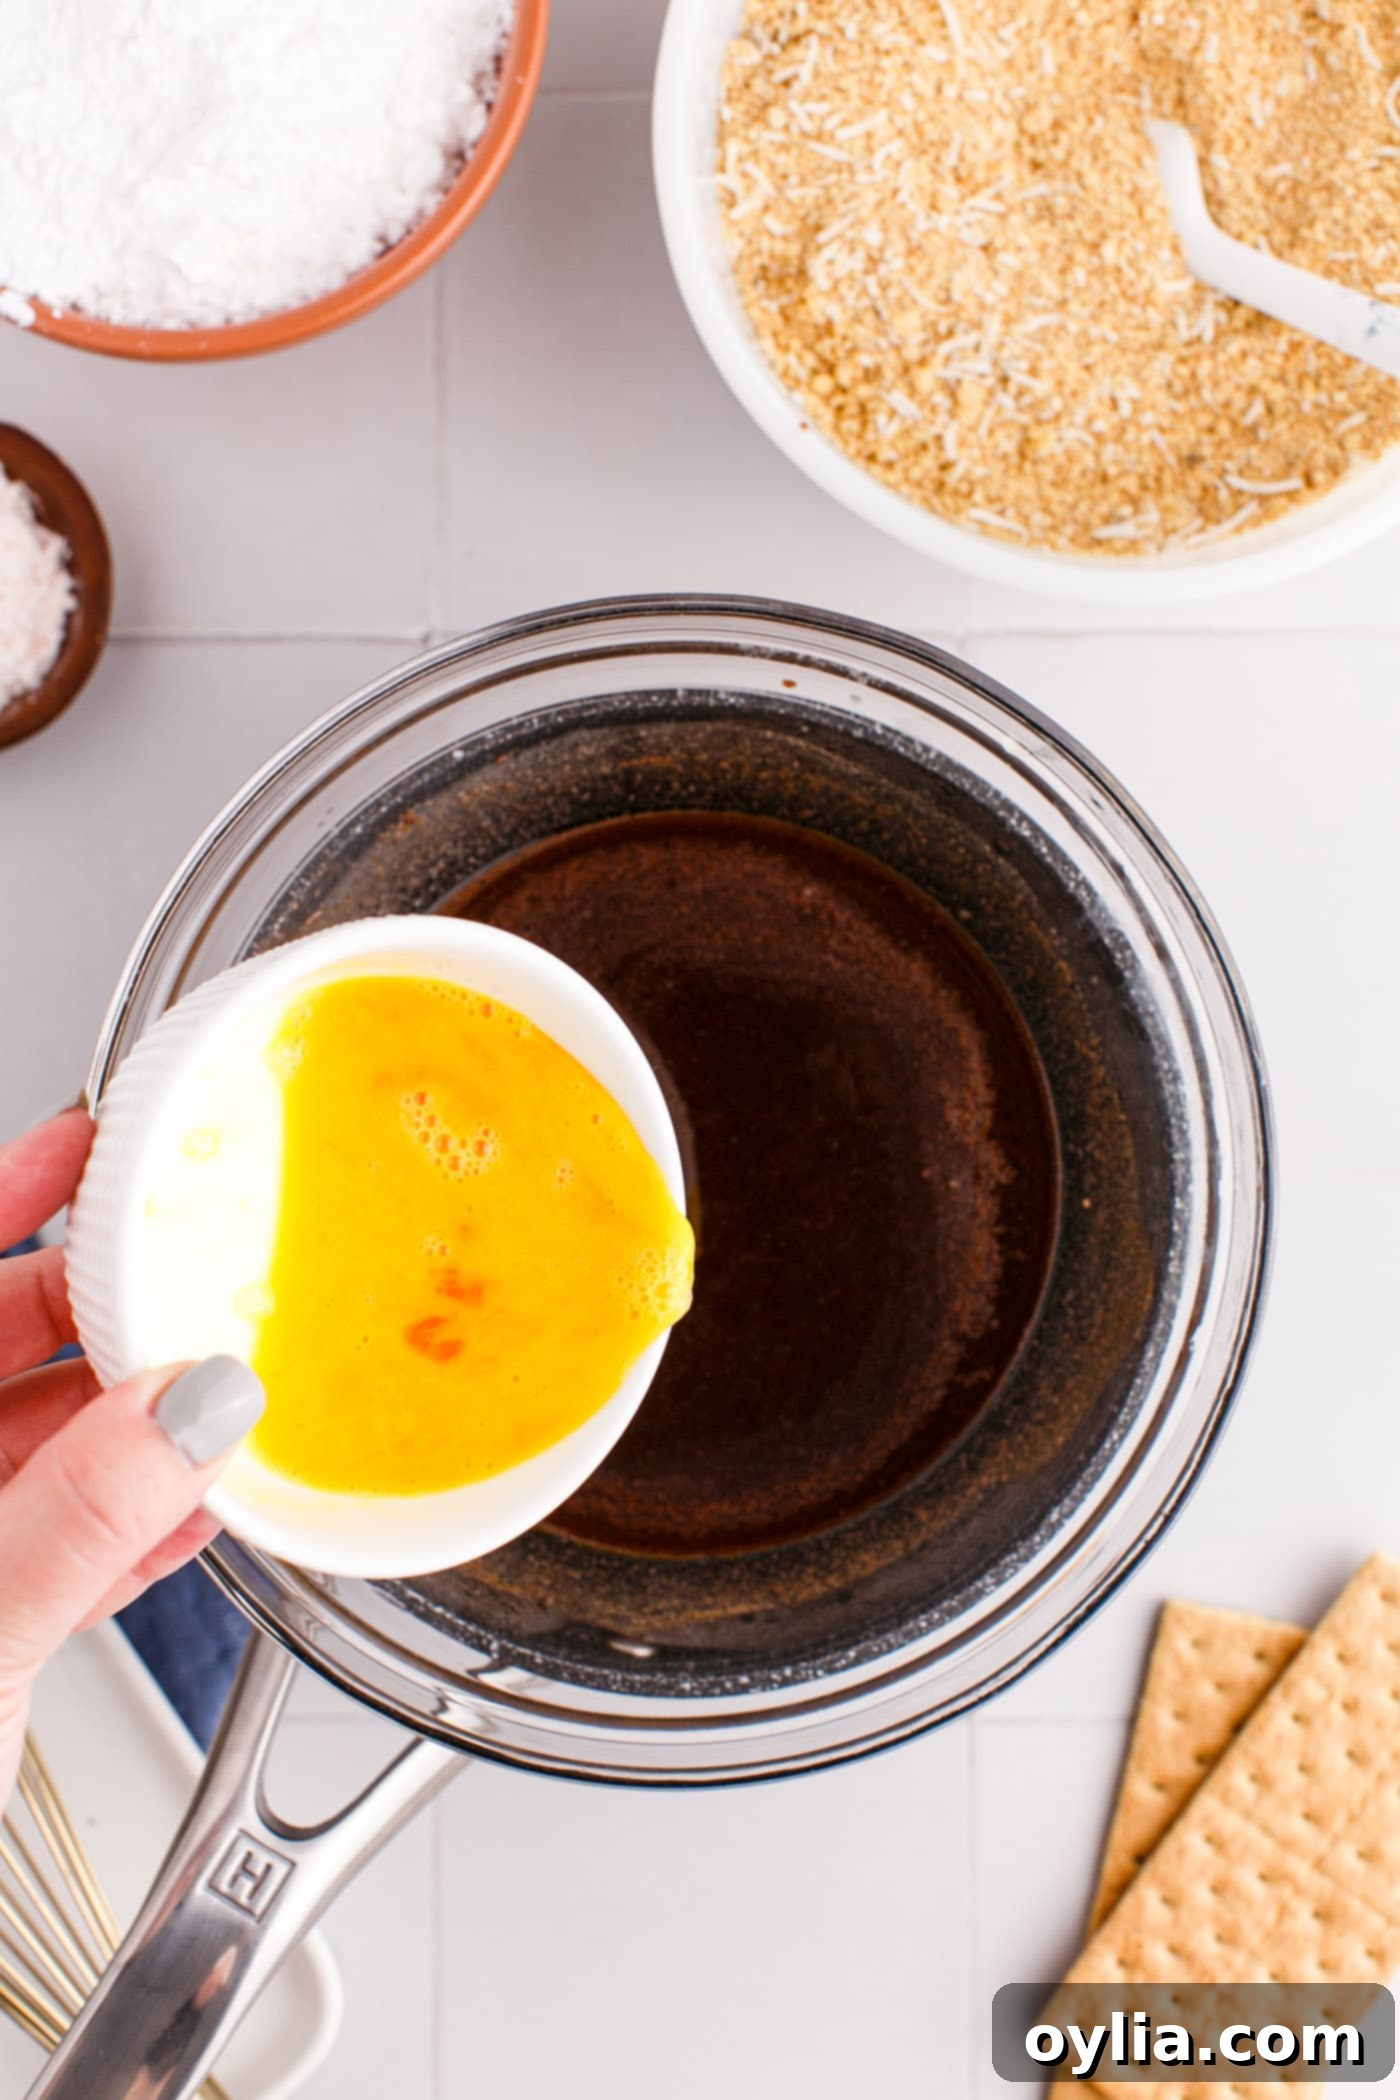
- Temper the egg (Important step!): Whisk the sugar and cocoa mixture into the melted butter until smooth. Then, very slowly, while continuously whisking, gradually add the lightly beaten egg to the mixture. This continuous whisking helps to temper the egg, gently raising its temperature without scrambling it.
- Thicken the mixture: Place the bowl back over the low heat on the stovetop and continue to whisk constantly for 1-2 minutes until the mixture thickens slightly. It won’t become a thick custard, but it should coat the back of a spoon. Immediately remove from heat and turn off the stovetop.
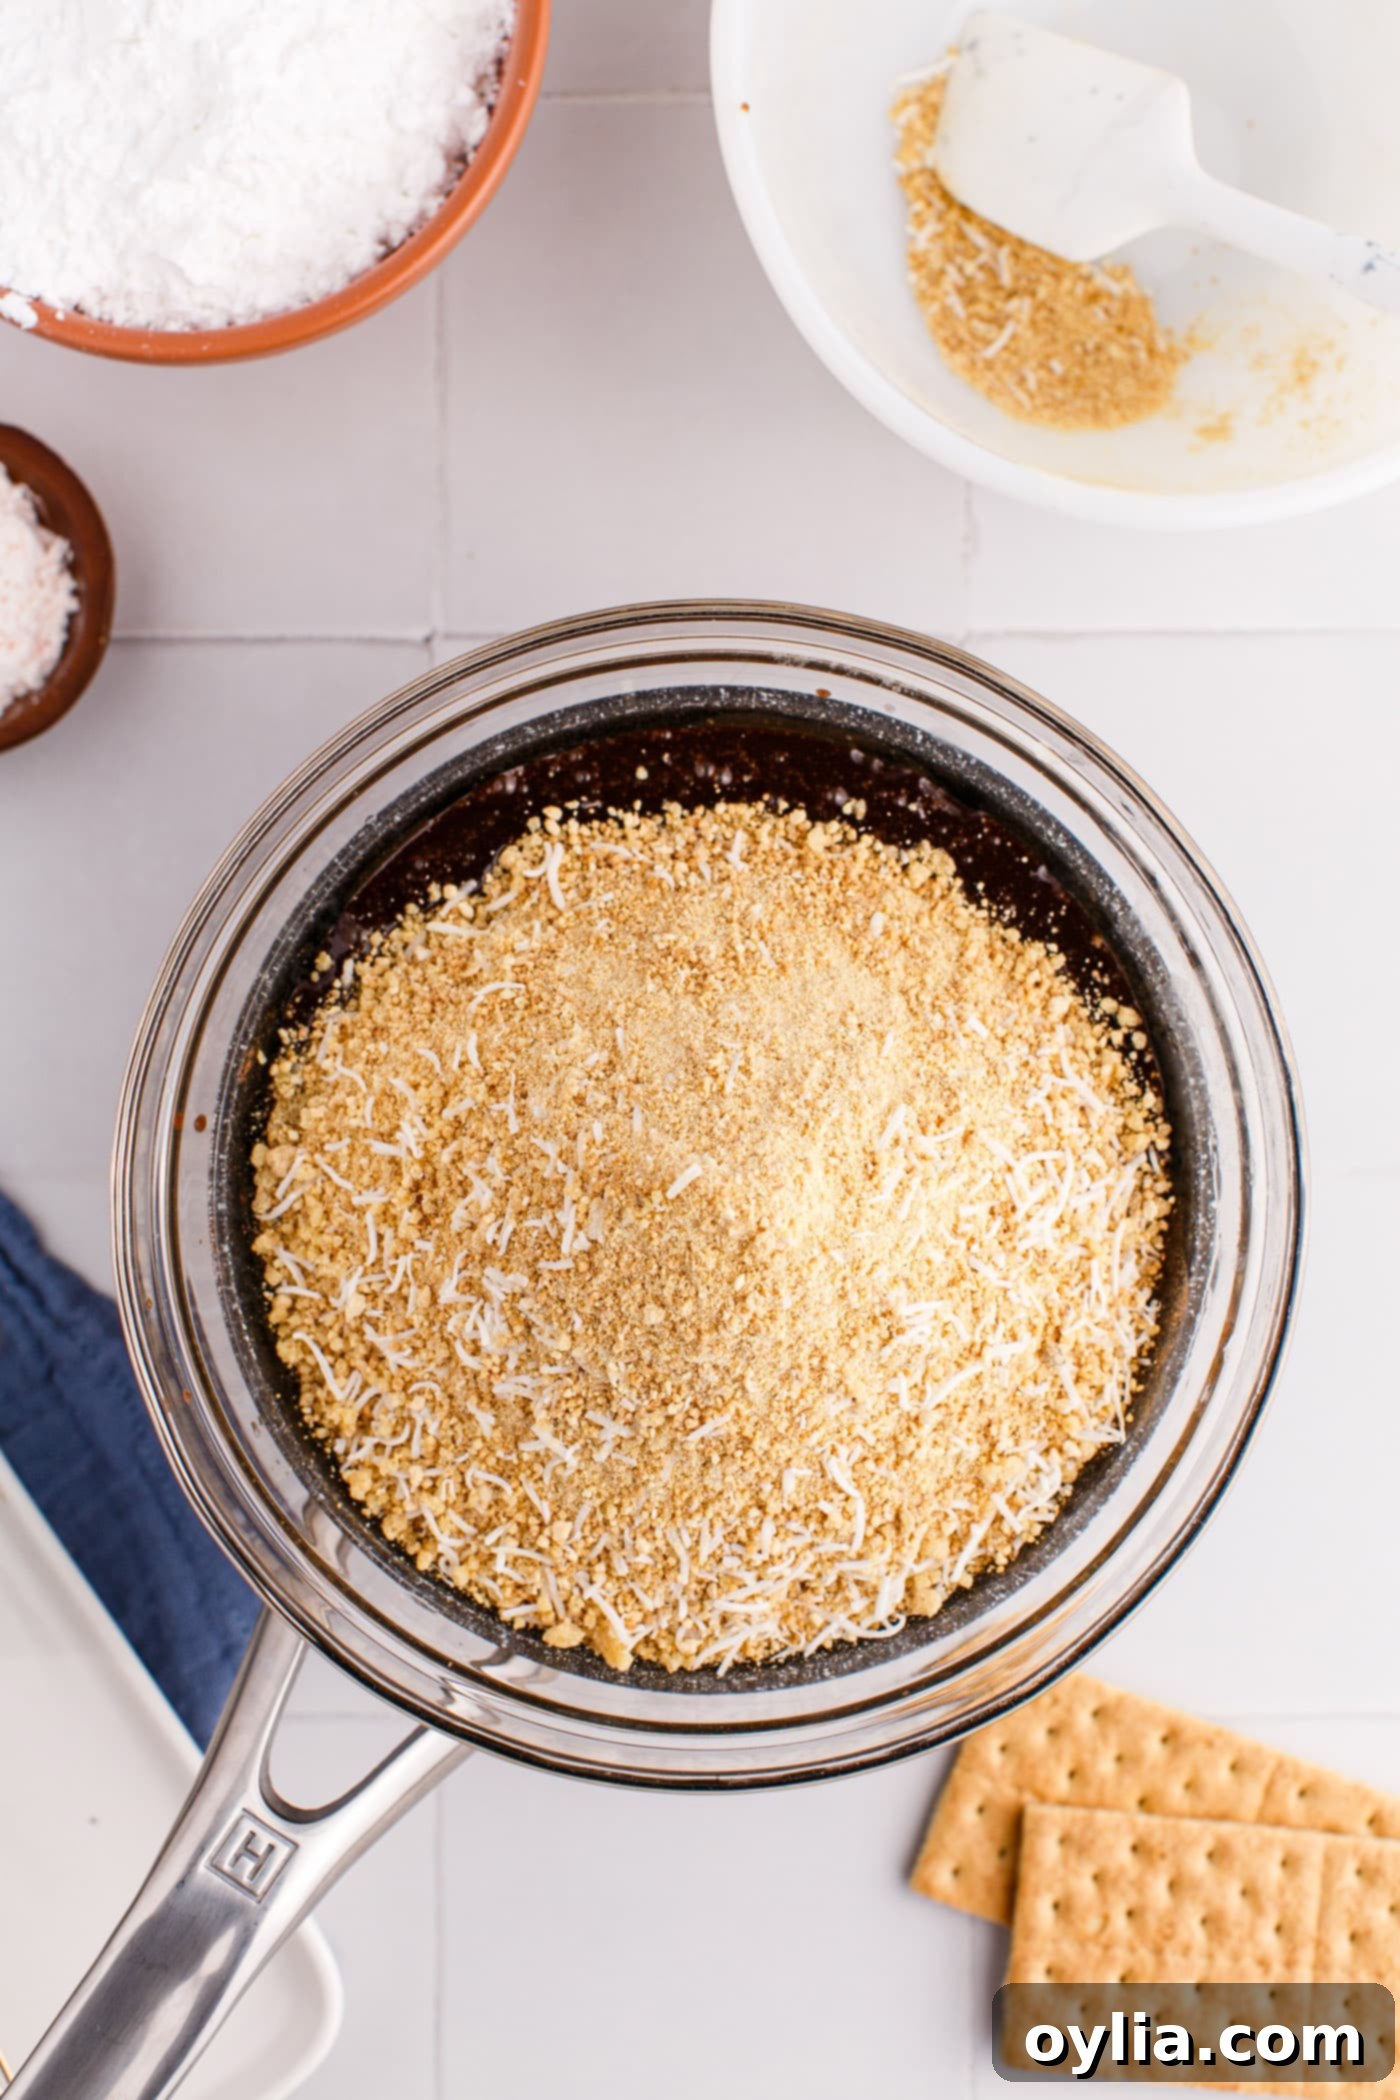
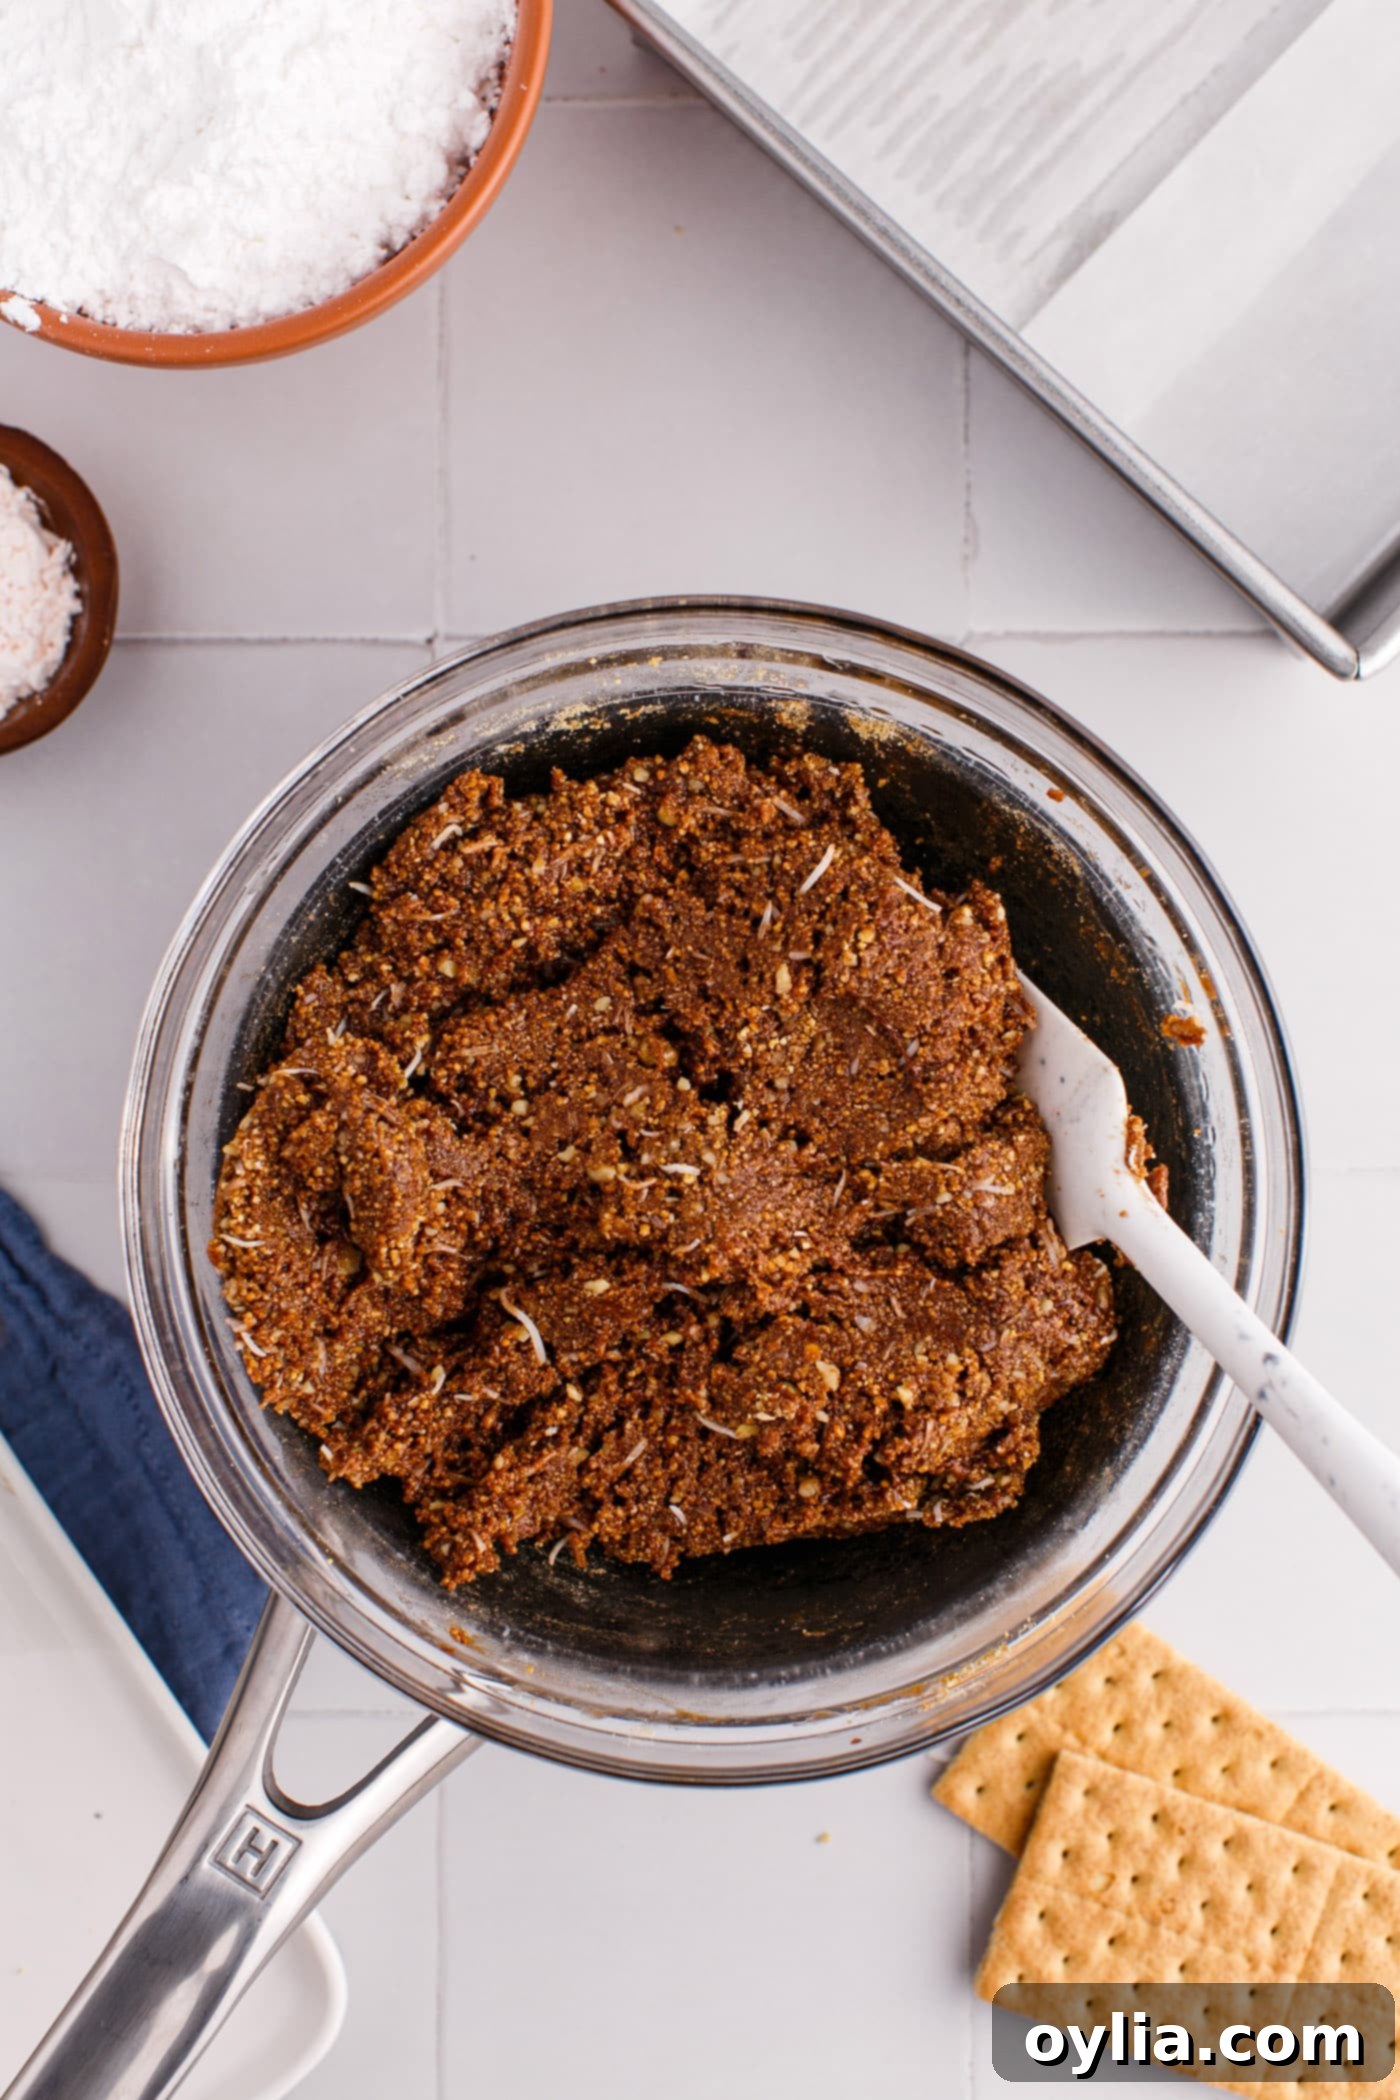
- Add remaining crust ingredients: Stir in the graham cracker crumb, walnut, and coconut mixture until everything is thoroughly combined and evenly moistened.
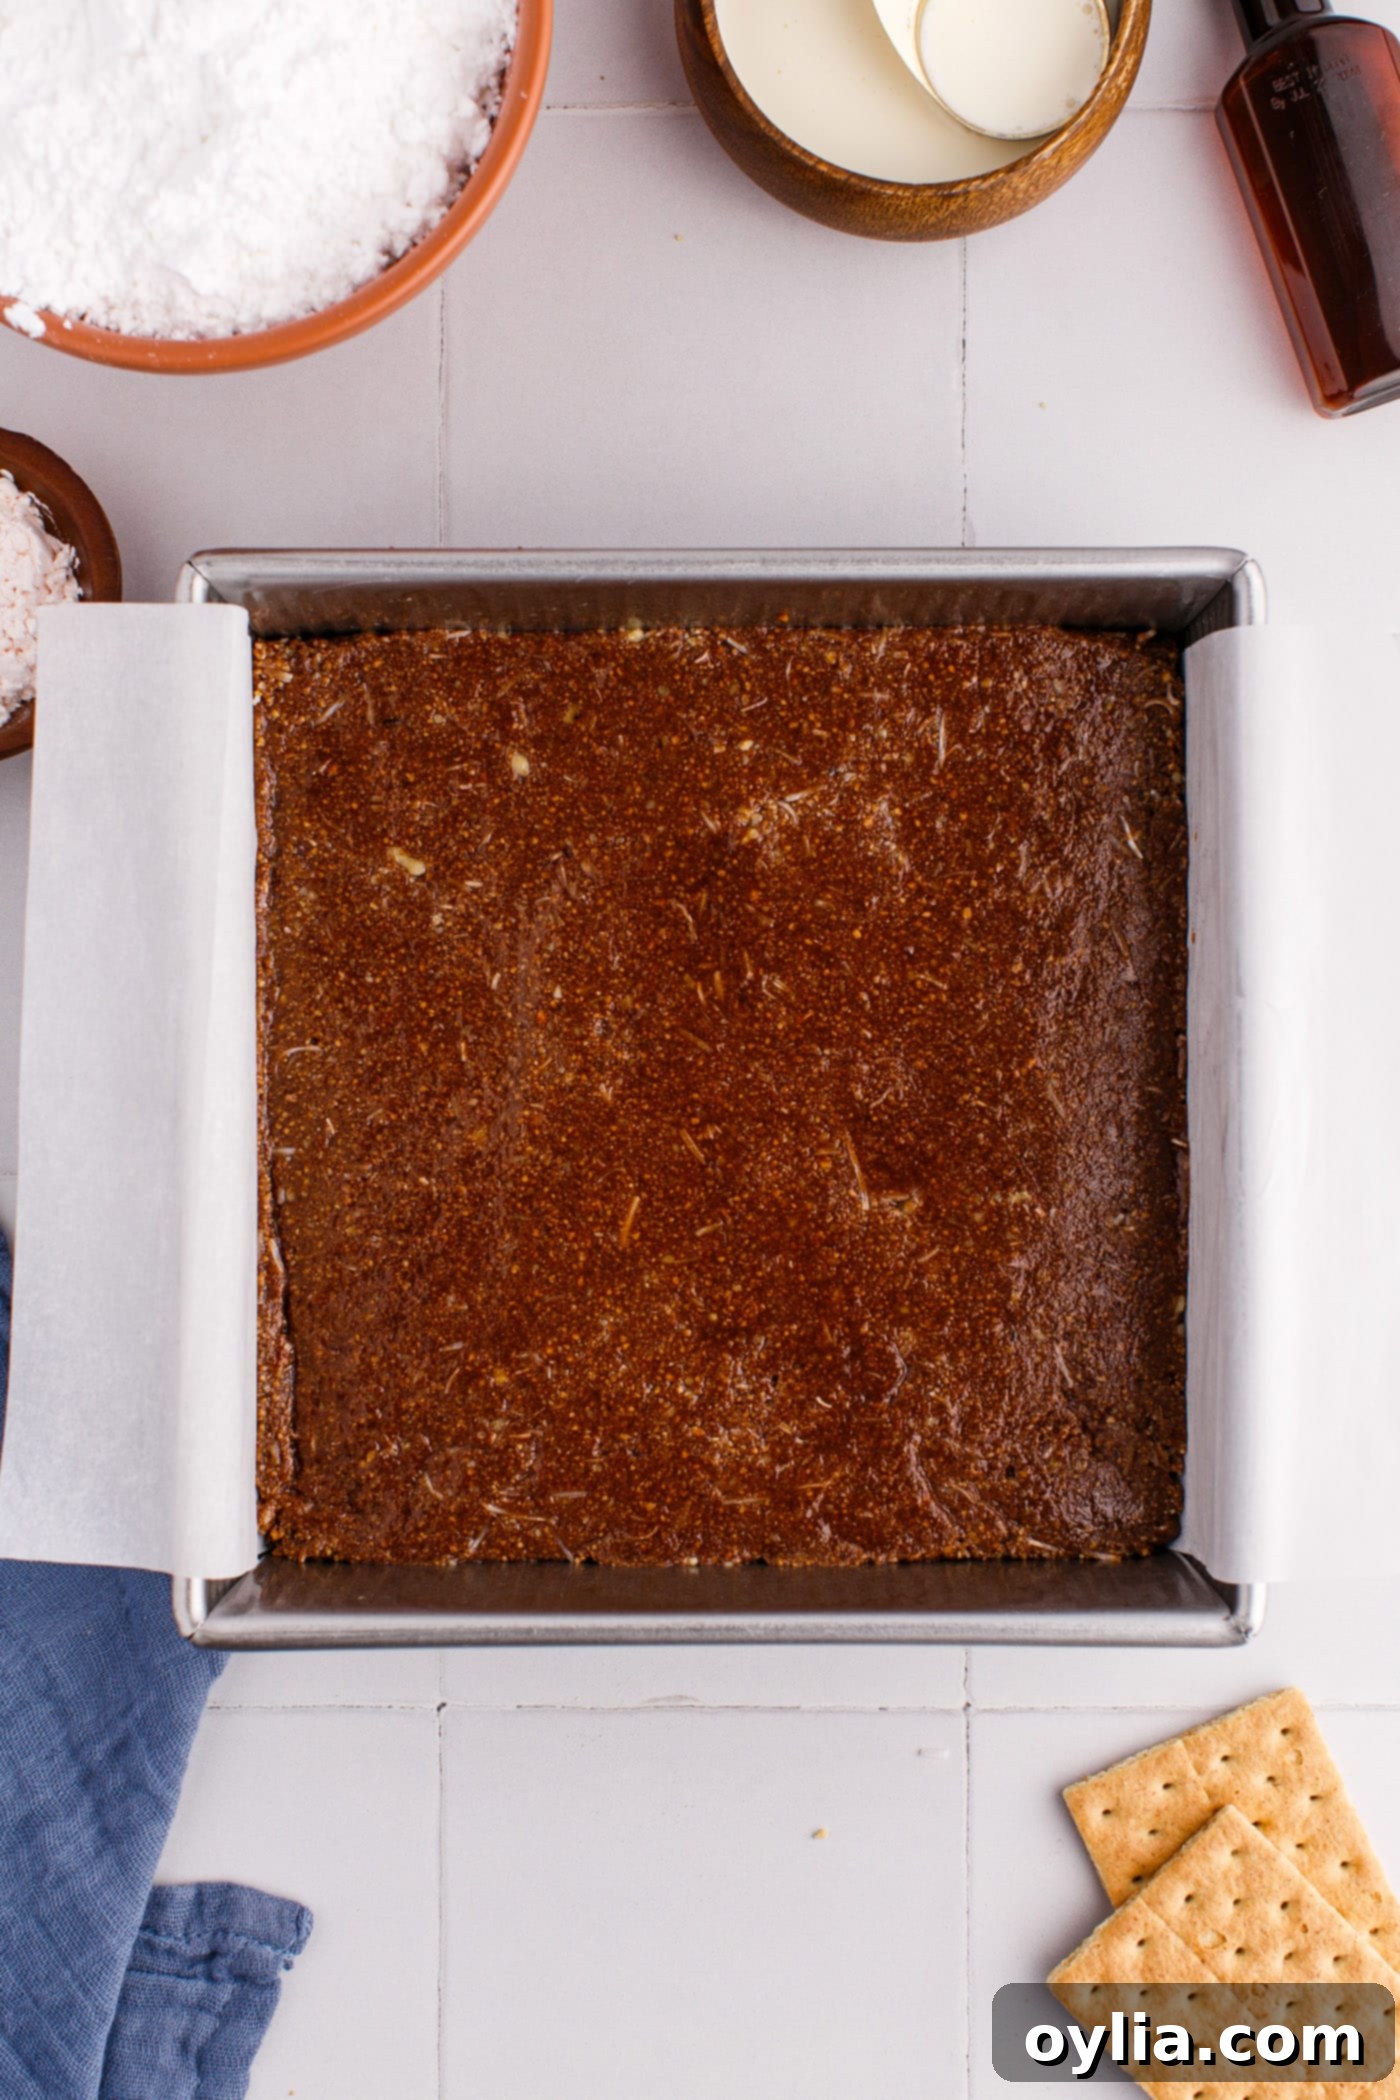
- Press into pan: Pour the crust mixture into your prepared baking dish. Using the back of a spoon, a flat-bottomed measuring cup, or a water glass, press the mixture down firmly and evenly across the bottom of the pan to create a compact, uniform layer.
- Chill the crust: Place the pan with the crust in the refrigerator to chill while you prepare the filling. This helps it firm up and creates a stable base for the next layer.
For the Creamy Custard Filling:
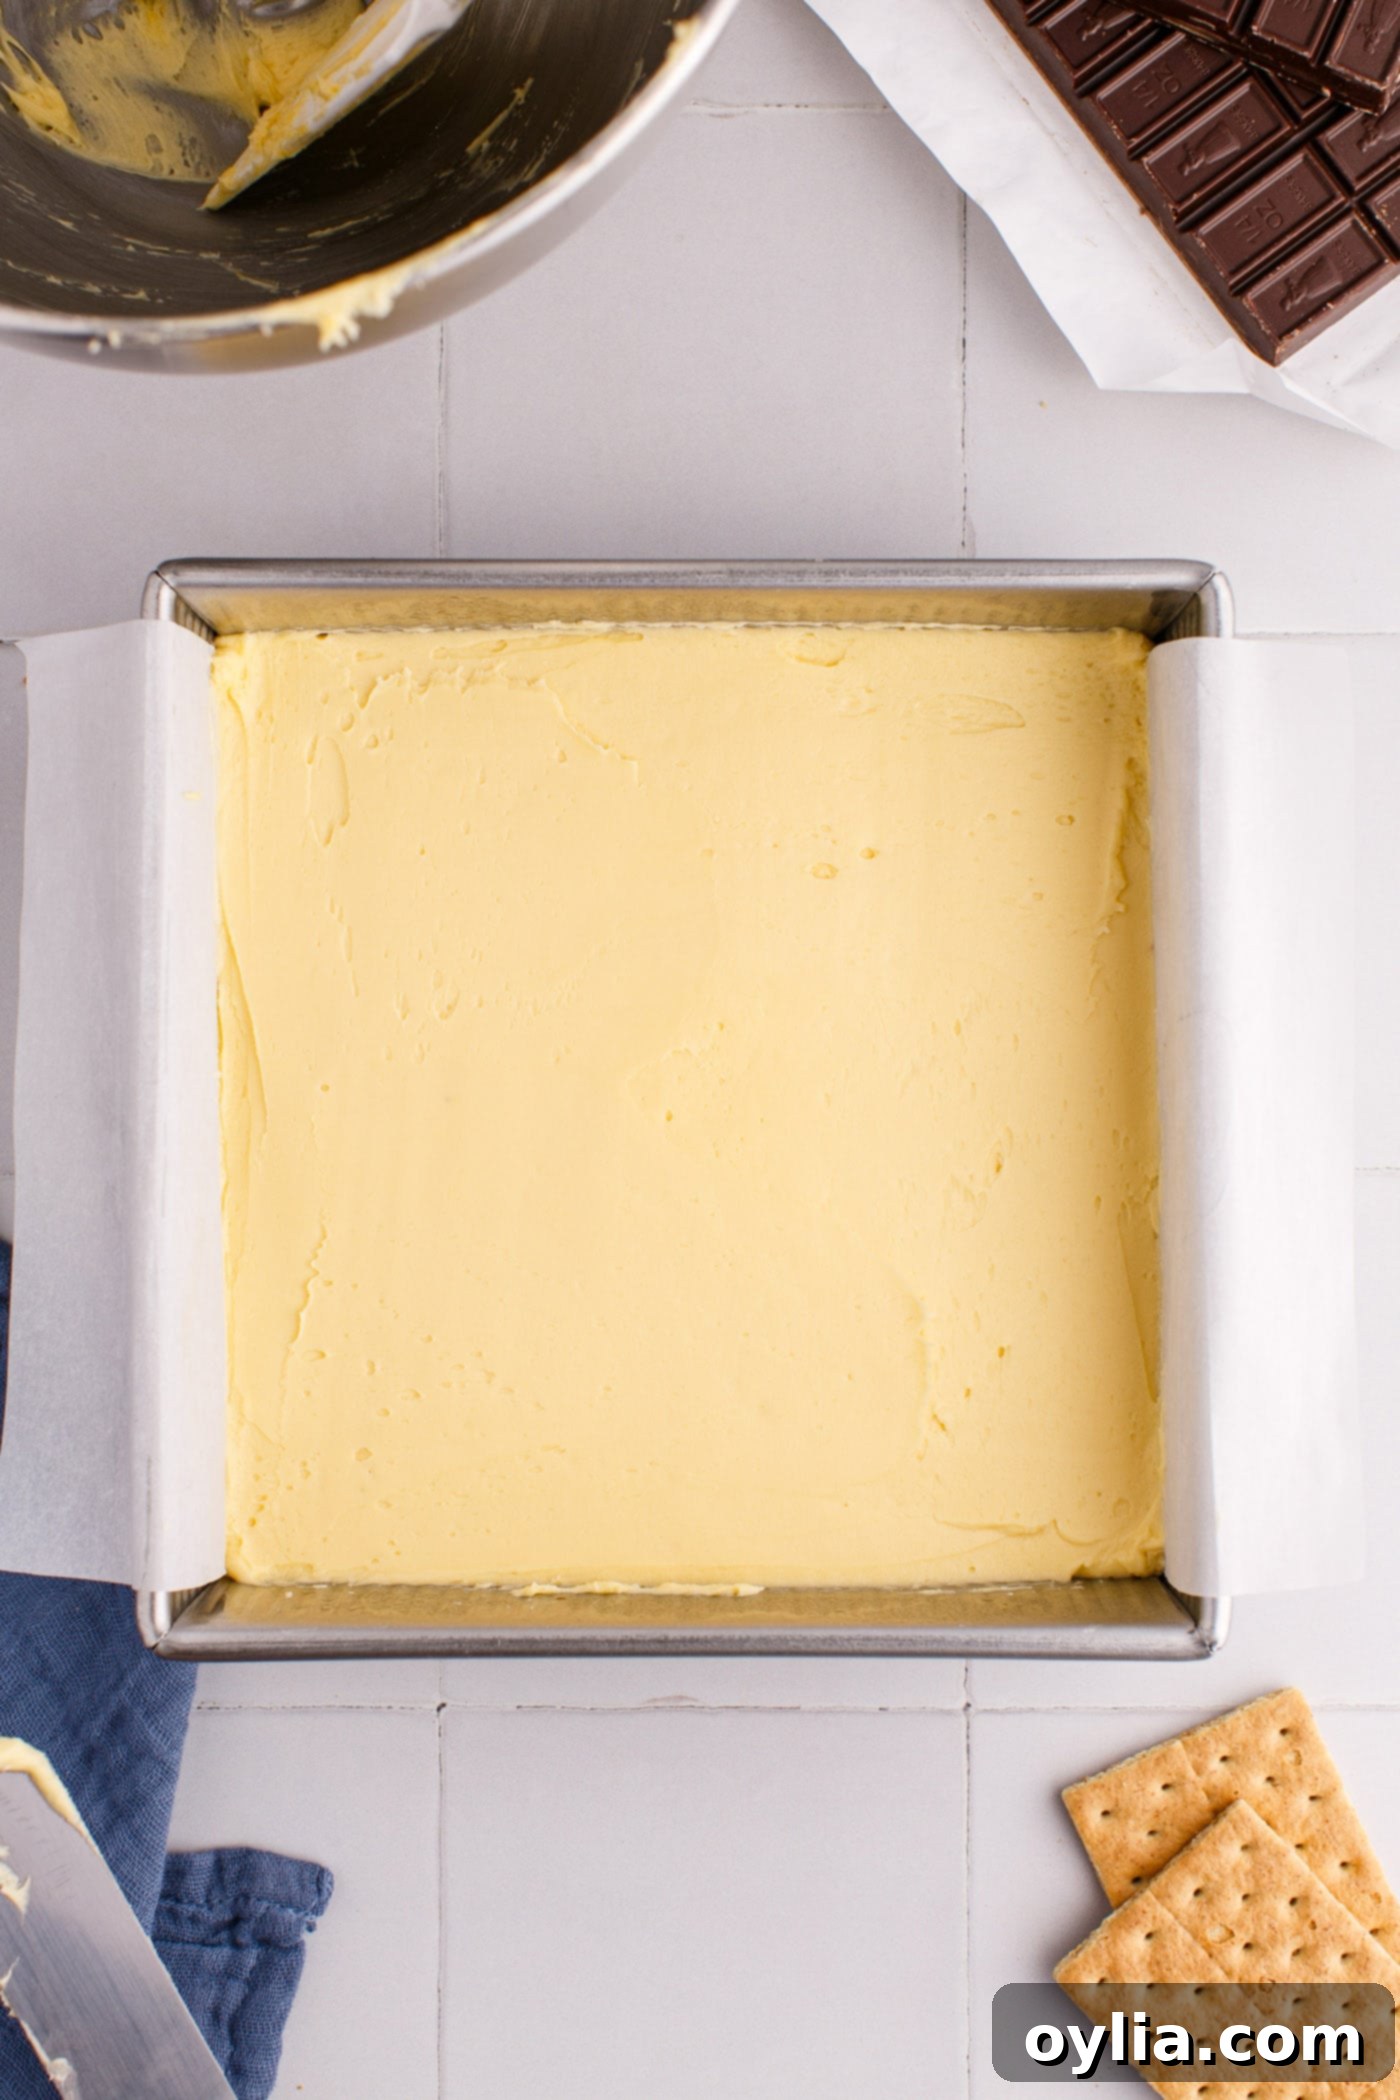
- Prepare the filling base: In the bowl of a stand mixer (or a large bowl with a hand mixer), combine the softened salted butter, custard powder, and pure vanilla extract. Beat these ingredients together until smooth and creamy.
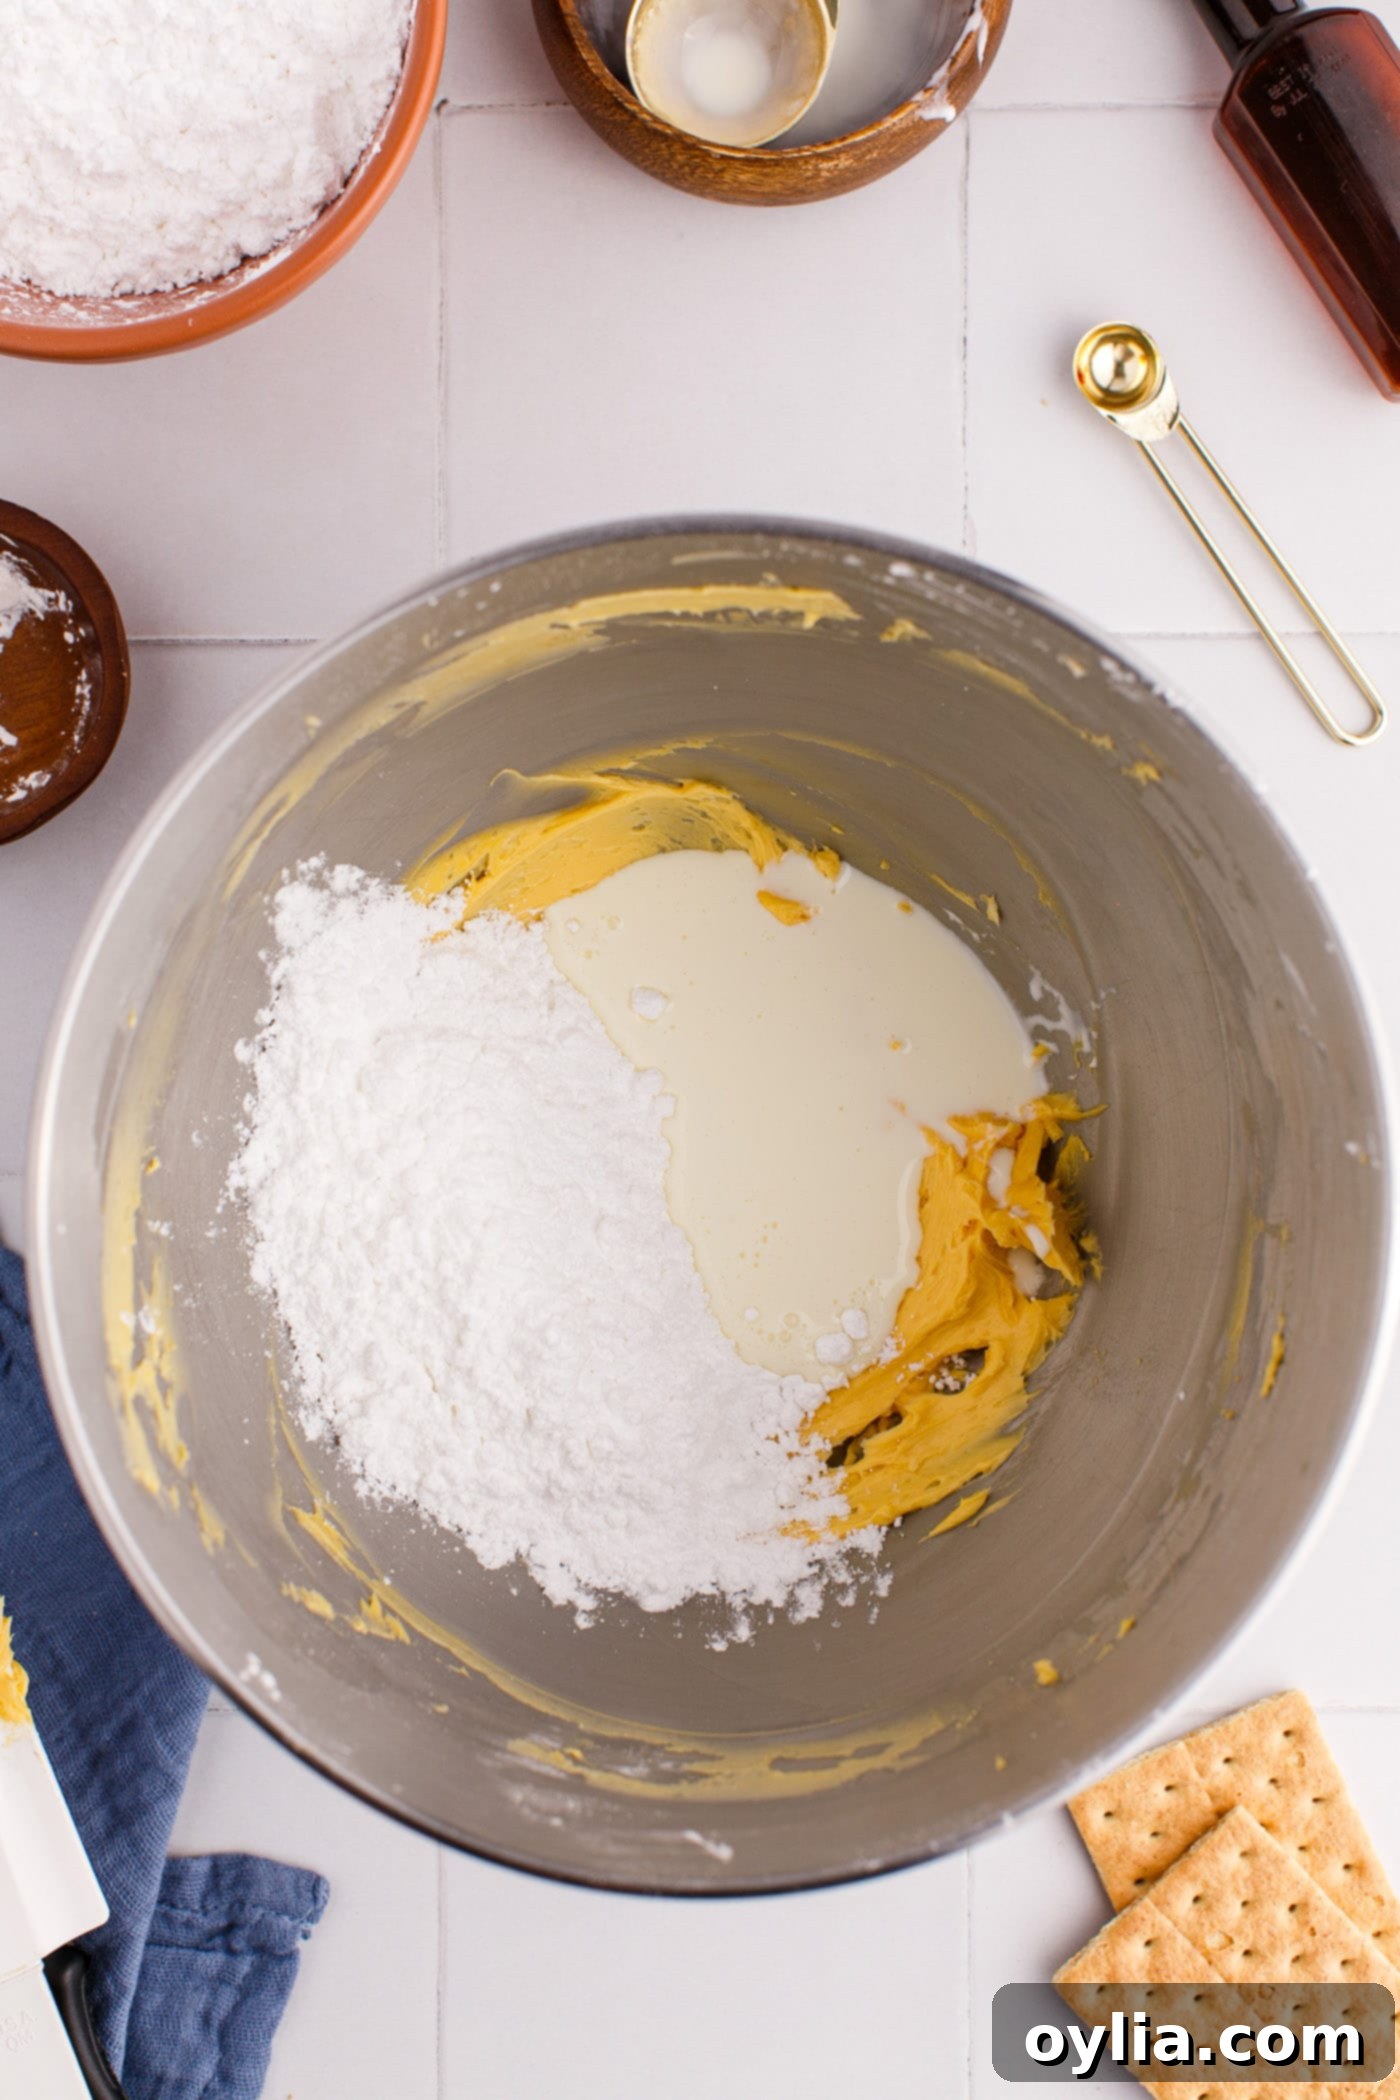
- Add remaining filling ingredients: Gradually add the icing sugar (also known as confectioners’ sugar or powdered sugar) to the butter mixture, beating on low speed until incorporated. Then, slowly pour in the heavy whipping cream. Increase the mixer speed to medium and beat until the filling is light, fluffy, and smooth. If it seems too stiff, add another half tablespoon of whipping cream until desired consistency is reached.
- Layer and chill: Carefully spread the custard filling evenly over the chilled crust layer. Use an offset spatula or the back of a spoon to create a smooth, consistent layer. Place the pan in the freezer for at least 10-15 minutes. This quick chill is crucial to firm up the custard before adding the warm chocolate topping, preventing the layers from mixing.
For the Silky Chocolate Topping:
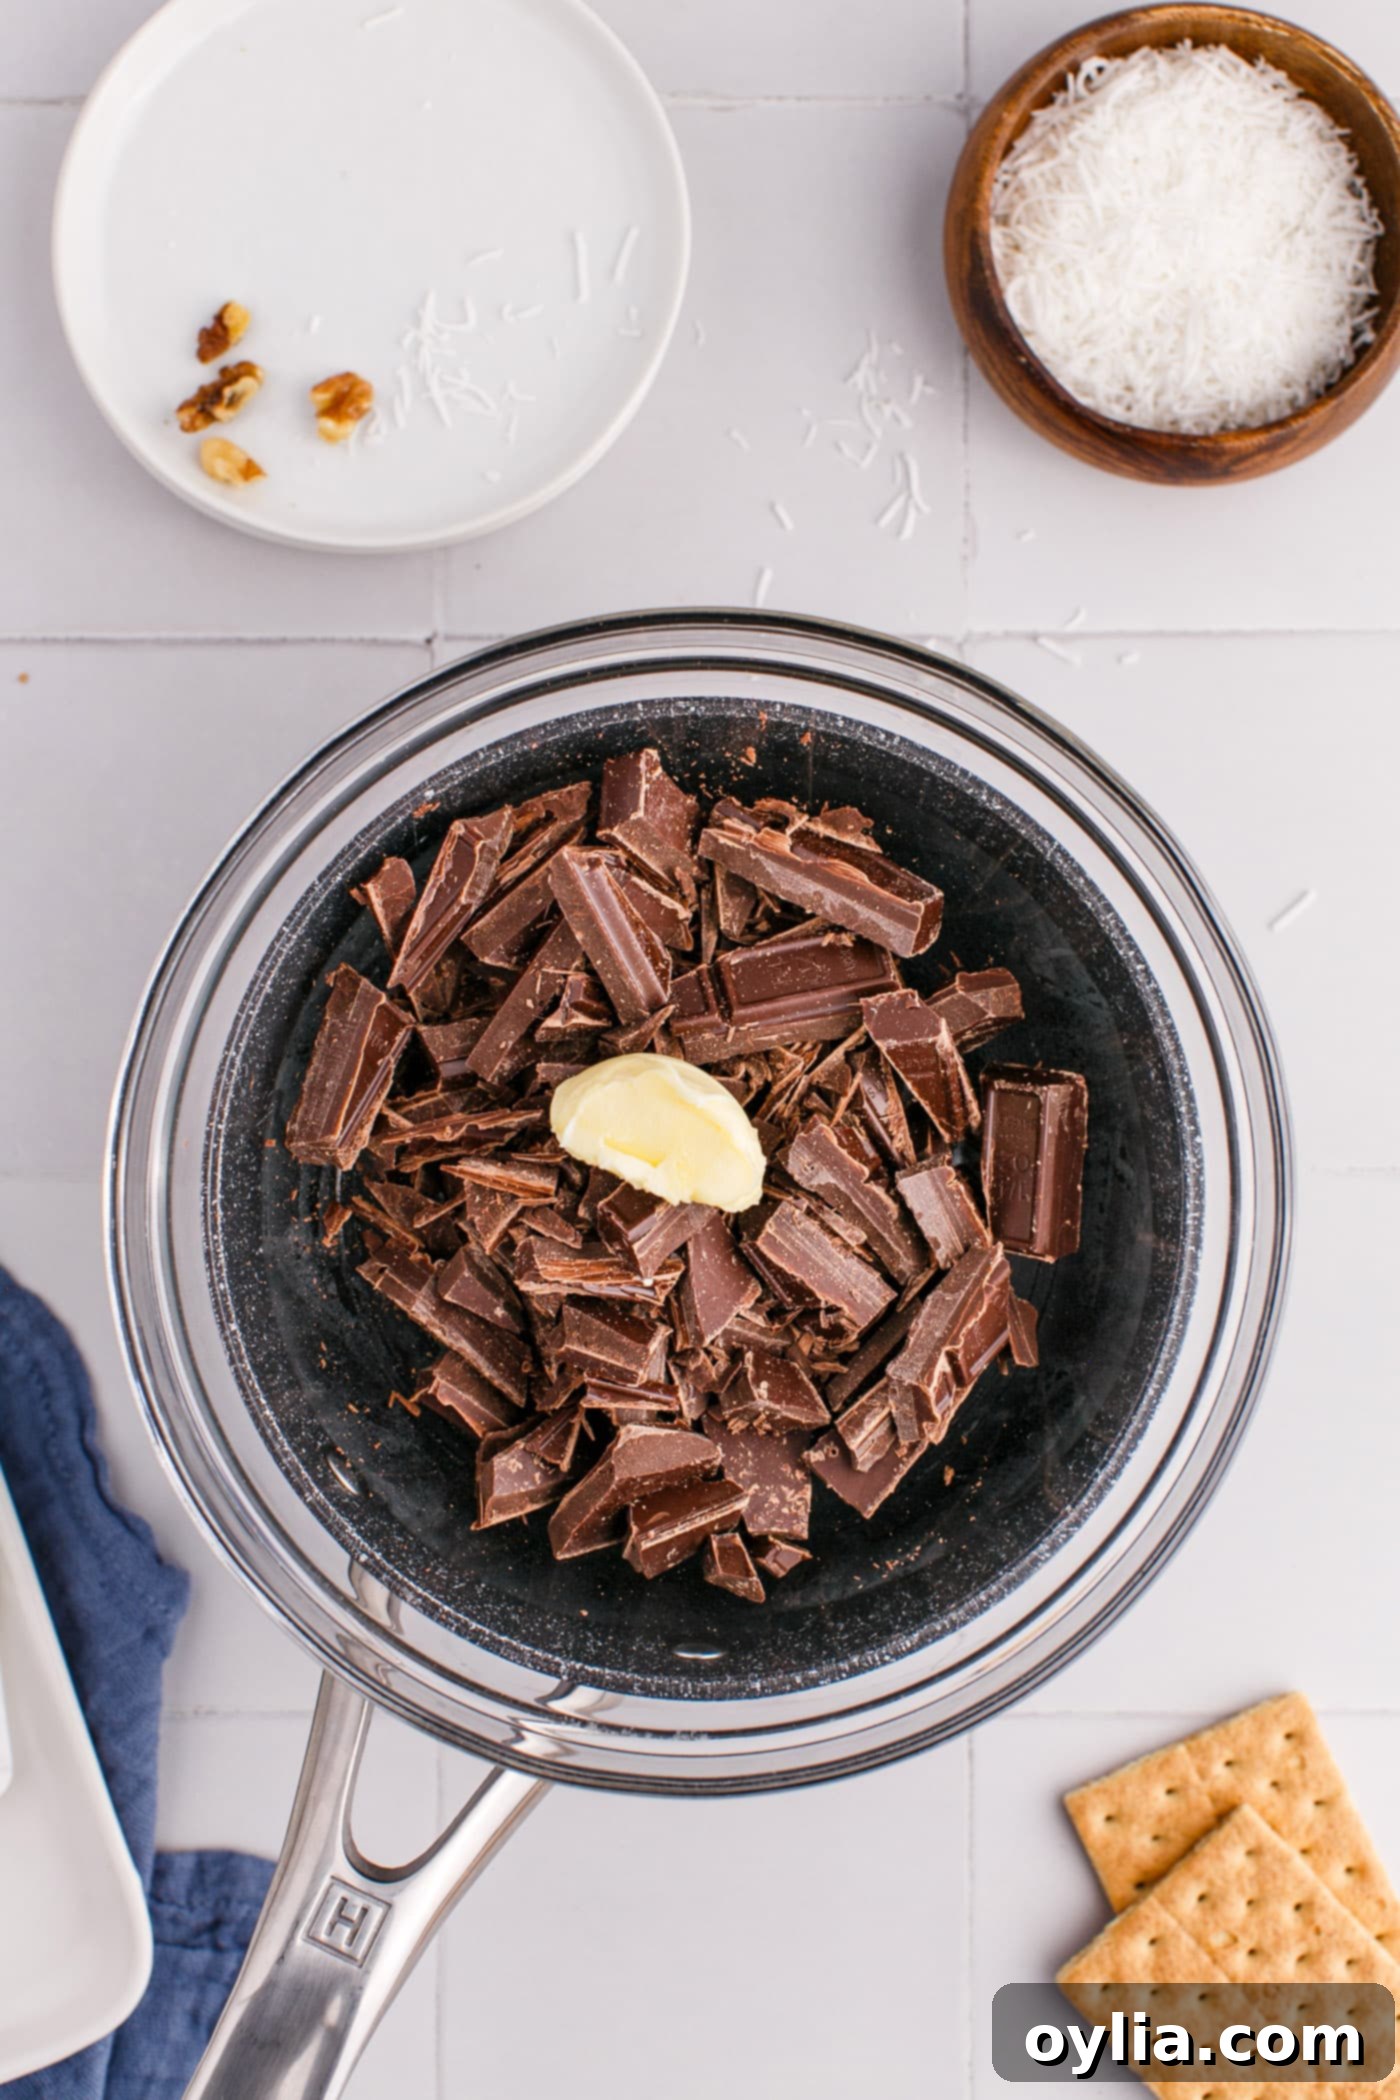
- Melt the chocolate: In a clean heat-safe bowl set over simmering water (or a microwave-safe bowl), melt the chopped semi-sweet chocolate bar along with 1 tablespoon of salted butter. Melt slowly over low-medium heat, stirring occasionally, until smooth and completely melted. Be careful not to overheat the chocolate, as it can seize.
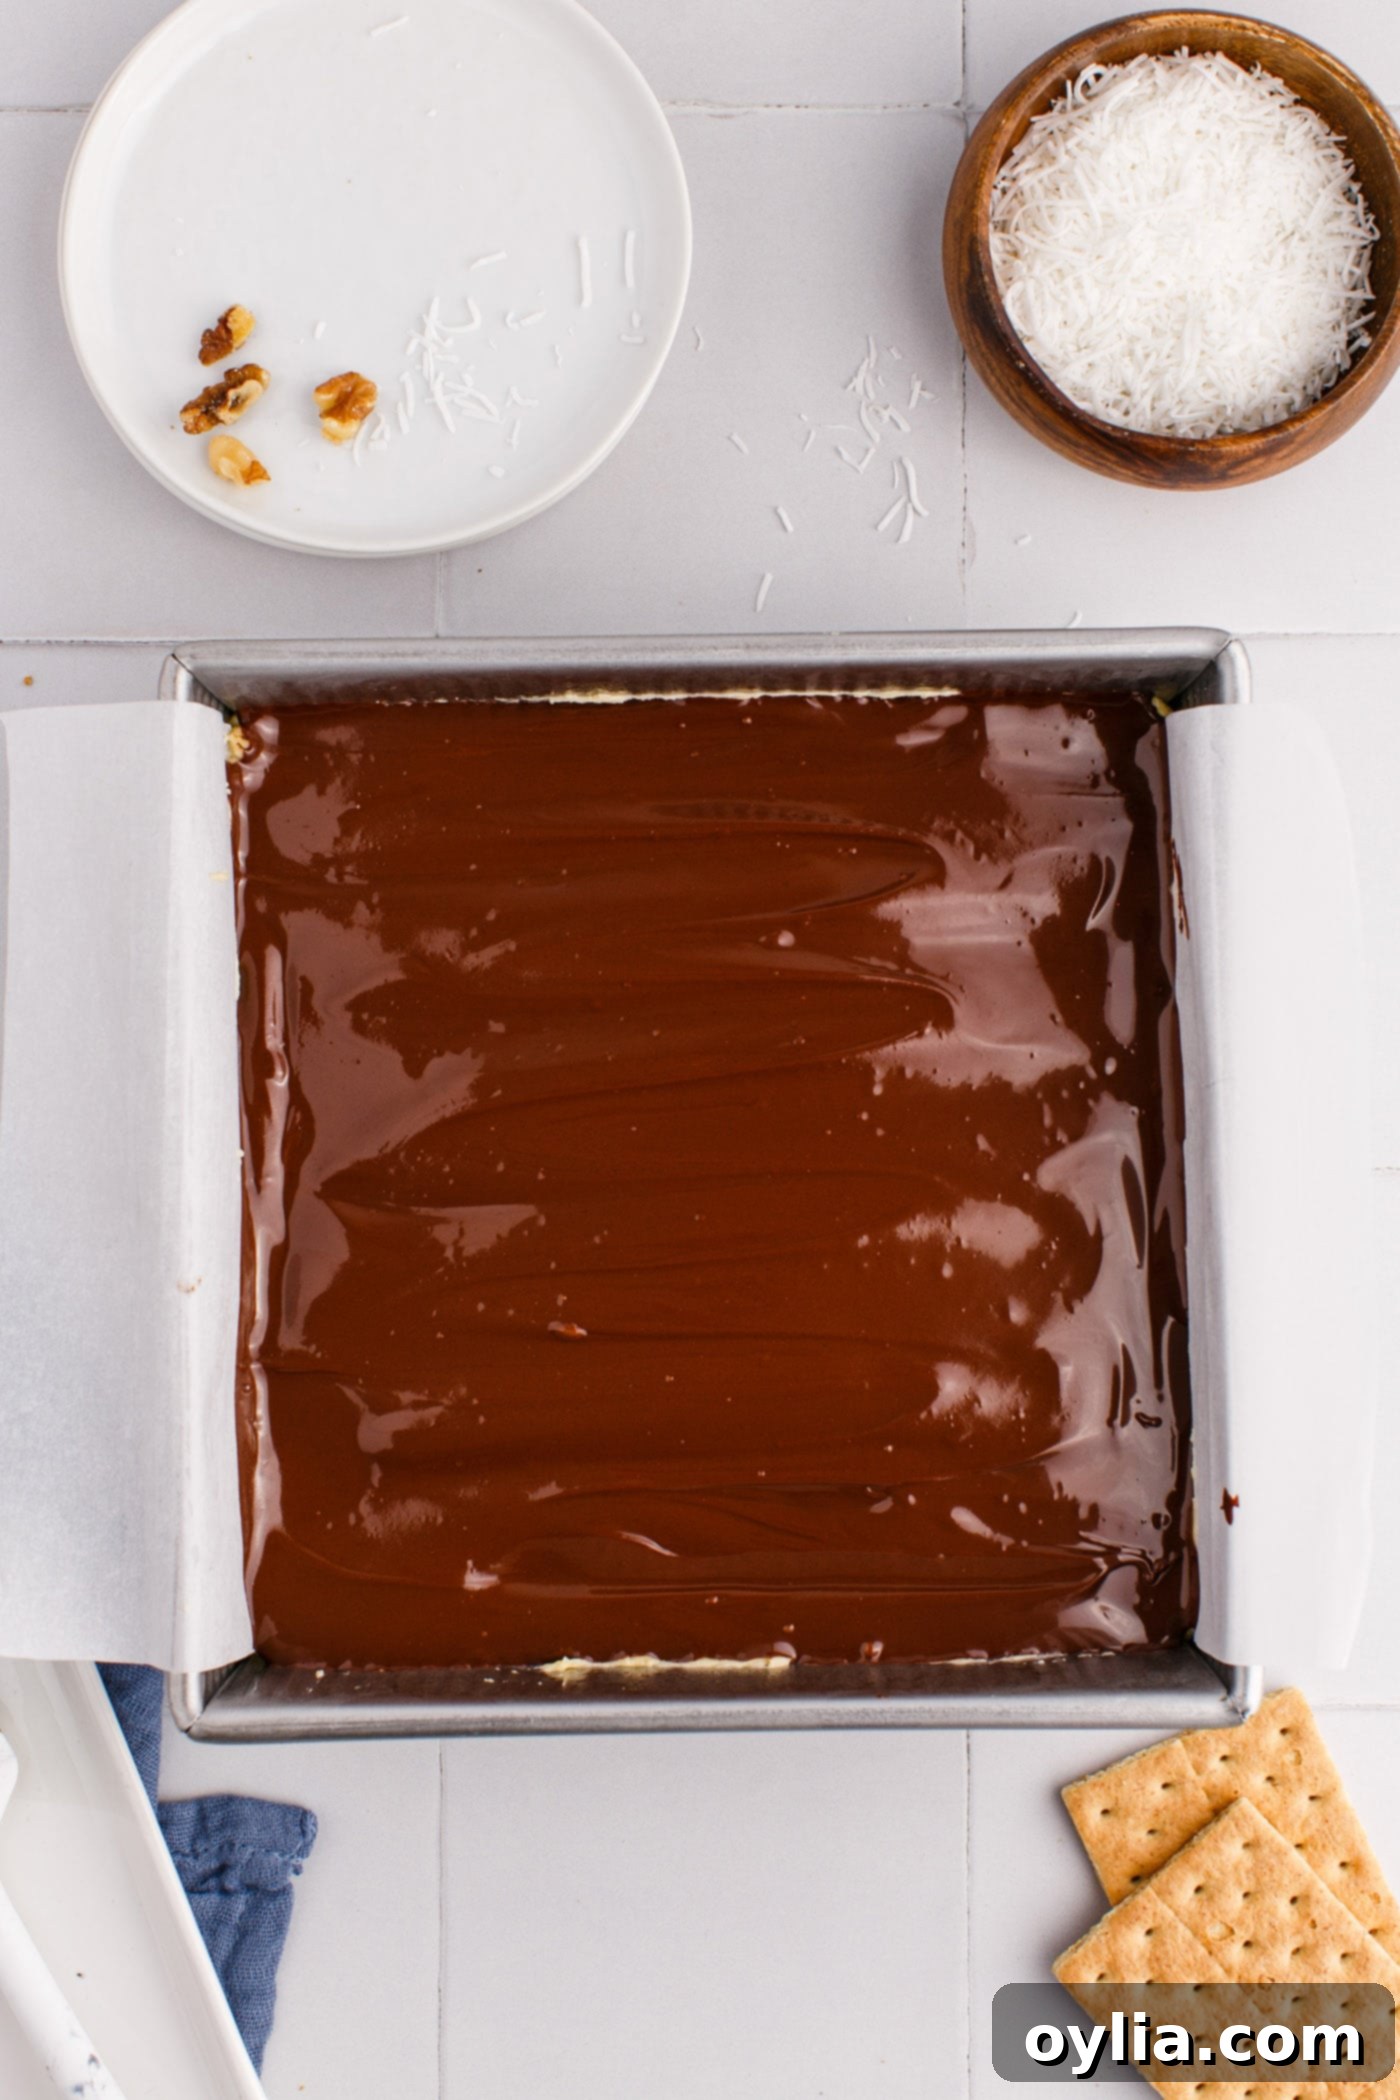
- Pour and smooth: Once the chocolate is melted and smooth, remove it from the heat. Carefully pour the melted chocolate mixture over the chilled custard layer, spreading it quickly and evenly with an offset spatula. Work efficiently, as the cold custard will cause the chocolate to set quickly.
- Final chill: Return the pan to the refrigerator and chill for at least 3 hours. This extended chill time is essential for all three layers to set completely, ensuring clean cuts and a stable bar.
Frequently Asked Questions & Expert Tips for Nanaimo Bars
Achieving the perfect Nanaimo bar is simple with a few expert tips. Here are answers to common questions and advice to ensure your bars are flawless:
To maintain their fresh taste and texture, Nanaimo bars should always be stored in an airtight container in the refrigerator. They will stay delicious for up to 4 days. The chilling helps keep the layers firm and prevents the chocolate from melting.
Yes, Nanaimo bars freeze beautifully, making them an excellent make-ahead dessert! To freeze, place them in an airtight container with layers of parchment paper in between each bar to prevent sticking. You can also arrange them in a large freezer-safe zip-top bag, lying them flat. They will maintain their quality in the freezer for up to 4 months. Thaw them in the refrigerator for a few hours or at room temperature for about 30 minutes before serving.
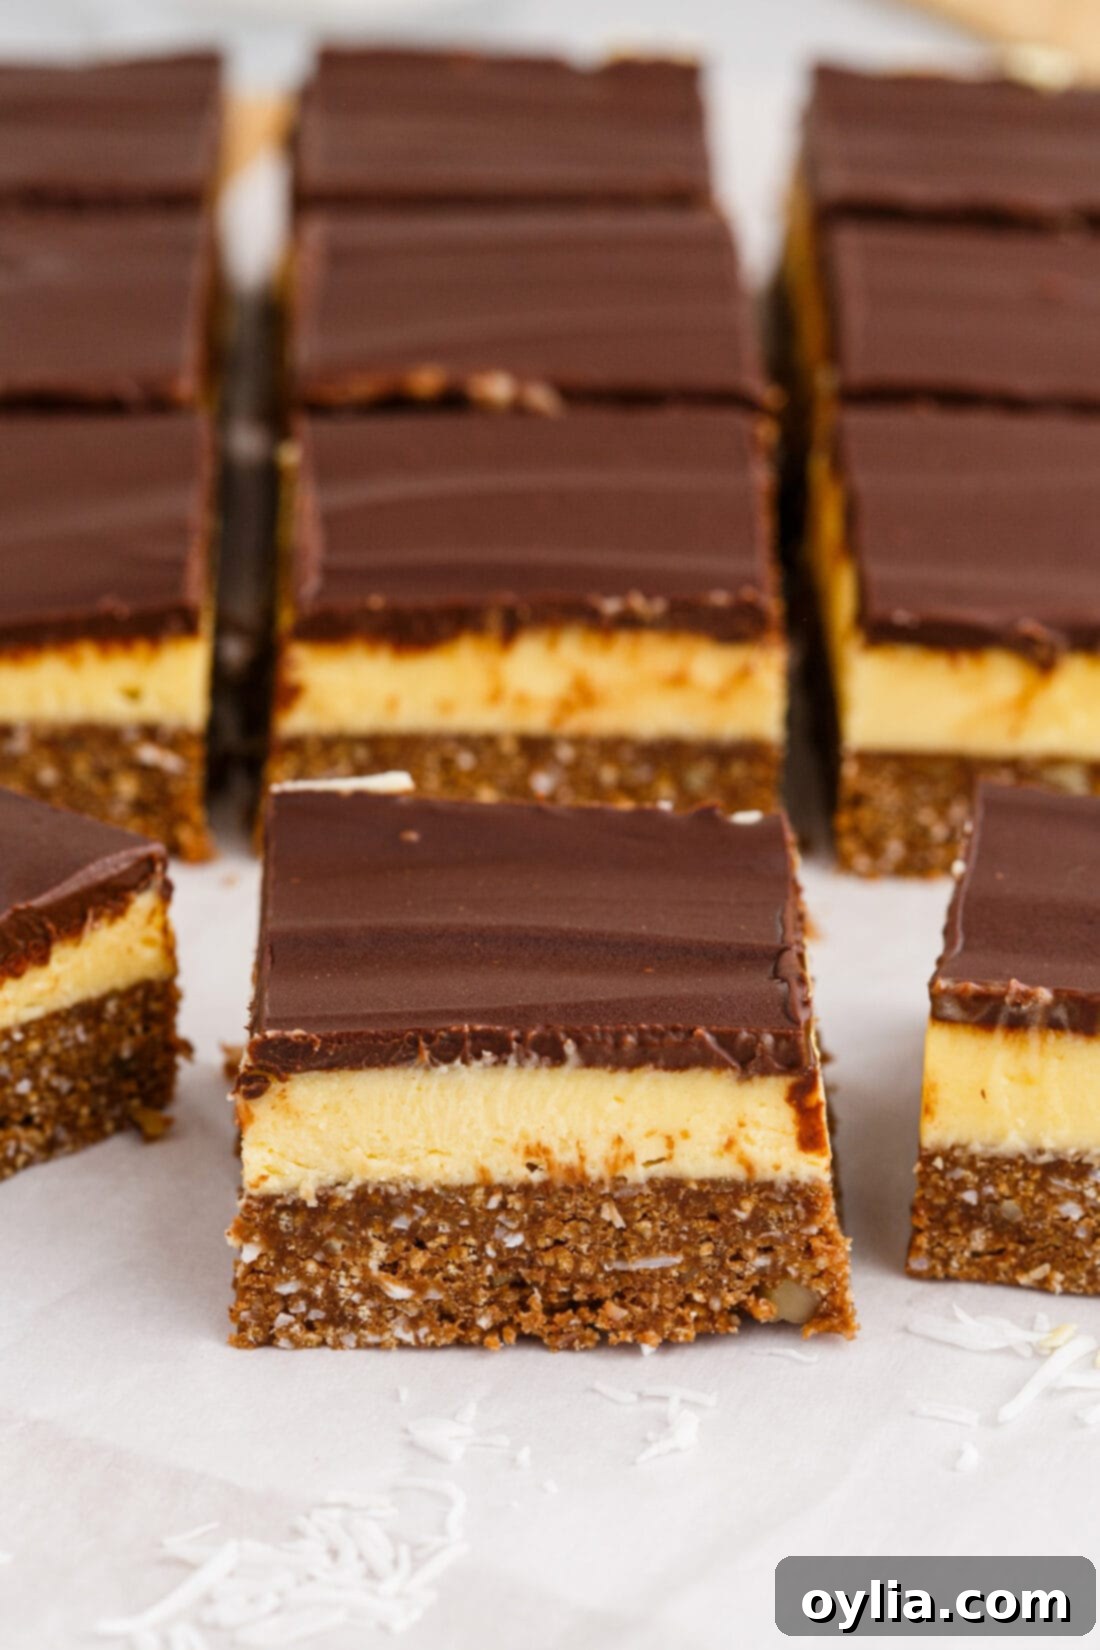
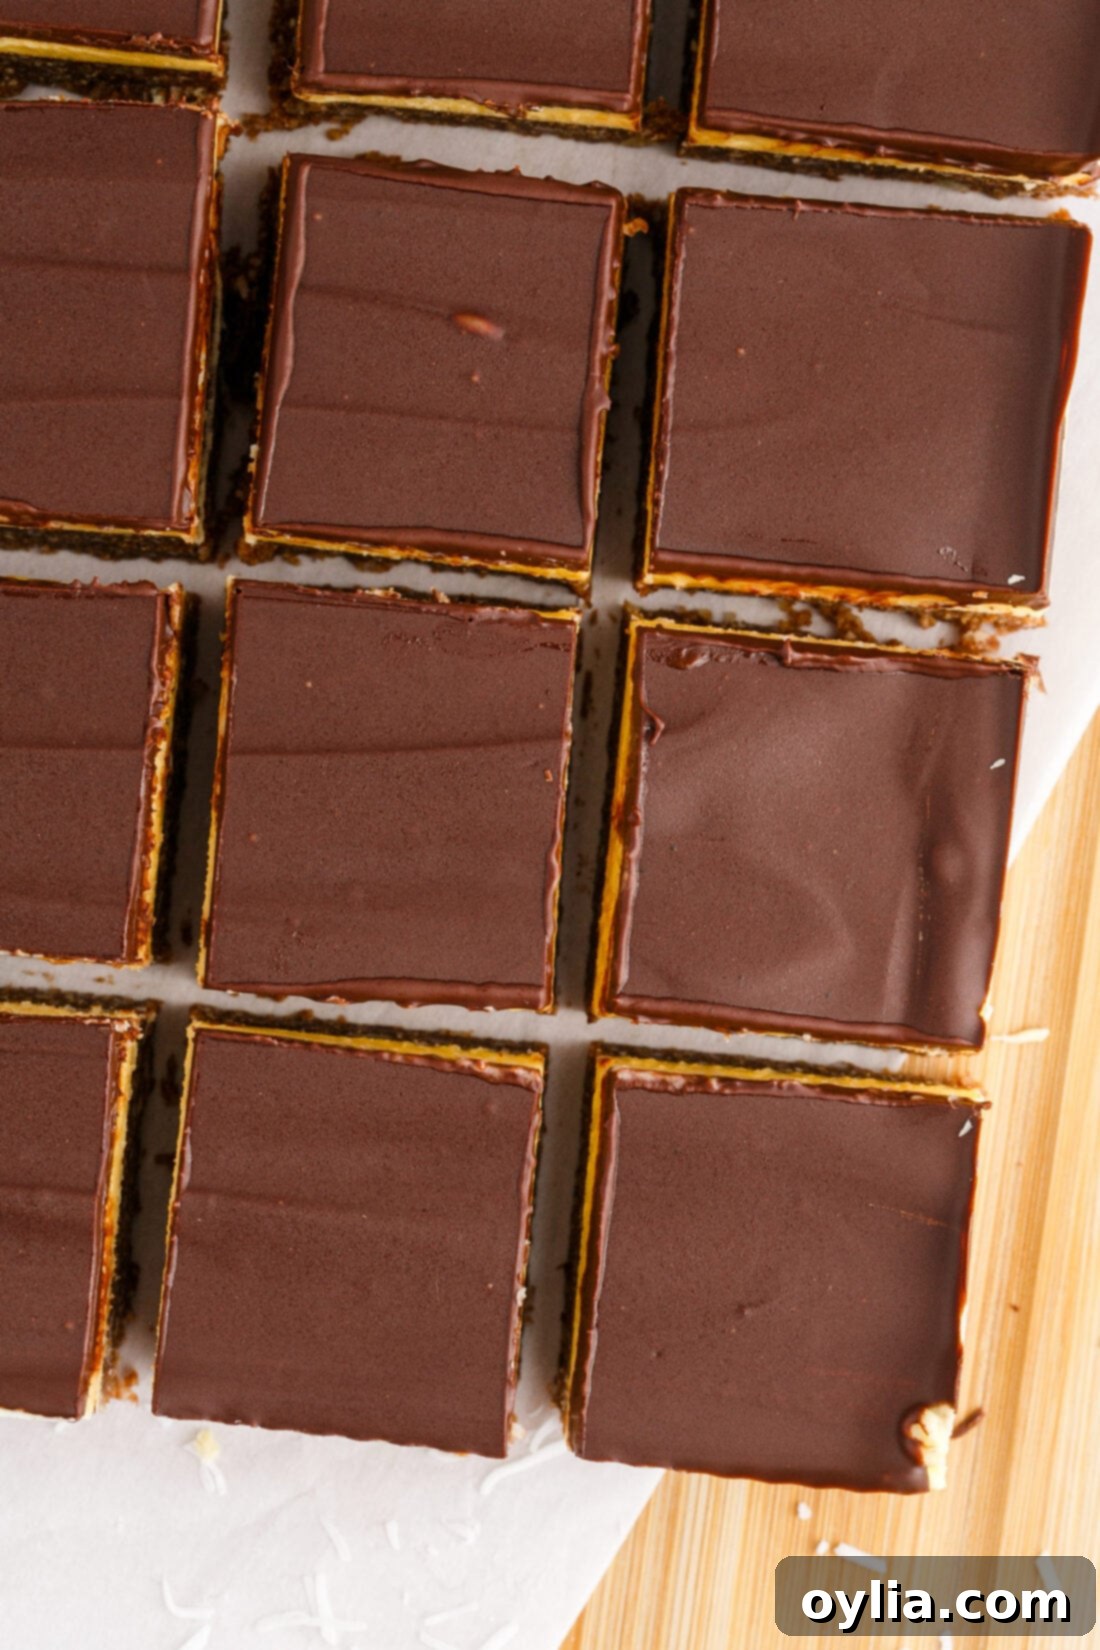
Cutting Nanaimo bars without cracking the chocolate layer can be tricky, but it’s easily achieved with the right technique. First, remove the chilled bars from the baking dish using the parchment paper handles and place them on a sturdy cutting board. For the cleanest cuts, use a sharp, thin-bladed knife. Run the knife under hot water for about 30 seconds, then quickly wipe it dry. Gently press down through only the chocolate layer to score your desired lines. Re-rinse the knife under hot water and dry it before making each full cut through all three layers. Some prefer to score all the lines, then return the bars to the fridge or freezer for 10 minutes before making the final cuts, repeating the hot knife method for each cut. This helps ensure a clean, smooth chocolate top.
It’s important to note that the egg in the crust of traditional Nanaimo bars is tempered by whisking it continuously over hot melted butter, which raises its temperature without fully cooking it to a solid state. While this tempering process reduces risk, the egg does not reach a temperature that guarantees it is fully cooked, similar to some custards or mousses. Therefore, for reasons of food safety, we advise that **the elderly, young children, pregnant individuals, and anyone with a compromised immune system should exercise caution or avoid consuming these bars** due to the presence of an uncooked egg. If you have concerns, consider seeking alternative recipes that use a fully cooked crust or egg substitutes, or consult with a healthcare professional.
For the crust, use a flat-bottomed measuring cup or the bottom of a water glass to press the mixture firmly and evenly into the pan. For the custard and chocolate layers, an offset spatula is your best friend. It allows for smooth, controlled spreading. Ensure each layer is thoroughly chilled before adding the next to maintain sharp, distinct lines.
Serving Suggestions: Enjoying Your Nanaimo Bars
Nanaimo bars are a versatile dessert that can be enjoyed in many ways. They are best served chilled, directly from the refrigerator, allowing their distinct layers and rich flavors to truly shine. Cut them into small squares or rectangles, as they are quite rich and a little goes a long way. These bars make a perfect accompaniment to a warm cup of coffee, a soothing mug of tea, or a tall glass of cold milk. They’re also a fantastic addition to any dessert platter, holiday spread, or special occasion. Their elegant appearance and decadent taste are sure to impress your guests.
A Very Important Reminder on Egg Safety: As previously mentioned in the “Ingredient Info” and “FAQ” sections, the egg in the crust of this traditional Nanaimo bar recipe is tempered, not fully cooked. While this is how classic custard recipes are often prepared, it means the egg does not reach a temperature high enough to eliminate all risks associated with raw or undercooked eggs. For this reason, we strongly advise that **the elderly, young children, pregnant women, and individuals with weakened immune systems exercise caution or avoid consuming these bars altogether.** Your health and safety are paramount, so please consider this important advisory when preparing and serving this beloved dessert.
Explore More No-Bake Dessert Recipes
If you loved the ease and deliciousness of these no-bake Nanaimo bars, you’re in for a treat! Here are more fantastic no-bake dessert ideas to satisfy your sweet cravings without turning on the oven:
- Refreshing Lemon Icebox Cake
- Quick & Easy Chocolate No-Bake Cookies
- Delicious No-Bake Peanut Butter Bars
- Sweet No-Bake Strawberry Cheesecake Bars
- Creamy Lemon Cream Cheese Pudding Dessert
I am passionate about baking and cooking, and I love sharing my culinary adventures with all of you! To make sure you never miss a new recipe, I offer a convenient newsletter. Simply subscribe here and start receiving delicious new recipes directly in your inbox daily!
Classic No-Bake Nanaimo Bars
IMPORTANT – There are often Frequently Asked Questions within the blog post that you may find helpful. Simply scroll back up to read them!
Print It
Pin It
Rate It
Save ItSaved!
Ingredients
Crust
- ⅓ cup granulated white sugar
- ¼ cup unsweetened cocoa powder
- 2 cups graham cracker crumbs
- ½ cup walnuts finely pulsed
- ½ cup unsweetened shredded coconut
- ½ cup salted butter 1 stick, does not need to be softened
- 1 large egg lightly beaten
Filling
- ½ cup salted butter 1 stick, softened
- 3 Tablespoons custard powder
- ½ teaspoon pure vanilla extract
- 2 ½ cups icing sugar aka confectioners sugar or powdered sugar
- 3 Tablespoons heavy whipping cream
Chocolate Layer
- 8 ounces semi-sweet chocolate bar chopped
- 1 Tablespoon salted butter does not need to be softened
Equipment You’ll Need
-
8×8 inch baking pan
-
Stand mixer or hand mixer
-
Heat-proof bowl (for double boiler method)
-
Parchment paper
Important Notes & Tips Before You Begin
- Graham Cracker Crumbs: For 2 cups of crumbs, you’ll need to crush approximately 16-18 full sheets of graham crackers. Store-bought crumbs are also a great time-saver.
- Cutting Bars Cleanly: To avoid cracking the chocolate topping, always use a sharp knife. Run the knife under hot water, wipe it dry, and then make a light score on the chocolate. Repeat this hot water/wipe/cut method for each slice, going all the way through the bar. For best results, chill the bars for 10 minutes in the fridge or freezer after scoring, then proceed with the full cuts.
- Storage: Keep your Nanaimo bars fresh in an airtight container in the refrigerator for up to 4 days.
- *Important Egg Safety Note*: This traditional recipe includes a lightly tempered egg in the crust. While whisked over heat, the egg does not reach a fully cooked temperature. Therefore, **we strongly advise that the elderly, young children, pregnant individuals, and those with compromised immune systems avoid consuming these bars.** Please exercise caution.
- Freezing Instructions: Nanaimo bars are excellent for freezing! Place them in an airtight container with parchment paper between layers, or layer them flat in a large zip-top bag. They can be stored in the freezer for up to 4 months. Thaw in the refrigerator before serving.
- Quality Chocolate: Using a good quality baking chocolate bar for the top layer is crucial. It melts smoother and sets with a better texture and shine than chocolate chips.
- Chilling is Key: Don’t rush the chilling times between layers and for the final set. Proper chilling ensures distinct, firm layers that hold their shape.
Instructions for No-Bake Nanaimo Bars
Making the Crust
-
Line an 8×8 inch baking pan with parchment paper, leaving an overhang on two sides for easy removal, and spray lightly with non-stick spray.
-
In a small bowl, mix granulated sugar and cocoa powder; set aside.
-
In another small bowl, combine graham cracker crumbs, finely pulsed walnut crumbs, and shredded coconut; also set aside.
-
Using a heat-proof bowl over simmering water on the stovetop, slowly melt the ½ cup salted butter over low-medium heat. Once melted, remove the bowl from the heat (keep stovetop on low).
-
Whisk the sugar and cocoa mixture into the melted butter. Then, very slowly, while continuously whisking, gradually add the lightly beaten egg. Continue whisking constantly.
-
Return the bowl to the low heat and whisk for 1-2 minutes until the mixture thickens slightly. Remove from heat and turn off the stovetop. Stir in the crumb and coconut mixture until well combined.
-
Pour the crust mixture into the prepared baking dish and press down firmly to create an even layer. A flat-bottomed measuring cup or glass works well for this.
-
Chill the crust in the refrigerator while you prepare the filling layer.
Preparing the Custard Filling
-
In a stand mixer bowl, add the ½ cup softened salted butter, custard powder, and vanilla extract. Beat to combine until smooth.
-
Slowly add the 2 ½ cups icing sugar and 3 tablespoons of heavy whipping cream. Beat on medium speed until the filling is light, fluffy, and smooth.
-
Spread the custard filling evenly over the chilled crust layer. Place the pan in the freezer for at least 10-15 minutes to firm up before making and adding the chocolate layer.
Adding the Chocolate Topping
-
To make the chocolate layer, use a heat-safe bowl over simmering water (or microwave in short bursts) and melt 8 ounces of chopped semi-sweet chocolate bar along with 1 tablespoon of salted butter, stirring until smooth.
-
Once melted and smooth, pour the chocolate mixture over the chilled custard layer and quickly spread it out evenly with an offset spatula.
-
Chill the Nanaimo bars in the fridge for at least 3 hours (or overnight) before attempting to cut them.
Nutrition Information
Tried this Recipe? Pin it for Later!Follow on Pinterest @AmandasCookin or tag #AmandasCookin!
The recipes on this blog are tested with a conventional gas oven and gas stovetop. It’s important to note that some ovens, especially as they age, can cook and bake inconsistently. Using an inexpensive oven thermometer can assure you that your oven is truly heating to the proper temperature. If you use a toaster oven or countertop oven, please keep in mind that they may not distribute heat the same as a conventional full sized oven and you may need to adjust your cooking/baking times. In the case of recipes made with a pressure cooker, air fryer, slow cooker, or other appliance, a link to the appliances we use is listed within each respective recipe. For baking recipes where measurements are given by weight, please note that results may not be the same if cups are used instead, and we can’t guarantee success with that method.
