Delightful Carrot Rice Krispie Treats: The Ultimate No-Bake Easter Dessert for Kids & Adults!
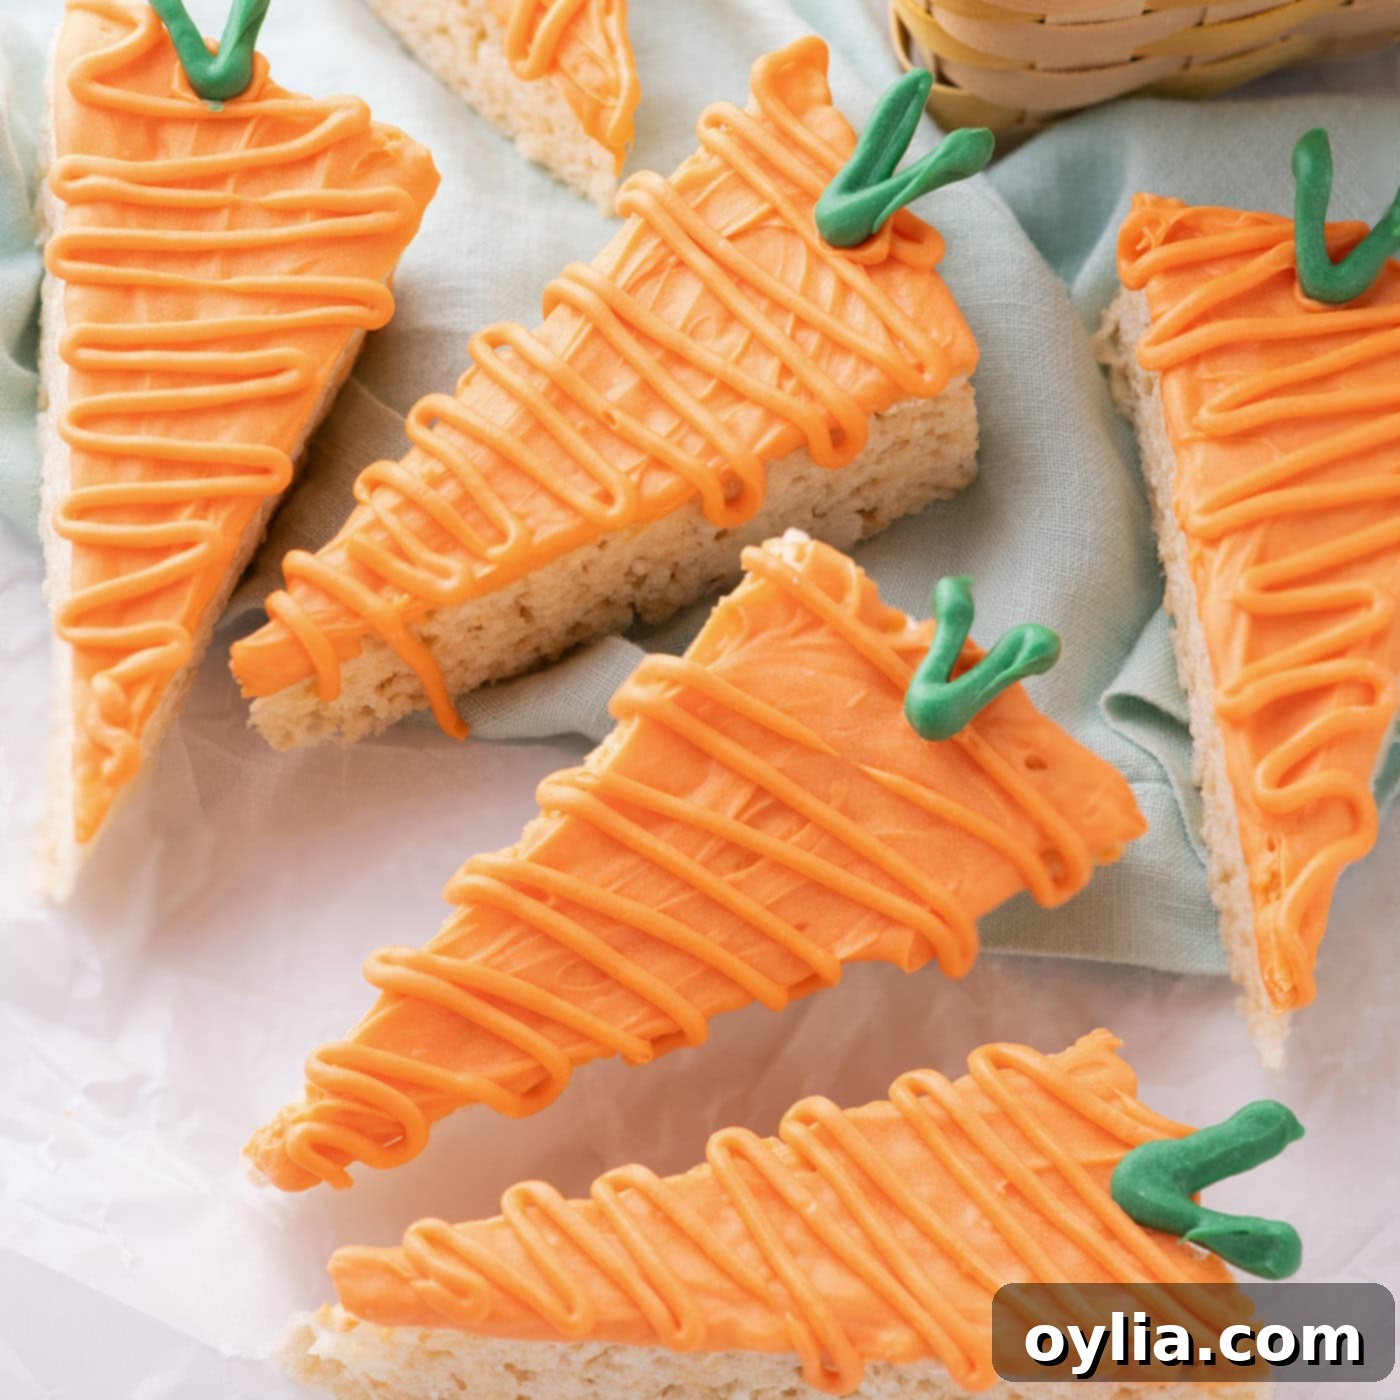
Get ready to hop into Easter with these irresistibly cute and incredibly delicious Carrot Rice Krispie Treats! Shaped like festive carrots and generously dipped and drizzled in vibrant orange pastel chocolate, these treats are the perfect blend of sweet, chewy, and crispy. They are not just a dessert; they’re a centerpiece, a fun activity, and a memory-maker for your spring celebrations. Imagine sinking your teeth into a gooey marshmallow-cereal base, perfectly balanced with a delicate chocolate coating – pure bliss!
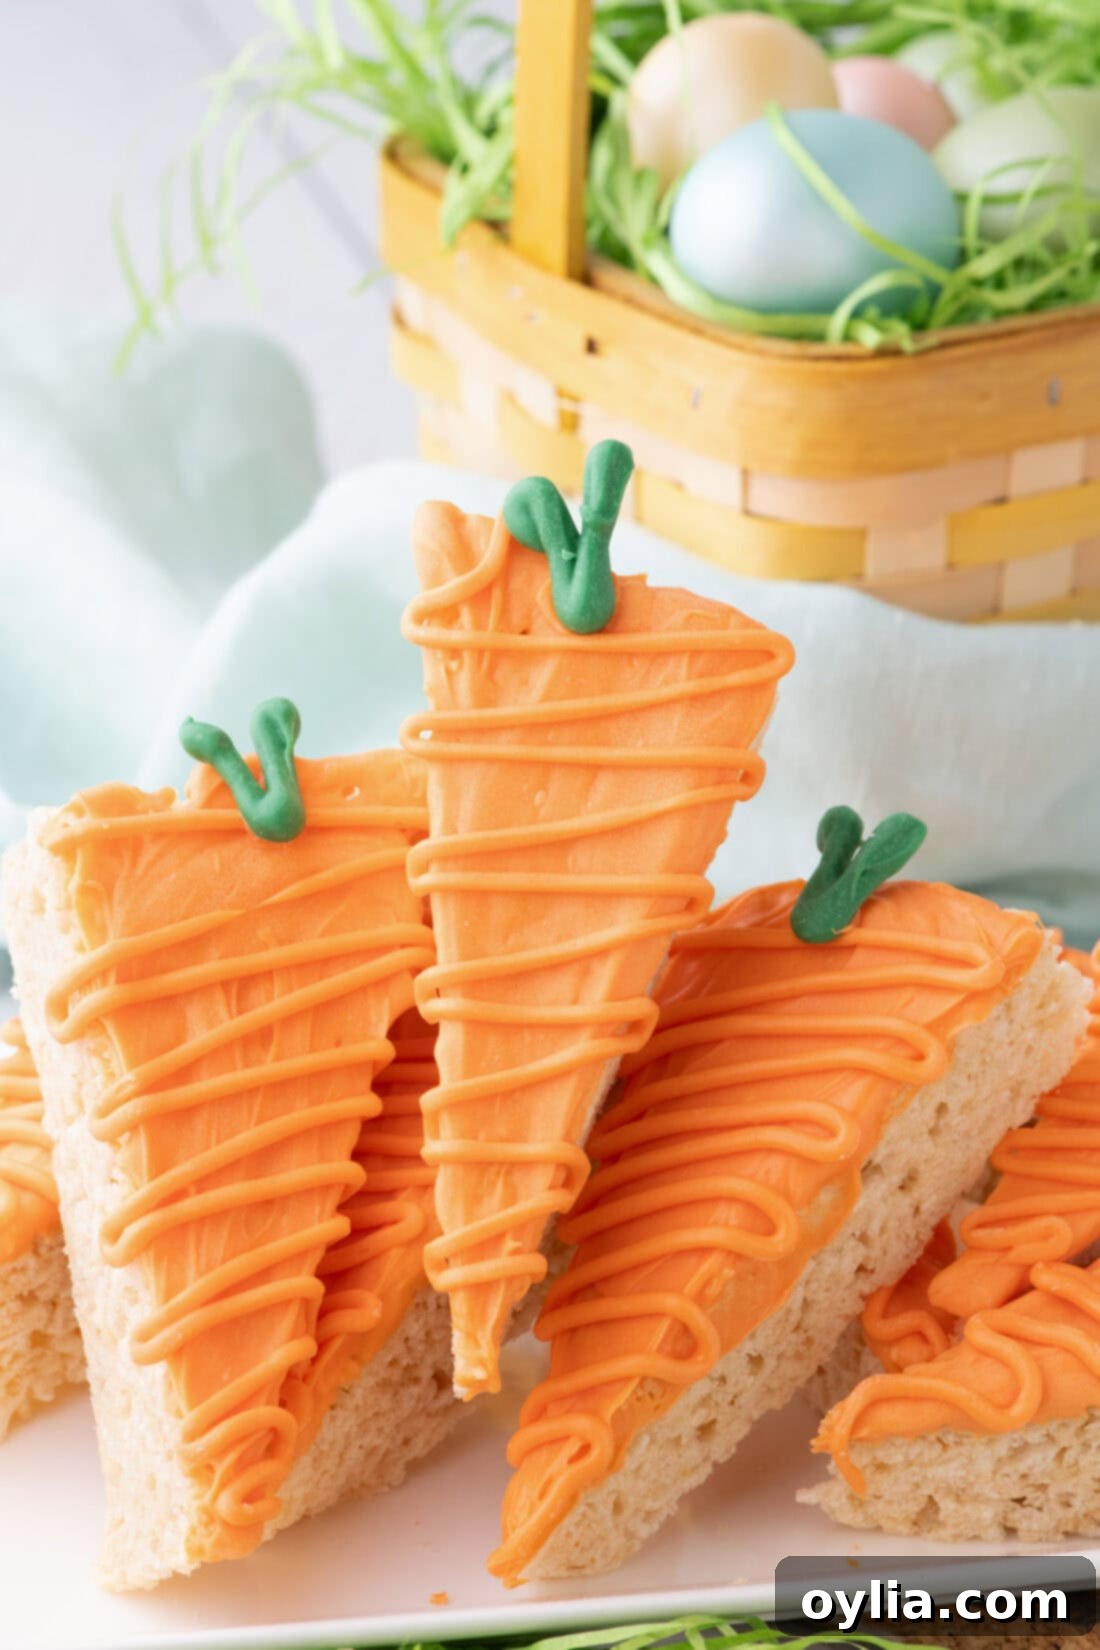
Why This Easter Carrot Rice Krispie Treat Recipe Works So Well
These aren’t your average, everyday marshmallow cereal squares. These Carrot Rice Krispie Treats are elevated to a festive level, offering a crisp, sticky, sweet bite that truly stands out. What makes this recipe an absolute winner, especially for Easter? It’s the delightful combination of simplicity, visual appeal, and that undeniable nostalgic taste.
There’s nothing overtly complicated about crafting these charming treats. You’re essentially taking a beloved classic, adding a vibrant touch of orange chocolate, and cleverly slicing them into an adorable carrot shape. The transformation is remarkable; they look like they’ve come straight from a gourmet bakery, but the satisfaction of knowing you made them yourself is unparalleled. This recipe is fantastic for involving kids in the kitchen, offering a fun and safe way to create delicious Easter goodies without needing an oven.
Our family has a deep-rooted affection for Easter and Rice Krispie treats, and it’s a tradition we cherish. In previous years, we’ve even created adorable rice krispie nests that have become a yearly staple. It all boils down to that irresistible chewy, crackly, marshmallow-loaded bite that everyone adores. Plus, as you’ll see, these treats are incredibly versatile, allowing you to create truly cute and memorable Easter-themed creations with minimal effort. They bring joy, foster creativity, and deliver on taste every single time.
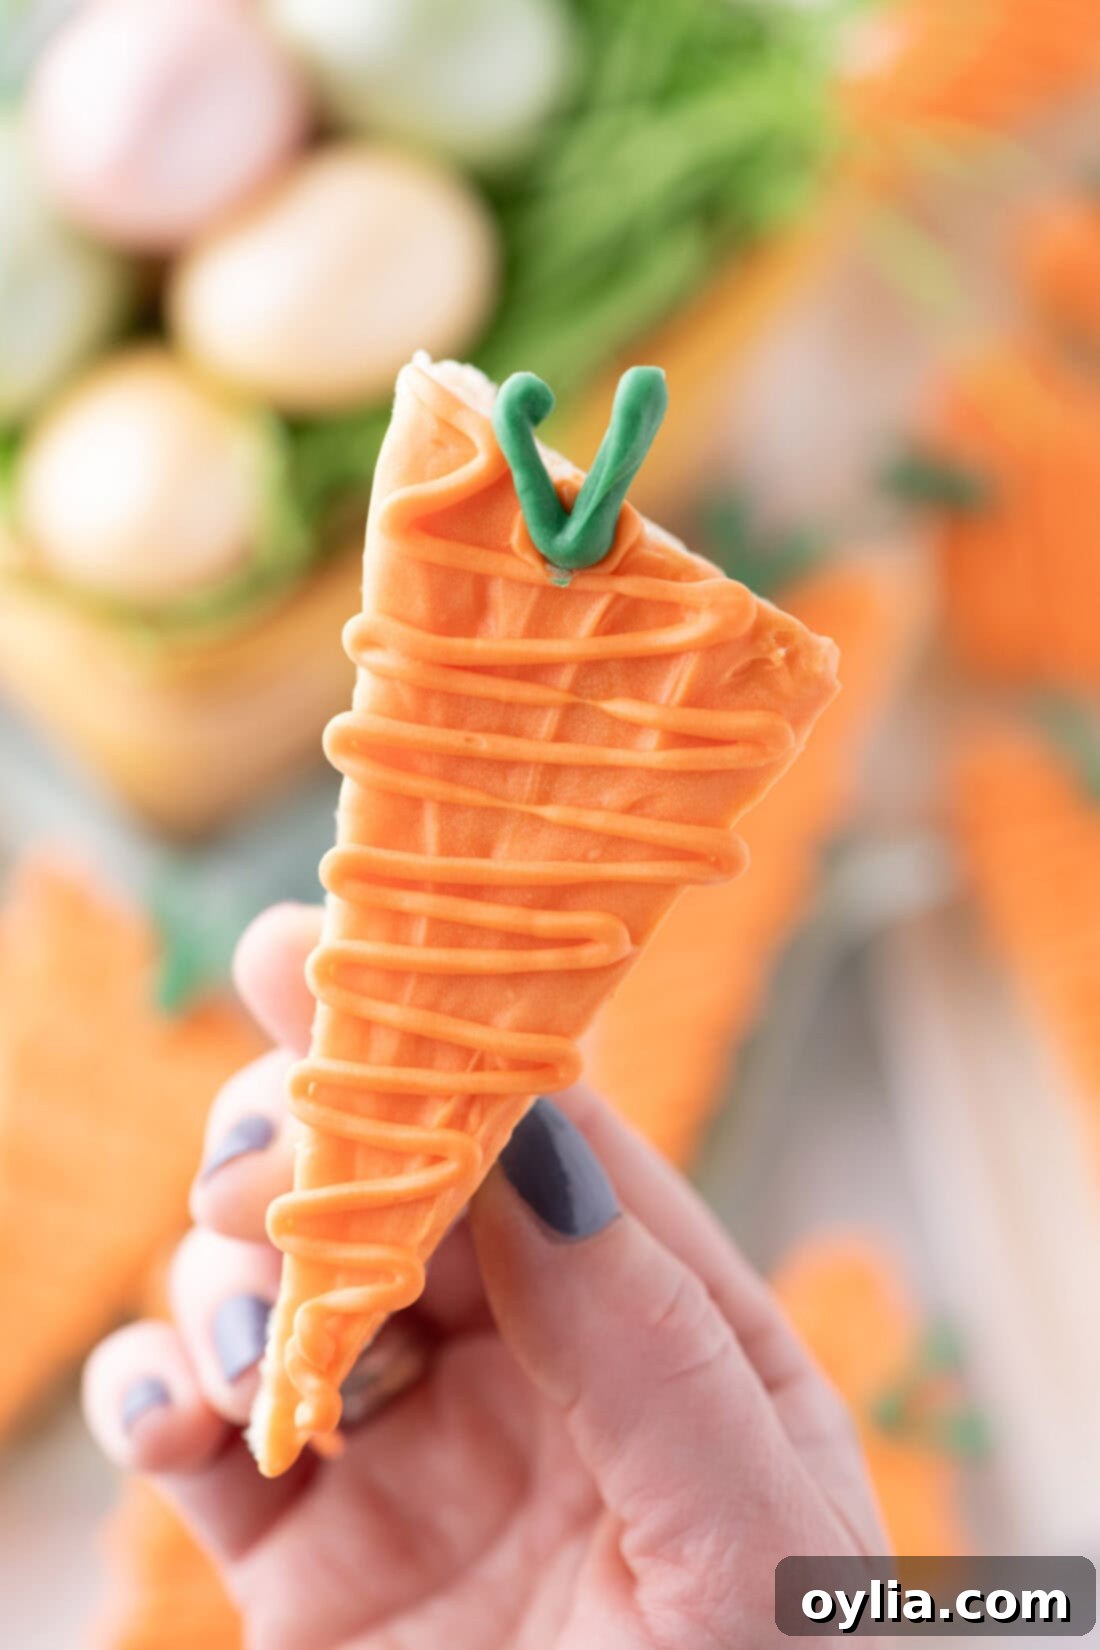
Essential Ingredients for Your Carrot Rice Krispie Treats
Gathering your ingredients is the first step to creating these enchanting Easter treats. This recipe relies on a few simple pantry staples, plus some colorful candy melts to achieve that iconic carrot look. You’ll find a complete list of measurements, quantities, and detailed instructions in the printable recipe card towards the end of this post. For now, let’s discuss the stars of our show!
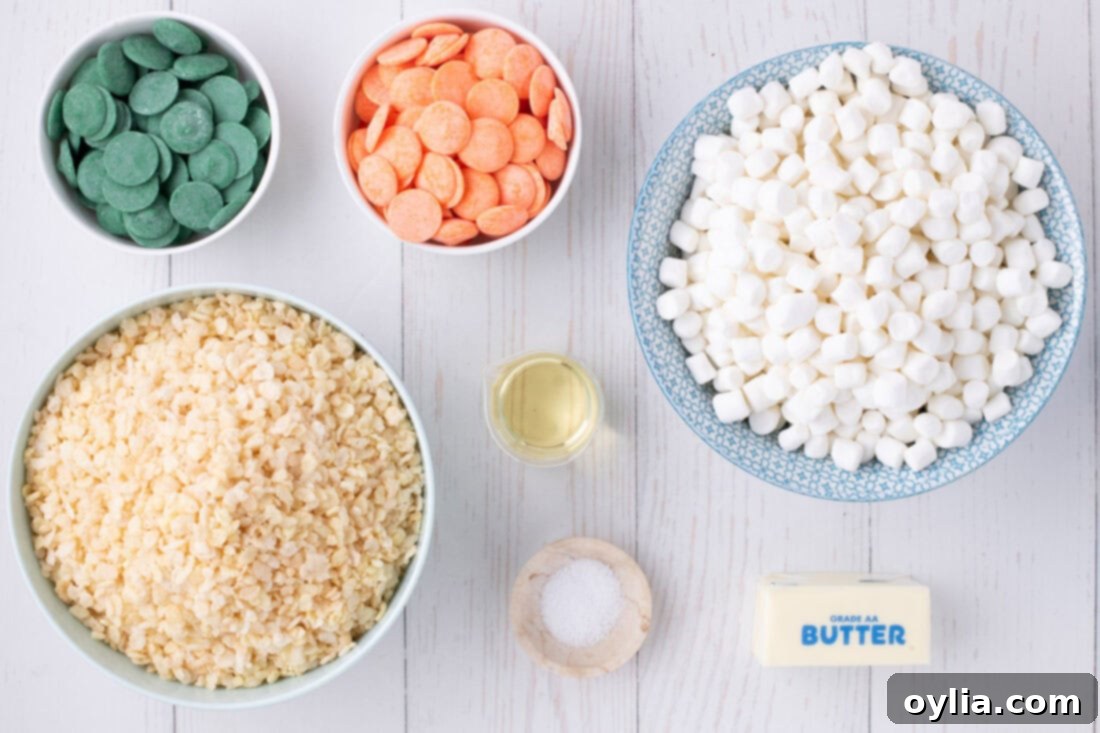
Ingredient Information and Smart Substitutions
Understanding your ingredients and knowing when to make clever substitutions can be the key to baking success. Here’s a closer look at what goes into our carrot-shaped treats:
- CEREAL: When it comes to crispy rice treats, Rice Krispies cereal is, of course, the classic choice, delivering that signature snap, crackle, and pop. However, don’t hesitate to use any off-brand crispy rice cereal you prefer or have on hand. The key is the light, airy texture that provides the perfect contrast to the chewy marshmallow.
- MARSHMALLOWS: For ease of melting and a smoother marshmallow base, mini marshmallows are highly recommended. They melt down much more quickly and evenly than their larger counterparts, reducing the risk of scorching. If you only have regular-sized marshmallows, simply cut them into smaller pieces before adding them to the pot. This will help them melt more consistently and prevent a lumpy final product. The amount of marshmallow is crucial for that perfect sticky, chewy texture.
- BUTTER: Unsalted butter is preferred as it allows you to control the overall saltiness of the treats. It adds richness and helps the marshmallows melt smoothly and prevents them from sticking excessively.
- SALT: A small pinch of salt works wonders to balance the sweetness of the marshmallows and candy melts. It enhances all the flavors without making the treats taste salty. You can omit it if you prefer, but we recommend including it for a more rounded flavor profile.
- CHOCOLATE/CANDY MELTS: To achieve the vibrant carrot look, you will need both green and orange candy melts. Brands like Wilton are widely available and work great for this. Candy melts are formulated to melt smoothly and harden quickly, making them ideal for dipping and decorating. As an alternative, you can use high-quality white chocolate tinted with gel food coloring. Gel colors are concentrated and won’t thin out your chocolate like liquid food coloring might. Be sure to use oil-based food coloring if working with actual chocolate, as water-based colors can cause it to seize.
- VEGETABLE OIL: A small amount of vegetable oil is added to the orange candy melts. This helps thin the melted candy, making it smoother and easier to dip your treats without a thick, gloopy coating. It also gives the chocolate a lovely shine once set.
How to Make Delicious Carrot Rice Krispie Treats
These step-by-step photos and instructions are here to help you visualize how to make this recipe perfectly. For a comprehensive, printable version of this recipe, complete with exact measurements and instructions, you can Jump to Recipe at the bottom of the page.
- Prepare Your Baking Pan: First, grease a 9 x 13-inch baking pan thoroughly. Then, line it with parchment paper, ensuring the paper extends past the pan’s edges. These overhangs will act as convenient ‘handles,’ allowing you to easily lift the treats out of the pan once they’re set. This simple step prevents sticking and makes the cutting process much smoother.
- Melt the Butter: Cut your unsalted butter into quarters for quicker melting. Place these butter pieces in a large pot or Dutch oven over medium-high heat. Allow the butter to fully melt, swirling the pot occasionally to ensure even heating.
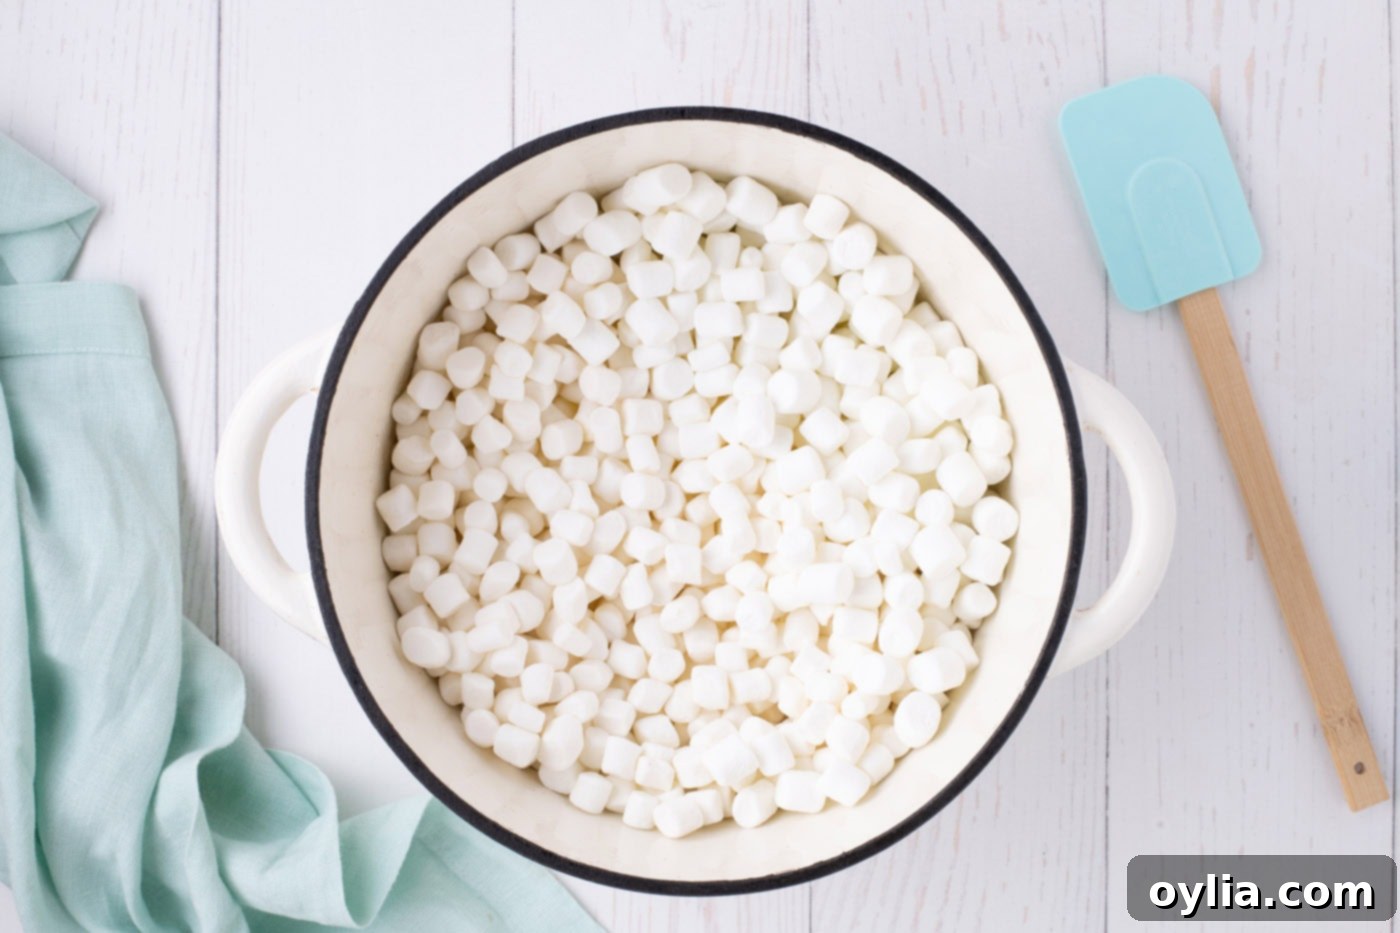
- Add Marshmallows and Salt: Once the butter is completely melted and slightly shimmering, add the mini marshmallows and the pinch of salt. Immediately reduce the heat to medium-low. This is crucial to prevent the marshmallows from burning, which can result in a hard, discolored, and unappetizing marshmallow base.

- Melt Marshmallows Until Smooth: Stir the marshmallow mixture continuously with a rubber spatula or wooden spoon. This consistent stirring helps the marshmallows melt evenly and prevents them from sticking to the bottom of the pot. Continue until the mixture is completely smooth and free of lumps. Patience is key here – a gentle melt ensures a perfectly chewy treat.

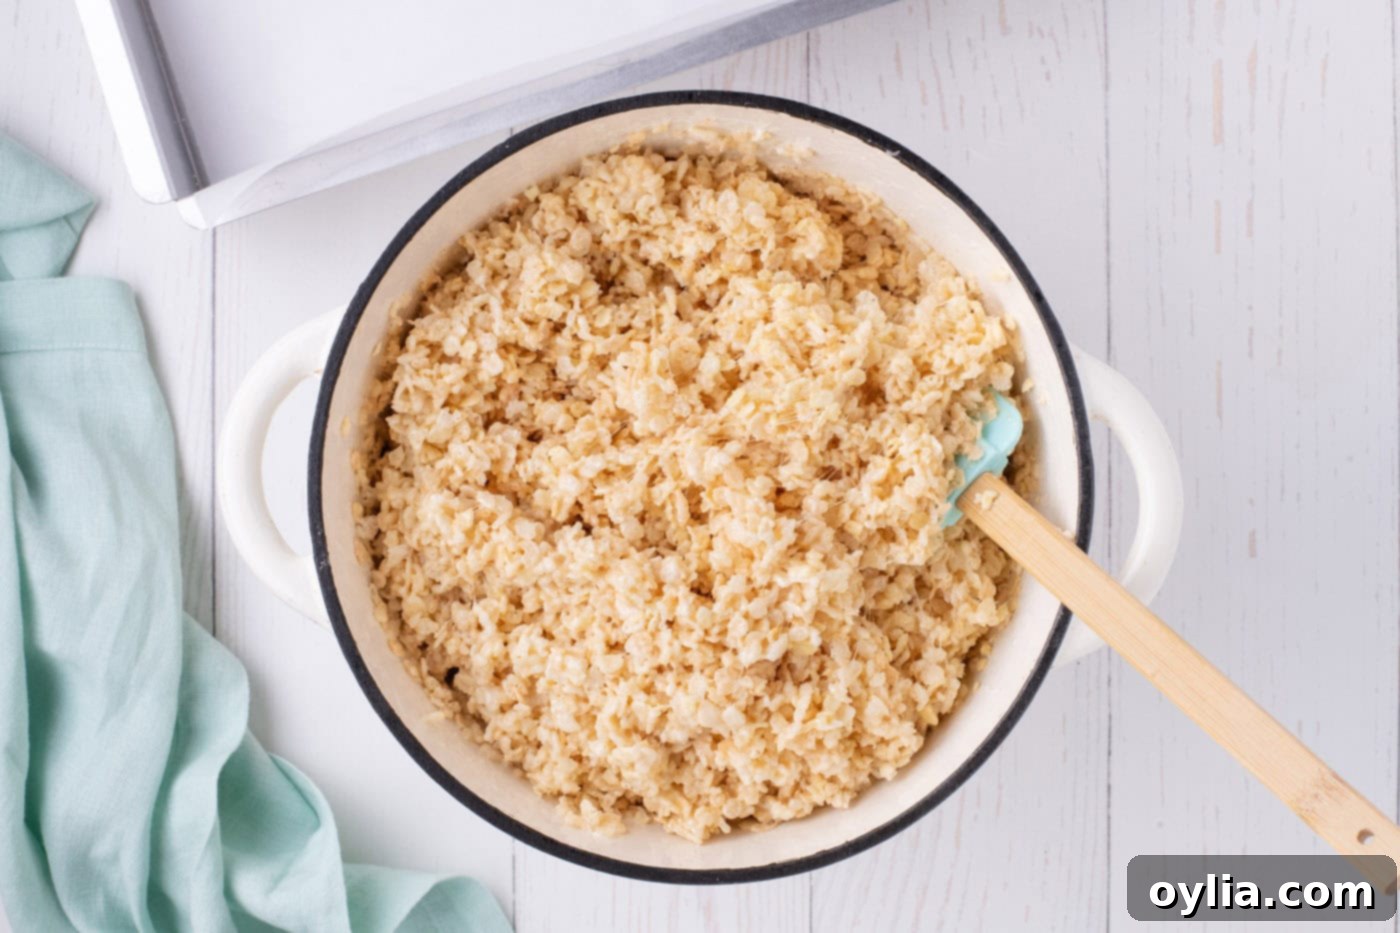
- Incorporate Rice Krispies: As soon as the marshmallows are smooth, remove the pot from the heat. This prevents further cooking and ensures the marshmallow remains pliable. Quickly add the Rice Krispies Cereal to the melted marshmallow mixture. Stir swiftly and thoroughly, using a folding motion, until all the cereal pieces are evenly coated. Work quickly, as the marshmallow can begin to set as it cools.

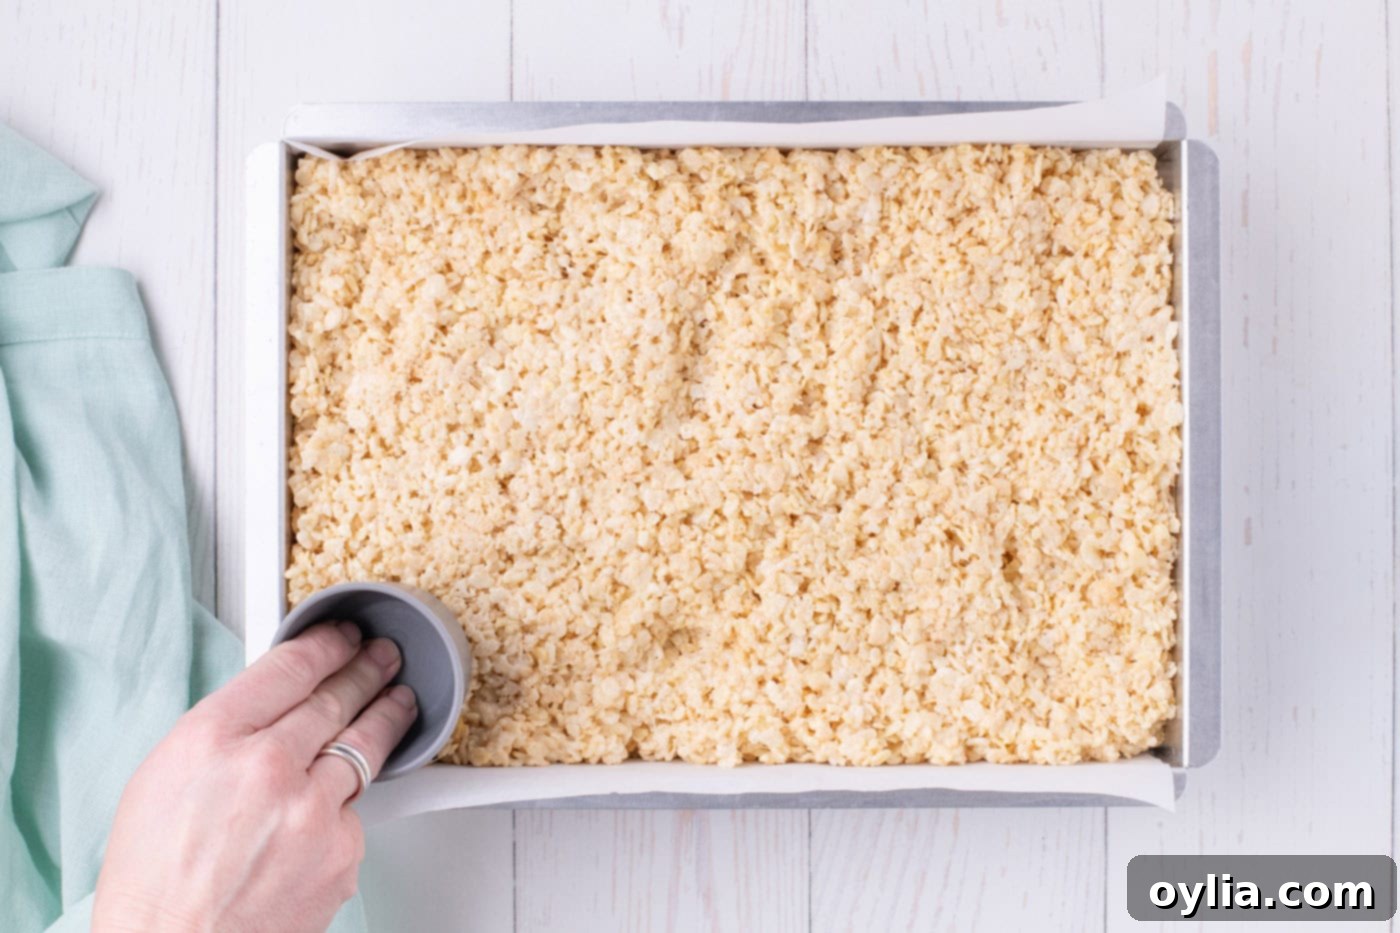
- Press into Pan: Transfer the warm cereal mixture into your prepared baking pan. Use the back of a lightly greased measuring cup or spatula to press the mixture firmly and evenly into the pan, making sure to push it into all the corners. The key here is density; pressing firmly makes the treats compact, which is essential for achieving clean, straight cuts later. Aim for as smooth and level a top surface as possible.

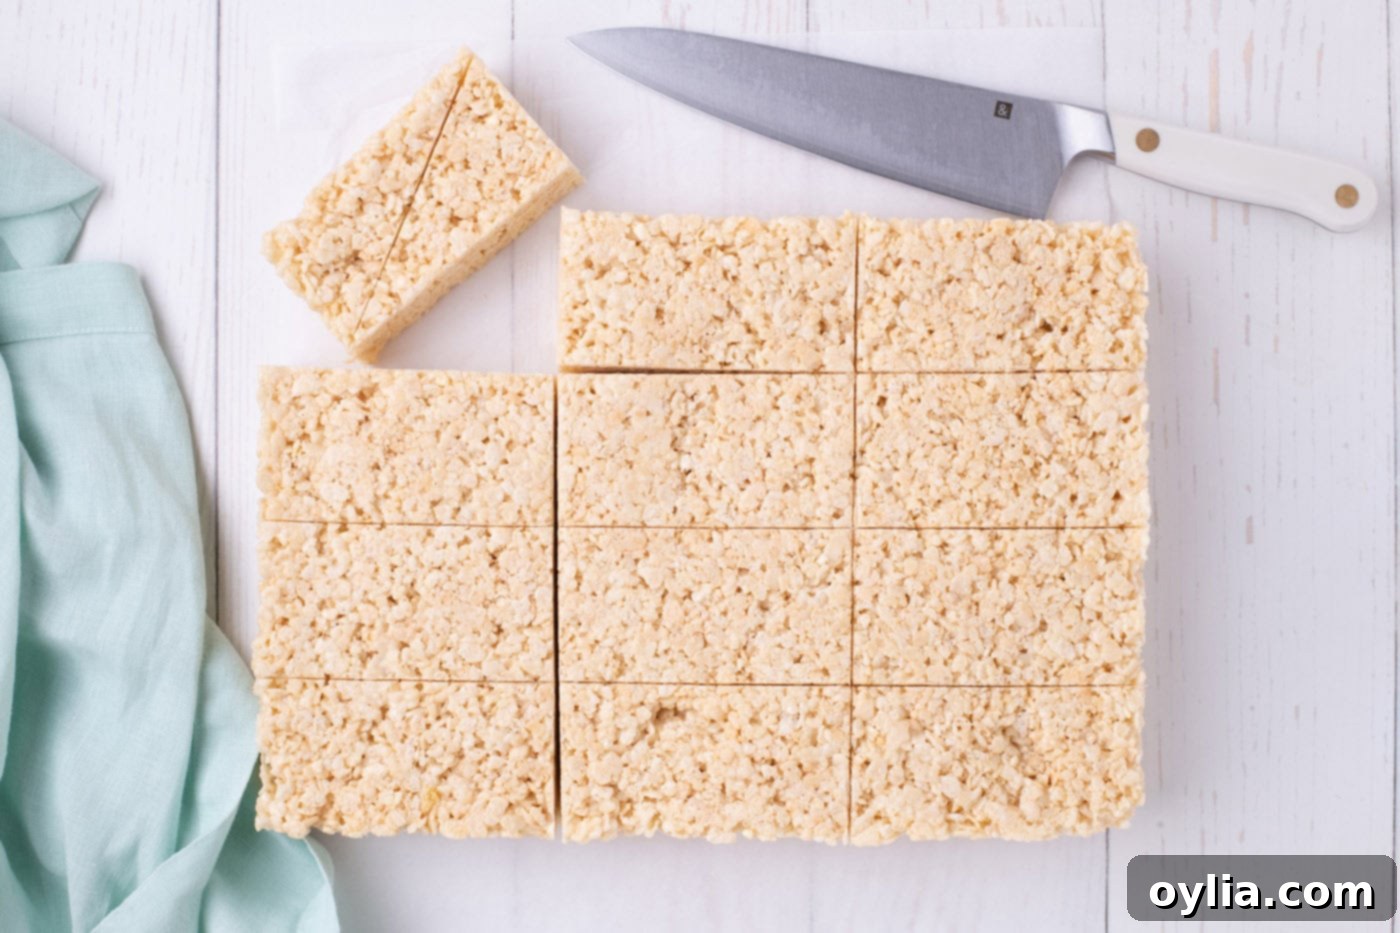
- Cool and Slice into Rectangles: Allow the treats to cool completely at room temperature (about 30-60 minutes) before cutting. Once cool, use the parchment paper ‘handles’ to lift the entire slab of treats out of the pan and place it onto a clean cutting board. With a very sharp, lightly greased knife, divide the treats into 4 columns and 3 rows. This will yield 12 uniform rectangles, each measuring approximately 2 ¼ inches x 4 3/8 inches. The sharp knife is essential for clean edges.

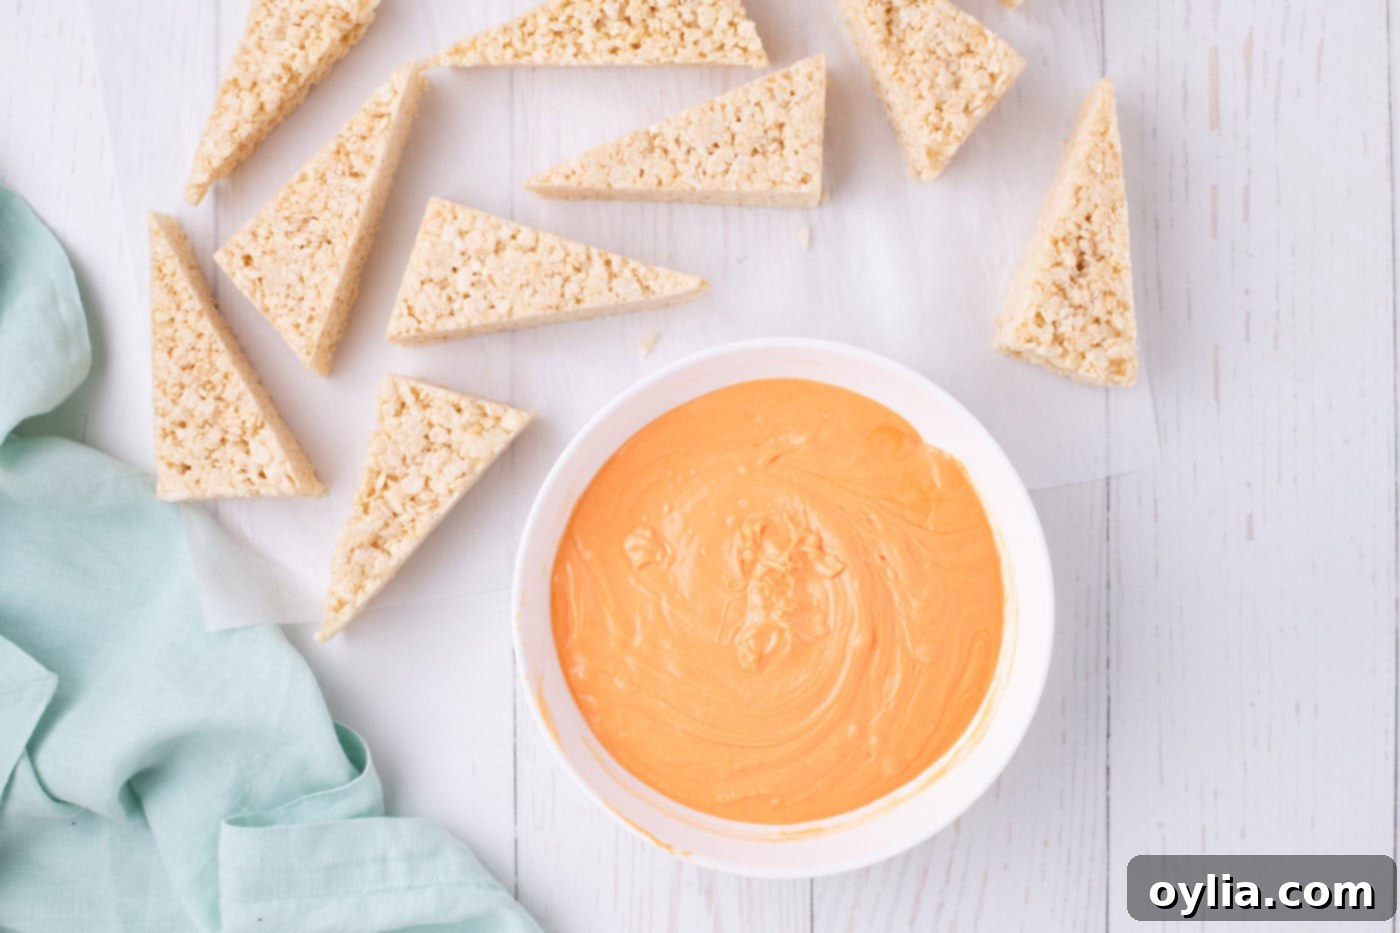
- Shape into Carrots: Now for the fun part! Take each rectangle and cut it diagonally in half. This simple cut will transform each rectangle into two perfect triangular shapes, resembling carrots. You’ll now have 24 individual carrot-shaped Rice Krispie treats ready for decorating!
Decorating Your Festive Carrot Rice Krispie Treats
Once your Rice Krispie treats are shaped, it’s time to bring them to life with vibrant colors and charming details. This decorating process is what truly makes them look like adorable carrots!
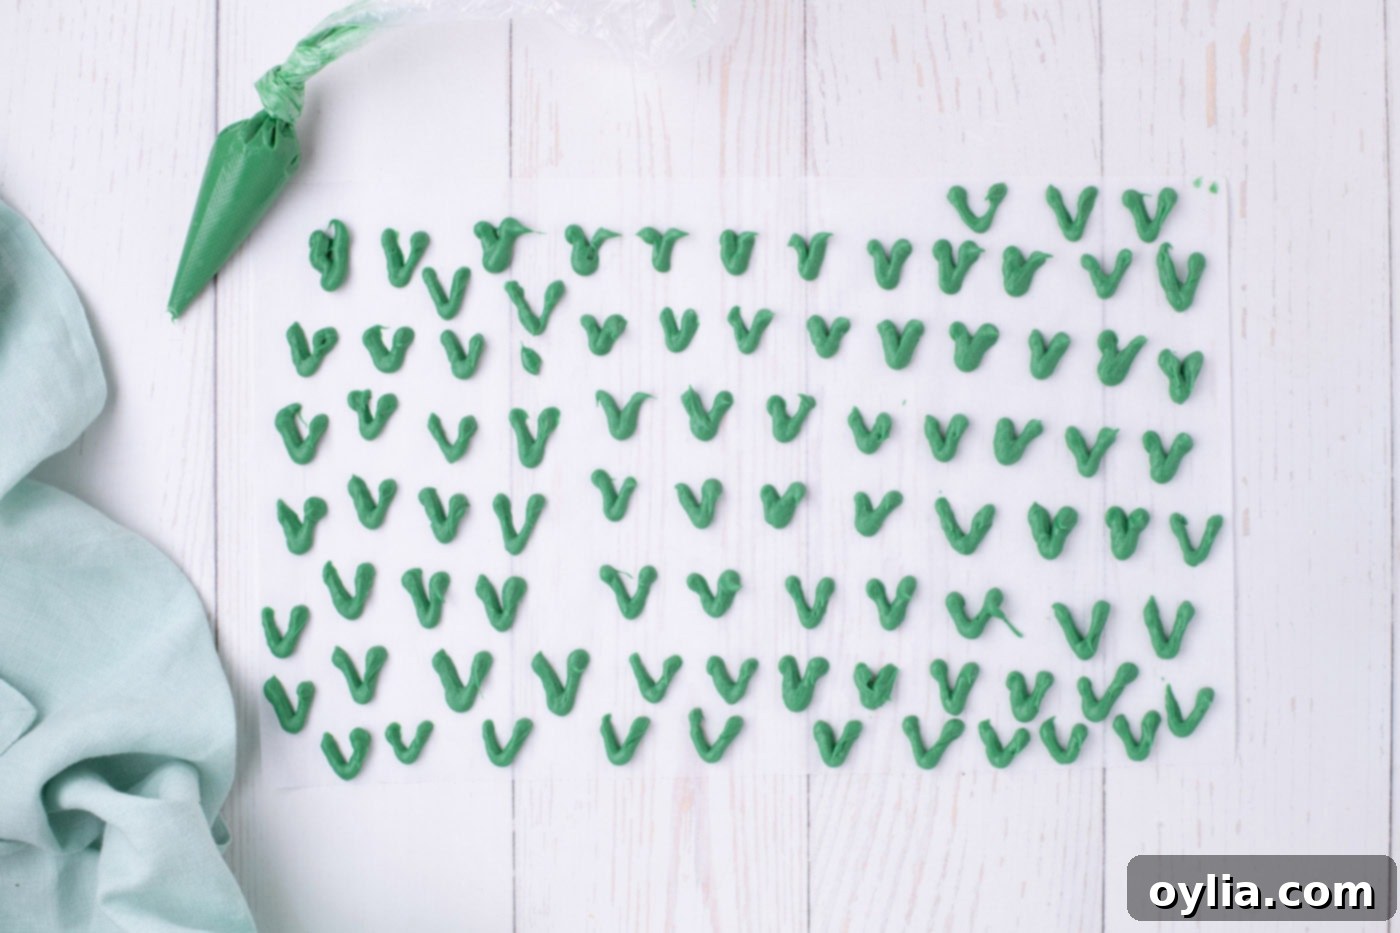
- Create the Green Stems: Start by melting the green candy melts according to package directions. Once smooth, transfer the melted candy into a piping bag (or a sturdy ziploc bag with a small corner snipped off). On a sheet of parchment paper, pipe small ‘v’ shapes. These will be your carrot stems. It’s a good idea to pipe double the amount you need, as these delicate candy pieces can be fragile and some may break during handling. Allow them to dry and harden completely at room temperature, which usually takes about 10-15 minutes.

- Prepare the Orange Dip: While the green stems are drying, place the orange candy melts into a wide, shallow bowl. The bowl should be wide enough to comfortably fit the flat end of your carrot-shaped treats for dipping. Add 1 teaspoon of vegetable oil to the candy melts. Melt the mixture in the microwave oven on high, heating in short 30-second increments. Stir thoroughly after each increment until the candy is completely smooth and fluid. The oil helps achieve a perfect dipping consistency and a glossy finish.

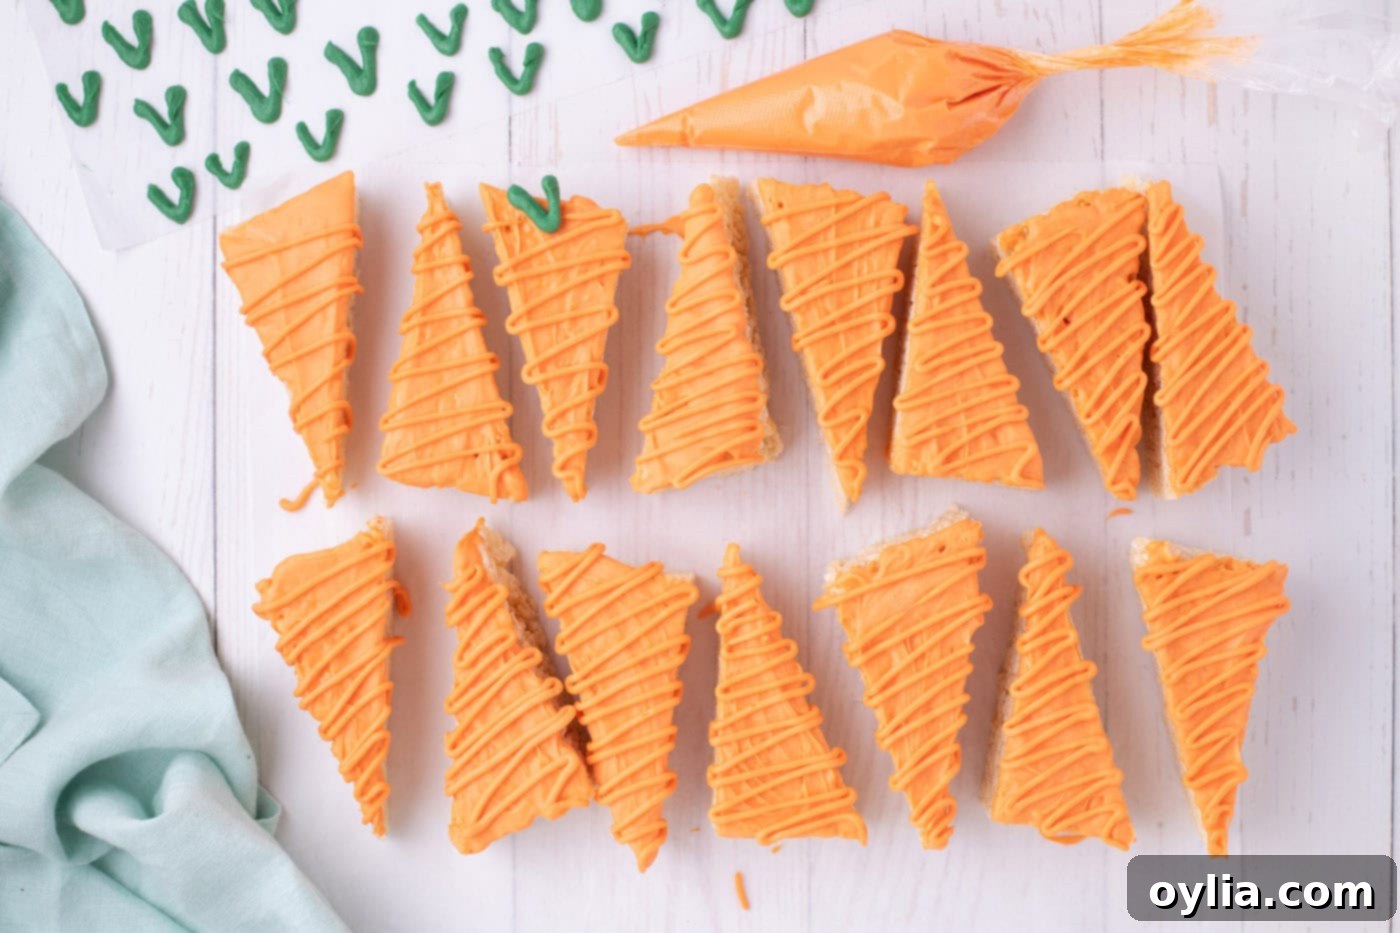
- Dip the Carrots: Hold each triangular treat by its pointed end and dip the flat, wide end into the melted orange candy, coating it thoroughly. Allow any excess chocolate to drip back into the bowl, then place the dipped treat onto parchment paper to dry. Repeat this process with all the remaining triangular treats. You can speed up the drying process by placing them in the refrigerator for a few minutes.
- Drizzle for Texture: Once the initial orange dip has set, gather the remaining melted orange candy (reheat briefly if it has started to thicken). Transfer it to a clean piping bag and snip off a very small corner. Drizzle thin, wavy lines across the orange-dipped tops of the treats. This step adds texture and makes them look even more like real carrots. Let these drizzled lines set as well.
- Attach the Stems and Serve: Finally, take your dried green ‘v’ stems. Pipe a tiny dot of melted orange candy (or green, if you have any left) onto the back of a ‘v’ shape, then gently press it onto the flat (top) end of each carrot-shaped treat, creating the stem. Repeat for all carrots. Allow all elements to dry completely before serving. Once fully set, your adorable Carrot Rice Krispie Treats are ready to be displayed and devoured!

Frequently Asked Questions & Expert Tips for Perfect Treats
To maintain their freshness and chewy texture, store your Carrot Rice Krispie Treats in an airtight container. Keep them at room temperature, away from direct sunlight or heat, for up to 5 days. Refrigeration isn’t necessary and can sometimes make them too hard.
This can happen if your kitchen is particularly cool or if you take too long to mix. Don’t worry, it’s easily fixable! Simply return the pot containing the marshmallow and partially coated cereal mixture to very low heat. Stir continuously for a minute or two until the marshmallow softens again and becomes pliable. This will make it much easier to thoroughly coat the remaining cereal. Remember to work quickly once it’s softened!
If your melted candy melts appear too thick or clumpy for smooth dipping, there are a couple of solutions. First, you can try gently spooning the melted candy over the triangular treats and then using the back of your spoon to smooth it out. For a more fluid consistency, add another teaspoon of vegetable oil to the melted candy. Reheat it in the microwave for just 10-15 seconds, then whisk thoroughly until the mixture is smooth and easily dippable. The added oil will thin it out beautifully.
Absolutely! You can use good quality white chocolate chips or bars, melted and tinted with oil-based gel food coloring to achieve the desired orange and green hues. Candy melts are convenient because they are already colored and melt smoothly, but white chocolate offers a different flavor profile. Just be careful not to overheat white chocolate, as it can seize.
The secret to perfectly chewy treats lies in two main things: not overheating the marshmallows and not over-pressing the mixture. Melt marshmallows over low to medium-low heat, stirring constantly, and remove from heat as soon as they are mostly smooth. Overcooked marshmallows become hard. Also, while you need to press the mixture firmly into the pan for neat cuts, avoid compacting it excessively, which can make them too dense and tough. A firm, even press is good, but don’t compress them too much.
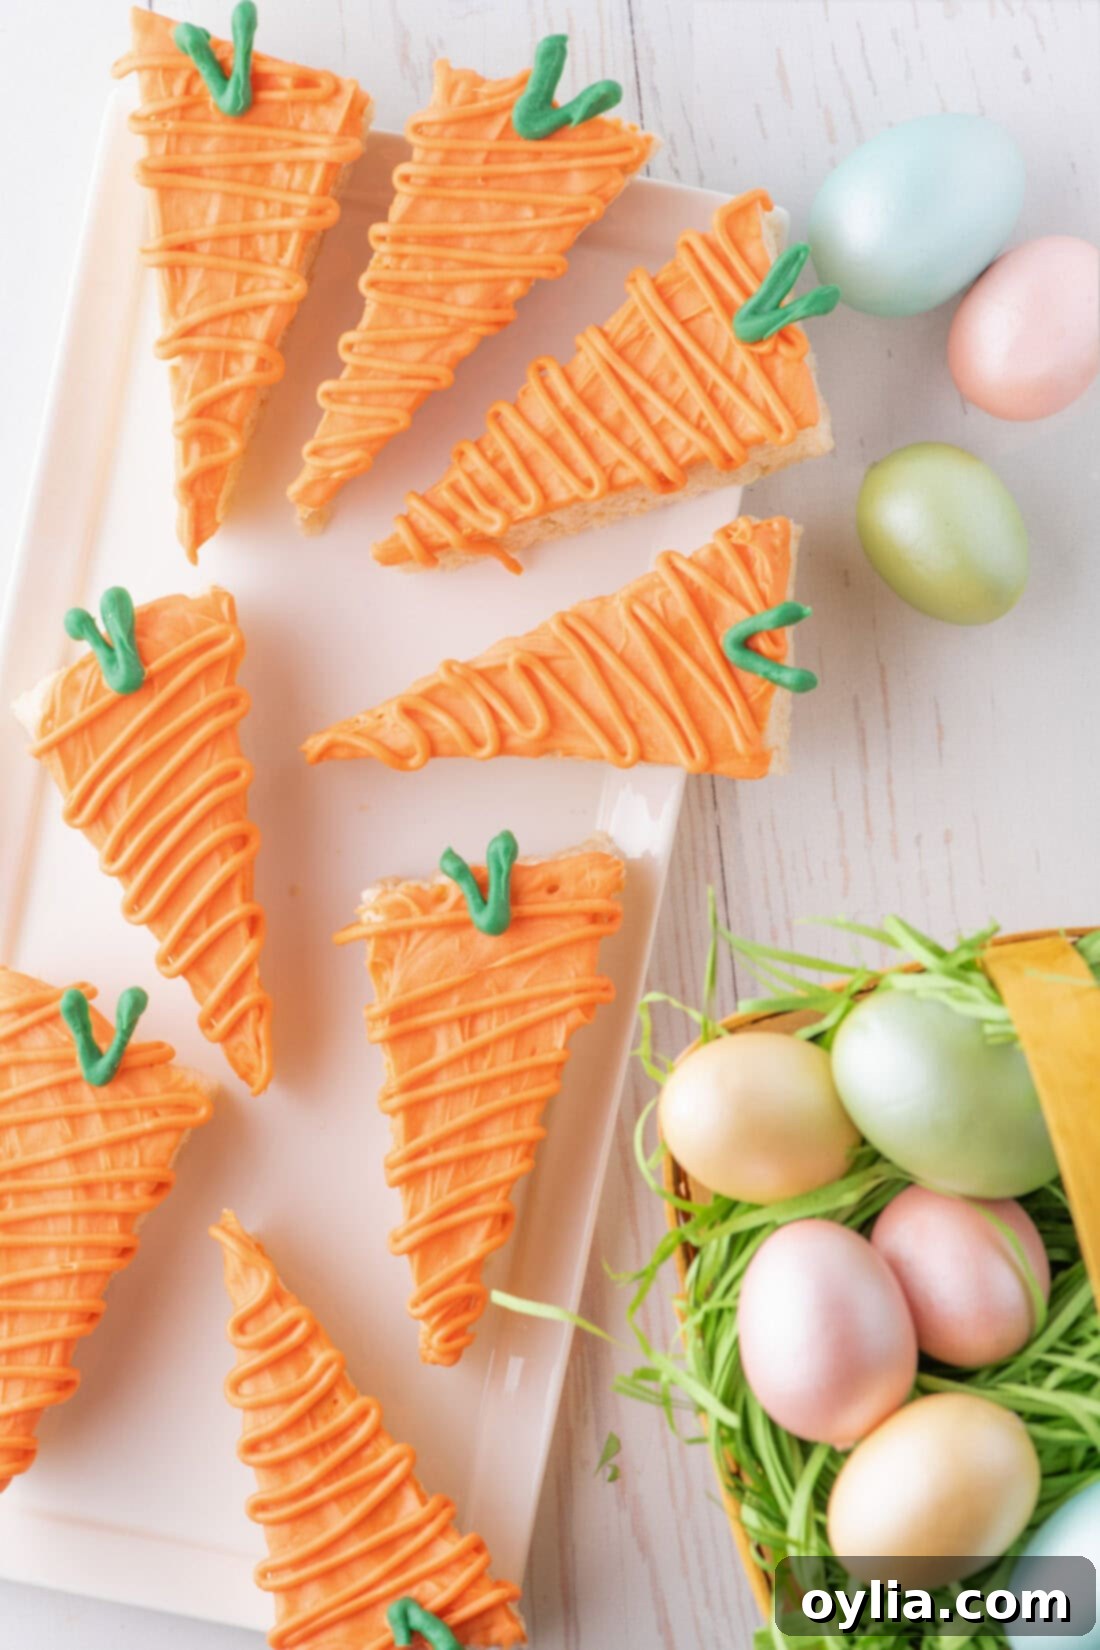
Creative Serving Suggestions for Your Carrot Treats
Voila! You’ve successfully created these adorable and delicious Carrot Rice Krispie Treats. Aren’t they the cutest addition to your Easter spread? These treats are best served at room temperature, allowing the marshmallow to remain soft and chewy, and the chocolate coating to have a satisfying snap.
Their charming appearance makes them incredibly versatile for presentation. You can arrange them artfully on a white platter, perhaps nestled among some artificial grass or alongside colorful Easter eggs, to truly jazz up your Easter dessert table. For a thoughtful and personal touch, consider wrapping each treat individually in clear cellophane baggies, tied with a festive ribbon. These make wonderful party favors for an Easter brunch, delightful additions to Easter baskets, or a sweet gift for friends and neighbors.
However you choose to present them, these carrot-shaped delights are sure to bring smiles and compliments from everyone who tries them. They’re a fantastic, crowd-pleasing dessert that embodies the joy and spirit of spring and Easter!
More Must-Try Easter Recipes
If you’re looking for more ways to make your Easter celebration extra special with delightful homemade treats, be sure to check out these other fantastic recipes:
- Rice Krispie Nests – Another fun and easy Rice Krispie treat idea!
- Bunny Butt Cupcakes – Adorably funny cupcakes perfect for Easter.
- Easter Dirt Cake – A whimsical and delicious layered dessert.
- Easter Bunny Pull Apart Bread – A sweet and shareable breakfast or dessert.
- Easter M&M Cookies – Colorful and classic cookies for the holiday.
I absolutely love to bake and cook, and sharing my kitchen experiences with all of you brings me immense joy! Remembering to come back each day for new recipes can be tough, which is why I offer a convenient newsletter every time a new recipe posts. Simply subscribe and start receiving your free daily recipes directly in your inbox!

Carrot Rice Krispie Treats
IMPORTANT – There are often Frequently Asked Questions within the blog post that you may find helpful. Simply scroll back up to read them!
Print It
Pin It
Rate It
Save ItSaved!
Ingredients
- ½ cup unsalted butter 113g
- 20 ounces mini marshmallows two 10 ounce bags. 567g
- ¼ teaspoon salt
- 12 ounces Rice Krispies Cereal 328g
- 12 ounces green candy melts such as Wilton. 340g
- 24 ounces orange candy melts two 12 ounce bags such as Wilton. 680g
- 1 teaspoon vegetable oil
Things You’ll Need
-
13×9 baking dish
-
Parchment paper
-
Large saucepan
-
Piping bag or ziptop bag with the end snipped off
Before You Begin
- The salt called for in the ingredients is simply there to help cut the sweetness a tad. It isn’t imperative to the recipe and you can omit it if desired!
- Mini marshmallows are a lot easier to melt down compared to regular-sized marshmallows. If using full sized marshmallows, I would suggest cutting them up into smaller pieces before melting.
- If the melted marshmallow hardens before all the cereal has been coated, return the pot to low heat and allow the mixture to soften; this should make coating the remaining cereal easier.
- If the melted candy seems too thick to dip, spoon it over the triangle and smooth it out with the back of your spoon. Alternatively, you can add another teaspoon of vegetable oil to the mixture, reheat it for 10-15 seconds, and whisk it into the melted candy. It should be much easier to dip.
Instructions
-
Grease and line a 9 x 13-inch baking pan with parchment paper long enough to extend past the pan’s edge to create ‘handles’ for easy removal of the treats.
-
Cut butter into quarters and place in a large pot over medium-high heat.1/2 cup unsalted butter
-
Once the butter melts, add the marshmallows and salt, reducing the heat to medium-low.20 ounces mini marshmallows, 1/4 teaspoon salt
-
Stir continuously until the marshmallows have melted and are smooth. Make sure not to let the marshmallows burn.
-
Remove the pot from the heat, add the Rice Krispies Cereal to the melted marshmallow, and stir quickly to coat all the cereal.12 ounces Rice Krispies Cereal
-
Place the mixture into the prepared baking pan, making sure to get it into the corners. Even out the top layer with the back of a measuring cup, making it as smooth as possible. Press the cup firmly down onto the treats to make them more dense. The denser they are, the easier to cut straight, neat lines.
-
Using the parchment paper ‘handles,’ remove the treats from the pan and place them on a cutting board. With a very sharp knife, divide the treats into 4 columns and 3 rows so that each rectangle measures 2 ¼ inches x 4 3/8 inches. You will have 12 rectangles.
-
Cut each of these rectangles diagonally in half to form the triangular shape of a carrot.
-
Prepare the carrot stems by melting the bag of green candy melts and placing it in a piping bag with the end cut off. Pipe ‘v’ shapes onto parchment paper and allow them to dry. (I piped double the amount of ‘v’ shapes, as they are fragile and many will break, so it’s good to have extra.)12 ounces green candy melts
-
While the stems are drying, place the orange candy melts in a wide, shallow bowl (wide enough to fit the length of the carrot). Add 1 teaspoon of vegetable oil and melt it in the microwave oven on high in 30-second increments. Stir until the mixture is smooth.24 ounces orange candy melts, 1 teaspoon vegetable oil
-
Dip the top layer of the triangle into the melted candy. Then, place it on parchment paper to dry. Repeat with the remaining triangles.
-
Place the remaining melted candy into a piping bag (reheat if needed), snip off the end, and drizzle lines across the tops of the triangles.
-
Finally, pipe a small amount of the melted candy onto the back of a ‘v’ and place it on the carrot’s top (flat end) to create the stem. Repeat with the remaining carrots. Allow to dry and serve.
Expert Tips & FAQs
- Store them in an air-tight container kept at room temperature for up to 5 days.
Nutrition
The recipes on this blog are tested with a conventional gas oven and gas stovetop. It’s important to note that some ovens, especially as they age, can cook and bake inconsistently. Using an inexpensive oven thermometer can assure you that your oven is truly heating to the proper temperature. If you use a toaster oven or countertop oven, please keep in mind that they may not distribute heat the same as a conventional full sized oven and you may need to adjust your cooking/baking times. In the case of recipes made with a pressure cooker, air fryer, slow cooker, or other appliance, a link to the appliances we use is listed within each respective recipe. For baking recipes where measurements are given by weight, please note that results may not be the same if cups are used instead, and we can’t guarantee success with that method.
