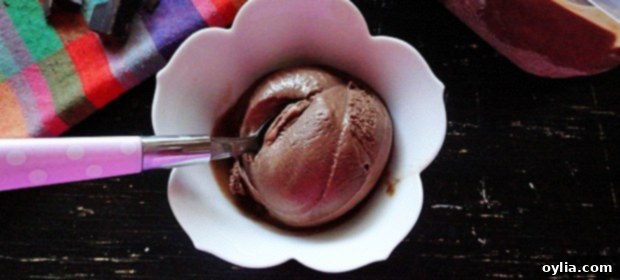
Homemade Black Cow Ice Cream: A Root Beer Chocolate Dream
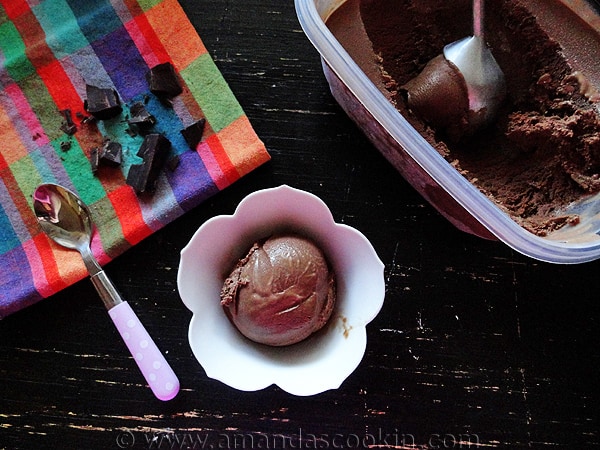
Are you ready to dive into a scoop of pure nostalgia with a delightful twist? The classic “Black Cow” has charmed generations, often sparking lively debates about its true definition. While many associate it with a root beer float, the traditional Black Cow offers a richer, more decadent experience by swapping vanilla ice cream for a deep, creamy chocolate. Today, we’re not just making a root beer float; we’re crafting a luxurious, root beer-flavored chocolate ice cream that captures the essence of this beloved treat. Get ready to experience the homemade Black Cow – a truly unique and satisfying frozen dessert.
Unraveling the Mystery of the Black Cow: What Exactly Is It?
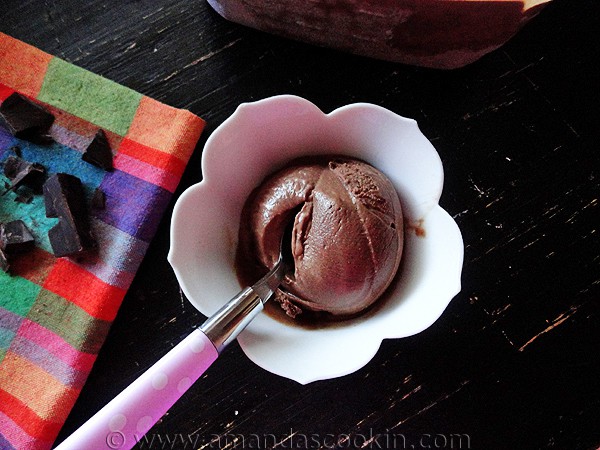
The term “Black Cow” is one of those culinary phrases that carries different meanings depending on where you grew up or who you ask. For some, it’s simply another name for a root beer float – a refreshing combination of root beer and vanilla ice cream. However, a significant culinary camp insists on a crucial distinction: a true Black Cow requires chocolate ice cream instead of vanilla. This subtle change transforms the drink, adding a depth of flavor that many find irresistible.
Remember the Black Cow shake from Arby’s? Interestingly, that was often a vanilla shake with root beer syrup, further blurring the lines. Adding to the confusion, some regions even define a “Black Cow” as cola with ice cream, completely ditching the root beer. This regional variance highlights the rich tapestry of American food culture and the delightful way classic recipes evolve and adapt across different communities. Today, we embrace the chocolate ice cream version, merging the distinct taste of root beer with a luscious chocolate base to create an ice cream that’s both familiar and exciting.
A Sip Through Time: The Origin Story of the Black Cow
The fascinating history of the “Black Cow” term traces back to 1893, originating in the bustling gold mining town of Cripple Creek, Colorado. This charming tale is attributed to Frank Wisner, a man with an entrepreneurial spirit who owned the Cripple Creek Cow Mountain Gold Mining Company and produced a line of popular soda waters for the locals.
One moonlit night, as Wisner gazed out at his snow-capped properties on Cow Mountain, a brilliant idea struck him. The pristine white snow, illuminated by the full moon, appeared to him like a generous dollop of vanilla ice cream resting atop his dark, “blackened” Cow Mountain. Inspired by this picturesque scene, he rushed back to his bar. He took the children’s favorite soda water – a root beer known as Myers Avenue Red – and added a large scoop of vanilla ice cream. The very next day, this innovative concoction was served, and it was an instant sensation among the town’s children. Initially, Wisner named his creation “Black Cow Mountain,” but the local kids, with their knack for catchy names, quickly shortened it to the enduring “Black Cow.” Wisner later often remarked that if he had a nickel for every Black Cow he sold, he would have been a truly wealthy man. This delightful anecdote perfectly encapsulates how simple observations can lead to iconic culinary creations that stand the test of time.
Why Go Homemade? The Unbeatable Charm of DIY Black Cow Ice Cream
In a world full of mass-produced desserts, there’s something incredibly satisfying about making ice cream from scratch. When you prepare Black Cow ice cream at home, you’re not just mixing ingredients; you’re crafting an experience. Homemade ice cream allows for unparalleled freshness, where every ingredient contributes to a superior flavor and texture. You have complete control over the quality of your cocoa, the richness of your cream, and the exact intensity of that distinctive root beer essence. This ensures your ice cream is free from artificial additives and tailored precisely to your taste preferences.
Beyond the ingredients, there’s a unique joy in the process itself. The anticipation of the churning, the transformation of liquid into a smooth, creamy frozen delight, and finally, that first spoonful of your own creation is incredibly rewarding. This homemade Black Cow ice cream isn’t just a dessert; it’s a labor of love that brings a classic treat to life with a personal touch, making it all the more delicious and memorable.
Crafting Your Perfect Black Cow Ice Cream: Ingredients Breakdown & Method
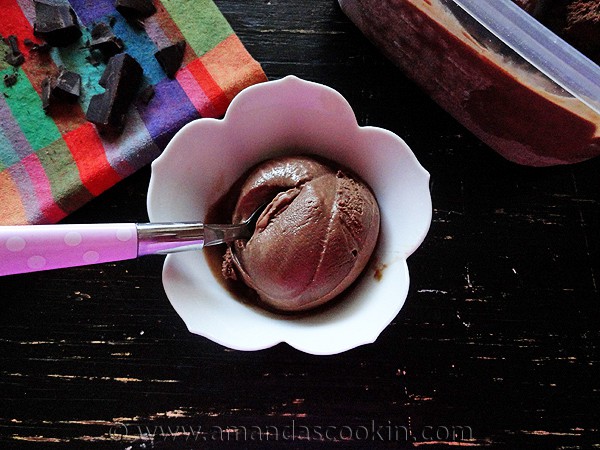
The Essential Ingredients for a Decadent Black Cow
- Sweetened Condensed Milk: This is the backbone of our creamy, no-churn style base (even though we will churn it). It provides sweetness and an incredibly smooth texture without needing an egg custard, simplifying the process while delivering rich results.
- Unsweetened Cocoa Powder: For that deep, robust chocolate flavor that defines the “black” in Black Cow. Using unsweetened powder allows us to control the overall sweetness.
- Heavy Whipping Cream: The secret to luxurious body and mouthfeel. Its high-fat content ensures a rich, dense ice cream that resists ice crystal formation.
- Bittersweet Chocolate: Adding chopped bittersweet chocolate elevates the chocolate profile, introducing complex notes and an even more intense flavor than cocoa powder alone. It melts into the hot mixture, creating a silky-smooth base.
- 1% Milk: A touch of lighter milk helps balance the richness of the cream and condensed milk, ensuring the ice cream isn’t overly heavy while maintaining its smooth consistency.
- Root Beer Extract: The star of the show! This powerful extract infuses our chocolate base with the unmistakable, effervescent essence of root beer. Use a good quality extract for the best flavor.
- Vanilla Extract: A classic flavor enhancer, vanilla complements both the chocolate and root beer, rounding out the flavor profile and adding a subtle warmth.
Step-by-Step Guide to Homemade Black Cow Ice Cream
Creating this unique frozen treat is simpler than you might think. Follow these detailed steps for a perfectly creamy and flavorful Black Cow ice cream:
- Prepare the Chocolate Base: Begin by combining the sweetened condensed milk in a medium saucepan. Sift the unsweetened cocoa powder directly into the milk. Sifting is crucial here to prevent lumps and ensure a perfectly smooth chocolate base. Whisk these two ingredients together thoroughly. Cook this mixture over low heat, stirring continuously, for about ten minutes until it becomes smooth and slightly thickened. The gentle heat helps to deepen the chocolate flavor and fully dissolve the cocoa. Once thickened, remove the pan from the heat. Immediately break the two ounces of bittersweet chocolate into small pieces and add them to the hot milk mixture. Whisk vigorously until the chocolate has fully melted and the mixture is smooth and glossy. Set this decadent chocolate base aside to cool down slightly while you prepare the cream mixture. This cooling step is important to prevent the cream from scalding or the mixtures from seizing when combined.
- Prepare the Cream & Extract Mixture: In a large measuring cup or a separate bowl, gently combine the heavy whipping cream, 1% milk, root beer extract, and vanilla extract. Whisk them together until just blended. To ensure a seamless combination with the warm chocolate base, it’s beneficial to take the chill off this mixture. You can do this by placing it in the microwave for up to one minute; aim for it to be cool but not cold, and certainly not hot. This slight warming helps prevent the chocolate from seizing when the cooler cream is added.
- Combine and Refine the Mixtures: This step requires a slow and steady hand. Begin to gradually drizzle the cream mixture into the chocolate mixture, whisking continuously as you pour. The slow addition and constant whisking are key to emulsifying the two mixtures, ensuring a smooth, homogenous blend without any separation. As you whisk, use a rubber spatula or wooden spoon to scrape down the edges and corners of the saucepan, ensuring all the rich chocolate goodness is incorporated. Continue whisking until the entire mixture is smooth and perfectly combined. For an extra silky texture, pour the combined mixture through a fine-mesh sieve into a clean bowl. Discard any tiny bits or undissolved cocoa that remain in the sieve. This step guarantees the most luxurious ice cream possible.
- Chill and Churn: Cover the bowl with plastic wrap, pressing it directly onto the surface of the mixture to prevent a skin from forming. Refrigerate the mixture until it is thoroughly cold – ideally for at least 4-6 hours, or even overnight. Proper chilling is vital for the ice cream maker to work effectively and produce the best texture. Once completely chilled, process the mixture in your ice cream maker according to the manufacturer’s instructions. This typically involves churning for 20-30 minutes until it reaches a soft-serve consistency. For a firmer ice cream, transfer it to an airtight container and freeze for another few hours before serving.
Serving Suggestions and Creative Twists
Once your homemade Black Cow Ice Cream is perfectly churned and ready, the serving possibilities are endless! Enjoy it in a classic cone or a chilled bowl for a simple, yet intensely flavorful treat. For an extra touch of decadence, top your scoop with a dollop of fresh whipped cream, a drizzle of chocolate syrup, a sprinkle of chocolate shavings, or even a maraschino cherry for a pop of color and sweetness.
To truly embrace the “Black Cow” float tradition, place a scoop or two of this amazing chocolate root beer ice cream into a tall glass and pour your favorite chilled root beer over it. Watch as it fizzes and creates a delightful foamy head, offering a nostalgic experience with an elevated flavor profile. You could also crumble some chocolate cookies or add mini marshmallows for texture. This ice cream is also fantastic alongside a warm brownie or as a unique twist in a milkshake. Don’t be afraid to experiment and make it your own!
The Irresistible Allure of Root Beer and Chocolate
The combination of root beer and chocolate might sound unconventional to some, but it’s a pairing that creates a surprisingly harmonious and deeply satisfying flavor profile. Root beer, with its complex notes of vanilla, sarsaparilla, licorice, and wintergreen, offers a refreshing and subtly spicy counterpoint to the rich, sometimes bitter, depth of chocolate. This isn’t just a sweet treat; it’s an intriguing dance between bold and comforting flavors that evokes childhood memories while appealing to a sophisticated palate.
The beauty of this Black Cow Ice Cream lies in how it transforms a classic beverage into a gourmet frozen dessert. It takes the familiar fizz and unique taste of a root beer float and elevates it with the creamy luxury of homemade chocolate ice cream. Each spoonful delivers a delightful blend of cool, sweet, and slightly spiced notes, making it an unforgettable indulgence. It’s a perfect dessert for those who appreciate a unique flavor combination and crave a touch of culinary adventure.
So, whether you’re a purist who believes a Black Cow must have chocolate ice cream, or simply someone looking for a new and exciting homemade dessert, this recipe is for you. Now you have a recipe for both Black Cow Ice Cream and Root Beer Ice Cream. Enjoy the process, savor the flavors, and share this delightful frozen treat with your loved ones!
You’re welcome. 🙂
More Delicious Ice Cream Recipes to Explore
- Classic Homemade Chocolate Ice Cream
- Decadent Caramel Chocolate Nut Ice Cream
- Rich Chocolate Rum Raisin Ice Cream
- Traditional Root Beer Ice Cream
- Creamy Nutella Swirl Cheesecake Ice Cream
- Energizing Mocha Chocolate Chip Ice Cream
- Chunky Rocky Road Ice Cream
Black Cow Ice Cream
IMPORTANT – There are often Frequently Asked Questions within the blog post that you may find helpful. Simply scroll back up to read them!
Print It
Pin It
Rate It
Save ItSaved!
Ingredients
- 1 14- oz can sweetened condensed milk
- ⅓ cup unsweetened cocoa powder
- 2 cups heavy whipping cream
- 2 ounces bittersweet chocolate
- 1 cup 1% milk
- 4 teaspoons root beer extract
- 1 ½ teaspoons vanilla
Instructions
-
Place the condensed milk into a medium saucepan. Measure then sift the cocoa into the condensed milk. Whisk the two ingredients together and cook over low heat, stirring constantly, until smooth and slightly thickened, about ten minutes. Remove from heat. Immediately break the 2 ounces of bittersweet chocolate into pieces and whisk into the hot milk mixture until melted and smooth. Set aside to cool slightly.
-
In a large measuring cup, gently mix together the creams and the extracts. Take the chill off by putting mixture into the microwave for up to one minute.
-
Using a slow and steady motion, drizzle the cream mixture into the chocolate mixture. Whisk the mixtures together as you are drizzling. Be sure to loosen any mixture from the edges and corners of the pan using a rubber spatula or wooden spoon. Whisk until smooth. Pour through a sieve into a clean bowl, discard any bits left in the sieve.
-
Cover the mixture with plastic wrap and refrigerate until cold. Process the cold mixture in your ice cream maker according to manufacturer’s directions.
The recipes on this blog are tested with a conventional gas oven and gas stovetop. It’s important to note that some ovens, especially as they age, can cook and bake inconsistently. Using an inexpensive oven thermometer can assure you that your oven is truly heating to the proper temperature. If you use a toaster oven or countertop oven, please keep in mind that they may not distribute heat the same as a conventional full sized oven and you may need to adjust your cooking/baking times. In the case of recipes made with a pressure cooker, air fryer, slow cooker, or other appliance, a link to the appliances we use is listed within each respective recipe. For baking recipes where measurements are given by weight, please note that results may not be the same if cups are used instead, and we can’t guarantee success with that method.
