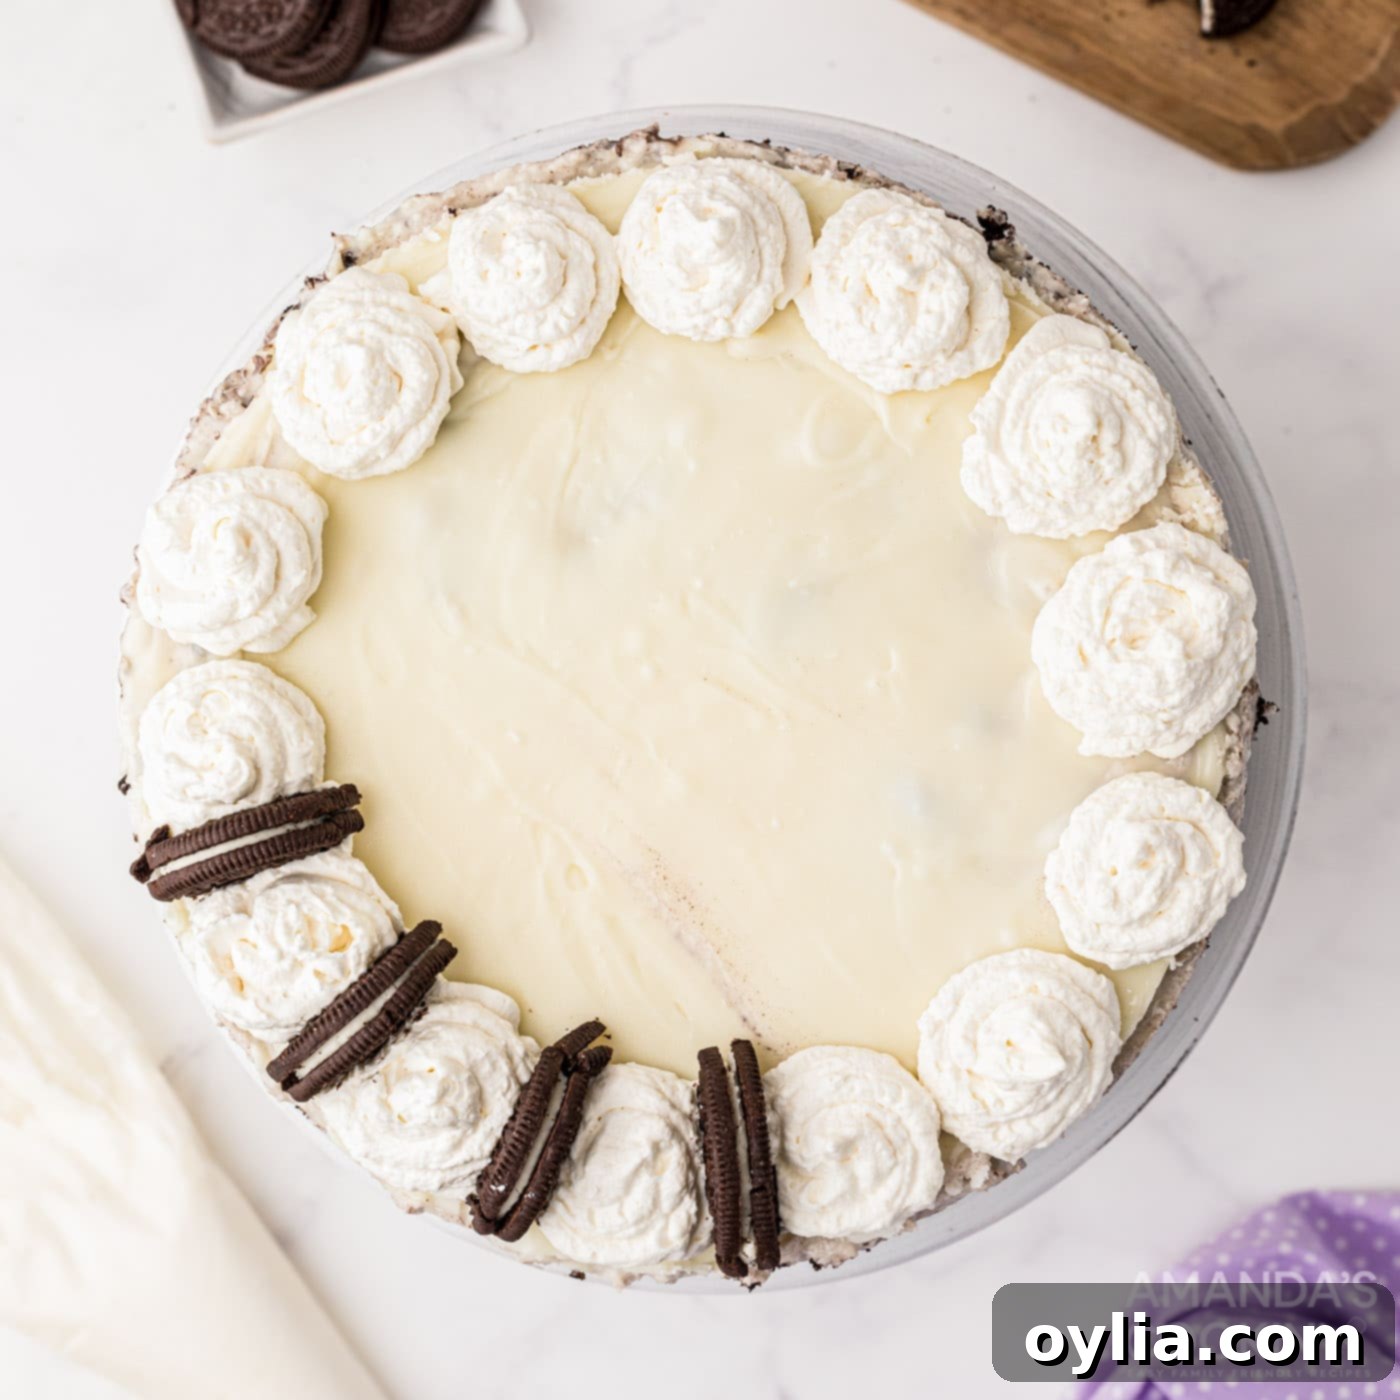
Ultimate Decadent Oreo Cheesecake Recipe: Creamy, Crunchy & Irresistible
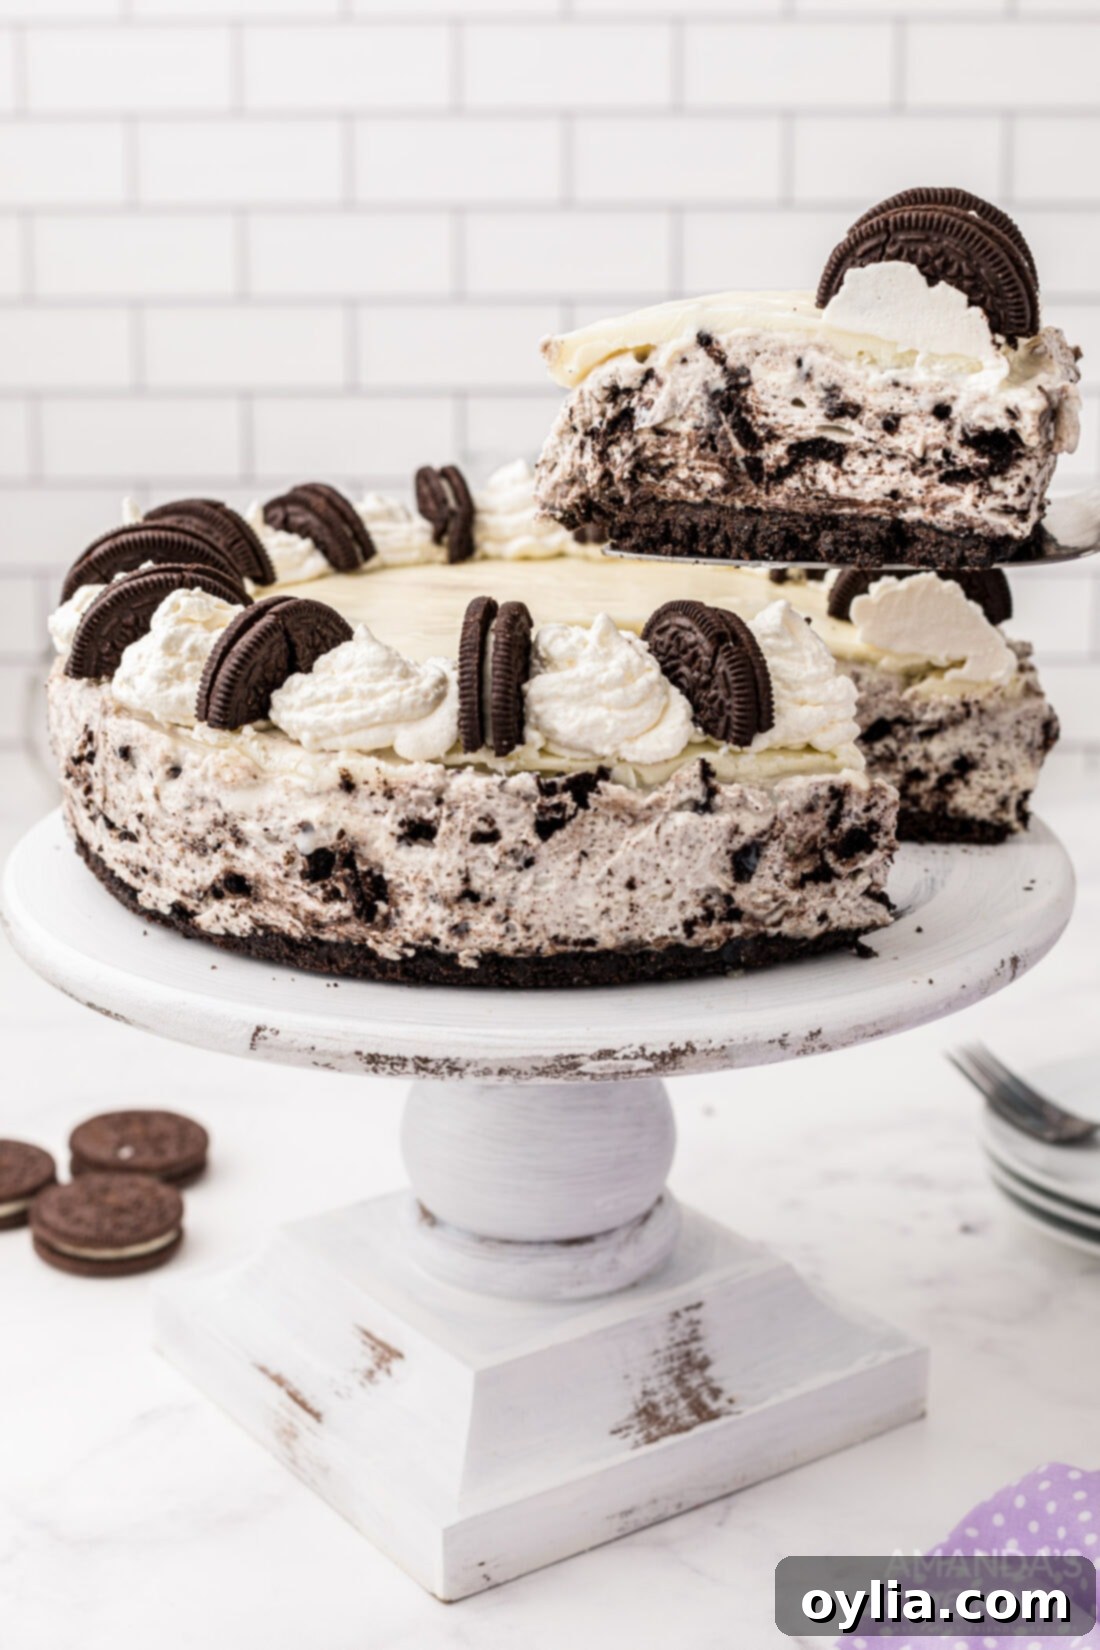
Prepare to be amazed by this show-stopping Oreo cheesecake! It’s a dream come true for any cookies and cream lover, featuring a rich, velvety cheesecake filling generously studded with chocolate sandwich cookie bits. All of this sits atop a classic, buttery Oreo crust, and it’s beautifully crowned with a luscious white chocolate ganache and elegantly piped whipped cream. This isn’t just a dessert; it’s an experience, promising an explosion of flavor and texture in every single bite.
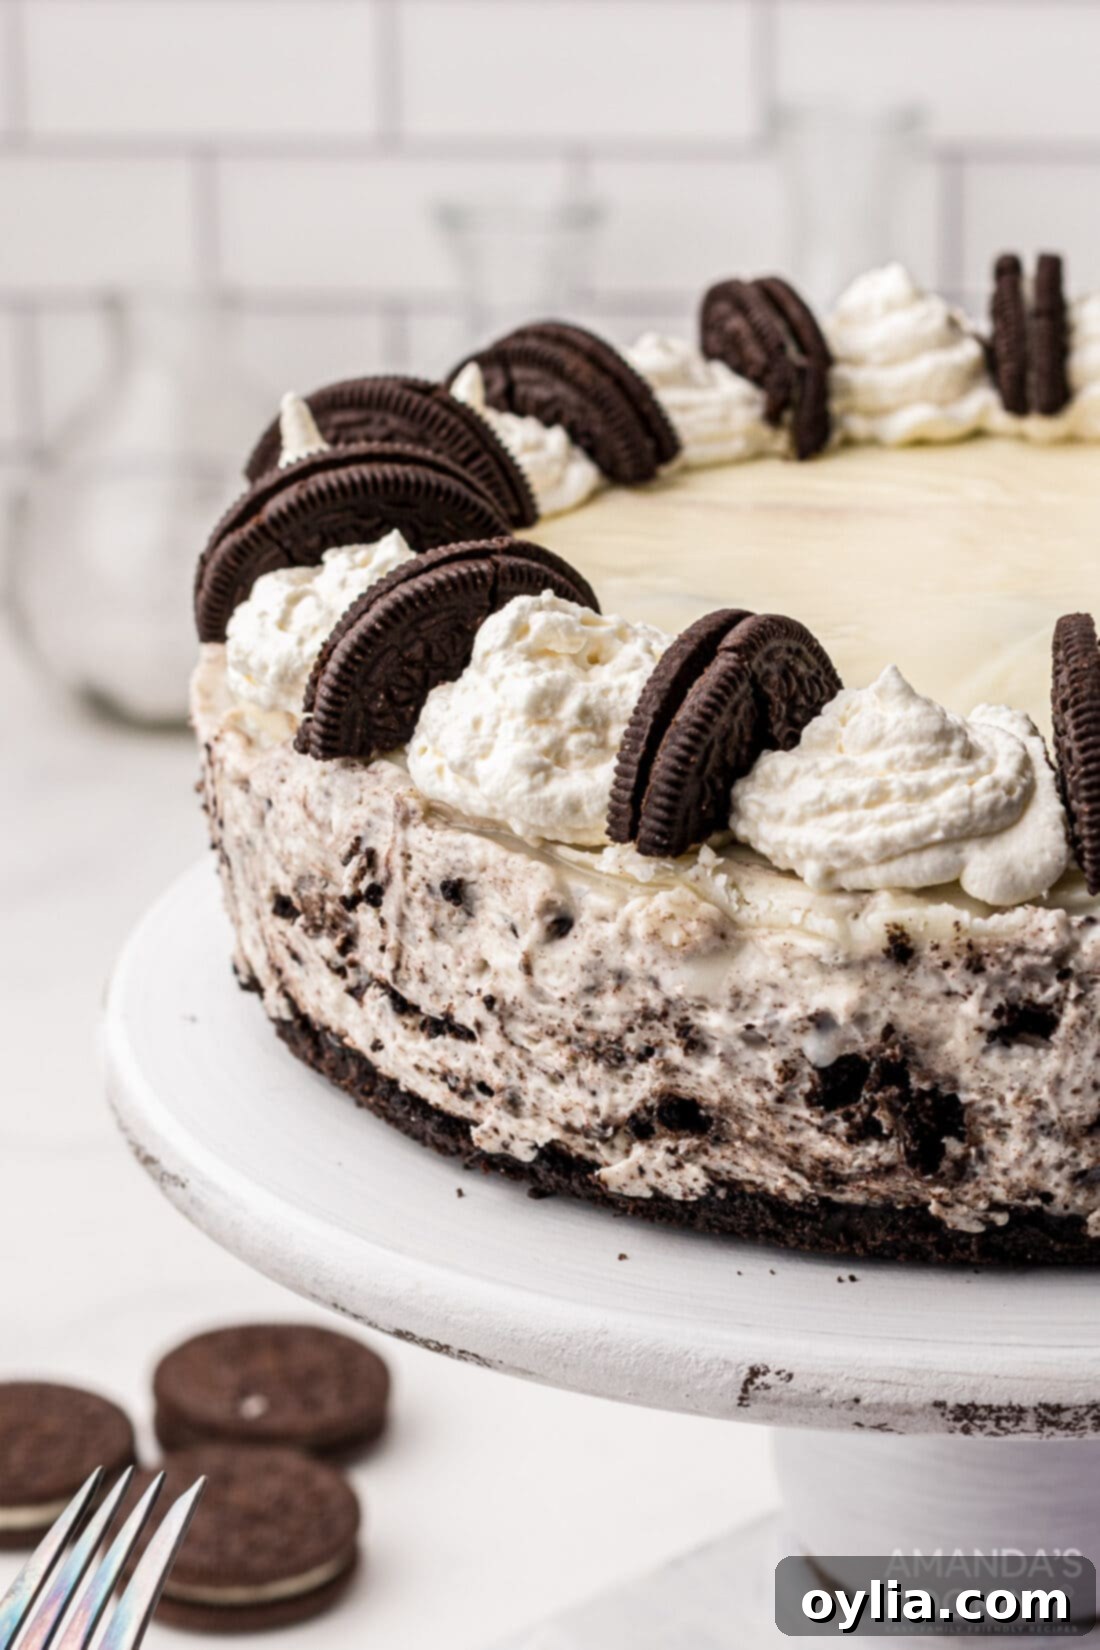
Why This Oreo Cheesecake Recipe Is a Must-Try
There’s a reason why this particular Oreo cheesecake stands out from the crowd. It perfectly captures the beloved “cookies and cream” flavor, infusing it throughout every layer for an unforgettable dessert experience. From the crunchy, buttery Oreo crust to the lusciously rich and creamy cheesecake filling, every component is designed to delight your taste buds. The delightful texture of crushed Oreos mingled within the smooth cream cheese filling creates an incredible contrast that keeps you coming back for more.
We’ve certainly been on an Oreo obsession lately, and for good reason! This iconic cookie pairs beautifully with the tangy sweetness of cheesecake. If you loved our recent Oreo cheesecake brownies, you’ll find this full-sized cheesecake to be an even grander celebration of that winning combination. The addition of a smooth white chocolate ganache takes this cheesecake to an entirely new level, adding a touch of elegance and extra indulgence that makes it a true show-stopper for any gathering or special occasion.
Key Ingredients for Your Homemade Oreo Cheesecake
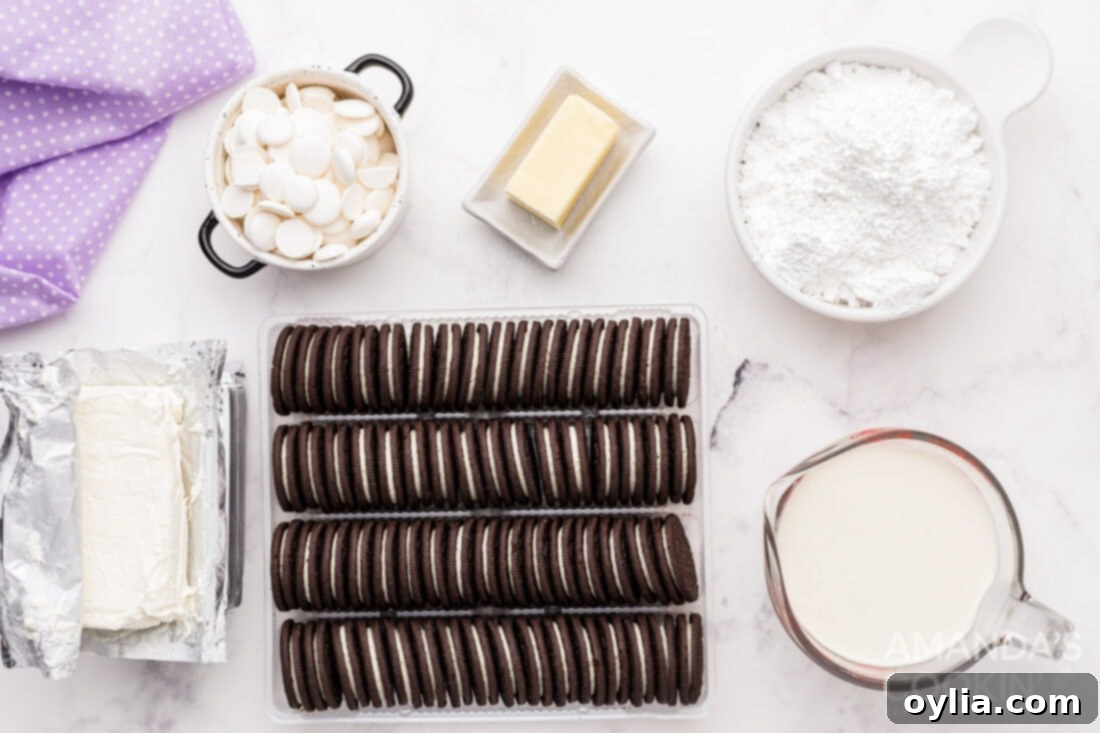
Crafting this incredible Oreo cheesecake requires a few essential ingredients that work together to create its signature flavor and luxurious texture. While the full list with precise measurements is available in the printable recipe card at the end of this post, here’s a breakdown of the key components you’ll need to gather before you begin your baking adventure. Quality ingredients are the foundation of a truly remarkable dessert, so aim for fresh and high-quality items where possible.
Ingredient Spotlight & Smart Substitutions
CRUST: The Foundation of Flavor and Crunch
For the iconic base of this cheesecake, you’ll need one party-size pack of regular Oreos. These versatile cookies will be used for both the crust and the filling. Crucially, do not remove the cream center of the Oreos – we want all that cookies and cream goodness integrated into our dessert! If you own a food processor, it’s the easiest way to achieve fine crumbs. Simply pulse the Oreos until they reach the desired consistency. If a food processor isn’t available, don’t worry! Place the Oreos in a large, sturdy zip-top bag, seal it, and use a rolling pin to crush them into fine crumbs. The finer the crumbs, the more cohesive your crust will be. Once combined with melted butter, this mixture forms a firm, flavorful foundation for your cheesecake.
FILLING: The Heart of Creamy Indulgence
The rich and creamy filling is what truly defines this Oreo cheesecake. It’s built upon 24 oz of full-fat cream cheese, which provides the essential tang and density. Powdered sugar is incorporated for sweetness and to ensure a smooth, lump-free texture. Heavy whipping cream is then beaten into the mixture, adding incredible lightness and an airy, mousse-like quality that melts in your mouth. Just like with the crust, we’ll be adding crushed Oreo pieces directly into the filling. Again, leave the cream centers intact to maximize flavor. A critical step for a silky-smooth cheesecake is ensuring your cream cheese is at room temperature before you begin. To achieve this quickly, slice the cream cheese into 1-inch cubes, spread them out on a plate, and let them sit at room temperature for approximately 20-25 minutes. This allows the cream cheese to blend smoothly without lumps, creating that perfect, uniform consistency.
TOPPING: The Elegant Finishing Touch
The topping adds both visual appeal and an extra layer of decadence. We opt for a smooth, glossy white chocolate ganache, created by melting white chocolate wafers with warm heavy cream. This ganache provides a beautiful sheen and a sweet, complementary flavor that balances the rich cheesecake. While the white chocolate ganache is highly recommended for its beauty and taste, it is entirely optional. If you prefer, you can skip it or substitute it with a classic dark chocolate ganache for a different flavor profile. Beyond the ganache, a swirl of freshly whipped cream and strategically placed Oreo cookies (cut in half for an attractive presentation) truly elevates the cheesecake’s aesthetic, making it look as incredible as it tastes. These finishing touches add contrasting textures and a final flourish of classic Oreo flavor.
Step-by-Step: How to Craft Your Perfect Oreo Cheesecake
These detailed step-by-step photos and instructions are designed to guide you visually through the entire process of making this incredible Oreo cheesecake. For a convenient printable version of this recipe, complete with precise measurements and comprehensive instructions, you can Jump to Recipe at the bottom of this page.
- Prepare the Oven: Preheat your oven to 325°F (160°C). This is for baking the crust, which helps it set and become delightfully crisp.
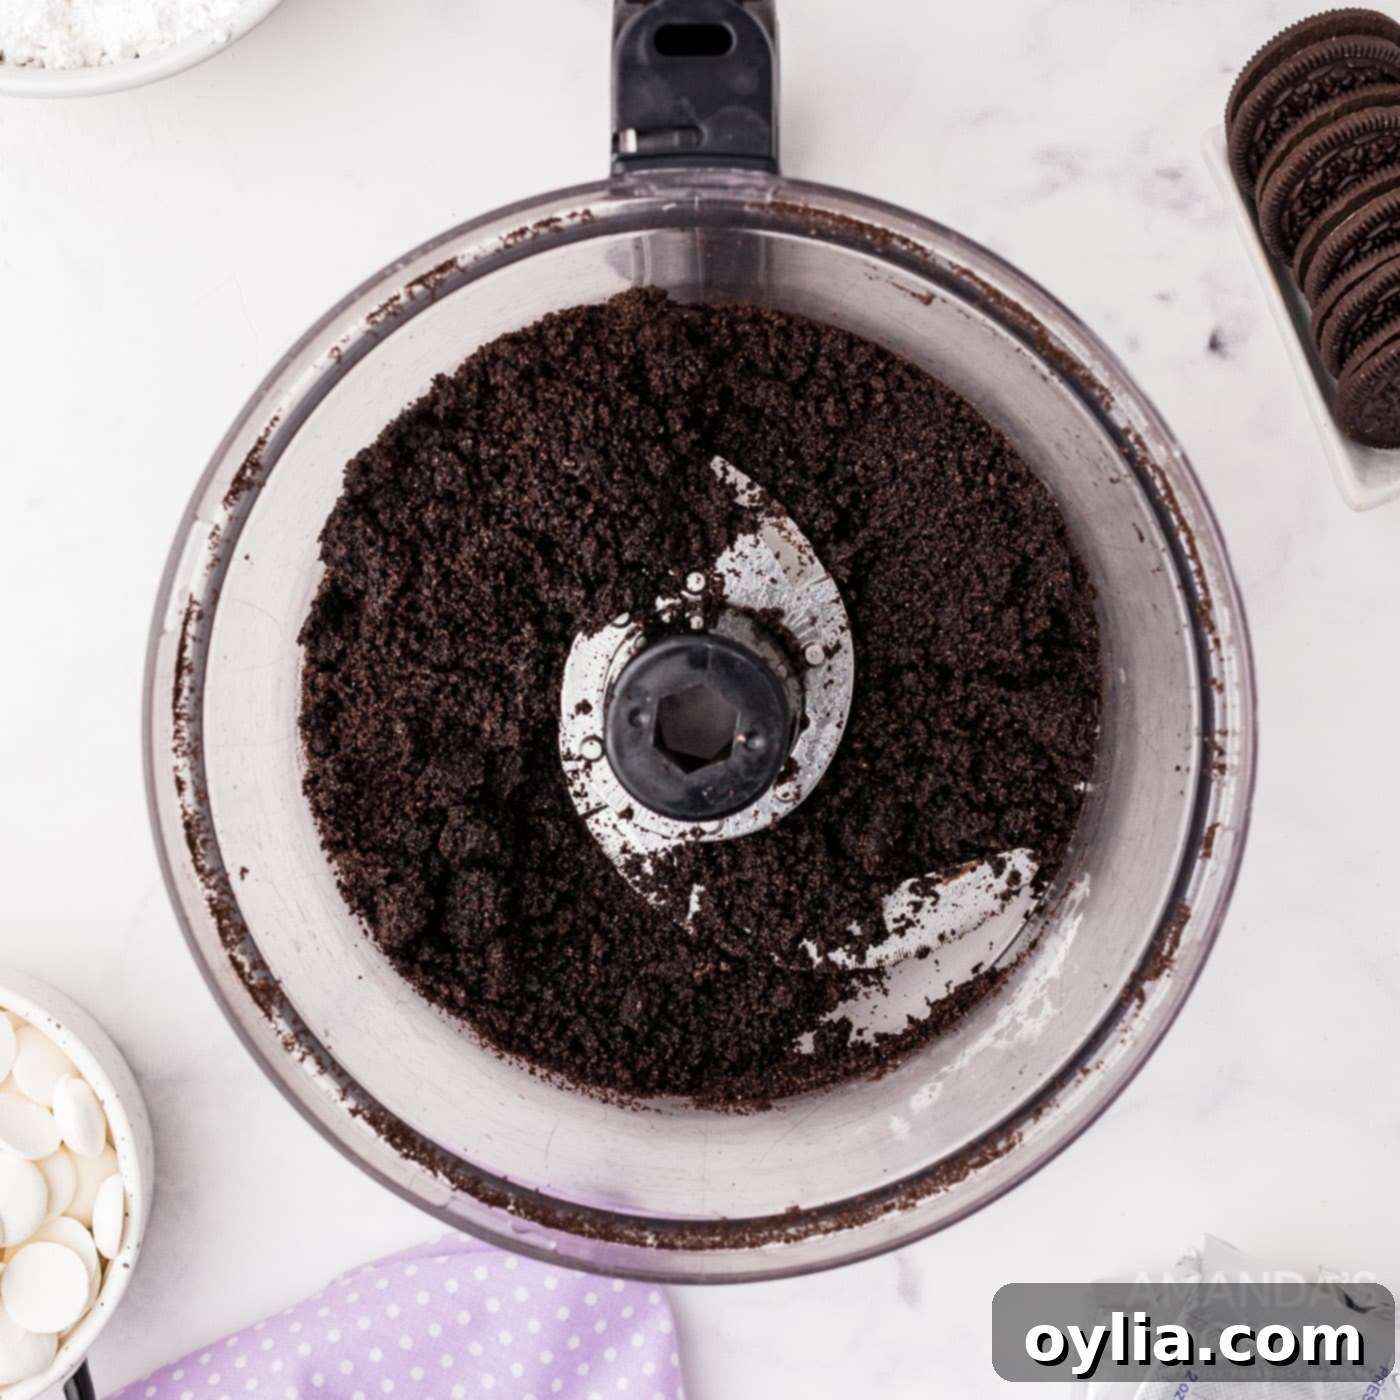
- Make the Oreo Crust: Take 25 Oreo cookies and add them to your food processor. Pulse until they form mostly fine crumbs. Add the melted butter to the crumbs and continue to pulse until the mixture resembles wet sand. This ensures the crust will hold together beautifully.

Oreo crumbs mixed with melted butter in a food processor, forming the base for the crust. - Prepare the Pan: Line the bottom of a 9-inch springform pan with parchment paper. This will make it much easier to remove the cheesecake later. Spray the sides of the pan lightly with non-stick cooking spray.
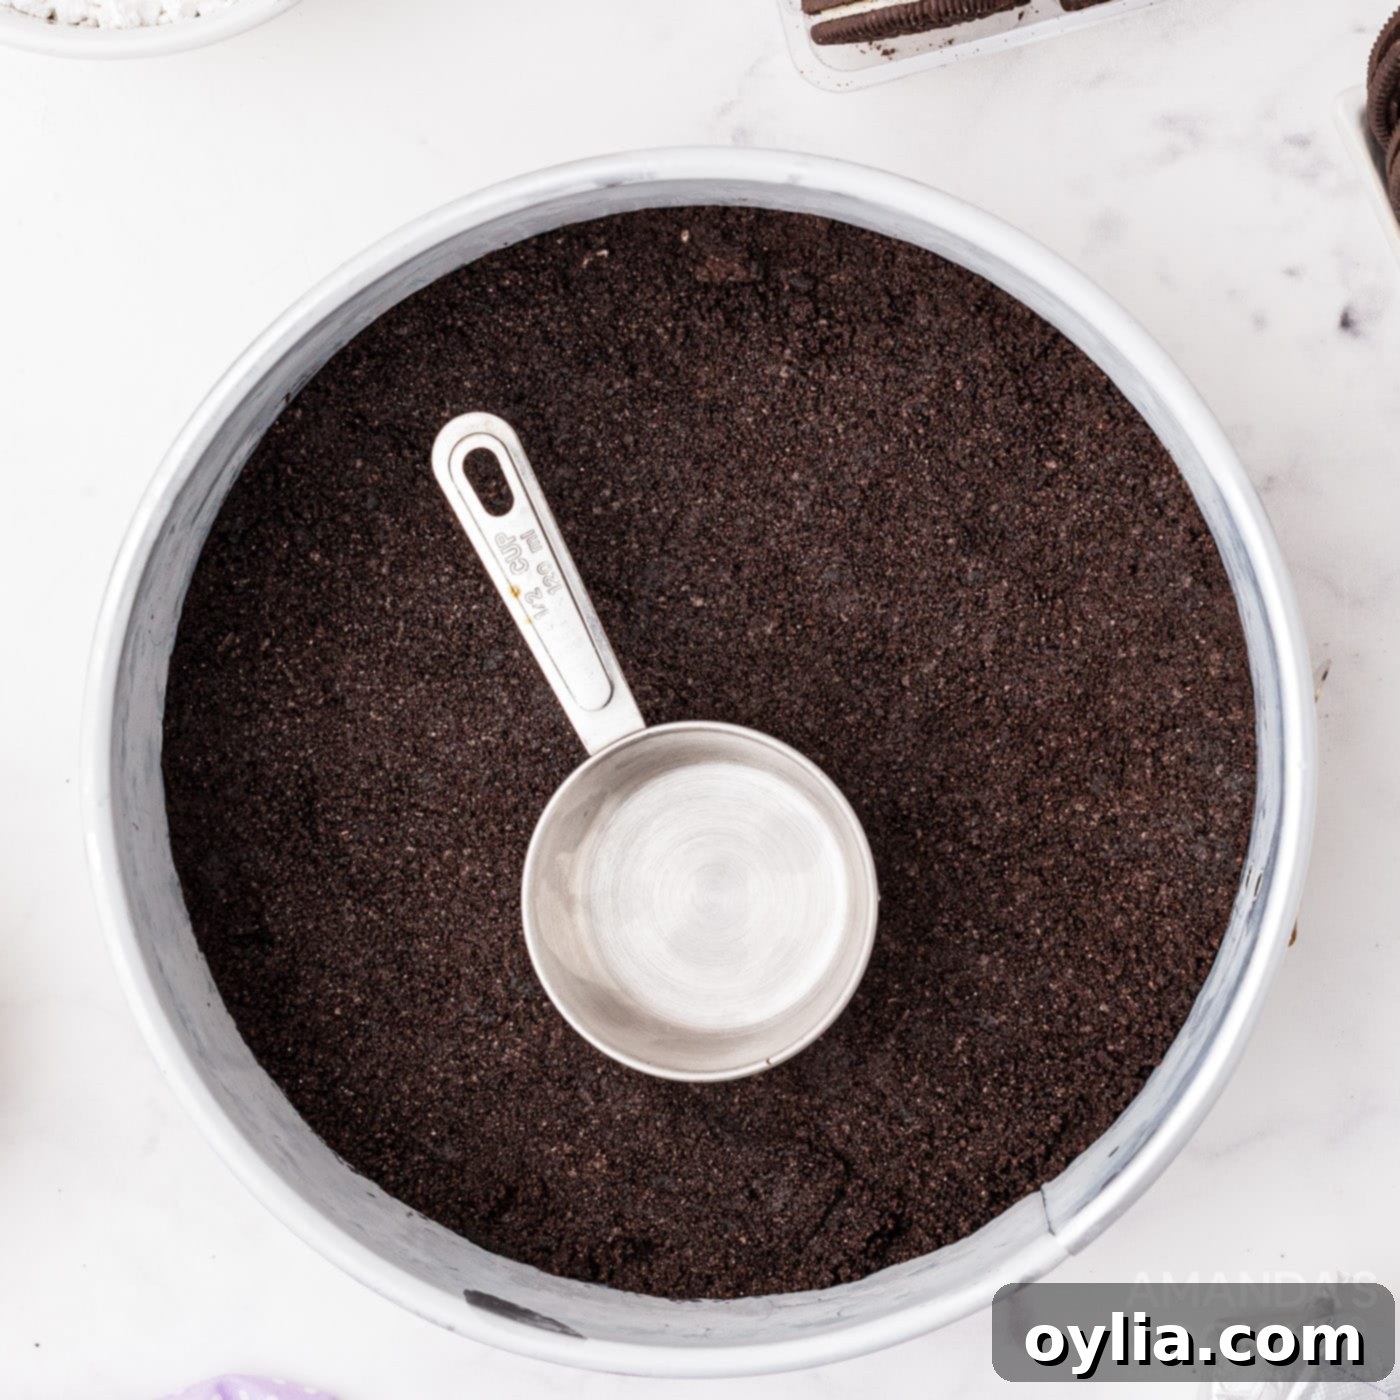
- Press the Crust: Firmly press the Oreo crumb mixture into the bottom of the prepared springform pan. Use the flat bottom of a measuring cup or any similar flat tool to ensure the crust is evenly pressed and compacted. This creates a sturdy base.

Compacting the Oreo crumb crust into the bottom of a springform pan. - Bake and Cool the Crust: Bake the crust in the preheated oven for 8-10 minutes. This short bake time helps to set the crust, making it crispier and less likely to crumble. Remove from the oven and allow it to cool completely before adding the filling.
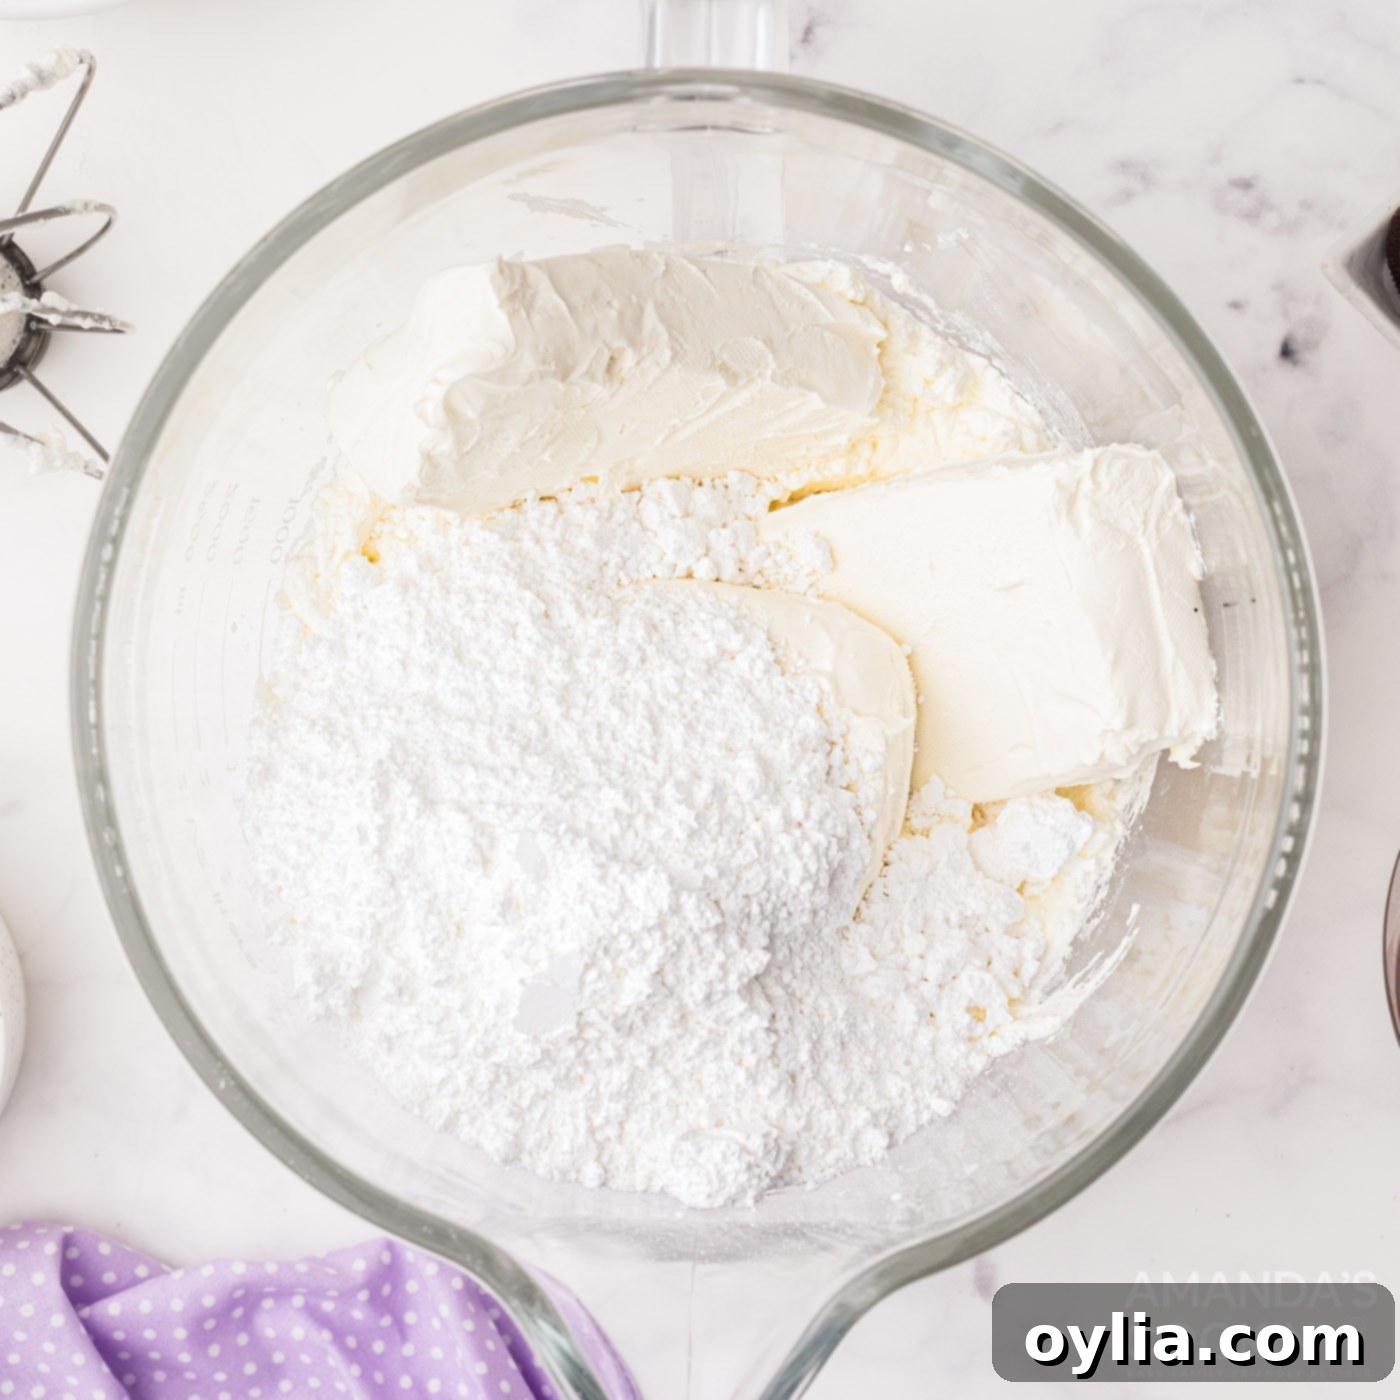
- Prepare the Cheesecake Filling Base: In a large mixing bowl, add the three 8 oz packages of room temperature cream cheese. Beat with powdered sugar until the mixture is well combined and smooth, with no lumps. Gradually add 1 cup of heavy cream and continue to beat on medium speed for about 5 minutes, or until stiff peaks begin to form. This whipping action incorporates air, creating a light and fluffy cheesecake filling.

Cream cheese and powdered sugar being thoroughly combined in a mixing bowl. - Set Aside Oreos for Decoration: From your remaining Oreo cookies, set aside 7 whole cookies. These will be used later to beautifully decorate the top of your finished cheesecake.
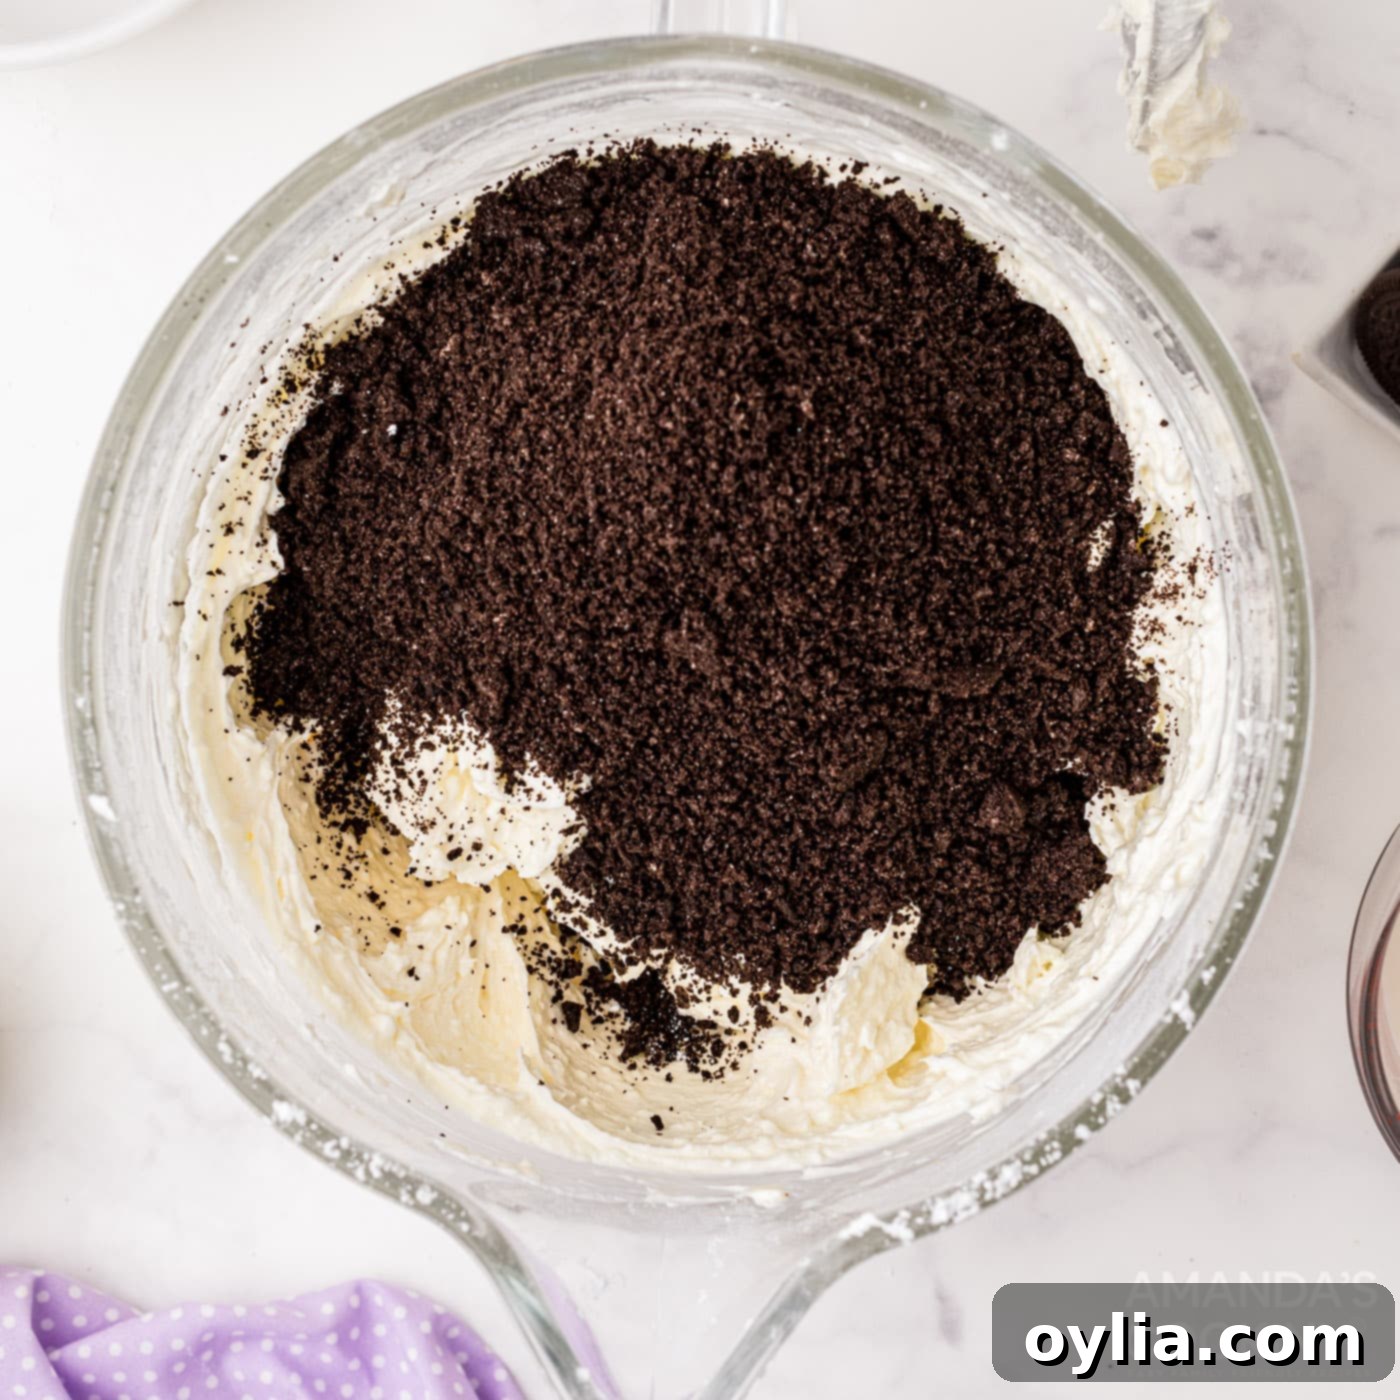
- Add Crushed Oreos to Filling: Place the rest of the Oreo cookies into a re-sealable bag and gently crush them with a rolling pin. The goal here is to have slightly larger, chunkier pieces compared to the fine crumbs used for the crust. Alternatively, you can briefly pulse them in the food processor. Stir these delightful cookie bits into the cream cheese and cream mixture. This ensures every bite of cheesecake is bursting with cookies and cream flavor and texture.

Oreo cookie bits being folded into the creamy cheesecake filling. - Pour Filling into Pan: Carefully pour the Oreo cheesecake mixture evenly over the cooled Oreo crust in the springform pan. Gently smooth the top with a spatula to ensure an even layer.

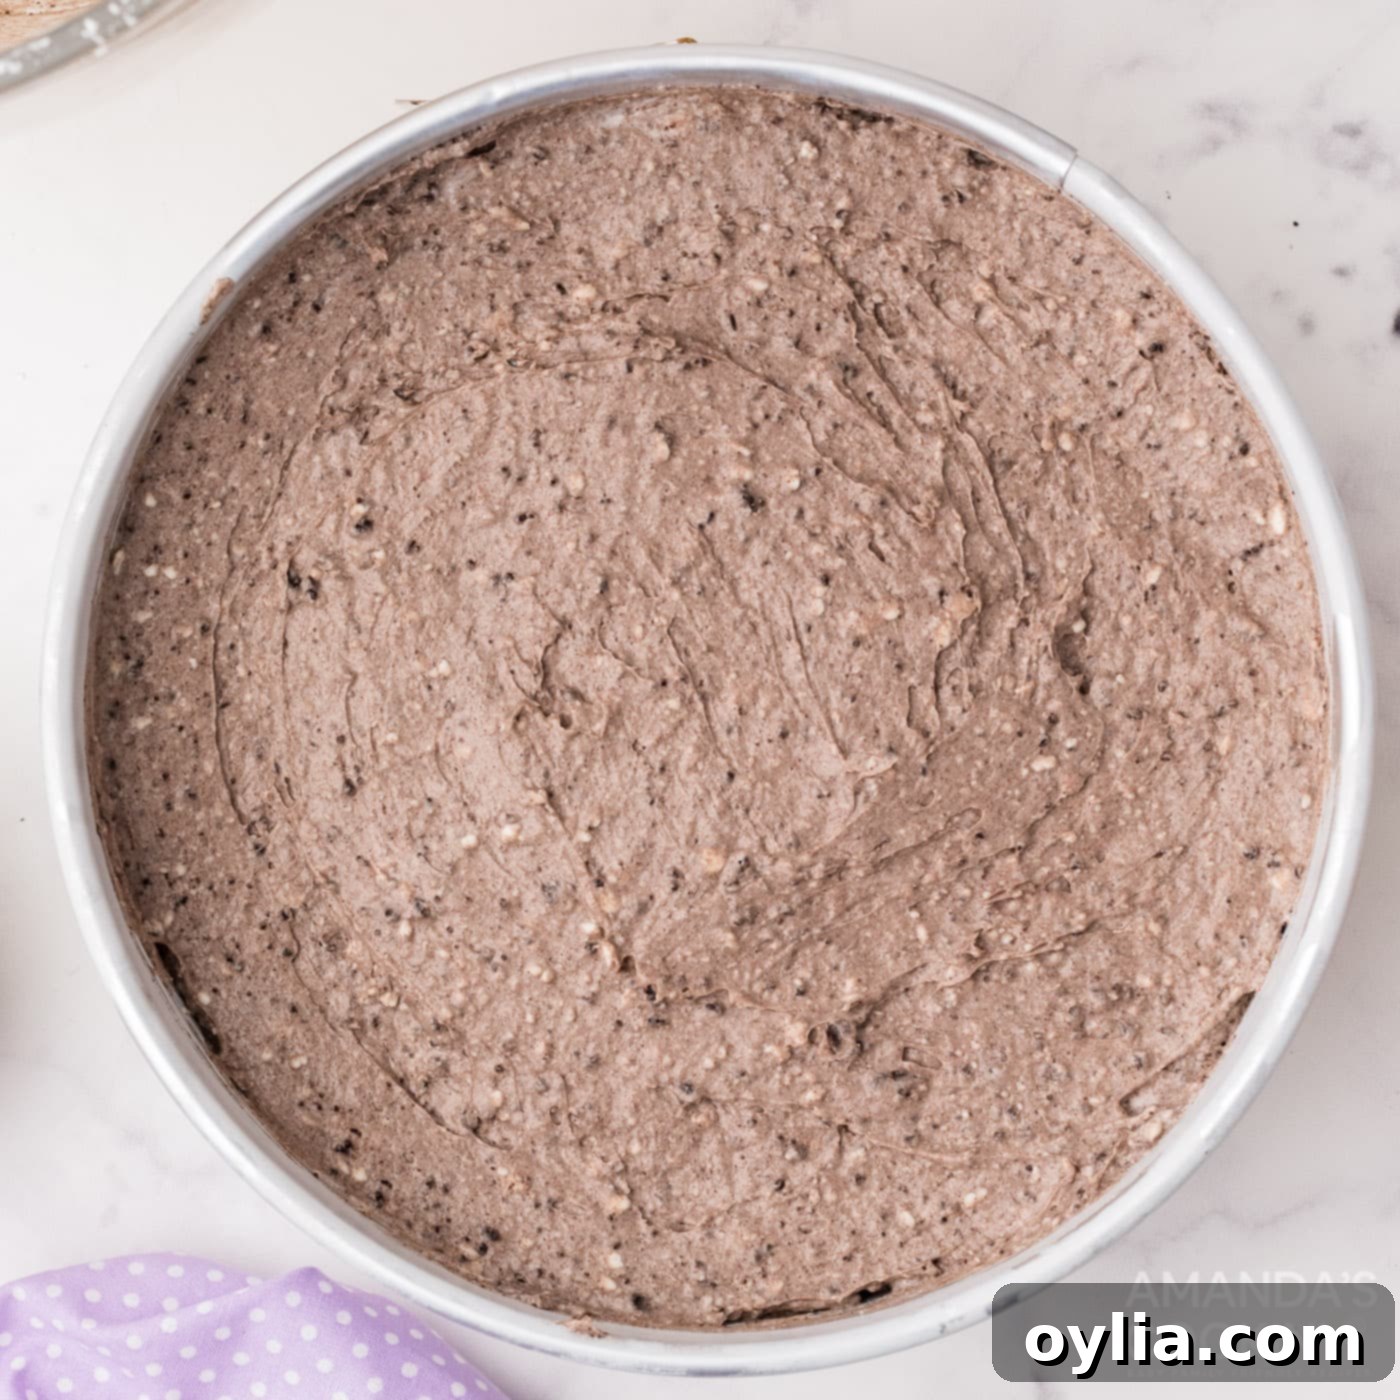
The creamy Oreo cheesecake mixture settled over the baked crust in the springform pan. - Prepare the White Chocolate Ganache: In a small saucepan, gently heat 1 cup of heavy cream over medium-low heat until it just begins to simmer. Remove from heat and add the white chocolate wafers. Stir continuously until the white chocolate is completely melted and the mixture is smooth and glossy. This creates your luscious ganache.

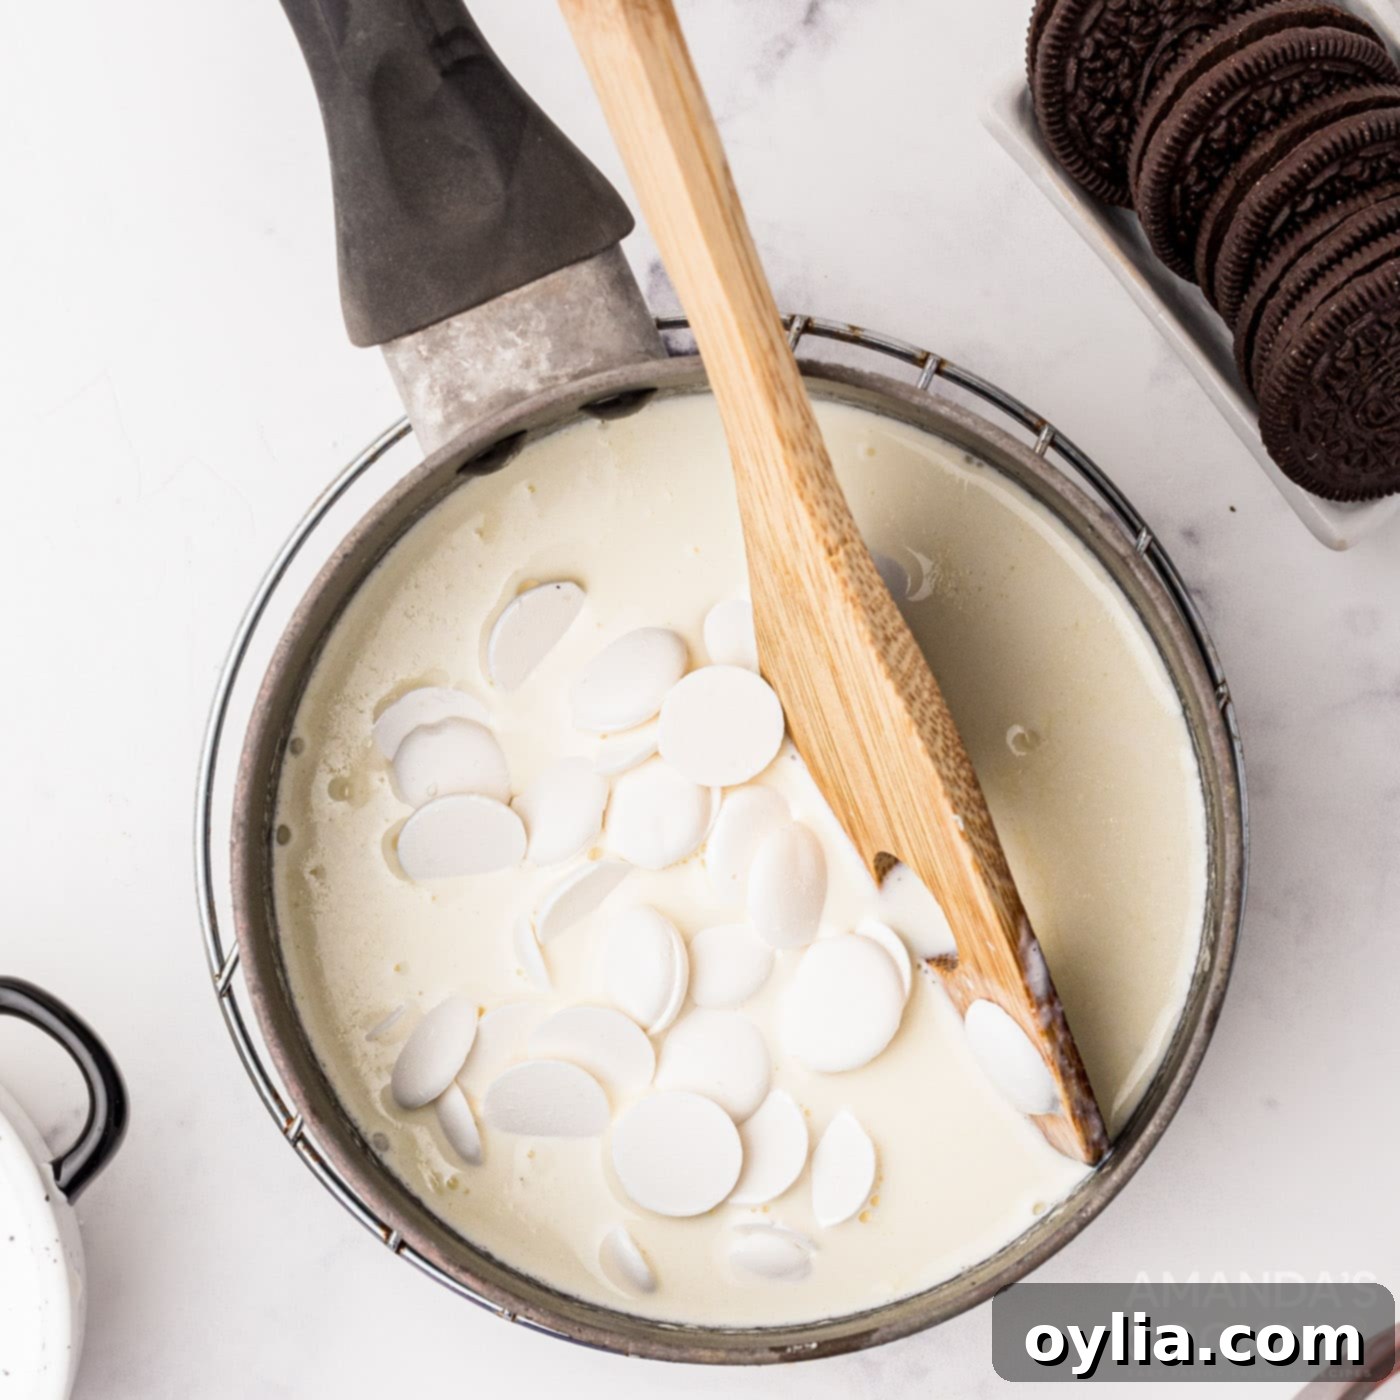
Smooth, melted white chocolate ganache in a saucepan, ready for pouring. - Cool the Ganache: Allow the ganache to cool slightly at room temperature. It should still be pourable but not piping hot, as extreme heat could affect the cheesecake filling.
- Pour Ganache and Chill: Pour the slightly cooled white chocolate ganache evenly over the top of the cheesecake. Cover the pan loosely with aluminum foil, being careful that the foil does not touch the surface of the ganache to avoid marring its smooth finish. Refrigerate the cheesecake immediately for a minimum of 6 hours, or ideally overnight. This extended chilling time is crucial for the cheesecake to set properly and for the flavors to fully develop.

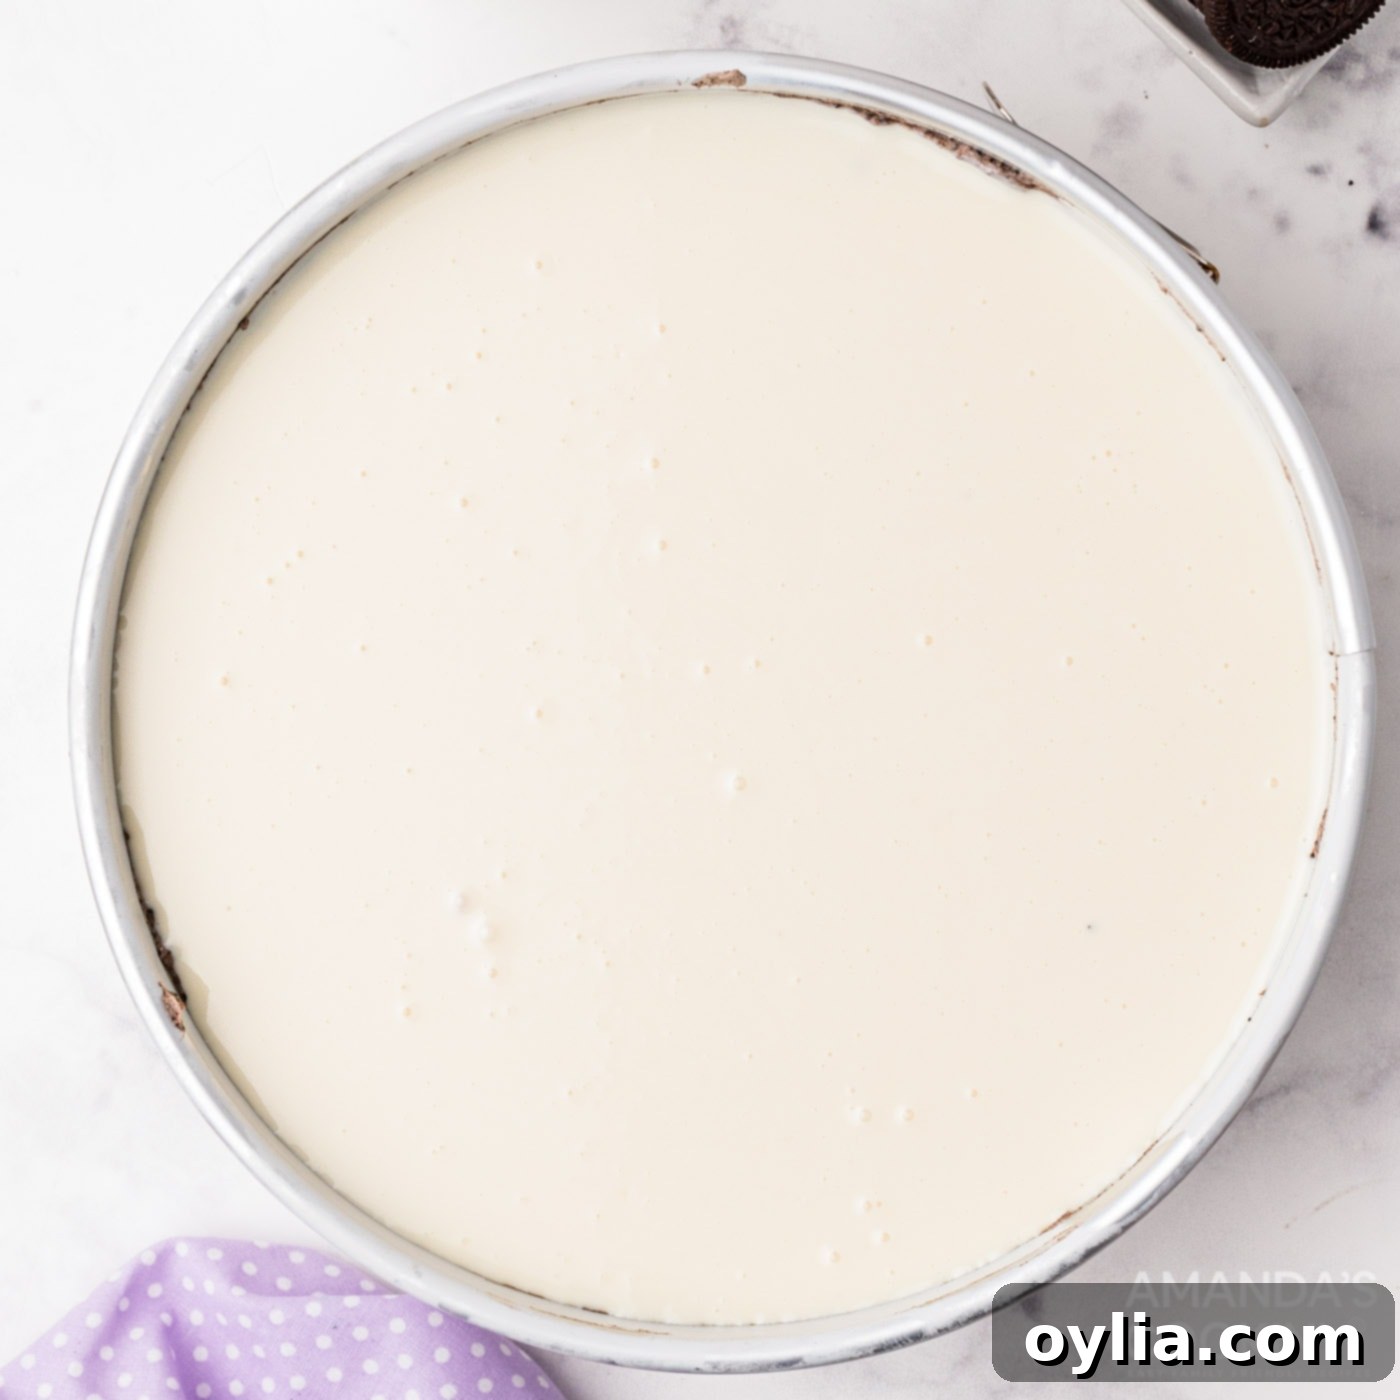
Smooth white chocolate ganache being poured over the Oreo cheesecake, creating a beautiful top layer. - Prepare Whipped Cream Topping: Once the cheesecake is thoroughly chilled and set, beat the remaining 1 cup of heavy cream with ¼ cup powdered sugar until stiff peaks have formed. Transfer this whipped cream to a piping bag (or a sturdy re-sealable bag with the corner snipped off). For easier filling, insert the piping bag into a tall glass before spooning in the whipped cream.
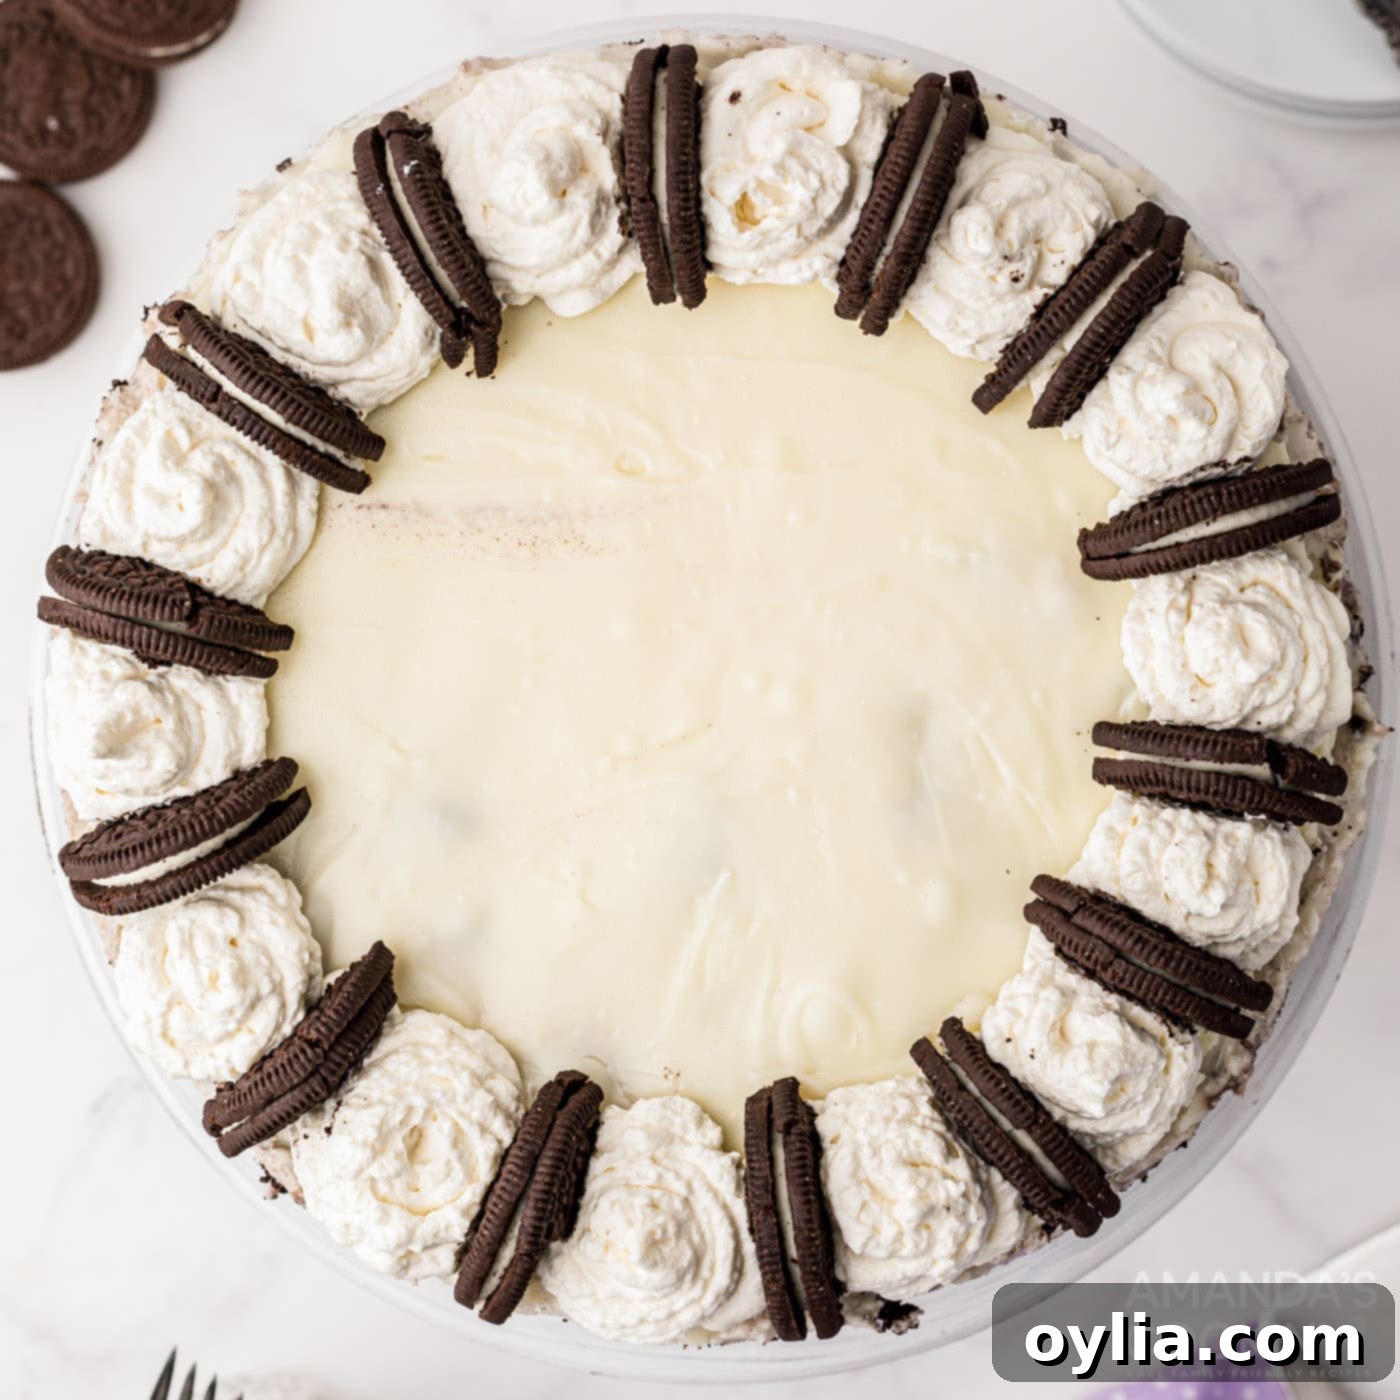
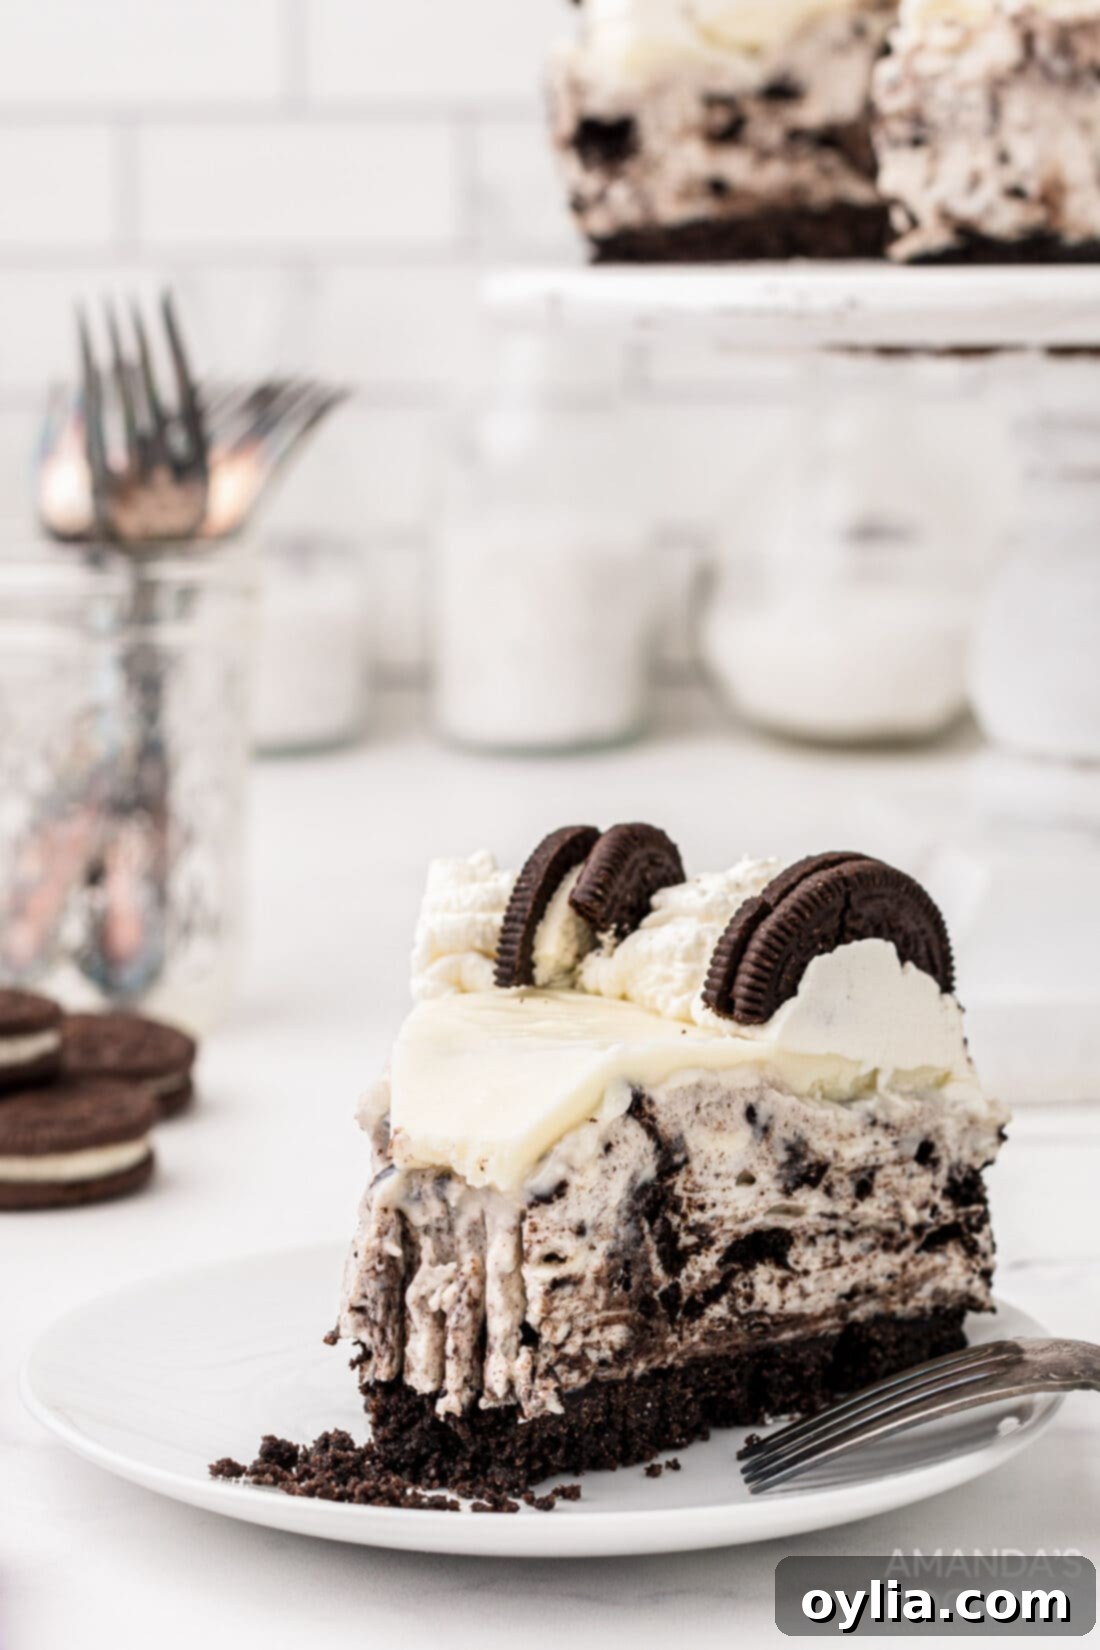
- Release and Decorate: Before unmolding, run a thin knife around the inside edge of the springform pan to ensure the ganache and cheesecake are not stuck. Carefully remove the sides of the pan. Pipe elegant swirls of whipped cream around the outside top edge of the cheesecake. Then, take the 7 reserved Oreo cookies, cut them in half, and place these halves decoratively in between each whipped cream swirl.
- Slice and Serve: Your magnificent Oreo cheesecake is now ready! Slice into generous portions and serve chilled. Enjoy the incredible blend of creamy, crunchy, and chocolatey goodness!

The beautifully decorated Oreo cheesecake with whipped cream and halved Oreos on top.
Frequently Asked Questions & Expert Tips for Success
To maintain its freshness and flavor, store the Oreo cheesecake in an airtight container or tightly wrapped with plastic wrap in the refrigerator. It will stay delicious for up to 4 days. Ensure it’s well-covered to prevent it from absorbing other odors from the fridge.
Absolutely! This cheesecake freezes beautifully. To freeze the entire cheesecake, wrap it (still in its springform pan bottom if possible) several times with plastic wrap, followed by an outer layer of aluminum foil. For individual slices, place them in an airtight freezer-safe container, separating layers with parchment paper if stacking. Oreo cheesecake can be frozen for up to 3 months. To enjoy, simply defrost it overnight in the refrigerator.
Using room temperature cream cheese is crucial for achieving a smooth, lump-free cheesecake filling. Cold cream cheese will be difficult to mix evenly and can result in a lumpy texture. Room temperature cream cheese blends effortlessly with sugar and cream, creating that signature silky consistency.
While you can use low-fat cream cheese or half-and-half instead of heavy cream to slightly reduce calories, be aware that this may alter the texture. Full-fat cream cheese and heavy cream provide the richest, creamiest, and most stable results for this decadent dessert. Substitutions might yield a slightly less firm or less rich cheesecake.
To avoid the foil sticking to your beautiful ganache, make sure the ganache has cooled slightly and begun to set a little before covering. Then, create a “tent” with the foil so it doesn’t directly touch the surface. You can also place toothpicks or skewers upright on the cheesecake before covering to create a barrier that keeps the foil elevated.
A springform pan is ideal for cheesecakes because of its removable sides, which allow for easy unmolding. If you don’t have one, you can use a regular 9-inch round baking pan lined entirely with parchment paper (with overhang on the sides) to help lift the cheesecake out. However, the presentation might not be as perfect without the clean release of a springform pan.
Serving Suggestions for Your Perfect Oreo Cheesecake
This Oreo cheesecake is undeniably a showstopper on its own, making it a fantastic dessert for any occasion, from casual family dinners to elegant holiday gatherings. Its rich flavor and delightful texture mean it needs very little to shine. However, if you’re looking to elevate the experience further or customize it for different tastes, here are some serving suggestions:
- Extra Oreo Crunch: You can never have too much Oreo, right? Sprinkle extra crushed Oreo crumbs over individual slices or the entire top of the cheesecake just before serving for an added layer of texture and intensified flavor.
- Drizzle of Chocolate: A light drizzle of chocolate syrup, hot fudge, or even a contrasting caramel sauce can add another dimension of flavor and visual appeal.
- Fresh Berries: The slight tartness of fresh raspberries or sliced strawberries can provide a wonderful counterpoint to the cheesecake’s sweetness and richness, along with a pop of color.
- Ice Cream Pairing: Serve a slice alongside a scoop of vanilla bean ice cream or a complementary flavor like coffee or mint chocolate chip for an indulgent à la mode experience.
- Coffee or Liqueur Pairing: A rich cup of coffee or espresso, or even a small glass of a cream liqueur, can make a sophisticated pairing for this decadent dessert.
Remember, this cheesecake is best served chilled, allowing its creamy texture and distinct flavors to be fully appreciated.
Craving More Oreo Delights?
If you’re as obsessed with Oreos as we are, you’ll be thrilled to discover more incredible recipes that celebrate this iconic cookie. Here are some of our other favorite Oreo creations:
- Oreo Cupcakes
- Oreo Icebox Cake
- Oreo Cheesecake Bars
- Oreo Cheesecake Brownies
- Peanut Butter Oreo No Bake Cheesecake
- Instant Pot Oreo Cheesecake
- Fried Oreos
I absolutely love to bake and cook, and sharing my kitchen experiences and delicious recipes with all of you is a true joy! It can be tough to remember to check back every day for new delights, which is why I offer a convenient newsletter delivered straight to your inbox every time a new recipe posts. Simply subscribe today and start receiving your free daily recipes – never miss a bite!
Oreo Cheesecake
IMPORTANT – There are often Frequently Asked Questions within the blog post that you may find helpful. Simply scroll back up to read them!
Print It
Pin It
Rate It
Save It
Saved!
Prevent your screen from going dark
Ingredients
- 25.5 oz Oreo cookies whole cookies, divided
- ¼ cup salted butter 1/2 stick, melted
- 24 oz cream cheese 3 8 oz packages, at room temperature
- 1 cup heavy whipping cream or half and half
- 1 ½ cups powdered sugar
Ganache
- 1 cup heavy whipping cream or half and half
- 24 oz white chocolate wafers
Topping
- 1 cup heavy whipping cream or half and half
- ¼ cup powdered sugar
Things You’ll Need
-
Food processor
-
Electric mixer
-
9 inch springform pan
Before You Begin
- Store in the refrigerator tightly wrapped with plastic wrap or in an air-tight container for up to 4 days.
- If you’d like to reduce the calories a little bit, use half-and-half instead of heavy cream.
Instructions
-
Preheat oven to 325°F.
-
Add 25 Oreo cookies to your food processor and pulse until mostly crumbs. Add the melted butter and continue to pulse.
-
Line the bottom of a 9″ spring form pan with parchment paper and spray the sides with non stick spray.
-
Press the crumb mixture into the bottom of the pan and use a measuring cup (or flat tool) to evenly press and spread.
-
Bake in the oven for 8-10 Minutes. Remove and allow to cool.
-
In a large mixing bowl add the 3 packs of cream cheese and mix with the powdered sugar until combined well. Add 1 cup of heavy cream and beat on medium speed for about 5 minutes (until stiff peaks are forming).
-
Take 7 Oreo cookies and put them to the side (they are for decorating later).
-
The remaining Oreo cookies place into a re-sealable bag and beat with a rolling pin (or in the food processor again) but not quite as small pieces as last time. Stir these bits into the cream/cream cheese mixture.
-
Pour this mixture into the pan on top of the cooled crust.
-
In a pan heat up 1 cup of cream, add the white chocolate wafers and stir until completely melted.
-
Allow to cool slightly, make sure it’s still in a pourable state.
-
Pour over the top of the cheesecake then cover with foil and refrigerate immediately. Make sure the foil cover does not touch the ganache as it will ruin the finish.
-
Refrigerate for a minimum of 6 hours, better overnight.
-
Beat the remaining 1 cup of cream with the powdered sugar until stiff peaks have formed. Transfer to a piping bag (or re-sealable bag with the tip cut off). It’s easier if you insert the piping bag inside a tall glass.
-
Using a knife, score around the inside of the cheesecake pan to make sure the ganache isn’t stuck to it. Remove the sides of the pan.
-
Pipe swirls around the outside top of the cheesecake, then cut the remaining Oreos in half and place the halves in between each swirl. Slice and serve.
Nutrition
The recipes on this blog are tested with a conventional gas oven and gas stovetop. It’s important to note that some ovens, especially as they age, can cook and bake inconsistently. Using an inexpensive oven thermometer can assure you that your oven is truly heating to the proper temperature. If you use a toaster oven or countertop oven, please keep in mind that they may not distribute heat the same as a conventional full sized oven and you may need to adjust your cooking/baking times. In the case of recipes made with a pressure cooker, air fryer, slow cooker, or other appliance, a link to the appliances we use is listed within each respective recipe. For baking recipes where measurements are given by weight, please note that results may not be the same if cups are used instead, and we can’t guarantee success with that method.
