Creamy Homemade Eggnog Recipe: Your Ultimate Holiday Drink Guide
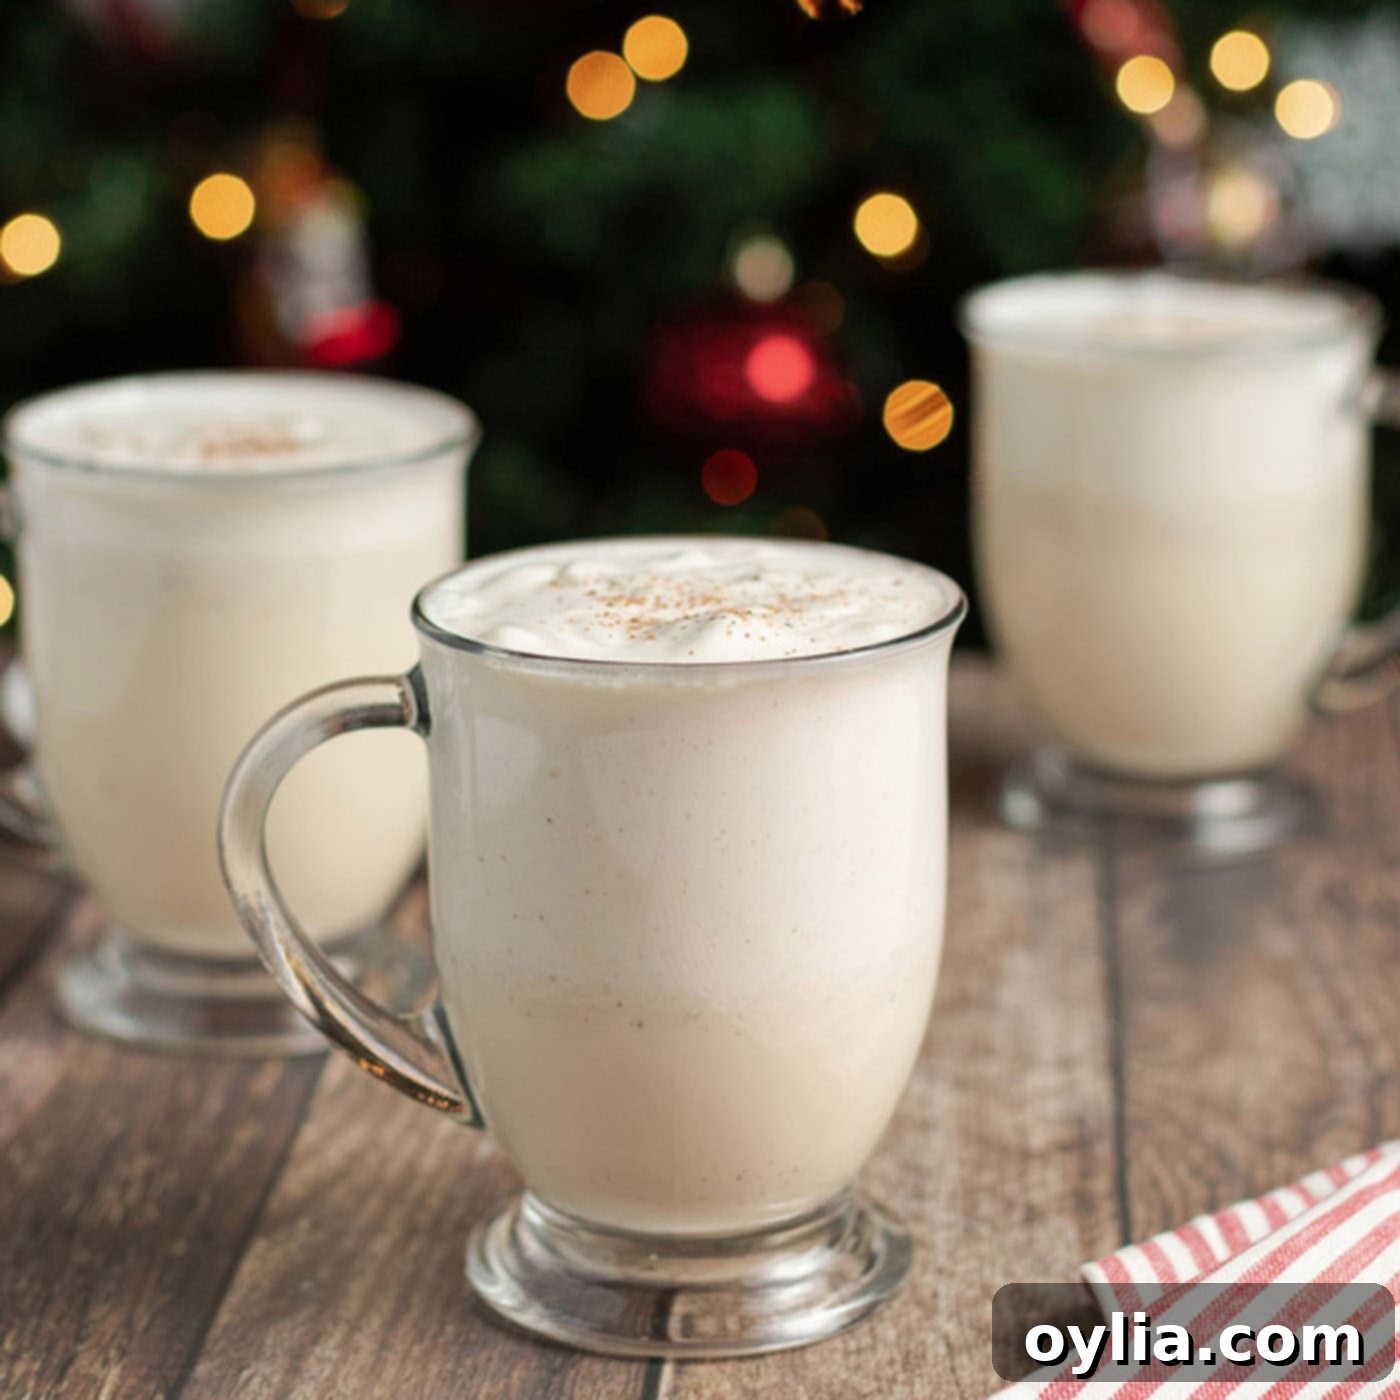
Embrace the festive spirit with a glass of rich, creamy homemade eggnog, perfectly spiced with warm nutmeg. Forget the store-bought varieties; making this classic holiday beverage from scratch is not only easier than you might think but also yields a flavor that’s incomparable. While it does require a little planning for chill time, the velvety texture and comforting taste are absolutely worth every minute of effort. Get ready to elevate your holiday celebrations with this traditional, delightful treat that’s sure to become a beloved family tradition.
Why This Homemade Eggnog Recipe is a Holiday Must-Try
Homemade eggnog isn’t just a drink; it’s a cherished Christmas tradition that brings warmth and cheer to any gathering. While it requires a small investment of time and effort, the reward is a spectacularly delicious beverage that far surpasses anything you can buy in a carton. This particular recipe stands out for its simplicity and incredible flavor profile, using only essential ingredients like eggs, sugar, salt, milk, aromatic nutmeg, pure vanilla extract, and rich heavy whipping cream.
What makes this recipe truly special is its focus on safety without compromising on taste. Unlike some traditional eggnog recipes that use raw eggs, we carefully cook the egg mixture to a safe temperature, ensuring a worry-free experience for everyone. The cooked eggs also contribute to the unique, velvety thickness that defines classic eggnog. It’s a delightful treat that kids will adore, and for the adults, it provides a perfect base for a spirited homemade eggnog cocktail, making it versatile for all your holiday entertaining needs.
Essential Ingredients for Your Homemade Eggnog
Crafting the perfect homemade eggnog begins with selecting the right ingredients. This recipe relies on a straightforward list of pantry staples, ensuring that your holiday drink is both authentic and incredibly flavorful. Below is a visual guide to the components you’ll need. For precise measurements and a complete list of instructions, please refer to the printable recipe card located at the end of this post.
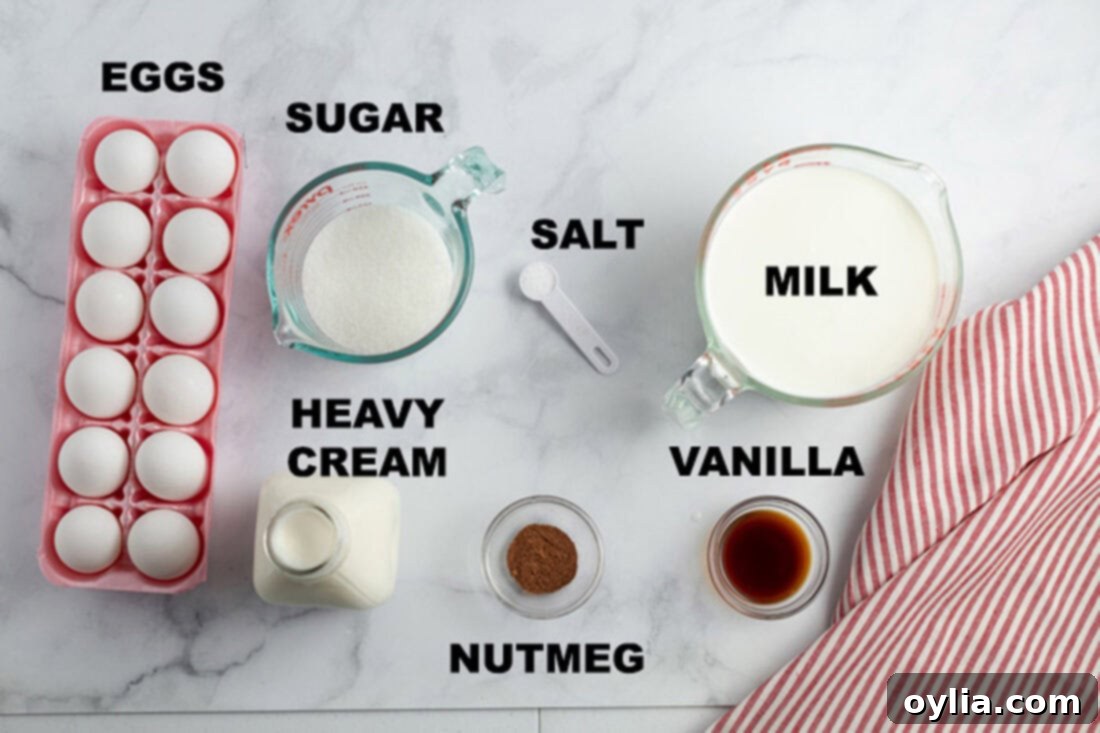
Ingredient Breakdown & Handy Substitution Tips
Understanding each ingredient’s role will help you achieve the best homemade eggnog and empower you with knowledge for potential adjustments.
EGGS – Rest assured, this is not a raw egg eggnog recipe. We prioritize safety by gently cooking the mixture in a saucepan until it reaches a safe temperature of 165°F. This process eliminates any concerns about food-borne illnesses while still leveraging the eggs as the foundational thickening agent. The egg yolks emulsify beautifully with the milk and cream, creating that signature rich, smooth, and creamy texture that defines traditional eggnog. Do not substitute with egg whites alone, as the yolks are crucial for richness and emulsification.
SUGAR – Granulated sugar provides the necessary sweetness and also helps to stabilize the egg mixture as it cooks. You can adjust the amount slightly to your preference, but remember that eggnog is traditionally a sweet drink. For a richer, more complex flavor, some recipes might call for brown sugar, but plain granulated sugar is perfect for this classic version.
SALT – A small pinch of salt is vital for balancing the sweetness and enhancing all the other flavors in the eggnog. Don’t skip it; it truly makes a difference.
MILK – We recommend using whole milk for the creamiest, most authentic eggnog experience. The higher fat content contributes significantly to the drink’s rich body and luscious mouthfeel. You can use 2% milk if you prefer a slightly lighter version, but avoid skim milk, as it won’t yield the desired consistency or richness. The recipe calls for milk separated; 4 cups for cooking and the remainder to be added later to adjust consistency.
NUTMEG – Freshly grated nutmeg is non-negotiable for superior flavor! While pre-ground nutmeg works in a pinch, fresh nutmeg offers an unparalleled aromatic warmth and depth that truly elevates your homemade eggnog. We use 1 ½ teaspoons in the recipe, plus extra for garnishing. Feel free to experiment with a tiny pinch of other warm spices like cinnamon or a single clove for subtle variations, but nutmeg is the star here.
VANILLA EXTRACT – Pure vanilla extract adds a layer of sweet, aromatic complexity that complements the nutmeg beautifully. Always opt for pure vanilla over imitation for the best taste.
HEAVY WHIPPING CREAM – This is where the magic happens for that ultra-creamy, luxurious finish. Whipped into soft peaks and then gently folded into the chilled eggnog base, it adds airiness and richness. Ensure your cream is very cold for best whipping results.
Step-by-Step Guide: Crafting Your Own Homemade Eggnog
These step-by-step photos and detailed instructions are here to help you visualize how to make this delicious recipe. For a convenient printable version, complete with all measurements and instructions, you can Jump to Recipe at the bottom of the page.
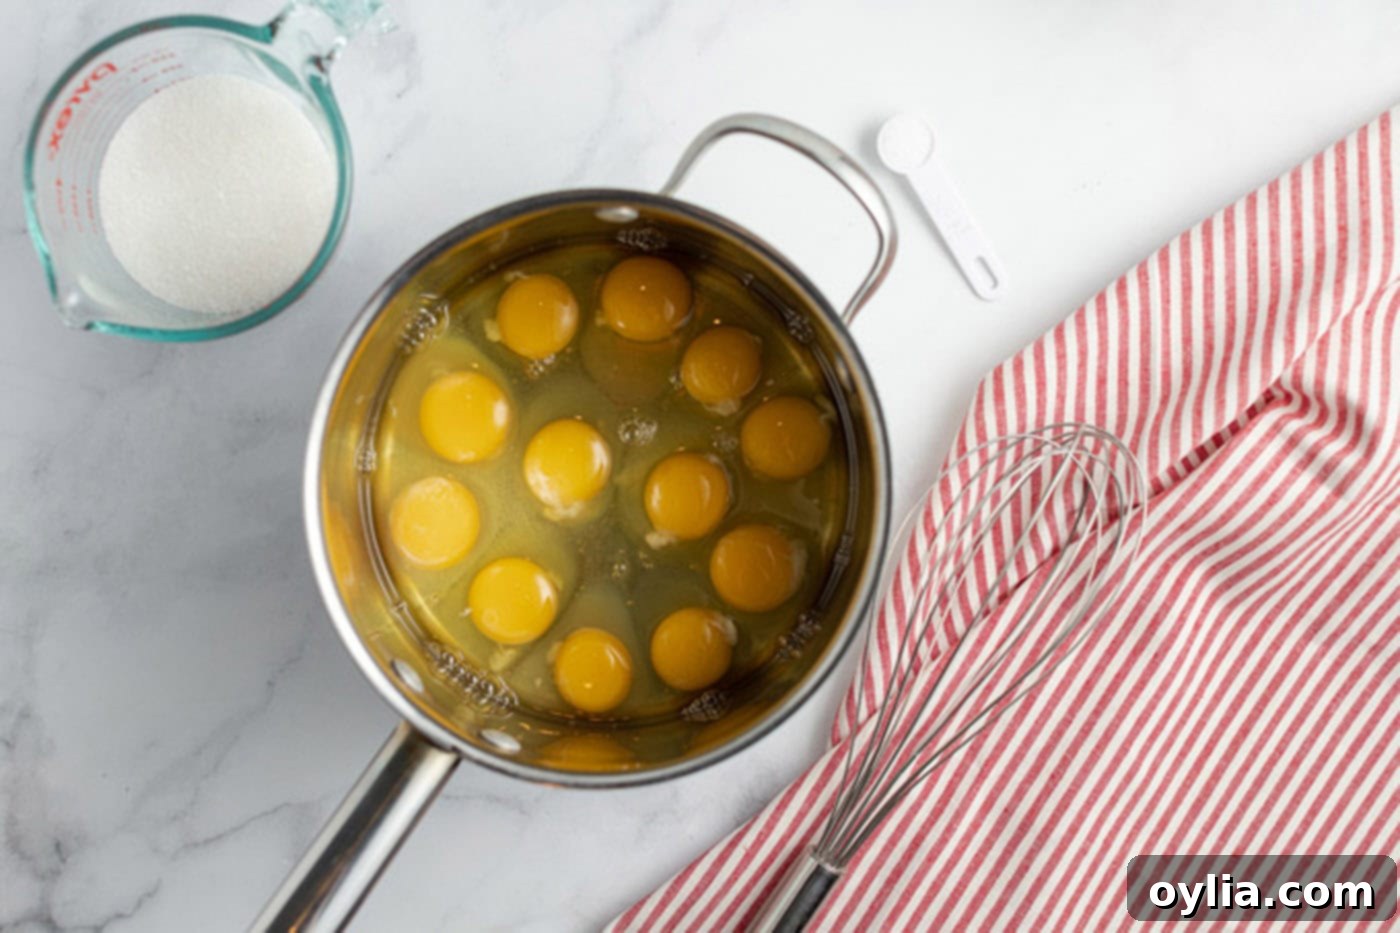
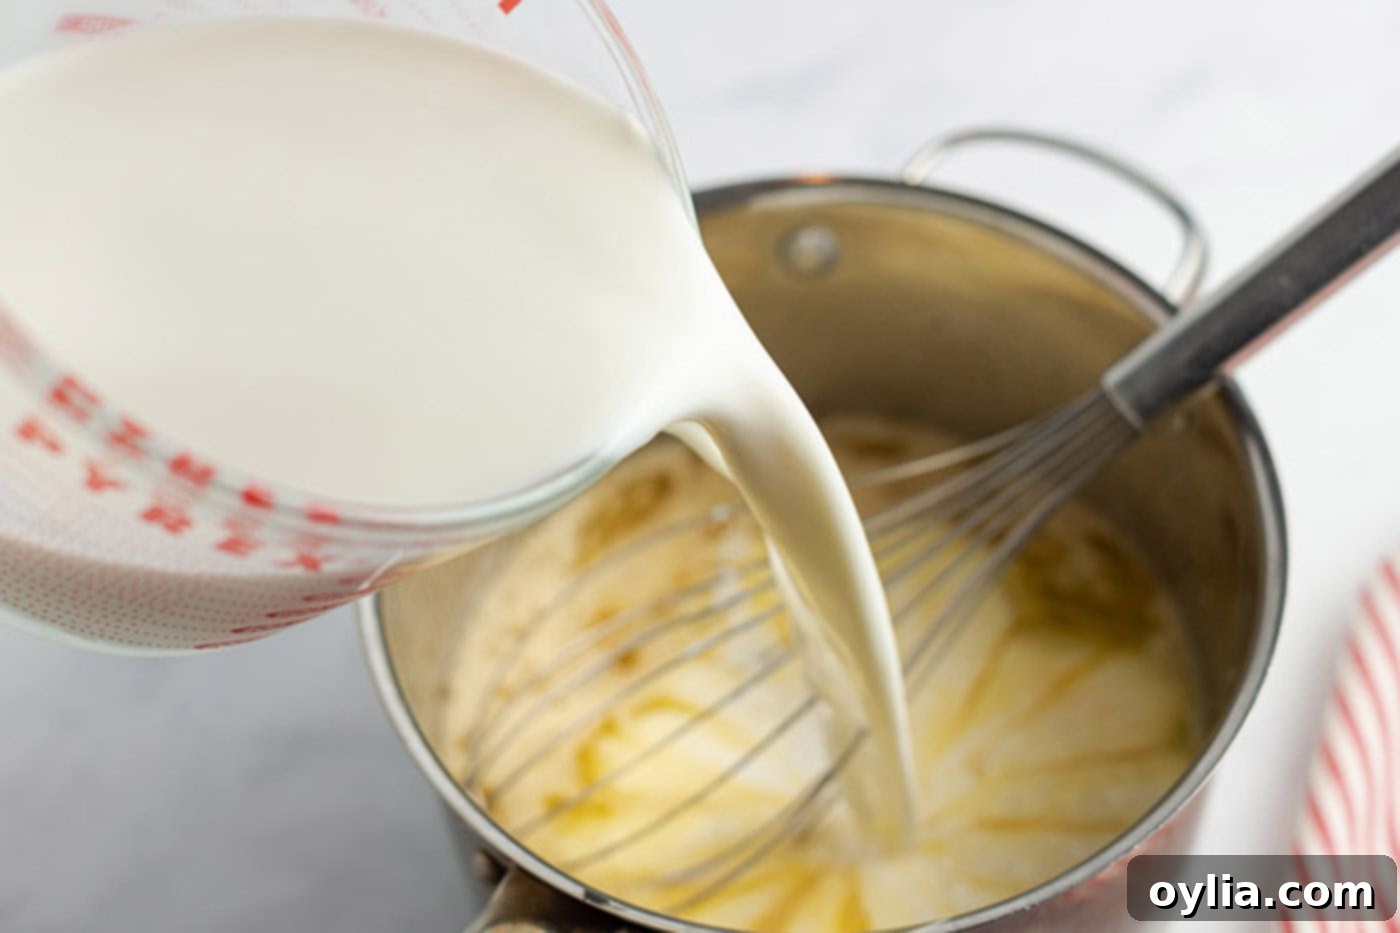
- In a sturdy, heavy-bottomed saucepan, begin by whisking together the eggs, sugar, and salt until well combined. Gradually, and while continuously whisking, pour in 4 cups of the milk. This gradual addition helps to temper the eggs, preventing them from scrambling when heat is applied. Cook this mixture over low heat, stirring frequently (or continuously, especially as it thickens), until its temperature reaches 165°F (74°C) on a candy thermometer. This crucial step ensures food safety by cooking the eggs thoroughly. This process can take anywhere from 30-35 minutes; patience is key here. It’s imperative to keep the heat low and stir often to prevent the eggs from curdling or the milk from scorching. Do not allow the mixture to boil. As soon as it reaches 165°F, immediately transfer the hot mixture to a large, clean bowl to stop the cooking process.


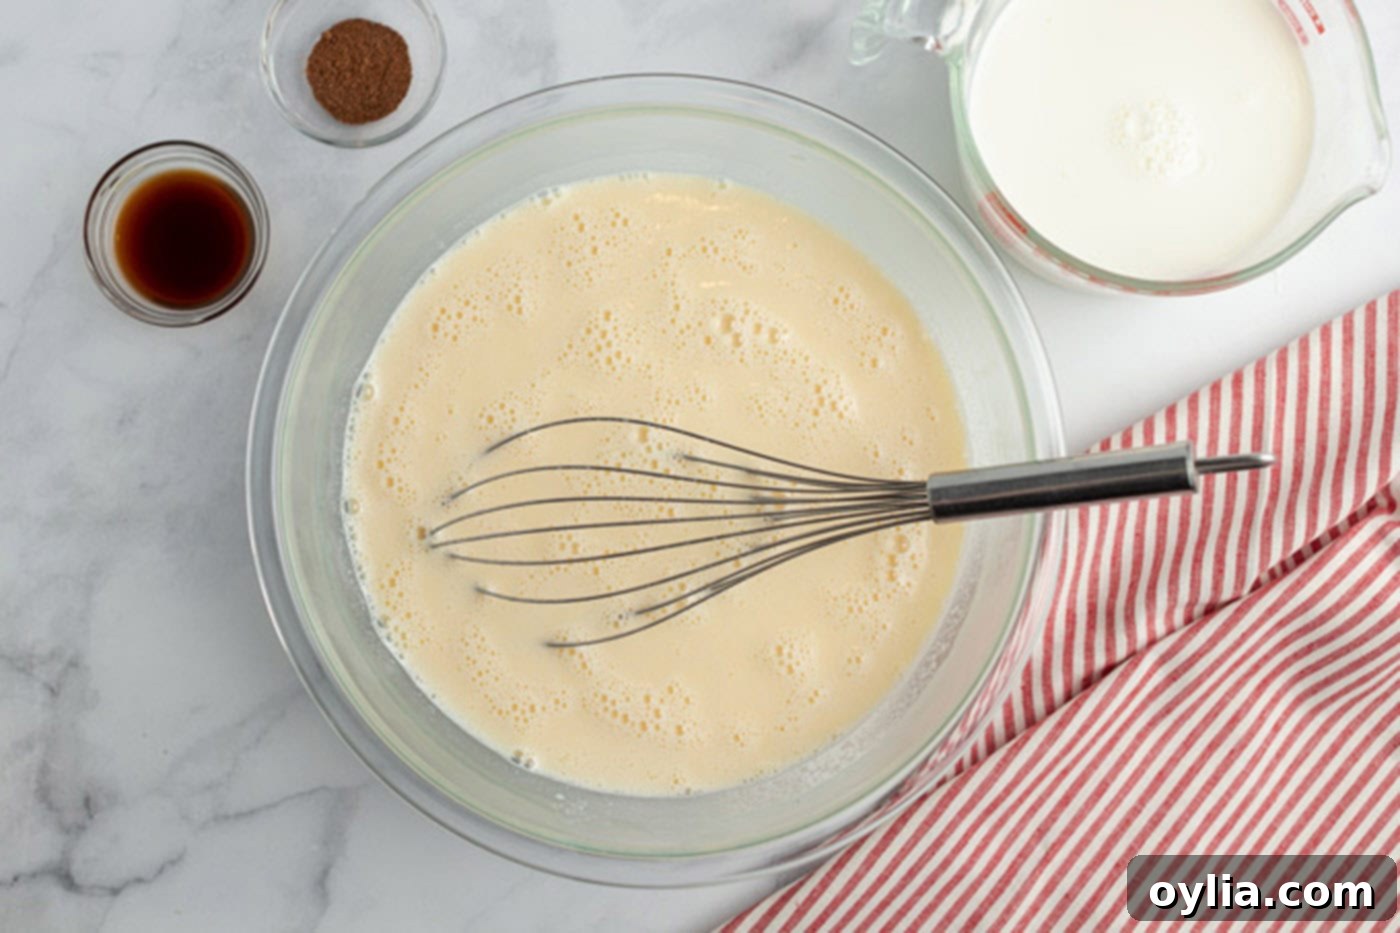
- To the warm, cooked egg mixture in the bowl, stir in the vanilla extract, ground nutmeg, and the remaining milk. Mixing the vanilla and nutmeg at this stage allows their flavors to fully infuse into the eggnog as it chills.
- To rapidly cool the mixture and prevent any bacterial growth, immediately place the bowl into an ice-water bath. Continue stirring the milk mixture occasionally until it is completely cool to the touch. This step is crucial for both safety and flavor. If, by chance, your mixture appears to have separated slightly or has a less-than-perfectly smooth texture, don’t worry! You can easily remedy this by processing it in a blender or food processor for a minute or two until it becomes wonderfully smooth and creamy.
- Once cooled, cover the bowl tightly and refrigerate the eggnog until it is thoroughly chilled. This typically takes about 3-4 hours, but chilling it overnight will allow the flavors to deepen and meld beautifully, resulting in an even more delicious drink.
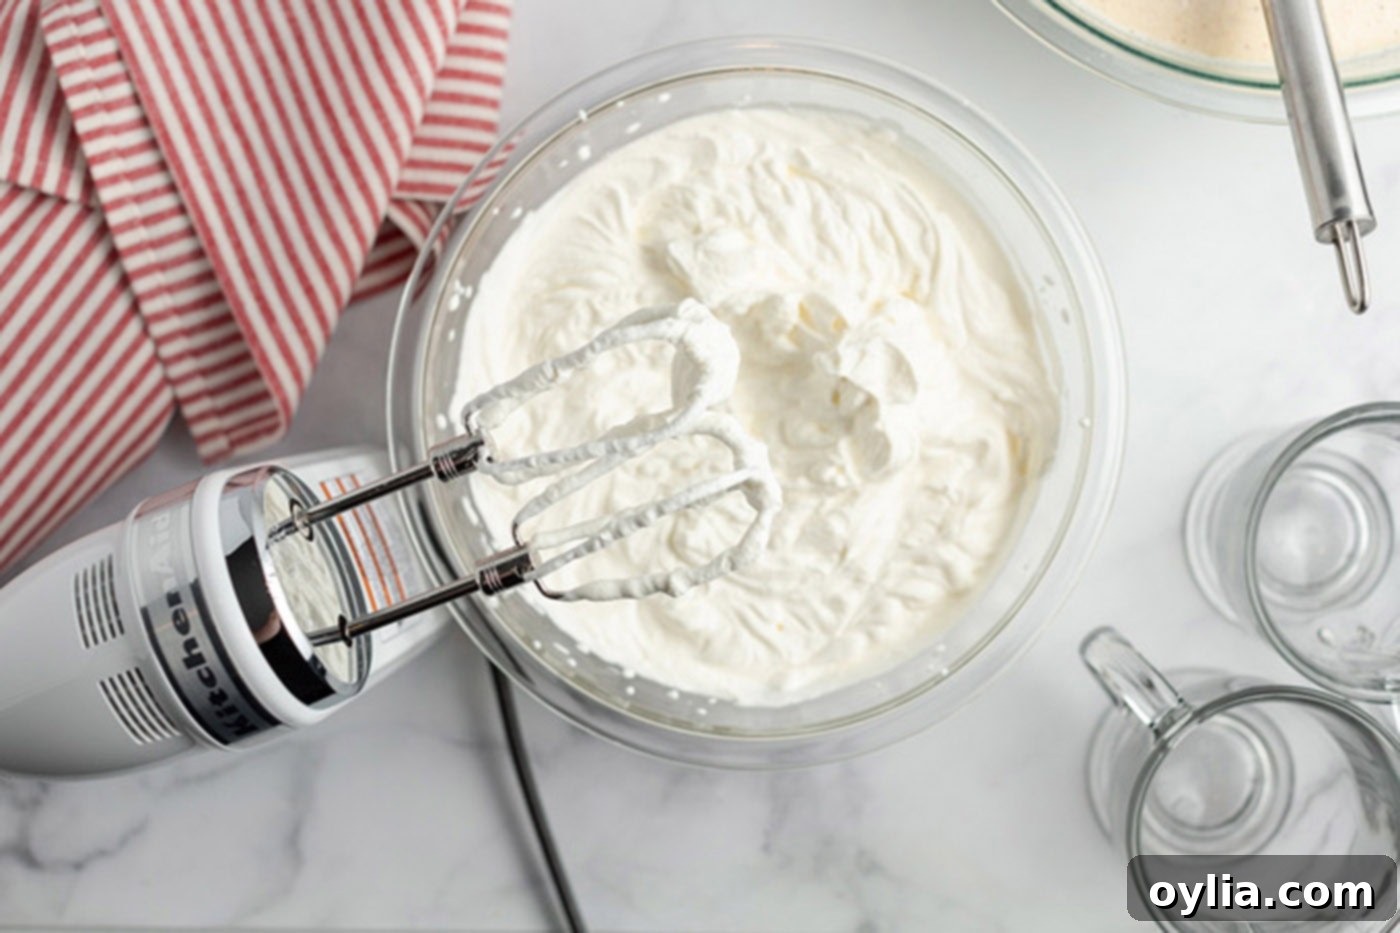
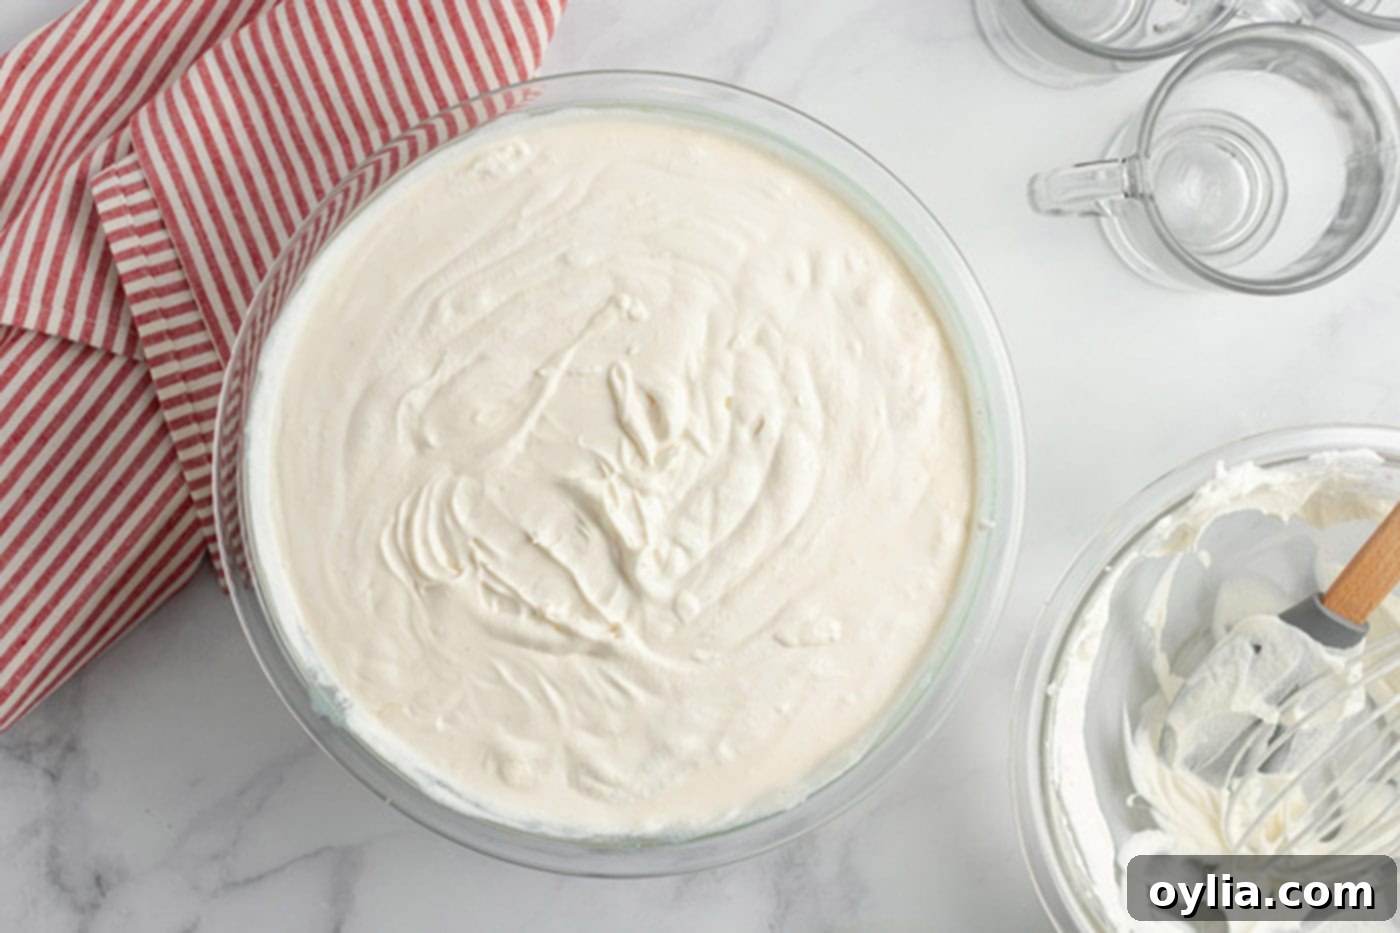
- When you’re ready to serve your delightful homemade eggnog, prepare the whipped cream. In a separate bowl, beat the heavy cream until soft peaks form. This means the cream will hold its shape but the peaks will gently curl over at the top. Gently whisk or fold the freshly whipped cream into the cooled eggnog mixture. This adds an extra layer of richness and a light, airy texture. For the perfect finishing touch, sprinkle each serving with a bit of additional fresh nutmeg before offering it to your guests.


Frequently Asked Questions & Expert Tips for Perfect Eggnog
Traditionally, some eggnog recipes do call for raw eggs. However, this recipe is designed for safety and peace of mind. We cook the egg and milk mixture to a specific temperature of 165°F (74°C), which is sufficient to kill any potential bacteria, meaning you don’t have to worry about food-borne illnesses. Enjoy your creamy eggnog with confidence!
Once fully chilled, store your homemade eggnog in a clean, airtight container or a jar in the refrigerator. It will stay fresh and delicious for up to 6 days. The flavors often deepen and improve after a day or two in the fridge!
Yes, absolutely! Eggnog freezes beautifully. Pour it into an airtight container or a freezer-safe jar, making sure to leave about an inch of headspace at the top to allow for expansion. It can be stored in the freezer for up to 6 months. To enjoy, simply thaw it slowly in the refrigerator overnight before serving. Give it a good whisk before serving.
The key to a silky-smooth eggnog lies in two main aspects:
- Slow and Gentle Cooking: Cook the egg and milk mixture over low heat, stirring consistently. This prevents the eggs from scrambling or curdling.
- Proper Cooling & Blending: Use an ice-water bath to cool the mixture quickly. If you notice any small lumps or separation, a quick pulse in a blender or food processor will make it perfectly smooth.
Certainly! This homemade eggnog recipe serves as an excellent base for an adult-friendly version. You can stir in your favorite spirits such as rum, brandy, or bourbon directly into the chilled eggnog. For precise ratios and a dedicated cocktail recipe, check out my homemade eggnog cocktail, which offers a perfectly balanced boozy treat.
Curdling usually happens when the egg mixture is cooked too quickly over high heat or isn’t stirred enough, causing the eggs to scramble. Always cook over low heat, stir constantly, and use a thermometer to ensure you don’t exceed 165°F. If it does curdle slightly, blending it can often salvage the texture.
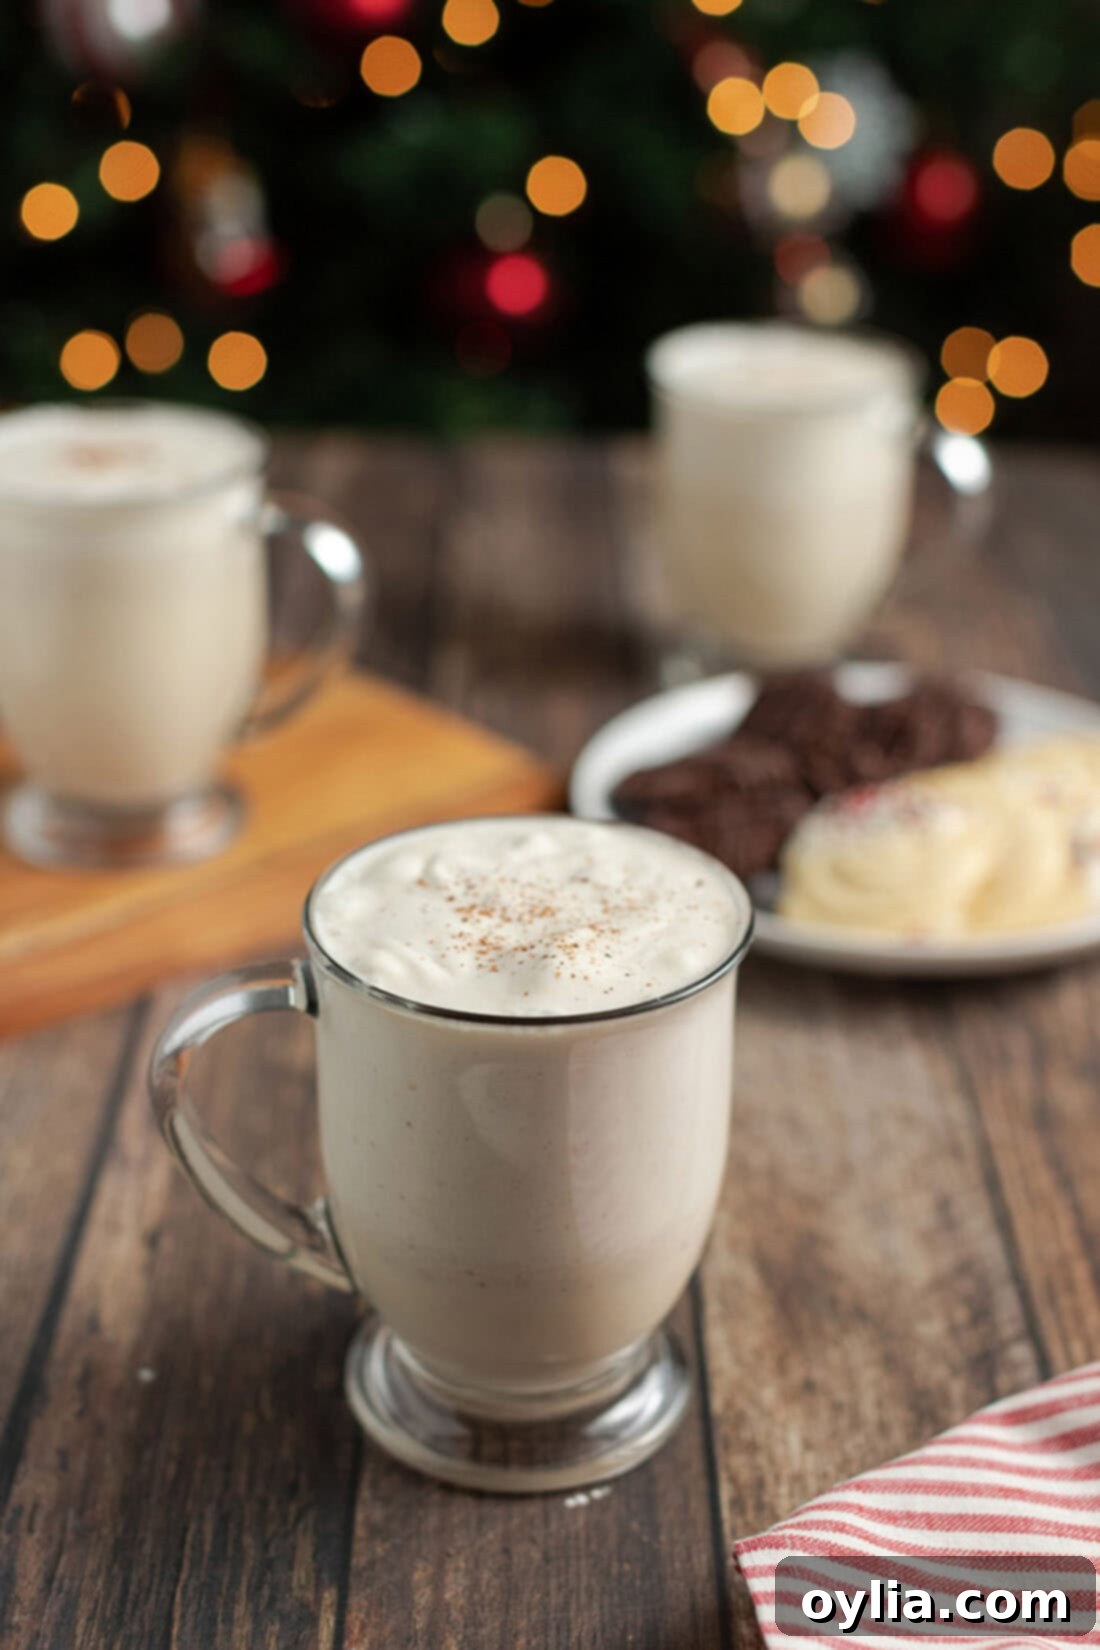
Creative Serving Suggestions for Your Homemade Eggnog
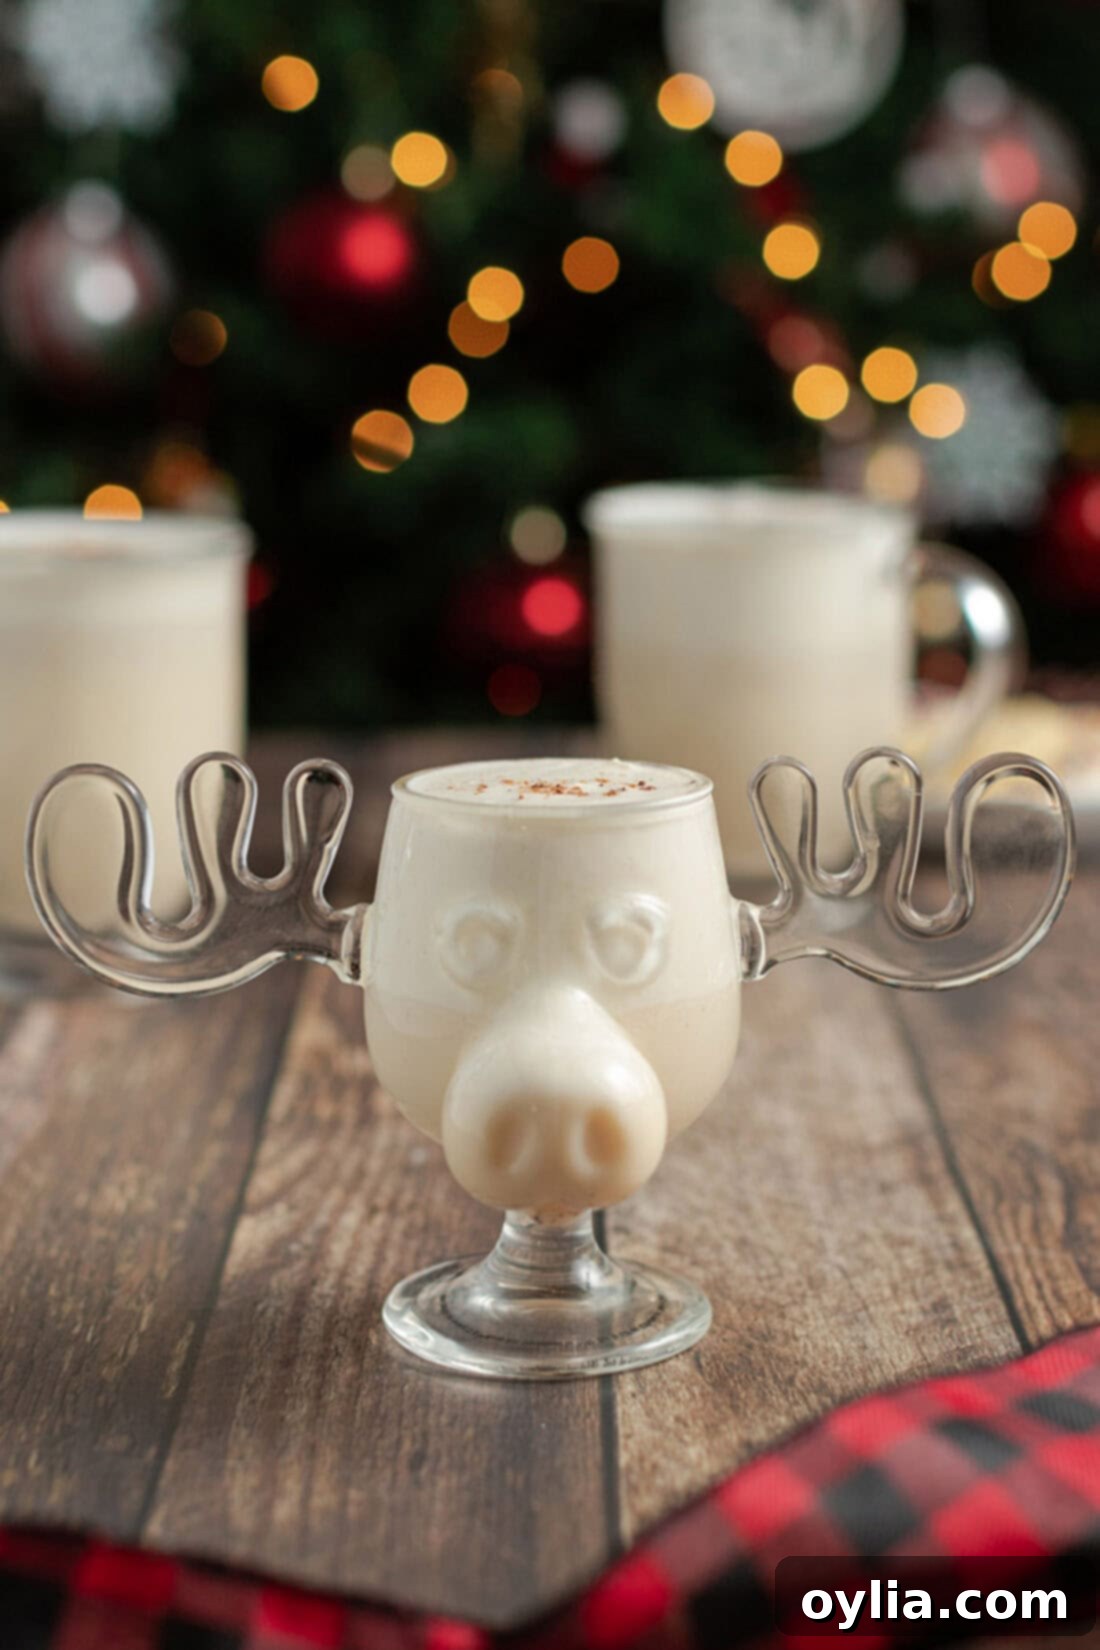
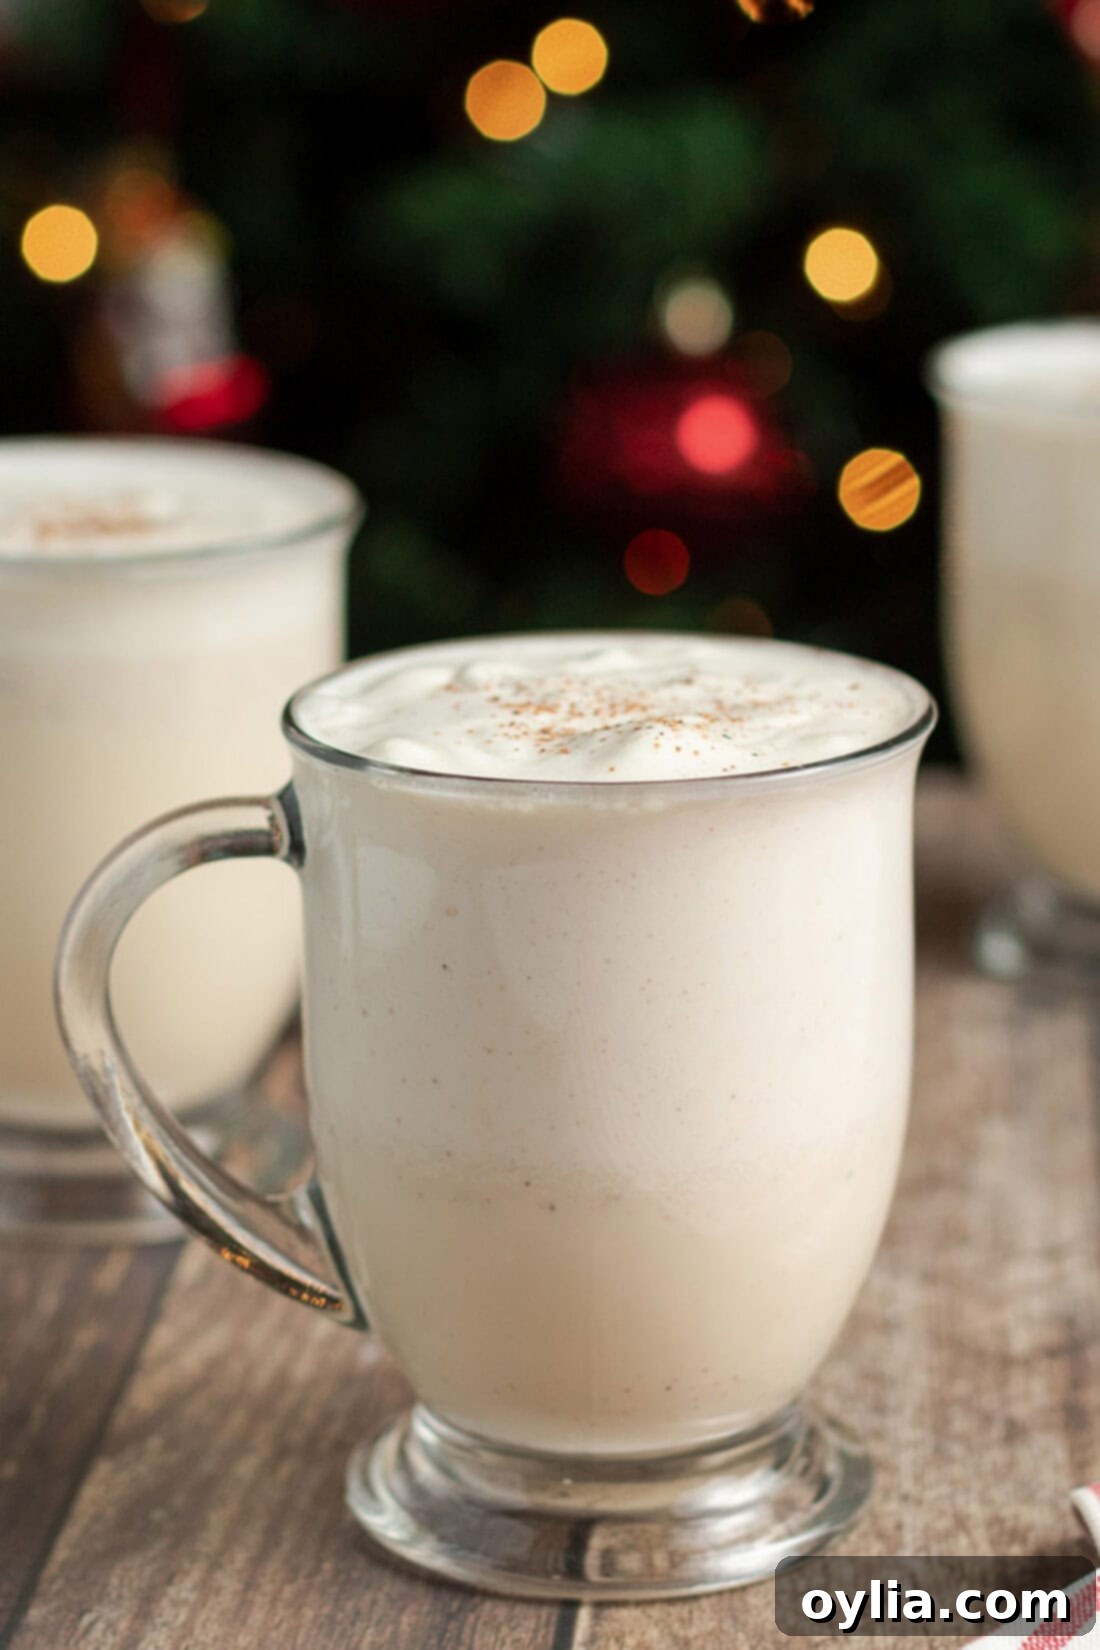
Homemade eggnog is a magnificent addition to any Christmas party or cozy winter evening. Presentation can make all the difference! Serve your perfectly chilled eggnog in charming moose mugs (a nod to a classic holiday movie!) or elegant glass tumblers to instantly boost your holiday cheer. Don’t forget the garnish! A sprinkle of freshly grated nutmeg is traditional and adds an inviting aroma, but you can also add a cinnamon stick, a dollop of extra whipped cream, or even a light dusting of cocoa powder for a different touch.
Pair your creamy homemade eggnog with your favorite Christmas cookies for an ultimate festive snack. Sugar cookies, gingerbread men, or shortbread will all complement the rich flavors beautifully. Whether you’re hosting a grand celebration or enjoying a quiet moment by the fire, this homemade eggnog will make every sip feel like a special occasion.
More Delightful Holiday Recipes to Explore
Looking for more festive inspiration? These recipes are perfect for expanding your holiday menu and bringing even more joy to your kitchen:
- Gingerbread Cookies
- Spiked Cherries
- Chocolate Turtles
- Crockpot Hot Chocolate
- Saltine Toffee (Christmas Crack)
- How to Make Hot Buttered Rum
- Hot Cranberry Punch
I love to bake and cook and share my kitchen experience with all of you! Remembering to come back each day can be tough, that’s why I offer a convenient newsletter every time a new recipe posts. Simply subscribe and start receiving your free daily recipes!
12 DAYS OF CHRISTMAS COOKIES
12 Christmas cookies you will love, PLUS bonus baking tips and TWO extra recipes you will not find on this blog! See ALL my cookbooks here!
Get the Christmas cookies cookbook! ONLY $9.97!!

Homemade Eggnog
IMPORTANT – There are often Frequently Asked Questions within the blog post that you may find helpful. Simply scroll back up to read them!
Print It
Rate It
Save It
Saved!
Ingredients
- 12 large eggs
- 1 ¼ cups sugar
- ½ teaspoon salt
- 7 cups milk separated (4 cups for cooking, 3 cups for later)
- 1 ½ teaspoons nutmeg plus additional for garnish (freshly grated recommended)
- 2 Tablespoons vanilla extract
- 3 cups heavy whipping cream
Equipment You’ll Need
-
Heavy saucepan
-
Whisk
-
Mixing bowls
-
Glass mugs
-
Candy thermometer
Before You Begin
- Thermometer is Essential: Be sure to use a candy thermometer or other reliable kitchen thermometer to accurately monitor the temperature of your eggnog mixture. Reaching precisely 165°F is crucial for food safety and preventing scrambled eggs.
- Constant Vigilance: Keep a close eye on the mixture and stir frequently (or continuously!) while it cooks. This prevents the milk from scorching and ensures the eggs cook evenly without curdling.
- Plan Ahead for Chilling: Remember that homemade eggnog requires significant chill time – at least three to four hours, and ideally overnight. This allows the flavors to meld beautifully and the eggnog to thicken to its perfect creamy consistency. Start your preparation well in advance of when you plan to serve it.
Instructions
-
In a heavy saucepan, vigorously whisk the eggs, sugar, and salt together until the mixture is light yellow and well combined. Gradually, in a slow stream, whisk in 4 cups of the milk. Continue to cook and stir the mixture fairly frequently (or constantly, to prevent sticking and scrambling) over low heat until a candy thermometer registers 165°F (74°C). This careful cooking process can take 30-35 minutes. It is critical to not allow the mixture to boil. Immediately transfer the cooked custard to a large, clean bowl.
-
Into the warm egg mixture, stir in the vanilla extract, ground nutmeg, and the remaining 3 cups of milk until thoroughly combined.
-
To cool the eggnog quickly and safely, place the bowl containing the mixture into a larger bowl filled with ice water (an ice-water bath). Stir the mixture occasionally while it’s in the ice bath until it has cooled completely. If, during cooling, the mixture appears to have separated slightly or developed any small lumps, simply process it in a blender or food processor until it is perfectly smooth and creamy.
-
Once cool, cover the bowl tightly with plastic wrap or transfer the eggnog to an airtight container. Refrigerate until thoroughly cold, which will take approximately 3-4 hours. For optimal flavor development and a thicker consistency, chilling overnight is highly recommended.
-
Just before serving, pour the heavy cream into a separate mixing bowl and beat it with an electric mixer or whisk until soft peaks form. This means the cream will hold its shape, but the tips will gently curl over. Gently fold the whipped cream into the thoroughly chilled milk and egg mixture until it is fully incorporated, adding a delightful lightness and extra creaminess. If desired, sprinkle each serving with additional freshly grated nutmeg for garnish before presenting to your guests.
Expert Tips & FAQs
- Store your homemade eggnog in a jar or air-tight container in the refrigerator for up to 6 days.
- You can freeze homemade eggnog in an air-tight container or jar, leaving a bit of room at the top for expansion. Store in the freezer for up to 6 months. Thaw slowly in the refrigerator before serving.
- Always use a heavy-bottomed saucepan to cook the eggnog base. This helps distribute heat evenly and reduces the risk of scorching.
- For the richest flavor, use whole milk and fresh, pure vanilla extract.
- Taste and adjust sweetness: While the recipe provides a balanced sweetness, you can add a little more sugar if you prefer a sweeter eggnog. Do this after the initial cooking, once it’s cooling, to ensure it dissolves fully.
Nutrition
The recipes on this blog are tested with a conventional gas oven and gas stovetop. It’s important to note that some ovens, especially as they age, can cook and bake inconsistently. Using an inexpensive oven thermometer can assure you that your oven is truly heating to the proper temperature. If you use a toaster oven or countertop oven, please keep in mind that they may not distribute heat the same as a conventional full sized oven and you may need to adjust your cooking/baking times. In the case of recipes made with a pressure cooker, air fryer, slow cooker, or other appliance, a link to the appliances we use is listed within each respective recipe. For baking recipes where measurements are given by weight, please note that results may not be the same if cups are used instead, and we can’t guarantee success with that method.
This post was originally published here on December 18, 2019, and has been updated with expanded content and improved instructions for a better user experience.
