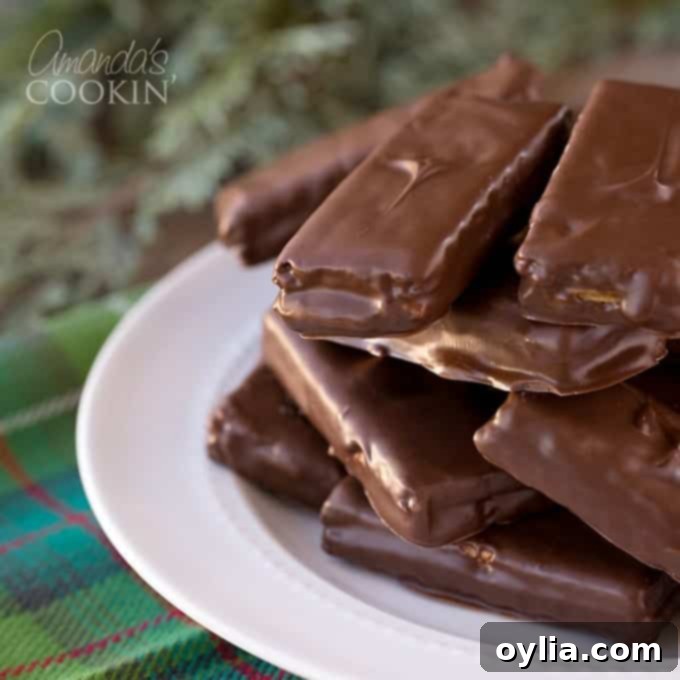
Easy Homemade Peanut Butter Chocolate Candy Bars: A Delectable No-Bake Treat
For many of us, the combination of rich chocolate and creamy peanut butter is an undeniable symphony of flavors. Add the delightful crunch of graham crackers, and you’ve got a treat that’s hard to resist. I confess, I’ve always had a special affection for graham crackers generously slathered in peanut butter. They’re a quick, satisfying snack that brilliantly curbs a sweet craving. And who can forget those heavenly chocolate-dipped graham crackers from Starbucks? They’re a true indulgence. So, when a friend suggested bringing all these beloved elements together into one incredible, easy-to-make homemade candy bar, I was immediately intrigued – and utterly sold.
This recipe isn’t just about combining ingredients; it’s about crafting pure nostalgia in every bite. It’s the kind of candy that tastes like childhood memories, yet feels sophisticated enough for any adult palate. What makes these homemade candy bars truly exceptional is their simplicity. They require no baking, minimal effort, and deliver maximum flavor. Both kids and adults alike will absolutely adore them, making them perfect for family gatherings, school treats, or just a delightful evening snack.
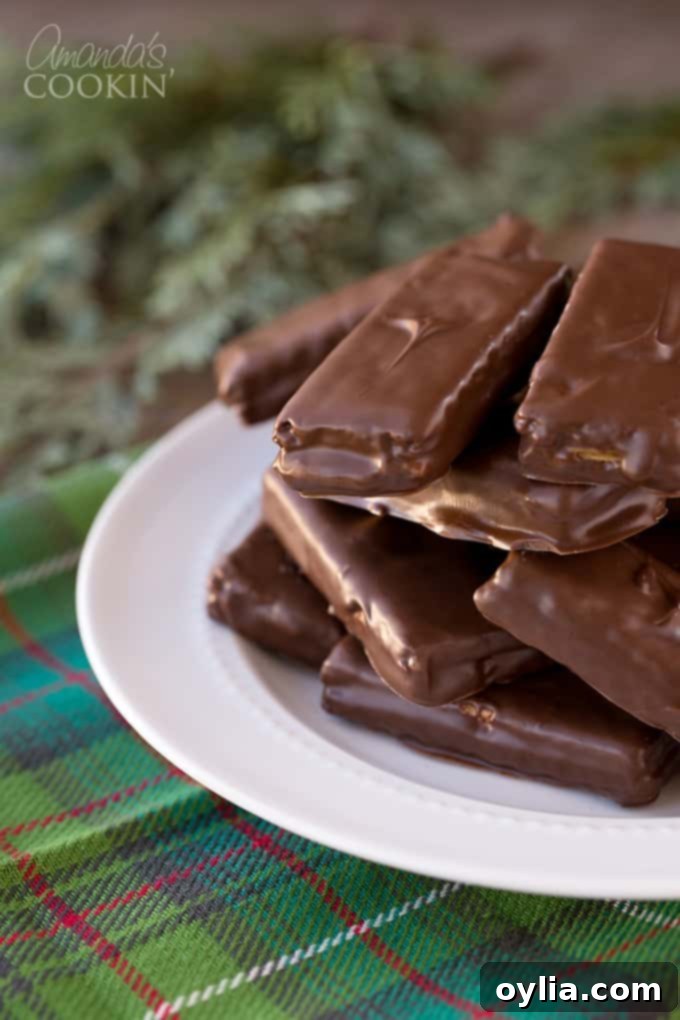
The Irresistible Allure of Peanut Butter and Chocolate
There’s something inherently comforting and deeply satisfying about the classic pairing of peanut butter and chocolate. This dynamic duo has graced countless desserts, from humble cups to elaborate cakes, and for good reason. The salty-sweet creaminess of peanut butter perfectly complements the rich bitterness or sweet milkiness of chocolate. When you introduce the crisp, slightly honeyed notes of a graham cracker, you create a texture and flavor profile that’s truly irresistible.
My own children were absolutely enamored with these treats, but my eldest son, who was 13 at the time, was particularly infatuated. Even now, years later, as a 19-year-old, he still requests these delicious homemade candy bars. He has always been crazy for anything combining chocolate and peanut butter, and these bars hit all the right notes for him. It’s a testament to how universally loved this simple recipe is; a timeless treat that appeals across generations.
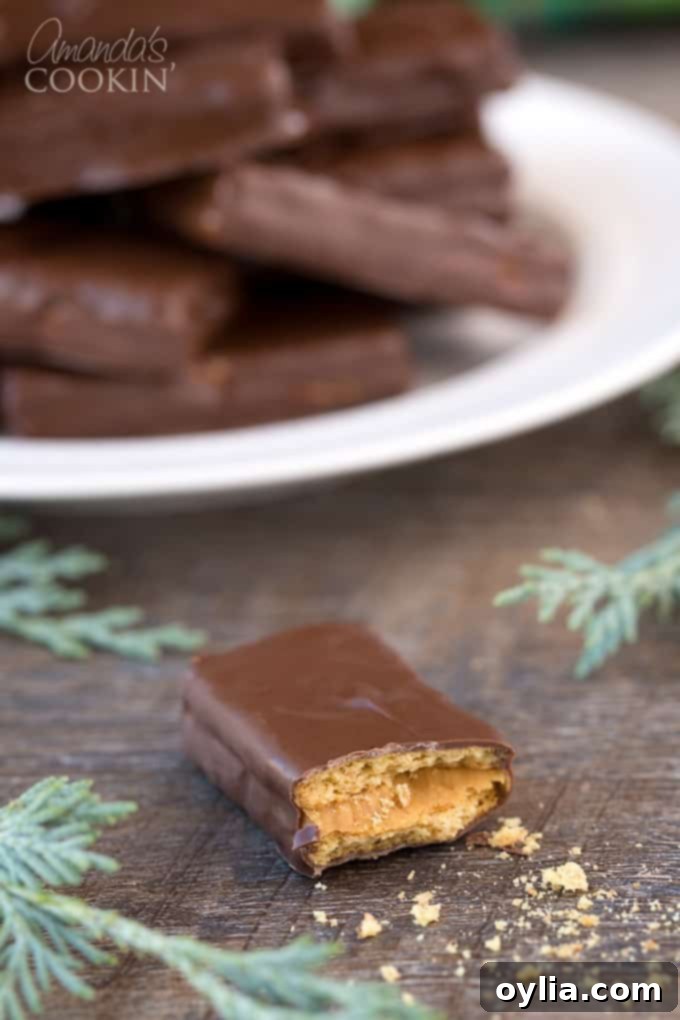
Ingredients You’ll Need for These Easy Homemade Candy Bars
One of the best aspects of these delectable treats is the minimal and accessible ingredient list. You likely have most of these staples in your pantry already, making these candy bars a perfect spontaneous dessert. For a batch of about 12 candy bars, here’s what you’ll need:
- Graham crackers: The foundation of our candy bars. You’ll need about 6 sheets, which typically break into 3 individual crackers per sheet, giving you 18 pieces to work with for 9 sandwiches if you assume 2 crackers per sandwich. However, the recipe specifies 6 sheets, yielding 12 bars (meaning 12 individual cracker pieces for the base). This implies each sheet is broken into two halves and then used as top and bottom. Or, 6 sheets are broken into 24 smaller squares, and you use 2 squares per bar, making 12 bars. Clarification on how to break the sheets is in the instructions.
- Peanut butter: Creamy peanut butter works best for a smooth filling, but if you love a bit of texture, a natural crunchy peanut butter can also be fantastic. For an extra layer of hazelnut-chocolate flavor, you can mix it with Nutella, as suggested – a truly divine variation! About ½ cup should be sufficient, but have a little extra on hand for smoothing.
- Ghirardelli dipping chocolate or almond bark: This is your coating. Ghirardelli melting wafers are excellent because they melt smoothly and harden beautifully, providing that professional candy bar finish. Almond bark is another fantastic, easy-to-use option, often found in the baking aisle. You’ll need approximately 12 ounces. You can also use good quality chocolate chips (milk, semi-sweet, or dark) melted with a touch of coconut oil or shortening to ensure a smooth, dippable consistency.
Helpful Kitchen Tools for a Smooth Process
While the recipe is simple, having a few key tools on hand will make the preparation even easier and more efficient, ensuring a professional-looking finish for your homemade candy bars:
- Sharp knife: Essential for cleanly portioning your graham crackers. While you can break them by hand, a knife ensures neat, even edges, which contributes to a more uniform and visually appealing candy bar.
- Appetizer tongs: These are incredibly useful for dipping the peanut butter-filled crackers into the melted chocolate. They allow for a clean dip and easy transfer, minimizing mess and ensuring an even coating without getting your fingers sticky.
- Waxed paper or parchment paper: Crucial for lining your baking sheet. This prevents the chocolate-dipped candy bars from sticking as they set, making for easy removal and cleanup.
- Cookie sheet or cutting board: You’ll need a flat surface lined with waxed or parchment paper where your dipped candy bars can set undisturbed. A cookie sheet is ideal for transferring to the fridge if you want to speed up the setting process.
Crafting Your Delightful Homemade Candy Bars: A Step-by-Step Guide
Creating these sensational peanut butter chocolate graham cracker candy bars is a straightforward and enjoyable process. Follow these simple steps for a perfect batch every time:
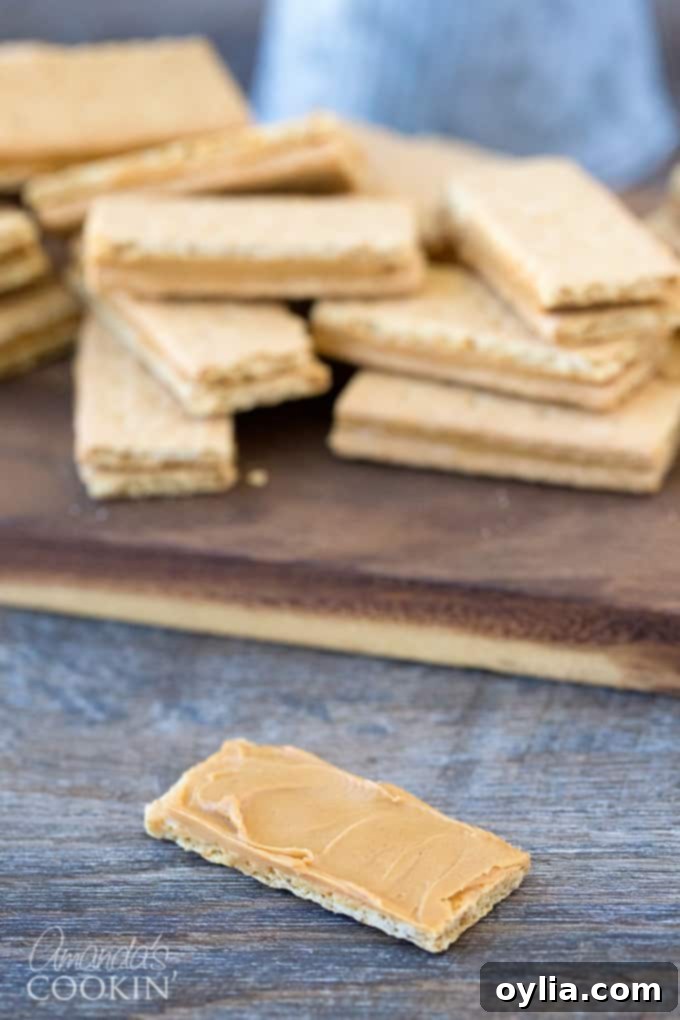
- Prepare the Graham Crackers: Begin by carefully cutting your graham cracker sheets into individual pieces using a sharp knife. Each standard graham cracker sheet usually has perforations that allow it to break into two or three smaller rectangles. While breaking them with your fingers is possible, a knife ensures clean, even breaks, which will result in much neater candy bars. Aim for uniform pieces for the best presentation.
- Assemble the Peanut Butter Filling: Take one individual graham cracker piece and generously spread it with your chosen peanut butter. Don’t be shy with the peanut butter – it’s key to the flavor and helps bind the bars together. Then, carefully place another graham cracker piece on top, creating a sandwich. Gently press down to secure. If any peanut butter oozes out the sides, use a knife or a small offset spatula to smooth the edges, adding a little extra peanut butter if needed to create an even, polished look all the way around the cracker sandwich. This extra step ensures a tidy, well-formed candy bar before dipping.
- Melt the Chocolate: Now for the delicious coating! I found Ghirardelli melting chocolate wafers from Sam’s Club to be absolutely awesome for this. They melt smoothly and create a beautiful, glossy finish. Alternatively, you can use almond bark or your favorite chocolate chips (milk, semi-sweet, or dark). If using chocolate chips, you might want to add a teaspoon of coconut oil or shortening per cup of chocolate to ensure it melts into a smooth, dippable consistency. Melt the chocolate according to package directions – typically in a microwave in short bursts, stirring frequently, or over a double boiler.
- Dip and Set: Once your chocolate is perfectly melted and smooth, it’s time to dip! Using appetizer tongs, carefully pick up each peanut butter graham cracker sandwich. Submerge it fully into the melted chocolate, ensuring it’s completely coated. Gently lift the candy bar and tap the tongs lightly against the side of the bowl to shake off any excess chocolate. This prevents pooling and gives a cleaner finish. Immediately transfer the dipped candy bar to a cookie sheet or cutting board lined with waxed paper or parchment paper. Allow the chocolate to set completely at room temperature, or for faster results, place the tray in the refrigerator for about 15-20 minutes.
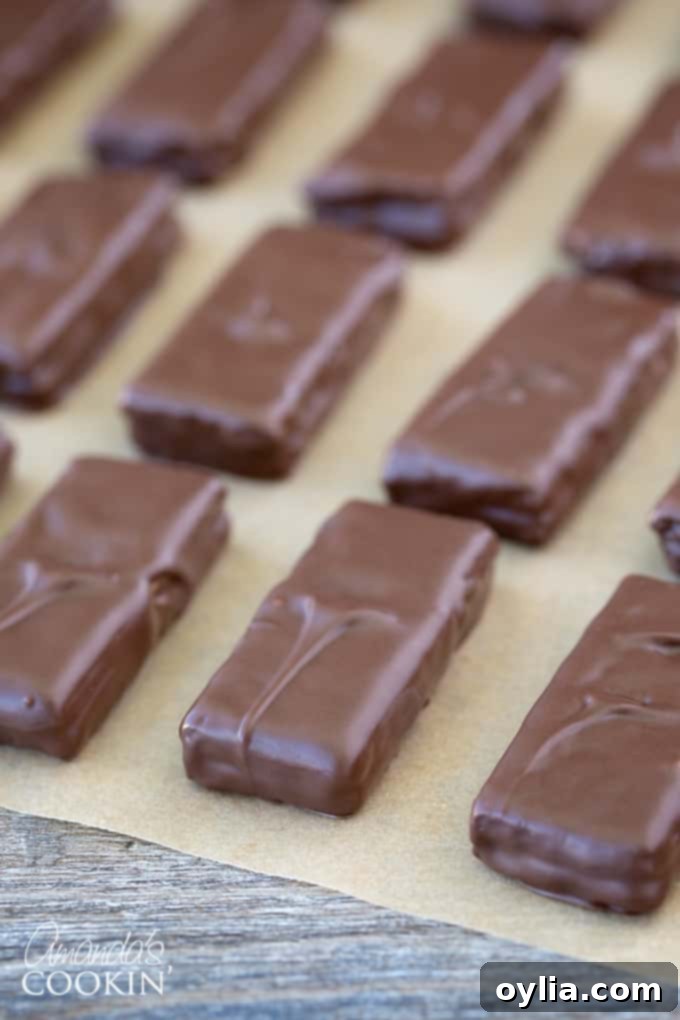
Tips for Perfect Homemade Candy Bars Every Time
While these no-bake candy bars are inherently simple, a few extra tips can elevate your creation from good to absolutely fantastic:
- Even Spreading is Key: Ensure your peanut butter is spread evenly and completely to the edges of the graham cracker. This prevents hollow spots and makes for a more substantial bite.
- Temperature Matters for Dipping: Make sure your melted chocolate isn’t too hot, as this can cause it to seize or become too thin. A good temperature allows it to coat smoothly without cooking the peanut butter. If your chocolate seems too thick, a tiny bit of coconut oil or shortening can thin it out.
- Chill for Speed: If you’re in a hurry for your chocolate to set, place the lined cookie sheet with the dipped candy bars in the refrigerator for 10-15 minutes. This will firm up the chocolate quickly, making them ready to enjoy or store.
- Get Creative with Toppings: Before the chocolate fully sets, you can add a sprinkle of sea salt, chopped nuts, colorful sprinkles, or a drizzle of contrasting melted chocolate (white chocolate on dark, or vice versa) for an extra touch of flair and flavor.
- Experiment with Fillings: Beyond classic peanut butter, consider other nut butters like almond butter or cashew butter. Or, as mentioned, a 50/50 mix of peanut butter and Nutella is truly divine!
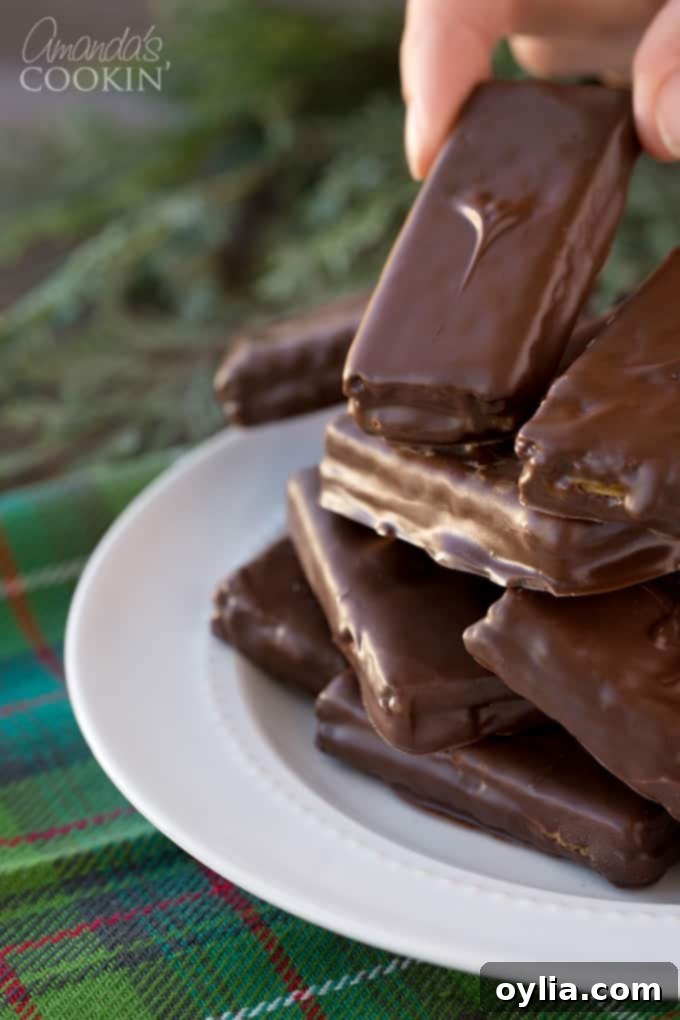
Serving, Storing, and Gifting Your Delightful Treats
Once your homemade candy bars have fully set, they are ready to be enjoyed! These are perfect for a quick indulgence, a lunchbox surprise, or a sweet finish to any meal. They are truly versatile.
Storage: To keep these candy bars fresh and delicious, store them in an airtight container at room temperature for up to a week. If you prefer a firmer texture or live in a warmer climate, you can store them in the refrigerator, but allow them to come to room temperature for a few minutes before eating for optimal flavor. They can also be frozen for up to a month in a freezer-safe container, simply thaw before serving.
Gifting: These homemade candy bars make fantastic edible gifts! Arrange them in a decorative box or bag, tie with a pretty ribbon, and you have a thoughtful, delicious present for friends, family, or teachers. They are especially popular during the holidays or as a sweet gesture for special occasions like Valentine’s Day.
More Delectable Homemade Candy Creations
If you’ve fallen in love with making your own sweet treats, you’re in good company! We have lots of easy candy dessert ideas on the blog to satisfy every craving and occasion. For instance, our Heart Oreo Truffles are absolutely perfect for Valentine’s Day or anniversaries. Or, if you’re looking for something that’s always a huge hit during holiday cookie exchanges, our Candy Bar Cookies are a must-try. For even more inspiration and a wide variety of sweet projects, be sure to check out our extensive collection of 30+ Homemade Candy Recipes!
Explore More Sweet Candy Recipes:
- Saltine Toffee: A surprisingly simple and addictive blend of salty crackers, rich toffee, and melted chocolate.
- Candied Pecans: Sweet, crunchy, and perfect for snacking or as a topping for salads and desserts.
- Peanut Butter Cups: Recreate this classic candy at home with fresh ingredients and customizable flavors.
- Homemade Peanut Brittle: A crunchy, buttery, and nutty confection that’s surprisingly easy to master.
- Chocolate Peanut Butter Balls: Bite-sized delights that combine the best of both worlds – perfect for parties.
- Chocolate Peanut Butter Fudge: A smooth, rich, and intensely flavored fudge that’s a favorite for any occasion.
- Potato Candy: A unique, old-fashioned candy made with mashed potatoes, peanut butter, and powdered sugar.
Frequently Asked Questions About Homemade Candy Bars
- Can I use a different type of cracker?
- While graham crackers provide a unique texture and flavor that complements the peanut butter and chocolate perfectly, you could experiment with other plain, crisp crackers like shortbread cookies or even plain digestive biscuits for a different twist. Just ensure they are sturdy enough to hold the filling and dipping chocolate.
- What if my chocolate seizes when melting?
- Chocolate seizing (becoming thick and clumpy) usually happens when it comes into contact with even a tiny amount of water or is overheated. To prevent this, ensure your melting bowl and utensils are completely dry. Melt chocolate slowly in a microwave at 30-second intervals, stirring thoroughly between each, or use a double boiler, ensuring the water does not touch the bottom of the chocolate bowl. If it does seize, sometimes adding a teaspoon of vegetable oil or shortening and stirring vigorously can help salvage it, though the texture might be slightly altered.
- Can I make these dairy-free or gluten-free?
- Yes! For dairy-free, use a dairy-free chocolate (often found in specialty stores or baking aisles) and ensure your peanut butter is dairy-free (most are). For gluten-free, substitute with gluten-free graham crackers, which are readily available. Always check all ingredient labels to ensure they meet your dietary needs.
- How long do these homemade candy bars last?
- When stored in an airtight container at room temperature, these candy bars will stay fresh for about 5-7 days. If refrigerated, they can last up to 2 weeks, and in the freezer, they can last for up to a month. Freezing them can also give them a delightful, chewy texture!
- Can I use other fillings besides peanut butter?
- Absolutely! Get creative with your fillings. Nutella, almond butter, Biscoff spread, or even a simple caramel sauce could make delicious variations. Just ensure the filling is thick enough to spread and hold its shape between the crackers.
Easy Homemade Candy Bars
IMPORTANT – There are often Frequently Asked Questions within the blog post that you may find helpful. Simply scroll back up to read them!
Print It
Pin It
Rate It
Save ItSaved!
Ingredients
- 6 sheets graham crackers
- ½ cup peanut butter you can mix with Nutella if you like
- 12 oz Ghirardelli dipping chocolate or almond bark
Instructions
-
Cut graham crackers into individual pieces using a sharp knife. You can break them with your fingers, but sometimes they don’t break evenly. Your best bet is to use a knife.
-
Spread one cracker with peanut butter, then place another graham cracker on top of it. Smooth the sides where peanut butter may have seeped out. Use extra peanut butter to make them even all the way around the cracker sandwich.
-
Use appetizer tongs to dip in melted chocolate. Shake off the excess and place on a lined with wax paper cookie sheet and allow chocolate to set.
Nutrition
The recipes on this blog are tested with a conventional gas oven and gas stovetop. It’s important to note that some ovens, especially as they age, can cook and bake inconsistently. Using an inexpensive oven thermometer can assure you that your oven is truly heating to the proper temperature. If you use a toaster oven or countertop oven, please keep in mind that they may not distribute heat the same as a conventional full sized oven and you may need to adjust your cooking/baking times. In the case of recipes made with a pressure cooker, air fryer, slow cooker, or other appliance, a link to the appliances we use is listed within each respective recipe. For baking recipes where measurements are given by weight, please note that results may not be the same if cups are used instead, and we can’t guarantee success with that method.
This recipe was originally published on Jan 30, 2011, and has been updated for clarity and comprehensiveness to bring you the best possible homemade candy bar experience.
