Crispy Oven Baked Chicken Thighs: Your Go-To Recipe for Juicy, Flavorful Dinners
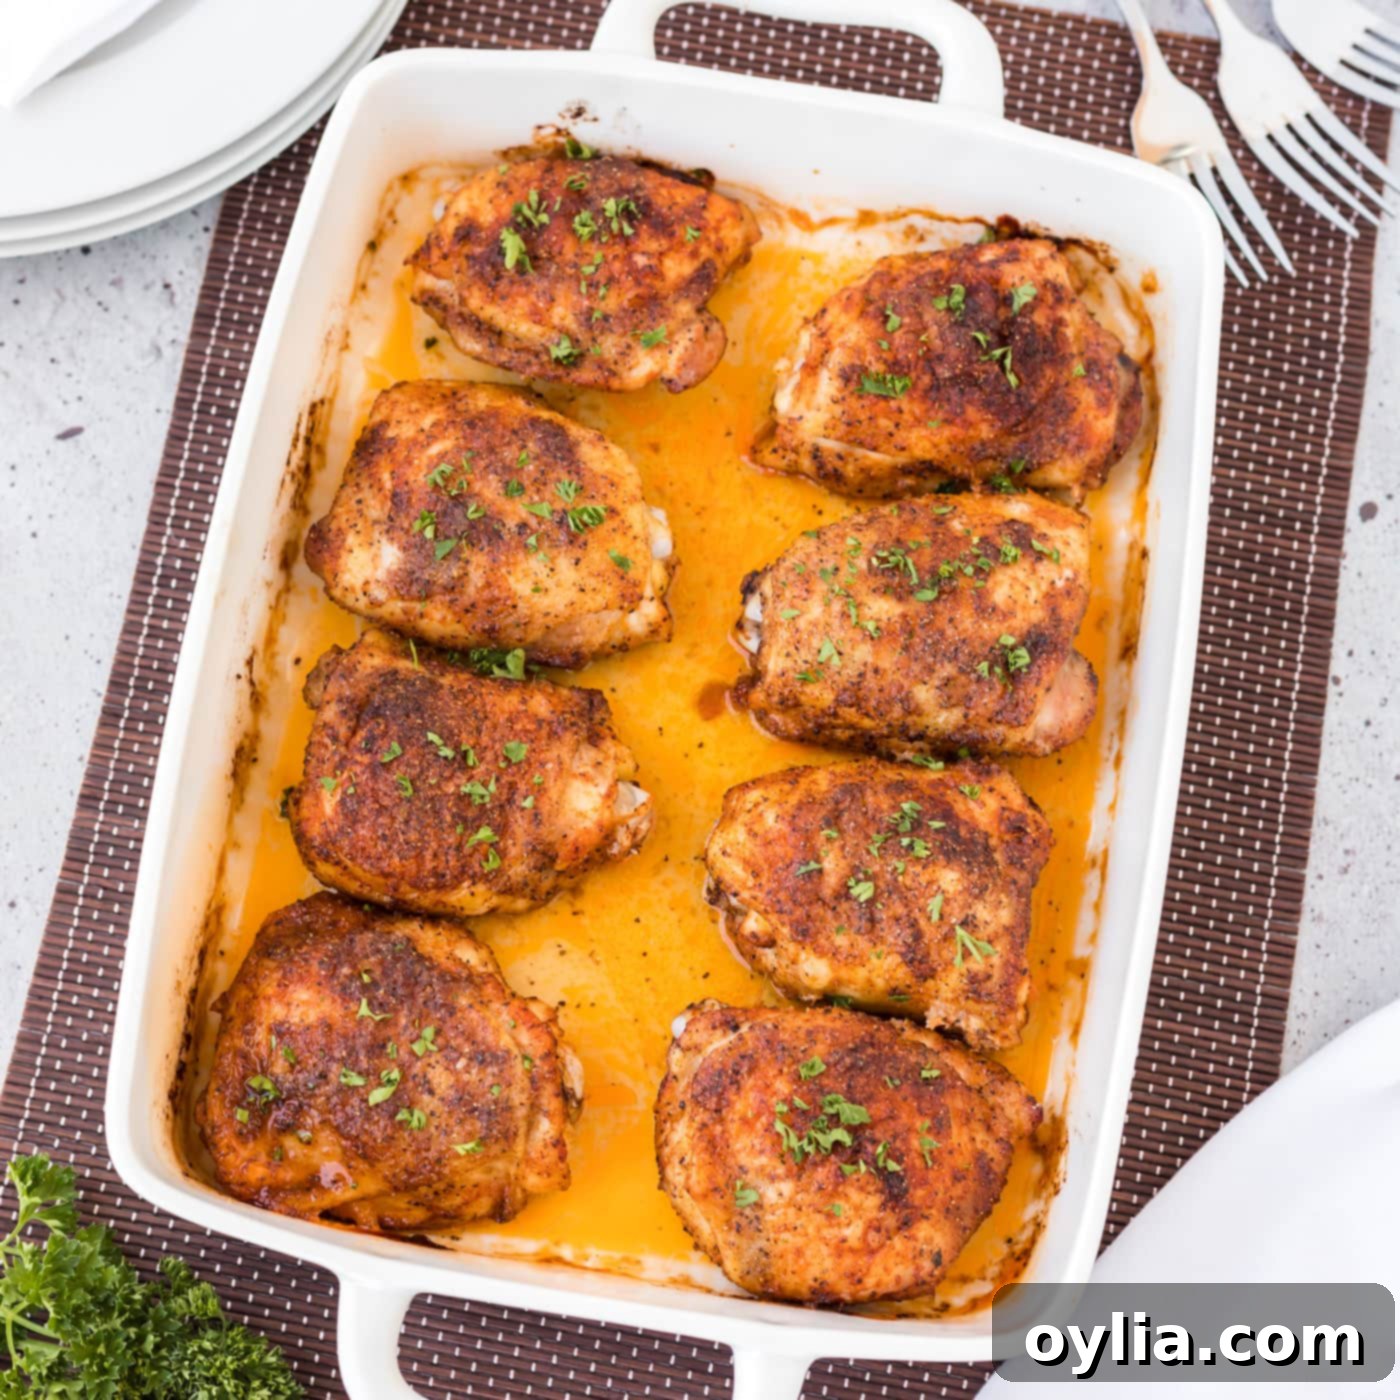
Prepare to revolutionize your weeknight dinner routine with these incredibly crispy oven baked chicken thighs! Each piece is generously coated in a magical, caramelized seasoning blend featuring paprika, onion powder, garlic salt, black pepper, and a touch of brown sugar. The result? Unbelievably juicy dark meat cocooned in a golden, irresistibly crisp skin that will have everyone reaching for seconds. This simple yet spectacular recipe promises maximum flavor with minimal effort, making it a perfect staple for any home cook looking for a delicious and satisfying meal.
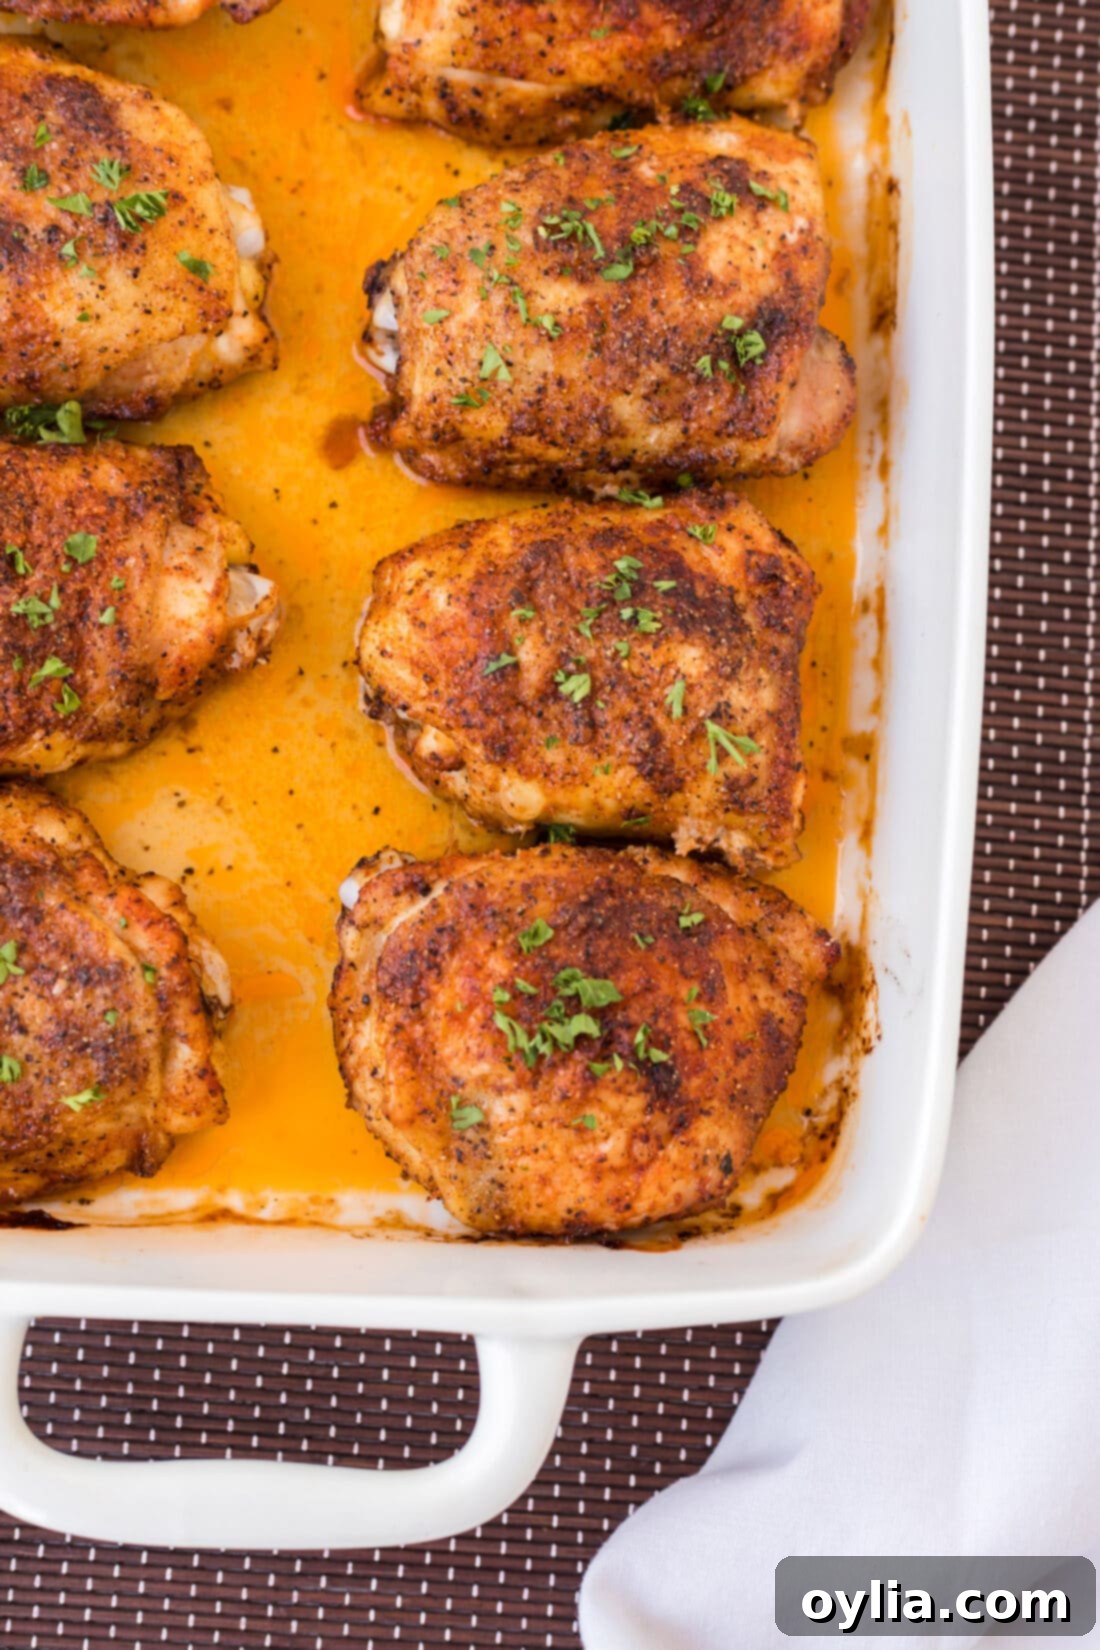
Why You’ll Absolutely Love This Baked Chicken Thighs Recipe
Baked chicken thighs are a perennial favorite for a reason, and this specific recipe elevates them to a new level of deliciousness. With just seven readily available ingredients and a straightforward process, you can achieve a gourmet-quality meal with minimal fuss. This recipe truly works its magic by delivering on several key promises:
- Effortless Preparation: Forget complicated steps or lengthy marinades. This dish comes together quickly, making it ideal for busy weeknights when you crave something wholesome and satisfying but are short on time. Simply rub, bake, and enjoy!
- Unbeatable Flavor: The carefully balanced seasoning rub, with its smoky paprika, aromatic garlic and onion, and a hint of sweet brown sugar, creates an incredible depth of flavor. The brown sugar doesn’t make the chicken sweet; instead, it caramelizes beautifully, enhancing the savory notes and contributing to that desirable golden-brown crust.
- Perfect Texture Contrast: The hallmark of a great chicken thigh recipe is the contrast between the skin and the meat. This method guarantees ultra-crispy, golden skin that crackles with every bite, while the dark meat underneath remains incredibly tender, moist, and juicy. It’s a culinary dream come true, much like our popular baked chicken legs recipe.
- Versatile & Customizable: This recipe serves as a fantastic foundation. It pairs beautifully with a wide array of side dishes, from classic mashed potatoes to vibrant roasted vegetables. Plus, you can easily adjust the spice rub to suit your family’s preferences, adding a pinch of heat or different herbs if desired.
- Foolproof Results: Even novice cooks can achieve success with this recipe. The cooking method is straightforward, and the use of a meat thermometer ensures perfectly cooked chicken every time. There’s nothing complicated about it – just pure, delicious satisfaction!
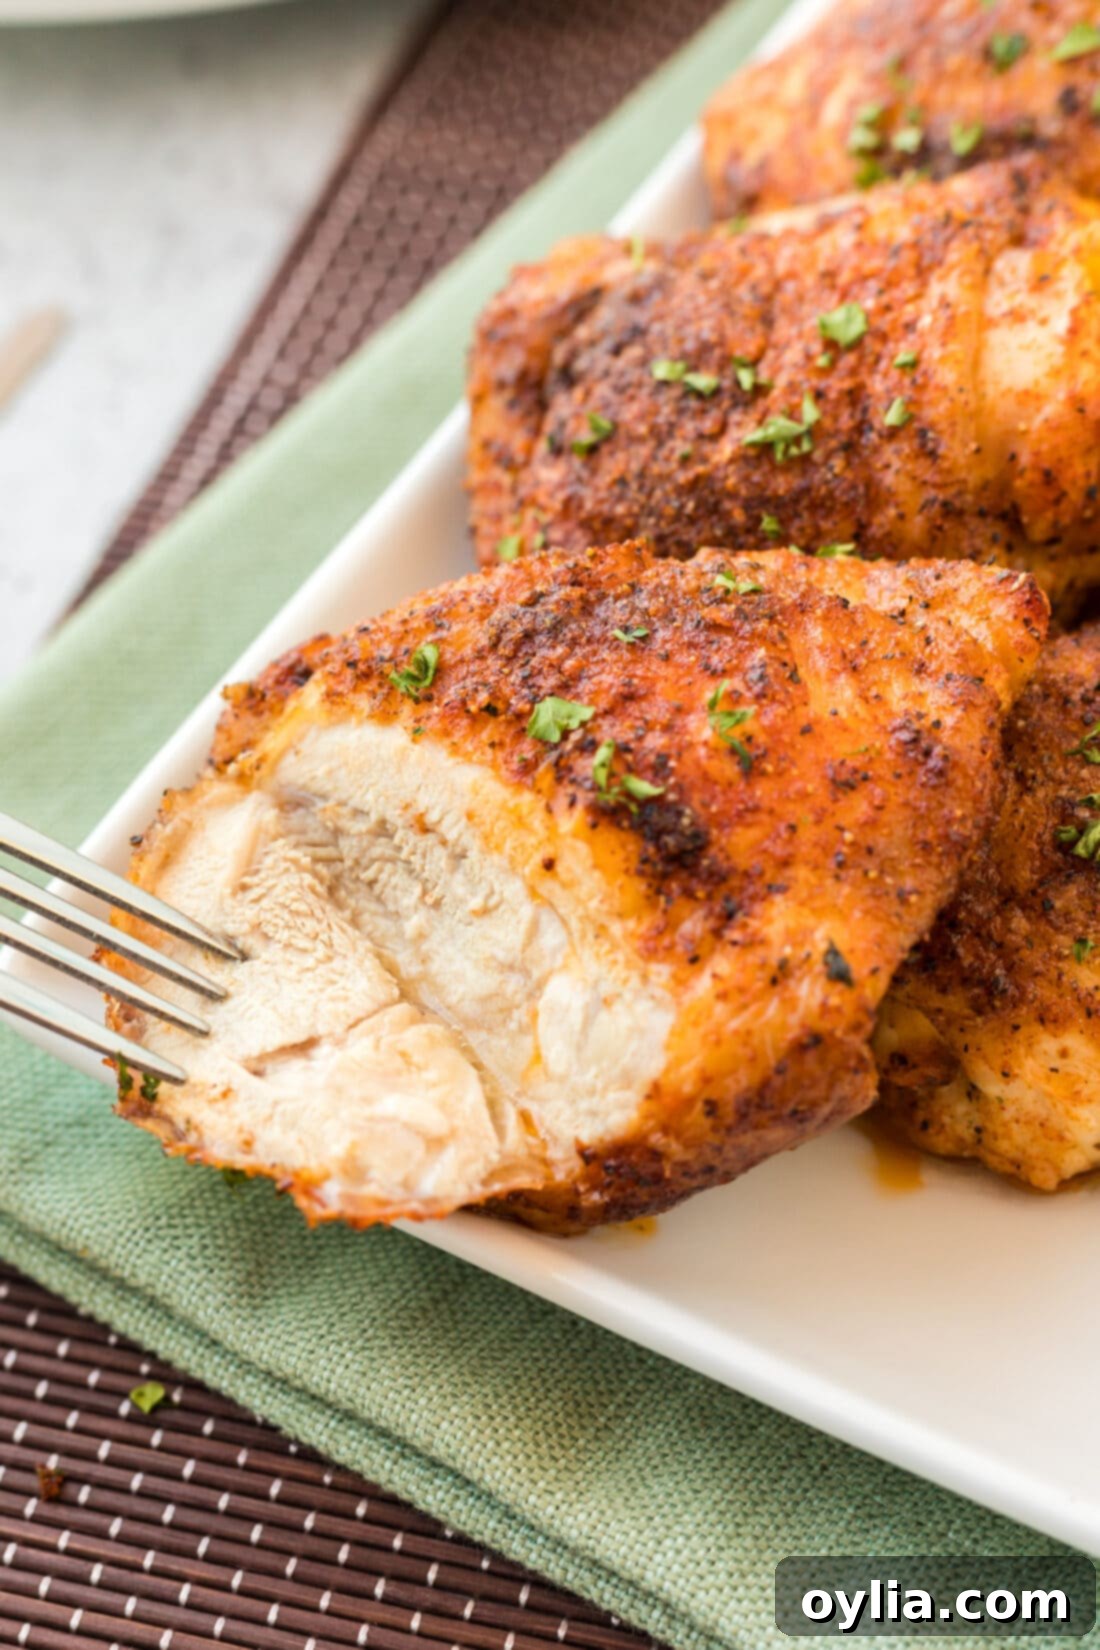
Essential Ingredients for Your Crispy Baked Chicken Thighs
Crafting these delectable crispy chicken thighs requires just a handful of common pantry staples. Each ingredient plays a vital role in developing the rich flavor and achieving that coveted crispy skin. For precise measurements and detailed instructions, refer to the printable recipe card available at the end of this post.
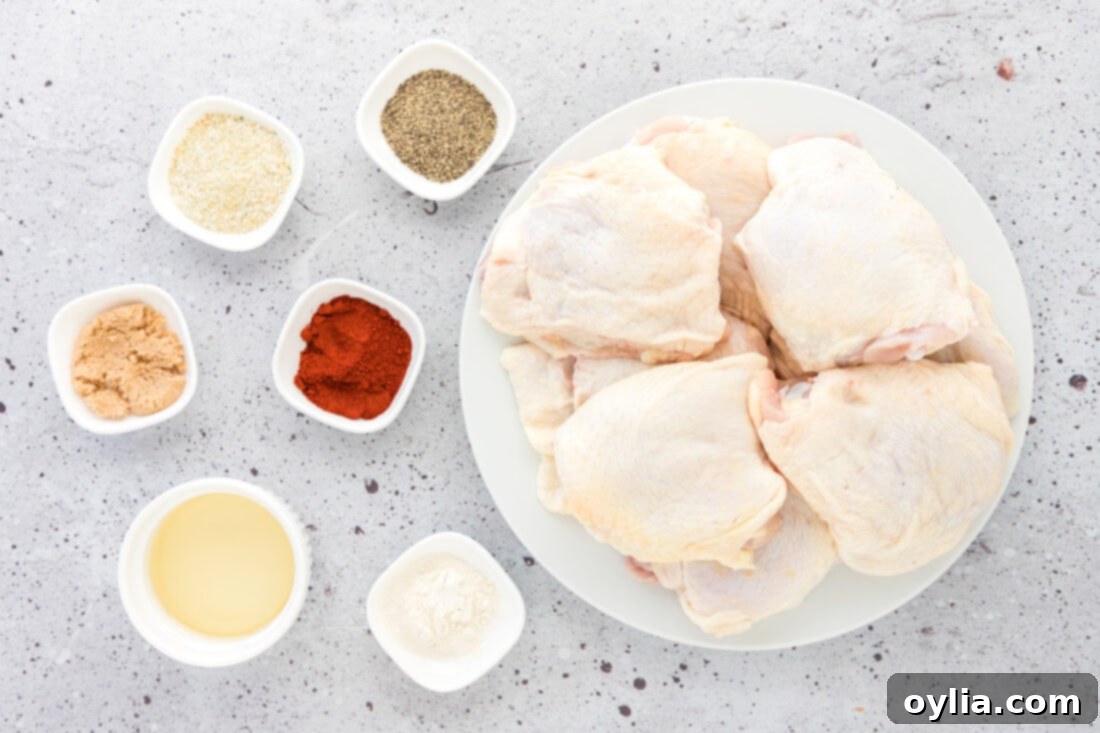
Ingredient Spotlight & Smart Substitution Suggestions
Understanding each component of this recipe will not only help you perfect it but also inspire confident substitutions if needed.
CHICKEN: We recommend using bone-in, skin-on chicken thighs for the best results. The bone helps to conduct heat evenly, keeping the meat moist, while the skin is crucial for achieving that irresistible crispy texture and delicious flavor. Chicken thighs, being dark meat, are naturally richer in flavor and much more forgiving than leaner chicken breasts, making them harder to overcook. If you prefer to use boneless, skin-on thighs, that works wonderfully too. However, if you opt for boneless, skinless thighs, be aware that the cooking time will be shorter, and you won’t achieve the signature crispy skin. Always use a reliable meat thermometer to check for doneness; chicken is safe to eat when it reaches an internal temperature of 165°F (74°C) at its thickest part.
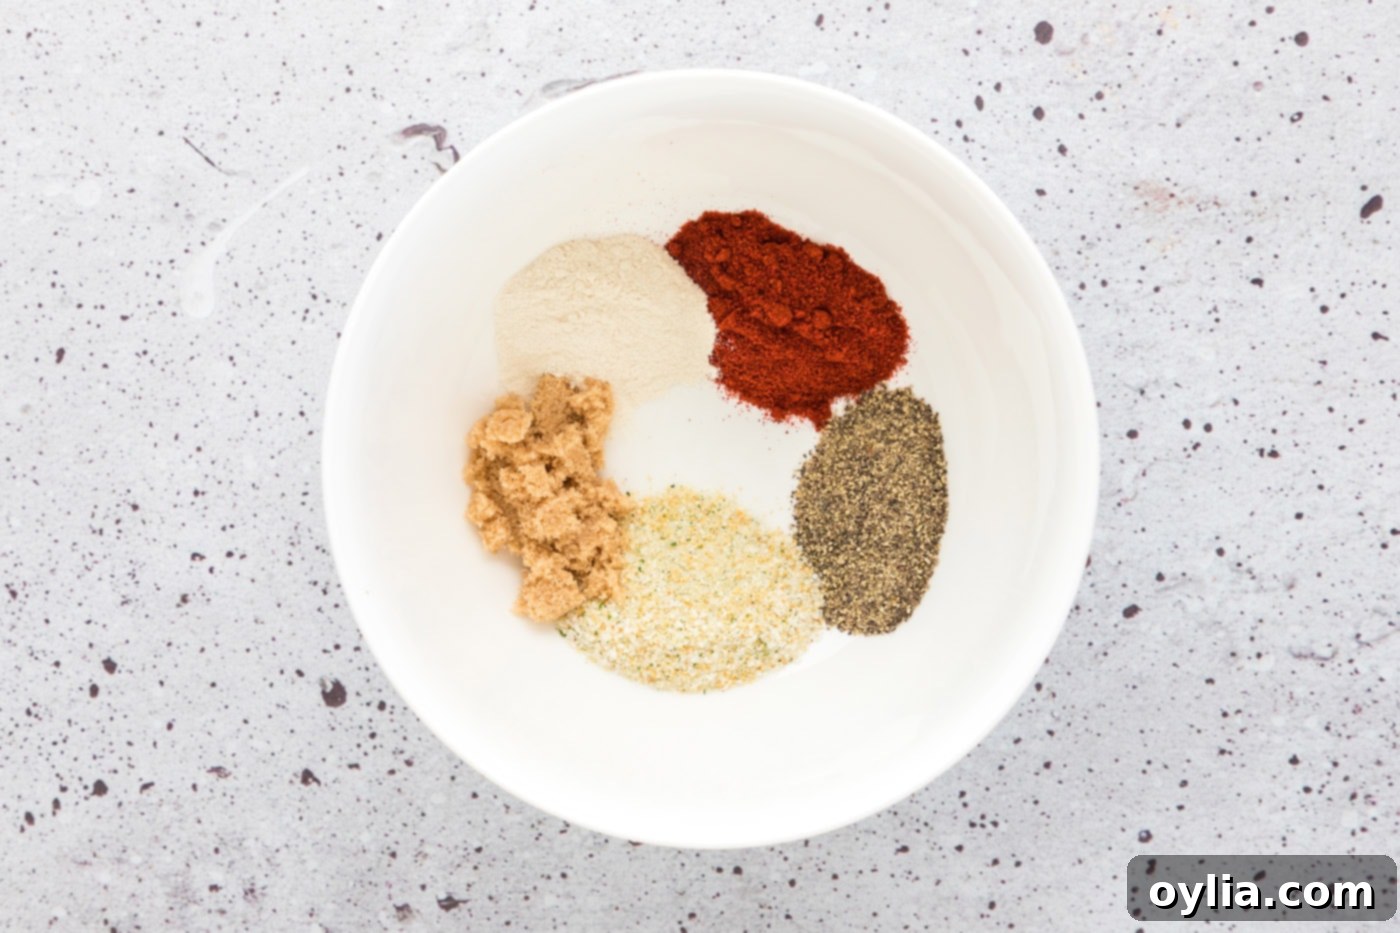
THE FLAVORFUL RUB: This simple yet powerful rub is a blend designed to deliver maximum flavor and help caramelize the chicken skin to perfection. It consists of:
- Olive Oil: Acts as a binding agent for the spices, ensuring they adhere well to the chicken. It also contributes to the browning and crisping of the skin. You can substitute with other neutral oils like avocado oil or vegetable oil.
- Black Pepper: A foundational seasoning that adds a subtle warmth and aromatic depth to the chicken.
- Garlic Salt: A convenient two-in-one ingredient that provides both savory garlic flavor and essential saltiness. If using garlic powder and separate salt, adjust quantities to taste (a good starting point is 2 parts garlic powder to 1 part salt).
- Brown Sugar: This is a secret weapon for achieving that beautiful caramelized crust. It does NOT make the chicken taste sweet; instead, it interacts with the high heat to create a rich, slightly smoky, and deeply browned exterior. It adds an incredible depth of flavor that a plain salt-and-pepper rub can’t match.
- Smoked Paprika: A standout ingredient that imparts a wonderful smoky aroma and a vibrant, inviting color to the chicken. If you don’t have smoked paprika, regular sweet paprika can be used, but you’ll miss out on the smoky notes.
- Onion Powder: Delivers a concentrated onion flavor without the moisture or texture of fresh onion, complementing the garlic perfectly.
Customization Tip: Feel free to experiment with your favorite seasonings! A pinch of cayenne pepper can add a subtle kick, or dried herbs like thyme, oregano, or rosemary can introduce different aromatic profiles. Just ensure the overall balance of salt and fat is maintained.
Step-by-Step: How to Make Irresistibly Crispy Baked Chicken Thighs
These step-by-step photos and instructions are here to help you visualize how to make this recipe. You can Jump to Recipe to get the printable version of this recipe, complete with measurements and instructions at the bottom.
- Preheat Your Oven: Start by preheating your oven to 400°F (200°C). A hot oven is crucial for achieving that initial sear and kickstarting the crisping process for the chicken skin.
- Prepare the Chicken: Carefully rinse your chicken thighs under cold water. The most critical step for crispy skin is next: thoroughly pat them dry with paper towels. Remove as much moisture as possible from both the skin and the underside. Excess moisture will steam the chicken, preventing it from crisping up. You can also trim any large, excess pieces of fat from the thighs, which helps to render the fat more effectively during baking.
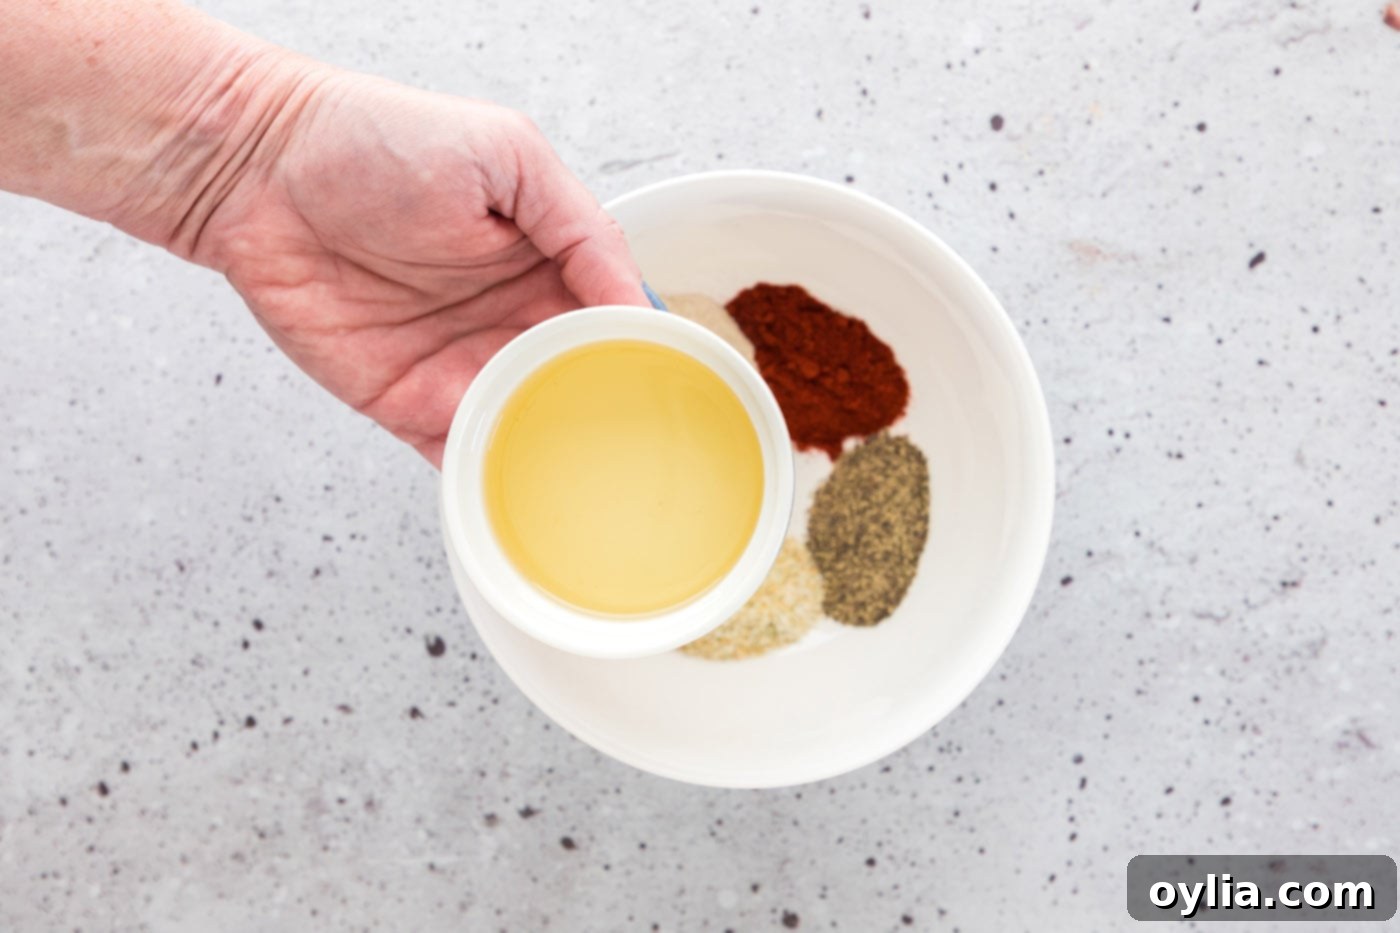
- Mix the Flavorful Rub: In a small bowl, combine the olive oil, black pepper, garlic salt, brown sugar, smoked paprika, and onion powder. Mix well until all the spices are fully incorporated and form a thick paste. This ensures an even distribution of flavor.


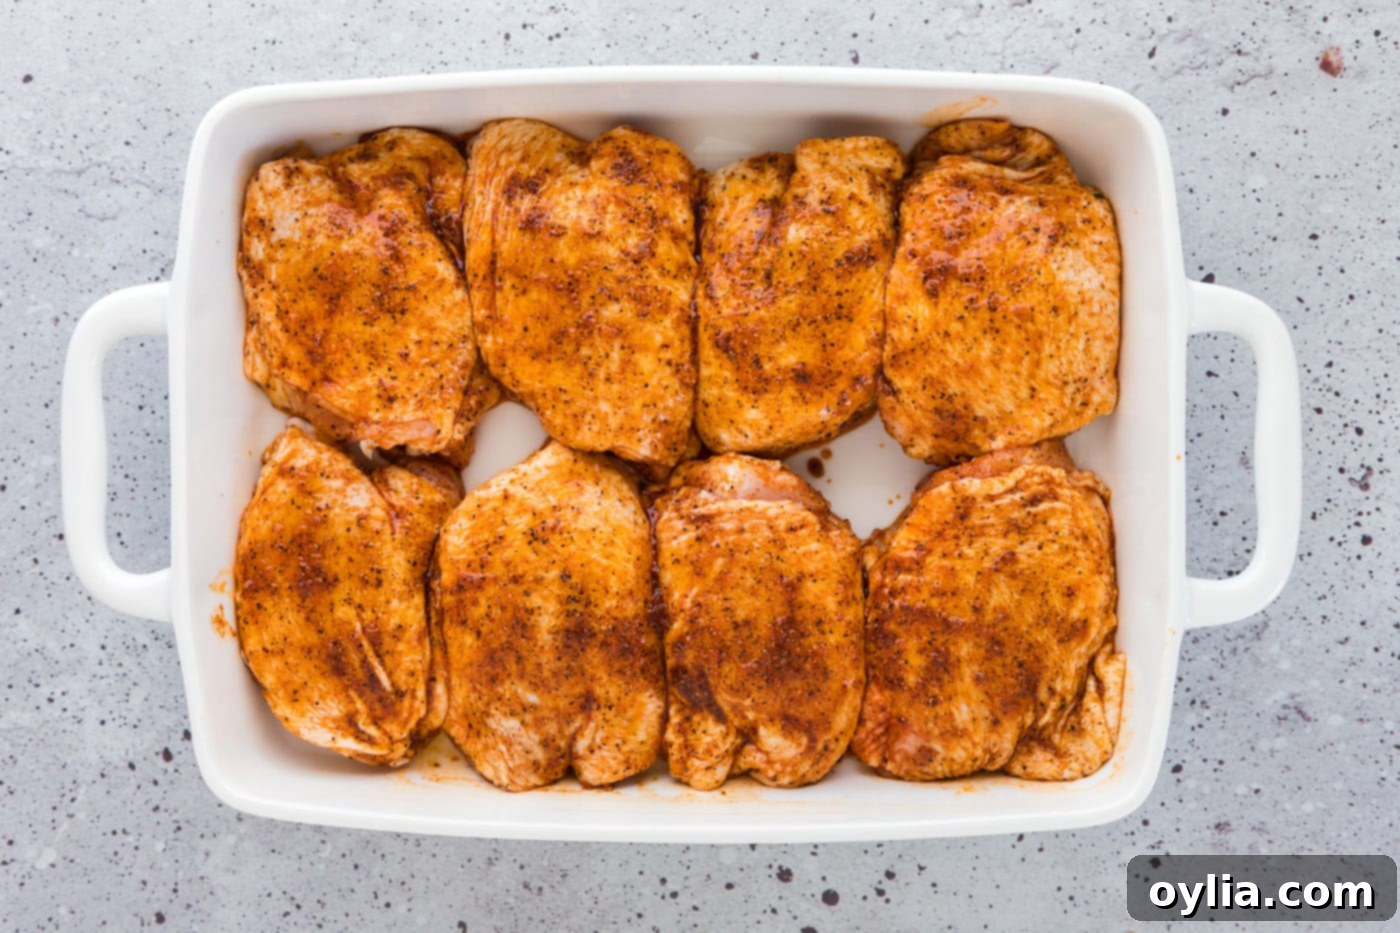
- Apply the Rub: Using gloved hands (for hygiene and to avoid sticky fingers), generously massage the oil and spice mixture all over both sides of the chicken thighs. Pay extra attention to getting some of the rub under the skin, especially if you want to infuse even more flavor directly into the meat. Ensure every part of the skin is coated for maximum crispness and color. Arrange the chicken in a single layer in your baking dish, ensuring there’s a little space between each piece for proper air circulation.

- Bake to Perfection: Place the uncovered baking dish into your preheated oven. Bake for 45-50 minutes. The cooking time may vary slightly depending on the size of your chicken thighs and your oven’s calibration. The most reliable way to check for doneness is to use an instant-read thermometer. Insert it into the thickest part of the thigh, avoiding the bone. The chicken is perfectly cooked when it reaches an internal temperature of 165°F (74°C). Once done, remove from the oven and let rest for 5-10 minutes before serving; this allows the juices to redistribute, ensuring incredibly tender and moist chicken.
Achieving the Ultimate Crispy Skin: Expert Tips You Need to Know
The quest for truly crispy chicken skin is a noble one, and with these expert tips, you’ll achieve perfection every time:
- Pat, Pat, Pat Dry: We cannot emphasize this enough! Moisture is the enemy of crispy skin. Before applying the rub, ensure your chicken thighs are as dry as possible. Use paper towels and press firmly. You can even let them air-dry in the refrigerator for an hour or two (or overnight) on a wire rack for extra dryness.
- High Heat is Key: Baking at 400°F (200°C) is crucial. This high temperature helps to quickly render the fat under the skin and promote browning and crisping. Don’t be tempted to lower the temperature for longer cooking times, as this can lead to soggy skin.
- Don’t Crowd the Pan: Ensure there’s adequate space between each chicken thigh in the baking dish. If the chicken pieces are too close, they’ll release steam, which will prevent the skin from crisping. Use two baking dishes if necessary.
- Leave Them Uncovered: Unlike some recipes that call for covering chicken to keep it moist, this is a definite no-no for crispy skin. Leaving the chicken uncovered allows the hot air to circulate freely, evaporating moisture and making the skin shatteringly crisp.
- The Broiler Finish: If, after baking, your chicken skin isn’t quite as crispy or golden as you’d like, a quick blast under the broiler is your secret weapon. Place the baked chicken under the broiler for about 2 minutes, keeping a very close eye on it. Broilers can burn food quickly, so watch carefully to avoid charring! This step will give you that extra crunch and beautiful caramelization.
Frequently Asked Questions & Advanced Tips
Proper storage is key to enjoying your leftovers. Allow the baked chicken thighs to cool completely to room temperature (this prevents condensation, which can make the skin soggy). Once cooled, transfer them to an airtight container and store in the refrigerator for up to 3-4 days. For reheating, the oven or air fryer works best to revive some of that crispiness. Reheat at 350°F (175°C) until warmed through, approximately 15-20 minutes in the oven or 8-10 minutes in the air fryer.
Absolutely not, if crispy skin is your goal! We intentionally leave the chicken uncovered while it bakes in the oven. Covering the chicken traps steam, which will result in soggy skin. To achieve that beautiful golden-brown, irresistibly crisp exterior, let those chicken thighs bake openly and freely in the hot oven.
Yes, you absolutely can! The air fryer is another fantastic tool for achieving crispy chicken thighs. We even have a dedicated air fryer chicken thighs recipe that offers a similar delicious outcome with a slightly different cooking method. Give it a try if you’re an air fryer enthusiast!
A standard 13×9 inch baking dish (glass or metal) is ideal for this recipe, particularly if you’re cooking around 6-8 chicken thighs. The key is to ensure the chicken pieces are arranged in a single layer with a little space between them to allow for proper air circulation, which is crucial for achieving crispy skin. A larger pan might be needed if you’re cooking more than 8 thighs.
Yes, it’s a small but significant step! After baking, remove the chicken from the oven and let it rest on a cutting board or platter for 5-10 minutes before serving. This allows the juices within the meat to redistribute, resulting in a more tender and juicy chicken. If you cut into it immediately, the juices will run out, leaving the meat drier.
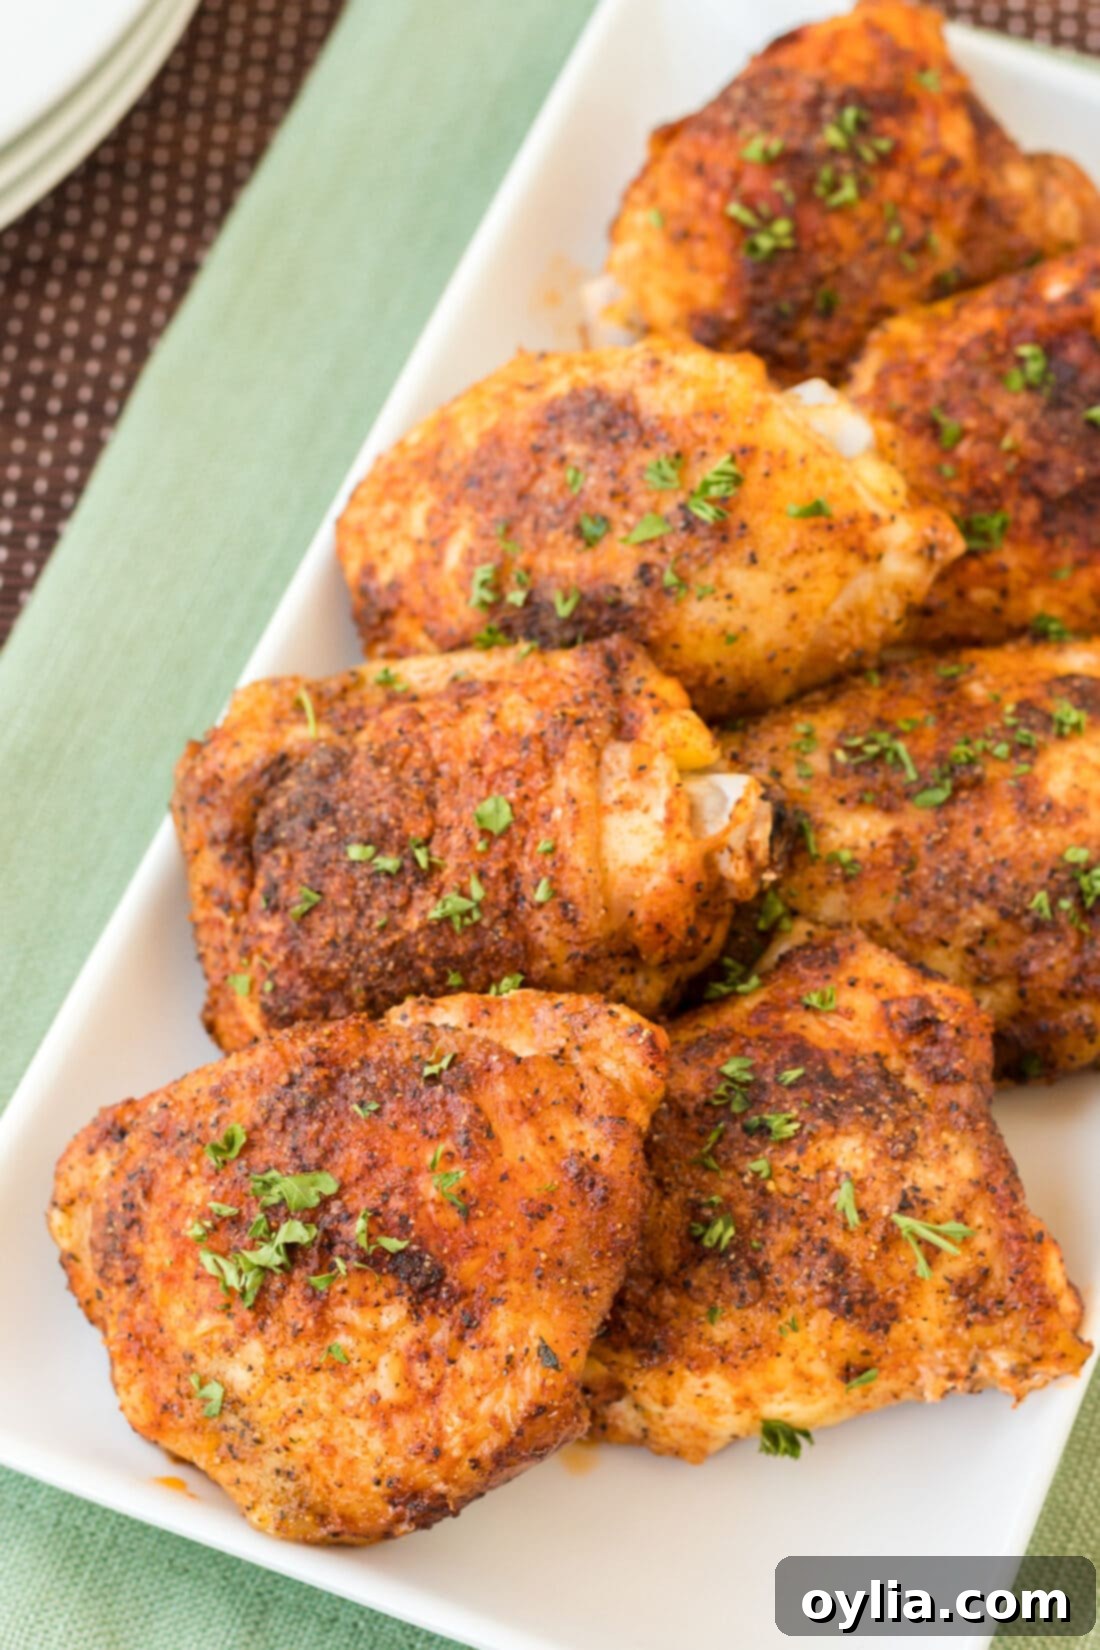
Delicious Serving Suggestions for Your Baked Chicken Thighs
These flavorful and crispy oven-baked chicken thighs are incredibly versatile and pair wonderfully with a multitude of side dishes. Whether you’re planning a hearty family meal or a lighter dinner, here are some ideas to complete your plate:
- Classic Comfort Sides: Serve with creamy mashed potatoes, fluffy rice pilaf, or a comforting macaroni and cheese for a satisfying meal that everyone will love. The rich juices from the chicken are perfect for drizzling over these staples.
- Roasted Vegetables: Enhance your meal with vibrant, healthy sides. Garlic green beans (as suggested in the original article), roasted carrots, tender asparagus, or crispy Brussels sprouts are all excellent choices that roast beautifully alongside chicken in the oven or can be prepared separately.
- Potato Power: Beyond mashed, consider serving with crispy potato wedges, roasted sweet potatoes, or a simple baked potato for a robust pairing.
- Fresh and Light Options: For a fresher approach, a crisp garden salad with a light vinaigrette or a simple side of coleslaw provides a lovely contrast to the rich chicken. Quinoa or couscous also make for lighter, yet filling, grain options.
- Creative Leftovers: Don’t let any delicious chicken go to waste! Leftover chicken thigh meat can be easily shredded or chopped and added to salads, pasta dishes, wraps, sandwiches, tacos, quesadillas, or even a flavorful chicken fried rice. It’s fantastic for meal prep!
No matter what you choose, these crispy oven baked chicken thighs are best enjoyed warm straight from the oven, allowing their full flavor and texture to shine.
Explore More Delicious Chicken Recipes
If you loved these oven-baked chicken thighs, you’re in for a treat! We have a wide selection of chicken recipes that are just as easy to make and bursting with flavor. Expand your culinary repertoire with some of our other popular chicken dishes:
- Spicy Oven Fried Chicken
- Korean Fried Chicken
- Baked Chicken Legs
- Air Fryer Fried Chicken
- Crispy Baked Chicken Wings
- Skillet Chicken Thighs
I love to bake and cook and share my kitchen experience with all of you! Remembering to come back each day can be tough, that’s why I offer a convenient newsletter every time a new recipe posts. Simply subscribe and start receiving your free daily recipes!
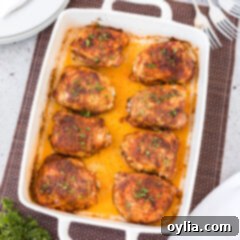
Baked Chicken Thighs
IMPORTANT – There are often Frequently Asked Questions within the blog post that you may find helpful. Simply scroll back up to read them!
Print It
Pin It
Rate It
Save ItSaved!
Ingredients
- 8 bone-in skin on chicken thighs approximately 5 pounds
- 3 Tablespoons olive oil
- ½ Tablespoon black pepper
- 1 Tablespoon garlic salt
- 1 Tablespoon brown sugar
- 1 Tablespoon smoked paprika
- ½ Tablespoon onion powder
Things You’ll Need
-
13×9 baking dish
-
Vinyl gloves
Before You Begin
- If you would like your skin crispier, place baked chicken under the broiler for about 2 minutes. Watch carefully so as not to burn the thighs.
- If you use boneless thighs, you may need to cook them little longer. Use a meat thermometer to check for doneness.
Instructions
-
Preheat oven to 400 F.
-
Rinse chicken thighs and pat dry with paper towels.
-
Mix together olive oil, pepper, garlic salt, brown sugar, paprika, and onion powder.
-
Using gloved hands, massage oil and spice mixture all over both sides of the chicken thighs.
-
Bake uncovered for 45-50 minutes, or until internal temperature reaches 165 F on an instant read thermometer.
Nutrition
The recipes on this blog are tested with a conventional gas oven and gas stovetop. It’s important to note that some ovens, especially as they age, can cook and bake inconsistently. Using an inexpensive oven thermometer can assure you that your oven is truly heating to the proper temperature. If you use a toaster oven or countertop oven, please keep in mind that they may not distribute heat the same as a conventional full sized oven and you may need to adjust your cooking/baking times. In the case of recipes made with a pressure cooker, air fryer, slow cooker, or other appliance, a link to the appliances we use is listed within each respective recipe. For baking recipes where measurements are given by weight, please note that results may not be the same if cups are used instead, and we can’t guarantee success with that method.
