Delicious Apple Cider Pound Cake with Brown Butter Glaze: Your Ultimate Fall Baking Guide
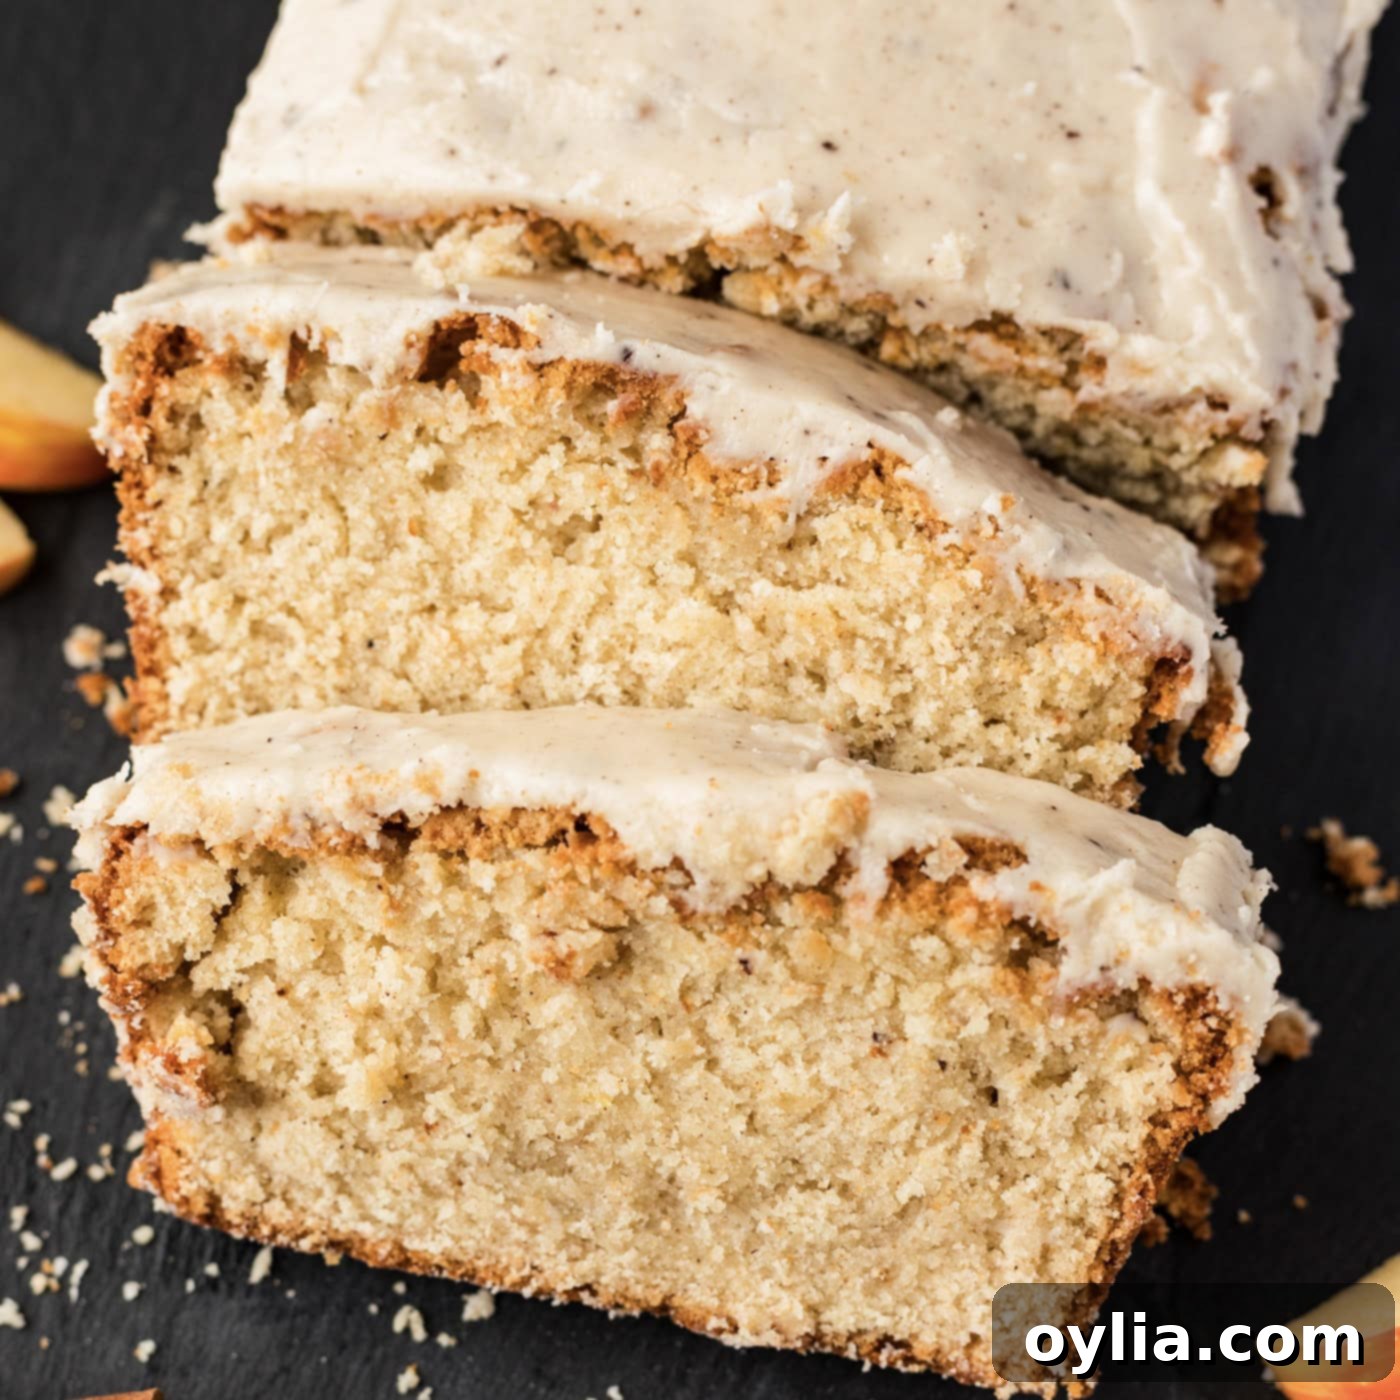
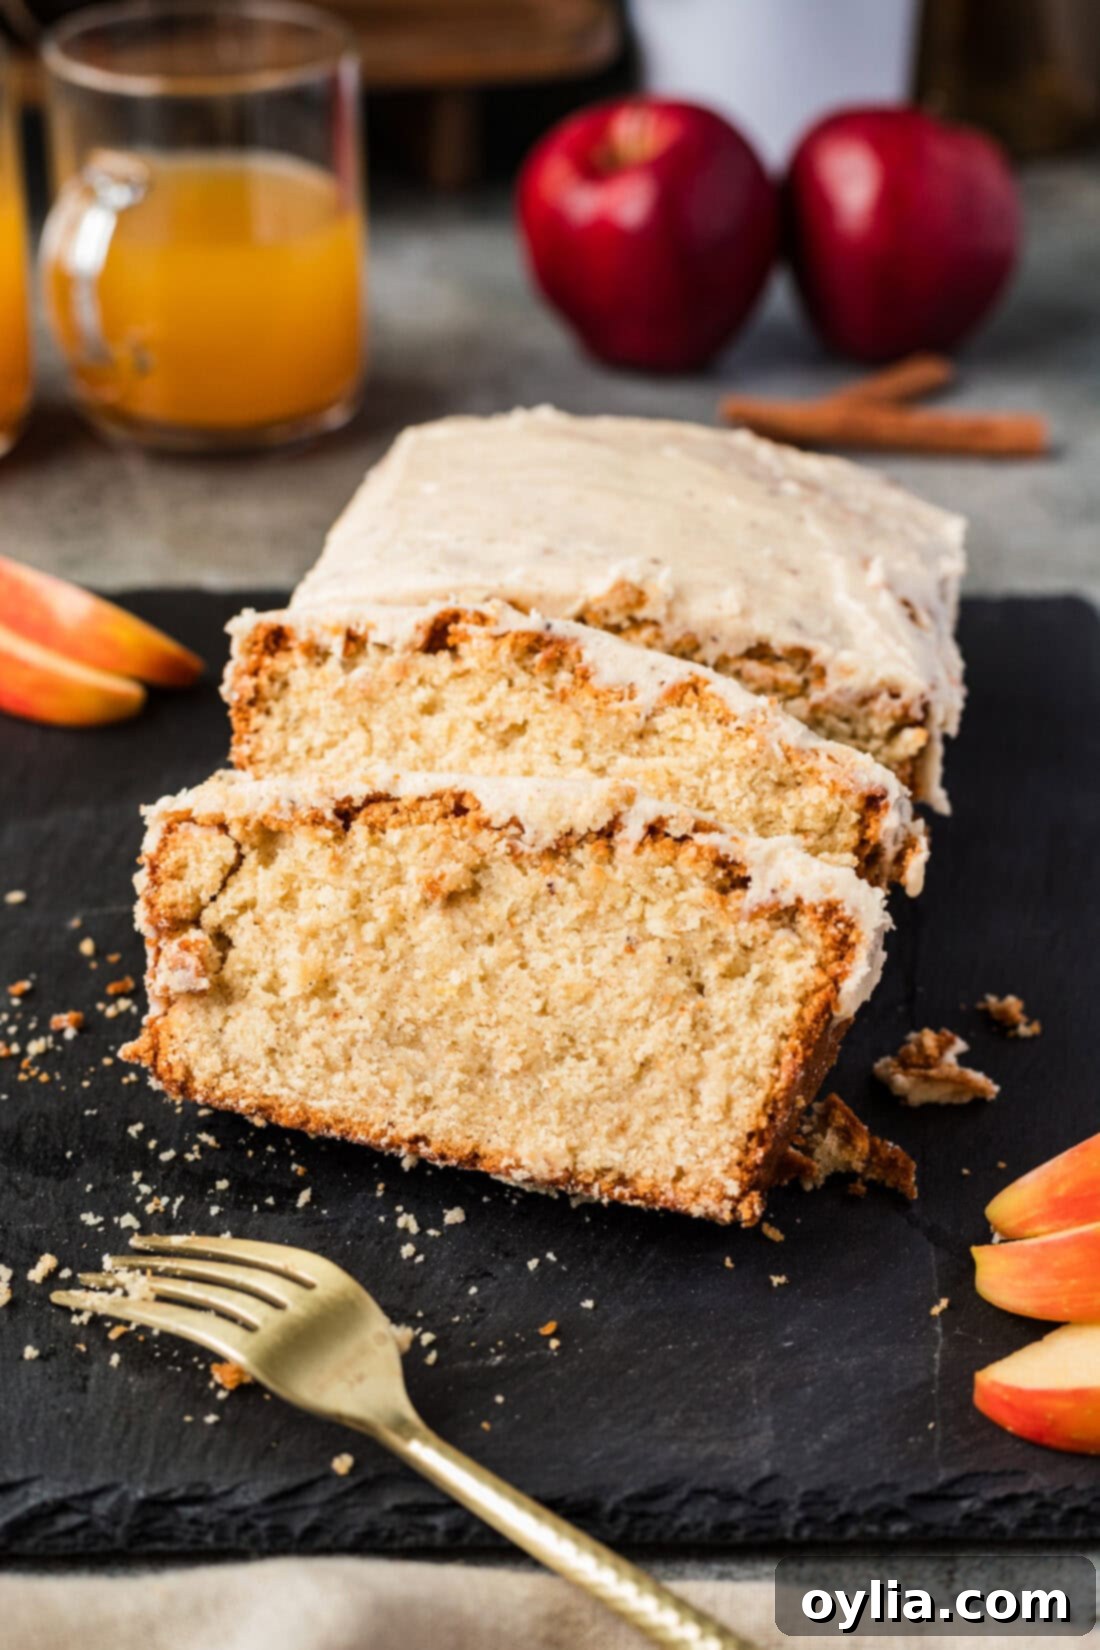
Embrace the cozy flavors of autumn with this incredible Apple Cider Pound Cake. Crafted with fresh apple cider and an aromatic blend of warm spices, this cake boasts a perfectly moist texture and a wonderfully tender crumb. To elevate its rich flavor, we top it with a luscious brown butter glaze, tying all the delightful components together into one unforgettable dessert. Whether for a holiday gathering or a simple weekend treat, this pound cake is guaranteed to become a fall favorite in your home.
Why This Apple Cider Pound Cake is a Must-Try
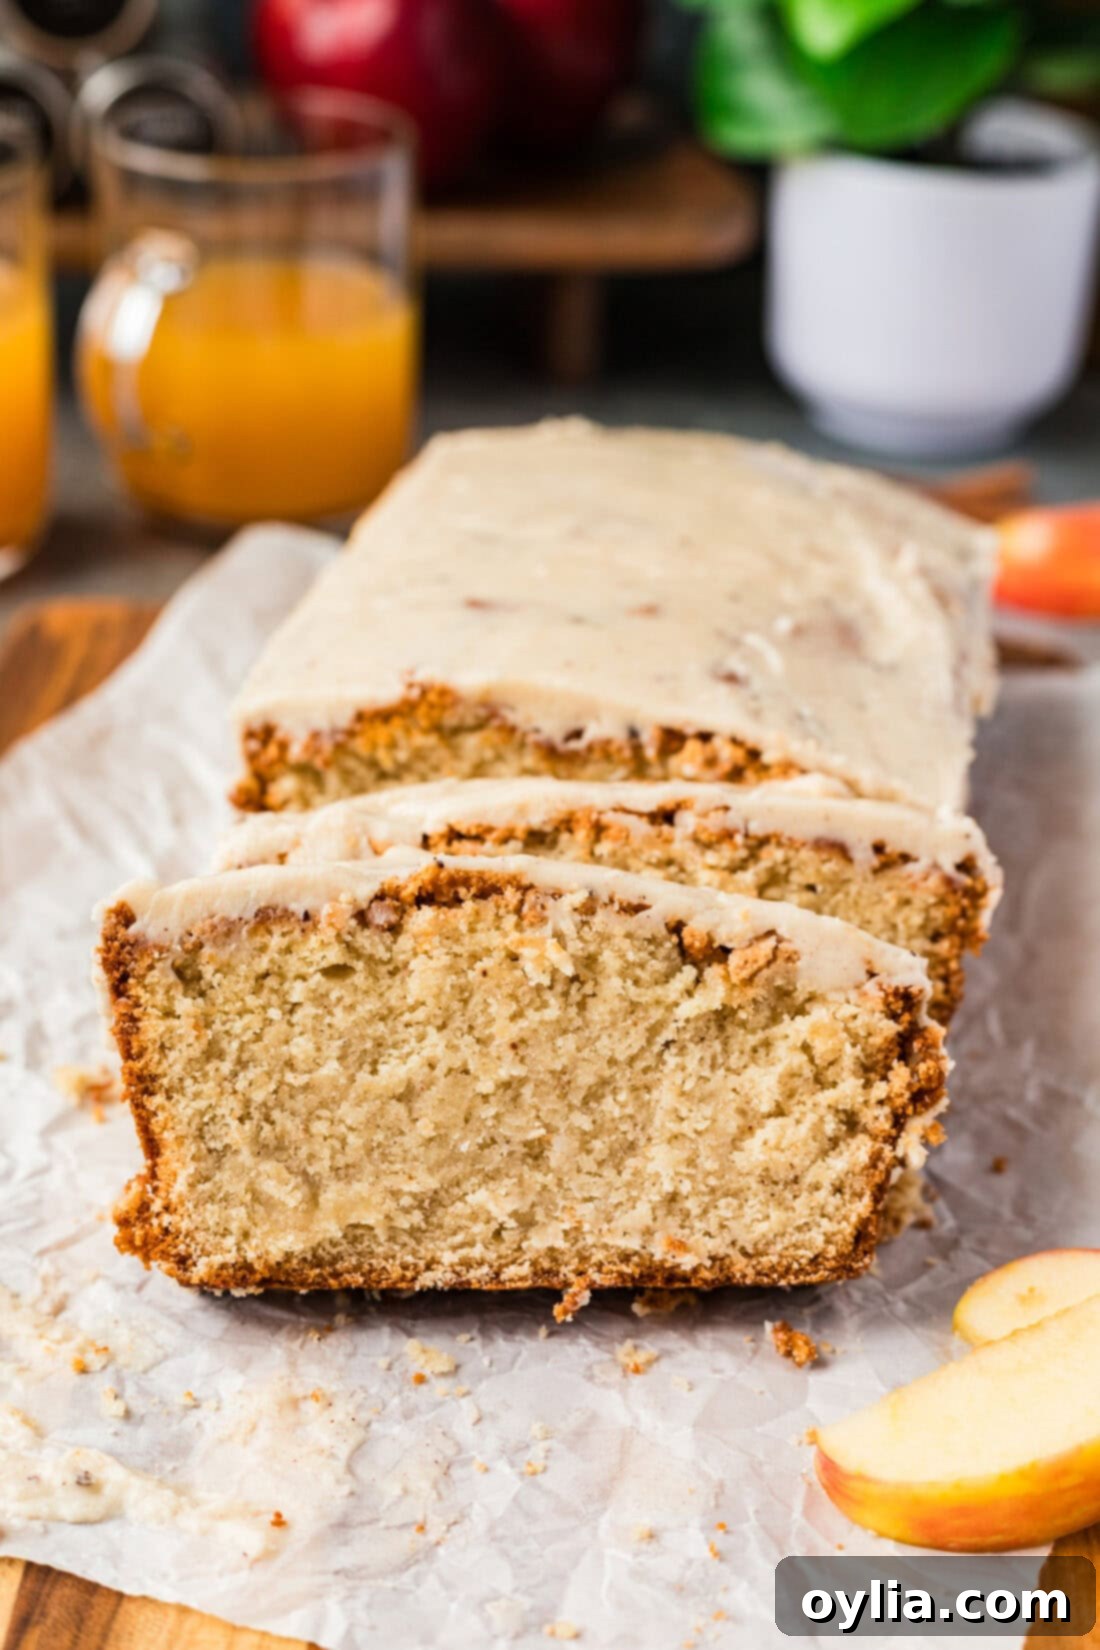
From the moment this apple cider pound cake starts baking, its irresistible aroma will fill your kitchen, a clear testament to how truly special these loaves are. The distinct, bright flavor of apple cider shines through beautifully, perfectly complemented by a harmonious blend of warm, autumnal spices like allspice, nutmeg, cloves, and cinnamon. These spices don’t just add flavor; they evoke the very essence of fall, making each bite a comforting experience.
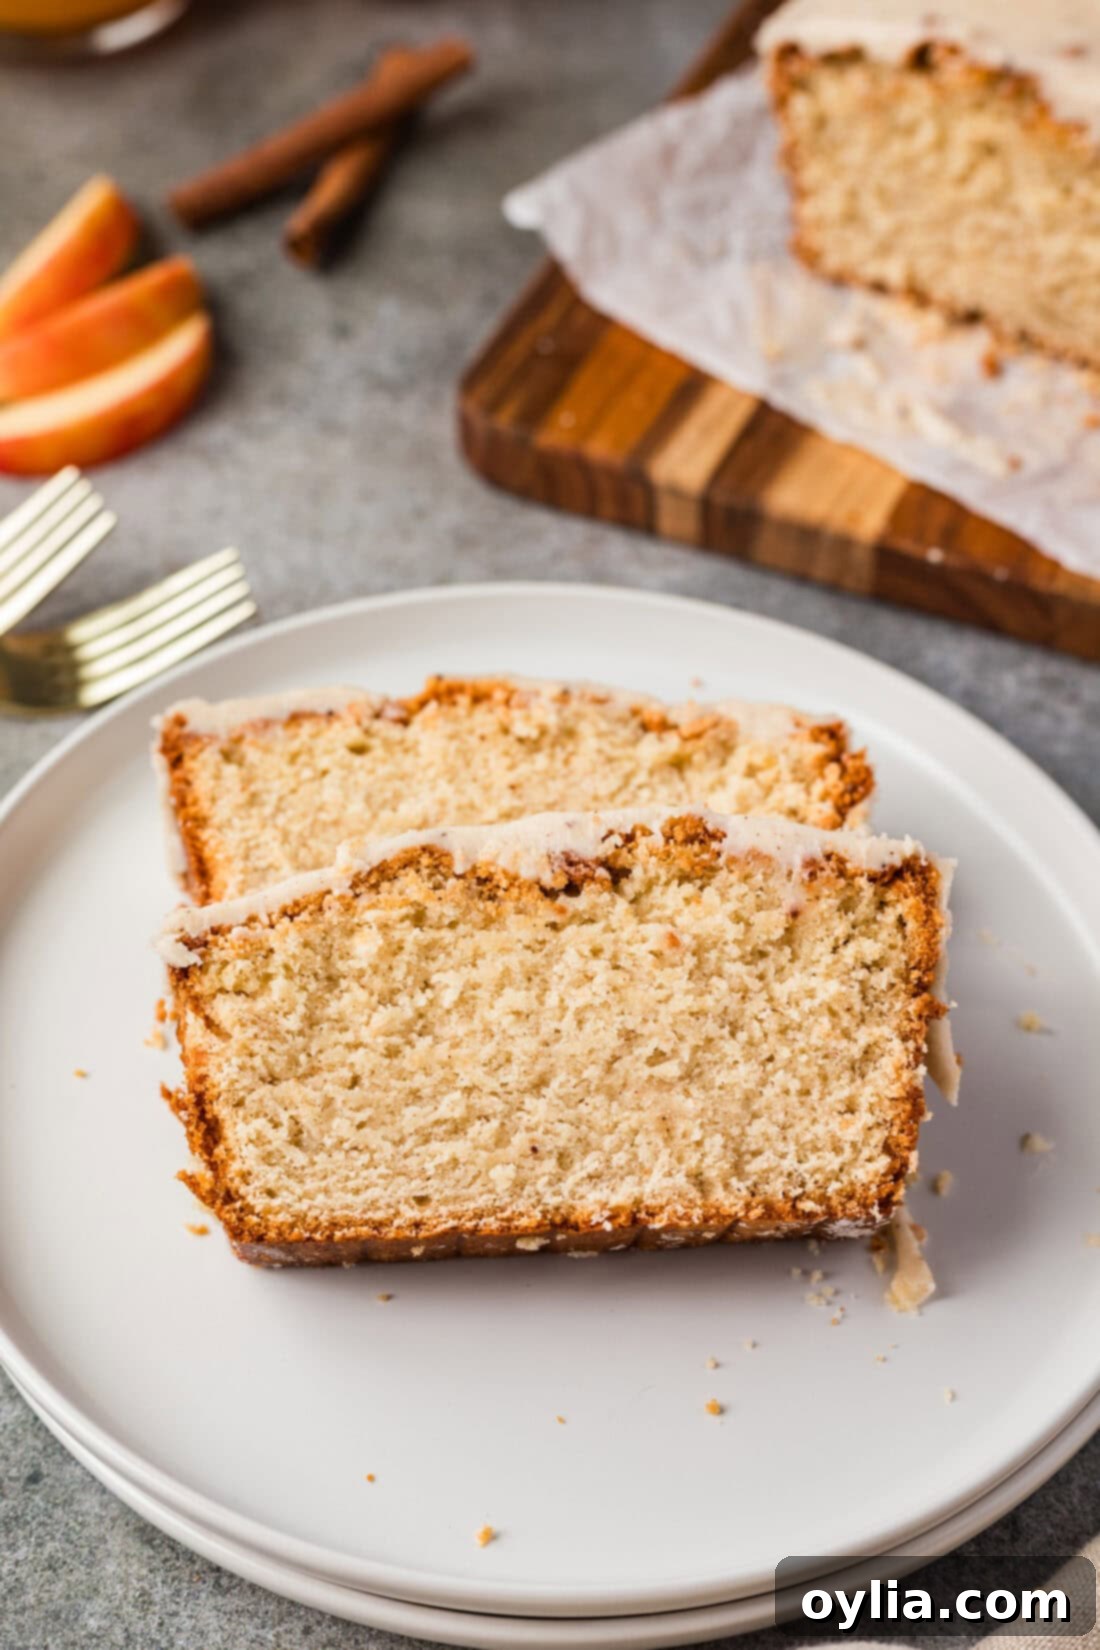
The cake itself is a marvel of texture – wonderfully dense yet exceptionally moist, with a tender crumb that practically melts in your mouth. This rich texture is a hallmark of a well-made pound cake and is achieved through the careful balance of ingredients and precise creaming methods. It’s the kind of cake that disappears quickly, which is why I often bake an extra to stash in the freezer for later enjoyment.
While this pound cake is delightful on its own, I find it truly reaches its peak with the addition of the brown butter glaze. This glaze, a beloved component originally from my banana bundt cake recipe, adds a rich, nutty depth that perfectly complements the apple and spice notes. However, I can confidently say that this is one of those versatile cakes that stands proudly even without a topping. I’ve enjoyed it plain and have also experimented with a caramel glaze in the past, always with fantastic results. Whichever way you choose to serve it, this apple cider pound cake is always inviting and utterly delicious.
Essential Ingredients for Your Apple Cider Pound Cake
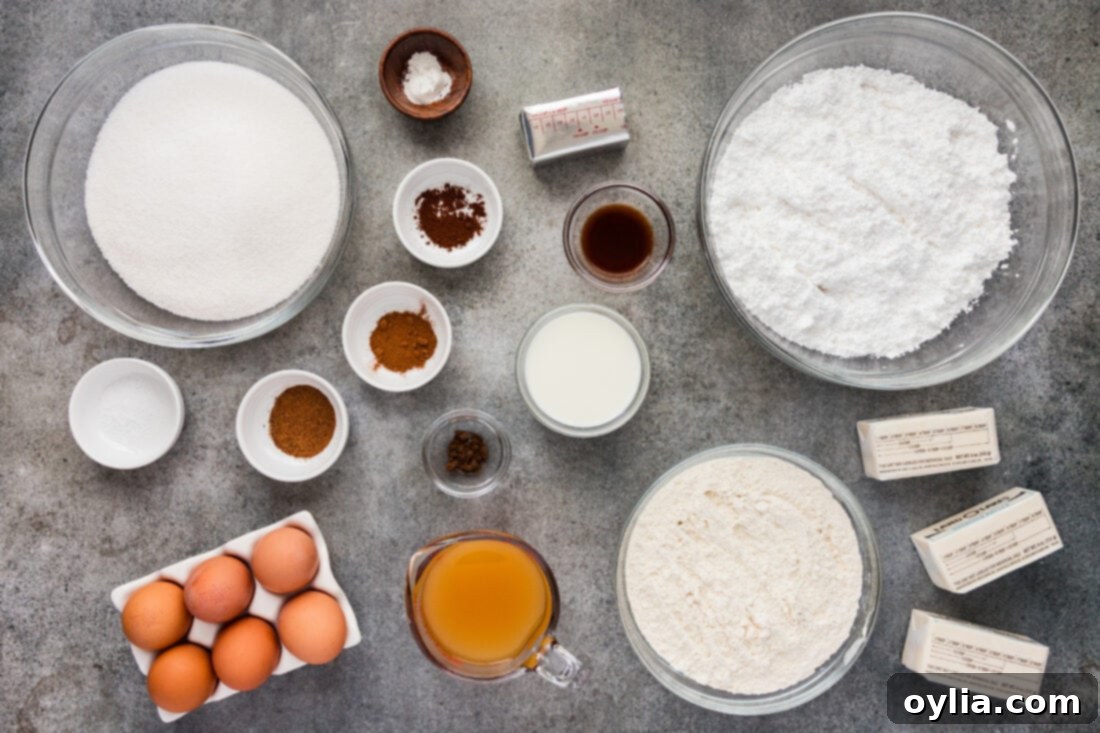
To create this magnificent apple cider pound cake, you’ll need a selection of high-quality ingredients, carefully measured and prepared. Achieving the perfect texture and flavor in baking is often about precision, so take your time with each component. You’ll find a complete list of all measurements, ingredients, and detailed instructions in the printable recipe card at the very end of this post. For best results, always ensure your ingredients are at room temperature when specified, as this significantly impacts the final consistency of your batter and the crumb of your cake. Weighing your ingredients with a kitchen scale is highly recommended for unparalleled accuracy, preventing common baking issues like an overly dense, dry, or crumbly cake.
Ingredient Spotlight & Smart Substitutions
Baking is truly a science, and understanding your ingredients is key to success. Remember to bring all ingredients, especially butter and eggs, to room temperature if the recipe card below specifies. This ensures they emulsify properly, creating a smooth, cohesive batter. As mentioned, using a kitchen scale for dry ingredients is a game-changer for consistent results in baked goods.
- CIDER: The star of the show! For the most authentic and robust apple flavor, fresh apple cider is highly recommended. You’ll notice a significant difference compared to regular apple juice, as cider offers a more complex, unfiltered taste. During the fall season, many local apple orchards and grocery stores carry fresh cider, which is truly a treat. However, if fresh cider isn’t available, a good quality filtered apple cider (the kind that resembles juice but is labeled “cider”) has been tested and still yields a great result. For an even more intensified apple flavor, you could gently reduce a portion of the cider on the stovetop before adding it to the batter, concentrating its sugars and essence. Just ensure it cools back to room temperature before mixing.
- BUTTER & SHORTENING: This recipe calls for a combination of unsalted butter and butter-flavored shortening, and there’s a good reason for it. Butter provides that rich, classic dairy flavor we all love, while shortening, being 100% fat with no water content, contributes to an incredibly tender crumb and helps the cake achieve a beautiful rise and light texture. The butter-flavored shortening gives you the best of both worlds – the tenderness of shortening with an added buttery note.
- GRANULATED SUGAR: Beyond sweetness, sugar plays a vital role in pound cake. It helps tenderize the crumb, retains moisture, and aids in browning the crust for that appealing golden finish. Creaming it with the fats properly is crucial for incorporating air.
- EGGS: Large eggs, at room temperature, act as a binder and provide structure and moisture. Adding them one at a time and beating well after each ensures proper emulsification with the creamed butter and sugar, preventing the batter from curdling.
- ALL-PURPOSE FLOUR: The backbone of the cake’s structure. While all-purpose flour works well, weighing it is paramount to avoid over-measuring, which can lead to a dry, dense cake. Sifting the flour with the spices and leavening agents also helps ensure even distribution.
- SPICES (ALLSPICE, NUTMEG, BAKING POWDER, CLOVES, CINNAMON): This blend is carefully chosen to enhance the apple cider without overpowering it. Cinnamon and nutmeg are classic fall flavors, while allspice and cloves add a deeper, warmer dimension. Baking powder provides the necessary lift to achieve a fluffy yet dense pound cake. Ensure your spices are fresh for the most vibrant flavor.
- PURE VANILLA EXTRACT: A crucial flavor enhancer, vanilla complements the apple and spices beautifully, adding a layer of aromatic depth to the cake.
Step-by-Step Guide: Crafting Your Apple Cider Pound Cake
These step-by-step photos and instructions are here to help you visualize how to make this recipe. You can Jump to Recipe to get the printable version of this recipe, complete with measurements and instructions at the bottom.
- Prepare Your Oven and Pans: Begin by preheating your oven to 350°F (175°C). This ensures the oven is at the correct temperature when your batter is ready, promoting an even bake from the start. Next, generously butter and flour two 9×5 loaf pans. This essential step prevents the cake from sticking and helps create a beautiful crust. Be sure to coat every crevice with butter, then sprinkle in flour, tapping and rotating the pan to coat, and discarding any excess.
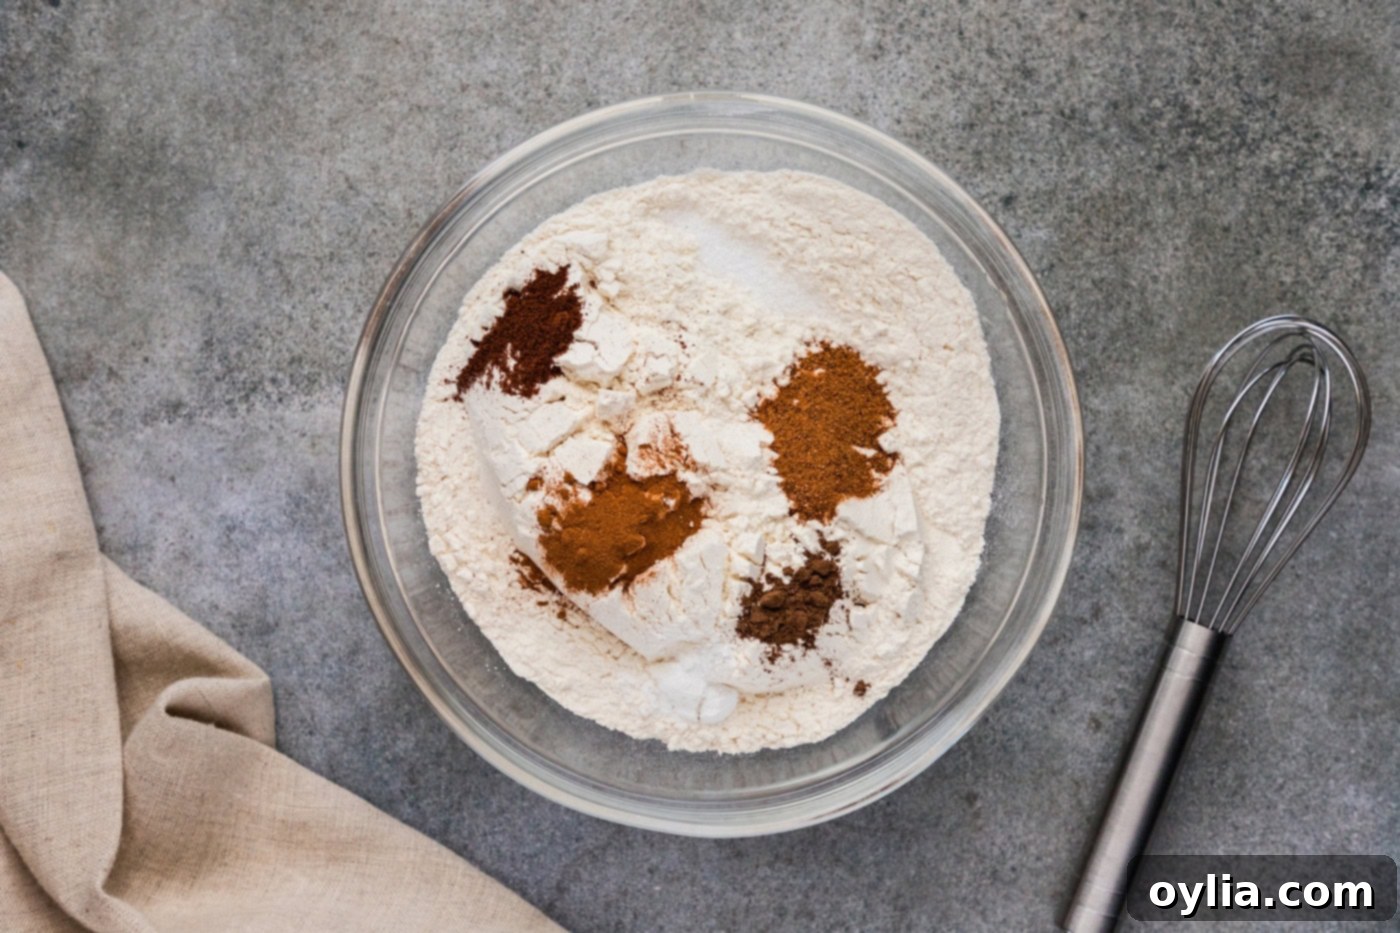
- Combine Dry and Wet Ingredients (Separately): In a large mixing bowl, whisk together the flour, salt, allspice, nutmeg, baking powder, cloves, and cinnamon. Whisking ensures these dry ingredients are thoroughly combined and evenly distributed throughout the cake batter. In a separate measuring cup or small bowl, stir together the apple cider and vanilla extract. Having these mixtures ready prevents overmixing later on.

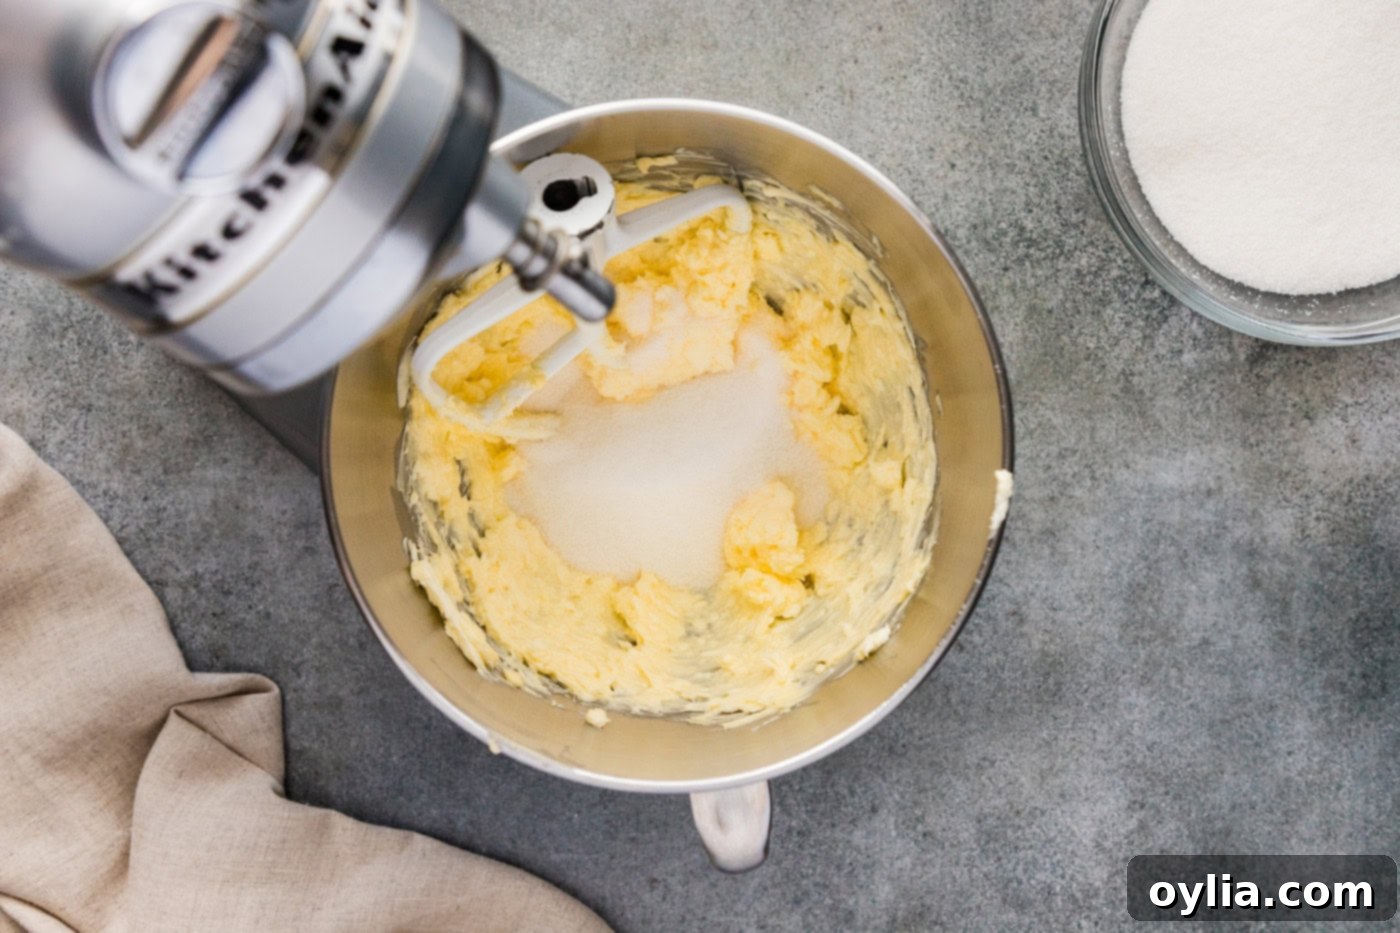
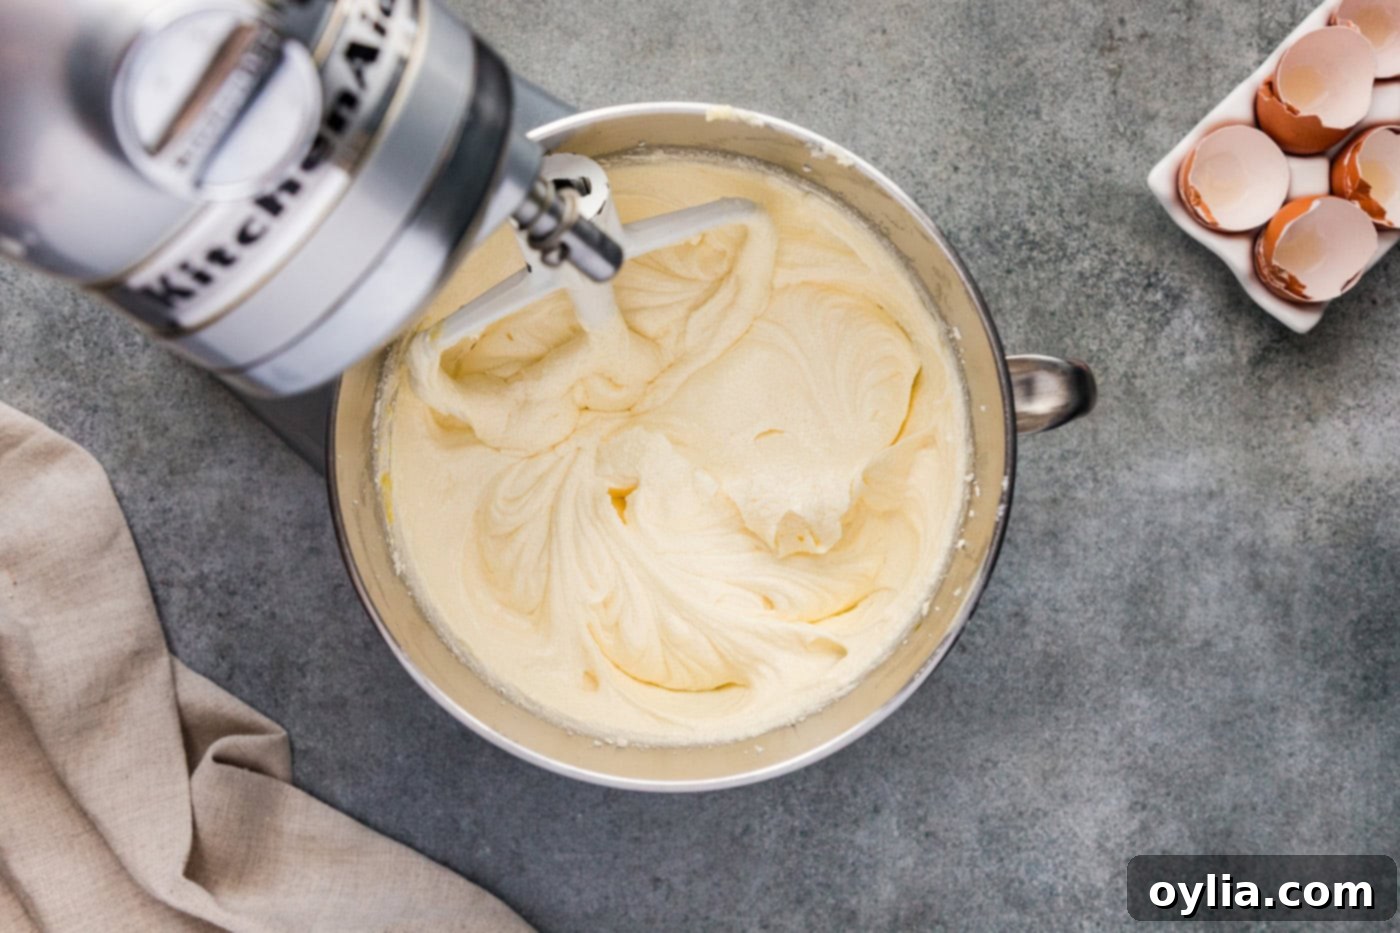
- Cream Butter, Shortening, and Sugar: In the bowl of a stand mixer fitted with the paddle attachment, beat together the softened butter and shortening on medium-high speed until the mixture is light and creamy. This step incorporates air, which is vital for the cake’s tender texture. While the mixer is running, gradually add the granulated sugar. Once all the sugar has been incorporated, continue beating for a full 5 minutes. This extended creaming time is crucial for developing a light and fluffy base. Stop the mixer and scrape down the sides of the bowl to ensure everything is evenly combined.

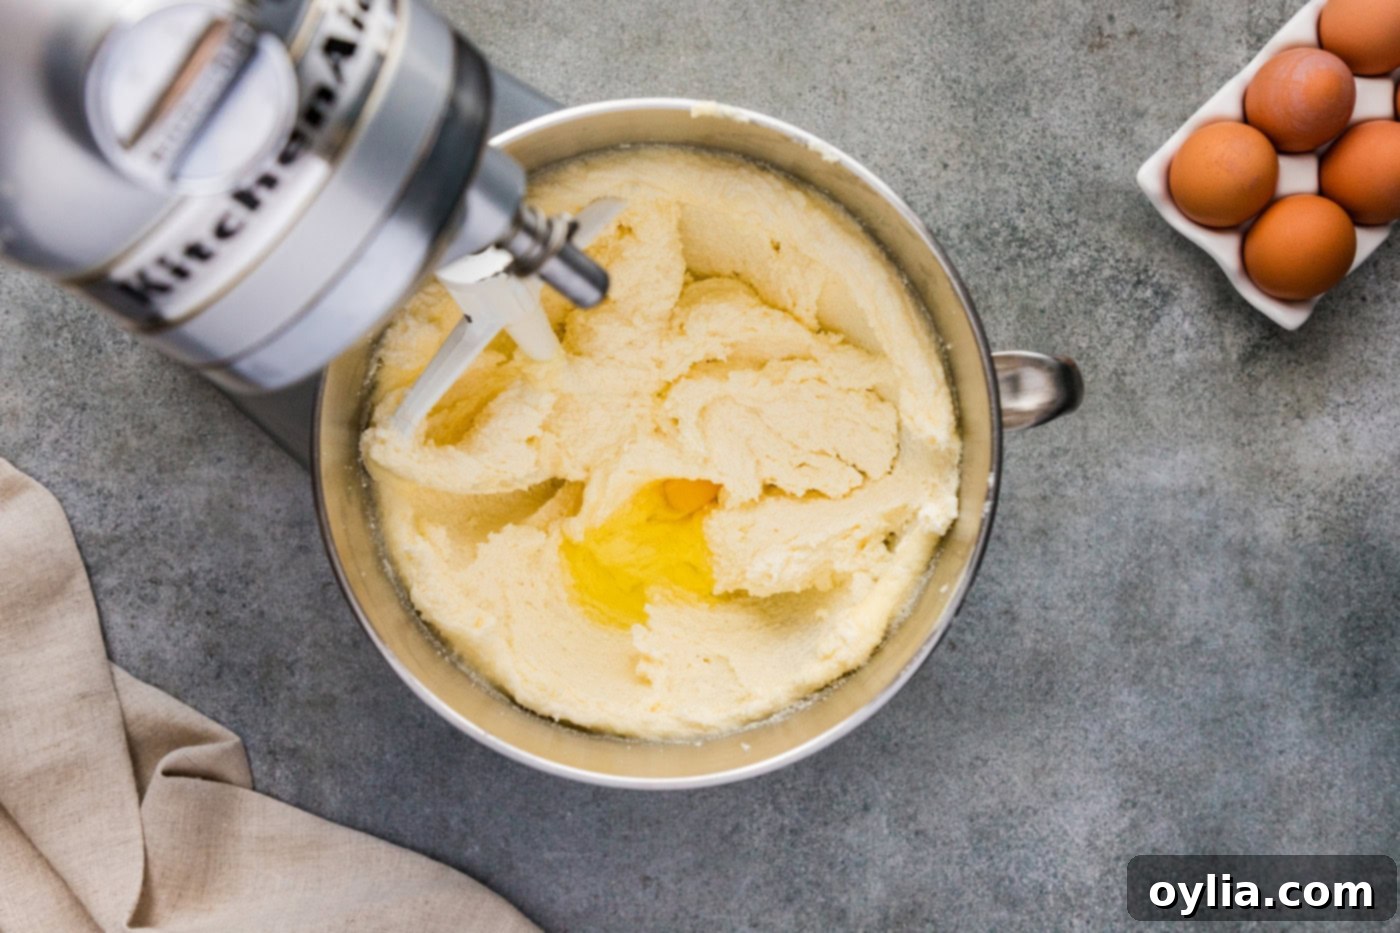
- Incorporate the Eggs: Reduce the mixer speed to medium. Add the eggs one at a time, beating for a full minute after each addition. This slow incorporation allows each egg to fully emulsify into the mixture, creating a smooth batter and preventing curdling. Ensure each egg is completely mixed in before adding the next.


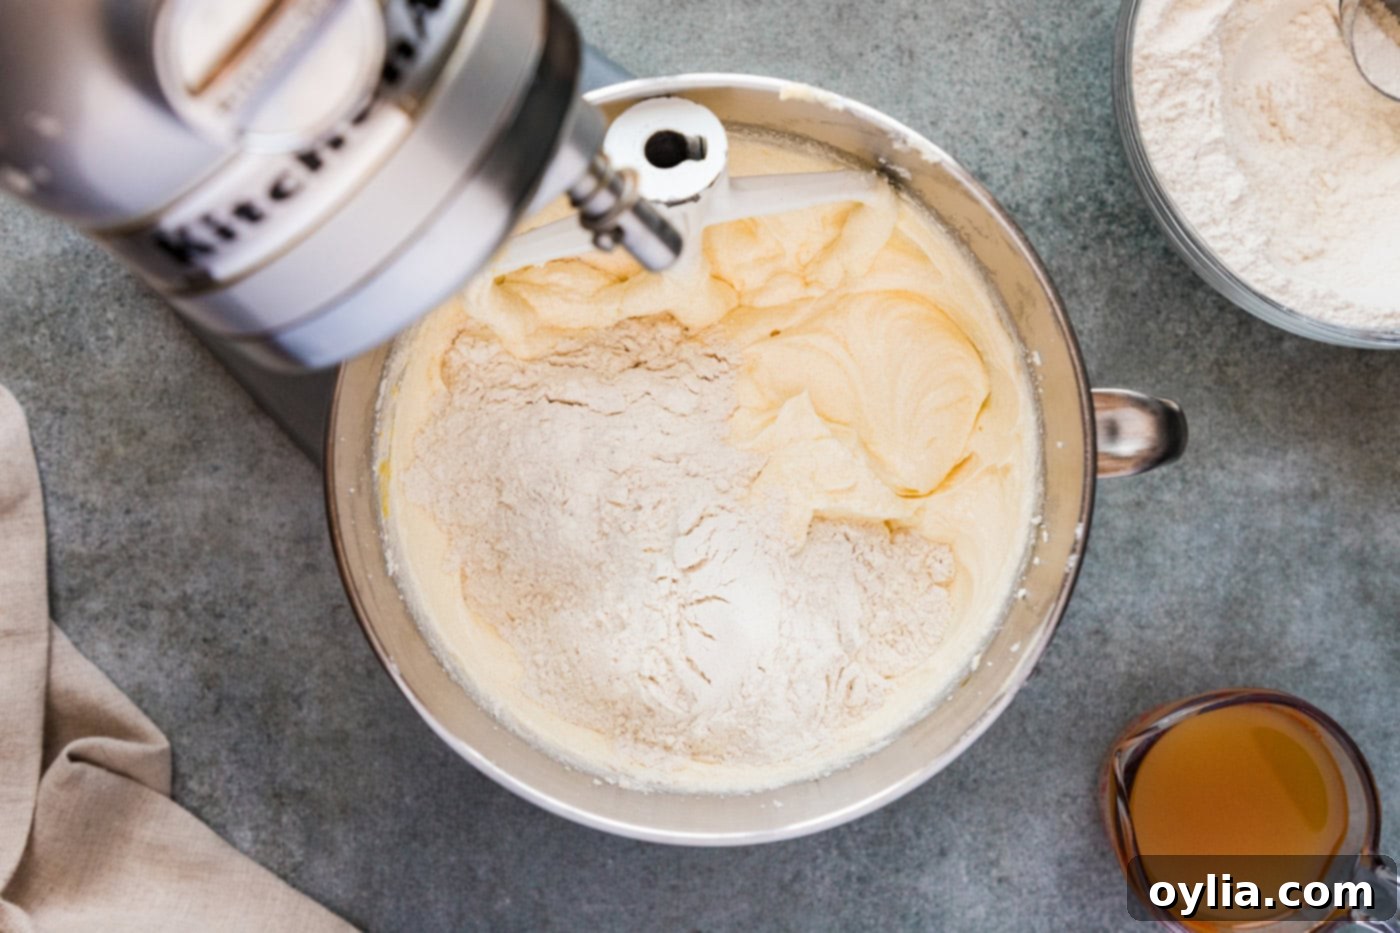
- Alternate Dry and Wet Ingredients: Reduce the mixer speed to low. Add half of the dry ingredients to the butter mixture, mixing just until combined. Avoid overmixing here. Next, add the cider and vanilla mixture, mixing only until fully incorporated. Finally, add the remaining flour mixture, again mixing just until combined. Scrape down the bowl thoroughly to ensure all ingredients are evenly mixed into the thick batter. Overmixing at this stage can develop gluten, leading to a tough cake, so mix only until no dry streaks remain.

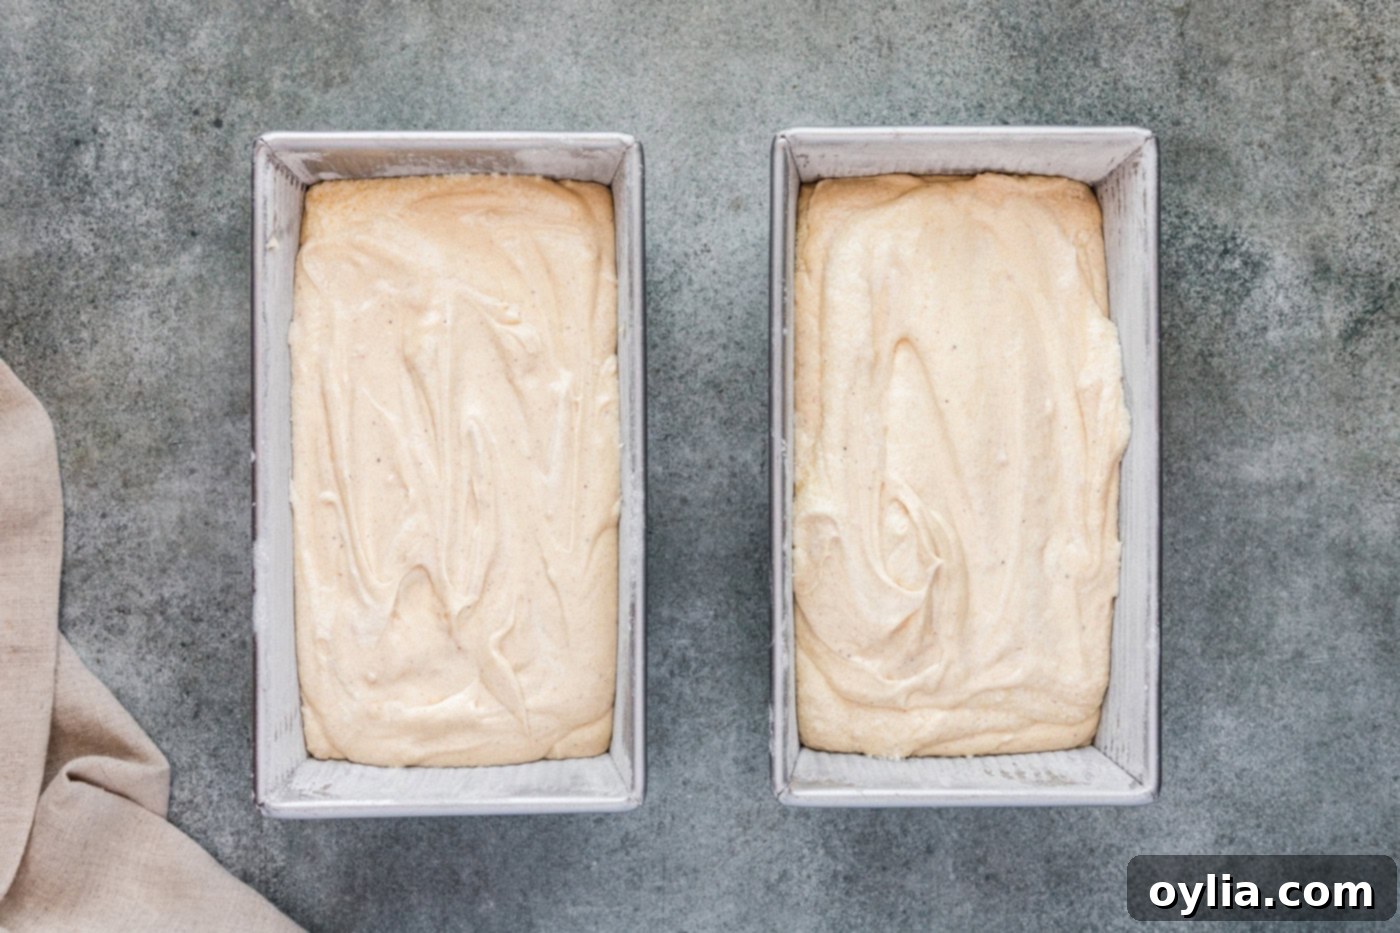
- Fill Pans and Remove Air Pockets: Divide the thick batter evenly between your two prepared loaf pans. Use a spatula to spread the batter out evenly across the top. Gently tap the pans on your counter a couple of times. This simple action helps release any trapped air pockets, ensuring a denser, more consistent crumb.

- Bake Evenly: Place the filled loaf pans on an insulated baking sheet instead of directly on the oven racks. This creates a heat barrier, protecting the bottom of the cakes from over-browning and ensuring more even baking throughout. If you don’t have an insulated pan, simply stack two regular baking sheets on top of each other to achieve a similar effect.
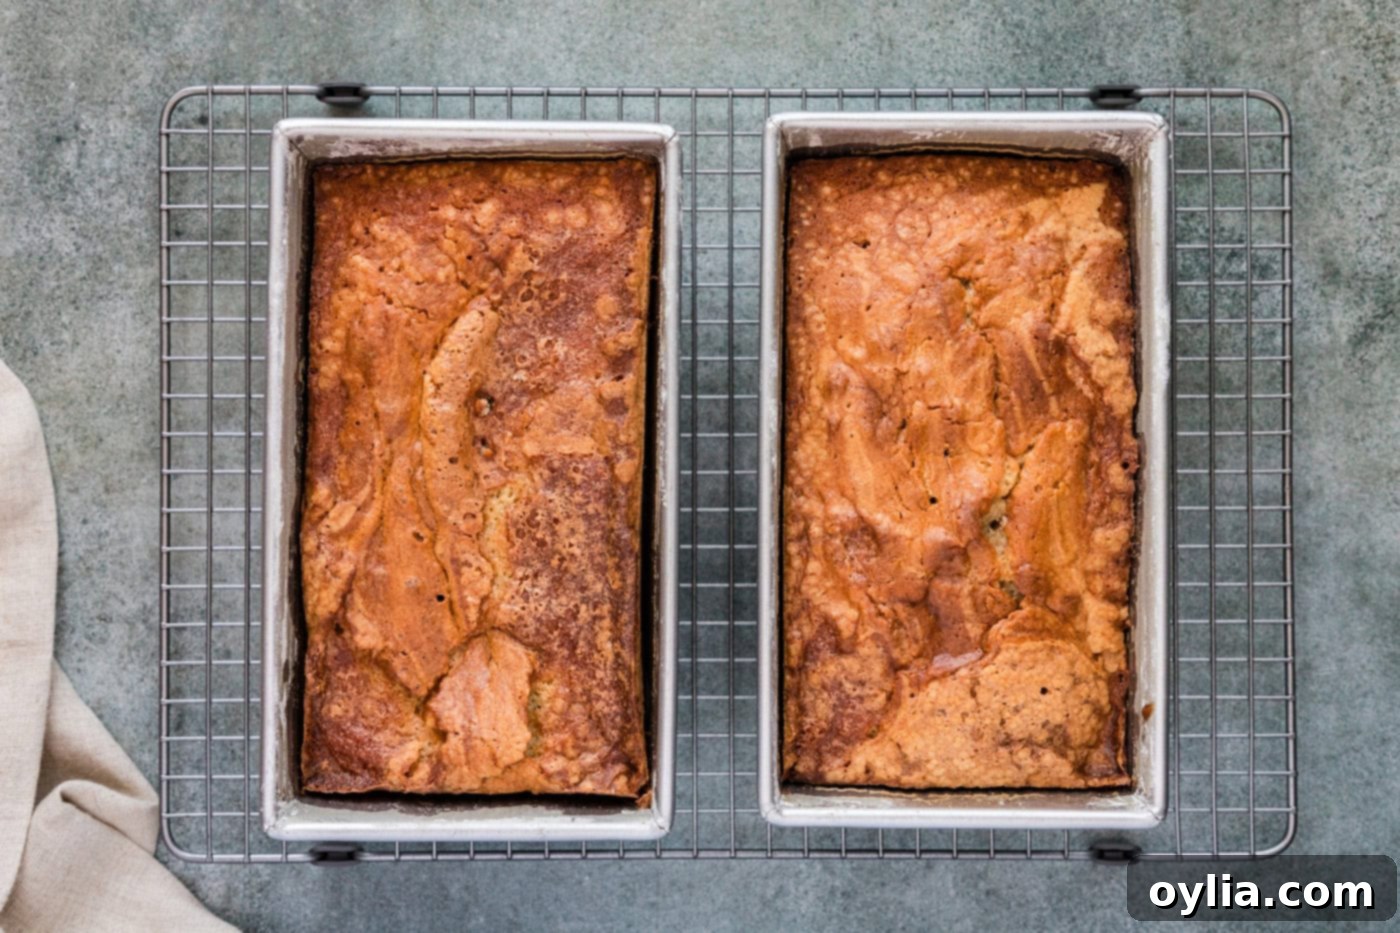
- Bake and Cool: Bake for 50-60 minutes, or until a knife or wooden skewer inserted into the center of the cake comes out clean. Keep an eye on the cakes starting around the 45-minute mark. Once baked, allow the cakes to cool in their pans for about ten minutes. This allows them to set slightly before you attempt to remove them. After ten minutes, carefully invert the cakes onto a wire rack and let them cool completely before glazing or slicing. Cooling completely is important for the cake’s structure and for the glaze to set properly.

Crafting the Perfect Brown Butter Glaze
This brown butter glaze is truly the crowning jewel of this pound cake, adding a depth of flavor that is simply irresistible. Follow these steps to achieve that rich, nutty perfection:
- Prepare Your Glazing Station: Line your work surface with a sheet of waxed paper or parchment paper. This will catch any drips from the glaze, making cleanup a breeze. Place a wire rack directly over the waxed paper, then gently transfer your completely cooled pound cake loaves onto the rack.
- Measure Powdered Sugar: Add the powdered sugar to a medium-sized mixing bowl. Having it ready before you start browning the butter is crucial, as the glaze comes together quickly.
- Brown the Butter: Place the unsalted butter in a small, light-colored saucepan. Using a light-colored pan allows you to clearly see the color change of the butter as it browns. Melt the butter over medium heat. It will first melt, then start to bubble and foam. Continue to cook, stirring constantly with a whisk or spatula, until the butter solids at the bottom turn a rich golden brown and the butter emits a nutty aroma. This usually takes about 3-5 minutes. Be attentive, as butter can go from perfectly browned to burnt very quickly. Immediately remove the saucepan from the heat and pour the hot, browned butter into the bowl with the powdered sugar.

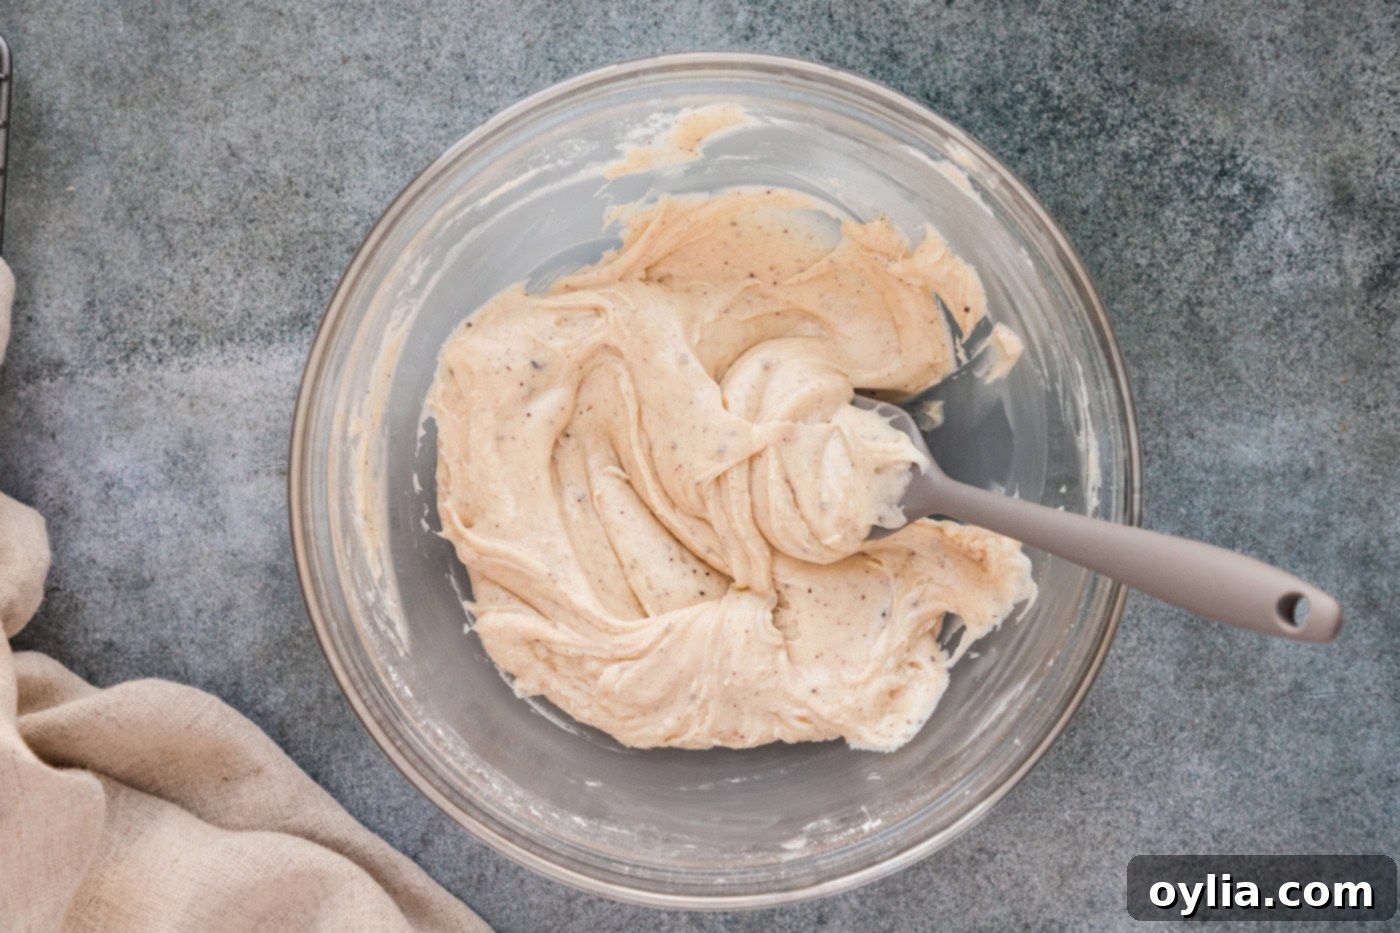
- Whisk in Vanilla and Milk: To the brown butter and powdered sugar mixture, add the vanilla extract and 2 tablespoons of milk. Whisk vigorously until the glaze is smooth and free of lumps. Add additional milk, one tablespoon at a time, until you reach your desired drizzling consistency. The glaze should be thick enough to cling to the cake but thin enough to drip down the sides attractively.

- Drizzle and Set: Immediately drizzle the warm brown butter glaze generously over the cooled pound cake loaves. Allow the glaze to set for at least 30 minutes to an hour before slicing and serving. This allows the glaze to firm up slightly, creating a beautiful, glossy finish.
Frequently Asked Questions & Expert Tips for Perfect Pound Cake
Proper storage is essential to maintain the moisture and freshness of your pound cake. Once the cake (glazed or unglazed) has completely cooled, store it in an airtight container or wrap it tightly with plastic wrap, followed by a layer of aluminum foil. This prevents it from drying out. Kept at room temperature, your apple cider pound cake will remain wonderfully fresh for 3-4 days. For extended freshness, consider refrigerating it for up to a week.
Absolutely! This apple cider pound cake freezes beautifully, making it perfect for preparing ahead or saving for a later craving. If you plan to freeze the cake, I highly recommend waiting to add the brown butter glaze until after it has been thawed. To freeze, allow the entire loaf to cool completely to room temperature. Then, wrap it snugly in several layers of plastic wrap, followed by one or two layers of heavy-duty aluminum foil. Alternatively, after wrapping in plastic wrap, you can place the loaf inside a large gallon-sized freezer-safe ziplock bag. The cake can be frozen for up to 2 months without loss of quality. To thaw, simply unwrap the frozen loaf and let it sit at room temperature for several hours until fully defrosted. You can follow the exact same method for freezing individual slices, which is convenient for portion control.
While I haven’t personally tested this specific recipe using all butter, in theory, yes, you could substitute shortening with butter. However, it’s important to understand that doing so will likely alter the cake’s texture and rise. Shortening, being 100% fat, contributes to a very tender and soft crumb and a good rise because it contains no water. Butter, on the other hand, contains about 20% water. If you swap all the shortening for butter, you’d effectively be adding approximately 2.5 tablespoons of extra liquid (water) to the recipe.
Based on experience with other recipes, to compensate for this extra liquid and maintain a similar consistency and outcome, I would suggest reducing the amount of apple cider by about 2 tablespoons (changing it from 1 cup to 14 tablespoons). This adjustment should help offset the added moisture from the butter without significantly impacting the delicious apple cider flavor. If you decide to try this substitution, please share your results in the comments! It’s always valuable to hear about successful adaptations.
Using room temperature butter and eggs is crucial for pound cake. Room temperature butter creams better with sugar, incorporating more air, which leads to a lighter, fluffier texture. Cold butter won’t emulsify properly, resulting in a dense cake. Similarly, room temperature eggs combine more smoothly into the batter, preventing it from curdling and ensuring a consistent, even texture.
Beyond using an insulated baking sheet as suggested in the instructions, there are a few other tips: always preheat your oven thoroughly and consider using an oven thermometer to verify its accuracy. Ovens can sometimes run hot or cold, or have hot spots. Also, avoid opening the oven door too frequently during the baking process, especially in the first 30-40 minutes, as this can cause the cake to sink.
Delightful Serving Suggestions
Having perfected this apple cider pound cake recipe since 2009, I can attest to its enduring appeal and versatility. It truly holds a special place in my recipe collection. While it’s exceptional with the suggested brown butter glaze, don’t hesitate to personalize your serving experience:
- Classic Glaze: Drizzle generously with the brown butter glaze for a rich, nutty finish that complements the apple and spice.
- Simple Elegance: For a lighter touch, a simple dusting of powdered sugar or a sprinkle of cinnamon sugar over the cooled cake is wonderfully appealing.
- Creamy Pairings: Serve a slice with a dollop of freshly whipped cream, a scoop of vanilla bean ice cream, or even a delightful swirl of cinnamon honey butter for an extra layer of sweetness and spice.
- Fruitful Companions: A side of stewed apples, a spiced pear compote, or fresh berries can add a refreshing counterpoint to the cake’s richness.
- Warm Beverages: Enjoy a slice with a steaming cup of coffee, a comforting mug of tea, or even a glass of warm spiced apple cider for an ultimate autumnal treat.
However you choose to enjoy it, I sincerely hope this Apple Cider Pound Cake brings as much warmth and joy to your table as it does to mine!
Explore More Delicious Fall Recipes
If you love the comforting flavors of apple and spices, you might also enjoy these other delightful recipes:
- Apple Muffins: Perfect for breakfast or a quick snack, packed with apple goodness.
- Apple Cider Doughnuts: Capture the essence of an apple orchard visit with these tender, spiced doughnuts.
- Whipping Cream Pound Cake: For those who adore a classic, incredibly moist pound cake.
- Orange Poppy Seed Pound Cake: A zesty and delightful twist on the traditional pound cake.
I love to bake and cook and share my kitchen experience with all of you! Remembering to come back each day can be tough, that’s why I offer a convenient newsletter every time a new recipe posts. Simply subscribe and start receiving your free daily recipes!
Apple Cider Pound Cake
IMPORTANT – There are often Frequently Asked Questions within the blog post that you may find helpful. Simply scroll back up to read them!
Print It
Pin It
Rate It
Save ItSaved!
Ingredients
Cake
- 1 cup unsalted butter, softened 16 tablespoons, 8 oz, 227g
- ½ cup butter flavored shortening
- 21 ounces granulated sugar 600g, 3 cups
- 6 large eggs at room temperature
- 12.7 ounces all purpose flour 360g, 3 cups
- ½ teaspoon salt
- ¼ teaspoon allspice
- ½ teaspoon nutmeg
- ½ teaspoon baking powder
- ¼ teaspoon ground cloves
- ½ teaspoon ground cinnamon
- 8 ounces apple cider 1 cup, at room temperature
- 1 teaspoon pure vanilla extract
Brown Butter Glaze
- 17 ounces powdered sugar 475g, 3 cups
- ½ cup unsalted butter 8 tablespoons, 4 oz, 113g
- 2 teaspoons vanilla extract
- 4-6 tablespoons milk as needed to thin glaze
Things You’ll Need
-
2 9×5 loaf pan
-
Stand mixer
-
Mixing bowls
-
Wire cooling racks
Before You Begin
- Use dark loaf pans for best results. Stay away from glass pans for this recipe.
- You can substitute the butter flavored shortening with regular shortening if needed.
Instructions
For the Pound Cake
-
Preheat oven to 350 F. Generously butter then flour two 9×5 loaf pans.
-
In a mixing bowl, whisk together the flour, salt, allspice, nutmeg, baking powder, cloves, and cinnamon. In a measuring cup or separate bowl, stir together the cider and vanilla.12.7 ounces all purpose flour, 1/2 teaspoon salt, 1/4 teaspoon allspice, 1/2 teaspoon nutmeg, 1/2 teaspoon baking powder, 1/4 teaspoon ground cloves, 1/2 teaspoon ground cinnamon, 8 ounces apple cider, 1 teaspoon pure vanilla extract
-
In a stand mixer on medium-high speed using the paddle attachment, beat together the butter and shortening until creamy. While still mixing, gradually add the sugar. Once all the sugar has been added, beat for a full 5 minutes. Mixture will be light and fluffy. Scrape down the bowl.1 cup unsalted butter, softened, 1/2 cup butter flavored shortening, 21 ounces granulated sugar
-
Reduce mixer speed to medium. Add the eggs, 1 at a time, beating for 1 minute after each addition.6 large eggs
-
Reduce mixer speed to low and add half of the dry ingredients to the butter mixture, mixing just until combined. Next add the cider mixture just until combined. Finish with remaining flour mixture just until combined. Scrape down the bowl to make sure everything is evenly mixed. Batter will be thick.
-
Pour batter into prepared pans and spread out evenly across the top. Tap the pans on the counter a couple times to ensure there are no air pockets.
-
Place pans on an insulated baking sheet instead of directly on the racks. This creates a heat barrier and helps the cakes bake more evenly. If you don’t have an insulated pan, use two regular baking sheet stacked on top of each other.
-
Bake for 50-60, or until a knife inserted in the center comes out clean. Cool cakes in pans for ten minutes, then remove from pans and cool completely on wire rack.
For the Brown Butter Glaze
-
Line work surface with a sheet of waxed paper to catch drips, and place a wire rack over the top. Place loaves on rack.
-
Add powdered sugar to a medium bowl.17 ounces powdered sugar
-
Place butter in a small saucepan. Melt butter over medium heat until bubbly. Cook, stirring constantly until golden brown. Remove from heat and pour butter into the bowl of powdered sugar.1/2 cup unsalted butter
-
Add vanilla and milk, stir until smooth.2 teaspoons vanilla extract, 4-6 tablespoons milk
-
Immediately drizzle glaze over the loaves. Allow to cool and set before serving.
Expert Tips & FAQs
- Store the fully cooled (glazed or unglazed) pound cake covered with foil or kept in an air-tight container. Keep at room temperature for 3-4 days.
- To Freeze – I’d recommend waiting to add the glaze if you plan on freezing. To freeze, allow the loaf to fully cool, then wrap it well with plastic wrap followed by a layer or two of aluminum foil. Or, you can wrap the loaf with plastic wrap and place it inside a large gallon-sized ziptop bag. Freeze for up to 2 months. Thaw at room temperature. You can follow the same method for freezing individual slices.
Nutrition
The recipes on this blog are tested with a conventional gas oven and gas stovetop. It’s important to note that some ovens, especially as they age, can cook and bake inconsistently. Using an inexpensive oven thermometer can assure you that your oven is truly heating to the proper temperature. If you use a toaster oven or countertop oven, please keep in mind that they may not distribute heat the same as a conventional full sized oven and you may need to adjust your cooking/baking times. In the case of recipes made with a pressure cooker, air fryer, slow cooker, or other appliance, a link to the appliances we use is listed within each respective recipe. For baking recipes where measurements are given by weight, please note that results may not be the same if cups are used instead, and we can’t guarantee success with that method.
