Ultimate Fall-Off-The-Bone BBQ Rib Tips: Slow-Cooked & Grilled Perfection
Prepare for a culinary revelation with this exceptional rib tips recipe! We transform these often-underestimated cuts of pork into unbelievably tender, flavor-packed morsels. The secret lies in a low and slow oven braise, followed by a quick session on the grill. This two-step cooking method creates a perfect texture: meat that practically melts in your mouth, enveloped in a tantalizingly tangy barbecue sauce with irresistible charred edges. Get ready to impress your family and friends with a dish that promises pure barbecue bliss.
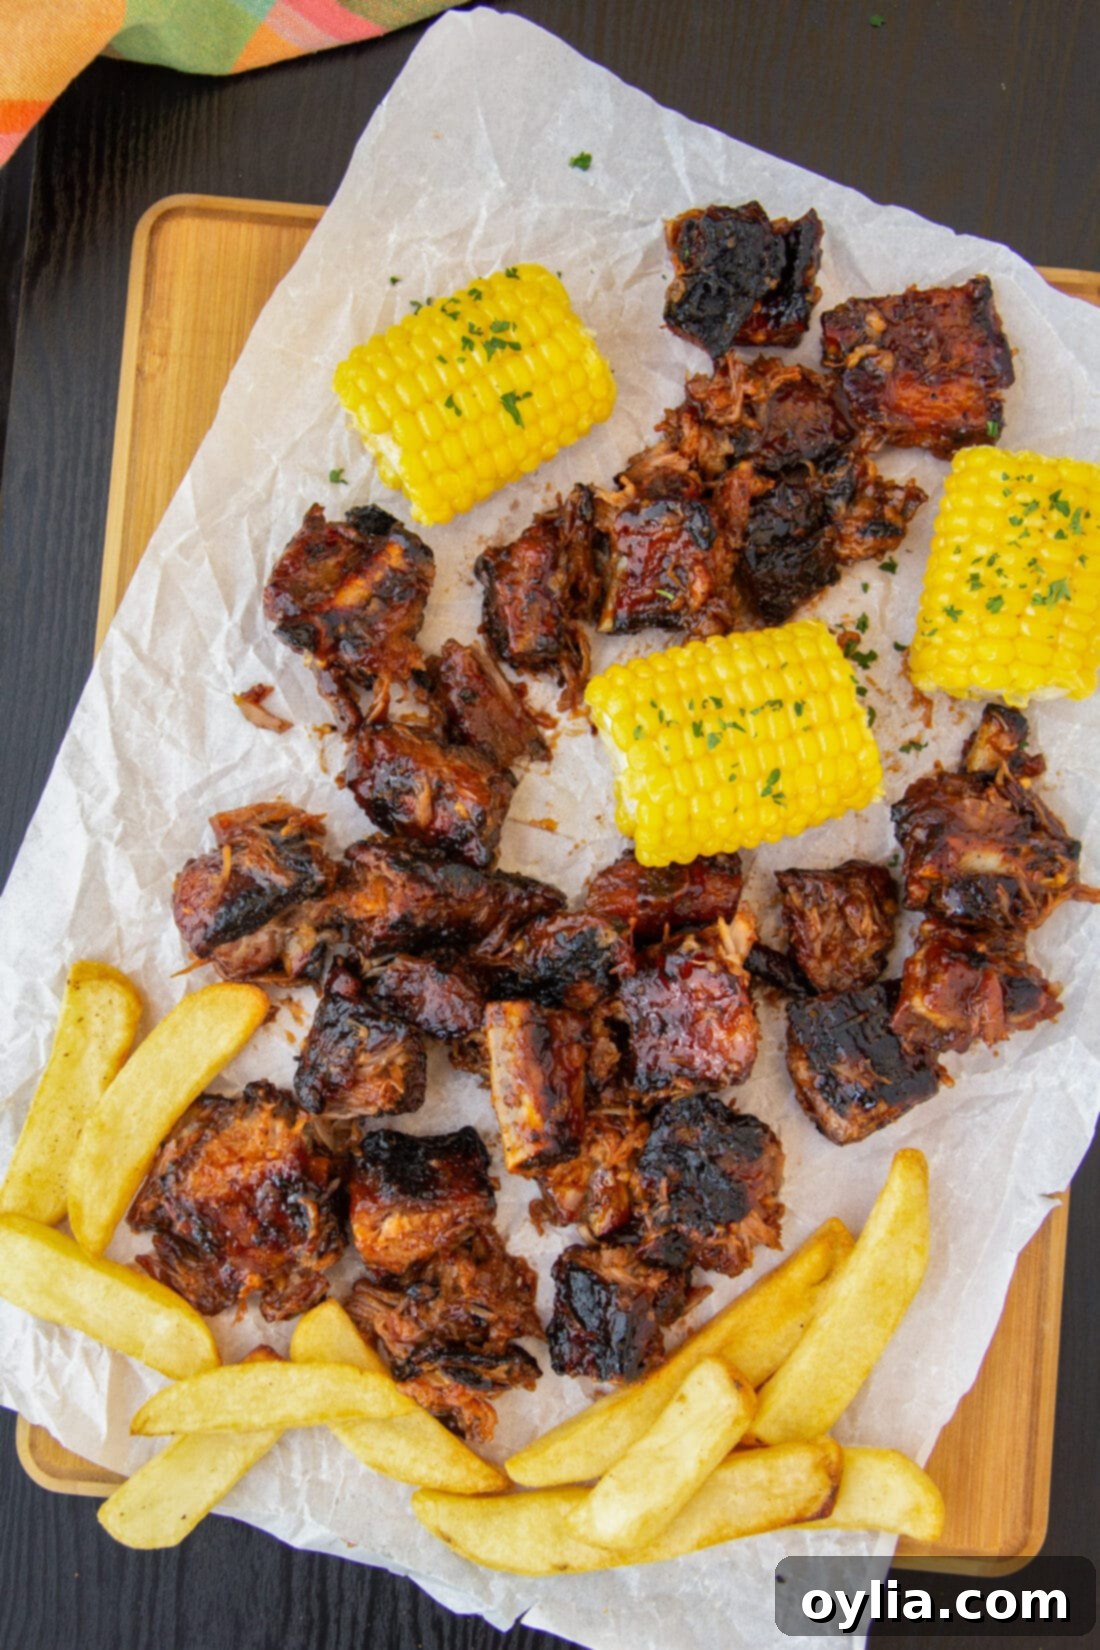
Why This Rib Tips Recipe is a Game-Changer
Rib tips, sometimes known as the “brisket of the pork” or riblets, are a hidden gem often trimmed from a full rack of spare ribs. Historically, they might have been considered “scraps,” but anyone who’s tasted properly cooked rib tips knows they are far from it. This cut, rich in meat and cartilage, offers a unique textural experience. When cooked slowly, the connective tissues and cartilage break down beautifully, transforming into ultra-tender, succulent morsels. It’s this meltingly soft texture combined with a rich pork flavor that makes them arguably the most flavorful part of the rib section.
Our recipe takes advantage of this inherent quality by employing a two-stage cooking method. First, the rib tips are slow-cooked in the oven, creating an incredibly moist and tender foundation. This gentle heat allows the cartilage to soften and the flavors to meld deep within the meat. The second stage, a quick grill session, is where the magic truly happens. The high heat of the grill adds a smoky char and caramelizes the barbecue sauce, creating a delightful crust and an explosion of sweet, tangy, and smoky flavors. The result is a dish that boasts an extraordinary depth of flavor and a texture that’s both tender and slightly crisp – a true BBQ masterpiece.
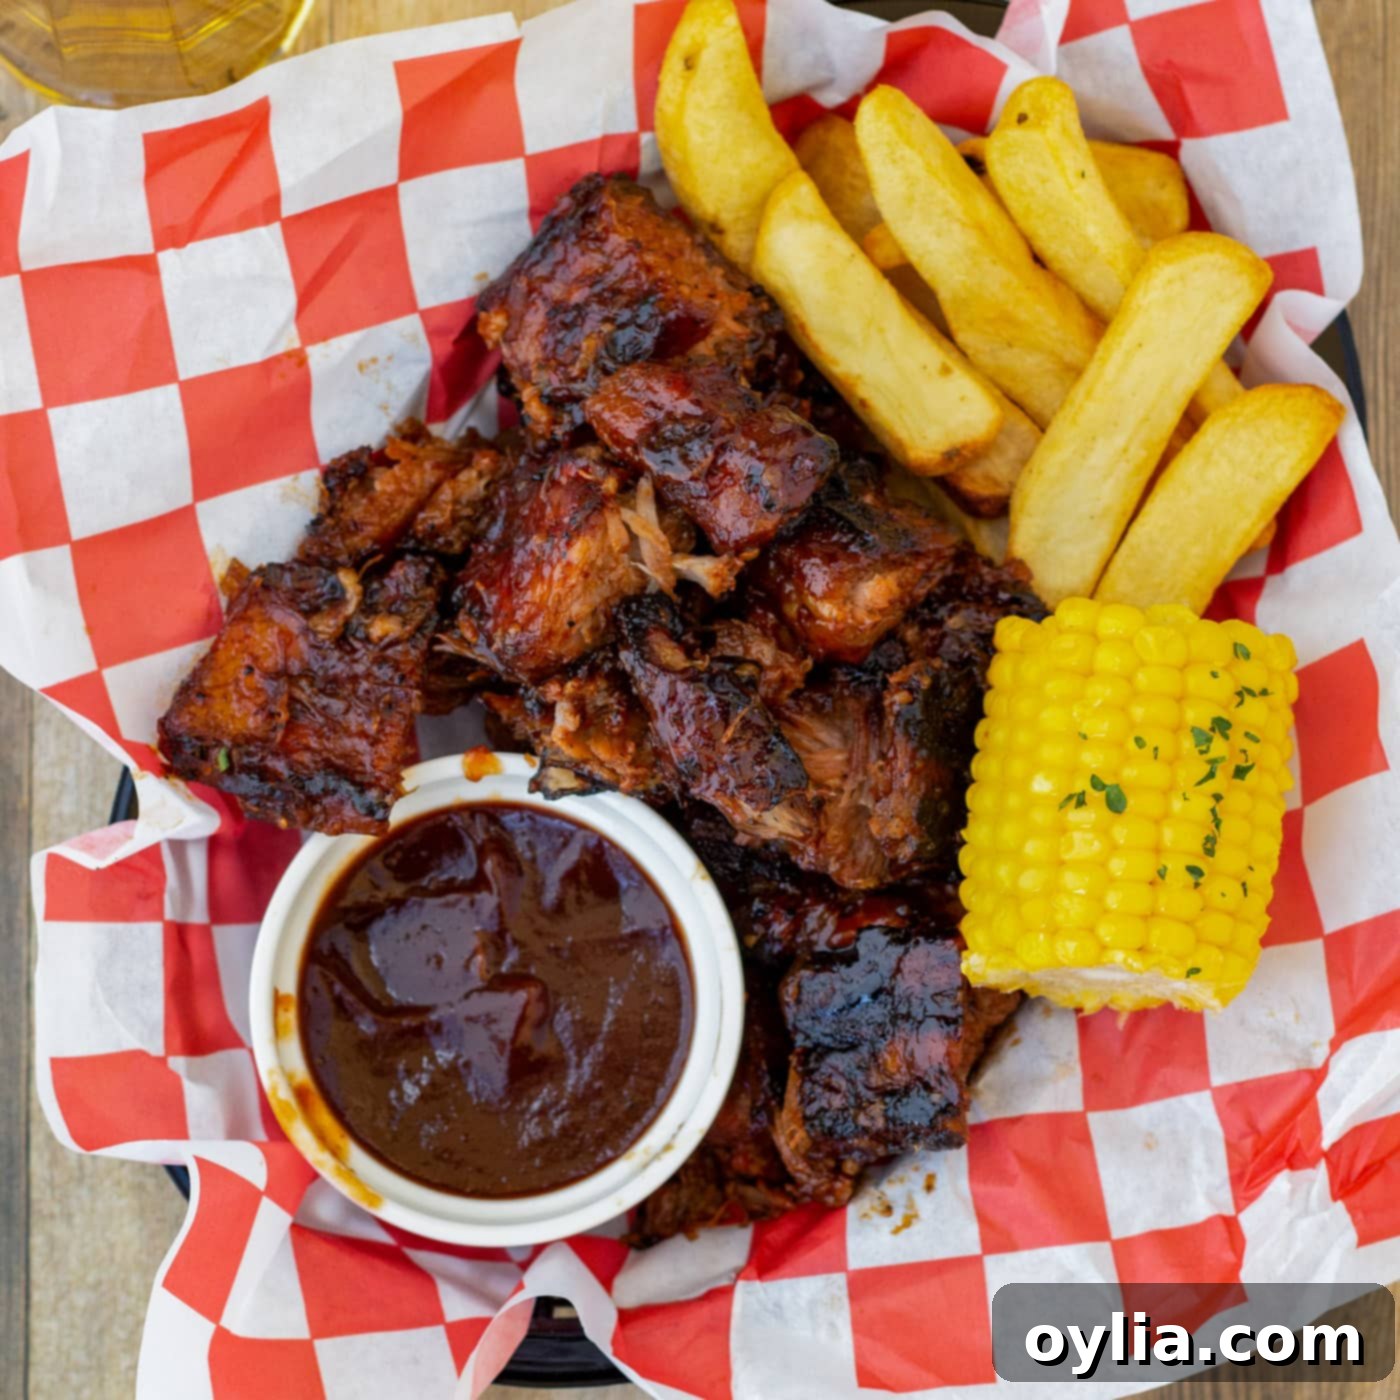
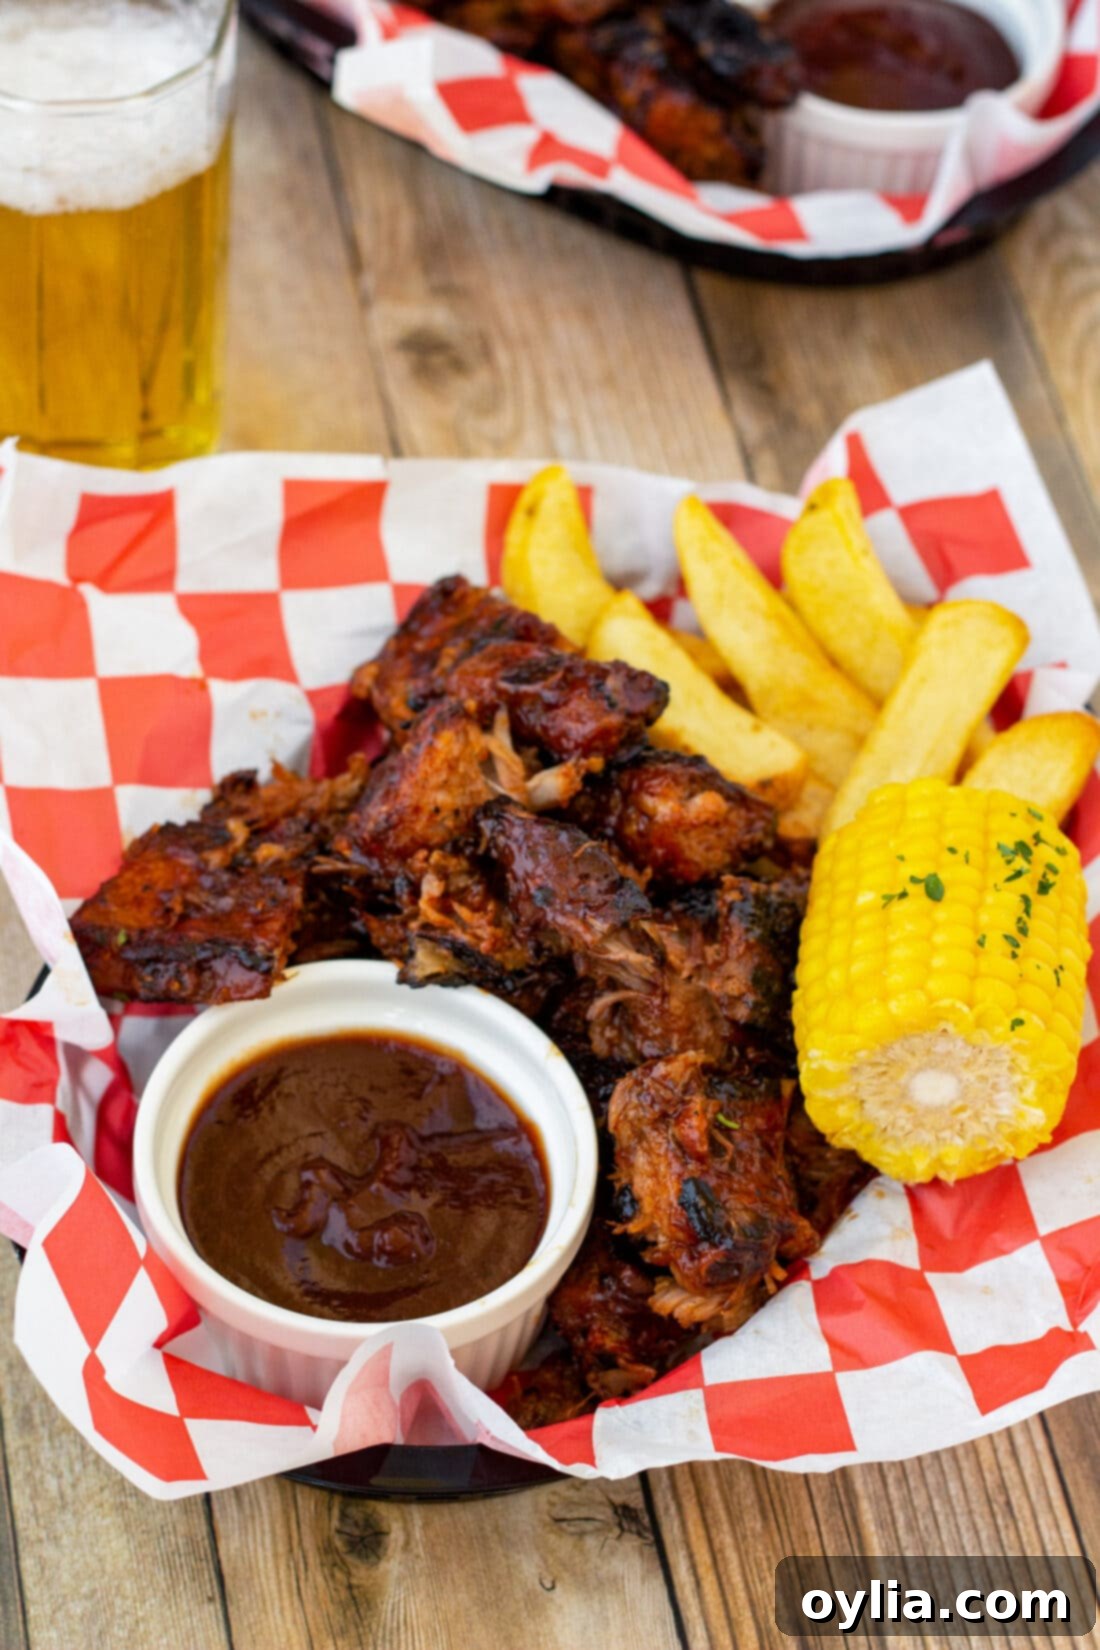
These rib tips are more than just a recipe; they’re a family legend in our household! My oldest son once took home enough for three meals, only to devour them all in a single night. That’s the kind of irresistible appeal these tender, saucy bites have. Whether you serve them as a show-stopping appetizer at your next gathering or as the star of a complete meal with delightful sides like grilled corn on the cob, they are guaranteed to be a hit. Prepare yourself for rave reviews and empty plates!
Essential Ingredients for Perfect Rib Tips
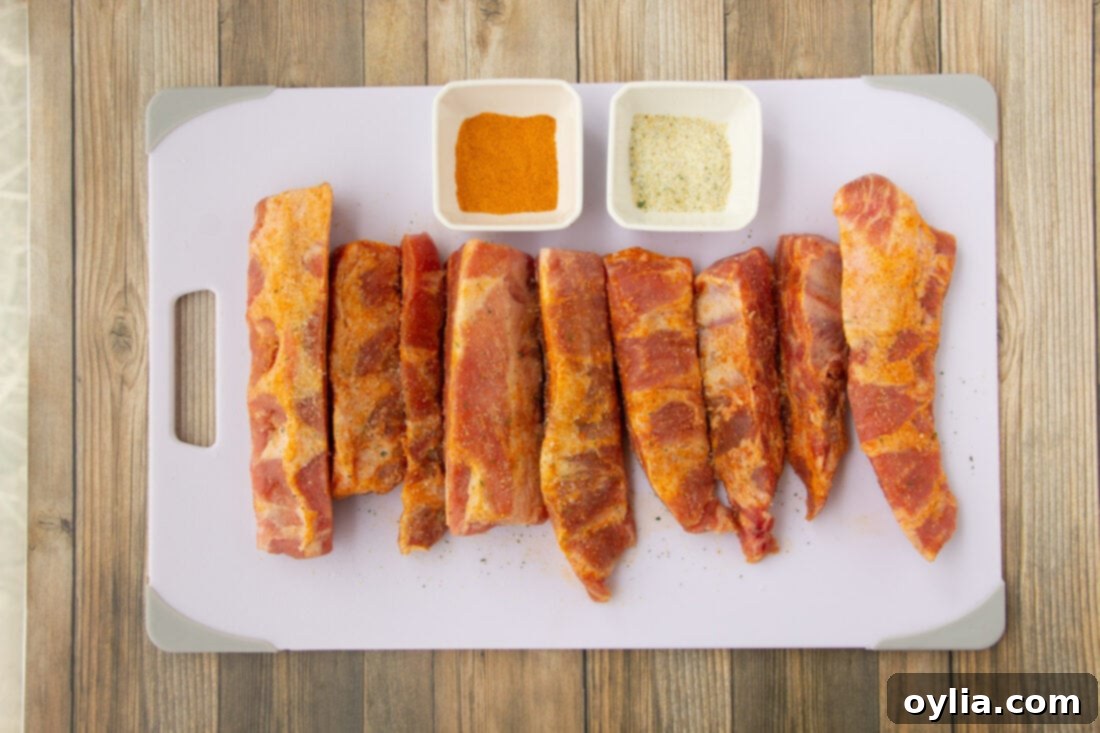
Crafting delicious rib tips requires just a few key ingredients. While the full measurements and detailed instructions are available in the printable recipe card at the end of this post, let’s take a closer look at what you’ll need to get started. Each component plays a crucial role in building the deep, satisfying flavors of this dish.
Ingredient Info and Substitution Suggestions
Let’s dive deeper into the ingredients and how you can get the best out of them, along with some handy substitution ideas to customize your rib tips to perfection.
RIB TIPS – Rib tips are the delicious, meaty ends of spare ribs, typically cut from the lower portion of the rib cage. They contain a good amount of flavorful meat interspersed with tender cartilage. While they were once considered a more economical cut, their incredible flavor and texture when cooked correctly have made them increasingly popular. You can usually find them pre-cut in the meat section of larger grocery stores. If your local store doesn’t have them readily available, don’t hesitate to ask your butcher! They can easily trim them for you from a rack of spare ribs. Don’t confuse them with St. Louis style ribs, which are spare ribs with the tips already removed. Look for pieces that have a good meat-to-fat ratio for the best results.
SEASONING RUB – For this recipe, we’ve opted for a straightforward yet incredibly effective salt mixture: seasoned salt and garlic salt. This minimalist approach allows the natural, rich flavor of the pork to shine through. The beauty of rib tips, however, is their versatility. If you have a beloved homemade rib rub or a store-bought blend you swear by, feel free to use it! Popular rub ingredients often include paprika, brown sugar, black pepper, chili powder, onion powder, and cayenne for a kick. Experiment with sweet, savory, or spicy profiles to match your preference. The key is to apply the rub generously and allow it to penetrate the meat, ideally overnight, for maximum flavor development.
BARBECUE SAUCE – The final flourish for these succulent rib tips is your favorite barbecue sauce. The choice of sauce can dramatically alter the flavor profile of the dish. Do you prefer a classic, smoky Kansas City-style sauce, a vinegar-based Carolina tang, a sweet and sticky Memphis-style, or perhaps something with a spicy kick? The options are endless. While a store-bought sauce offers convenience, don’t shy away from making your own if you have a go-to recipe. Apply it generously during the grilling stage to create that irresistible caramelized glaze. You’ll also want extra for tossing the finished, bite-sized pieces and for dipping!
Mastering the Art of Tender BBQ Rib Tips
These step-by-step photos and detailed instructions are designed to help you visualize each stage of the cooking process. For a printable version of this recipe, complete with precise measurements and full instructions, simply Jump to Recipe at the bottom of this post.
Creating perfect, fall-apart tender rib tips is a straightforward process when you follow these steps. The combination of oven-baking and grilling ensures maximum flavor and an ideal texture.
- Prepare the Rib Tips: Begin by rinsing your pork rib tips thoroughly under cold running water. This helps to clean the meat. After rinsing, it’s crucial to pat them completely dry with paper towels. Removing excess moisture is important for the seasoning to adhere properly and create a flavorful crust.
- Season Generously: Once dried, liberally sprinkle the seasoning salt and garlic salt all over the rib tips. Ensure every piece is well-coated. Don’t be shy here; the rub is where a lot of the initial flavor comes from.
- Marinate for Flavor: Place the seasoned rib tips into a large plastic gallon storage bag. Seal the bag, ensuring most of the air is removed, and place it in the refrigerator. Allowing the rib tips to marinate overnight (or for at least 8 hours) enables the salt and garlic flavors to deeply penetrate the meat, resulting in a much more flavorful final product.
- Bring to Room Temperature: Approximately 30 minutes before you plan to bake, remove the seasoned rib tips from the refrigerator. Let them sit on the counter to come closer to room temperature. This step promotes more even cooking in the oven.
- Preheat Your Oven: While the ribs are coming to temperature, preheat your oven to a low 275°F (135°C). The “low and slow” method is key to achieving incredible tenderness.
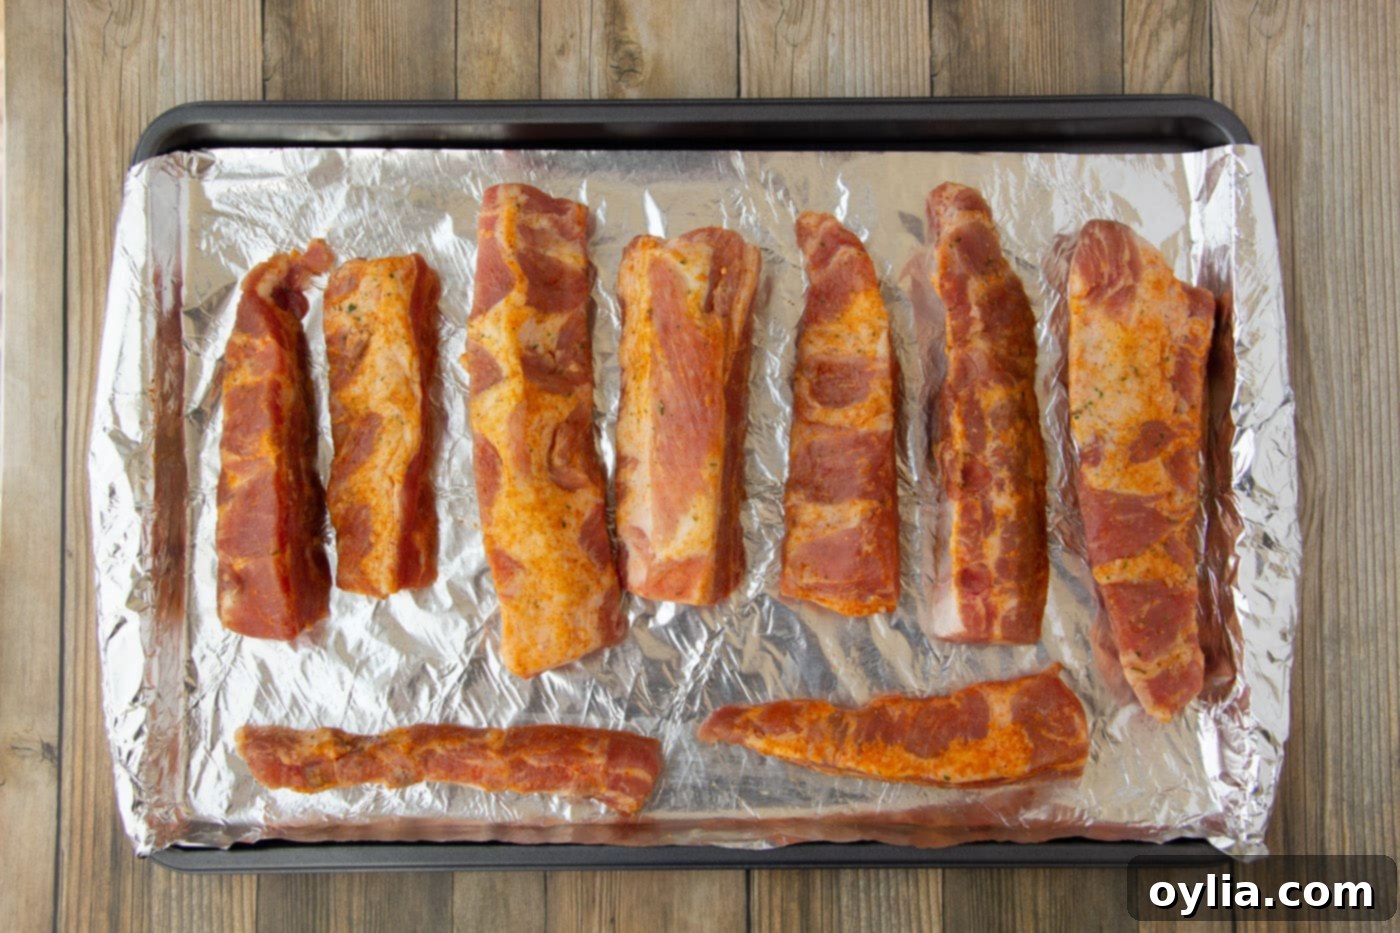
- Prepare for Baking: Line a large baking sheet with heavy-duty aluminum foil. This makes cleanup significantly easier and also helps to create a steamy environment for the ribs. Arrange the seasoned rib tips in a single layer on the prepared pan. Tightly cover the pan with another sheet of aluminum foil, crimping the edges to seal it well. This foil tent traps moisture, ensuring the ribs braise in their own juices and become incredibly tender.

- Slow Cook in the Oven: Place the covered baking sheet in your preheated oven and cook for 2 1/2 hours. This extended baking time at a low temperature is crucial for rendering the fat and breaking down the connective tissue, resulting in incredibly tender meat.
- Preheat Your Grill: About 15 minutes before the oven baking time is complete, preheat your outdoor grill to a medium-high heat, around 350°F (175°C). This ensures the grill is hot and ready for the final charring step.
- Check for Tenderness: Carefully remove the rib tips from the oven. Using a fork, gently check the meat for tenderness. It should be very tender, but not yet falling off the bone completely.
EXPERT TIP – If you prefer your rib tips even more tender, you can continue to bake them, still covered, for up to an additional hour. However, exercise caution: remember that they will still need to be handled and flipped on the grill. If the meat is *too* tender, it might fall apart and slip through the grill grates. Aim for tender yet still intact.
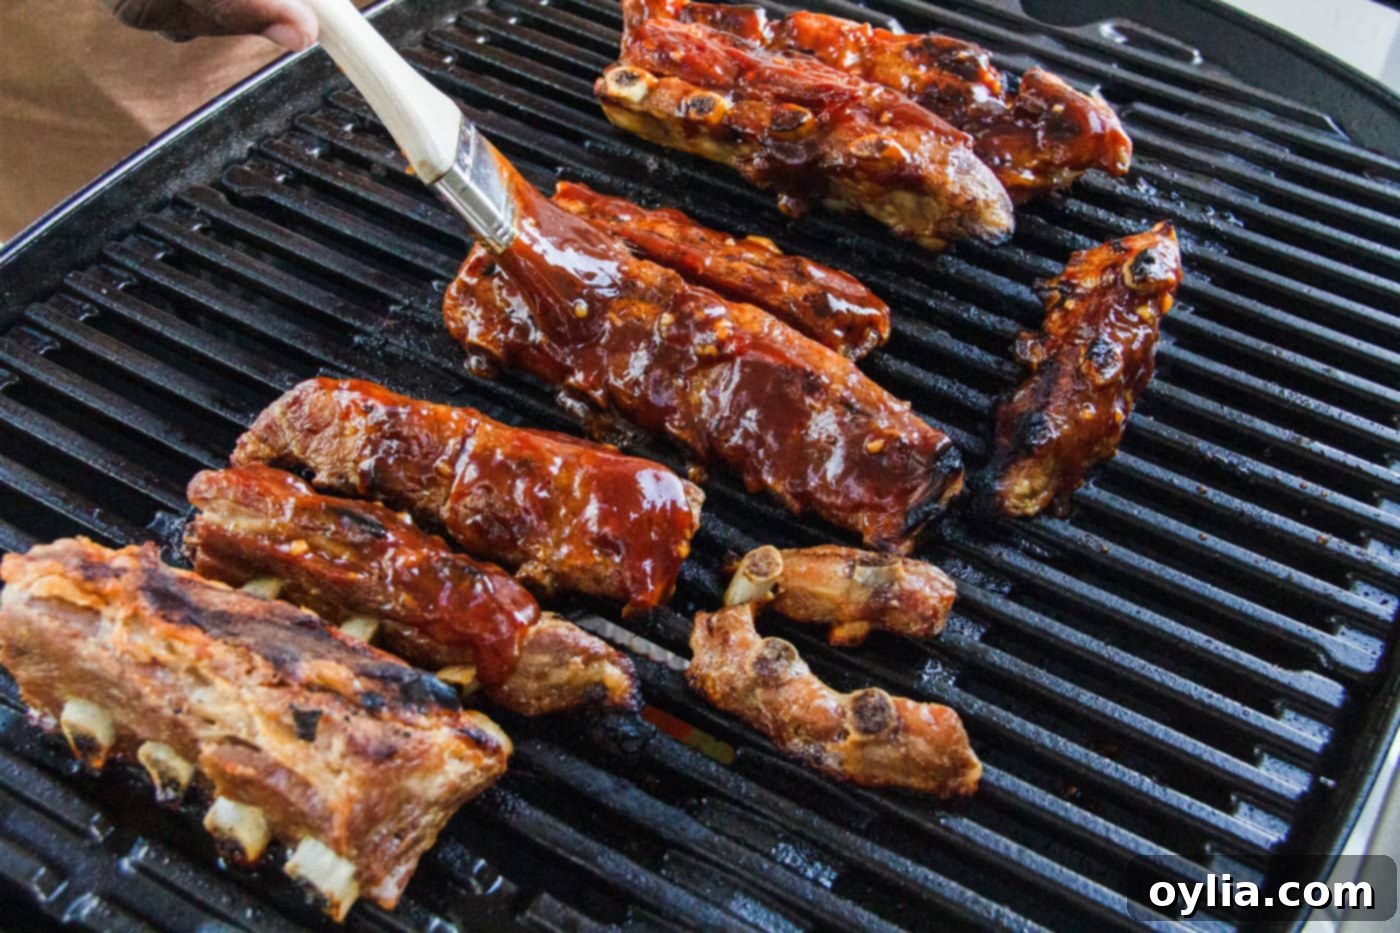
- Sauce the Rib Tips: Once the rib tips have reached your desired tenderness, generously brush them all over with your favorite barbecue sauce. Ensure each piece is well-coated.
- Grill to Perfection: Carefully transfer the sauced rib tips to the preheated grill. Cook for about 5 minutes on one side, allowing the sauce to caramelize and develop a slight char. Flip the rib tips, brush with more barbecue sauce, and cook for another 5 minutes on the second side. Watch them closely to prevent burning, as the sugar in the barbecue sauce can caramelize quickly.

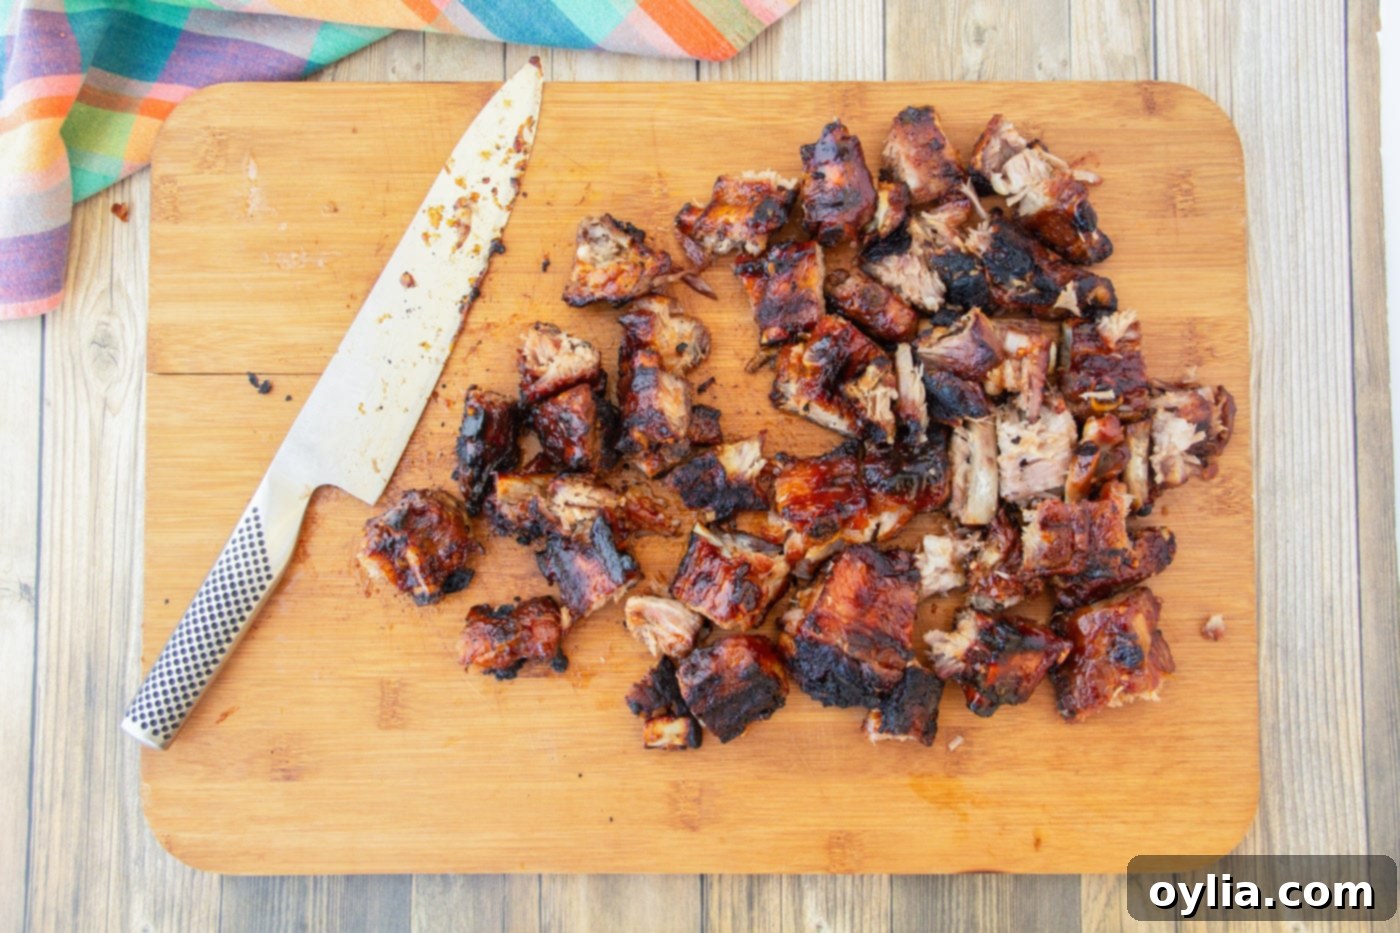
- Rest and Serve: Remove the grilled rib tips to a clean cutting board. Using a sturdy chef’s knife, cut them into manageable, bite-sized pieces. Toss these delicious morsels in a bowl with even more barbecue sauce for an extra burst of flavor. Cover the bowl loosely with foil and allow the rib tips to rest for about 5 minutes. This resting period allows the juices to redistribute, ensuring every bite is as moist and flavorful as possible. Serve hot and enjoy!

Frequently Asked Questions & Expert Tips for Rib Tips
Here are some common questions and expert advice to help you perfect your rib tips and make the most of this delicious recipe.
No, grilling is not absolutely essential, though it does add a fantastic smoky char and caramelized crust. If you don’t have an outdoor grill or prefer not to use one, you can achieve a similar effect using your oven’s broiler. After baking, brush the rib tips with barbecue sauce and place them on a baking sheet under a preheated broiler. Keep a very close eye on them, as broilers work extremely fast! You will only need a few minutes per side to get that desired char and caramelization. Flip them once to ensure even browning. The goal is a sticky, slightly browned exterior, not burnt.
Leftover rib tips are just as delicious the next day! Allow them to cool completely before transferring them to an airtight container. Store them in the refrigerator for 2-3 days. For longer storage, you can freeze them for up to 2-3 months. To reheat, you can use the oven (covered with foil at 300°F until warmed through), microwave, or even a pan on the stovetop. Adding a little extra barbecue sauce during reheating can help maintain moisture and flavor.
Absolutely! While our simple salt and garlic blend is a fantastic starting point, rib tips are very forgiving and adaptable. Feel free to use your favorite store-bought BBQ rub or create your own custom blend. Common additions include smoked paprika, brown sugar (for sweetness and crust), black pepper, onion powder, chili powder, and a touch of cayenne for heat. Experiment with different flavor profiles to discover what you love most!
When selecting rib tips, look for pieces that have a good balance of meat and fat. Some marbling is desirable for flavor and moisture, but avoid pieces that are excessively fatty or mostly cartilage. The meat should look fresh, with a vibrant pinkish hue. If you don’t see them readily available, ask the butcher; they often have them in the back or can cut them for you from a full spare rib rack.
While this recipe focuses on oven-then-grill, rib tips can indeed be cooked in a slow cooker for maximum tenderness. Season them as directed, then place them in your slow cooker with a cup of liquid (like broth or apple cider) and cook on low for 6-8 hours or on high for 3-4 hours. Once tender, remove them, pat dry, and finish them on the grill or under the broiler with barbecue sauce for that essential char and caramelization.
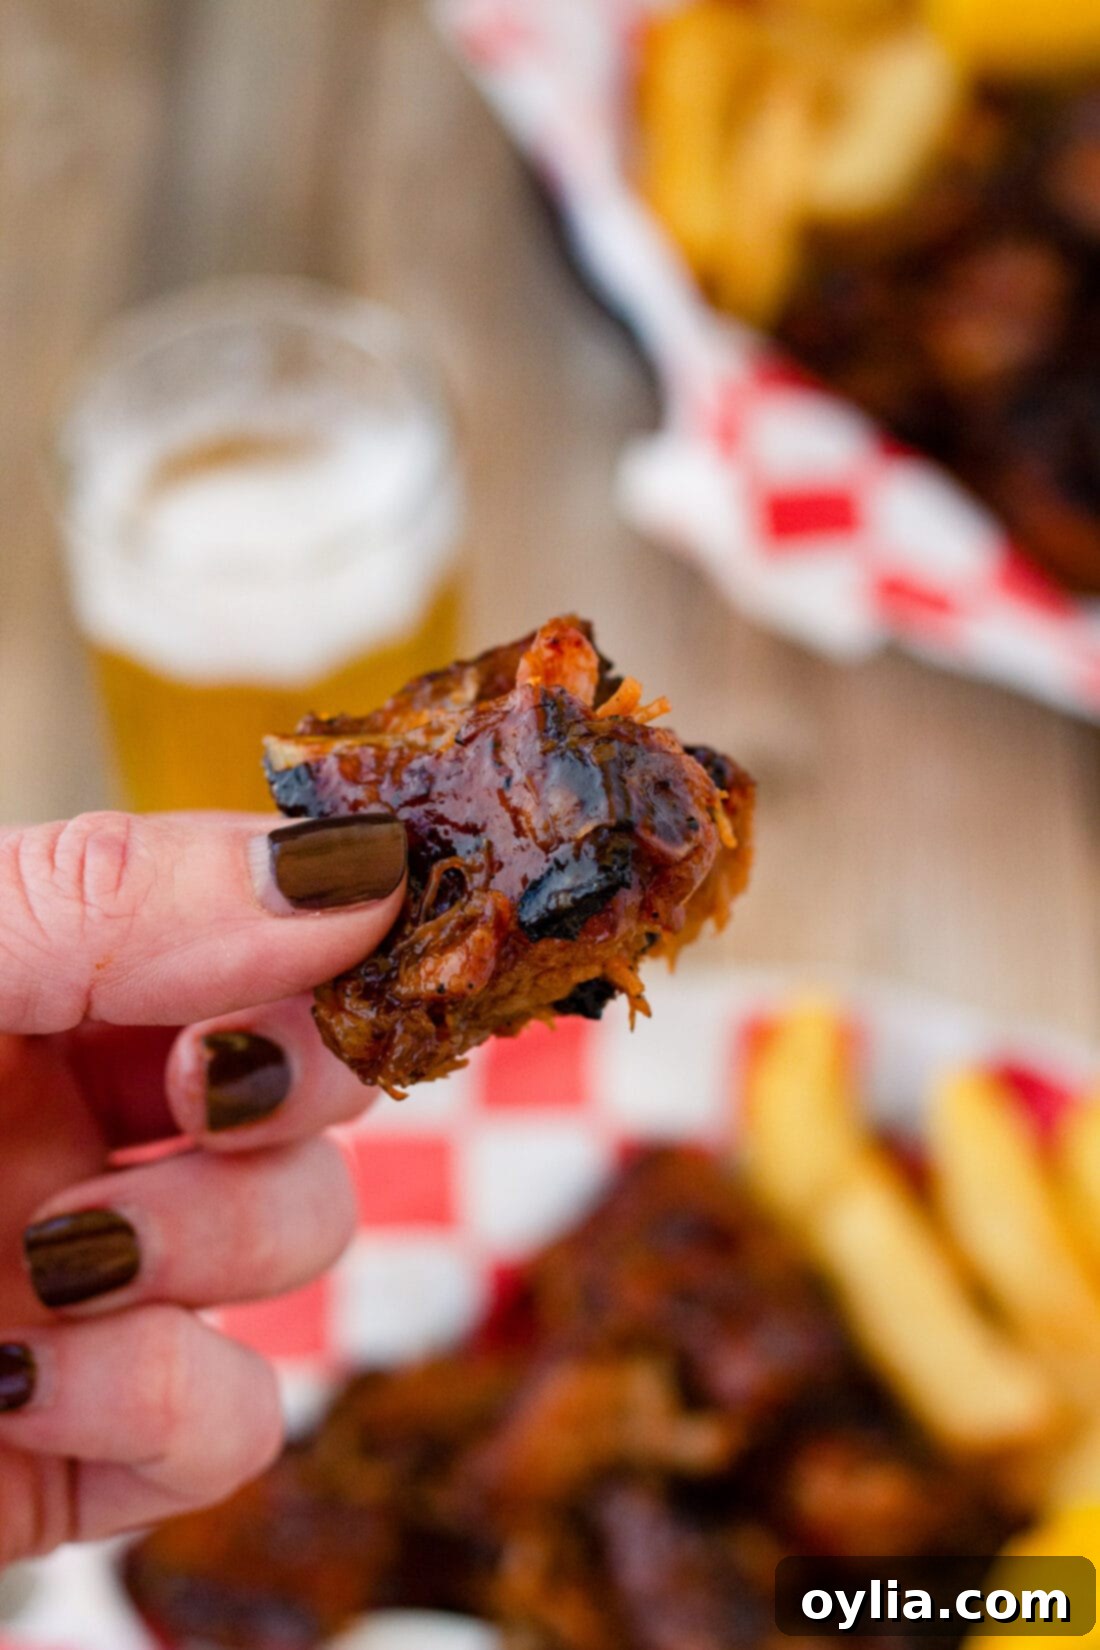
Perfect Pairings: What to Serve with Rib Tips
These tender and tangy rib tips are incredibly versatile and can be enjoyed as a hearty appetizer or the centerpiece of a satisfying meal. To truly round out the BBQ experience, pair them with classic side dishes that complement their rich flavor.
- Grilled Corn on the Cob: A summertime classic, grilled corn adds a sweet and smoky counterpoint to the savory ribs.
- Crispy French Fries: The perfect companion for soaking up extra barbecue sauce and providing a satisfying crunch.
- Homemade Baked Beans: Slow-cooked baked beans with a touch of sweetness and savory depth are an essential BBQ side that pairs beautifully.
- Creamy Coleslaw: The refreshing crunch and tangy creaminess of coleslaw provide a lovely contrast to the rich rib tips.
- Potato Salad: A classic potato salad, whether creamy or vinegar-based, is always a welcome addition to a barbecue spread.
- Macaroni and Cheese: Indulgent and comforting, a cheesy mac and cheese is a guaranteed crowd-pleaser that pairs wonderfully with the robust flavor of the ribs.
- Fresh Green Salad: For a lighter option, a simple green salad with a vinaigrette dressing can cut through the richness and add freshness to your meal.
Explore More Delicious Pork Recipes
If you’ve enjoyed these incredible rib tips, you’re sure to love our other fantastic pork recipes. From quick weeknight meals to impressive roasts, there’s something for every occasion:
- Baked Pork Chops
- Sirloin Pork Roast
- Slow Cooker Pulled Pork
- Air Fryer Pork Tenderloin
- Pork Tenderloin Sandwiches
- Instant Pot Ribs
I absolutely love to bake and cook, and my passion is sharing my kitchen experiences and tested recipes with all of you! Remembering to come back each day for new culinary inspiration can be tough, which is why I offer a convenient newsletter delivered right to your inbox every time a new recipe posts. Simply subscribe today and start receiving your free daily recipes – never miss a delicious update!
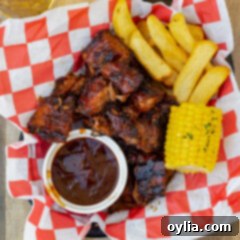
Rib Tips
IMPORTANT – There are often Frequently Asked Questions within the blog post that you may find helpful. Simply scroll back up to read them!
Print It
Pin It
Rate It
Save ItSaved!
Ingredients
- 3 pounds pork rib tips
- 1 Tablespoon seasoned salt we used Lawry’s
- 1 Tablespoon garlic salt
- 1 bottle of barbecue sauce to taste
Things You’ll Need
-
Grill
-
Baking sheets
-
Chef’s knife
-
Cutting board
-
Basting brush
Before You Begin
- Nutrition information does not include barbecue sauce.
- Cook until tender but not falling off bone, you want to be able to turn them on the grill without the meat falling off.
- If you prefer, you can use your broiler to char and caramelize the rib tips. Just watch them carefully and don’t walk away. Your broiler works very quickly and you will only need them in for a few minutes.
- We went with a simple salt mixture for our ribs. Quite often, less is more! However if you have a favorite rib rub or other seasonings you like to use, simply replace our salt mixture with yours.
- Store leftovers in an air-tight container kept in the refrigerator for 2-3 days.
Instructions
-
Rinse rib tips in cold water and pat dry with paper towels.
-
Sprinkle the seasoning salt and garlic salt all over the rib tips.
-
Place seasoned tips in a plastic gallon storage bag and let sit overnight in the refrigerator.
-
Take ribs out of the refrigerator about 30 minutes before they are to go in the oven to allow them to come to room temperature.
-
Preheat oven to 275 F.
-
Line a baking sheet with aluminum foil. Place seasoned tips on the pan and cover tightly with more foil.
-
Cook tips in preheated oven for 2 1/2 hours.
-
About 15 minutes before the end of the baking time, preheat your grill to 350 F.
-
Remove tips from oven. Using a fork, check for tenderness.
-
TIP: You can continue to bake them for up to one more hour if you like them even more tender than they are. Just keep in mind that you will be saucing them and placing them on the grill and you don’t want them so tender that the meat is falling off the bone and down into your grill grates!
-
Brush rib tips with your favorite barbecue sauce.
-
Place sauced tips on the grill and allow them to cook for 5 minutes. Turn them over and brush with sauce again, let cook for 5 minutes more.
-
Remove tips to a cutting board. Cut into bite sized pieces. Toss in additional barbecue sauce. Cover with foil and allow ribs to rest 5 minutes before serving.
Nutrition
The recipes on this blog are tested with a conventional gas oven and gas stovetop. It’s important to note that some ovens, especially as they age, can cook and bake inconsistently. Using an inexpensive oven thermometer can assure you that your oven is truly heating to the proper temperature. If you use a toaster oven or countertop oven, please keep in mind that they may not distribute heat the same as a conventional full sized oven and you may need to adjust your cooking/baking times. In the case of recipes made with a pressure cooker, air fryer, slow cooker, or other appliance, a link to the appliances we use is listed within each respective recipe. For baking recipes where measurements are given by weight, please note that results may not be the same if cups are used instead, and we can’t guarantee success with that method.
