Irresistible Peanut Butter Rice Krispie Treats: Easy No-Bake Recipe
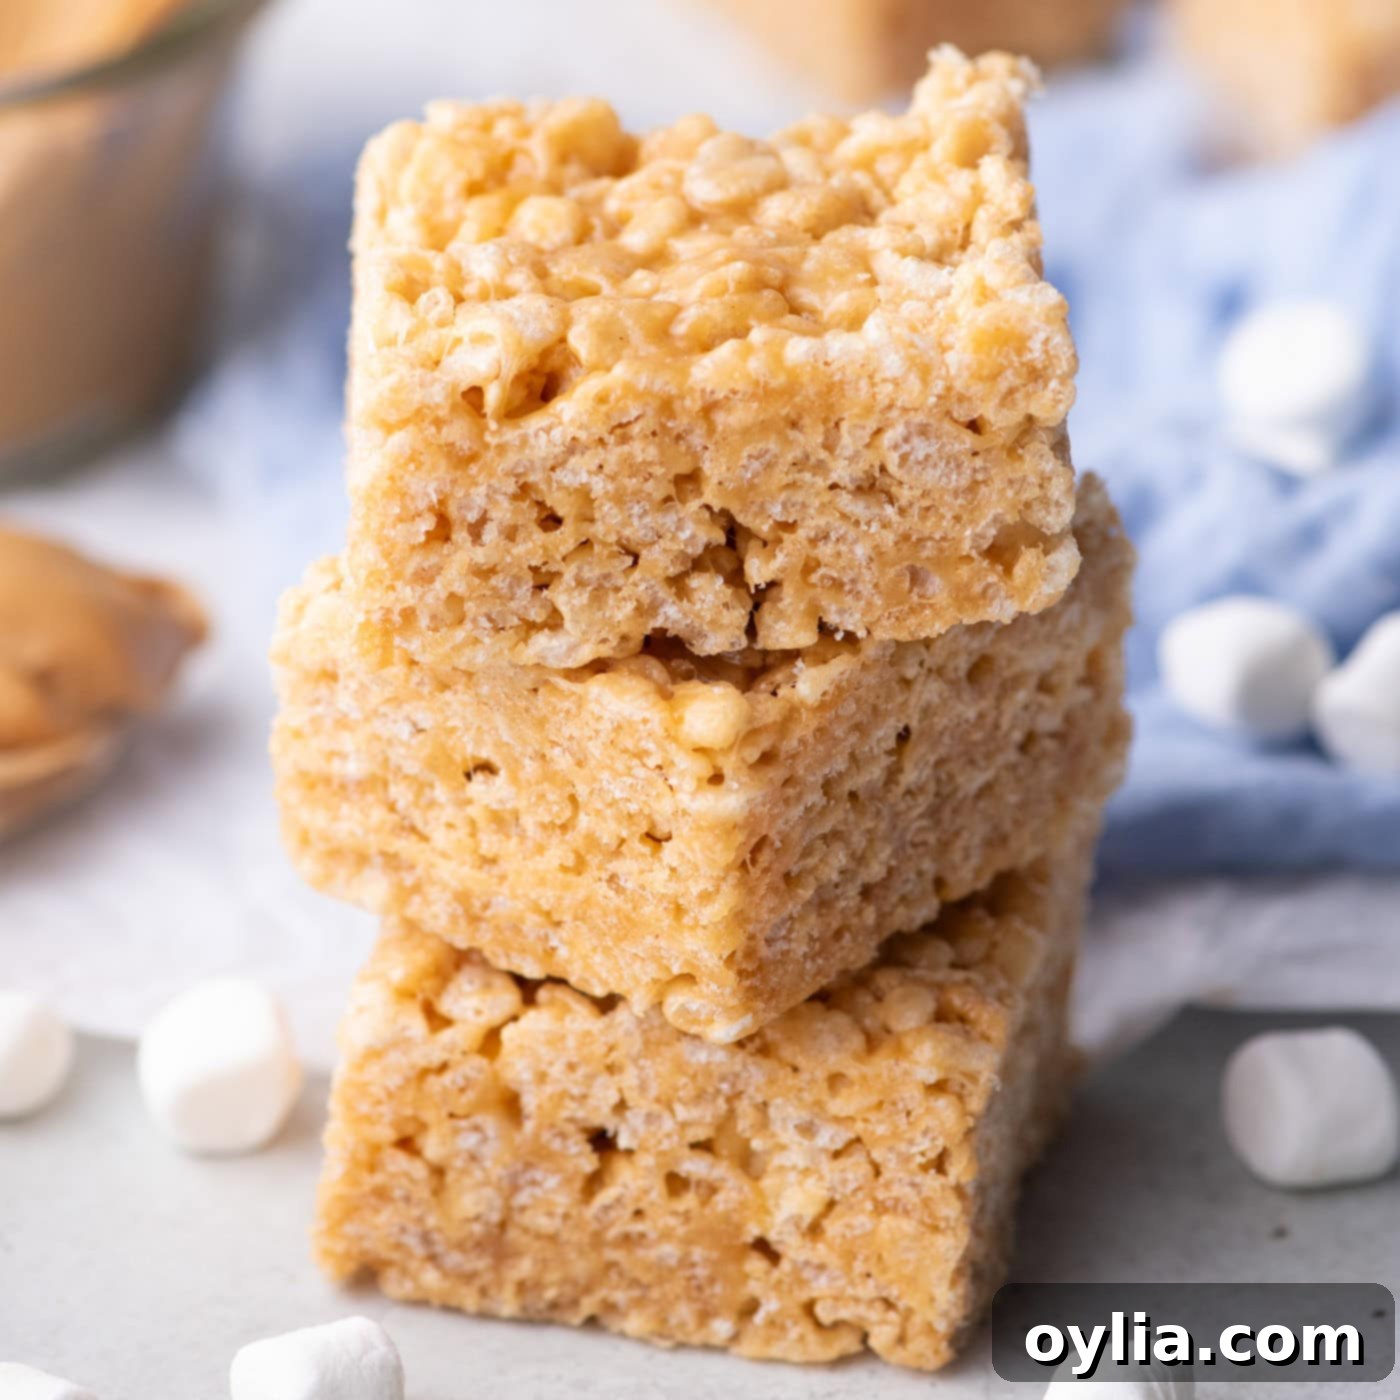
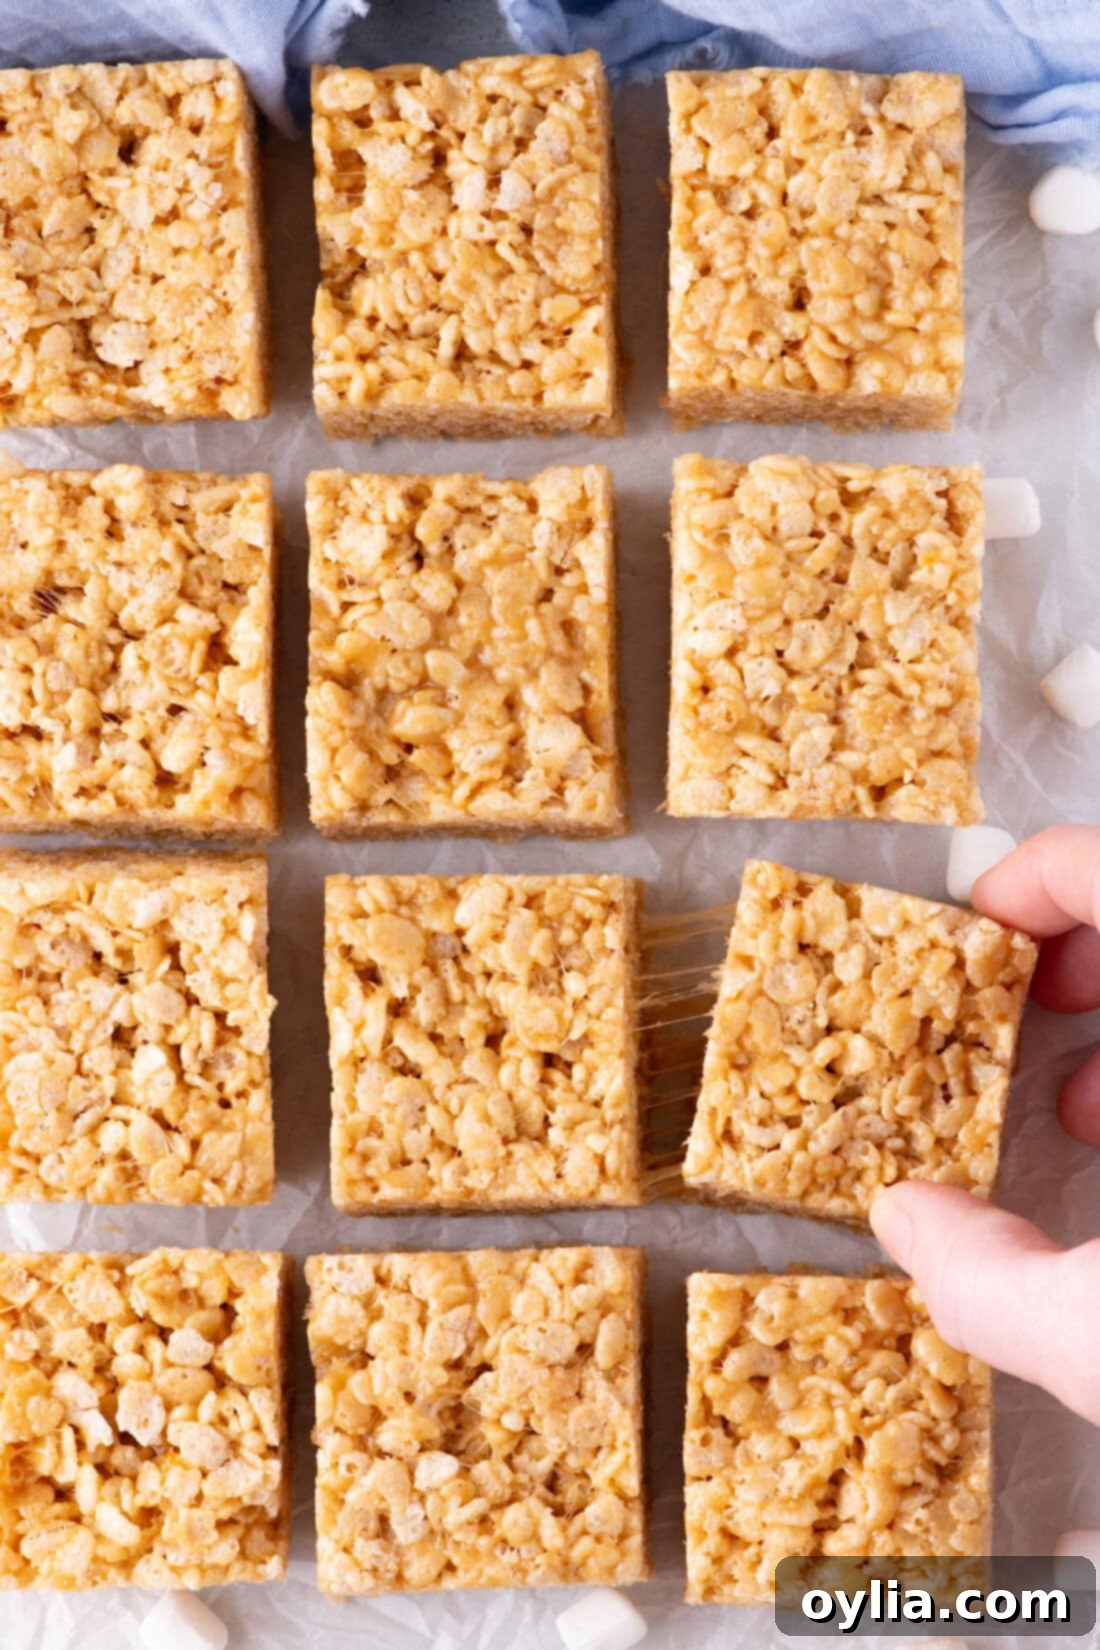
Prepare for a delightful treat that’s incredibly simple to make, yet bursting with flavor! These homemade Peanut Butter Rice Krispie Treats are an absolute dream for anyone who loves the classic crispy texture combined with rich, creamy peanut butter. With just a handful of ingredients and no oven required, you can whip up a batch of these chewy, crunchy, and utterly satisfying squares in no time. Every bite promises a blissful combination of sweet marshmallow, savory peanut butter, and perfectly crisp cereal, making them an instant family favorite.
Why This Peanut Butter Rice Krispie Treats Recipe Works
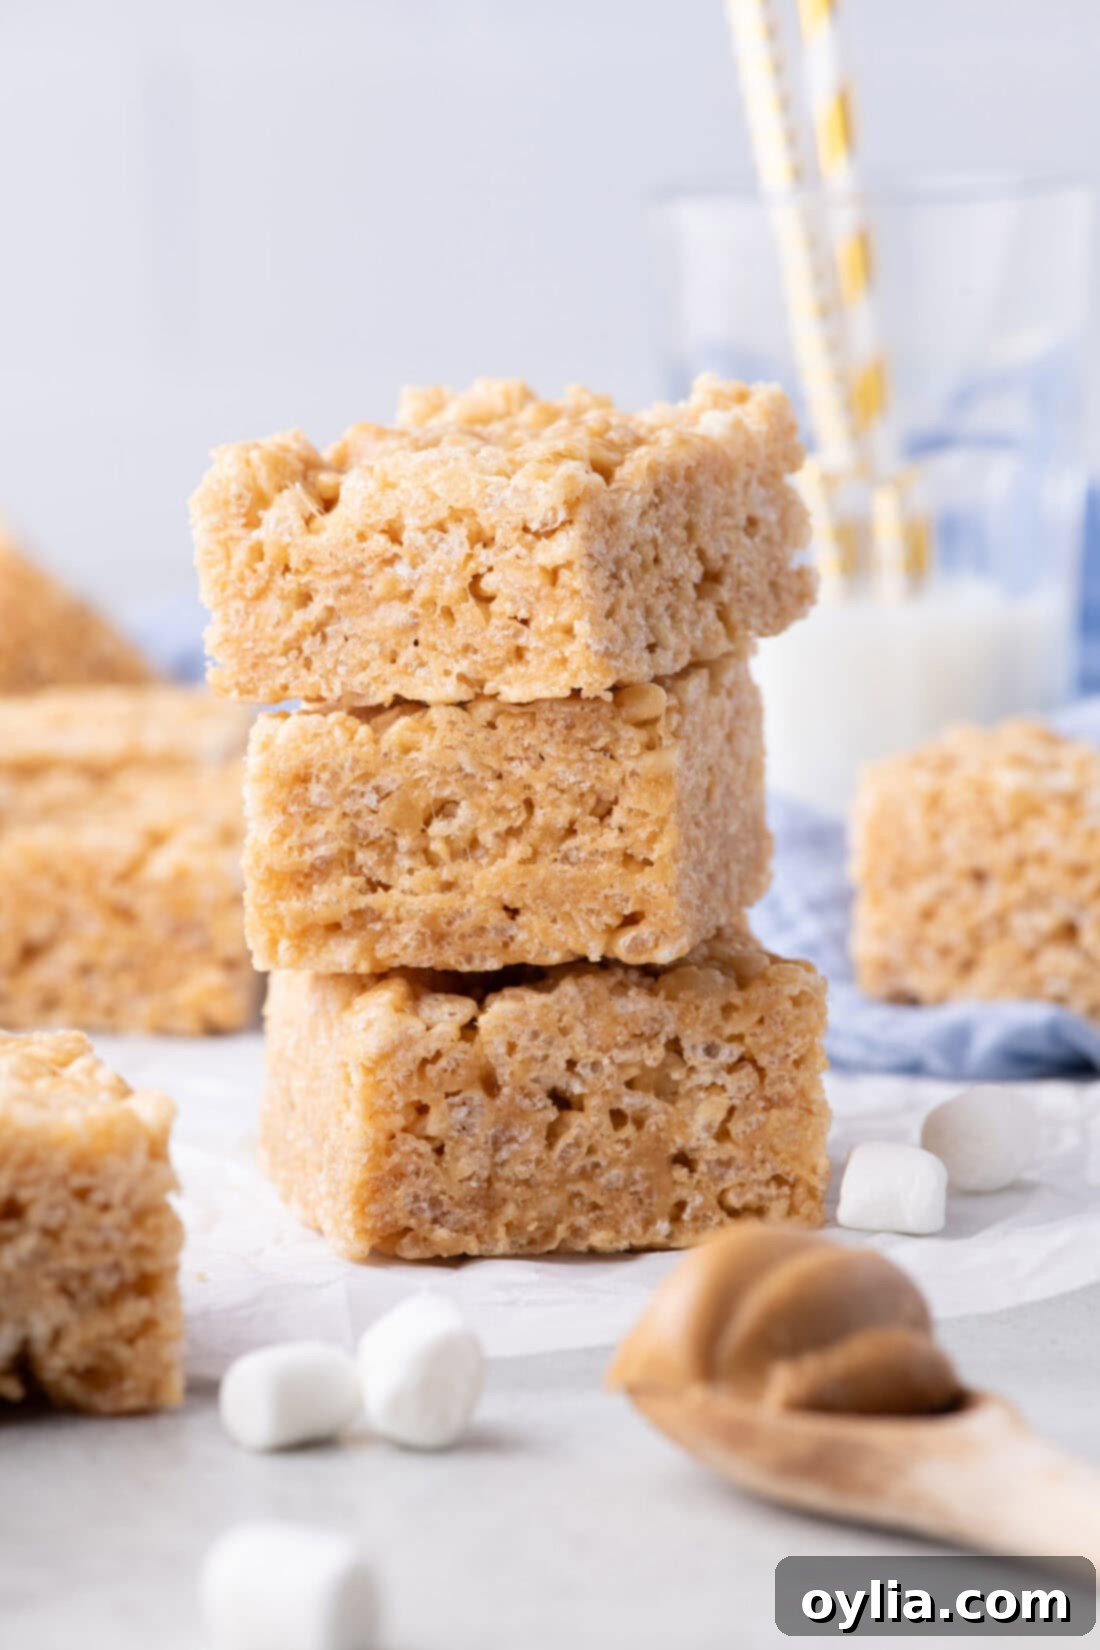
There’s something uniquely satisfying about a classic Rice Krispie Treat, but when you introduce the irresistible flavor of peanut butter, it transforms into pure magic! These Peanut Butter Rice Krispie Treats strike the perfect balance between sweet and salty, creating a highly addictive snack that’s hard to resist. The creamy texture of peanut butter blends seamlessly with the gooey melted marshmallows, while the crispy cereal adds that essential crunch in every single bite. It’s a texture party in your mouth!
Beyond the amazing taste and texture, this recipe is a winner because of its sheer simplicity. It requires minimal ingredients – just 5 simple items you likely already have in your pantry – and absolutely no baking. This makes it an ideal dessert for busy weeknights, last-minute gatherings, or when you simply crave a sweet treat without the fuss. The process is straightforward, making it a fantastic recipe to involve kids in the kitchen. Plus, the nostalgia factor is huge; for many, these treats evoke happy childhood memories, making them even more delightful.
This recipe builds on the beloved foundation of traditional Rice Krispie Treats and elevates it with a peanut butter twist. It’s a testament to how versatile and fun the original recipe can be. If you’ve enjoyed our Hot Cocoa Rice Krispie Treats, you’ll adore this peanut butter rendition, designed for true peanut butter enthusiasts. It’s truly one of those desserts that brings a smile to everyone’s face, whether served at a party, packed in a lunchbox, or enjoyed as a comforting evening snack.
Ingredients You Will Need
Making these delicious peanut butter cereal treats requires only a few pantry staples. You’ll find all the exact measurements, a comprehensive list of ingredients, and detailed instructions in the printable recipe card located at the very end of this post.
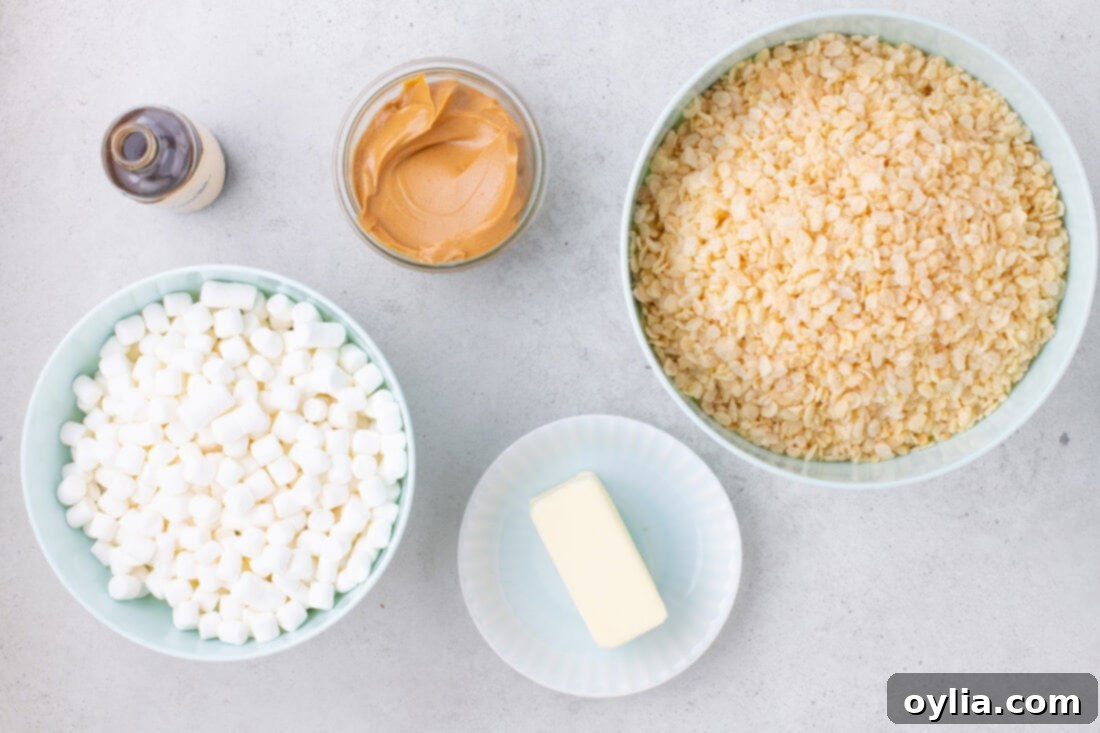
Ingredient Info and Substitution Suggestions
Getting the right ingredients and understanding how they work together is key to the perfect batch of Peanut Butter Rice Krispie Treats. Here’s a closer look:
PEANUT BUTTER – For these treats, creamy peanut butter is your best friend. Its smooth texture ensures an even blend with the marshmallow, contributing to the signature chewiness. While I often gravitate towards popular commercial brands like Jif or Skippy for their consistent texture and minimal oil separation, natural peanut butter can certainly be used. If opting for natural peanut butter, remember to stir it very thoroughly before measuring and adding it to the pot, as the oils tend to separate and can affect the consistency of your final product. Avoid crunchy peanut butter, as the added nut pieces will alter the smooth, chewy texture we’re aiming for.
CEREAL – Can you truly call them Rice Krispie Treats without the iconic Kellogg’s Rice Krispies cereal? Absolutely! While the branded cereal is fantastic, feel free to use a generic or store-brand puffed rice cereal. They work just as well and can be a budget-friendly option without compromising on taste or crispiness. The key is to use a light, airy puffed rice cereal that will easily absorb the marshmallow and peanut butter mixture without becoming too heavy or dense.
MARSHMALLOWS – Mini marshmallows are highly recommended for this recipe because they melt more quickly and evenly, creating a perfectly smooth and sticky binder for your treats. If you only have regular-sized marshmallows on hand, don’t fret! You can definitely use them; just be sure to chop them into smaller pieces before melting. This will help them melt down faster and prevent scorching. Always use fresh marshmallows for the best results, as stale ones might not melt as smoothly and can make your treats less gooey.
BUTTER & VANILLA EXTRACT – Unsalted butter provides the rich, foundational flavor and helps the marshmallows melt without sticking. Room temperature butter melts more evenly. A touch of pure vanilla extract adds a wonderful depth of flavor, enhancing both the sweetness of the marshmallows and the nutty notes of the peanut butter. Don’t skip it!
How to Make Peanut Butter Rice Krispie Treats
These step-by-step photos and instructions are here to help you visualize how to make this recipe. For the complete printable version of this recipe, including all measurements and instructions, simply Jump to Recipe at the bottom of this post.
- Line a 9×13-inch baking pan with parchment paper. This crucial step will make removing and slicing your treats incredibly easy and mess-free.
TIP – If you don’t have parchment paper, you can generously grease the pan with butter or cooking spray. While parchment offers the cleanest removal, a well-greased pan will also do the trick to prevent sticking.
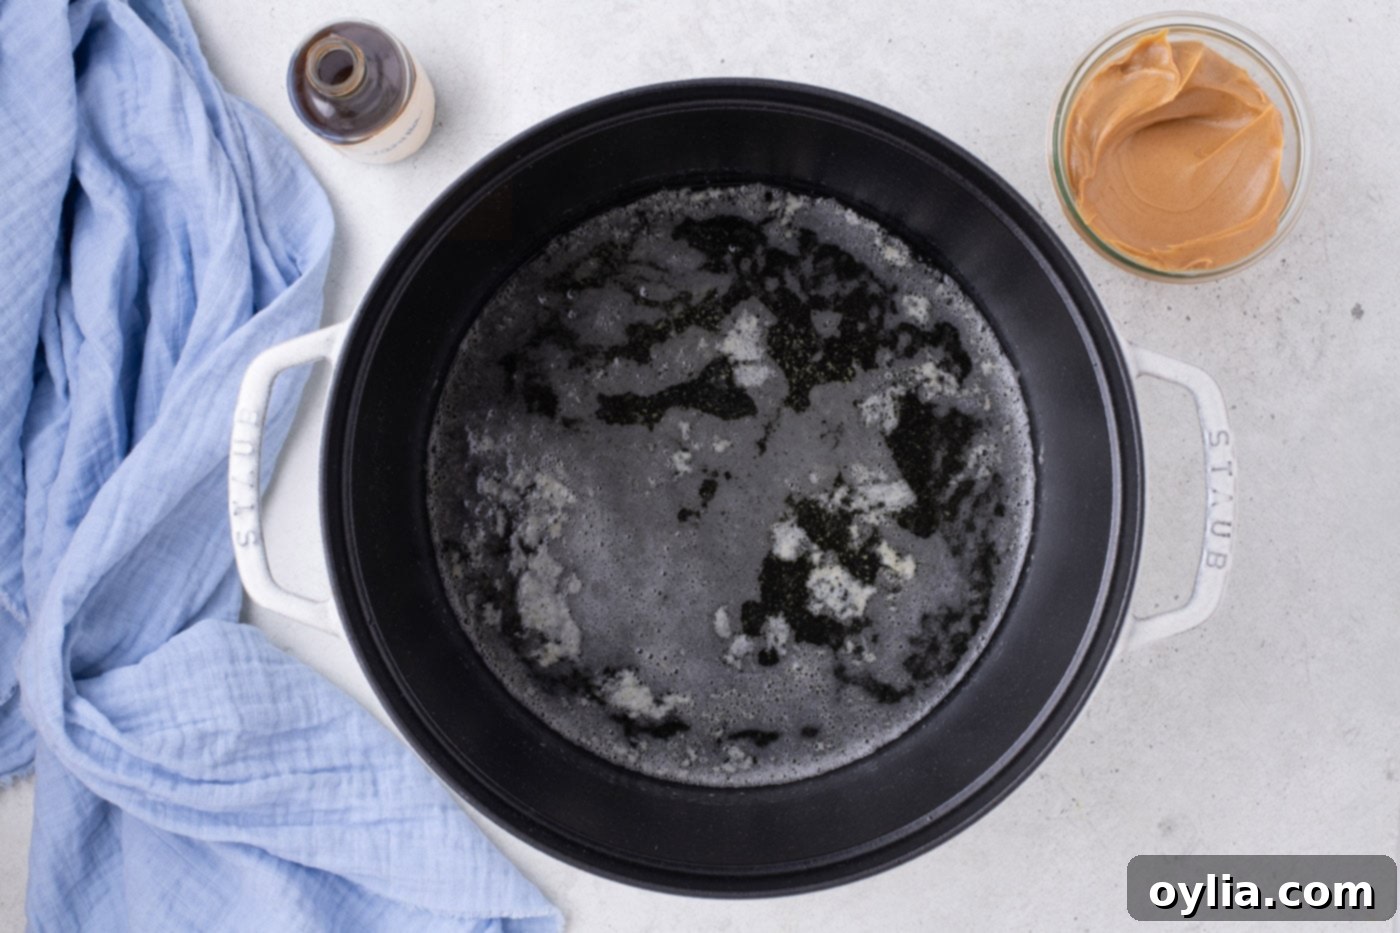
- Cut your room temperature butter into quarters. Place these butter pieces in a large, heavy-bottomed pot or Dutch oven over medium heat. Cutting the butter into smaller pieces helps it melt faster and more evenly.
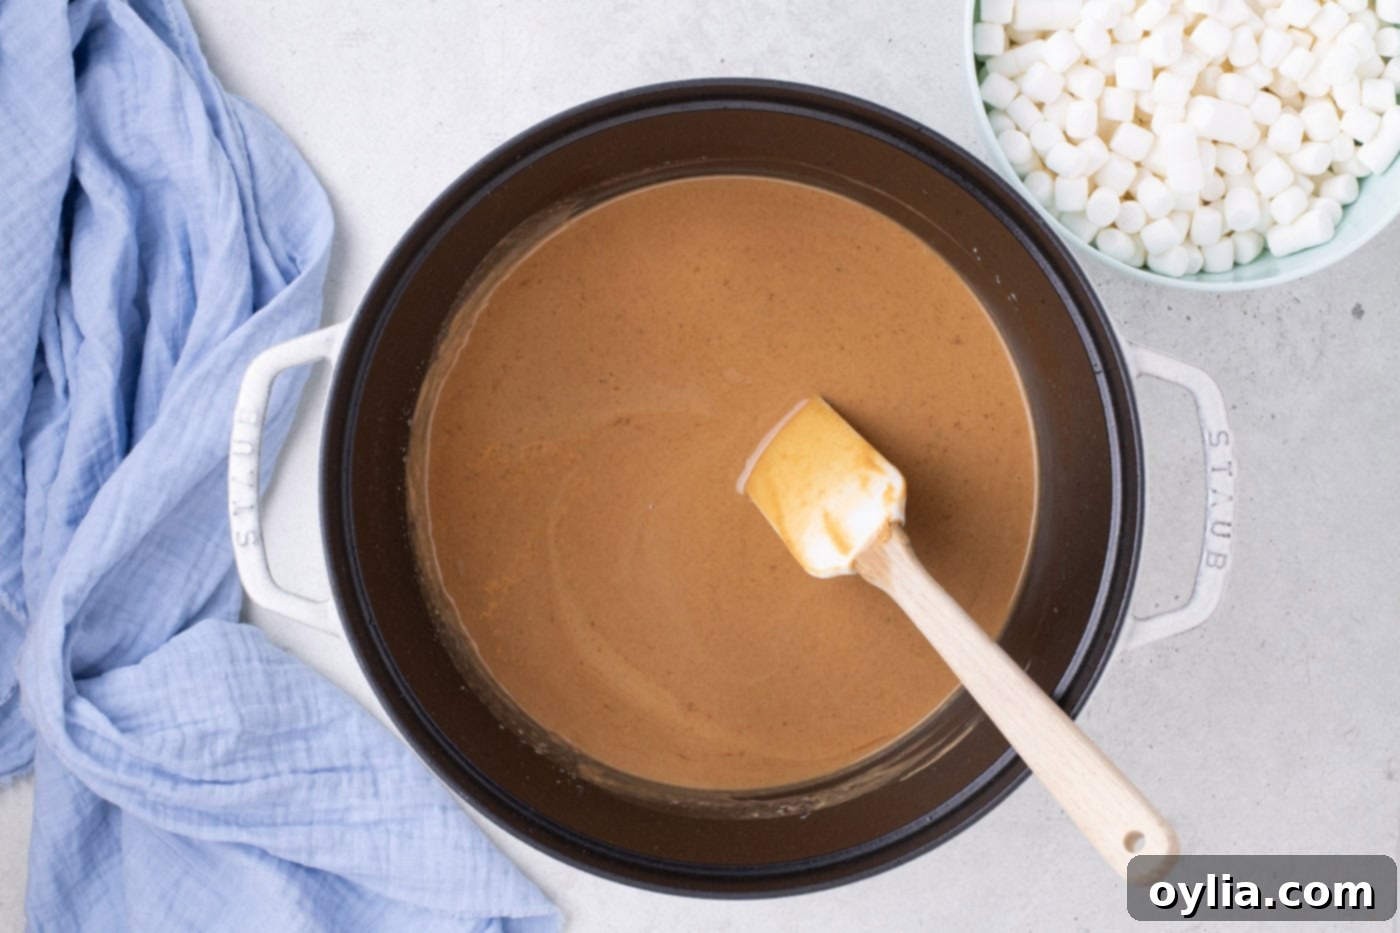
- Once the butter has fully melted and starts to lightly foam, reduce the heat to low. Add the creamy peanut butter and vanilla extract to the pot. Stir continuously with a rubber spatula until the mixture is completely smooth and well combined. This ensures the peanut butter is fully incorporated before adding the marshmallows.


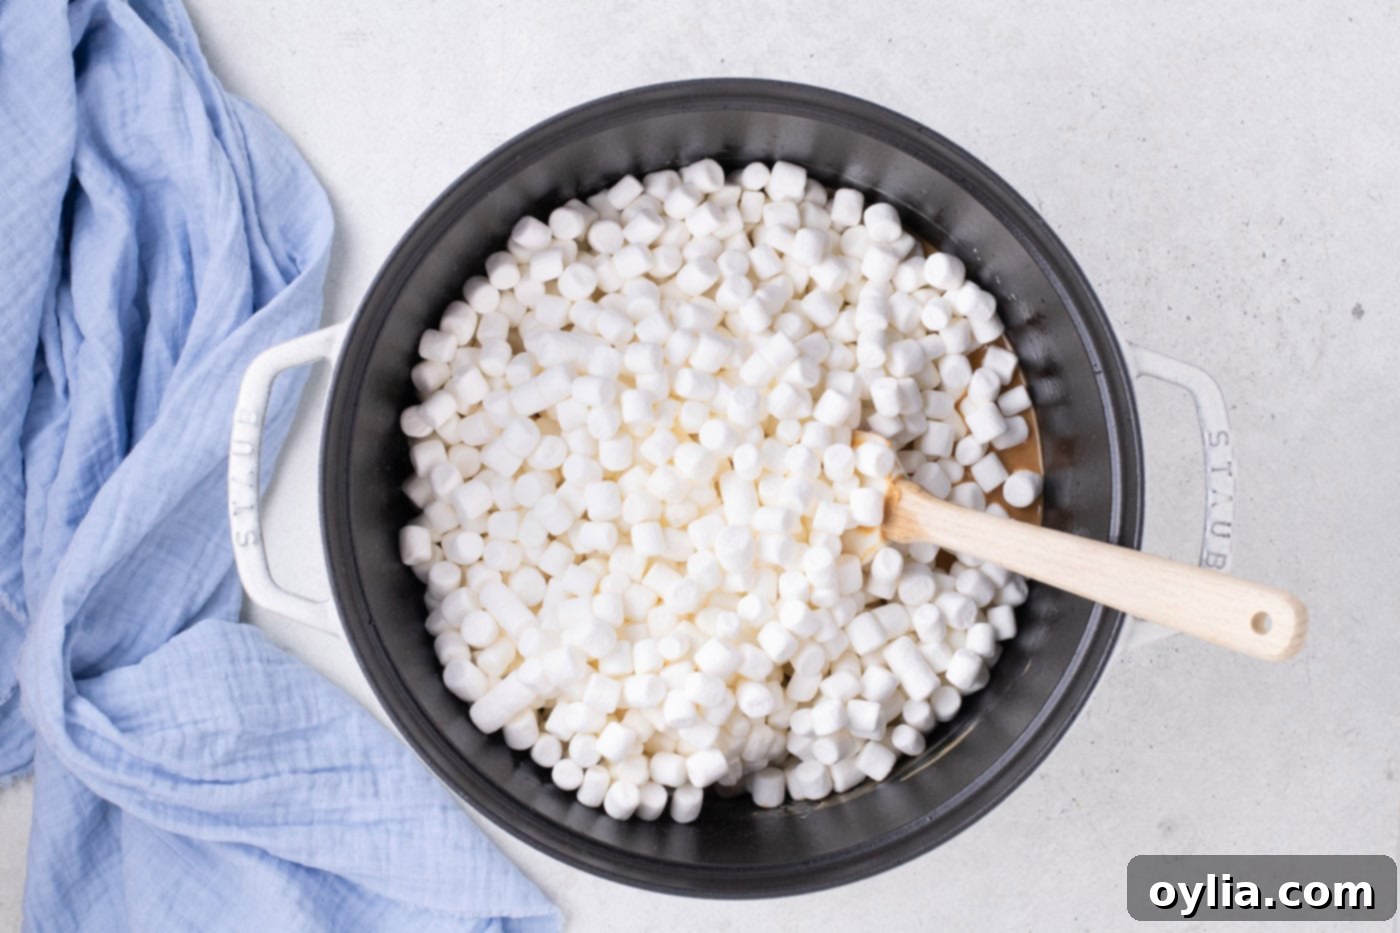
- Now, add all the mini marshmallows to the pot. Continue to stir constantly over low heat until they are completely melted and no white streaks of un-melted marshmallow remain. The mixture should be smooth, shiny, and fully incorporated with the peanut butter.
TIP – Patience is key here! It’s crucial to keep the heat low and stir continuously to prevent the marshmallow mixture from burning or becoming stiff. Burnt marshmallows will result in hard, unappetizing treats.

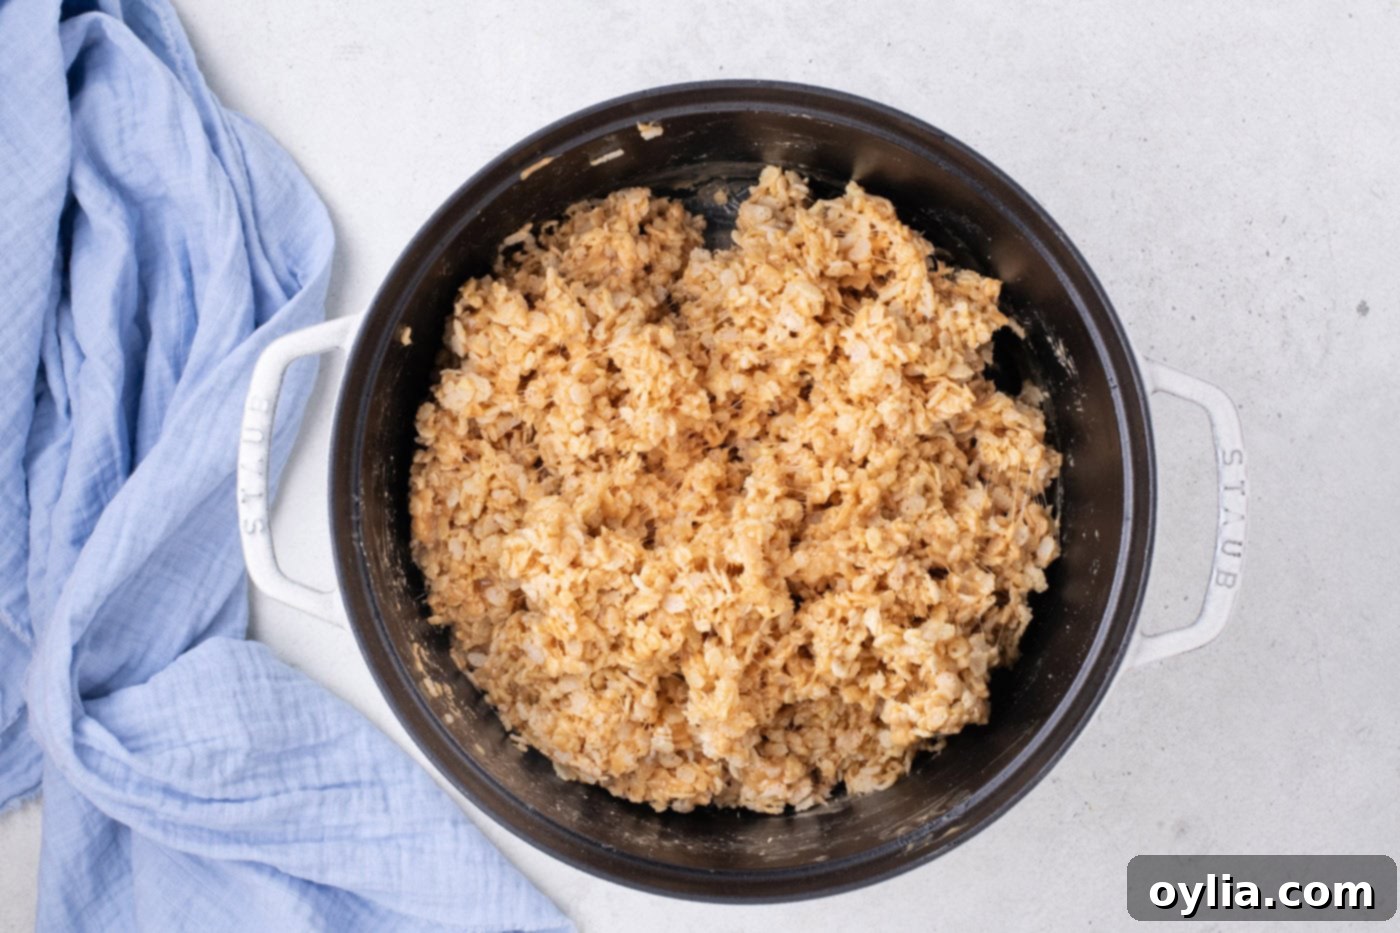
- Remove the pot from the heat and immediately pour in the Rice Krispies cereal. Working quickly but gently, stir the cereal into the marshmallow mixture until every piece is thoroughly coated. Be careful not to crush the cereal during this step; a soft silicone spatula is ideal for folding and mixing without breaking the delicate cereal pieces, ensuring your treats remain light and crispy.

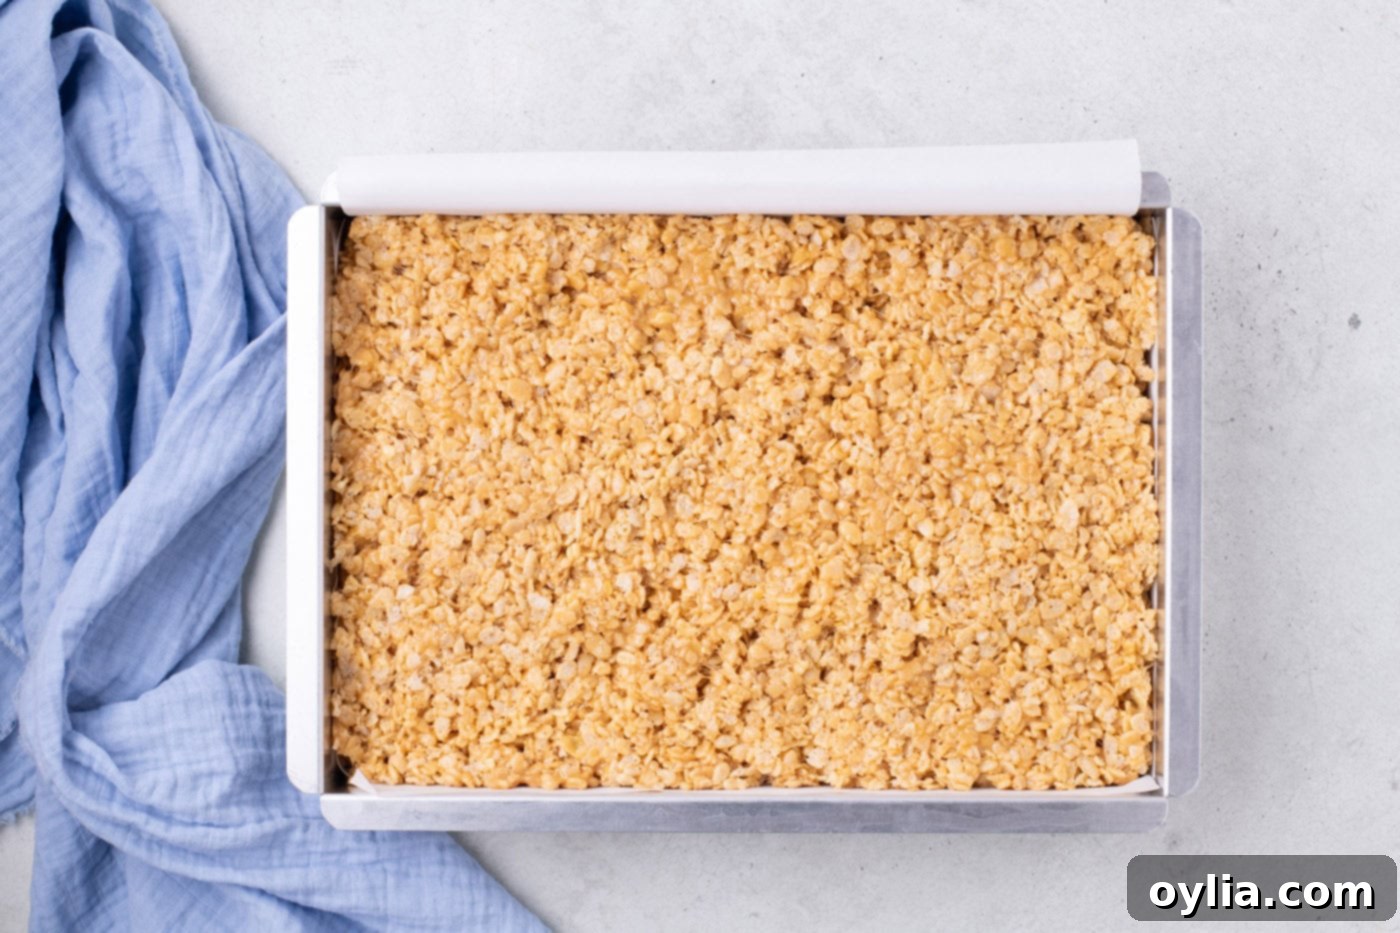
- Transfer the warm mixture into your prepared 9×13-inch baking pan. Using a buttered spatula or your lightly greased hands, gently spread the mixture into an even layer, pressing lightly to fill all corners of the pan. Remember, less pressure is more here to ensure soft, chewy treats.

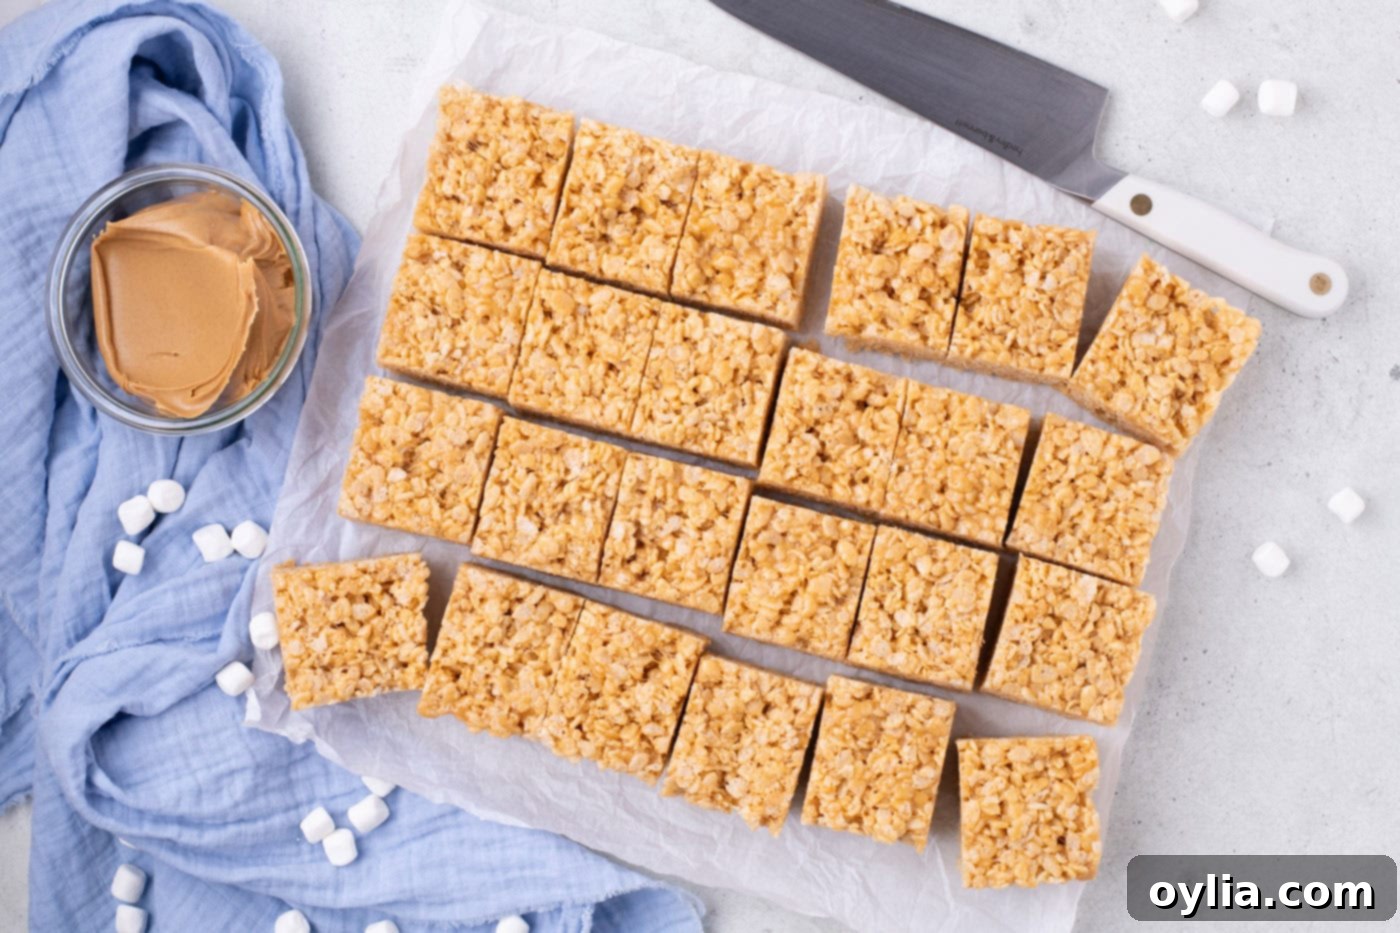
- Allow the treats to set at room temperature for at least 30 minutes. Once firm, use the parchment paper to lift the entire slab out of the pan. Place it on a cutting board and slice into 24 equal squares. For extra neat slices, you can lightly grease your knife with butter or cooking spray.

Frequently Asked Questions & Expert Tips
Yes, you absolutely can use natural peanut butter, but there are a few things to keep in mind. Natural peanut butter tends to separate, so make sure to stir it very well to reincorporate the oils before you measure it. Also, the texture of the treats might be slightly less firm and a bit more oily than with conventional peanut butter. The most important thing is to use creamy-style peanut butter, regardless of whether it’s natural or conventional. Crunchy peanut butter will drastically change the desired chewy texture.
To maintain their perfect chewy and crispy texture, these peanut butter Rice Krispie treats are best stored at room temperature. Place them in an airtight container to keep them fresh, and they should last for up to 3-4 days. Avoid refrigerating them, as the cold temperature can make the treats hard and less enjoyable to eat.
There are a few common culprits if your treats turn out hard or overly dense. First, when pressing the mixture into the pan, be sure to use only light pressure. If you pack them down too firmly, you compress all the air out, resulting in a very dense and hard treat. Use buttered hands or a buttered spatula and just gently spread them into an even layer. Second, do not refrigerate the finished treats! As mentioned above, chilling them will make them very hard. Keep them at room temperature for that ideal soft, chewy consistency. Lastly, ensure you don’t overheat the marshmallow mixture; too high heat can lead to sugar crystallization, making the treats tough.
Absolutely! Peanut butter and chocolate are a match made in heaven. You can easily incorporate chocolate chips (milk, semi-sweet, or dark) into the mixture when you add the cereal. Stir them in quickly so they don’t completely melt. Alternatively, after the treats have set, you can melt some chocolate chips or a chocolate bar and drizzle it over the top for an extra layer of flavor and visual appeal. A sprinkle of sea salt on top of the chocolate drizzle would also be fantastic!
When stored properly in an airtight container at room temperature, Peanut Butter Rice Krispie Treats will stay fresh and delicious for about 3 to 4 days. After that, they might start to lose some of their chewiness and become a bit drier, although they’ll still be edible. For the best experience, enjoy them within the first couple of days of making them.
Serving Suggestions
These Peanut Butter Rice Krispie Treats are utterly delicious on their own, but if you want to elevate them even further, consider these serving suggestions:
- Chocolate Drizzle: Melt some chocolate chips (milk, semi-sweet, or dark) and drizzle them artfully over the cooled and cut treats. The classic peanut butter and chocolate combination is always a hit!
- Extra Peanut Butter Drizzle: For the ultimate peanut butter lover, gently warm a spoonful of extra creamy peanut butter until it’s pourable, then drizzle it over the top.
- Sea Salt Flakes: A light sprinkle of flaky sea salt can beautifully enhance the sweet and savory notes, adding a gourmet touch.
- Sprinkles: For a festive look, add some colorful sprinkles on top while the treats are still slightly warm and sticky. Perfect for birthdays or holidays!
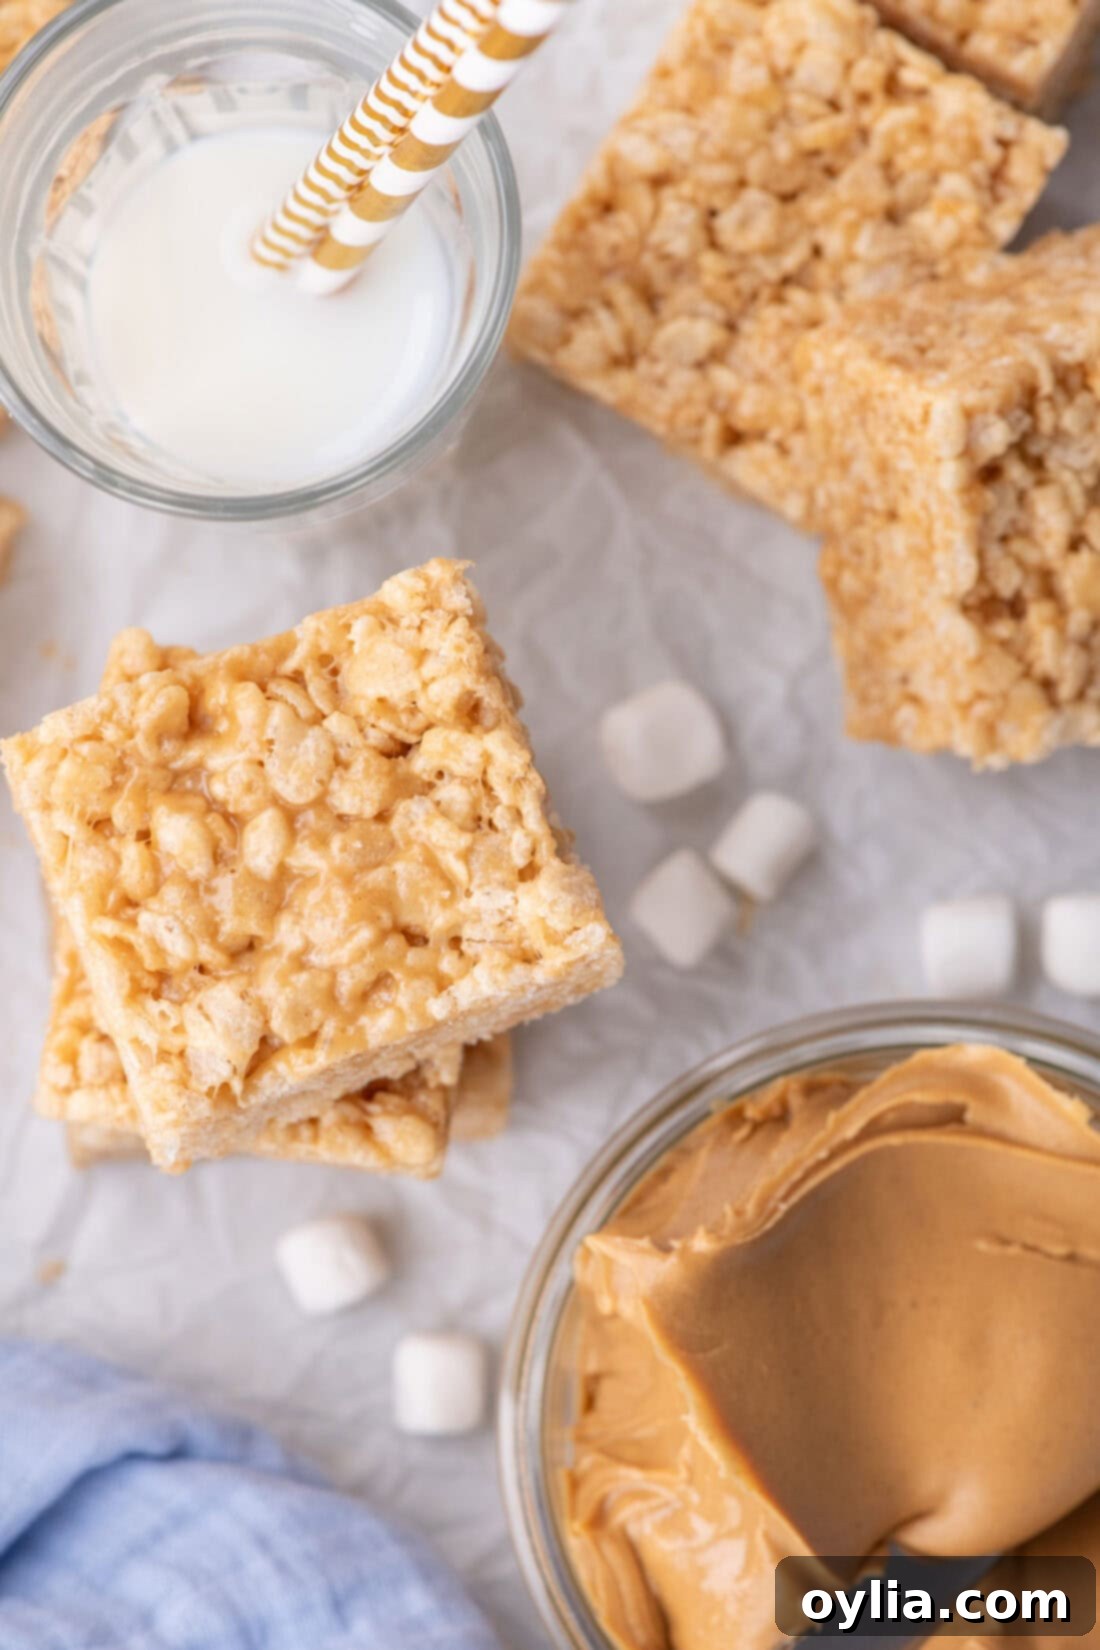
Enjoy these delectable squares at room temperature, perhaps with a cold glass of milk, a hot cup of coffee, or alongside a scoop of vanilla ice cream for an extra indulgent dessert.
More Peanut Butter Recipes
If you’re a true peanut butter aficionado, you’ll be thrilled to explore more of our peanut butter-packed creations:
- Peanut Butter Brownies: Fudgy brownies swirled with creamy peanut butter.
- Chocolate Peanut Butter Balls: A classic no-bake candy for all occasions.
- Peanut Butter Chocolate Chip Bars: Chewy, hearty bars loaded with two favorite flavors.
- Peanut Butter Bread – yes, you saw that right! A surprisingly delicious and moist quick bread.
I love to bake and cook and share my kitchen experience with all of you! Remembering to come back each day can be tough, that’s why I offer a convenient newsletter every time a new recipe posts. Simply subscribe and start receiving your free daily recipes!
Peanut Butter Rice Krispie Treats
IMPORTANT – There are often Frequently Asked Questions within the blog post that you may find helpful. Simply scroll back up to read them!
Print It
Pin It
Rate It
Save It
Saved!
Prevent your screen from going dark
Course:
Dessert, Snack
Cuisine:
American
24
squares
45 minutes
219
Amanda Davis
Ingredients
-
½
cup
unsalted butter
at room temperature -
1
cup
creamy peanut butter -
2
teaspoons
pure vanilla extract -
20
ounces
mini marshmallows
two 10 ounce bags -
10
cups
Rice Krispies cereal
Things You’ll Need
-
13×9 baking dish -
Rubber spatula -
Stockpot
or other large pot
Before You Begin
- You can use any creamy peanut butter, including natural varieties (just stir well!), but avoid crunchy styles as they will alter the smooth texture of the treats.
- Mini marshmallows are ideal for quick and even melting. If using regular-sized marshmallows, chop them into smaller pieces to help them melt faster and prevent scorching.
- To ensure your treats are soft and chewy, do not over-compress the mixture into the pan. Press lightly! Also, never refrigerate the finished treats; the cold will make them hard and dense.
- The key to gooey, perfect treats is to melt the marshmallows over low heat, stirring constantly, and avoid burning them.
Instructions
-
Line a 9×13-inch baking pan with parchment paper.
TIP – If you don’t have parchment paper to line the baking pan, you can also grease the pan with butter (having the parchment paper makes for slightly easier removal).
-
Cut butter into quarters and place in a large pot over medium heat.1/2 cup unsalted butter
-
Once the butter starts to foam, reduce the heat to low and add the peanut butter and vanilla extract. Stirring until smooth.1 cup creamy peanut butter,
2 teaspoons pure vanilla extract -
Add the mini marshmallows and stir continuously until they are melted and no white streaks remain.
TIP – Be careful not to burn the marshmallow mixture while melting it; it’s important to keep it at a low heat and stir continuously.
20 ounces mini marshmallows -
Pour in the Rice Krispies cereal, and, working quickly, stir until the cereal is coated in the marshmallow mixture. Be careful not to crush the cereal when stirring (I find using a soft silicone spatula avoids this).10 cups Rice Krispies cereal
-
Transfer the mixture to the prepared baking pan and spread it into an even layer, making sure to reach the corners.
-
Allow to set for 30 minutes and then slice into 24 equal servings.
Expert Tips & FAQs
- It is best to store them at room temperature kept in an air-tight container. They don’t need to be refrigerated, (doing so will make the treats hard).
- To prevent sticky hands or spatula when pressing the mixture into the pan, lightly grease them with butter or cooking spray.
- For perfect clean slices, allow the treats to cool completely and firm up before cutting. A sharp, lightly oiled knife works wonders.
- Don’t be afraid to customize! Consider adding a handful of mini chocolate chips, sprinkles, or even a sprinkle of chopped peanuts for extra texture and flavor.
Nutrition
Serving:
1
square
|
Calories:
219
cal
|
Carbohydrates:
32
g
|
Protein:
4
g
|
Fat:
10
g
|
Saturated Fat:
4
g
|
Polyunsaturated Fat:
2
g
|
Monounsaturated Fat:
4
g
|
Trans Fat:
0.2
g
|
Cholesterol:
10
mg
|
Sodium:
127
mg
|
Potassium:
78
mg
|
Fiber:
1
g
|
Sugar:
16
g
|
Vitamin A:
894
IU
|
Vitamin C:
7
mg
|
Calcium:
8
mg
|
Iron:
4
mg
Tried this Recipe? Pin it for Later!
Follow on Pinterest @AmandasCookin or tag #AmandasCookin!
The recipes on this blog are tested with a conventional gas oven and gas stovetop. It’s important to note that some ovens, especially as they age, can cook and bake inconsistently. Using an inexpensive oven thermometer can assure you that your oven is truly heating to the proper temperature. If you use a toaster oven or countertop oven, please keep in mind that they may not distribute heat the same as a conventional full sized oven and you may need to adjust your cooking/baking times. In the case of recipes made with a pressure cooker, air fryer, slow cooker, or other appliance, a link to the appliances we use is listed within each respective recipe. For baking recipes where measurements are given by weight, please note that results may not be the same if cups are used instead, and we can’t guarantee success with that method.
