Easy Garlic Green Beans: Your Go-To Flavorful Side Dish
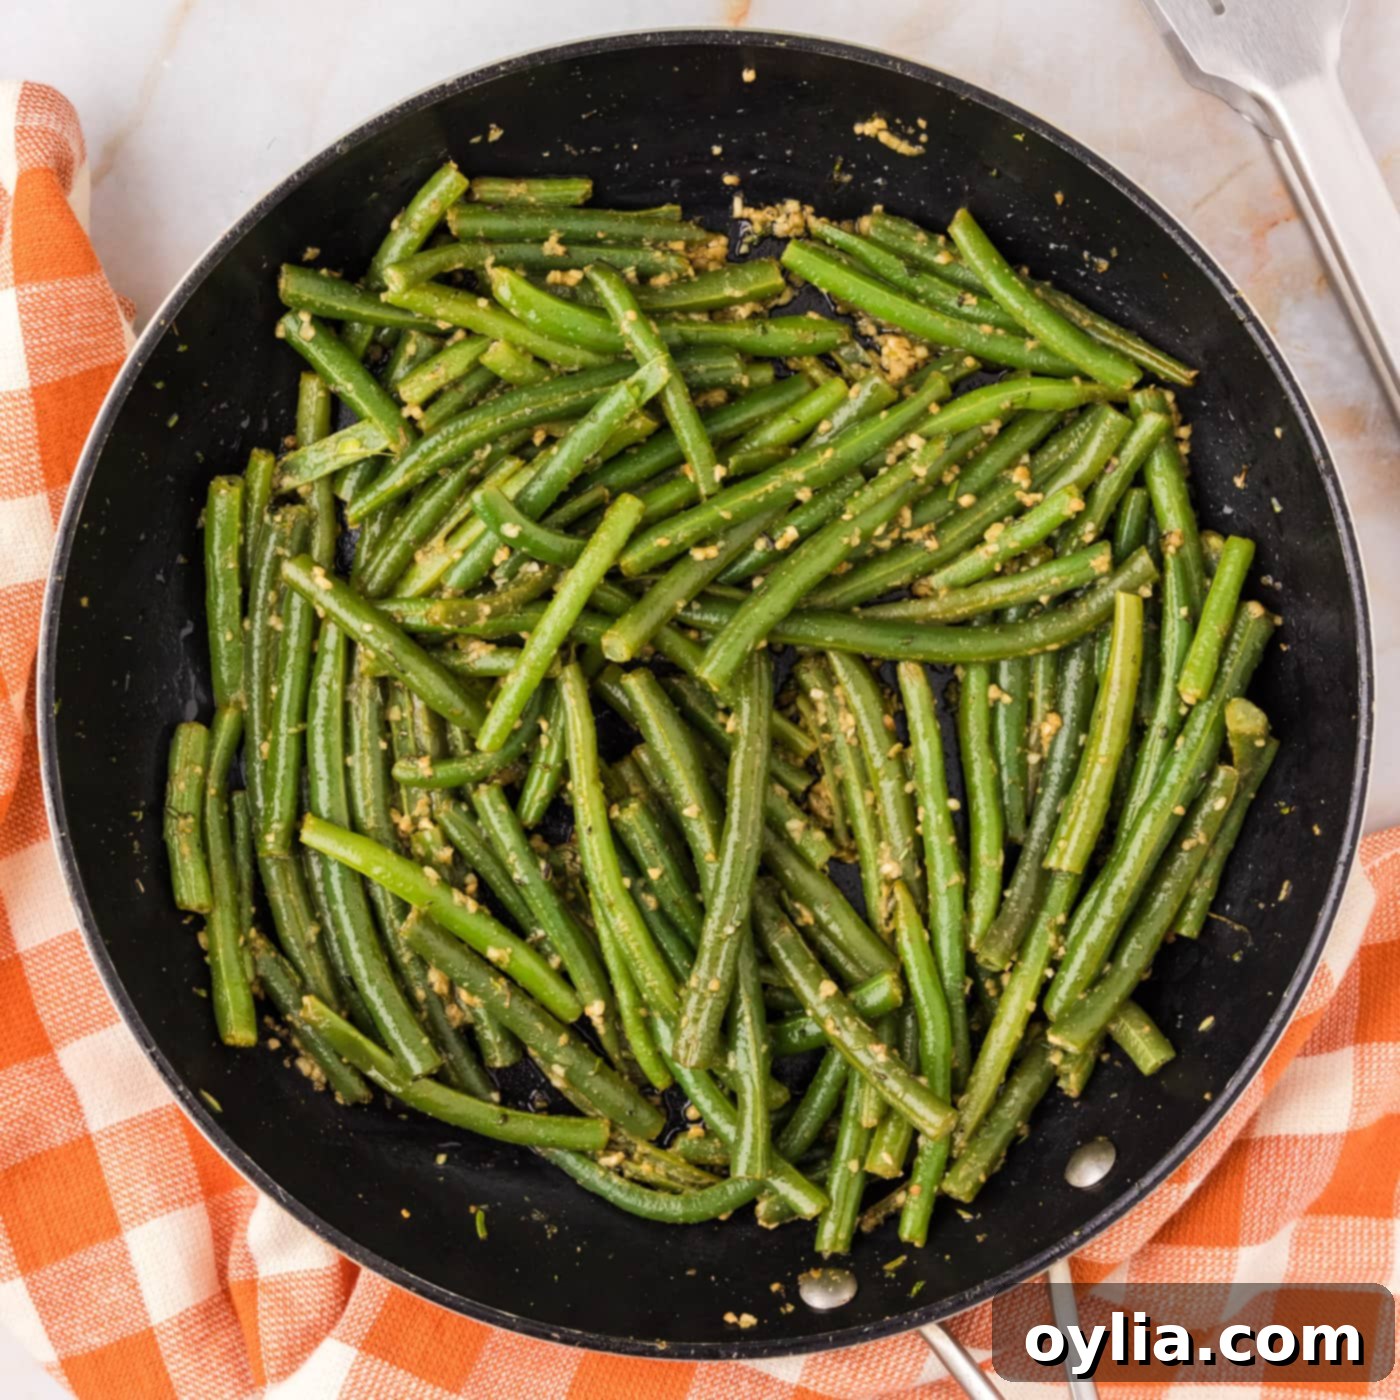
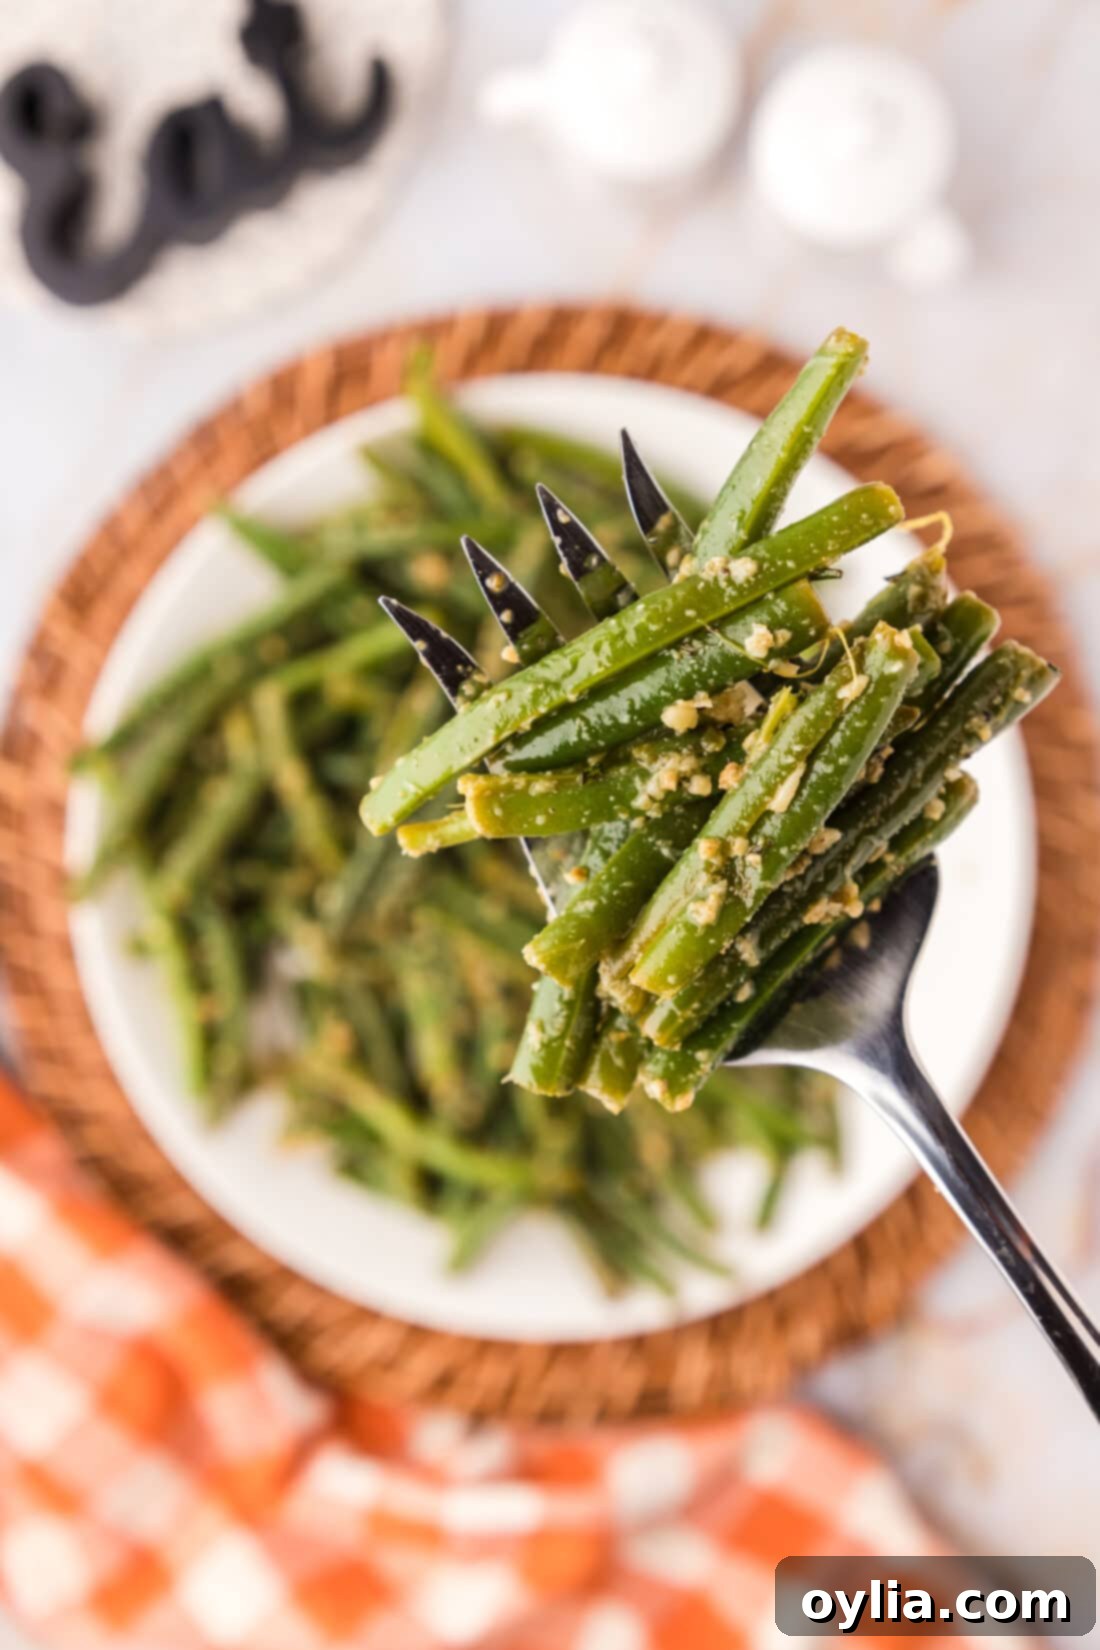
These easy garlic green beans are a culinary delight – tender yet vibrant, savory with a hint of earthiness, and bursting with the aromatic flavors of fresh garlic, fragrant sage, and rosemary. This simple recipe transforms humble green beans into an unforgettable side dish, perfect for elevating any meal, whether it’s a weeknight dinner or a special occasion.
Why This Recipe for Garlic Green Beans Works Wonders
Having a go-to garlic green beans recipe is truly essential for those busy nights when you need a reliably delicious, neutral, and nutritious vegetable side dish. This recipe stands out because it combines a quick blanching method with a flavorful sauté, resulting in perfectly tender-crisp green beans every time. We’ll guide you through blanching the green beans in boiling water to lock in their vibrant color and slight crunch, followed by a cozy sear in a hot skillet with generous amounts of olive oil, freshly minced garlic, and aromatic herbs.
This technique ensures the green beans are cooked through without being mushy, retaining their natural sweetness while absorbing the rich savory notes of the garlic, sage, and rosemary. Whether you prefer roasted green beans for a hands-off approach, air fryer green beans for extra crispiness, or these classic sautéed green beans, you’ll appreciate how incredibly versatile this vegetable is. Our garlic green beans are guaranteed to pair beautifully with a plethora of different main courses, making them a staple in any home cook’s repertoire.
Health Benefits of Green Beans
Beyond their delicious taste and versatility, green beans offer a wealth of health benefits. They are an excellent source of vitamins C, K, and A, as well as several B vitamins like folate. Vitamin K is crucial for blood clotting and bone health, while Vitamin C boosts immunity. Green beans also provide a good amount of dietary fiber, which aids digestion, helps maintain healthy blood sugar levels, and contributes to a feeling of fullness, making them great for weight management. Rich in antioxidants and minerals such as manganese and potassium, these vibrant legumes support overall well-being. Incorporating garlic green beans into your diet is a flavorful way to enjoy these nutritional advantages.
Ingredients You Will Need for the Best Garlic Green Beans
You’ll find all precise measurements, ingredients, and comprehensive instructions in the printable recipe card at the very end of this post. Here’s a deeper dive into the components that make these garlic green beans truly special:
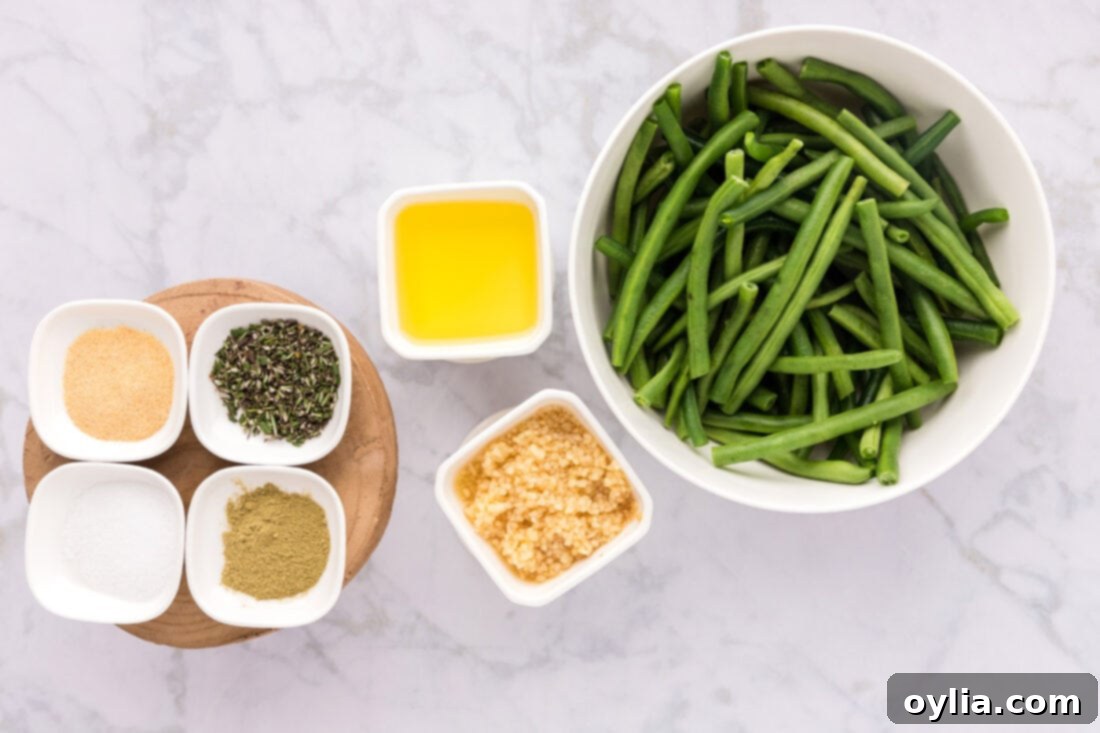
Ingredient Info and Substitution Suggestions
- GREEN BEANS: We highly recommend using fresh green beans for the best texture and vibrant color. Look for bright green, firm beans that snap easily. While we prefer to keep our green beans long for a more elegant presentation, feel free to trim yours shorter if that’s more convenient for you or your family. If fresh aren’t available, you can use frozen green beans; simply thaw them completely and pat them dry before boiling to prevent excess water from diluting the flavors.
- MINCED GARLIC: Freshly minced garlic is key to the profound flavor profile of this dish. The recipe calls for a generous amount, divided, to infuse the beans at different stages of cooking. This dual application ensures a deep, aromatic garlic flavor. If you’re short on time, pre-minced garlic from a jar can work, but fresh truly makes a difference. For an extra kick, consider adding a pinch of red pepper flakes with the garlic.
- OLIVE OIL: A good quality extra virgin olive oil provides a smooth base for sautéing and imparts a subtle fruity note. You can substitute with avocado oil or another neutral high-heat oil if preferred. For an even richer flavor, you can use a combination of olive oil and a tablespoon of unsalted butter during the sautéing phase.
- FRESH ROSEMARY LEAVES: Fresh rosemary brings a piney, slightly peppery aroma that complements the green beans wonderfully. If fresh rosemary is unavailable, use about 1/2 teaspoon of dried rosemary, crushed between your fingers to release its oils, but remember fresh herbs always offer the best flavor.
- GROUND SAGE: Sage adds an earthy, slightly peppery flavor that pairs beautifully with garlic and green beans. Like rosemary, fresh sage leaves (finely chopped) would be fantastic, but ground sage works perfectly here for convenience. Use about 1/2 teaspoon if substituting with fresh chopped sage.
- GARLIC POWDER: This might seem redundant with fresh minced garlic, but garlic powder provides a different layer of garlic flavor – a more uniform, mellow garlic essence that coats the beans thoroughly. Don’t skip it!
- SALT AND PEPPER: Essential for seasoning to taste. Start with the suggested amount of salt, and always taste before adding more. Freshly ground black pepper can be added at the end for an extra burst of flavor.
How to Make Delicious Garlic Green Beans
These step-by-step photos and detailed instructions are here to help you visualize how to make this recipe perfectly. You can Jump to Recipe to get the printable version of this recipe, complete with precise measurements and comprehensive instructions, located at the bottom of this post.
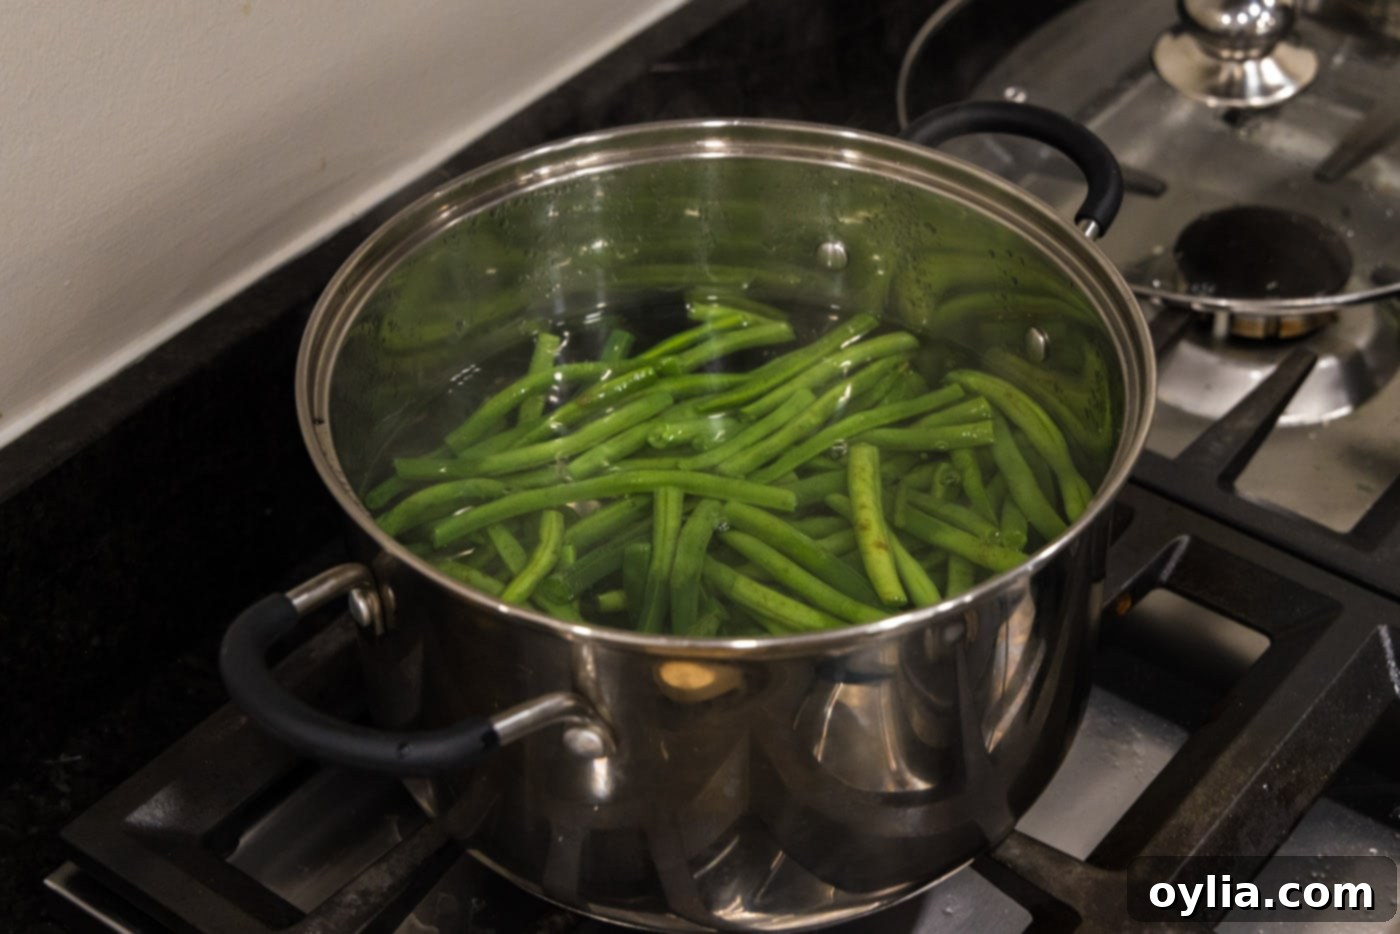
- Prepare for Blanching: Fill a large stockpot or Dutch oven about two-thirds full with water. Place it on high heat and bring the water to a rapid, rolling boil. This ensures the green beans cook quickly and evenly.
- Blanch the Green Beans: Carefully add your trimmed green beans to the vigorously boiling water. Allow the water to return to a boil. Once it’s boiling again, immediately turn off the heat. Let the green beans sit in the hot water for exactly 2 minutes. This brief blanching step helps to tenderize the beans, brighten their color, and remove any raw taste, without overcooking them.

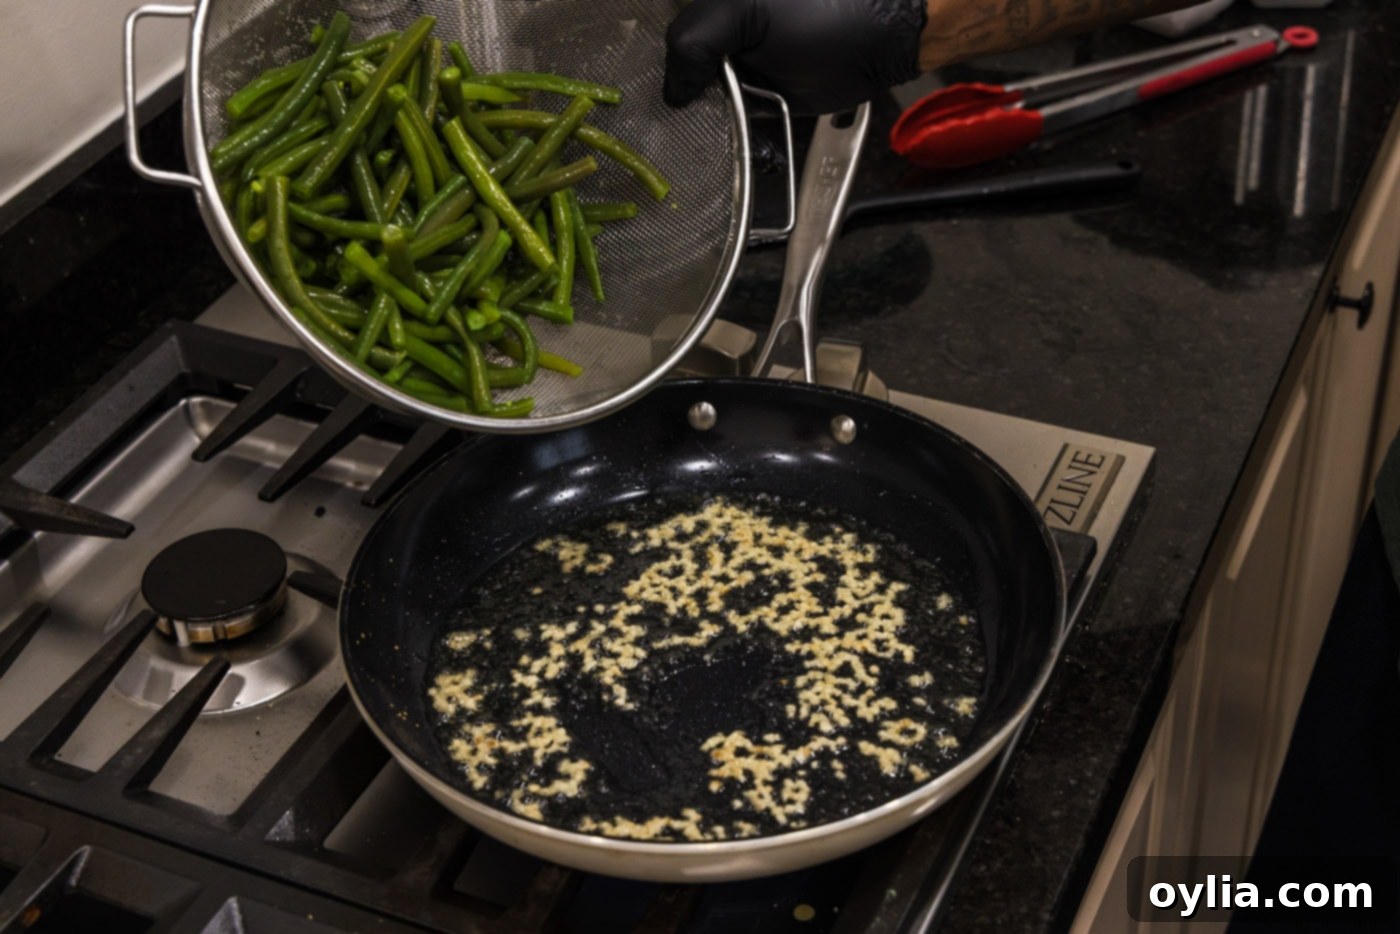
- Drain Thoroughly: Promptly drain the green beans in a colander. Shake off any excess water. You want them as dry as possible to ensure they sauté properly and don’t steam.
- Heat the Skillet: Place a large, heavy-bottomed skillet (cast iron or stainless steel works best) over medium-high heat. Add the olive oil and allow it to heat until it’s shimmering, indicating it’s hot enough to start cooking.
- First Garlic Infusion & Sauté: Add half of your minced garlic to the hot olive oil. Cook for just one minute, stirring constantly, until fragrant. Be careful not to burn the garlic, as burnt garlic can taste bitter. Immediately add the drained green beans to the skillet. Use tongs to gently cook and toss the green beans for one to two minutes, allowing them to get a light sear and begin absorbing that initial garlic flavor.

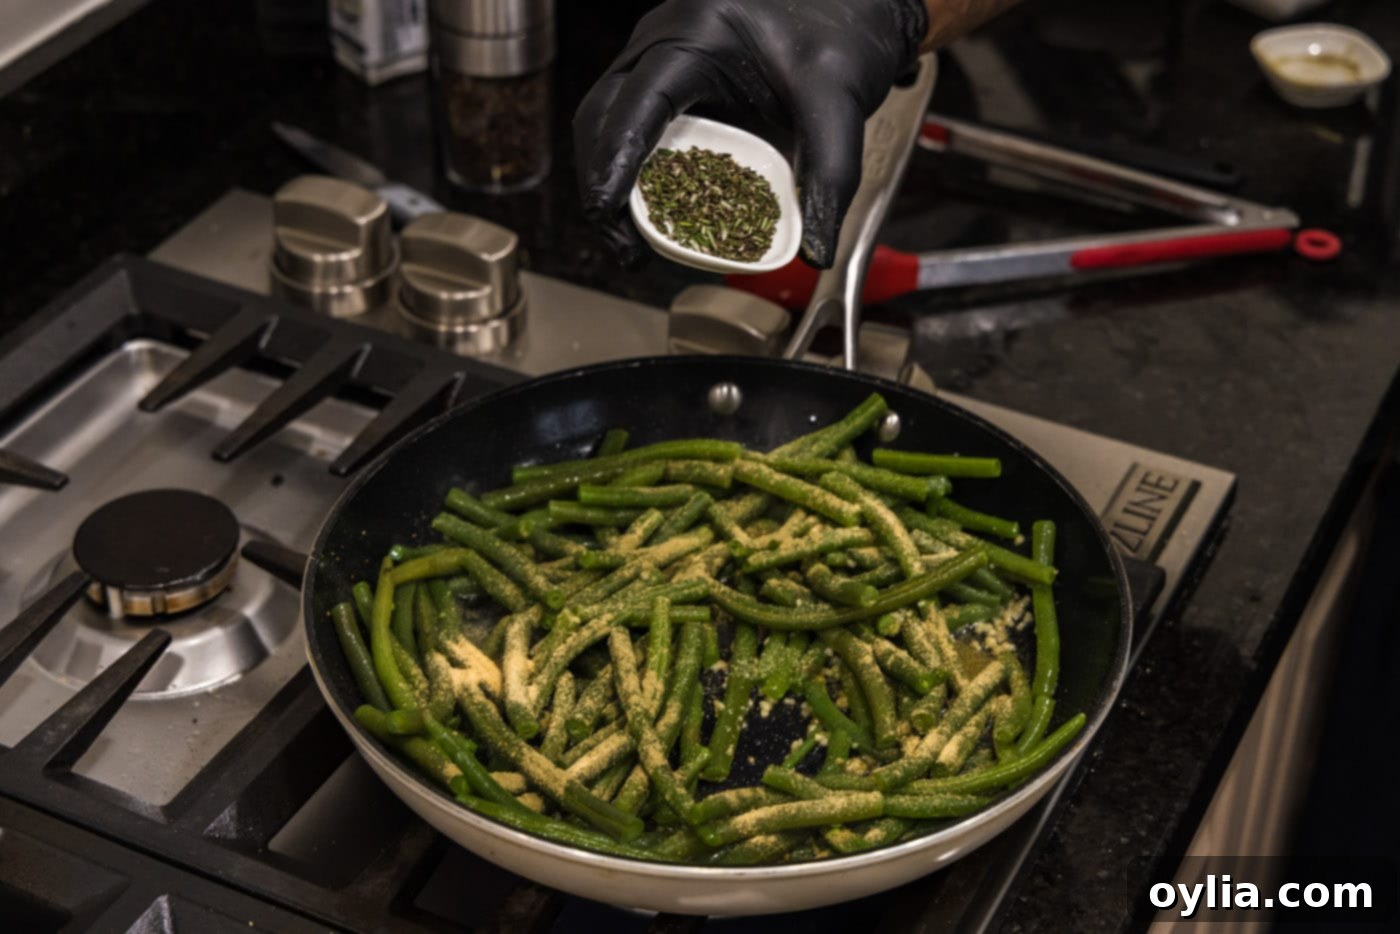
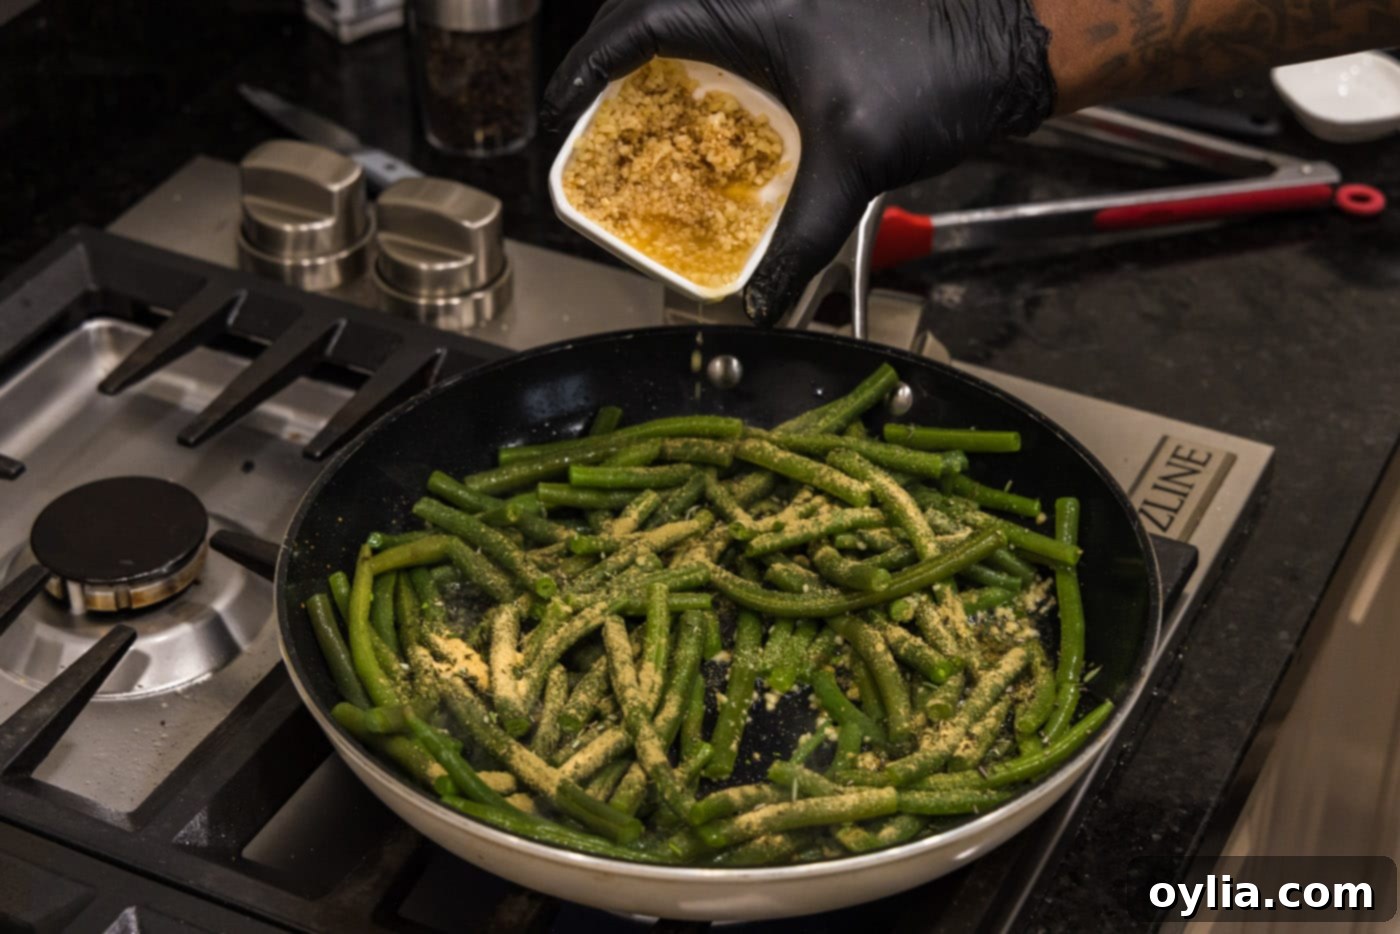
- Second Garlic & Herb Infusion: Sprinkle the ground sage, garlic powder, fresh rosemary, and the remaining minced garlic directly over the green beans in the skillet. This second addition of garlic ensures a fresh, potent garlic flavor throughout the dish.


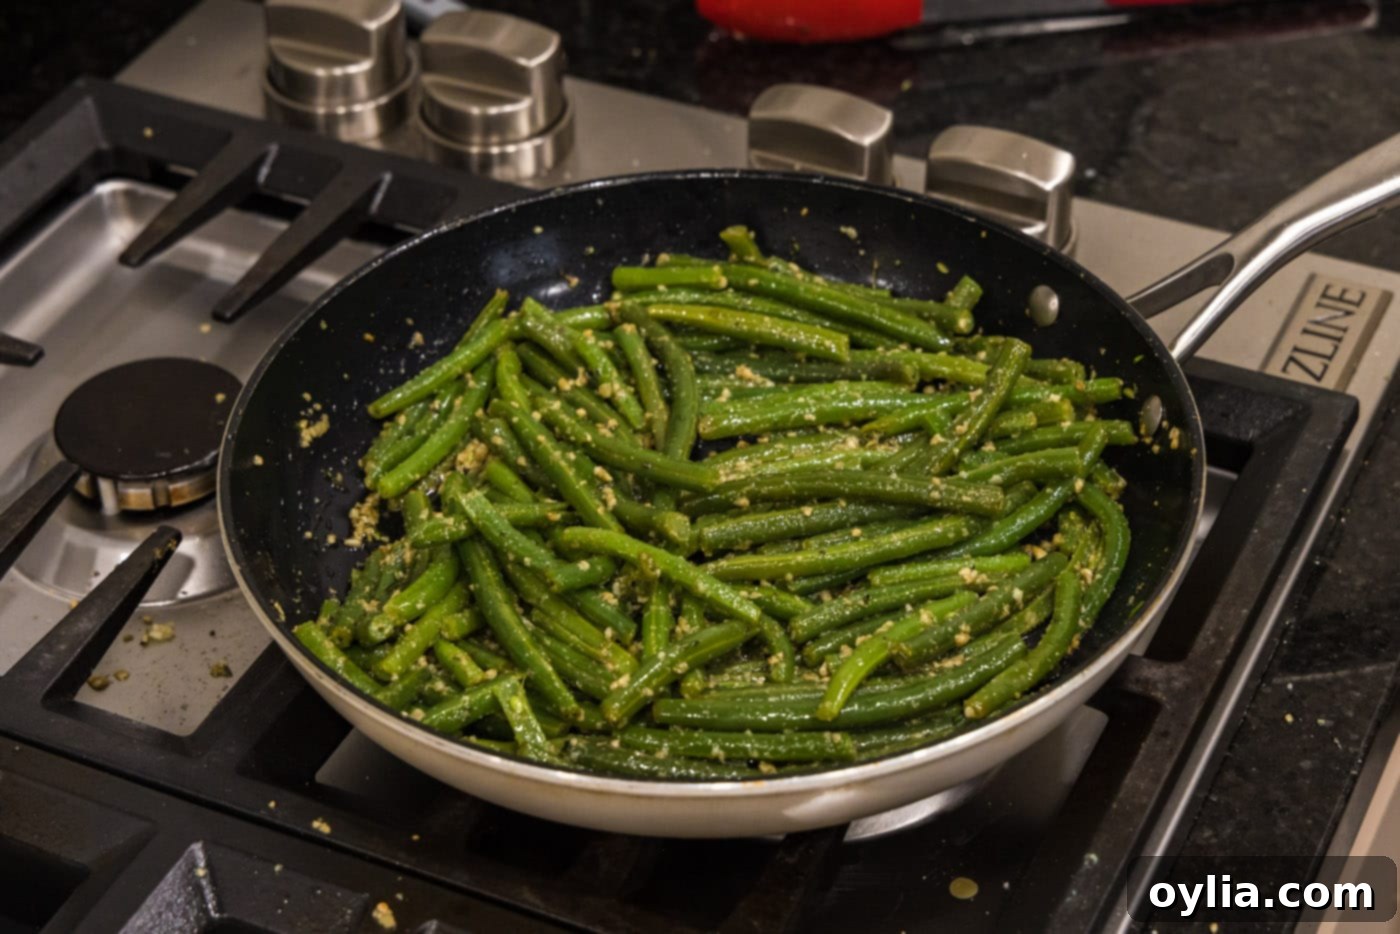
- Combine Flavors: Toss everything together with tongs, ensuring all the green beans are thoroughly coated with the herbs, garlic, and oil. Continue to cook for another 3-4 minutes, or until the green beans reach your desired level of tenderness. They should still have a slight crispness.

- Season and Serve: Taste the green beans and season with additional salt as needed. A final grind of black pepper is also a welcome addition. Serve immediately and enjoy!
Tips for Perfectly Tender-Crisp Green Beans
- Don’t Over-Boil: The initial boil (blanching) should be brief – just enough to tenderize slightly and enhance color. Over-boiling will lead to soggy beans. The 2-minute sitting time after boiling ensures they continue to cook gently.
- Ensure Dry Beans: After draining, make sure your green beans are as dry as possible. Excess water can steam the beans instead of sautéing them, preventing that desirable slight char and flavor absorption. A quick pat with a paper towel can help.
- Hot Skillet is Key: Begin with a hot skillet and shimmering olive oil. This is crucial for achieving a quick sear and preventing the beans from becoming limp.
- Don’t Overcrowd the Pan: If you’re making a very large batch, consider cooking the green beans in two smaller batches. An overcrowded pan will lower the temperature, leading to steaming instead of sautéing, and a less desirable texture.
- Taste and Adjust: Always taste your green beans before serving. Salt levels can vary, so adjust to your preference. A squeeze of fresh lemon juice at the end can also brighten all the flavors.
Flavor Variations to Try
While these garlic green beans are perfect as is, they are also wonderfully adaptable. Here are a few ideas to customize them:
- Lemon Zest & Juice: A squeeze of fresh lemon juice and a sprinkle of zest at the very end of cooking can add a bright, zesty finish that perfectly complements the garlic and herbs.
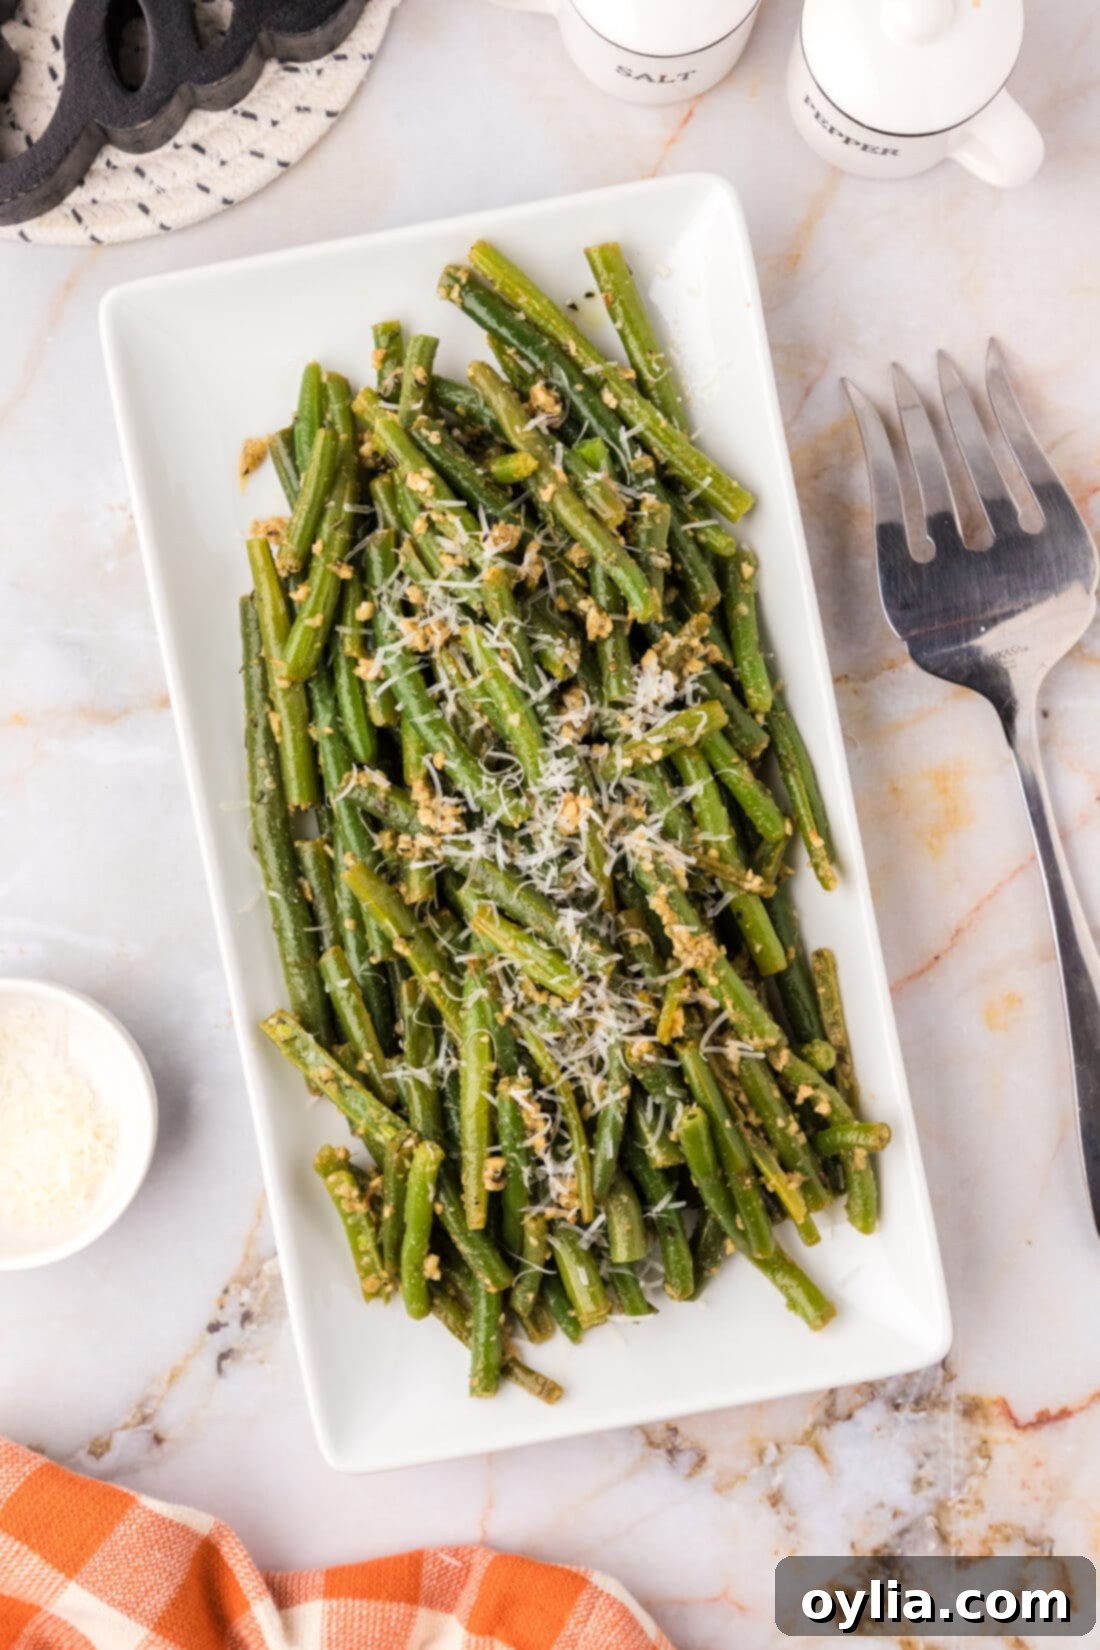
- Parmesan Cheese: For a cheesy twist, sprinkle a generous amount of grated Parmesan cheese over the hot green beans just before serving. The cheese will melt slightly and create a savory crust.
- Red Pepper Flakes: Add a pinch of red pepper flakes along with the garlic for a subtle heat that awakens the palate.
- Toasted Nuts: For added crunch and a nutty flavor, toss in some toasted slivered almonds, pine nuts, or chopped walnuts during the last minute of cooking.
- Bacon Bits: Crispy bacon bits (or turkey bacon for a lighter option) can be added at the very end for a smoky, savory depth. Cook the bacon first, remove, then use a little of the bacon fat to sauté the green beans for extra flavor.
Frequently Asked Questions & Expert Tips
Boiling, or more accurately, blanching the green beans before sautéing them is a crucial step that helps to tenderize the beans to a perfect al dente texture. It also locks in their vibrant green color. While not strictly necessary if you prefer your green beans very firm and crisp, blanching ensures a consistently tender-crisp result that is more palatable and allows the flavors of the garlic and herbs to truly shine through. It’s a technique often used in professional kitchens for optimal vegetable preparation.
Store any leftover garlic green beans in an air-tight container in the refrigerator for up to 4 days. When you’re ready to enjoy them again, reheat them gently in a skillet over medium-low heat with a small drizzle of olive oil or a splash of water until warmed through. Avoid reheating in the microwave if possible, as it can make them less crisp.
Yes, you can use frozen green beans. Thaw them completely before starting the recipe and pat them very dry with a paper towel. The blanching step might be slightly shorter, or you might even skip it if you prefer them very crisp, as frozen beans are often partially cooked. Adjust the cooking time in the skillet accordingly, as they may require less time than fresh beans.
You can certainly prepare parts of this dish in advance. You can blanch the green beans up to a day ahead, then cool them rapidly in an ice bath (to stop cooking and set color), drain thoroughly, and store in an airtight container in the refrigerator. When ready to serve, simply proceed with the sautéing steps. This makes it a great option for meal prep or entertaining.
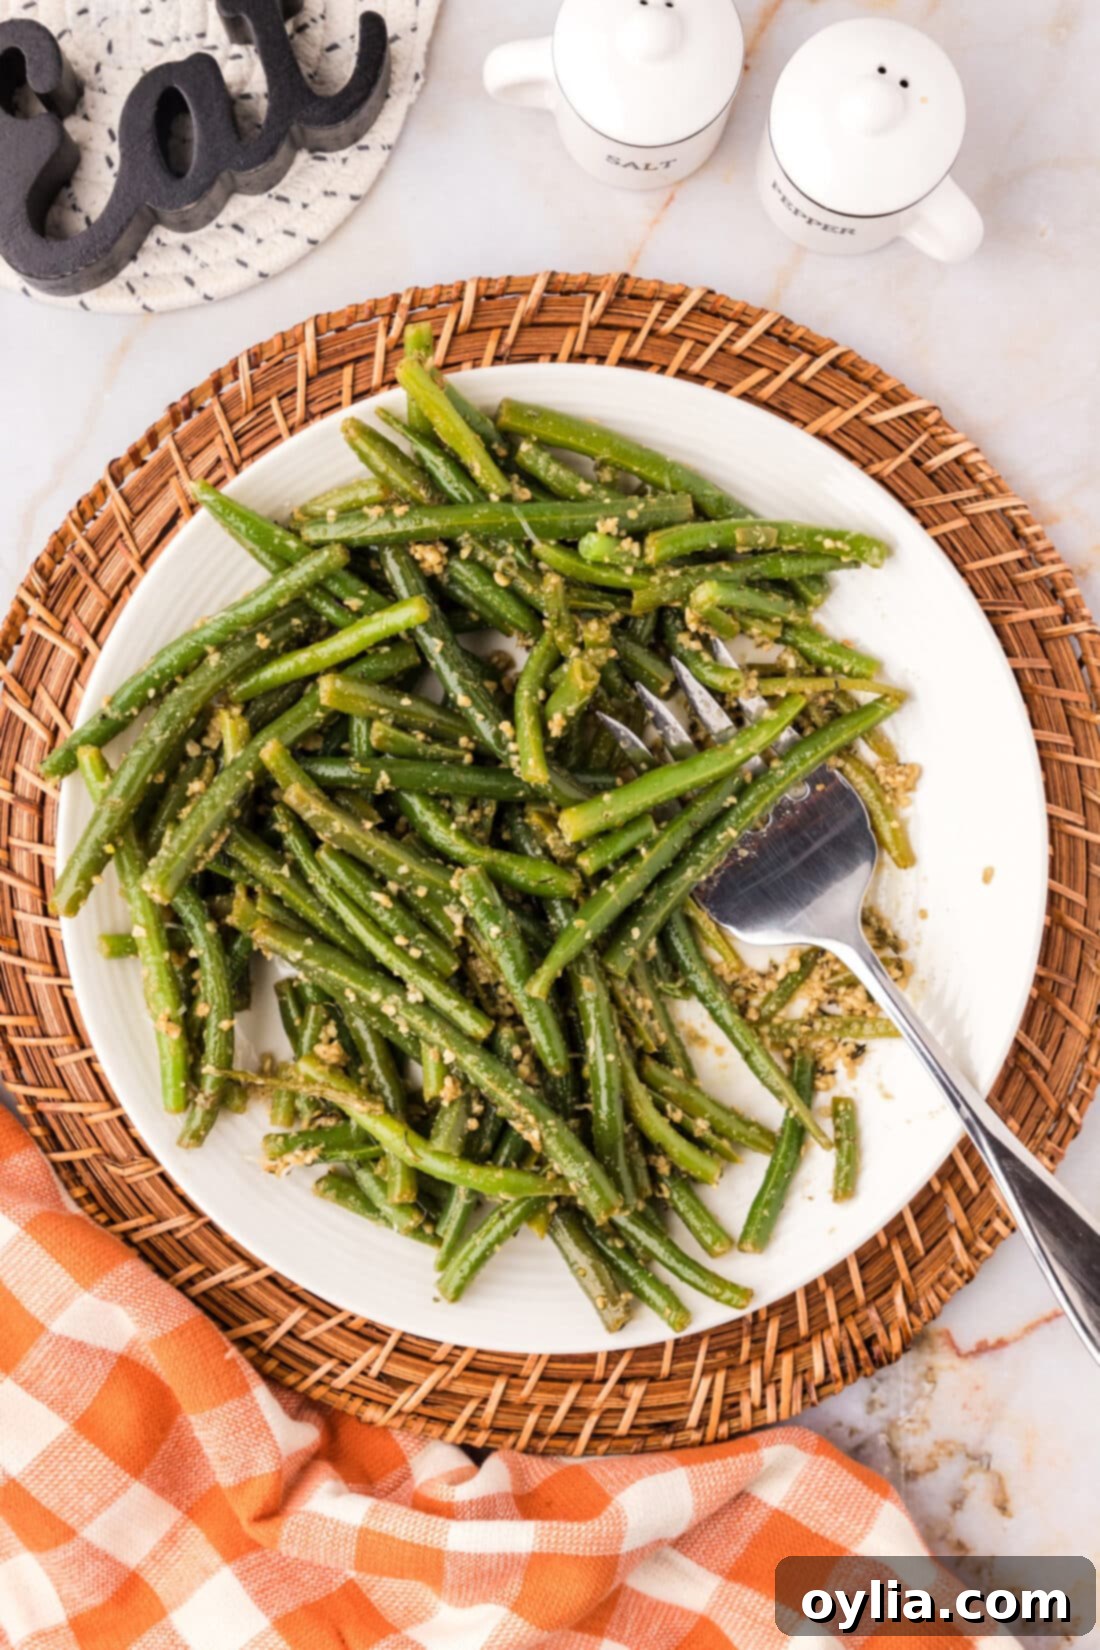
Serving Suggestions for Garlic Green Beans
As garlic green beans are a truly versatile and neutral side dish, they genuinely pair well with almost any main course you can imagine. Their fresh, savory flavor profile complements a wide array of proteins, from succulent beef and tender chicken to delicate seafood and rich pork. The simplicity of this side allows the main dish to shine while still providing a flavorful and nutritious accompaniment.
Consider serving them alongside classic comfort foods or sophisticated dinner entrees. Optionally, you can garnish them with a sprinkle of freshly grated Parmesan cheese for an extra layer of savory goodness, or a squeeze of lemon juice for a bright finish. Try them alongside a perfectly cooked brown sugar salmon, a sizzling cast iron ribeye steak, or a juicy honey garlic chicken breast. They also make an excellent addition to holiday feasts, bringing a fresh, green element to the table that balances heavier dishes.
More Related Recipes You’ll Love
If you enjoyed these garlic green beans, you’re sure to appreciate these other delicious and easy recipes:
- Sauteed Zucchini: Another quick and healthy vegetable side.
- Sauteed Asparagus: Elegant and simple, perfect for spring.
- Garlic Butter Shrimp: A fast, flavorful main course that complements green beans beautifully.
- Garlic Roasted Potatoes: For another delightful garlic-infused side.
- Southern Green Beans: A more traditional, slow-cooked approach for tender beans.
- Green Beans Almondine: A classic French-inspired dish with toasted almonds.
I love to bake and cook and share my kitchen experience with all of you! Remembering to come back each day can be tough, that’s why I offer a convenient newsletter every time a new recipe posts. Simply subscribe and start receiving your free daily recipes!
Garlic Green Beans
IMPORTANT – There are often Frequently Asked Questions within the blog post that you may find helpful. Simply scroll back up to read them!
Print It
Pin It
Rate It
Save ItSaved!
Course: Side Dish
Cuisine: American
Ingredients
- 3 cups fresh green beans ends trimmed
- 3 Tablespoons minced garlic divided
- 4 Tablespoons olive oil
- 1 Tablespoon chopped fresh rosemary leaves
- 1 teaspoon ground sage
- 3 teaspoons garlic powder
- 1 teaspoon salt or to taste
Things You’ll Need
-
Stockpot or dutch oven
-
Large heavy bottomed skillet
Before You Begin
- We prefer our green beans long as they look nicer for presentation. You can cut yours shorter if you like.
- For best results, always use fresh green beans. If using frozen, thaw and pat dry thoroughly before starting.
- A hot skillet is essential for a proper sauté and to avoid steaming the beans.
Instructions
-
Fill a stock pot or Dutch oven 2/3 full with water. Bring pot to a rolling boil.
-
Add green beans to the boiling water and bring back to a boil. When water comes back to a boil, turn off the heat. Allow to sit for 2 minutes to tenderize.
-
Drain green beans thoroughly in a colander, shaking off excess water.
-
Heat olive oil in a large skillet over medium-high heat until shimmering.
-
Add half of the minced garlic and cook for one minute until fragrant. Add green beans and use tongs to cook and toss for a minute or two.
-
Sprinkle on ground sage, garlic powder, fresh rosemary, and the remaining minced garlic.
-
Toss with tongs to evenly incorporate all ingredients. Continue to cook for 3-4 minutes, or until desired tenderness is reached.
-
Season to taste with salt. Serve immediately.
Expert Tips & FAQs
- Store leftovers in an air-tight container kept in the refrigerator for up to 4 days. Reheat in a skillet over medium-low heat with a drizzle of olive oil to maintain texture.
- Blanching is optional but recommended for tender-crisp beans and vibrant color.
- Don’t overcrowd your skillet; cook in batches if necessary for best results.
Nutrition
Tried this Recipe? Pin it for Later!Follow on Pinterest @AmandasCookin or tag #AmandasCookin!
The recipes on this blog are tested with a conventional gas oven and gas stovetop. It’s important to note that some ovens, especially as they age, can cook and bake inconsistently. Using an inexpensive oven thermometer can assure you that your oven is truly heating to the proper temperature. If you use a toaster oven or countertop oven, please keep in mind that they may not distribute heat the same as a conventional full sized oven and you may need to adjust your cooking/baking times. In the case of recipes made with a pressure cooker, air fryer, slow cooker, or other appliance, a link to the appliances we use is listed within each respective recipe. For baking recipes where measurements are given by weight, please note that results may not be the same if cups are used instead, and we can’t guarantee success with that method.
