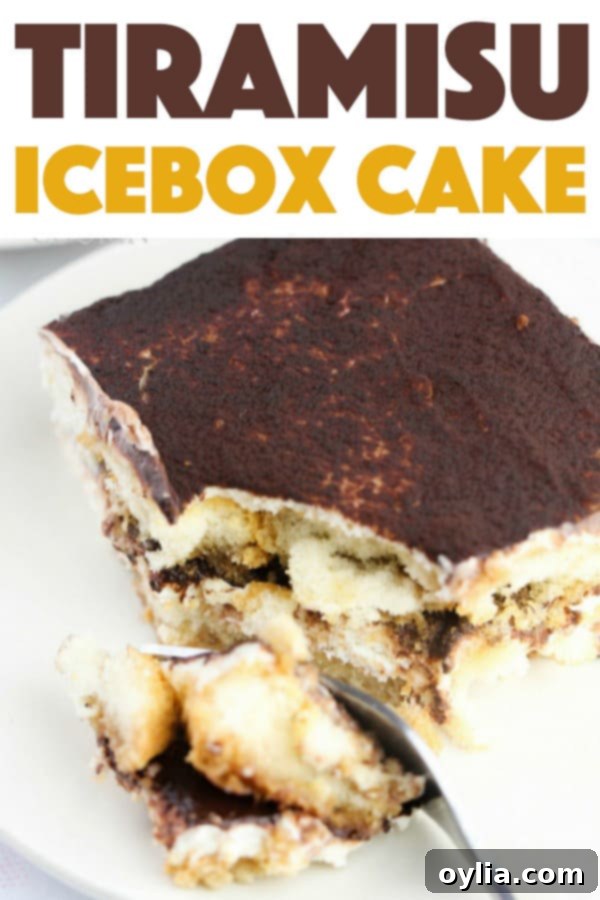
Easy No-Bake Tiramisu Icebox Cake: Your Ultimate Summer Dessert
This Tiramisu Icebox Cake recipe brings all the classic Italian flavors you love into a delightful, no-bake dessert. It’s so rich and authentic, your guests will be convinced it came straight from a gourmet bakery. Just like a refreshing Strawberry Icebox Cake, this Tiramisu version is a perfect solution for summer entertaining, offering a cool, creamy treat without ever turning on your oven. Get ready to impress with minimal effort!
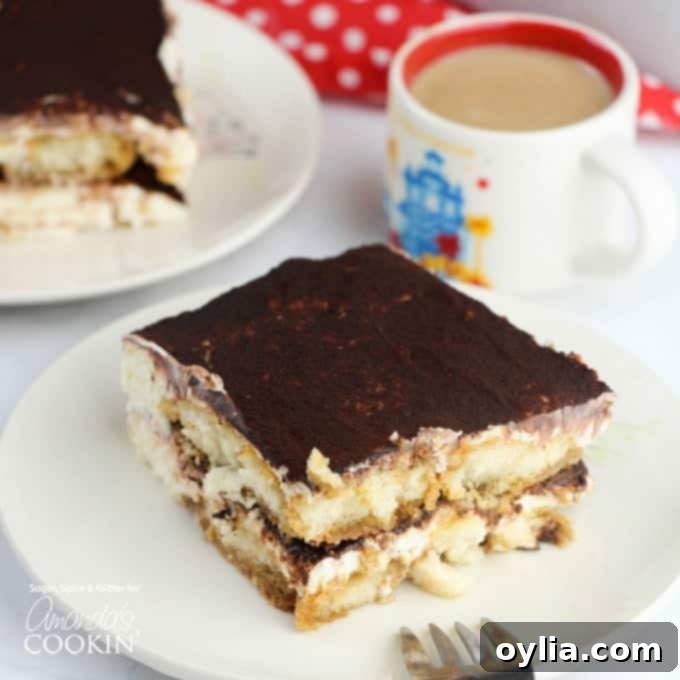
The Ultimate No-Bake Tiramisu Icebox Cake: A Summer Dessert Dream
My fascination with icebox cakes began years ago when I whipped up my 10-minute S’mores Cake. The sheer simplicity and incredible results had me hooked. This particular Tiramisu Icebox Cake holds a special place, as I created it for my 30th birthday. It struck the perfect balance: sophisticated enough for a milestone celebration, yet fun and approachable enough that even my 5-year-old adored it! It’s the kind of dessert that feels gourmet but requires surprisingly little effort.
For this recipe, we’re embracing the rich, coffee-infused layers and creamy goodness that define traditional tiramisu, all without the need for baking. The “icebox” method means assembly is quick, and the refrigeration does all the magic, transforming simple ingredients into a luscious, layered dessert. This makes it an ideal choice for warm weather gatherings or when you simply crave a decadent treat without the fuss of a hot oven.
Please note, this recipe includes coffee and a small amount of Amaretto liquor. Feel free to adjust serving sizes for children or omit the alcohol entirely for a family-friendly version. You can also opt for decaf coffee if serving in the evening to avoid caffeine.
RELATED: Looking for more easy, no-cook treats? Don’t miss our No-Cook Cookie Dough Bites or our refreshing No-Churn S’mores Ice Cream.
What Makes This Tiramisu Icebox Cake So Special?
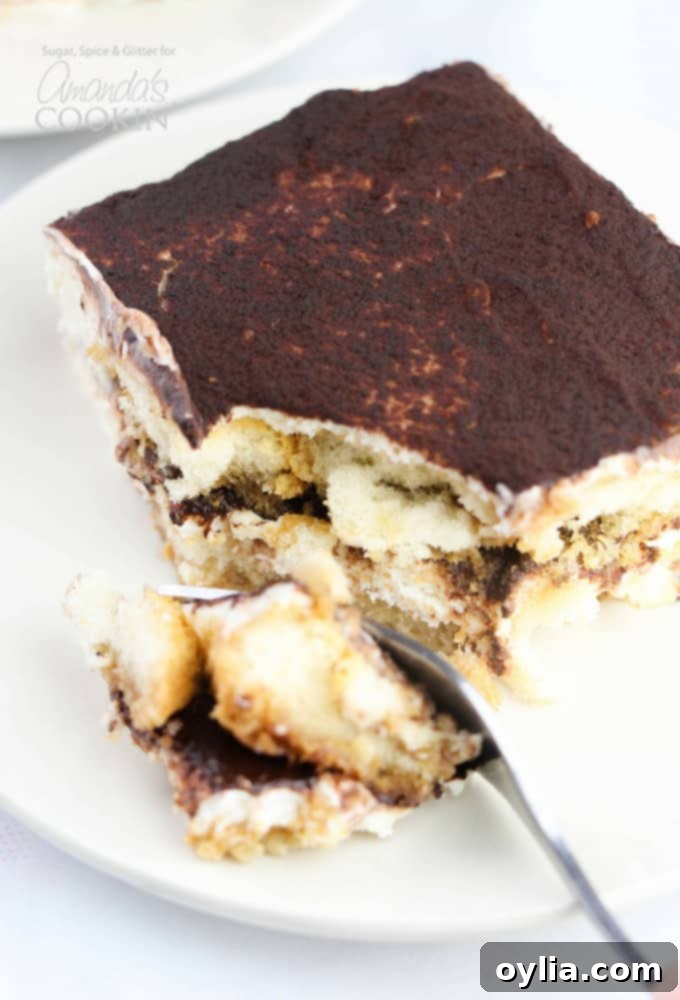
This Tiramisu Icebox Cake stands out for several reasons. Firstly, its no-bake nature makes it incredibly accessible and perfect for any skill level in the kitchen. There’s no complex baking or tempering required. Secondly, it captures the authentic essence of tiramisu with its coffee-soaked ladyfingers, rich cream, and dusting of cocoa. The layers meld beautifully as the cake chills, developing a depth of flavor that’s truly satisfying.
Icebox cakes are renowned for their make-ahead convenience, and this tiramisu version is no exception. Preparing it the day before not only saves you time on the day of your event but also allows the flavors to deepen and the textures to soften to perfection. This makes it an absolute lifesaver for busy hosts and hostesses. Whether you’re hosting a summer barbecue, a birthday party, or simply want a delicious dessert to enjoy throughout the week, this Tiramisu Icebox Cake is a versatile and crowd-pleasing option.
Ingredient Spotlight: Crafting the Perfect Creamy Layers
One of the beauties of this recipe is its adaptability, especially when it comes to the creamy filling. Traditionally, tiramisu uses mascarpone cheese, an Italian cream cheese with a distinct, rich flavor. However, I’ve found that mascarpone can sometimes be elusive in regular grocery stores. After visiting five different stores to track it down (!!!), I decided to develop a delicious and accessible substitute using more common ingredients. My alternative blend of cream cheese and ricotta cheese creates a similarly rich and slightly tangy cream that perfectly mimics the texture and flavor profile of mascarpone, ensuring you can make this fantastic dessert without a scavenger hunt.
The coffee component is crucial. I prefer using instant espresso powder for a robust coffee flavor that truly stands out, but regular strong coffee works just as well. For those planning to enjoy this dessert in the evening, opting for decaf coffee is a smart choice to avoid any late-night caffeine jitters. The Amaretto liquor adds a subtle almond note that complements the coffee and cocoa beautifully, enhancing the authentic Italian experience. If you prefer to skip the alcohol, you can simply omit it or replace it with a teaspoon of almond extract for a similar flavor.
Essential Ingredients for Your Tiramisu Icebox Cake

- 2 packages (16 oz total) cream cheese, softened: Forms the base of our rich, creamy filling, offering tang and structure.
- 1/2 cup ricotta cheese: Adds a delicate texture and authentic Italian creaminess, balancing the cream cheese.
- 2-4 Tablespoons half and half: Used to achieve the perfect, spreadable consistency for the cream layer. Adjust as needed.
- 1 cup powdered sugar: Sweetens the cream filling and dissolves smoothly for a silky texture.
- 200g (approximately 7 oz) ladyfinger cookies: The classic base of tiramisu, these sponge cookies absorb the coffee mixture beautifully.
- 2 teaspoons instant espresso powder: For a deep, intense coffee flavor in our dipping liquid.
- 1 1/2 cups boiling water: To dissolve the espresso powder and create the coffee dip.
- 2 Tablespoons Amaretto liquor: Adds a traditional almond note and depth of flavor. (Optional, can be omitted or substituted).
- 1/2 cup unsweetened cocoa powder: For dusting between layers and on top, providing a beautiful finish and slight bitterness.
Note on Mascarpone: To use mascarpone cheese in this recipe, use 8 oz of mascarpone, reduce the cream cheese to one package (8 oz), and omit the ricotta and half and half. You may need a splash of milk to reach the desired consistency.
Kitchen Tools You May Find Helpful:
- Measuring cups and spoons: Essential for accurate ingredient portions.
- Casserole dish (13×9 inch): The perfect size for assembling and chilling your icebox cake.
- Kettle: For quickly boiling water for the coffee mixture.
- Sifter: Ensures a smooth, even dusting of cocoa powder.
- Mixer (hand or stand): For effortlessly combining the creamy filling ingredients.
Step-by-Step Guide to Your Delicious Tiramisu Icebox Cake
Crafting this no-bake Tiramisu Icebox Cake is a straightforward process that yields incredibly delicious results. Follow these simple steps, and you’ll have a stunning dessert ready to chill.
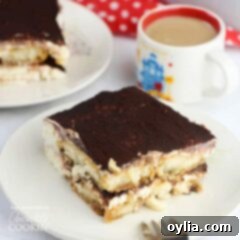
Tiramisu Icebox Cake
IMPORTANT – There are often Frequently Asked Questions within the blog post that you may find helpful. Simply scroll back up to read them!
Print It
Pin It
Rate It
Save ItSaved!
Ingredients
- 16 ounces cream cheese
- ½ cup ricotta cheese
- 3 Tablespoons half and half
- 1 cup powdered sugar
- 7 ounces lady finger cookies 200g
- 2 teaspoons instant espresso powder
- 1 ½ cups boiling water
- 2 Tablespoons Amaretto liquor
- ½ cup unsweetened cocoa powder
Instructions
-
Prepare the Coffee: Begin by setting a kettle to boil water. Once boiled, pour 1 1/2 cups of boiling water into a shallow bowl (wide enough to comfortably dip a ladyfinger). Stir in 2 teaspoons of instant espresso powder until fully dissolved. Set this aside to cool completely. It’s crucial the coffee is cool to prevent the ladyfingers from becoming overly soggy.
-
Make the Creamy Filling: In a large mixing bowl, combine the softened cream cheese, ricotta cheese, and powdered sugar. Using an electric mixer (handheld or stand mixer), beat on medium speed until the mixture is smooth and well combined. Gradually add 2-4 tablespoons of half and half, a tablespoon at a time, until the mixture reaches a smooth, spreadable consistency. It should be thick enough to hold its shape but easy to spread with a spatula. Set aside.
-
Prepare the Dish: Line a 13×9 inch casserole dish with parchment paper, leaving an overhang on the sides. This will make it much easier to lift the finished cake out of the dish for serving.
-
Assemble the First Layer of Ladyfingers: Once the espresso mixture has cooled, stir in the 2 tablespoons of Amaretto liquor (if using). Quickly dip each ladyfinger cookie, one by one, into the coffee mixture. Do not soak them; a quick dip on both sides is sufficient to prevent them from becoming too soggy. Arrange these dipped ladyfingers in an even layer on the bottom of your prepared casserole dish. You may need to break some ladyfingers to fill in any gaps.
-
Add the First Cream Layer: Take about half of the cream cheese mixture and carefully spoon it over the layer of ladyfingers. Using the back of a spoon or an offset spatula, gently spread it into an even, smooth layer, ensuring all the ladyfingers are covered.
-
Dust with Cocoa: Using a sifter, gently dust about half of the unsweetened cocoa powder over the cream layer. This adds a beautiful visual contrast and a hint of bitterness.
-
Repeat Layers: Repeat the layering process: add another layer of quickly dipped ladyfingers, followed by the remaining cream cheese mixture, spread evenly.
-
Final Dusting and Chill: Finish by dusting the top layer generously with the remaining cocoa powder using your sifter. Cover the casserole dish loosely with plastic wrap.
-
Refrigerate: Place the Tiramisu Icebox Cake in the refrigerator to firm up. It needs a minimum of 1 hour, but ideally, for the best flavor development and texture, chill it overnight (8-12 hours). This allows the ladyfingers to soften perfectly and the flavors to meld beautifully.
Nutrition
Tips for Tiramisu Icebox Cake Perfection
- Don’t Oversaturate Ladyfingers: This is key to preventing a soggy cake. A quick dip on each side is all you need. They will continue to soften as the cake chills.
- Chill Time is Essential: While 1 hour is the minimum, an overnight chill truly allows the flavors to meld and the cake to set perfectly. Plan ahead for the best results!
- Room Temperature Cream Cheese: Ensure your cream cheese is softened to room temperature for a lump-free, smooth filling. This makes mixing much easier.
- Even Layers: Take your time to spread the cream cheese mixture evenly. This not only looks better but ensures each bite has a balanced ratio of cream to cookie.
- Parchment Paper Slings: The parchment paper sling is a game-changer! It allows you to easily lift the entire cake out of the dish for clean slicing and presentation.
Customizing Your Tiramisu Icebox Cake
- Alcohol Substitutions: If Amaretto isn’t your preference, try other liqueurs like Kahlúa (coffee liqueur), Rum, Brandy, or even a different flavored syrup if going alcohol-free.
- Coffee Strength: Adjust the amount of espresso powder to your taste. For a milder coffee flavor, use less, or for a bolder kick, add a bit more.
- Kid-Friendly Version: Omit the Amaretto and use decaf coffee or a coffee substitute like Dandy Blend for a treat everyone can enjoy.
- Garnish Options: Beyond cocoa powder, consider shaving dark chocolate over the top, adding a sprinkle of chocolate-covered espresso beans, or a dollop of fresh whipped cream before serving.
- Individual Servings: Instead of a large casserole dish, you can assemble this tiramisu in individual glasses or ramekins for elegant single-serve portions.
Serving and Storing Your No-Bake Masterpiece
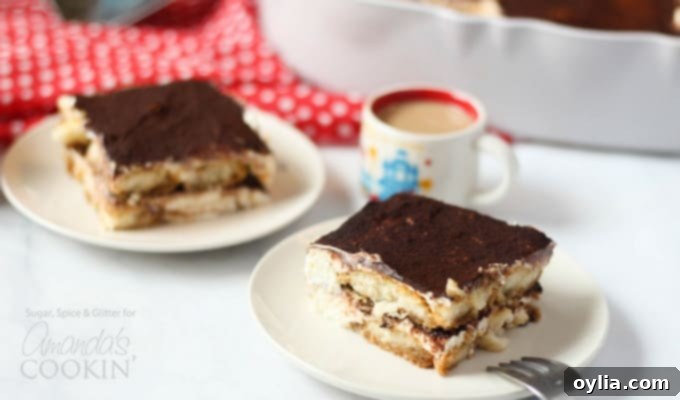
This no-bake Tiramisu Icebox Cake truly comes together in minutes, but its magic happens during the chilling phase. Once fully set, it’s the perfect dessert to serve alongside a warm cup of coffee, an authentic Italian meal, or as a refreshing treat on a hot summer day.
- Serving: Once chilled, use the parchment paper overhang to gently lift the cake from the dish onto a cutting board. Remove the parchment paper, slice into generous portions, and serve immediately.
- Storage: Leftovers can be stored in an airtight container in the refrigerator for up to 3-4 days. The flavors often deepen even further the next day, making it an excellent make-ahead dessert!
- Freezing: While it’s best enjoyed fresh from the fridge, you can freeze individual slices for up to 2 weeks. Wrap tightly in plastic wrap and then foil. Thaw in the refrigerator for a few hours before serving.
For more delicious quick and easy dessert recipes, be sure to check out these fantastic options:
- Lemon Lush
- Funfetti Icebox Cake
- Lemon Blueberry Icebox Cake
- Lemon Icebox Cake
- S’mores Icebox Cake
- Pineapple Dream Dessert
- Strawberry Jello Pretzel Salad
- Tiramisu Cake
- Chocolate Icebox Cake
- Individual Tiramisu
The recipes on this blog are tested with a conventional gas oven and gas stovetop. It’s important to note that some ovens, especially as they age, can cook and bake inconsistently. Using an inexpensive oven thermometer can assure you that your oven is truly heating to the proper temperature. If you use a toaster oven or countertop oven, please keep in mind that they may not distribute heat the same as a conventional full sized oven and you may need to adjust your cooking/baking times. In the case of recipes made with a pressure cooker, air fryer, slow cooker, or other appliance, a link to the appliances we use is listed within each respective recipe. For baking recipes where measurements are given by weight, please note that results may not be the same if cups are used instead, and we can’t guarantee success with that method.
