Irresistibly Soft & Sweet Homemade Lofthouse Cookies with Fluffy Frosting
Prepare to fall in love with these homemade Lofthouse cookies! They are incredibly soft, perfectly sweet, and literally melt in your mouth with every bite. The signature element? A luscious, smooth frosting, often adorned with a dash of colorful sprinkles, that makes them utterly irresistible. Forget the store-bought versions – this recipe allows you to recreate that beloved, nostalgic taste right in your own kitchen.
Why This Homemade Lofthouse Cookie Recipe Works Wonders
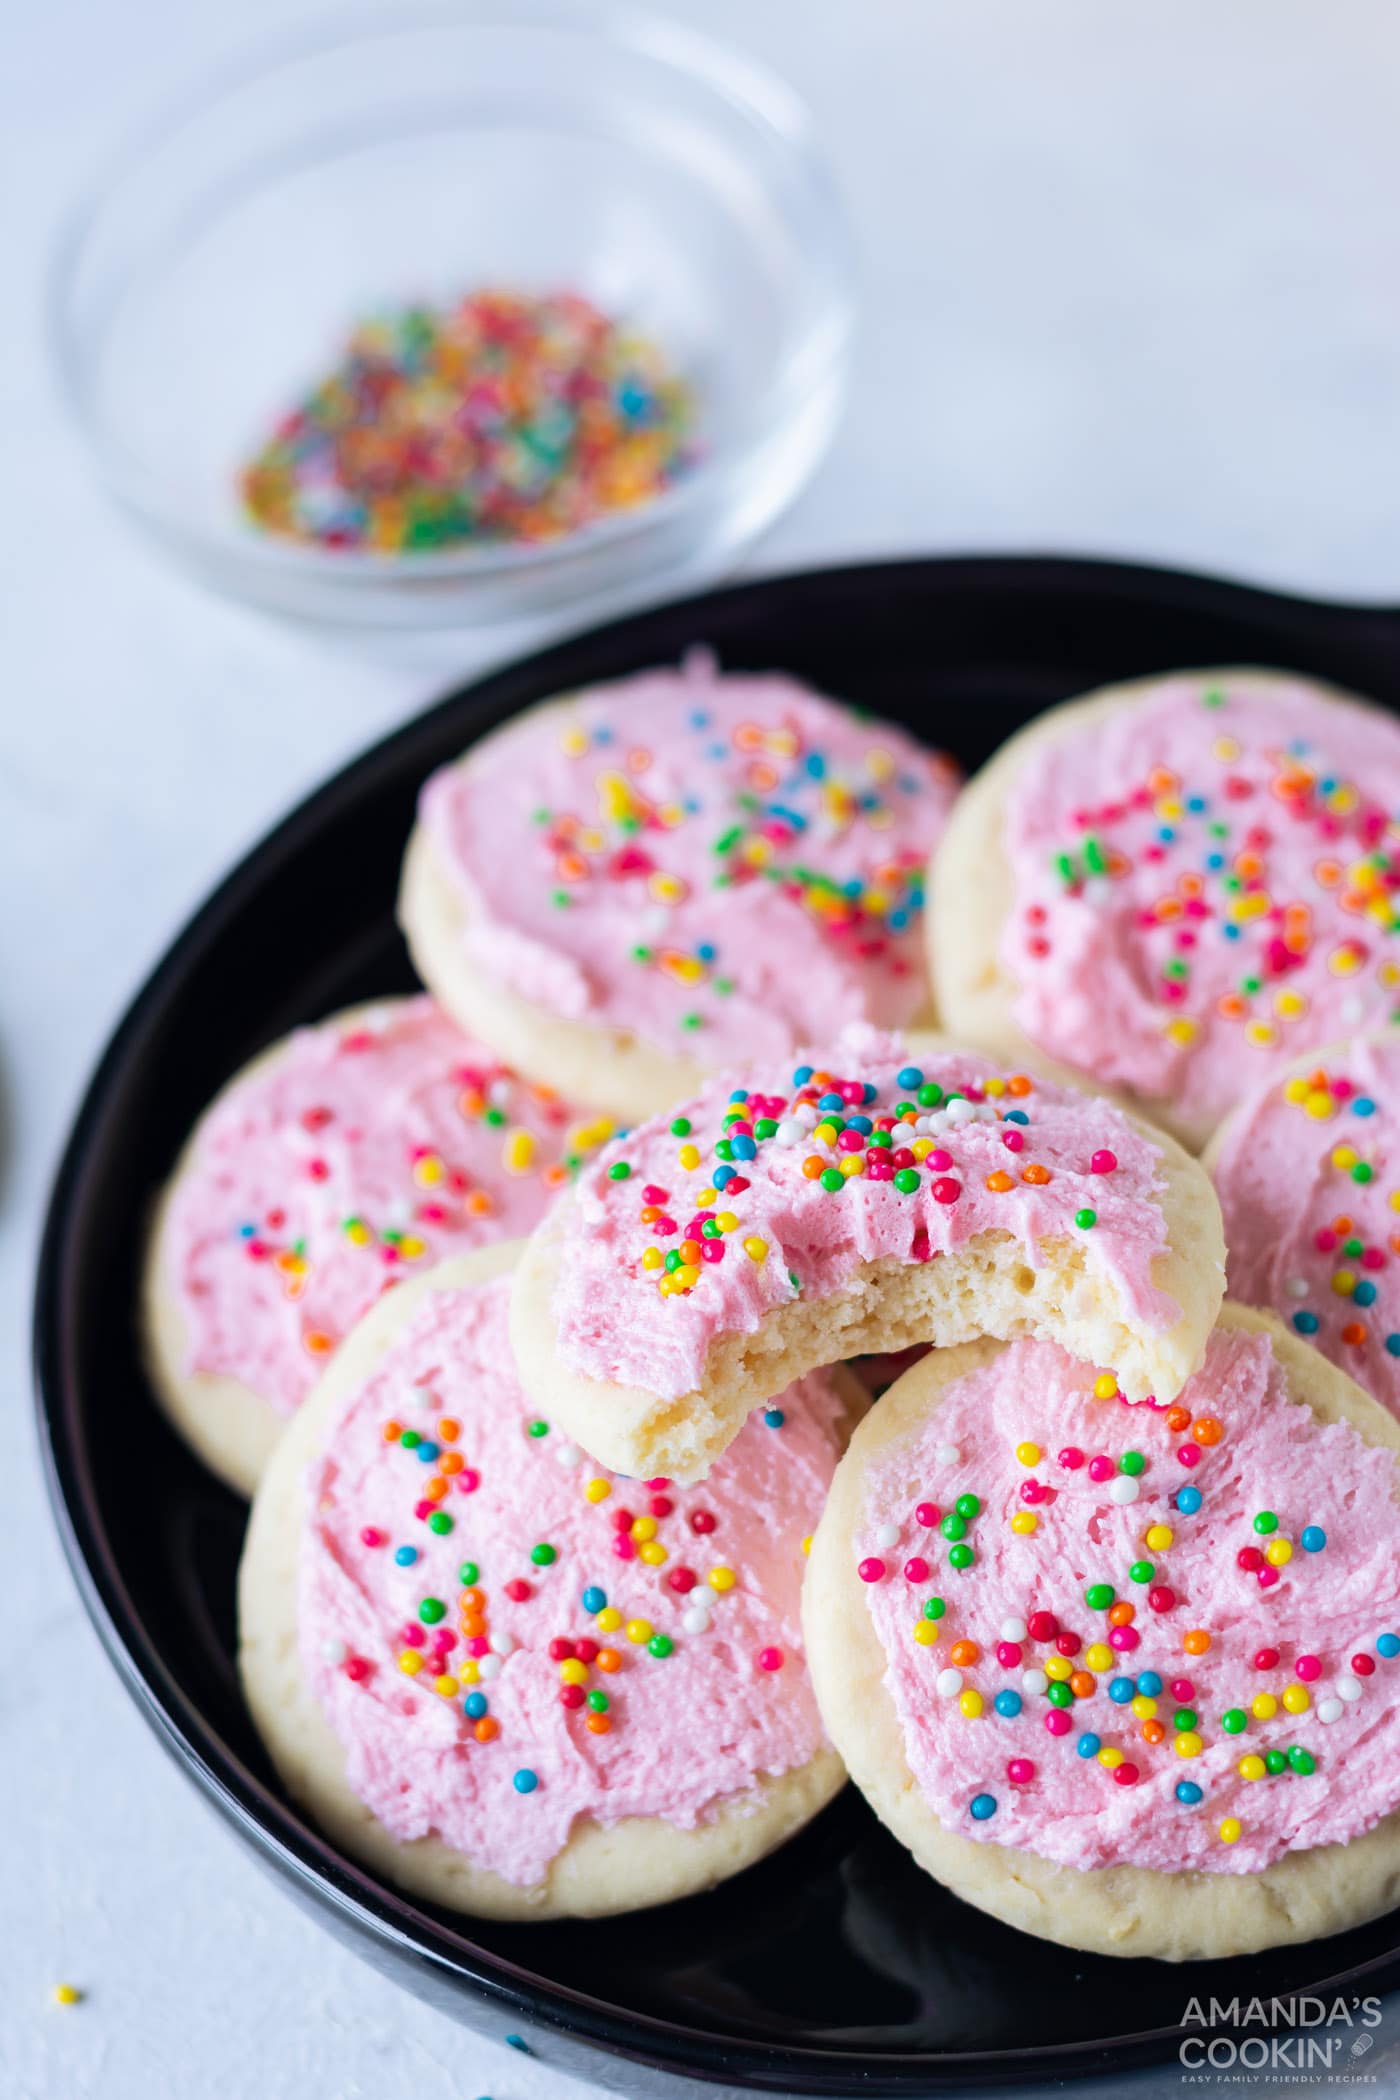
This copycat Lofthouse cookie recipe truly stands out because it perfectly mimics the famous store-bought variety, but with the added warmth and satisfaction of being made from scratch. The secret lies in achieving that signature pillowy softness and tender, almost cake-like texture that makes Lofthouse cookies so beloved. Each bite delivers a lusciously sweet experience, a hallmark of these classic sugar cookies.
While grabbing a package of cookies from the store might seem easier, the joy and pride of baking your own batch of homemade Lofthouse cookies are immeasurable. Not only do you get to control the quality of the ingredients, but you can also customize them for any occasion! Imagine vibrant frosting colors for holidays, seasonal sprinkles, or even unique flavor variations. This flexibility makes them a fantastic alternative to our frosted sugar cookie bars, offering a different presentation for your celebrations.
The precise combination of baking soda, baking powder, and cornstarch is key to their light and airy structure, preventing them from becoming dense or hard. Coupled with the perfect ratio of butter and sugar, and the moistening touch of sour cream, this recipe guarantees cookies that are tender, fluffy, and incredibly delightful – far superior to any pre-packaged alternative.
Key Ingredients for Perfect Lofthouse Cookies
To embark on your Lofthouse cookie baking adventure, you’ll need a selection of common baking ingredients. For precise measurements and step-by-step instructions, please refer to the detailed printable recipe card available at the end of this post. Here’s a quick overview of what you’ll need to gather:
- **For the Dough:** All-purpose flour, baking powder, baking soda, cornstarch, salt, unsalted butter, granulated sugar, vanilla extract, sour cream, and one large egg.
- **For the Frosting:** Unsalted butter, powdered sugar, and a touch of food coloring (optional) along with your favorite sprinkles for decoration.
Ensuring your ingredients are at the right temperature and measured correctly is crucial for the best results. A little attention to detail here will yield cookies that are perfectly soft and delightful.
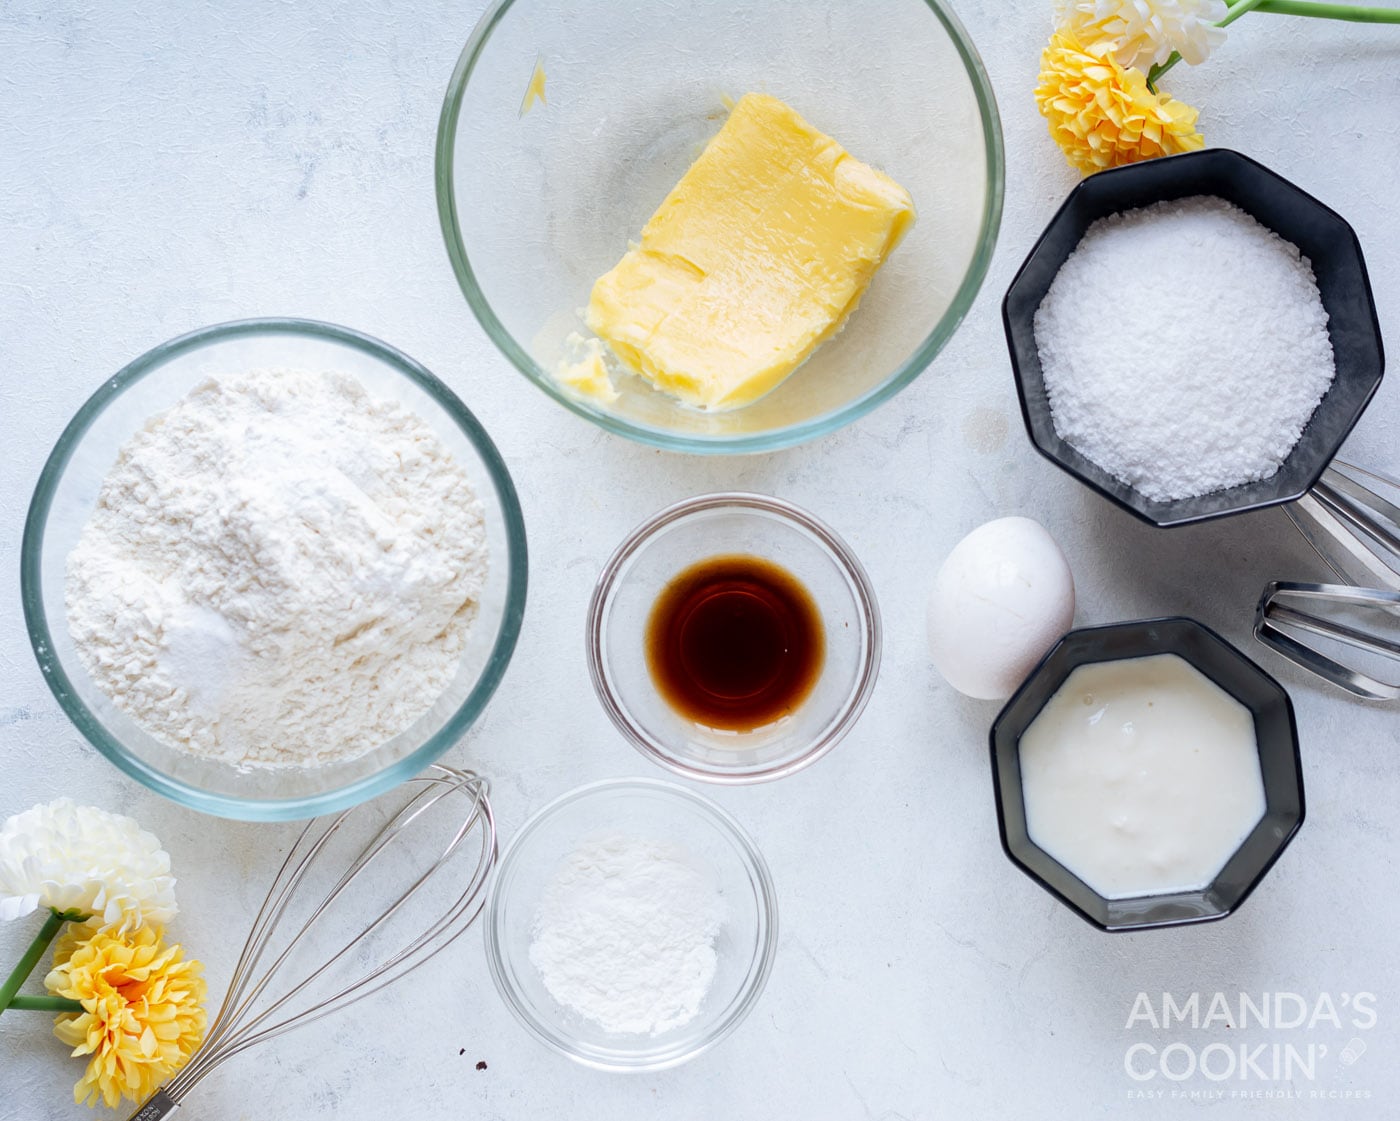
Ingredient Information and Expert Substitution Suggestions
For the Cookie Dough:
- Butter & Egg: It is absolutely essential that your butter and egg are at room temperature. This allows them to cream together properly with the sugar, creating an emulsified base that traps air, resulting in a lighter, fluffier cookie. Cold ingredients can lead to a dense, tough dough.
- Flour: Accuracy in measuring flour is key for that perfect soft texture. Always spoon your all-purpose flour into the measuring cup, then level it off with the flat side of a knife. Scooping directly from the bag can compact the flour, leading to too much flour in the dough, which will result in dry, dense cookies.
- Baking Soda, Baking Powder, & Cornstarch: Do not skip any of these! This powerful trio is what gives these cookies their signature soft, slightly cake-like, and fluffy texture, just like the store-bought Lofthouse cookies. Baking soda reacts with the sour cream to create lift, baking powder provides additional leavening, and cornstarch is the secret weapon for ultimate tenderness, preventing the cookies from becoming too chewy or hard.
- Sour Cream: This ingredient is vital for adding moisture, a subtle tang, and contributing to the overall softness and rich flavor of the cookies. If you don’t have sour cream, full-fat plain Greek yogurt can be used as a substitute in a pinch, but sour cream yields the most authentic results.
- Vanilla Extract: Use a good quality pure vanilla extract for the best flavor. It enhances the sweetness and adds depth to the cookie.
For the Frosting:
- Butter: Again, room temperature butter is crucial for a smooth, creamy frosting. It whips up much better and incorporates the powdered sugar seamlessly.
- Powdered Sugar: Also known as confectioners’ sugar, this fine sugar dissolves easily to create a silky-smooth frosting. Sifting it before adding to the butter can help prevent lumps.
- Food Coloring: While optional, food coloring is what gives Lofthouse cookies their vibrant, playful appearance. We highly recommend using gel food coloring over liquid. Gel colors are more concentrated, producing a much brighter and more vibrant hue with only a small amount, thus not altering the consistency of your frosting as much as liquid colors can.
How to Make Homemade Lofthouse Cookies: A Step-by-Step Guide
These step-by-step photos and instructions are here to help you visualize how to make this recipe perfectly. For a printable version of this recipe, complete with precise measurements and instructions, you can Jump to Recipe at the bottom of this page.
- **Prepare Your Workspace:** Preheat your oven to 180 C / 350 F. This ensures your oven is at the correct temperature when the cookies are ready to bake. Line your baking tray with parchment paper. Parchment paper prevents sticking and helps the cookies bake evenly, making cleanup a breeze.
- **Combine Dry Ingredients:** In a large bowl, whisk together your all-purpose flour, baking powder, baking soda, cornstarch, and salt. Make sure these are well combined to ensure even leavening throughout the cookies. Set this mixture aside. Remember not to add the granulated sugar here; that goes with the wet ingredients.
- **Cream Wet Ingredients:** In a separate, large mixing bowl, using an electric mixer, cream together the room temperature butter, granulated sugar, and vanilla extract until the mixture is light, fluffy, and creamy. This step is crucial for incorporating air and creating a tender crumb. Next, beat in the room temperature egg and sour cream until everything is fully combined and smooth. Scrape down the sides of the bowl as needed to ensure all ingredients are incorporated.
- **Combine Wet and Dry:** Gradually add the dry flour mixture to the wet butter mixture, a little at a time, mixing on low speed until just combined. Be careful not to overmix the dough, as overworking the gluten can lead to tough cookies. Mix until no dry streaks of flour remain.
- **Chill the Dough:** The dough should be soft and pliable. Form it into a rough, thick disc, wrap it tightly in plastic wrap or cover it with parchment paper, and refrigerate for at least 1 hour. Chilling is a vital step that prevents the cookies from spreading too much in the oven, helps the flavors meld, and makes the dough much easier to handle when rolling and cutting.
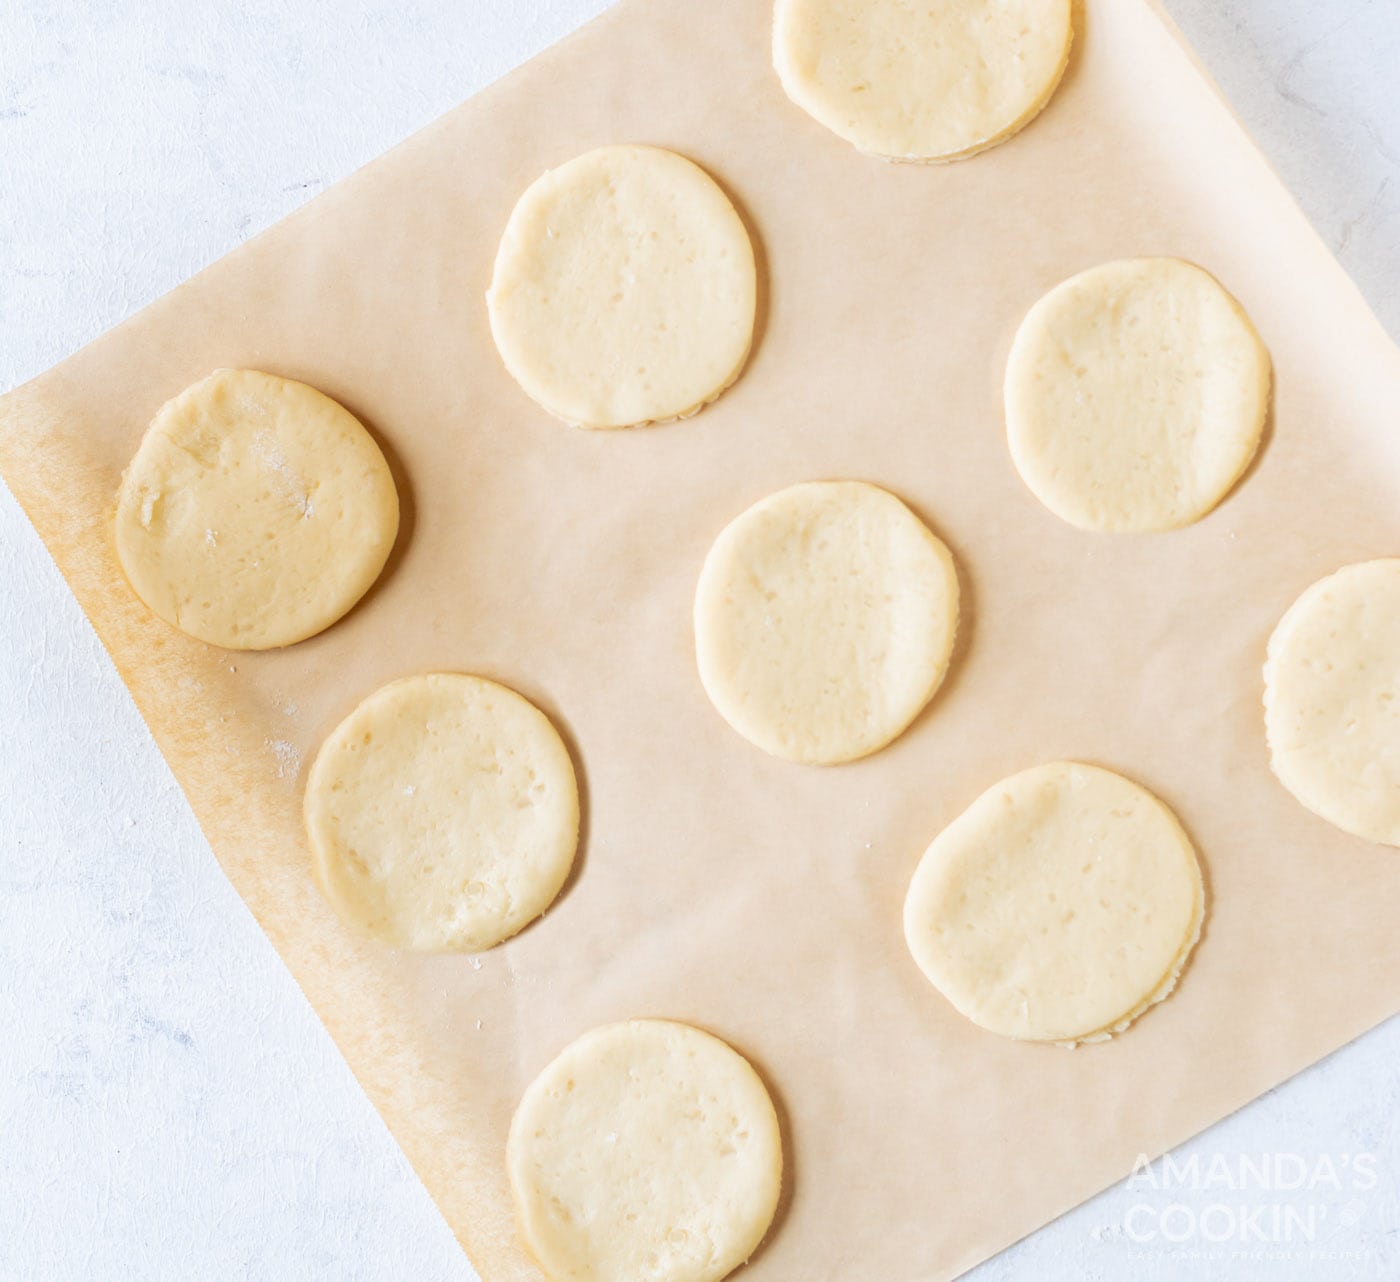
- **Roll and Cut:** Once the dough is thoroughly chilled, lightly flour your work surface and rolling pin. Roll the dough to an even 1/4 inch thickness. Using a 2-3 inch diameter cookie cutter, cut out your cookie discs. Carefully transfer them to your prepared baking sheet, leaving about 1-2 inches between each cookie.
EXPERT TIP: No cookie cutter or biscuit cutter? No problem! A clean, round drinking glass or mug rim can be used as a handy substitute to cut perfectly circular cookies.

- **Bake and Cool:** Bake the cookies for 9-10 minutes, or until the edges are just barely set and the tops are still very pale. Avoid browning them, as this will lead to a crispier cookie, deviating from the desired soft Lofthouse texture. Once baked, remove them from the oven and let them cool on the baking sheet for a few minutes before transferring them to a wire rack to cool completely. It’s crucial that cookies are fully cooled before frosting to prevent the frosting from melting.
- **Prepare the Icing:** While the cookies cool, prepare your delightful frosting. In a clean bowl, beat the room temperature butter using an electric mixer until creamy and smooth. Gradually add the powdered sugar, a little at a time, continuing to beat until the mixture is light, fluffy, and holds its shape. If the frosting is too thick, add a tiny splash of milk or cream; if too thin, add more powdered sugar. Add your desired gel food coloring; we used just 1 drop of pink gel food coloring for a classic look.
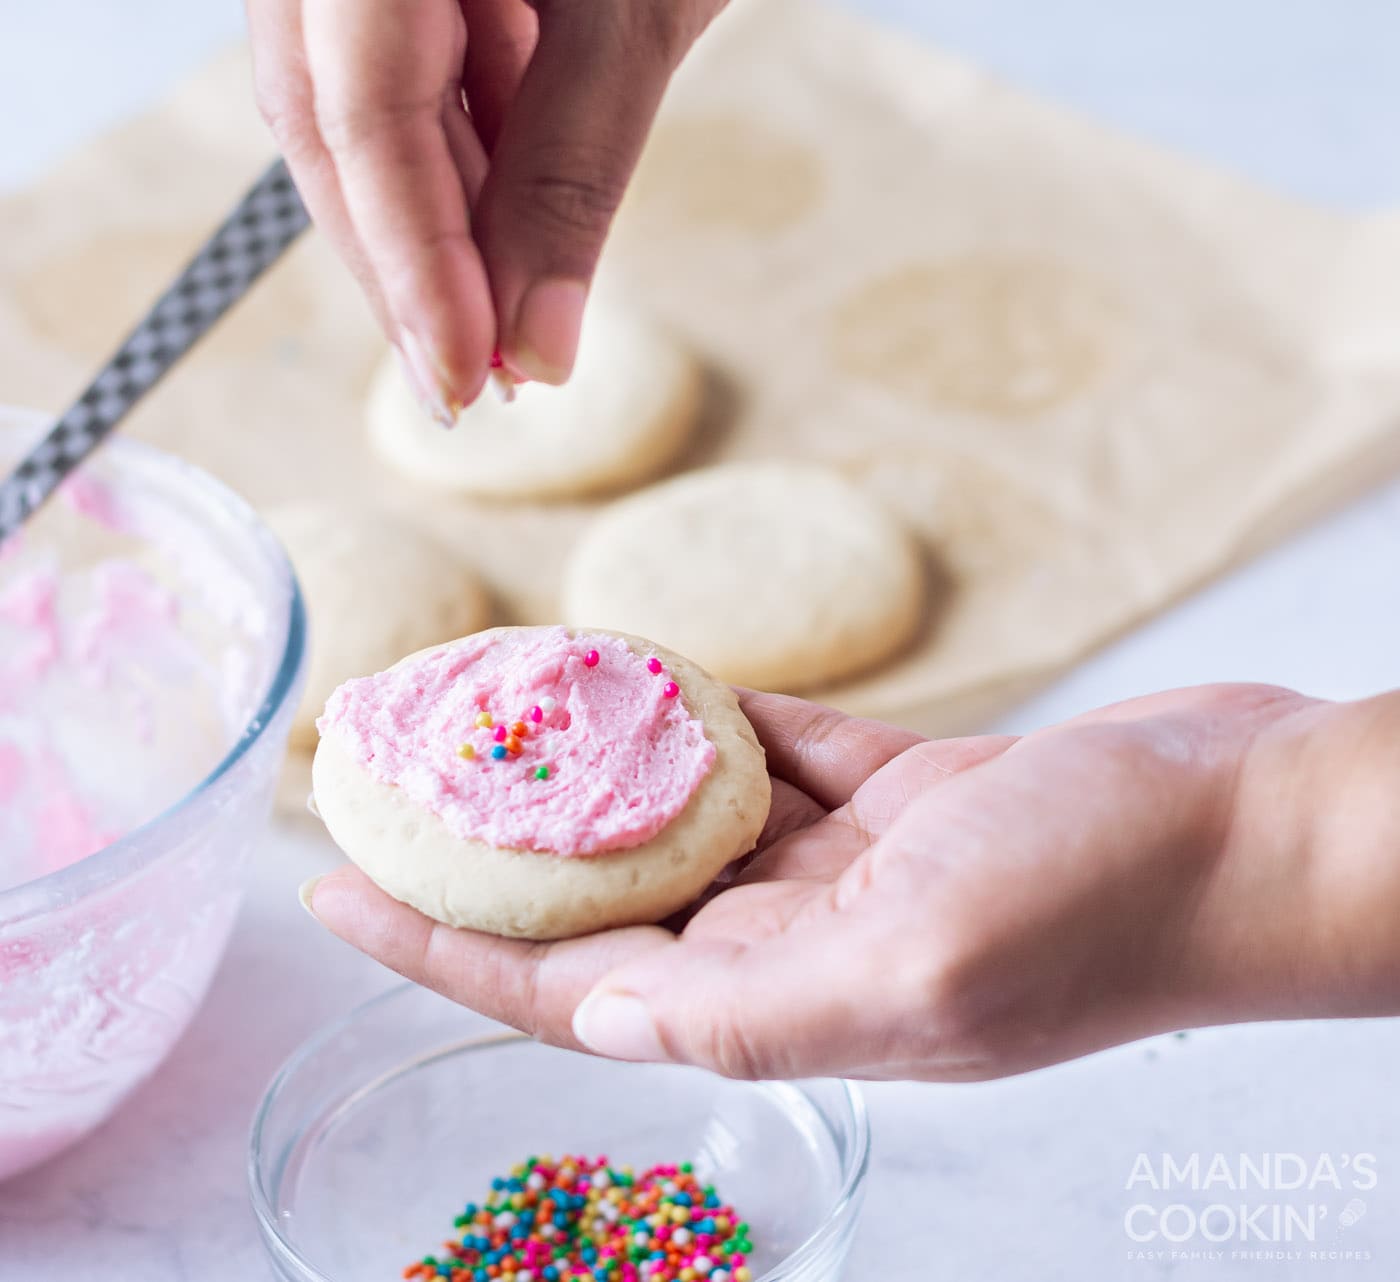
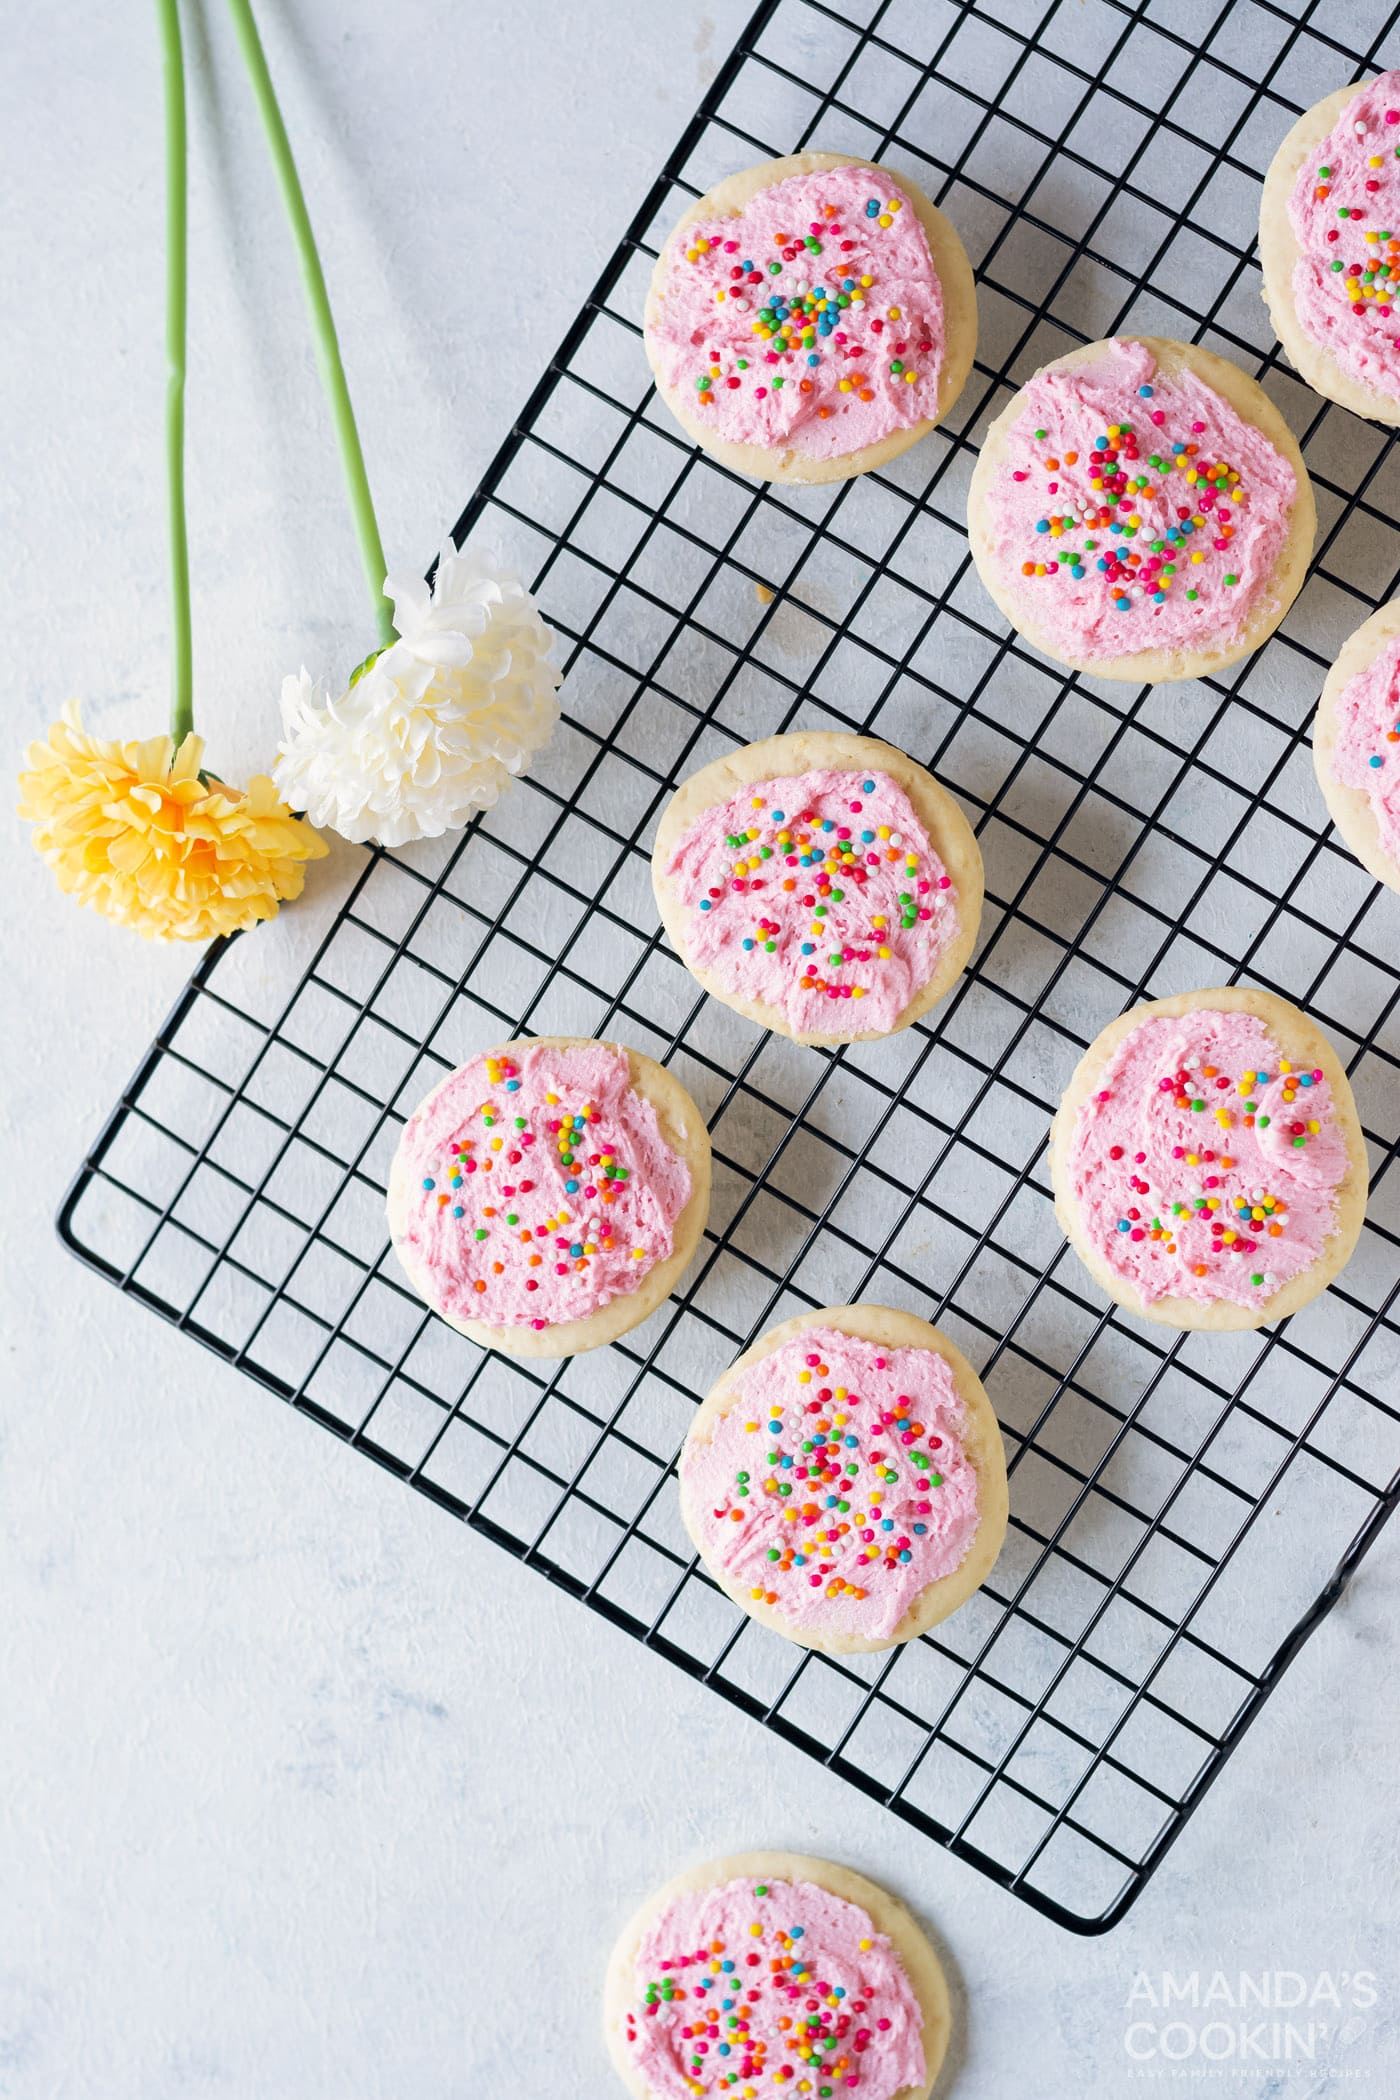
- **Frost and Decorate:** Once the cookies are completely cool, it’s time for the fun part! Using a butter knife or an icing spatula, generously apply a smooth layer of frosting onto each cookie. For a more professional or decorative finish, you can also pipe the frosting using a piping bag and tip. Finish by adding your favorite colorful sprinkles for that iconic Lofthouse look.

Frequently Asked Questions & Expert Tips for Lofthouse Cookies
To maintain their incredible softness and freshness, store your frosted Lofthouse cookies in an airtight container in the refrigerator for up to 7 days. If stacking, place parchment paper between layers to prevent the frosting from sticking. Allow them to come to room temperature for 10-15 minutes before serving for the best texture.
Absolutely! Both the cookie dough and baked cookies freeze well.
- Freezing Dough: You can freeze the unbaked cookie dough by wrapping it tightly in plastic wrap and placing it inside a large freezer-safe zip-top bag for up to 3 months. When ready to bake, thaw the dough in the refrigerator overnight, then roll and cut as usual. You may also freeze precut dough circles in the same manner. For best results with pre-cut dough, flash freeze them on a baking sheet until solid, then transfer them to an airtight container or zip-top bag to prevent them from sticking together. Bake from frozen, adding a couple of minutes to the baking time.
- Freezing Baked Cookies: For baked and frosted cookies, first place them on a baking sheet in the freezer until the frosting is firm (about 30-60 minutes). This “flash freezing” step prevents the frosting from smudging. Once firm, transfer the cookies to an airtight freezer-safe container, separating layers with parchment paper, and freeze for up to 2-3 months. Thaw them in the refrigerator overnight or at room temperature for a few hours before serving.
Several factors can cause cookies to spread excessively:
- Warm Dough: Ensure your dough is thoroughly chilled (at least 1 hour, or longer if needed). Warm dough will spread quickly.
- Too Much Butter/Too Little Flour: Double-check your measurements, especially for butter and flour. Using too much butter or too little flour can make the dough too soft. Remember to spoon and level your flour.
- Soft Butter: While room temperature butter is needed, if it’s too soft (borderline melted), it won’t hold its shape.
- Oven Temperature: An oven that isn’t hot enough can also cause spreading. Use an oven thermometer to verify accuracy.
For an exceptionally fluffy frosting, make sure your butter is perfectly at room temperature – soft but not melted. Beat the butter alone for a minute or two before adding the powdered sugar. Then, slowly add the powdered sugar in small increments, beating well after each addition. If it seems too stiff, add a tiny splash of milk or heavy cream (½ tsp at a time) and continue beating until light and airy. The key is thorough beating!
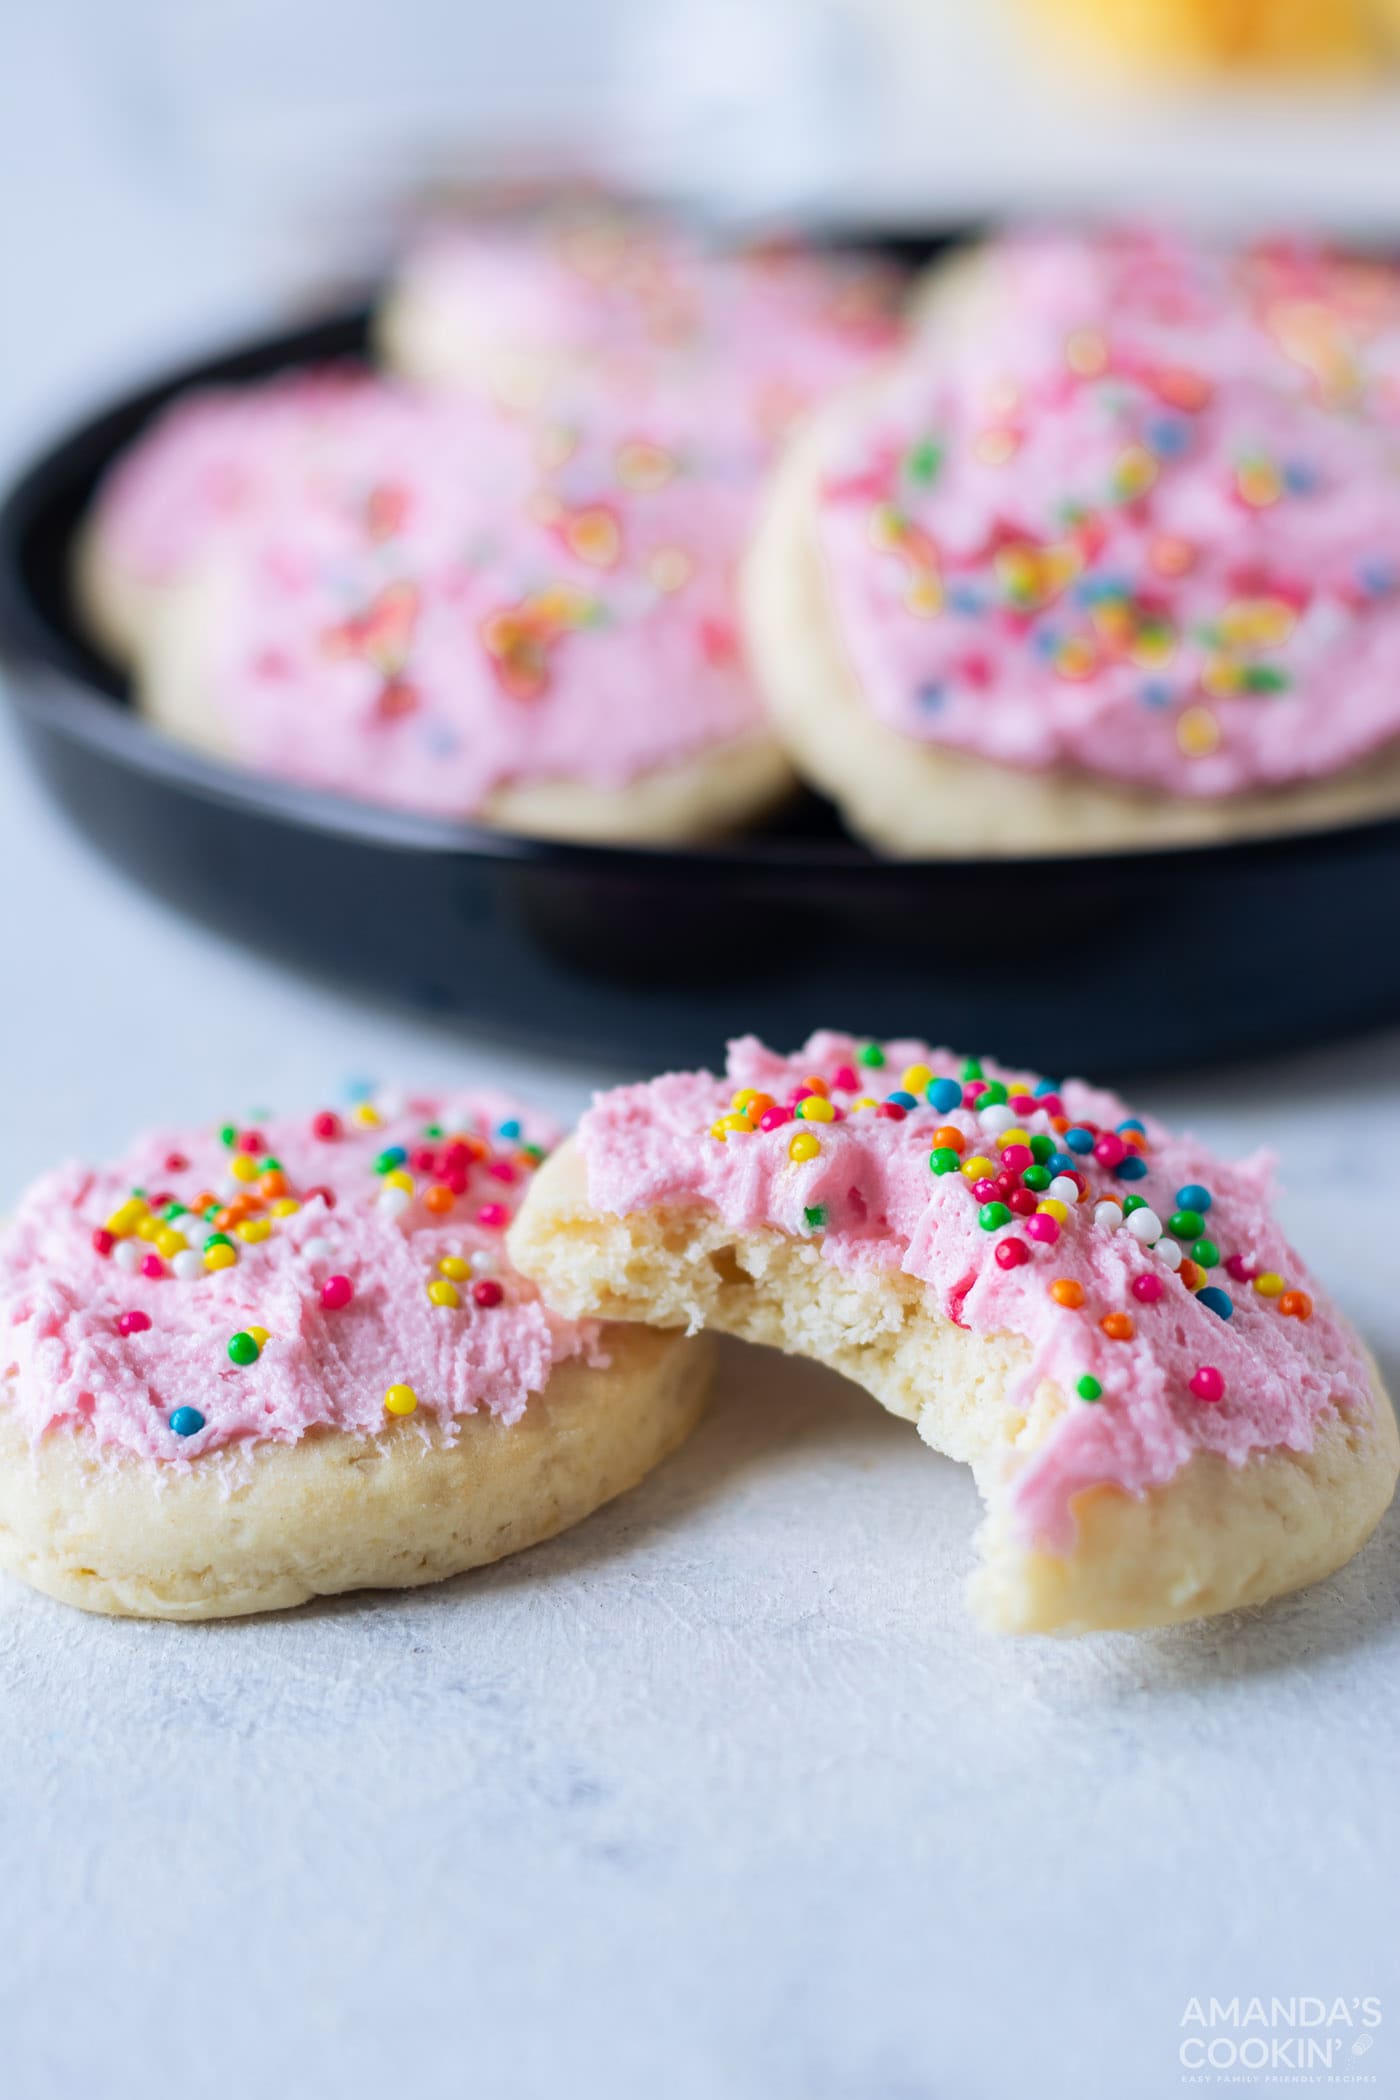
Serving Suggestions for Your Delicious Lofthouse Cookies
These soft, sweet, and perfectly frosted cookies are a treat on their own, but they truly shine when paired with a cold glass of milk. The creamy texture and sweetness of the cookie are beautifully complemented by the refreshing milk, making for a classic and comforting combination. They also pair wonderfully with a cup of coffee or tea for a delightful afternoon indulgence.
One of the best things about homemade Lofthouse cookies is their versatility. I particularly enjoy making them for various holidays and seasons, as they are so easy to customize. The simple sugar cookie base and adaptable frosting mean you can play around with endless color and sprinkle variations to suit any festive occasion!
Inspiring Holiday and Seasonal Versions
Transform your Lofthouse cookies into festive masterpieces with these creative ideas:
- Christmas: Use bright red, emerald green, or snowy white frosting. Decorate with classic Christmas-themed sprinkles like tiny trees, stars, or a mix of red, green, and white nonpareils.
- 4th of July: Embrace patriotism with bold red, crisp white, and deep blue frosting. Adorn with star-shaped sprinkles or a patriotic mix of red, white, and blue.
- Thanksgiving: Opt for warm, earthy tones like rich brown (chocolate frosting), deep red, or harvest orange frosting. Use autumn-themed sprinkles, or simply leave them un-sprinkled for a rustic touch.
- Easter: Celebrate spring with soft pastel frostings – think delicate light blue, baby pink, pale yellow, and mint green. Finish with bunny, chick, or egg-shaped sprinkles for a charming touch.
- Halloween: Go spooky with orange, purple, green, or black frosting. Decorate with ghost, bat, or pumpkin sprinkles.
- Valentine’s Day: Shower with love using pink, red, or white frosting. Top with heart-shaped sprinkles or a romantic mix.
Explore More Delightful Cookie Recipes
If you’ve enjoyed making these Lofthouse cookies, you’ll love exploring other sweet treats from our collection. Here are some more fantastic cookie recipes to try:
- Reeses Pieces Cookies
- Stained Glass Cookies
- Peanut Butter Blossoms
- Grandma’s Sugar Cookies
- Chocolate Crinkle Cookies
- Jello Cookies
- Butterfinger Cookies
- Turtle Thumbprint Cookies
I absolutely adore baking and cooking, and I love sharing my culinary experiences with all of you! Remembering to come back each day for new recipes can be tough, which is why I offer a convenient newsletter every time a fresh recipe posts. Simply subscribe today and start receiving your free daily recipes directly in your inbox!
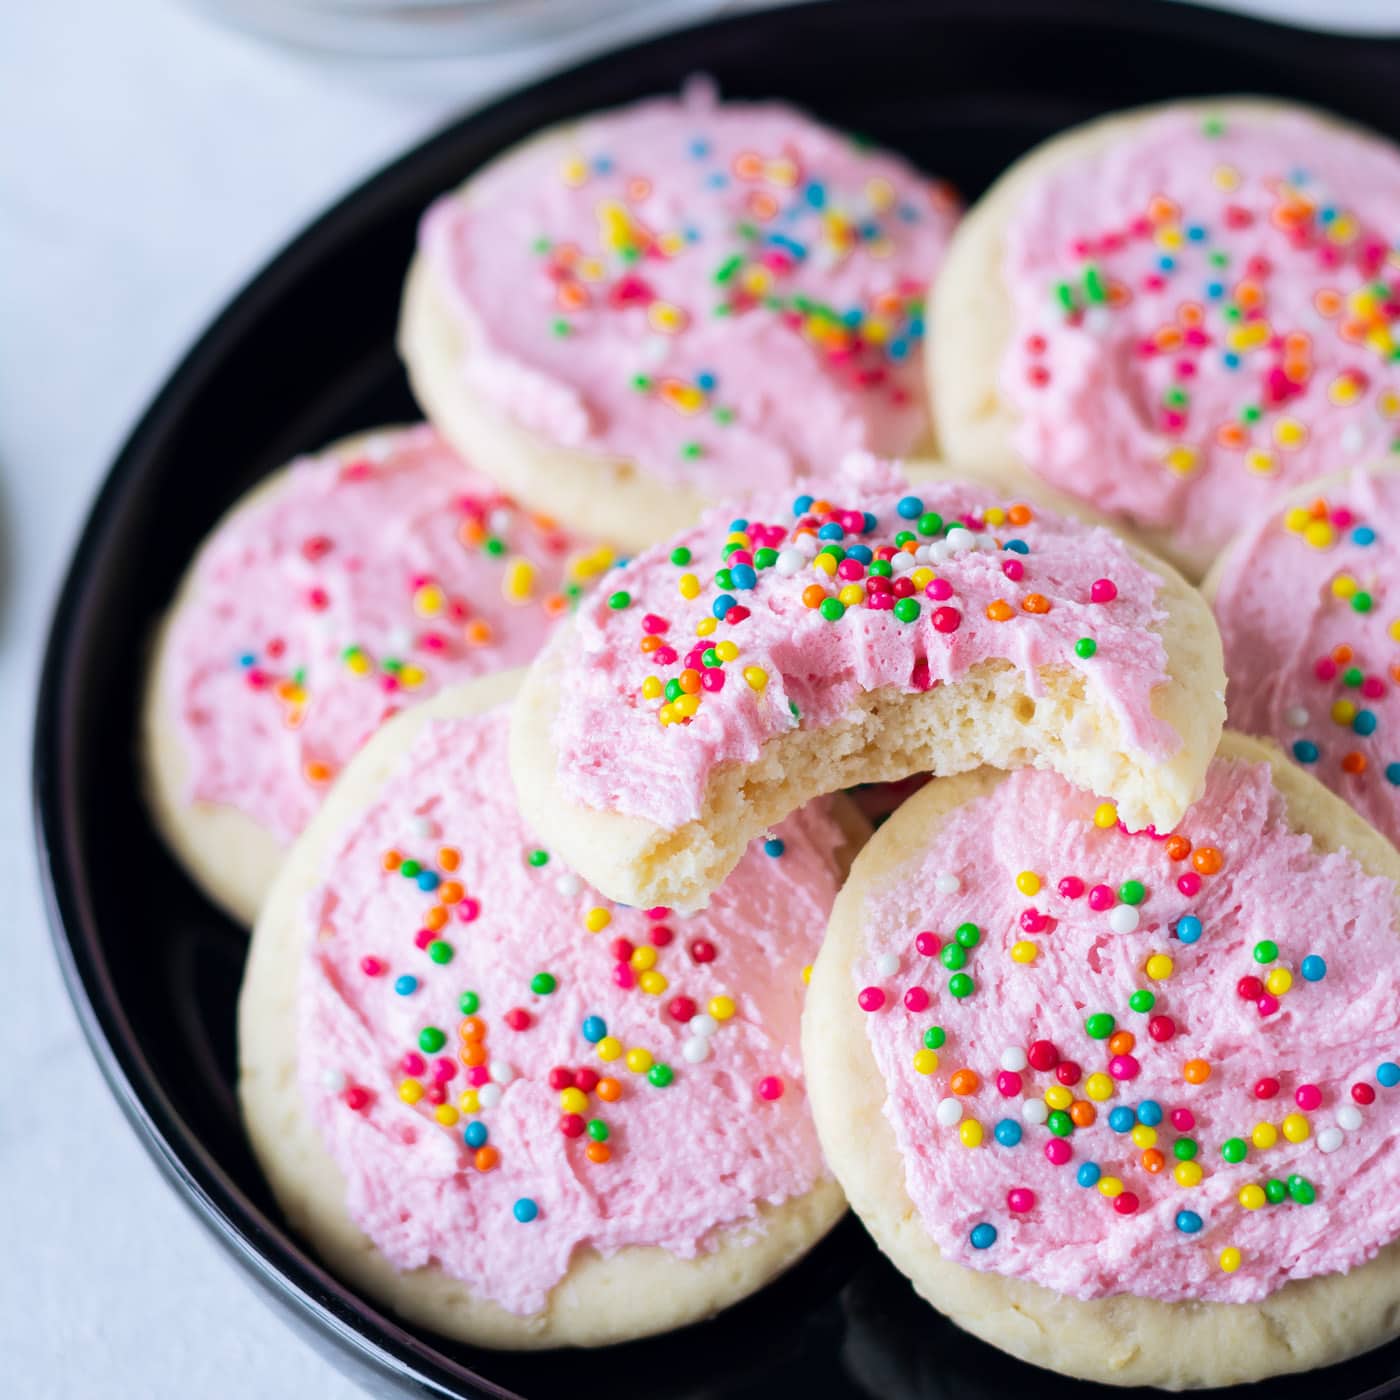
Lofthouse Cookies
IMPORTANT – There are often Frequently Asked Questions within the blog post that you may find helpful. Simply scroll back up to read them!
Print It
Pin It
Rate It
Save ItSaved!
Ingredients
- 2 ¼ cup all-purpose flour
- ½ tsp baking powder
- ¼ tsp baking soda
- 1 Tbsp cornstarch
- ¼ tsp salt
- ½ cup butter at room temperature
- 1 cup granulated sugar
- ½ tsp vanilla extract
- ¼ cup sour cream
- 1 egg at room temperature
Frosting
- ½ cup butter
- 1 ½ cup powdered sugar
- 1 drop pink gel food coloring
- sprinkles
Things You’ll Need
-
2 inch round cookie cutter
-
Electric mixer
-
Mixing bowls
Before You Begin
- Chill the dough for at least an hour, otherwise it’ll be difficult to roll it and the cookies may spread too much.
- Do not overbake these cookies! The combination of baking soda, baking powder, and cornstarch ensures a soft and fluffy, store-bought-like texture. Overbaking will make them dry and hard, so keep an eye on them.
Instructions
-
Preheat the oven to 180 C / 350 F and line your baking tray with parchment paper.
-
In a large bowl combine the dry ingredients together – flour, baking powder, baking soda, cornstarch, and salt (except the granulated sugar). Mix well and keep aside.
-
In another bowl cream the butter, granulated sugar, and vanilla extract until it’s nice and creamy. Add in the egg and sour cream and beat until everything is combined well.
-
In small increments, add the dry mixture to the butter mixture. Mix until everything is combined well, taking care not to overmix.
-
The dough should start taking shape. Make a rough thick disc out of it and refrigerate it covered with parchment paper for at least 1 hr.
-
Once the dough has been chilled, roll it to a 1/4 inch thickness and cut out the dough using a cookie cutter of about 2-3 inches in diameter.
-
Bake for 9-10 minutes, or until the edges are just set and the tops are pale. Cool completely before icing.
-
For the icing, beat the butter using an electric mixer until creamy. Slowly begin adding the powdered sugar a little at a time and keep beating until the mixture holds shape and is creamy in texture. Add a bit of food color as desired, we used 1 drop of pink gel coloring.
-
Using a butter knife or icing spatula, apply icing generously onto the cooled cookies and add your favorite sprinkles. You can also pipe the frosting for a neater look.
Nutrition
The recipes on this blog are tested with a conventional gas oven and gas stovetop. It’s important to note that some ovens, especially as they age, can cook and bake inconsistently. Using an inexpensive oven thermometer can assure you that your oven is truly heating to the proper temperature. If you use a toaster oven or countertop oven, please keep in mind that they may not distribute heat the same as a conventional full sized oven and you may need to adjust your cooking/baking times. In the case of recipes made with a pressure cooker, air fryer, slow cooker, or other appliance, a link to the appliances we use is listed within each respective recipe. For baking recipes where measurements are given by weight, please note that results may not be the same if cups are used instead, and we can’t guarantee success with that method.
