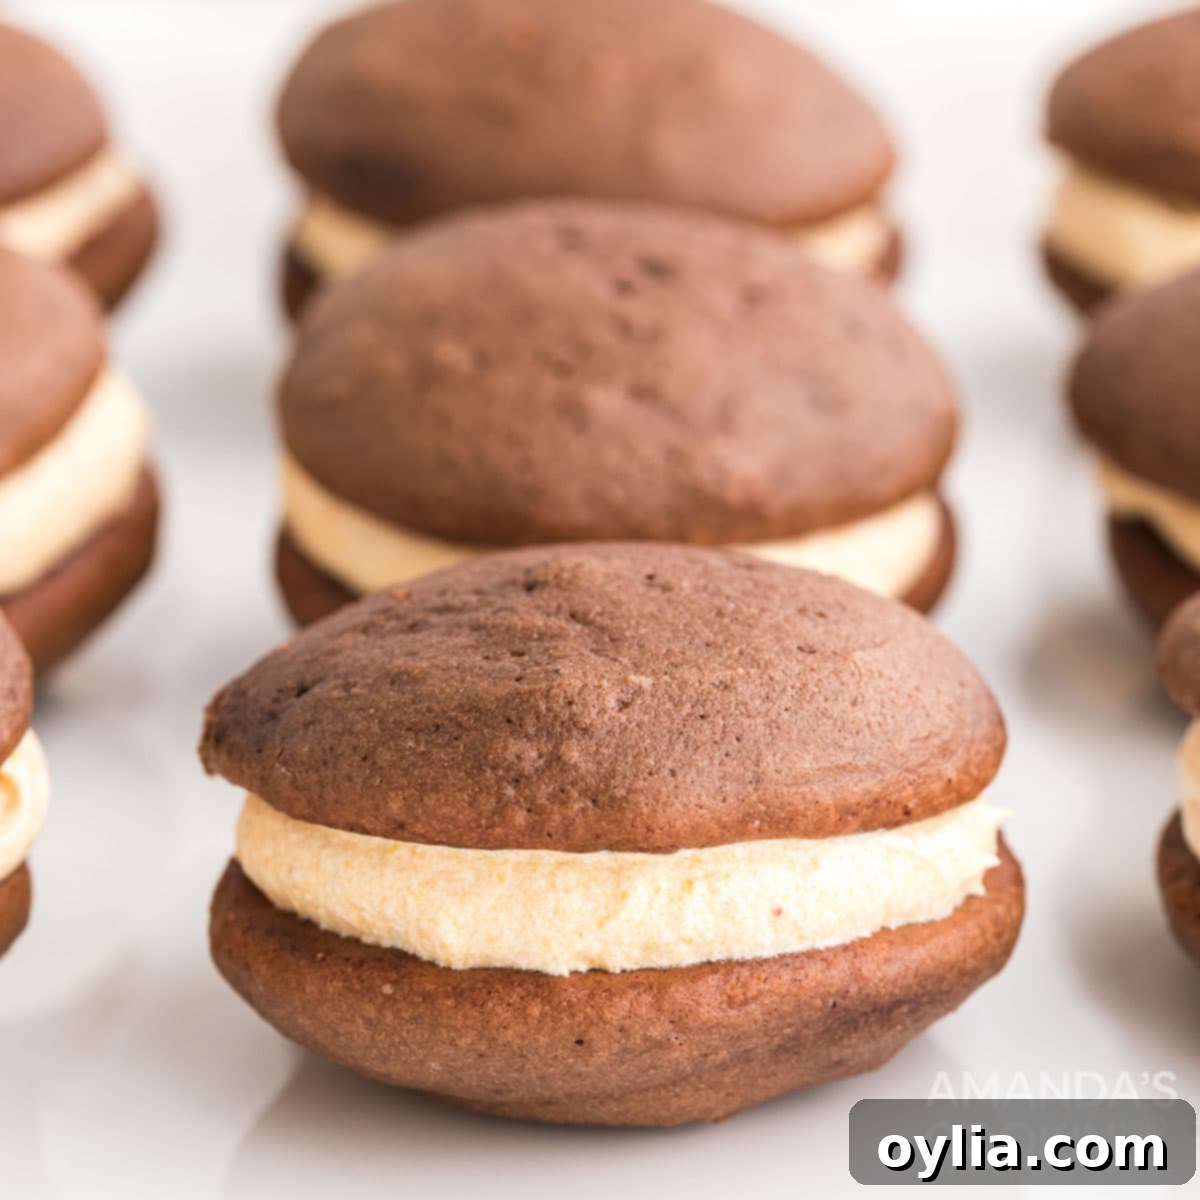
Irresistible Mini Pumpkin Whoopie Pies with Cream Cheese Filling: Your Perfect Fall Treat
Making whoopie pies is a wonderfully engaging kitchen activity, perfect for involving children or simply creating a delightful treat to share. These particular pumpkin whoopie pies are crafted in a miniature size, making them ideal single-serve fall delights that are both charming and incredibly satisfying. Whether you’re planning for a festive football party, a cozy autumn evening, or a special school snack, these fluffy, spiced pumpkin cookies filled with a luscious cream cheese frosting are guaranteed to be a hit. Their individual portions make them perfect for grab-and-go enjoyment, simplifying dessert for any gathering.
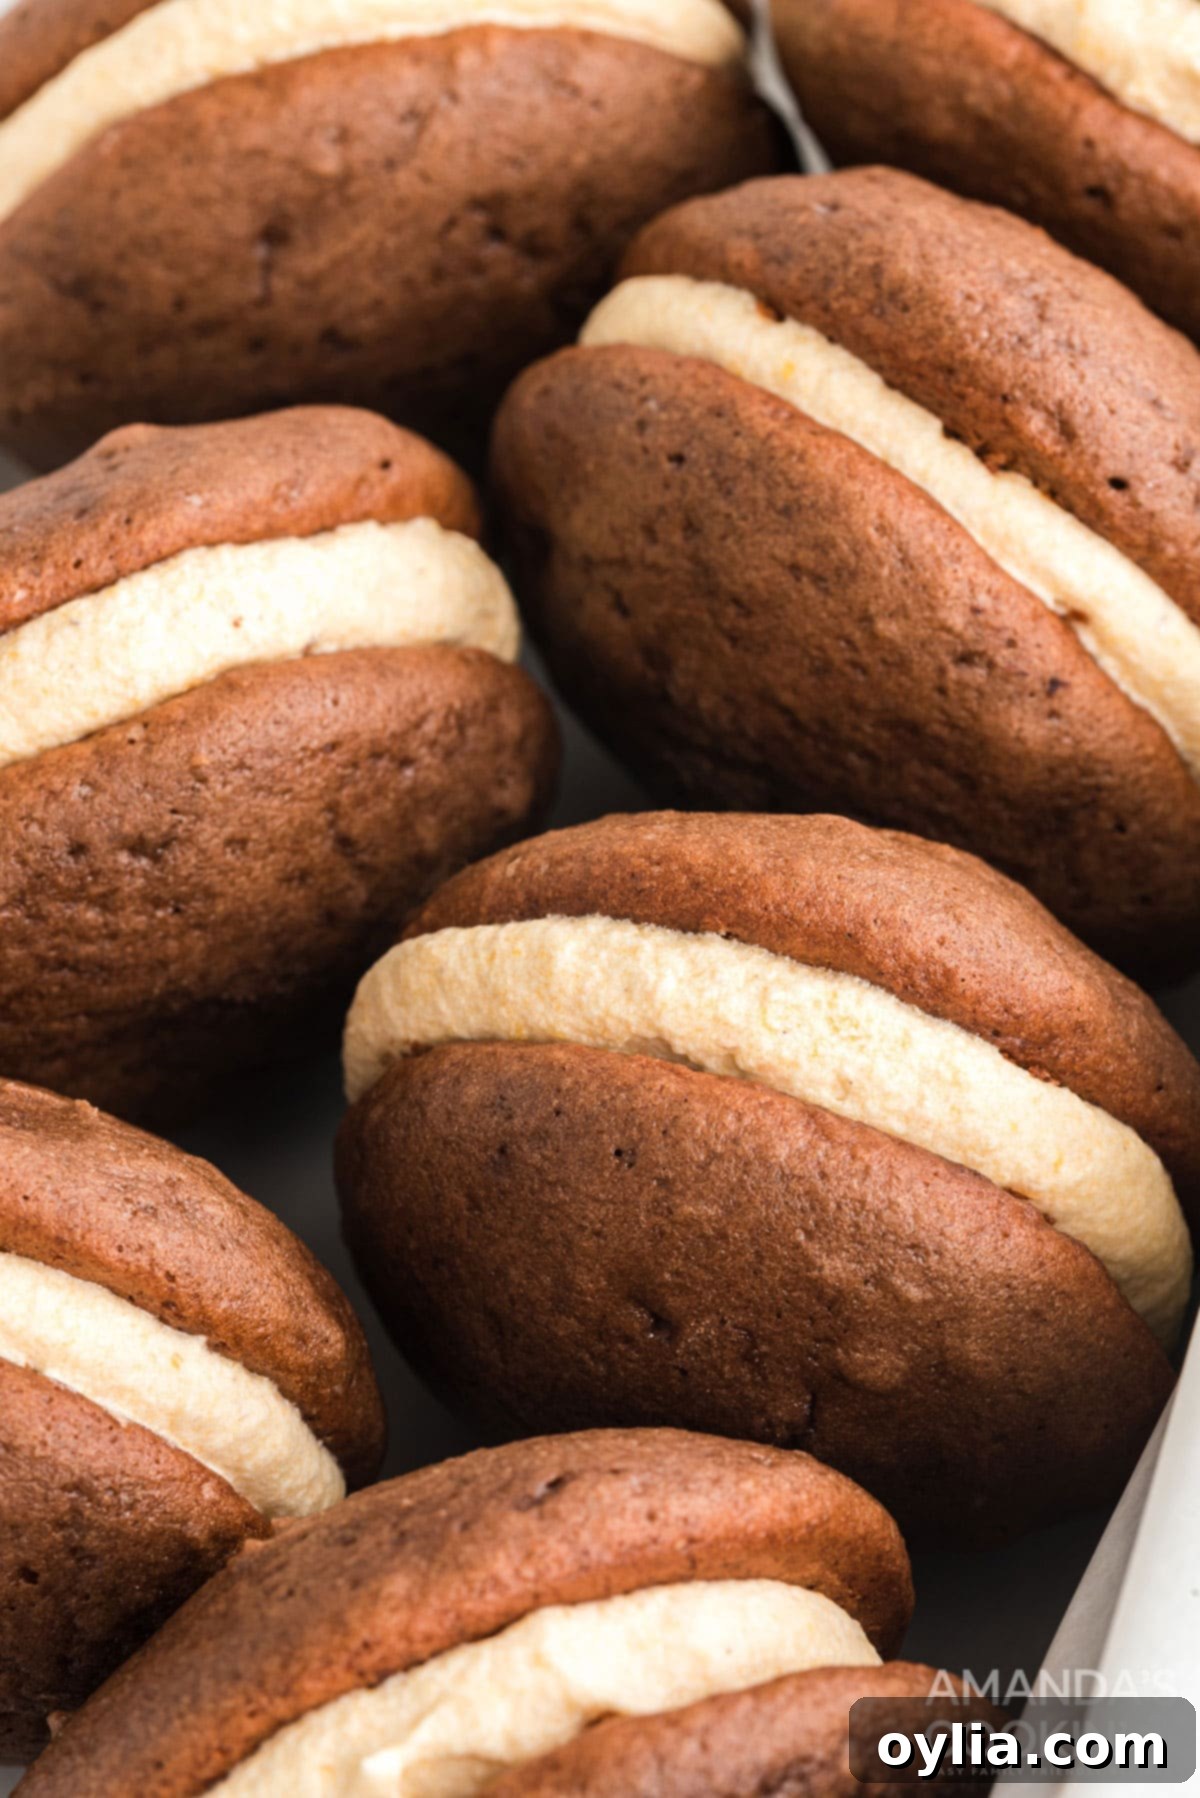
Why This Mini Pumpkin Whoopie Pie Recipe is a Must-Try
This recipe truly shines because it delivers a sophisticated dessert without the complexity. You’ll be baking soft, cake-like pumpkin cookies, perfectly spiced for autumn, and then pairing them with an incredibly rich and smooth cream cheese filling. The magic lies in the contrast: a moist, flavorful cookie sandwiching a tangy, sweet cream cheese frosting creates an explosion of flavor and texture that’s simply irresistible.
Many people assume whoopie pies are intricate to make, but this recipe proves otherwise. It breaks down the process into easy-to-follow steps, ensuring a successful outcome even for novice bakers. The result is a visually appealing treat that looks like it took hours of effort, yet is surprisingly straightforward to assemble. The miniature size not only makes them adorable but also ensures they bake evenly and quickly, getting you to the delicious reward faster!
These mini pumpkin whoopie pies are wonderfully versatile. They are perfect as a special after-school treat for hungry kids, a welcome addition to any fall or harvest festival, or a charming dessert for Thanksgiving gatherings and holiday parties. Their portability makes them ideal for potlucks or as homemade gifts, spreading autumnal cheer with every bite.
Essential Ingredients for Your Pumpkin Whoopie Pies
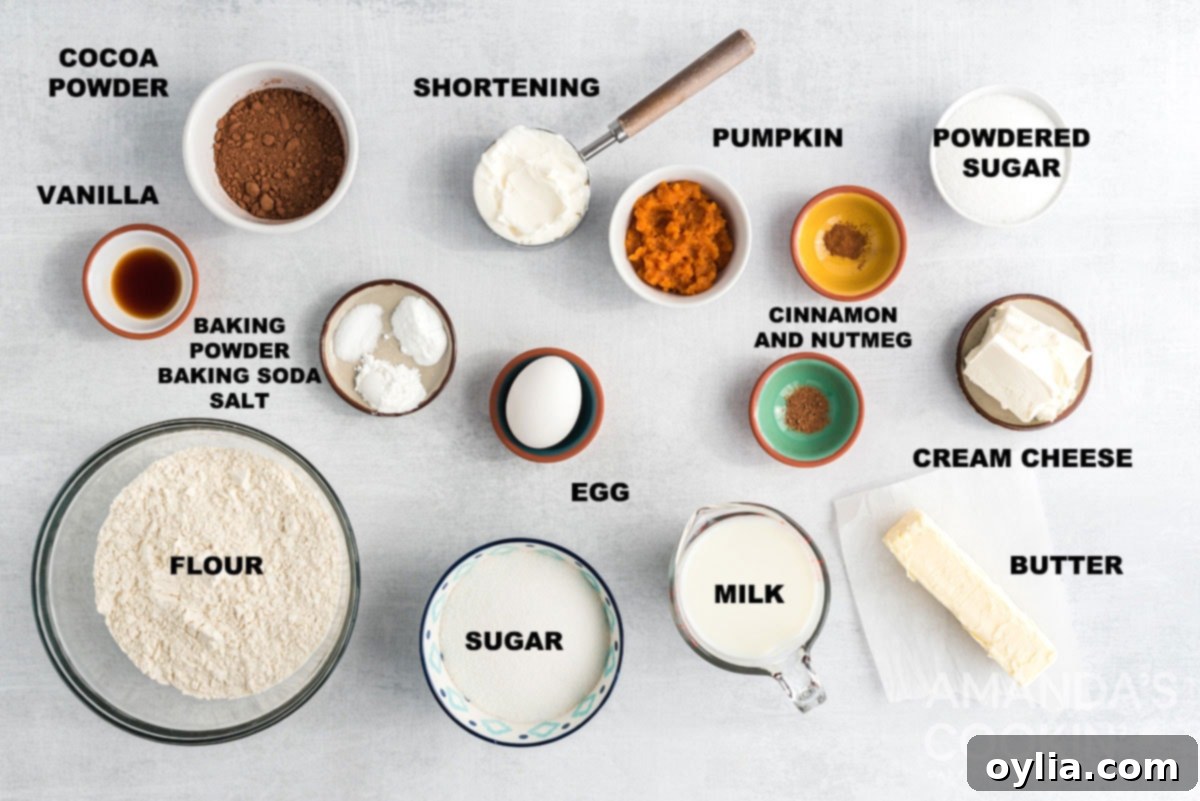
Crafting the perfect pumpkin whoopie pie begins with high-quality ingredients. For the cookies, you’ll need all-purpose flour for structure, unsweetened cocoa powder to give them a subtle depth of flavor and a beautiful dark hue, and baking powder and baking soda to ensure a light and airy texture. Salt is crucial for balancing the sweetness and enhancing the overall flavor. Vegetable shortening provides a tender crumb, while granulated sugar adds sweetness and contributes to the soft texture. A large egg binds everything together, and whole milk, along with pure vanilla extract, adds moisture and classic flavor notes.
The star of the filling is softened cream cheese, which provides a wonderful tang, perfectly complemented by softened unsalted butter for richness. Confectioners’ sugar sweetens the filling and gives it a smooth consistency. Finally, canned solid pack pumpkin (be sure it’s *not* pumpkin pie filling, which is already spiced and sweetened) infuses the filling with authentic pumpkin flavor, while pinches of cinnamon and nutmeg add those warm, inviting autumn spices that make these treats truly special. Ensure your cream cheese and butter are at room temperature for the smoothest, most lump-free filling.
Get all measurements, ingredients, and instructions in the printable version at the end of this post.
How to Make Delicious Mini Pumpkin Whoopie Pies Step-by-Step
These step-by-step photos and instructions are here to help you visualize how to make this recipe. Please scroll down to simply print out the full recipe with precise measurements!
Preparing the Perfect Pumpkin Whoopie Pie Cookies:
- **Preheat Oven and Prepare Baking Sheets:** Begin by preheating your oven to 350 degrees Fahrenheit (175°C). This ensures your oven is at the correct temperature for even baking. Line your cookie sheets with parchment paper or a silicone baking mat. This crucial step prevents sticking and helps the cookies slide off easily once baked and cooled.
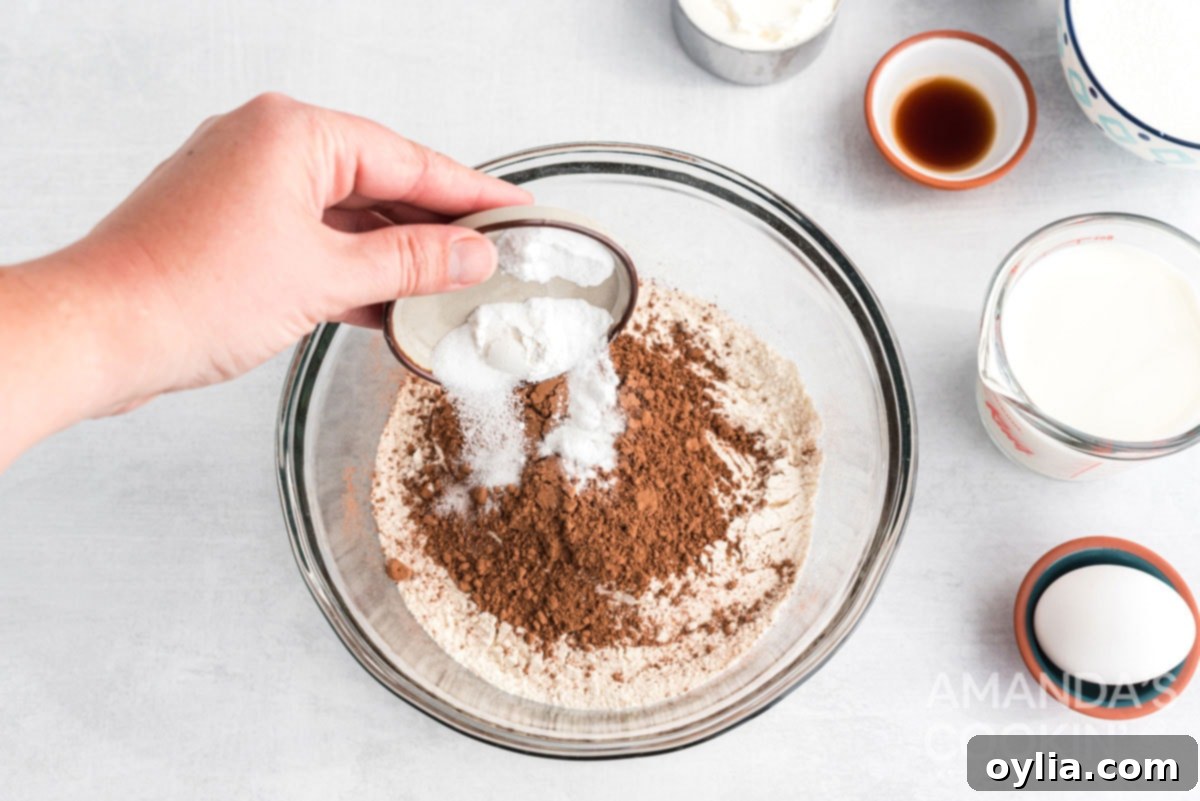
- **Combine Dry Ingredients:** In a medium-sized bowl, whisk together the all-purpose flour, cocoa powder, baking powder, baking soda, and salt. Whisking ensures these dry ingredients are thoroughly combined and evenly distributed, which is essential for uniform leavening and flavor in your cookies. Set this mixture aside.
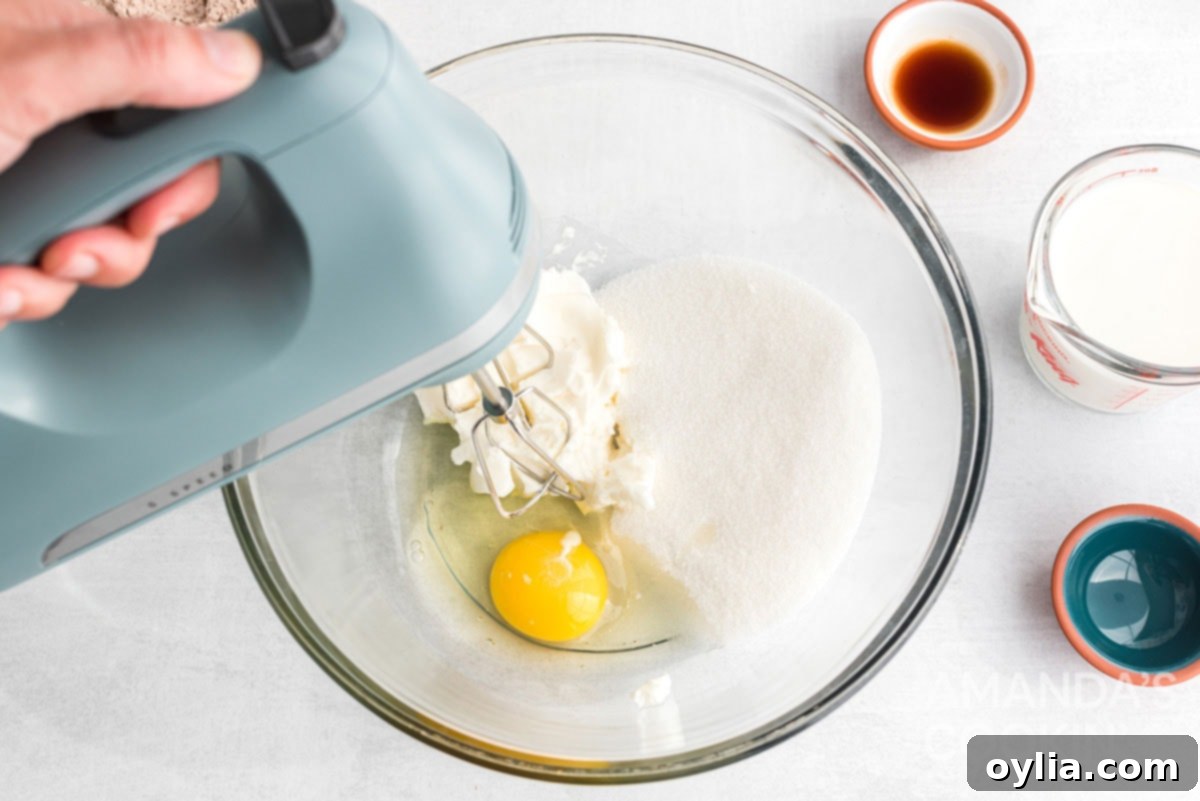
- **Cream Wet Ingredients:** In a large mixing bowl, using a stand mixer or hand mixer, beat together the vegetable shortening, granulated sugar, and large egg. Mix on high speed for approximately 3 minutes until the mixture is light, fluffy, and smooth. This creaming process incorporates air, which is vital for the cake-like texture of whoopie pie cookies.
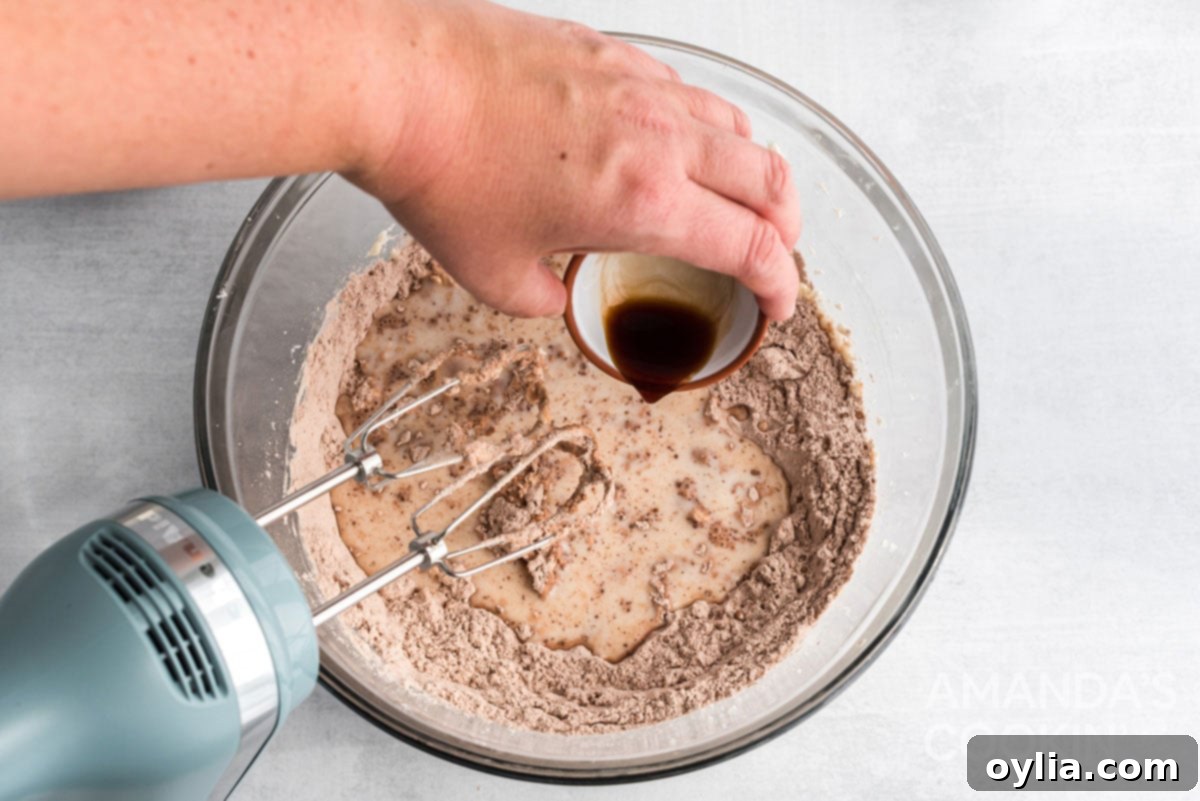
- **Incorporate Dry and Wet Ingredients:** Gradually add about half of the reserved flour mixture to the wet ingredients, mixing until just combined. Then, pour in the whole milk and vanilla extract, mixing until smooth. Finally, add the remaining flour mixture, mixing on low speed until the batter is just combined and no streaks of flour remain. Be careful not to overmix, as this can lead to tough cookies.
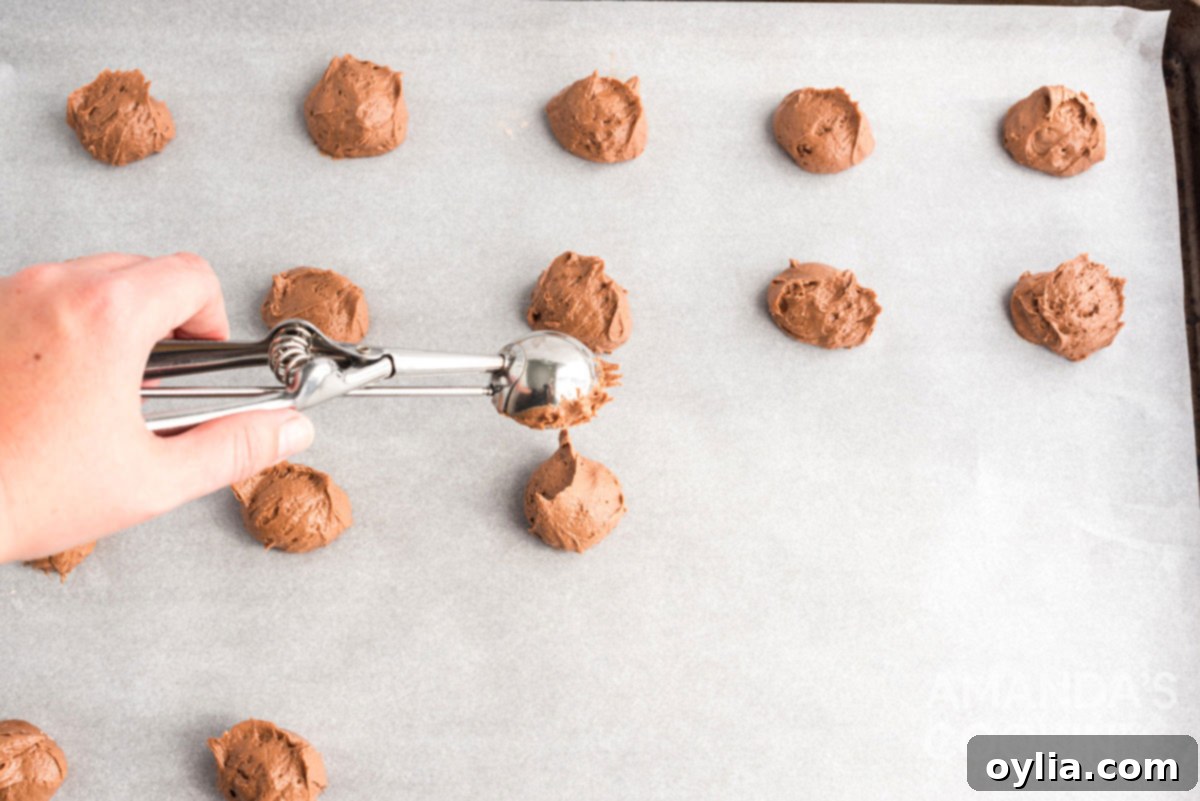
- **Bake the Cookies:** Drop approximately 2 teaspoons of dough onto your prepared baking sheets, ensuring they are spaced about 2 inches apart to allow for spreading. For uniform cookies, consider using a small cookie scoop. Bake for 10 to 15 minutes, or until the edges are set and the centers spring back lightly when touched. Keep an eye on them, as baking times can vary between ovens.
- **Cool the Cookies:** Once baked, transfer the baking sheets to wire racks and allow the cookies to cool on the sheets for about 10 minutes. This allows them to firm up before handling. After 10 minutes, carefully remove the cookies from the baking sheets using a spatula and transfer them directly to the wire racks to cool completely. It’s essential they are fully cooled before filling to prevent the cream cheese frosting from melting.
Crafting the Velvety Pumpkin Cream Cheese Filling:
- **Prepare the Filling Base:** Using your mixer, beat the softened cream cheese, softened unsalted butter, and confectioners’ sugar on medium speed. Continue mixing for approximately 3 minutes until the mixture is incredibly smooth and light. Periodically stop and scrape down the sides and bottom of the bowl to ensure all ingredients are incorporated evenly and there are no lumps.
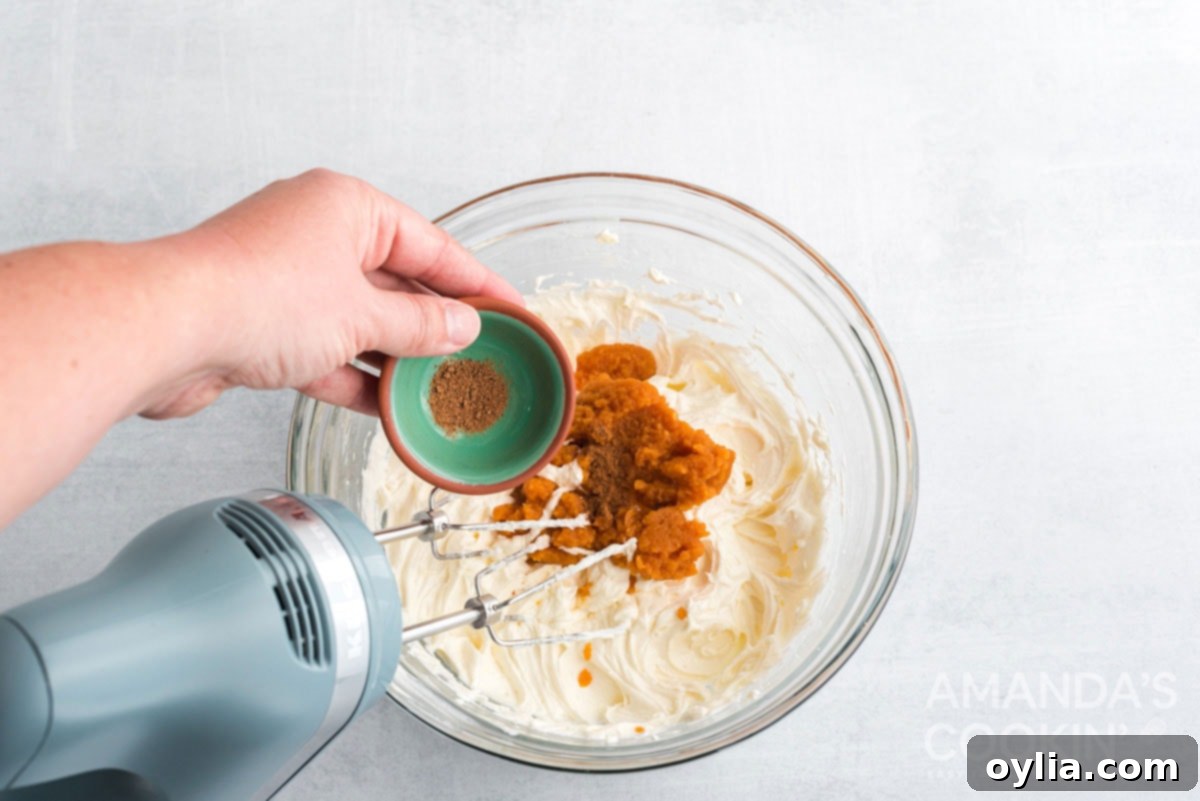
- **Add Pumpkin and Spices:** Once smooth, add the canned solid pack pumpkin, cinnamon, and nutmeg to the bowl. Whip the mixture again until it is fully blended and perfectly smooth. The pumpkin and spices will infuse the cream cheese with a delightful fall flavor and a beautiful orange hue.
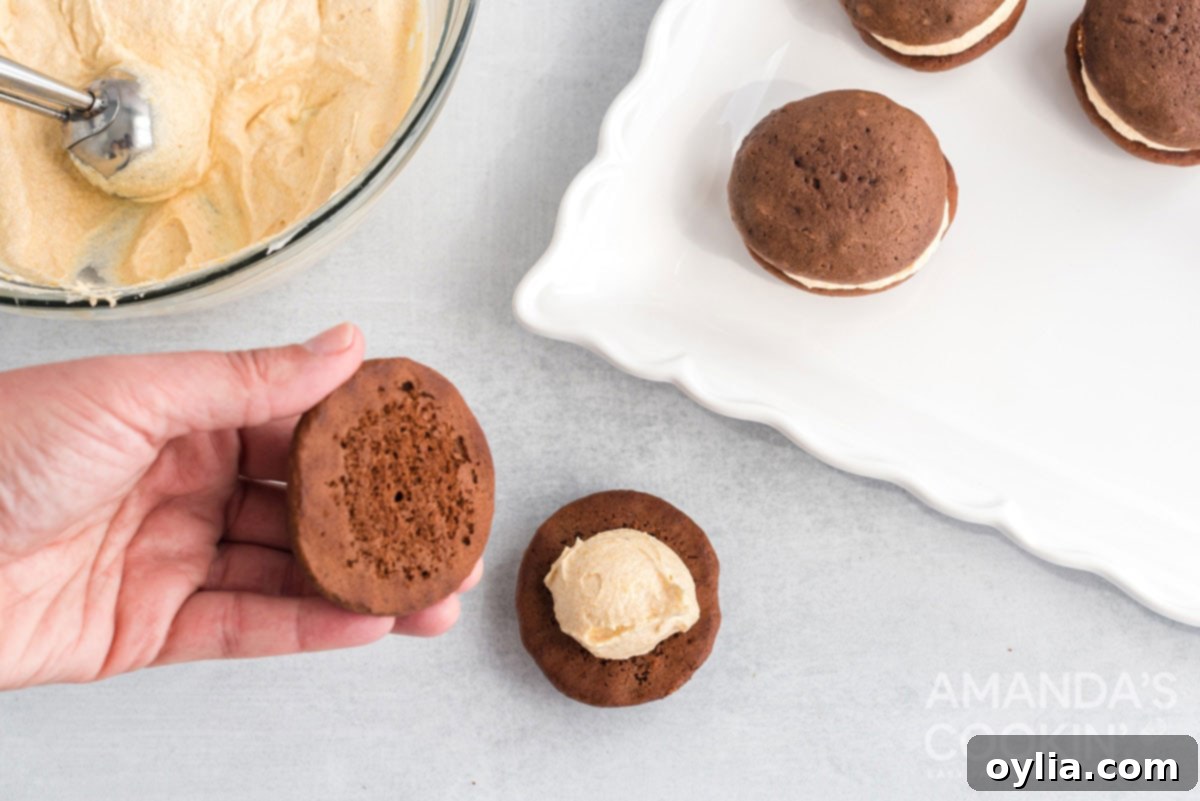
- **Assemble the Whoopie Pies:** Once the cookies are completely cool and the filling is ready, it’s time for assembly. You can either pipe the filling for a neater, more professional look or simply spoon about 2 teaspoons of the pumpkin cream cheese filling onto the flat side of half the cookies. Then, gently place another cookie on top, flat side down, to create a sandwich. Lightly press them together until the filling is evenly distributed to the edges.
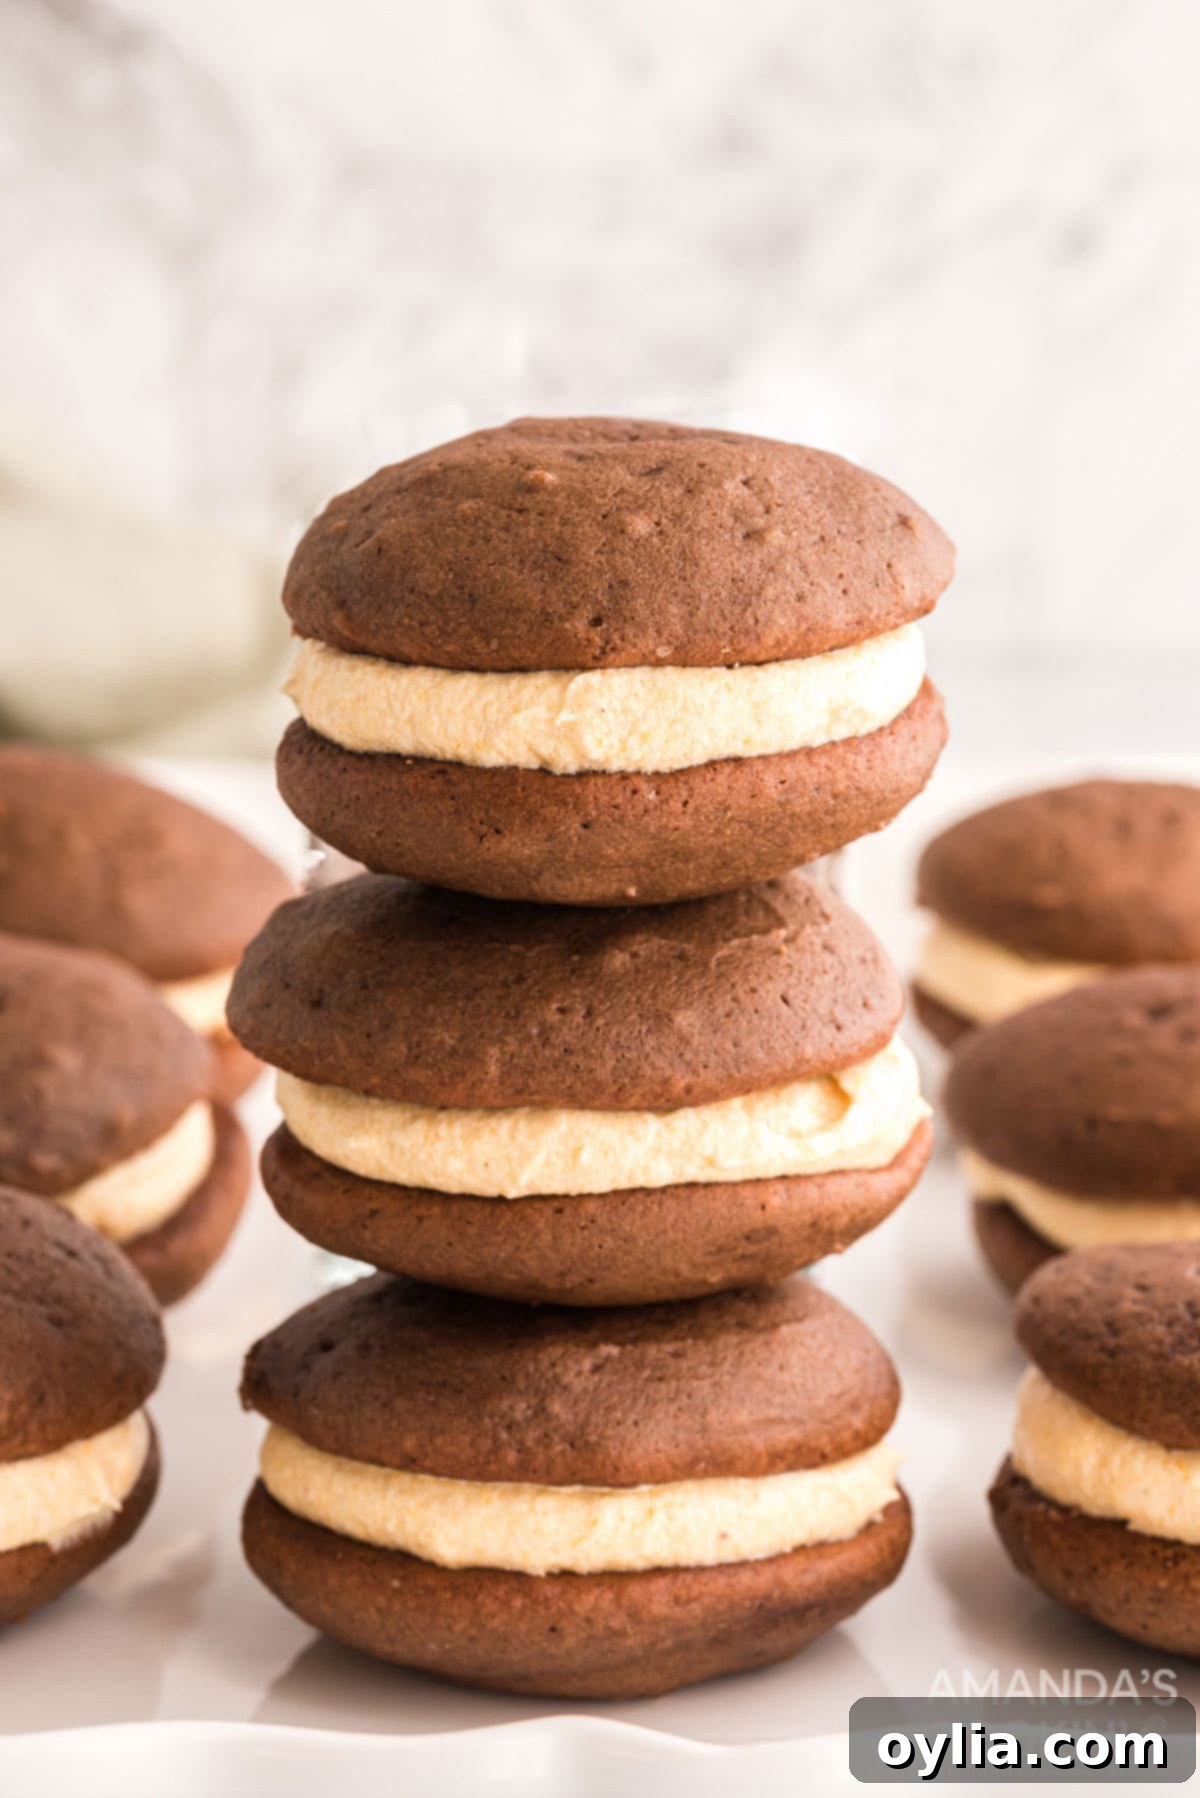
Expert Baking Tips & Frequently Asked Questions (FAQs)
- **Yield and Size Adjustment:** This recipe is designed to produce approximately 46 small, individual cookies, resulting in 23 complete whoopie pies. If you prefer larger whoopie pies, you can increase the amount of dough per drop. Simply extend the baking time by a minute or two as needed, making sure to test for doneness by gently touching the center. Keep in mind that larger pies might require slightly more filling per sandwich.
- **The Importance of Softened Ingredients:** For the silkiest, most luscious cream cheese filling, it is absolutely essential that both your cream cheese and unsalted butter are at room temperature. Cold ingredients will lead to a lumpy, uneven filling that won’t spread smoothly. Take them out of the refrigerator at least an hour before you plan to bake.
- **Pure Pumpkin Puree vs. Pie Filling:** Always use canned *solid pack pumpkin puree* for this recipe, not pumpkin pie filling. Pumpkin pie filling contains added spices and sweeteners that will alter the flavor profile of your whoopie pies and may make them overly sweet or disrupt the spice balance.
- **Storage Solutions:** These mini pumpkin whoopie pies are best enjoyed fresh, but they can be stored. Place them in an airtight container in the refrigerator for up to 3-5 days. For longer storage, you can freeze individual whoopie pies (unfilled cookies and filling separately, or assembled if well-wrapped) for up to 1-2 months. Thaw frozen whoopie pies in the refrigerator before serving.
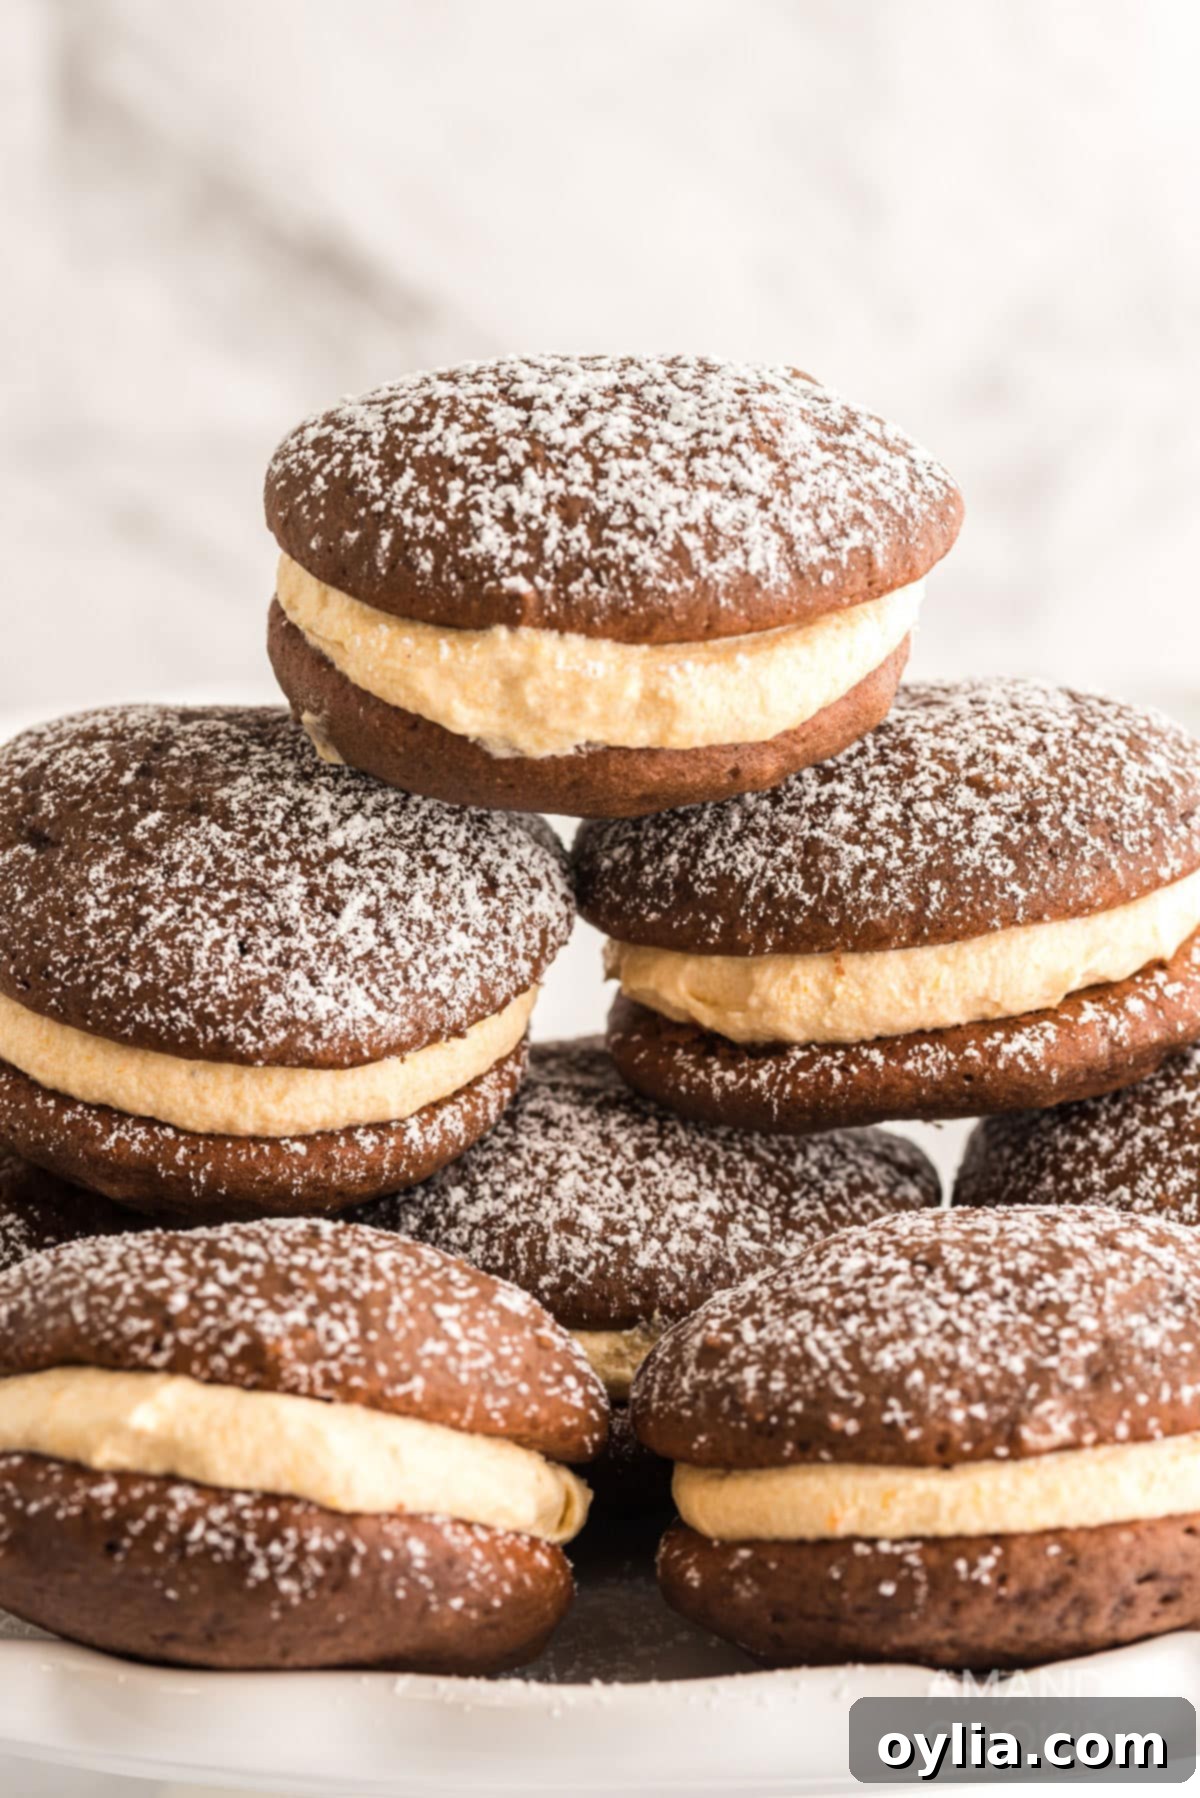
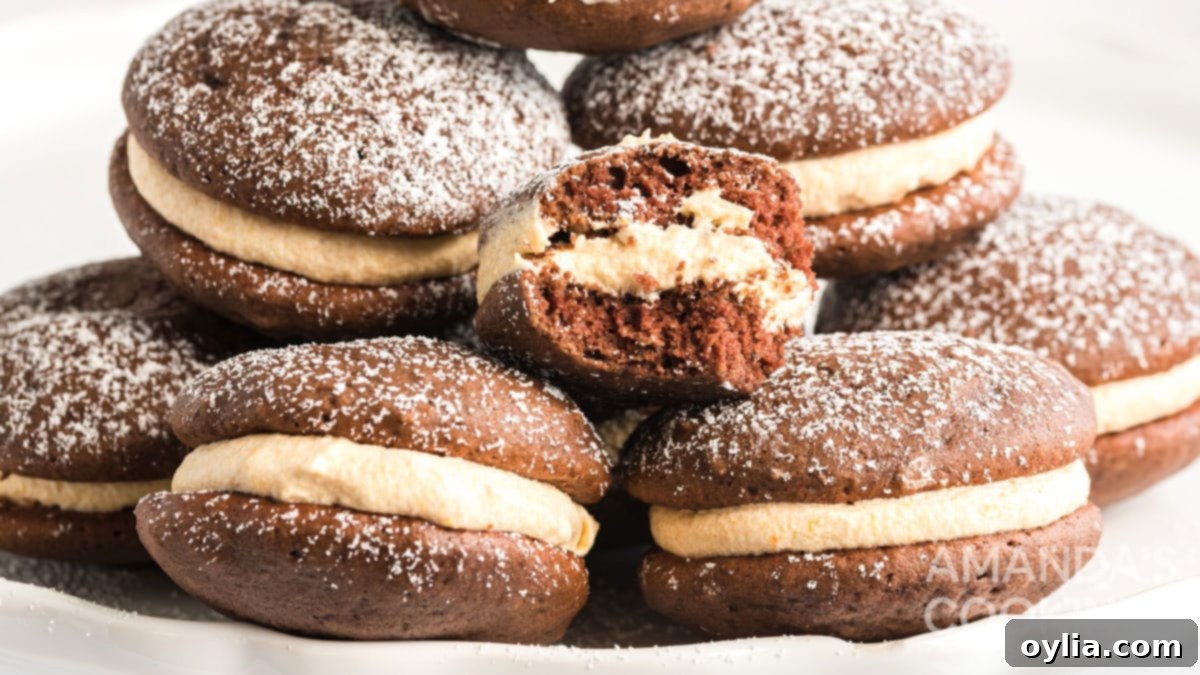
- **Creative Variations:** Feel free to get creative with your whoopie pies! You can roll the edges of the filled pies in sprinkles, finely chopped nuts, or a dusting of confectioners’ sugar for an extra touch. For a different flavor profile, consider adding a tiny pinch of ginger or allspice to the filling, or even a splash of maple extract for a maple-pumpkin twist.
- **Achieving Uniformity:** For professional-looking whoopie pies, use a small cookie scoop (about 1.5 tablespoons) to ensure each cookie is the same size. This consistency in size will lead to beautifully matched pairs and even baking.
You’ll undoubtedly fall in love with these soft, spiced pumpkin whoopie pies, generously stuffed with a velvety pumpkin cream cheese filling. They are not just a dessert, but a warm, comforting hug in every bite, making them the ultimate sweet snack for any autumn occasion.
More Delicious Fall Pumpkin Recipes to Explore
If you love pumpkin as much as we do, you’ll want to try these other fantastic recipes:
- Pumpkin Magic Cake
- Pumpkin Spice Donuts
- Pumpkin Hand Pies
- Pumpkin Spice Hot Chocolate
- Pumpkin Spice Latte
- Pumpkin Trifle
- Pumpkin Pie Dip
- Pumpkin Chicken Pot Pie
I love to bake and cook and share my recipes with you! I know it’s hard to remember to come back and search, so I’ve made it easy for you with my weekly newsletter! You can subscribe for free and I’ll send you delicious recipes every week right to your email.

Mini Pumpkin Whoopie Pies
IMPORTANT – There are often Frequently Asked Questions within the blog post that you may find helpful. Simply scroll back up to read them!
Print It
Rate It
Save ItSaved!
Ingredients
FOR THE COOKIES
- 2 cups all-purpose flour
- 5 tablespoons unsweetened cocoa powder
- 1 teaspoon baking powder
- 1 teaspoon baking soda
- ½ teaspoon salt
- ½ cup vegetable shortening
- 1 cup granulated sugar
- 1 large egg
- 1 cup whole milk
- 1 teaspoon pure vanilla extract
FOR THE FILLING
- 4 ounces cream cheese at room temperature
- ½ cup unsalted butter at room temperature
- ½ cup confectioners’ sugar
- ¼ cup canned solid pack pumpkin not pumpkin pie filling*
- Pinch cinnamon
- Pinch nutmeg
Things You’ll Need
-
Stand mixer
-
Baking sheets
-
Wire cooling racks
Before You Begin
- This recipe makes 46 small cookies, so 23 whoopie pies. If you prefer them larger, simply bake the same and increase the time by a minute or so if needed.
- Be sure your cream cheese has been softened so you don’t end up with any little bits of cream cheese in your filling.
Instructions
Prepare cookies:
-
Preheat oven to 350 degrees and line cookie sheets with parchment paper or silicone baking mat.
-
In a medium bowl, whisk together flour, cocoa powder, baking powder, baking soda, and salt; set aside.
-
Use a mixer to beat shortening, sugar, and egg in a large bowl. Mix on high speed until smooth, about 3 minutes.
-
Slowly add half the flour mixture, then the milk and vanilla. Mix in remaining flour mixture.
-
Drop about 2 teaspoons dough onto prepared sheets, spacing 2 inches apart. Bake until cookies spring back when lightly touched, 10 to 15 minutes.
-
Transfer baking sheets to wire racks and let cool 10 minutes. Remove cookies from baking sheets and transfer to wire racks using a spatula; let cool completely.
Prepare filling:
-
Use mixer to beat softened cream cheese, softened butter, and confectioners’ sugar on medium speed until smooth, about 3 minutes. Add pumpkin, cinnamon, and nutmeg; whip until smooth, scraping down the bowl as necessary.
-
Pipe or spoon about 2 teaspoons filling on the flat sides of half the cookies. Sandwich with remaining cookies, keeping the flat sides down.
Nutrition
The recipes on this blog are tested with a conventional gas oven and gas stovetop. It’s important to note that some ovens, especially as they age, can cook and bake inconsistently. Using an inexpensive oven thermometer can assure you that your oven is truly heating to the proper temperature. If you use a toaster oven or countertop oven, please keep in mind that they may not distribute heat the same as a conventional full sized oven and you may need to adjust your cooking/baking times. In the case of recipes made with a pressure cooker, air fryer, slow cooker, or other appliance, a link to the appliances we use is listed within each respective recipe. For baking recipes where measurements are given by weight, please note that results may not be the same if cups are used instead, and we can’t guarantee success with that method.
