Easy 2-Ingredient Ice Cream Bread: Your Ultimate Guide to Simple, Delicious Homemade Loaves
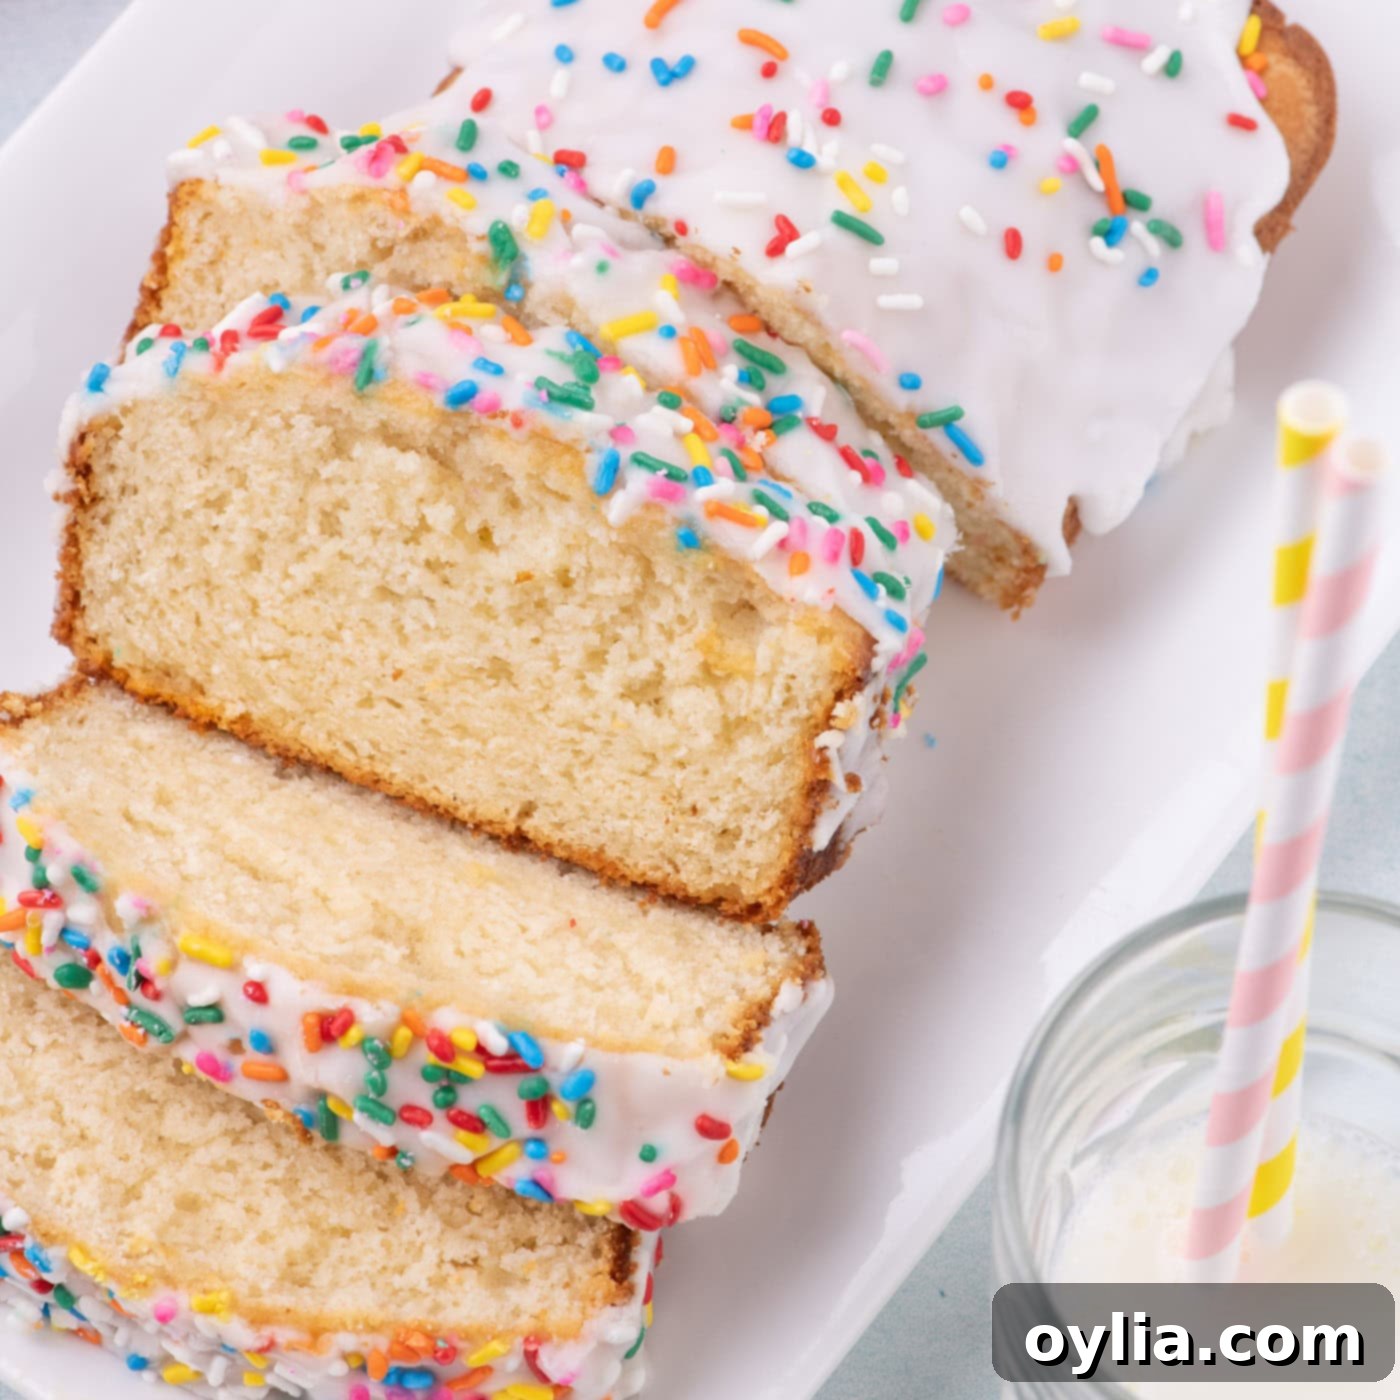
Get ready to transform your favorite frozen treat into a surprisingly delicious baked good! This revolutionary ice cream bread recipe requires just two simple ingredients: a carton of your beloved full-fat ice cream and some self-rising flour. Forget complicated baking processes; this method yields a moist, tender, and subtly sweet quick bread with minimal effort. It’s the perfect solution for a last-minute dessert, a unique breakfast treat, or a fun baking project with the kids. Dive in to discover how effortlessly you can create a variety of flavored loaves that will impress everyone.
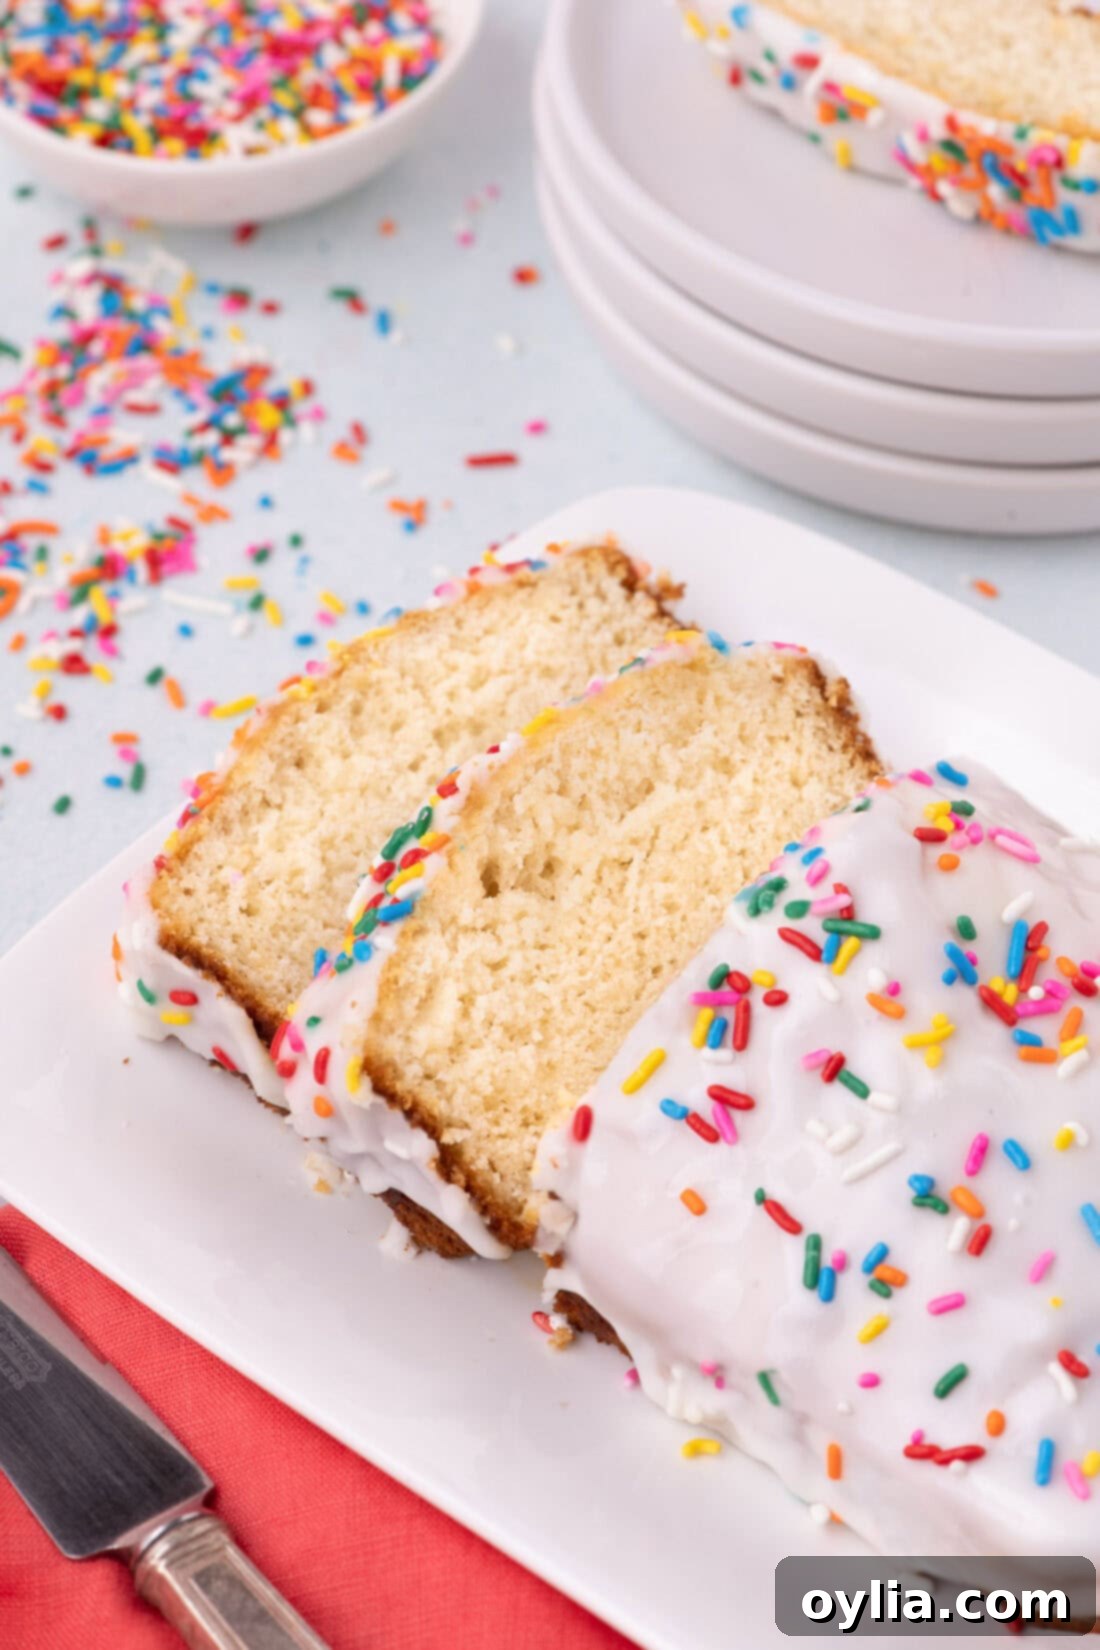
Why This Recipe Works: The Magic of Two Simple Ingredients
Ice cream bread is more than just a novelty; it’s a genuine baking marvel. It delivers the comforting taste and tender crumb of a classic quick bread recipe, yet it ingeniously simplifies the process to just two core ingredients: melted ice cream and self-rising flour. It might sound almost too good to be true – creating a delicious loaf of bread from such an unlikely duo. However, this magical combination truly works, producing a loaf that is subtly sweet, incredibly moist, and wonderfully flavorful, perfectly balancing on the border between a dessert and a delightful savory-sweet treat.
The secret lies in the carefully selected ingredients. For ice cream bread to truly shine, you must use self-rising flour and full-fat ice cream. Self-rising flour is a powerhouse, already containing a leavening agent (baking powder) and a touch of salt. This essential blend gives the bread its necessary rise and structure, eliminating the need to add these components separately. Full-fat ice cream is equally critical because it’s packed with everything else a quick bread needs: fats for moisture and richness, sugar for sweetness and browning, and even eggs for binding and structure. Essentially, all the complex elements typically found in a traditional quick bread recipe are conveniently condensed into these two readily available ingredients, making the process incredibly straightforward and fool-proof. The only variable you’re encouraged to play with is the exciting world of ice cream flavors!
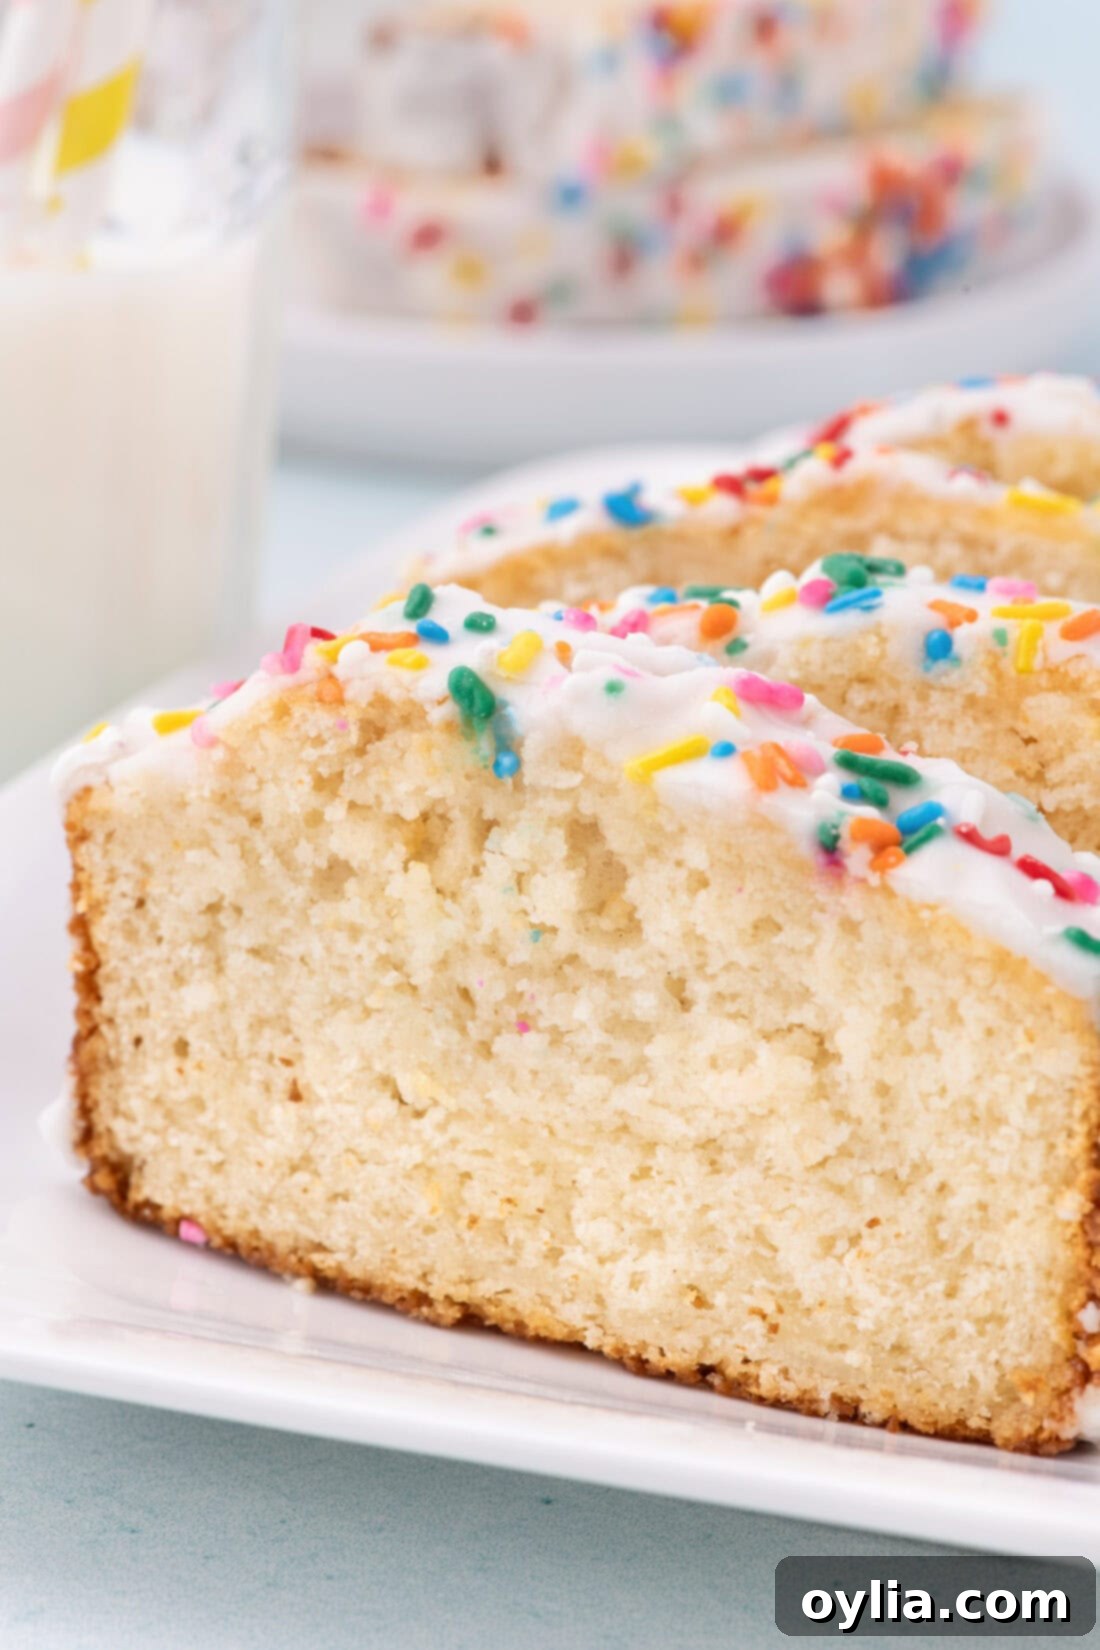
Ingredients You’ll Need for This Simple Bread
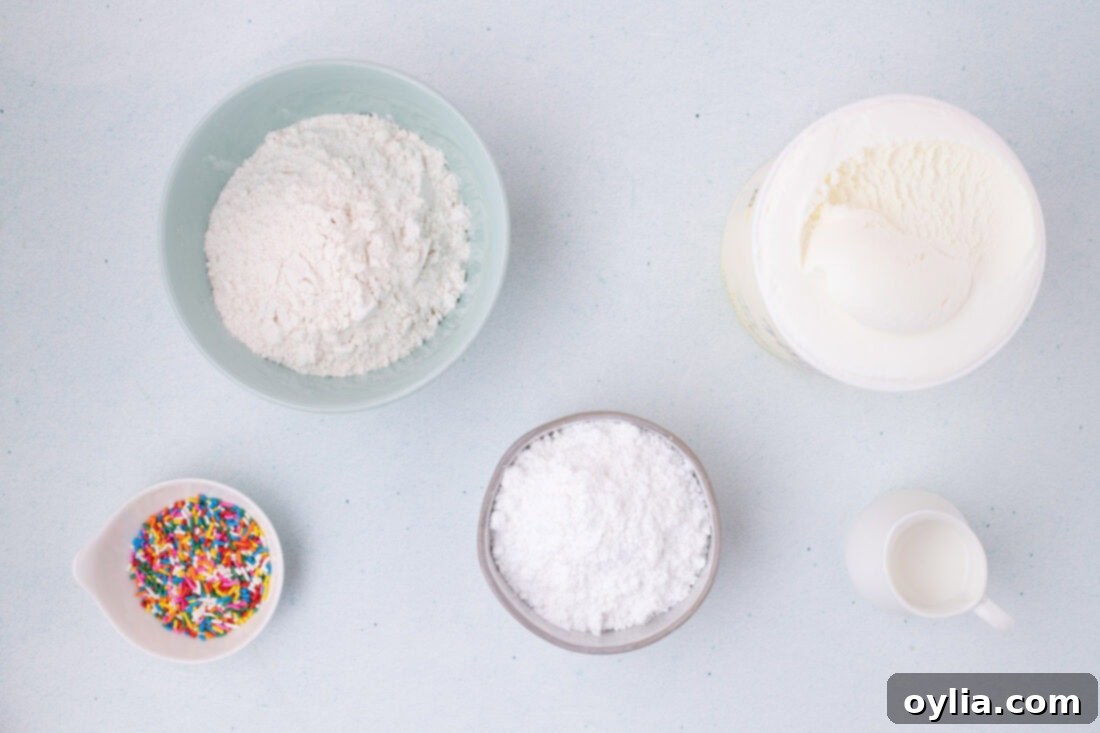
Crafting this delightful two-ingredient ice cream bread couldn’t be easier. You’ll only need two primary items to get started, plus a few optional additions for an extra touch of sweetness and visual appeal. For precise measurements, detailed quantities, and comprehensive instructions, please refer to the printable recipe card available at the very end of this blog post.
Ingredient Spotlight: Tips for Perfect Ice Cream Bread
ICE CREAM – This is where the fun begins and your creativity can truly shine! The possibilities for ice cream flavors are nearly endless, allowing you to customize your bread for any craving or occasion. Whether you’re dreaming of a rich chocolate chip bread (made with chocolate ice cream mixed with extra chips!), a fruity strawberry loaf, a refreshing mint chocolate chip bread, a nutty butter pecan delight, or a classic cookies and cream creation – you can make it all. Just remember one crucial rule: always opt for **full-fat ice cream**. The fat content is essential for achieving the moist, tender crumb and rich flavor that defines this bread. Skimpy, low-fat, or dairy-free ice creams, as well as sherbets or sorbets, lack the necessary fat, sugar, and egg content to react properly with the flour and won’t yield the same delicious results. Keep in mind that the ice cream flavor, while present, will mellow and become somewhat subtle after baking, offering a gentle hint rather than an overpowering taste.
FLOUR – The key to this “two-ingredient” marvel is **self-rising flour**. This isn’t a suggestion; it’s a requirement for the recipe’s success. Self-rising flour comes pre-mixed with baking powder and salt, providing the leavening necessary for the bread to rise beautifully without any extra additions. Do not substitute with all-purpose flour unless you fortify it with leavening agents yourself (see our FAQ section for how to make your own self-rising flour if you’re in a pinch!). For the most accurate and consistent results, we highly recommend weighing your flour using a kitchen scale. Measuring flour with cups can often lead to over-packing and adding too much, which can result in a dense, dry, and less enjoyable ice cream bread. If a scale isn’t available, employ the “stir, scoop, and scrape” method: gently stir the flour in its container, then lightly scoop it into your measuring cup, and finally, level it off with a straight edge.
GLAZE – While completely optional, a sweet glaze can elevate your ice cream bread, adding an extra layer of sweetness and a beautiful finish. Our recipe includes instructions for a thick, luscious glaze. If you prefer a thinner consistency that drips more freely, simply add more milk, a teaspoon at a time, until you reach your desired pourability. I personally love a thicker glaze; it coats the bread with a pure white, opaque layer that slowly cascades down the sides, creating an inviting visual appeal that’s far more striking than a thin, transparent drizzle. Feel free to add a splash of vanilla extract to your glaze for an extra aromatic touch, or even a tiny bit of food coloring to match your bread’s flavor profile!
How to Make Easy Ice Cream Bread: Step-by-Step Guide
These step-by-step photos and instructions are designed to help you visualize each stage of making this incredibly simple ice cream bread. For a printable version of this recipe, complete with precise measurements and detailed instructions, you can Jump to Recipe at the bottom of this page. Let’s get baking!
- Preheat your oven to 350°F (175°C). Prepare a 9-inch loaf pan by lightly greasing it with butter or cooking spray. This will ensure your bread releases easily after baking.
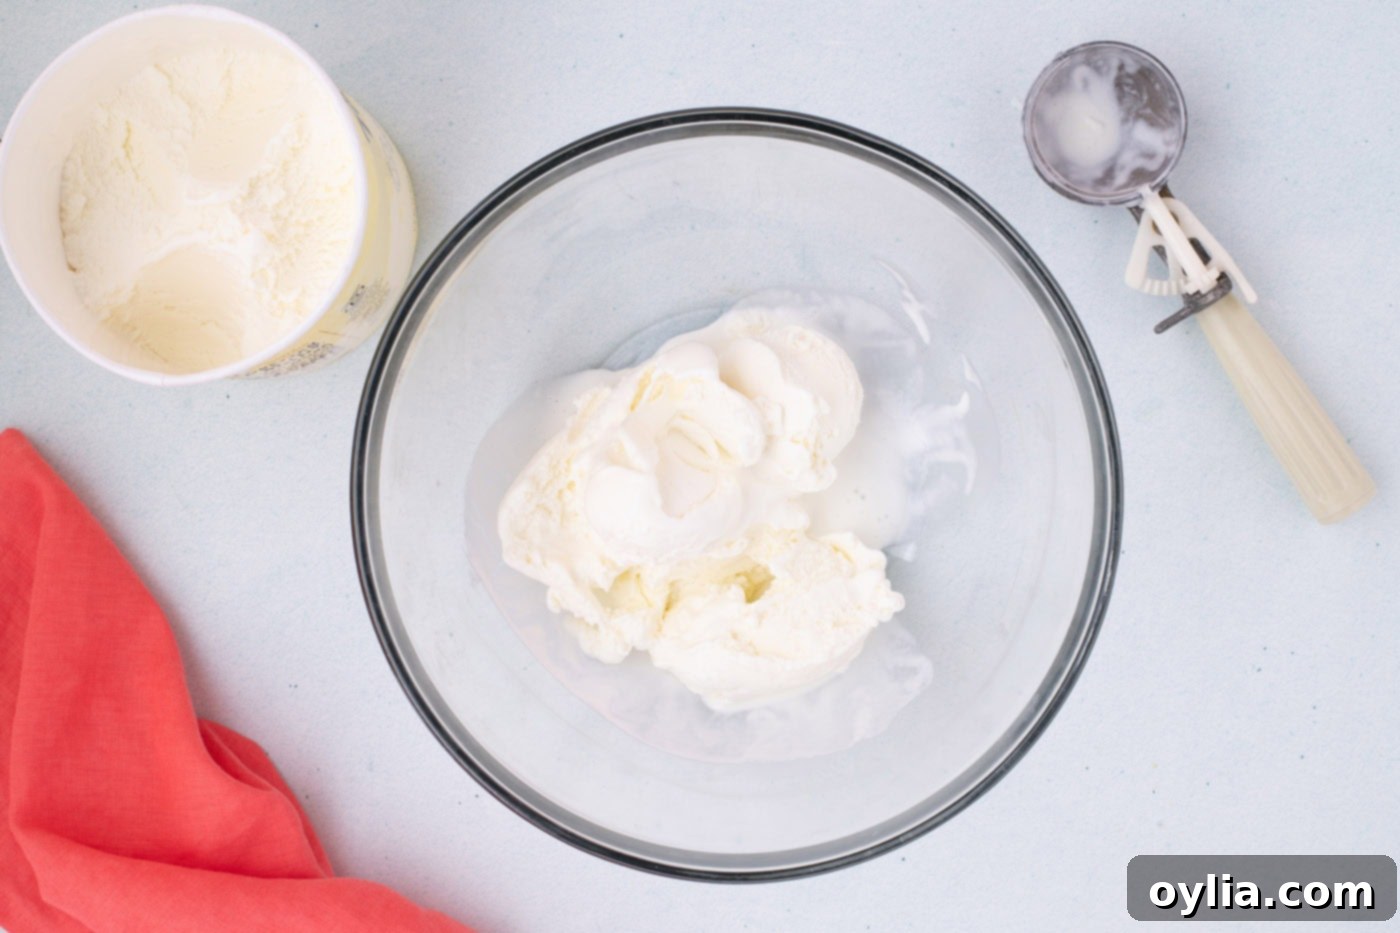
- Place the full-fat ice cream in a large mixing bowl. Allow it to soften at room temperature for about 10 minutes, or until it reaches a consistency resembling a thick, pourable sauce. This softened state is crucial for smooth incorporation with the flour.

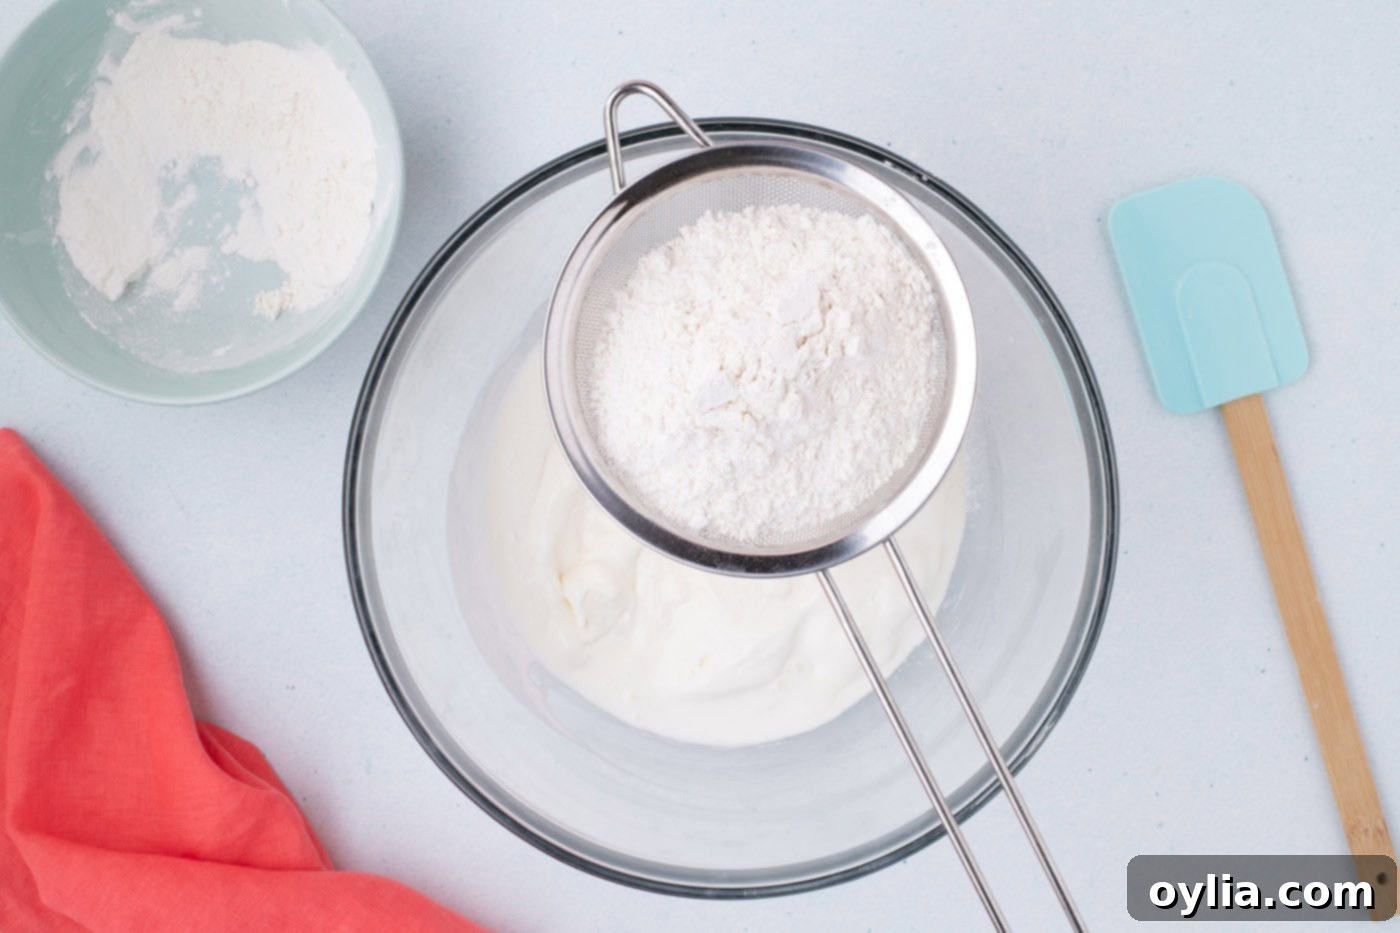
- Sift the self-rising flour directly over the melted ice cream. Using a soft silicone spatula, gently fold the flour into the ice cream. Stir just until the ingredients are combined.
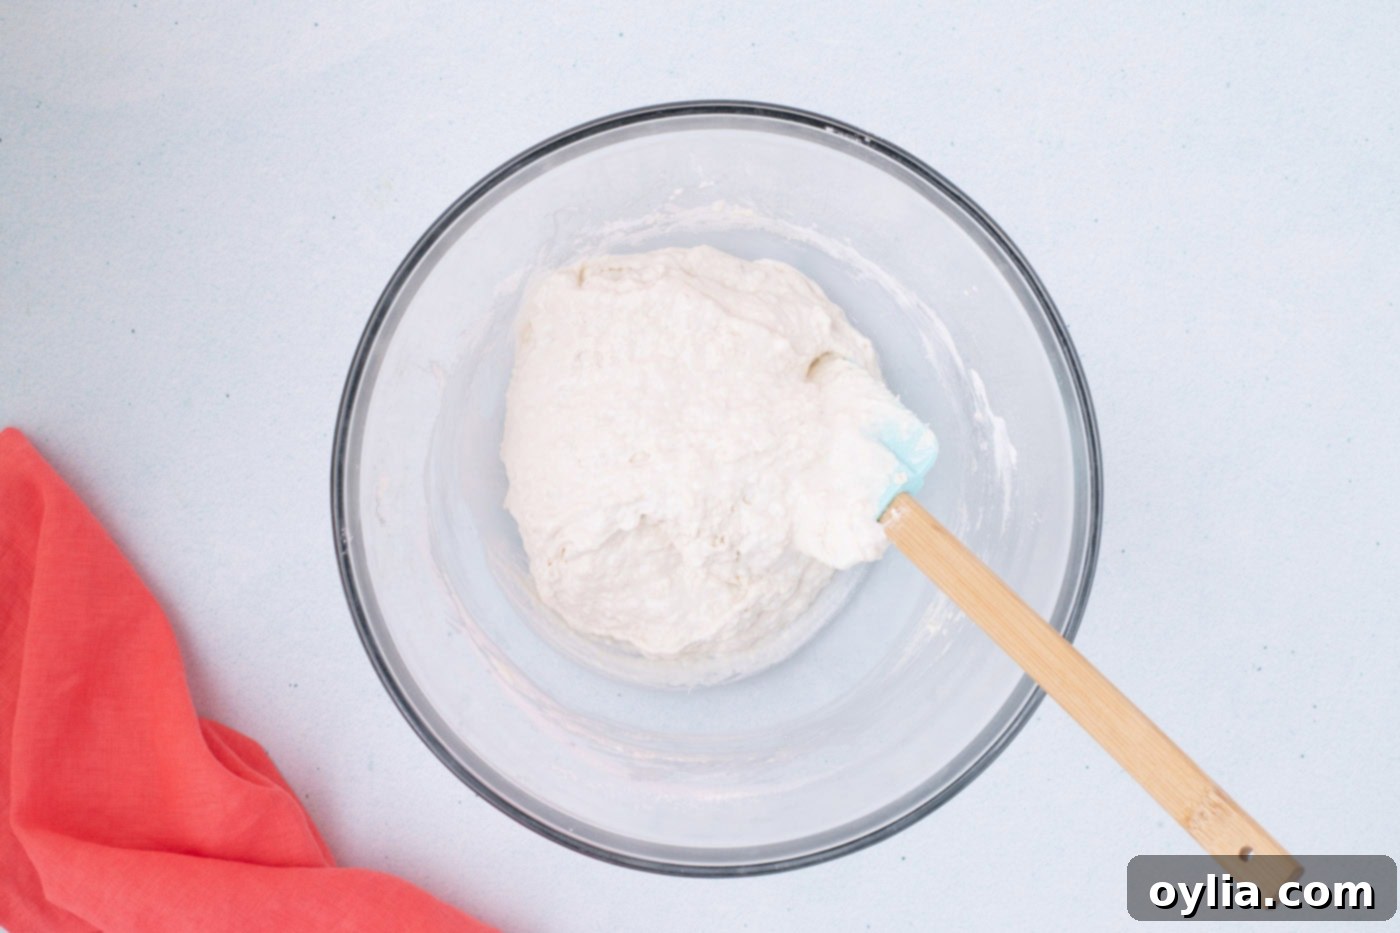
TIP – The golden rule here is do not overmix the batter! Overmixing develops gluten in the flour, which can lead to a tough and dense bread. A few lumps are perfectly normal and actually desired; this ensures a light, tender, and airy texture in your final baked loaf.


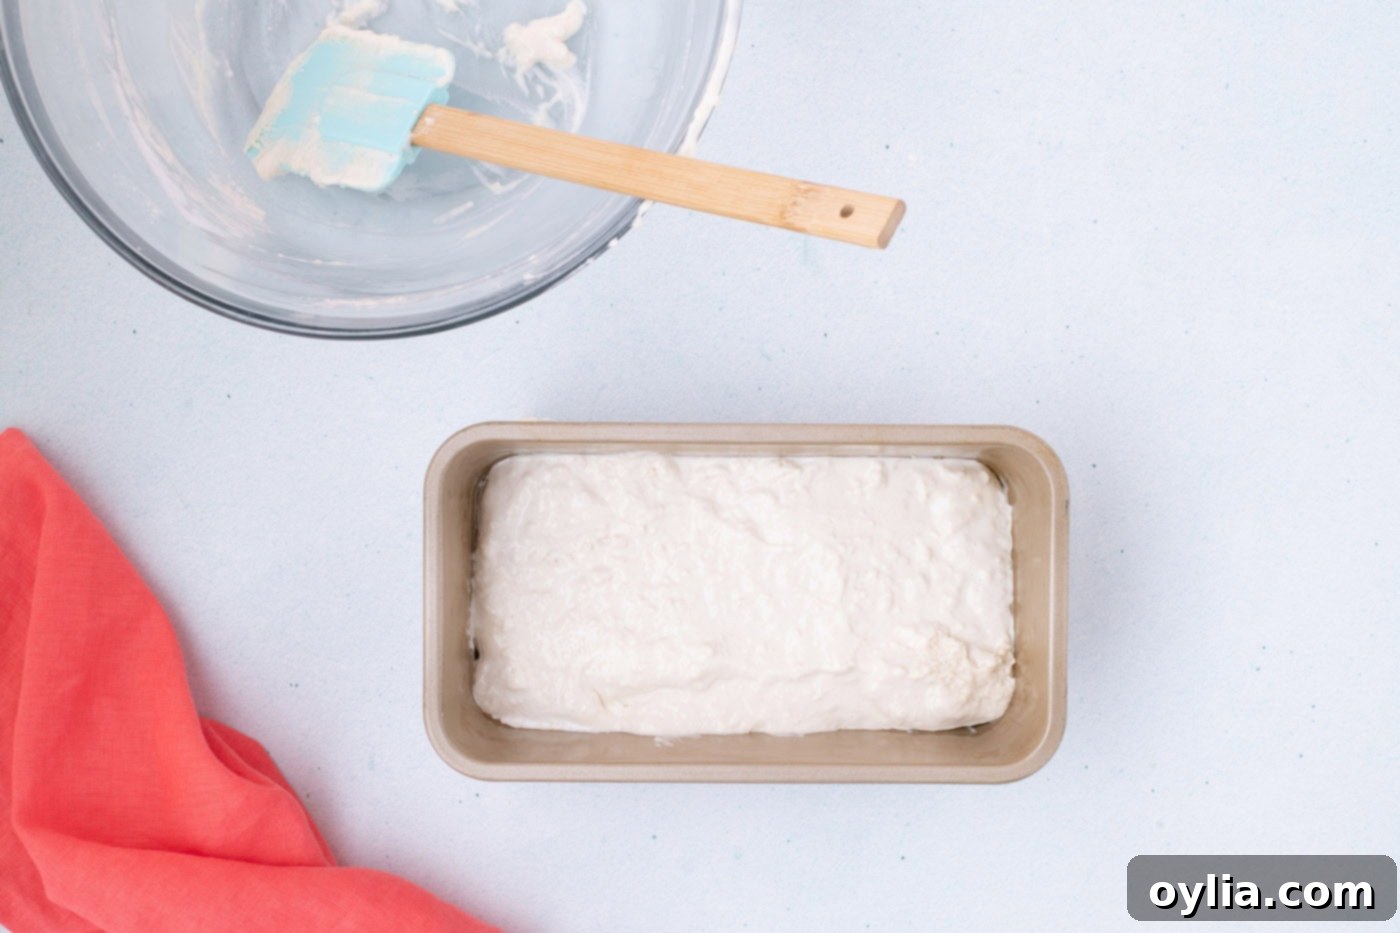
- Carefully transfer the bread batter into your prepared loaf pan. Use your spatula to gently spread and smooth the top, ensuring the batter fills all the corners of the pan for an even bake and a well-formed loaf.

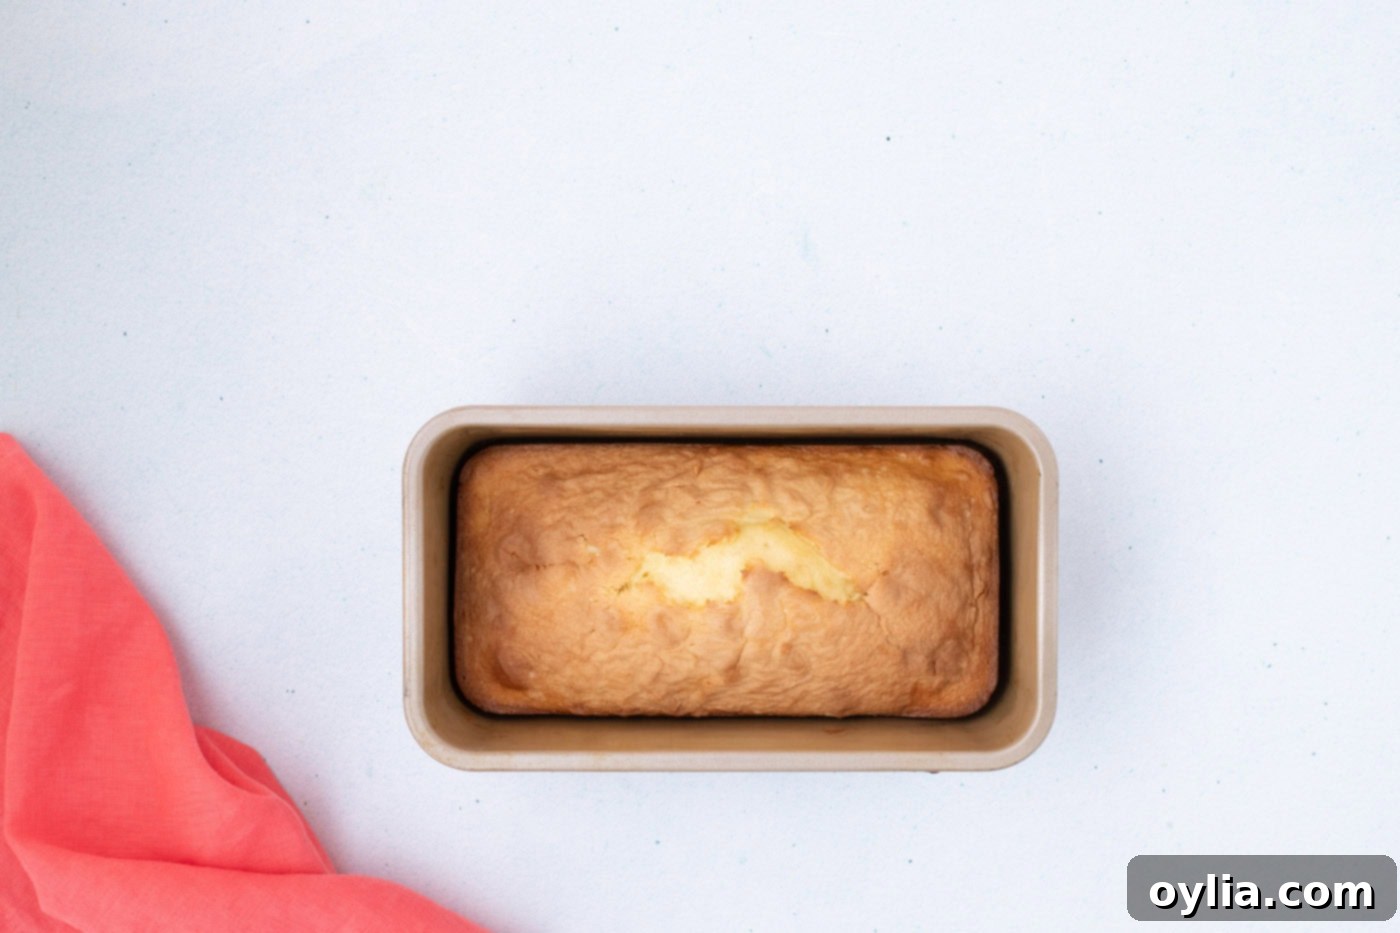
- Bake the loaf for a total of 30 minutes. After the initial 20 minutes, check the top of the bread. If it’s browning too quickly, loosely cover the loaf pan with aluminum foil for the remaining 10 minutes of baking. This prevents over-browning while allowing the inside to cook through.

- To confirm doneness, insert a clean toothpick or a thin skewer into the thickest part of the bread’s center. It should emerge relatively clean, with only a few moist crumbs clinging to it, indicating it’s perfectly baked.
- Once baked, remove the loaf pan from the oven and carefully place it on a wire rack to cool for 30 minutes. This cooling period in the pan prevents the bread from collapsing and ensures it sets properly while you prepare the optional, yet highly recommended, glaze.
- While the bread cools, whisk together the powdered sugar and milk in a measuring cup with a pourable spout until completely smooth. Adjust the consistency by adding milk sparingly if a thinner glaze is desired.
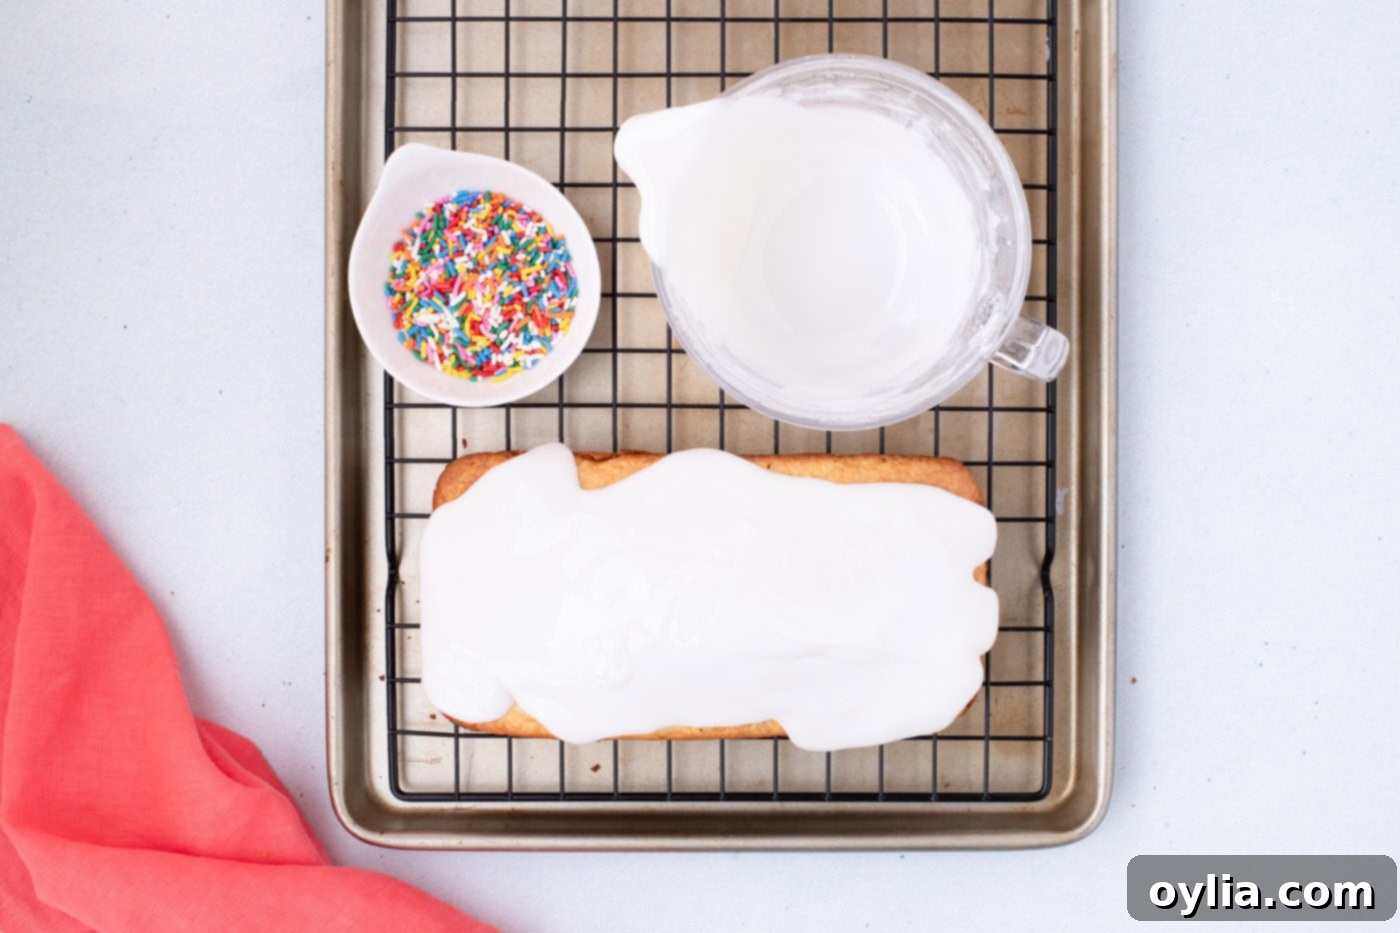
- After the initial cooling, gently remove the bread from the loaf pan and place it directly onto a wire rack. Position a baking sheet underneath the rack to catch any excess glaze. Slowly and evenly pour the prepared glaze over the cooled bread, allowing it to artfully drip down the sides.
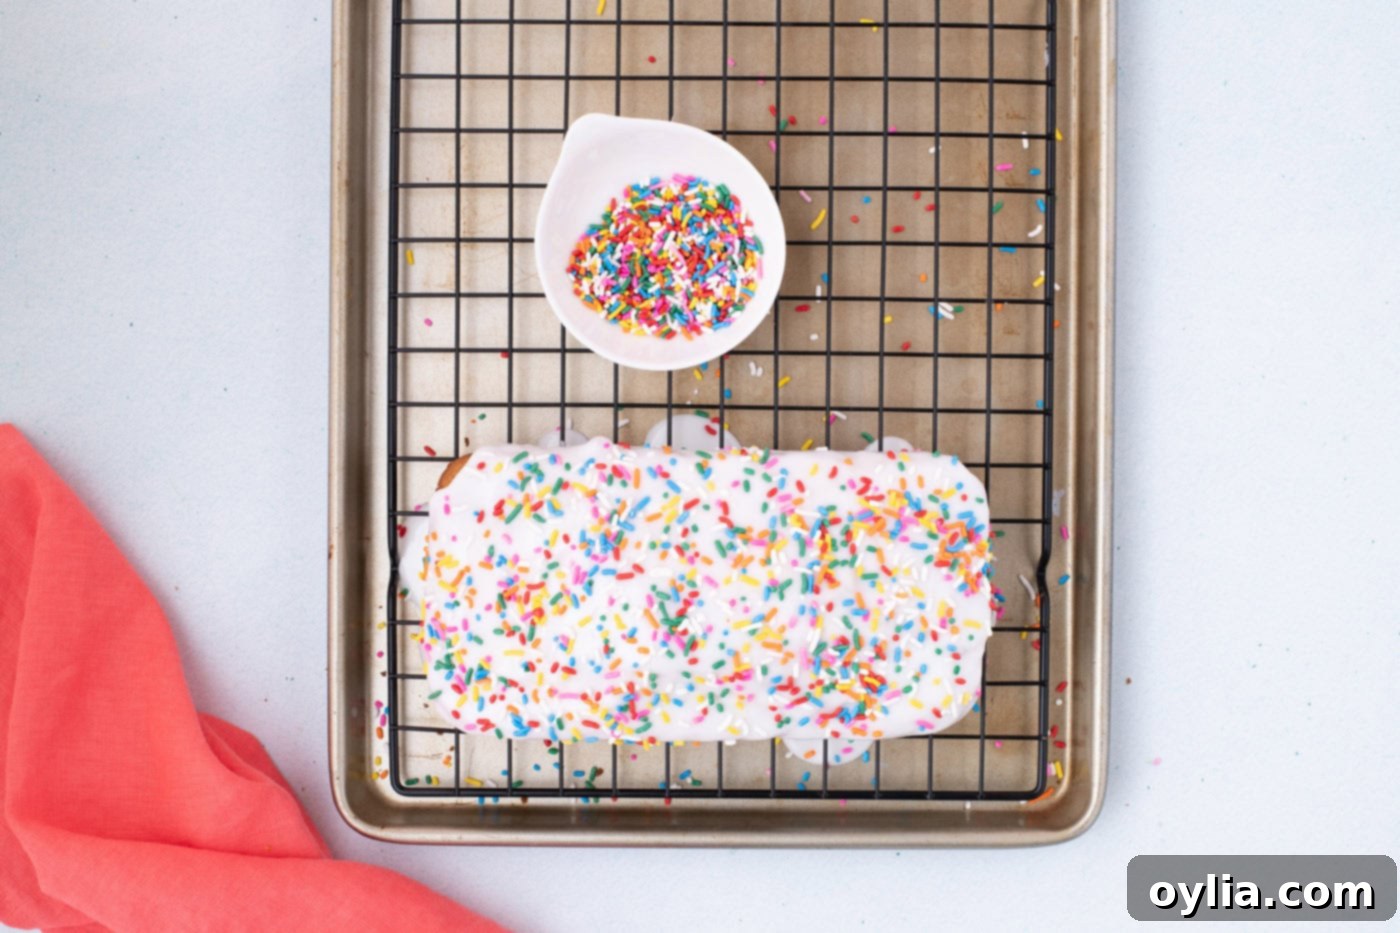
- Wait just 2 minutes for the glaze to begin to semi-set. This brief pause ensures the sprinkles adhere nicely. Then, generously sprinkle with colorful confetti sprinkles for a festive and appealing finish.


- Once the glaze is set, slice the ice cream bread into generous 1-inch thick slices. Serve immediately and enjoy your incredibly easy homemade creation!
Frequently Asked Questions & Expert Tips for Ice Cream Bread
To maintain the delightful moistness and freshness of your ice cream bread, it is best stored wrapped tightly in plastic wrap or placed in an airtight container. Keep it refrigerated, where it will stay delicious for up to 5 days. For longer storage, see the next tip on freezing!
For this to remain a true two-ingredient recipe and to ensure proper leavening, you absolutely need self-rising flour. It contains the baking powder and salt that make the bread rise. If you don’t have self-rising flour on hand, don’t fret! You can easily make your own by combining 1 ⅓ cups of all-purpose flour with 2 ¼ teaspoons of baking powder and ¼ teaspoon of salt. Whisk these together thoroughly, and then use this mixture as your self-rising flour substitute.
Absolutely! This is a fantastic way to customize your bread even further. Once you’ve gently folded the flour into the melted ice cream, you can stir in about ½ to 1 cup of your favorite mix-ins. Consider chocolate chips, chopped nuts (like pecans or walnuts), dried fruits (such as raisins or cranberries), or even a swirl of jam. Just be careful not to overmix when adding these ingredients to preserve the bread’s tender texture.
The possibilities are truly endless! Try coffee ice cream for a rich, mocha-flavored bread, or use rocky road for a chocolatey, nutty, and marshmallowy loaf. Peanut butter swirl ice cream makes a fantastic, slightly savory and sweet bread, while cinnamon bun ice cream can create a wonderfully spiced treat. Don’t be afraid to experiment with seasonal flavors like pumpkin spice or peppermint stick for holiday-themed breads!
Yes, ice cream bread freezes beautifully! Once completely cooled, wrap the entire loaf or individual slices tightly in plastic wrap, then again in aluminum foil. Place in a freezer-safe bag or container. It will keep well in the freezer for up to 2-3 months. To enjoy, thaw at room temperature or gently warm slices in the microwave or oven.
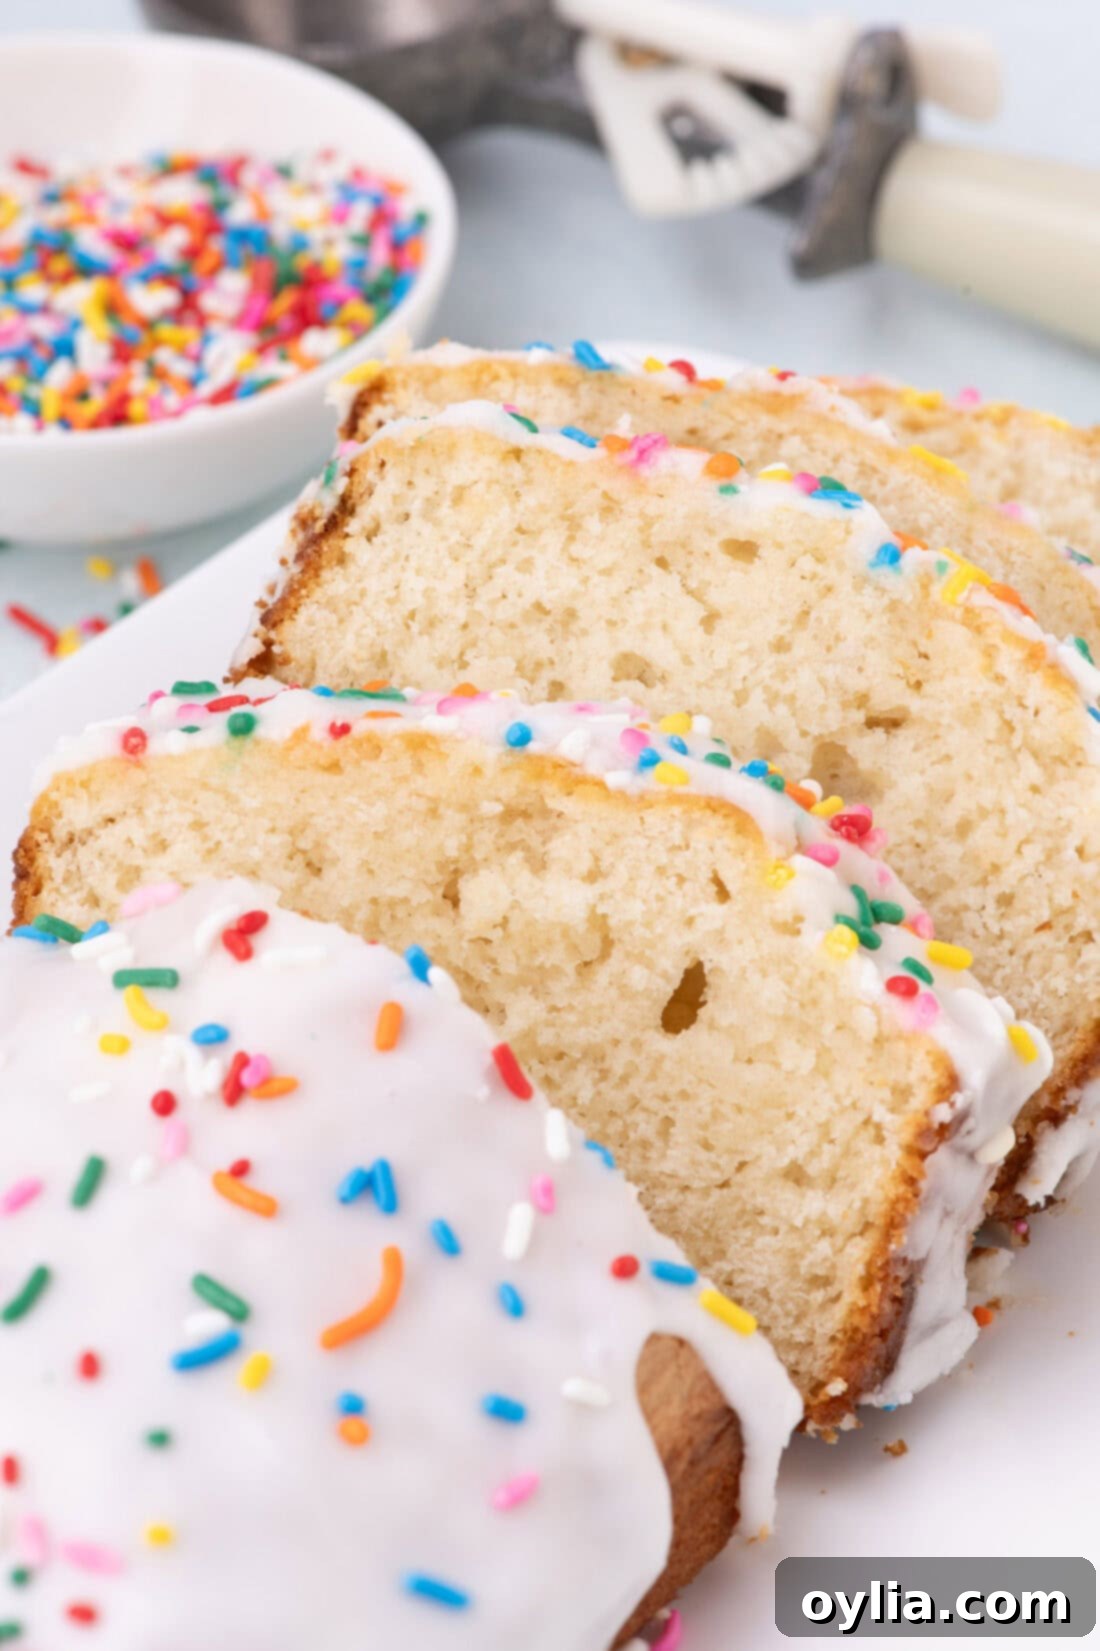
Creative Serving Suggestions for Your Ice Cream Bread
Ice cream bread truly is a versatile delight, perfectly bridging the gap between savory and sweet. It’s a wonderful choice for a unique breakfast or brunch item, an satisfying afternoon quick snack, or even a light dessert. Beyond a simple slice, consider dressing it up! You can optionally add a variety of delightful mix-ins directly into the batter, such as chocolate chips, chopped nuts, or dried fruits, to enhance its flavor and texture. For an irresistible finish, top it with a simple glaze or a rich frosting. A dollop of whipped cream, a scoop of complementary ice cream (yes, more ice cream!), or a drizzle of chocolate or caramel sauce can turn it into an indulgent dessert. Serve it warm with a cup of coffee or tea for a cozy treat.
More Delightful Quick Bread Recipes to Try
If you’ve fallen in love with the ease and deliciousness of ice cream bread, you’ll surely enjoy exploring more quick bread recipes. These simple, no-yeast breads are perfect for busy bakers looking for impressive results without the fuss. Here are some of our other favorite quick bread recipes:
- Peanut Butter Bread
- Pineapple Quick Bread
- Cantaloupe Quick Bread
- Chocolate Zucchini Bread
I love to bake and cook and share my kitchen experience with all of you! Remembering to come back each day can be tough, that’s why I offer a convenient newsletter every time a new recipe posts. Simply subscribe and start receiving your free daily recipes!
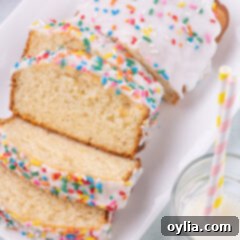
Ice Cream Bread
IMPORTANT – There are often Frequently Asked Questions within the blog post that you may find helpful. Simply scroll back up to read them!
Print It
Pin It
Rate It
Save ItSaved!
Ingredients
- 2 cups full fat vanilla ice cream we used French vanilla
- 1 ⅓ cup self-rising flour 150g
Optional Glaze
- 1 ½ cups powdered sugar 170g
- 5 teaspoons whole milk
- rainbow sprinkles optional as garnish
Things You’ll Need
-
9 inch loaf pan
-
Mixing bowls
-
Sieve
-
Wire cooling rack
Before You Begin
- For optimal results, steer clear of sherbets, low-fat, or dairy-free ice creams, as they simply won’t yield the desired texture and flavor. This recipe specifically calls for full-fat ice cream to ensure a moist and rich loaf.
- Self-rising flour is a non-negotiable ingredient for this recipe to work as intended. Avoid using all-purpose flour unless you prepare your own self-rising blend. For accuracy, it’s always best to weigh your flour with a kitchen scale; using a measuring cup can inadvertently add too much, resulting in a dense and dry ice cream bread. If a scale isn’t an option, use the “stir, scoop, and scrape” method to measure accurately.
- Should you find yourself without self-rising flour, you can easily create a substitute: simply combine 1 ⅓ cups of all-purpose flour with 2 ¼ teaspoons of baking powder and ¼ teaspoon of salt, mixing thoroughly.
- The glaze can be customized to your preference. If you like a thinner, more drizzly consistency, gradually thin it out by adding milk one teaspoon at a time. My personal preference is a thick glaze that provides a beautiful, opaque white finish and drips slowly down the sides of the bread, creating an appealing visual.
Instructions
-
Preheat the oven to 350°F. Grease a 9-inch loaf pan.
-
Place the ice cream in a large mixing bowl and allow it to soften (about 10 minutes), so it resembles a thick sauce.
-
Sift the self-rising flour over the melted ice cream, and using a soft silicone spatula, gently fold it into the ice cream. Stir until just combined (the key is not to over-stir)!
-
Transfer the batter to the prepared loaf pan and smooth the top to get the batter into the corners of the loaf pan.
-
Bake for 30 minutes. After 20 minutes, cover with aluminum foil (if the top is not getting too brown) and bake for the remaining 10 minutes.
-
Check for doneness by inserting a toothpick into the thickest part of the bread, it should come out fairly clean with only a few crumbs attached.
-
Remove the loaf pan from the oven and place it on a wire rack to cool for 30 minutes while you make the glaze.
-
In a measuring cup with a pourable spout, combine the powdered sugar and milk. Stir until smooth.
-
Remove the bread from the loaf pan and set it on a wire rack fitted over a baking sheet. Slowly pour the glaze over the cooled cake letting it drip down the sides of the bread.
-
Wait 2 minutes for the glaze to semi-set and sprinkle with the confetti sprinkles.
-
Cut into 1-inch thick slices and serve.
Expert Tips & FAQs
- The nutrition facts listed here do not include the optional glaze or sprinkles.
- To prolong the freshness of ice cream bread, it is best to keep it wrapped tightly in plastic wrap or in an air-tight container, stored in the refrigerator. It remains delicious when refrigerated for up to 5 days. For longer storage, this bread freezes exceptionally well!
- To keep your bread light and tender, avoid overmixing the batter once the flour is added. A few lumps are perfectly fine and contribute to the ideal texture.
- When using alternative ice cream flavors, consider complementary mix-ins to enhance the overall experience.
Nutrition
The recipes on this blog are tested with a conventional gas oven and gas stovetop. It’s important to note that some ovens, especially as they age, can cook and bake inconsistently. Using an inexpensive oven thermometer can assure you that your oven is truly heating to the proper temperature. If you use a toaster oven or countertop oven, please keep in mind that they may not distribute heat the same as a conventional full sized oven and you may need to adjust your cooking/baking times. In the case of recipes made with a pressure cooker, air fryer, slow cooker, or other appliance, a link to the appliances we use is listed within each respective recipe. For baking recipes where measurements are given by weight, please note that results may not be the same if cups are used instead, and we can’t guarantee success with that method.
