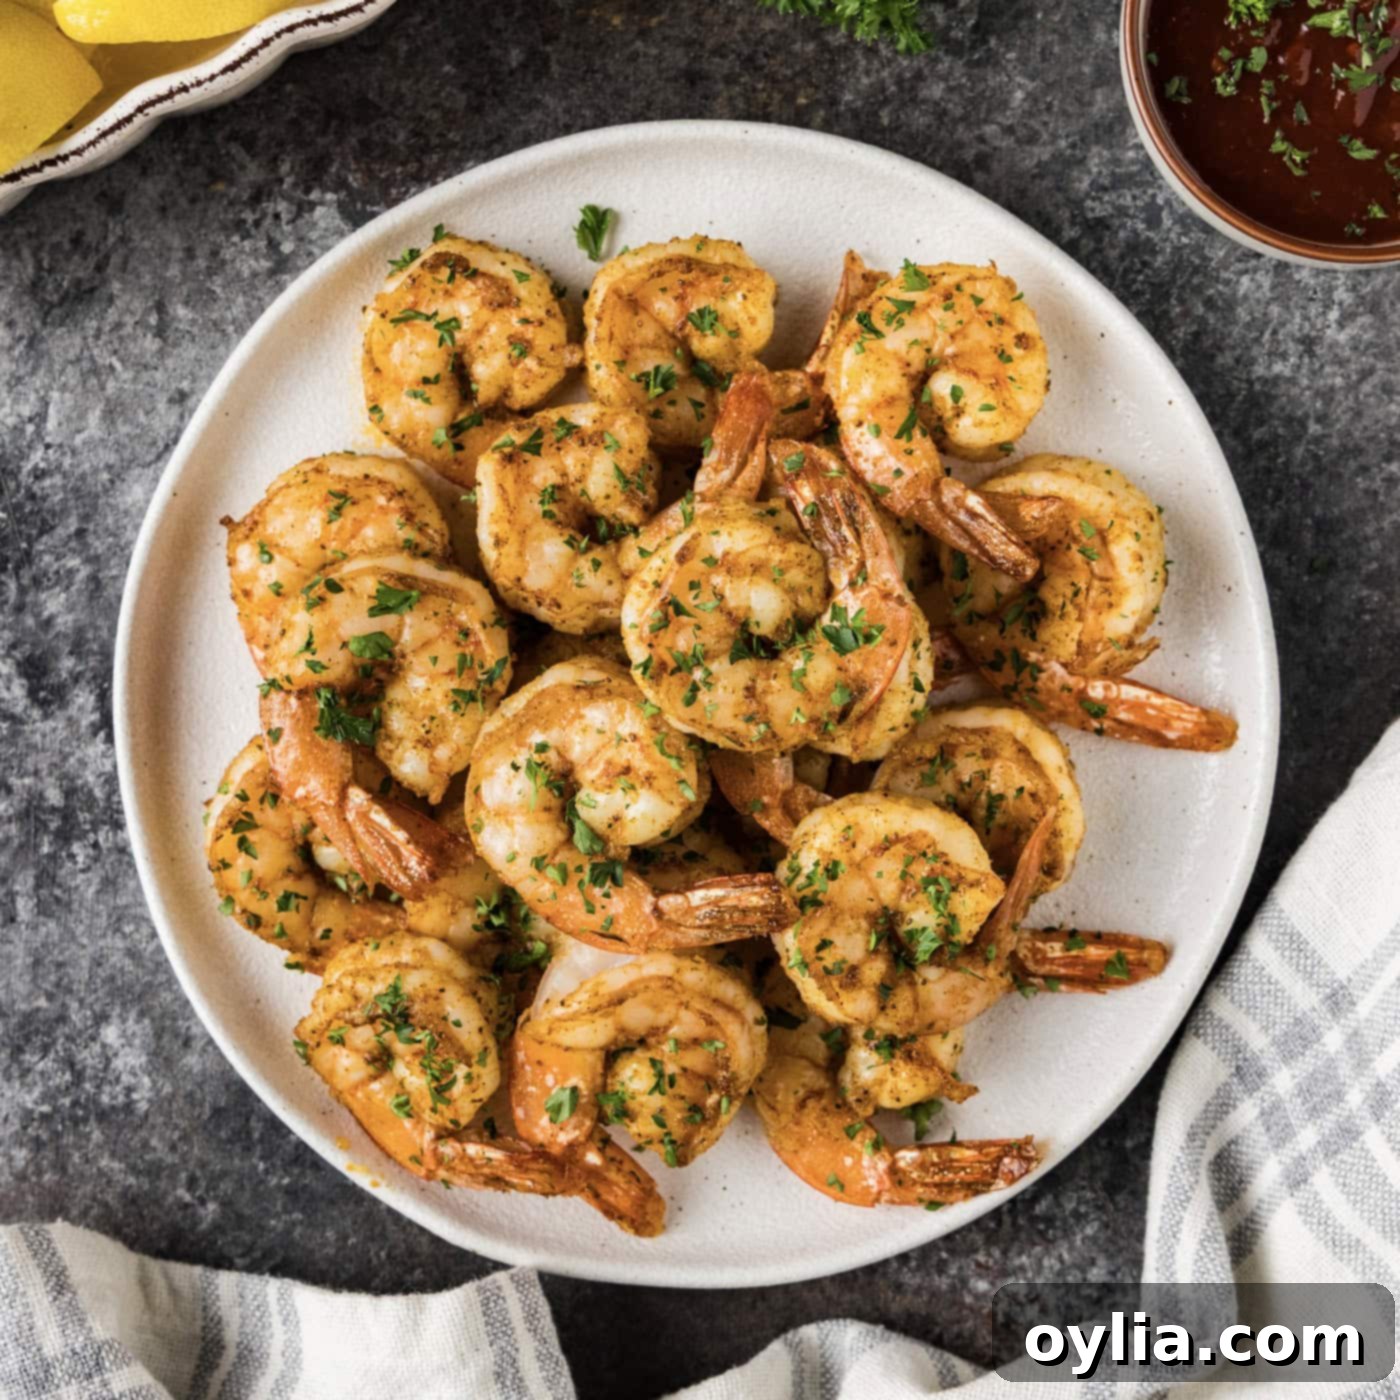
Quick & Easy Broiled Shrimp: Your Ultimate Guide to Juicy, Flavorful Perfection
Discover the secret to perfectly cooked shrimp in under 20 minutes with this incredibly simple broiled shrimp recipe. Whether you’re aiming for a lightning-fast weeknight dinner, a healthy appetizer, or a versatile addition to your favorite dishes, broiling shrimp delivers an unbeatable combination of speed, flavor, and texture. These plump, succulent shrimp boast a subtly crisp exterior while remaining wonderfully tender and juicy on the inside, ready to elevate pasta dishes, vibrant salads, sizzling fajitas, or classic taco shells.
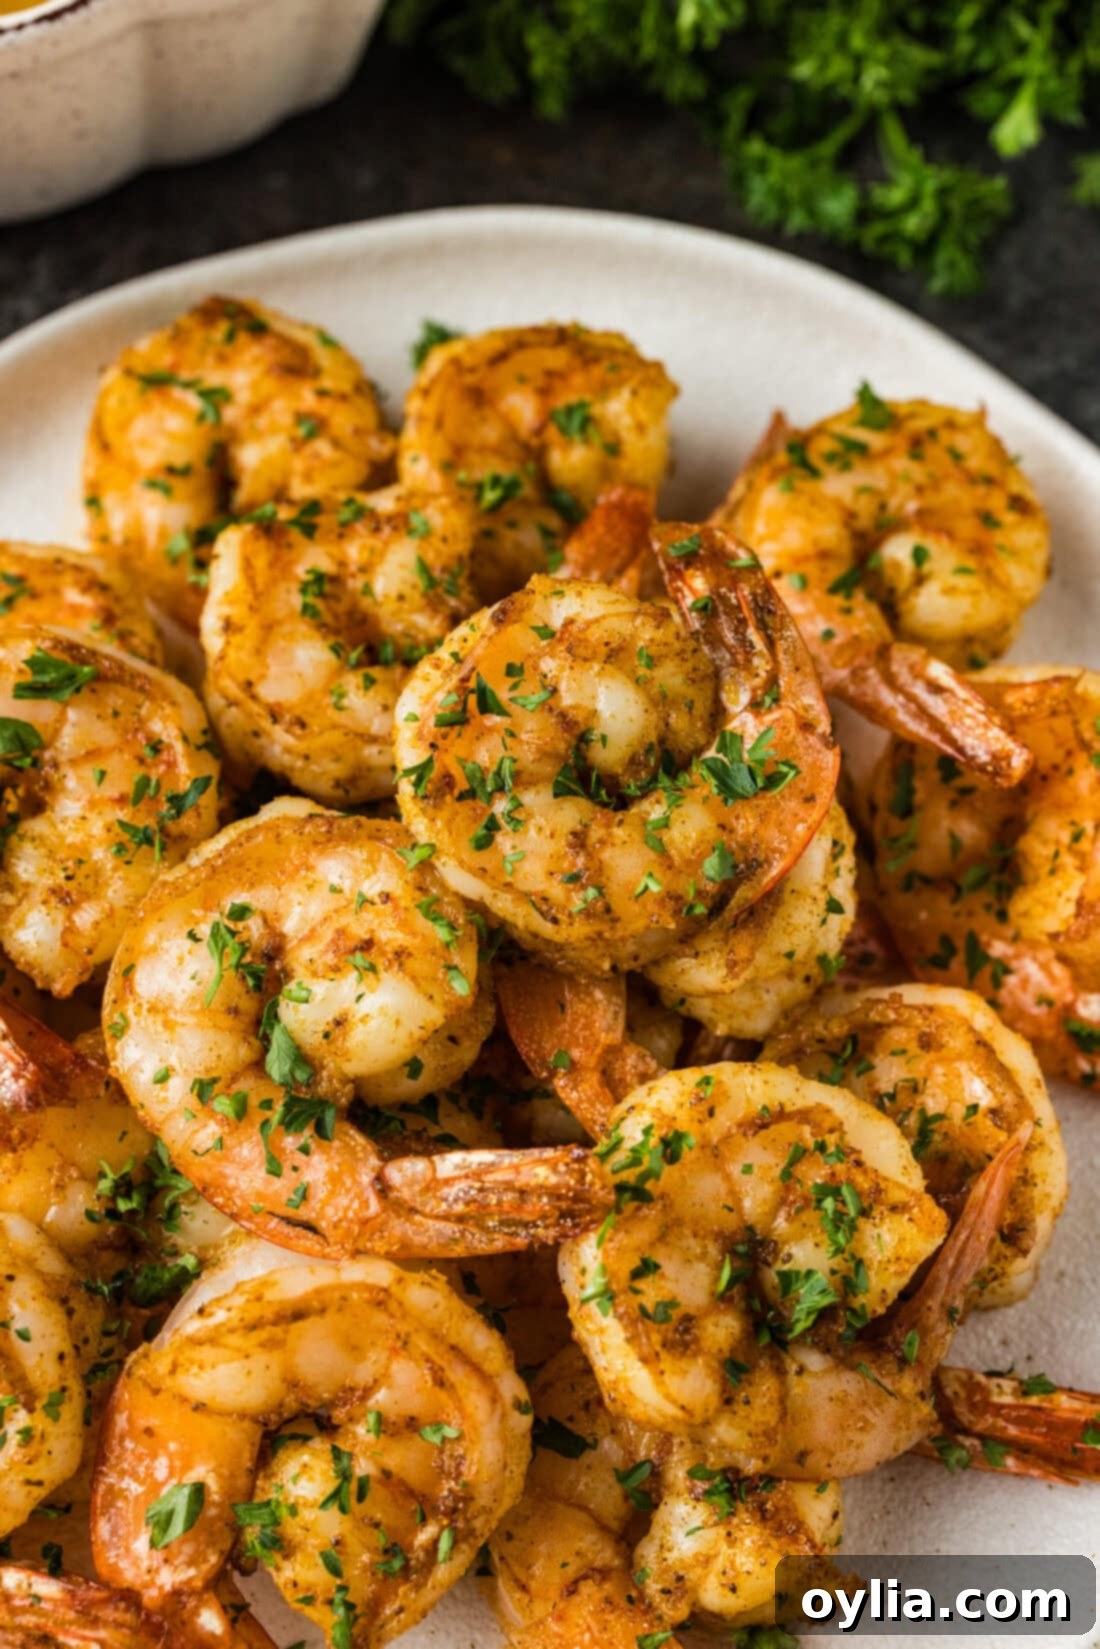
Why Broiled Shrimp is Your New Go-To Seafood Dish
When we say broiled shrimp is incredibly easy to make, we truly mean it’s one of the simplest and quickest ways to prepare this popular seafood. The method is straightforward: a quick toss with your favorite seasonings and a drizzle of olive oil, then a brief stint under the high heat of your oven’s broiler. That’s literally all it takes to transform raw shrimp into a delicious meal component.
The magic of broiling lies in its ability to deliver intense, direct heat, creating a delightful texture that’s hard to achieve with other methods. The high temperature rapidly sears the outside of the shrimp, developing a slightly crispy crust, while locking in moisture to keep the center incredibly juicy and tender. Unlike longer cooking methods, broiling prevents the shrimp from becoming tough or rubbery. In just about 5-7 minutes, your perfectly cooked shrimp will be ready to enjoy.
While there are many excellent ways to prepare shrimp – you might prefer to sauté them for a quick pan-fried finish, grill them for a smoky char, or bake them for a hands-off approach – broiling stands out for its unique blend of speed and texture. With minimal prep and a watchful eye, broiling ensures plump, succulent shrimp every single time, making it an ideal choice for busy weeknights or when you crave delicious seafood without a fuss.
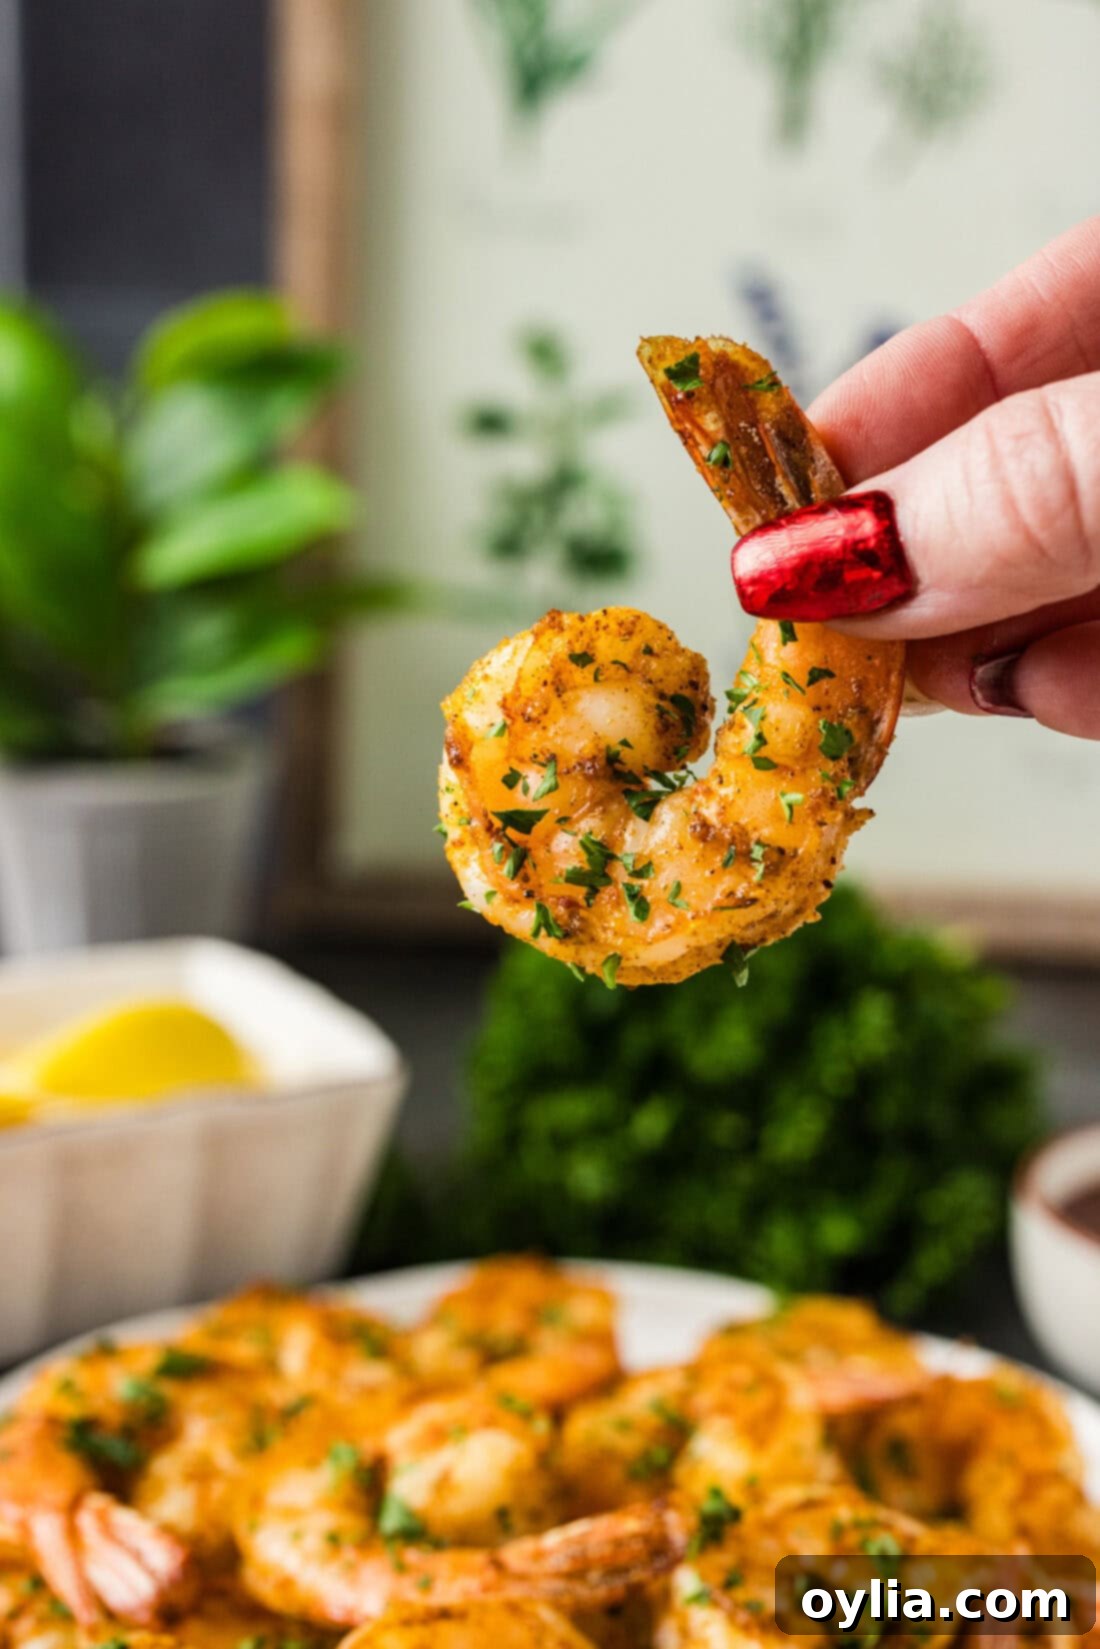
Essential Ingredients for Perfect Broiled Shrimp
Achieving delicious broiled shrimp requires just a handful of simple ingredients. The beauty of this recipe lies in its flexibility, allowing you to customize the flavors to your preference. Below, you’ll find the core components and some suggestions to make this dish truly your own. For exact measurements and a printable version, please refer to the recipe card at the end of this post.
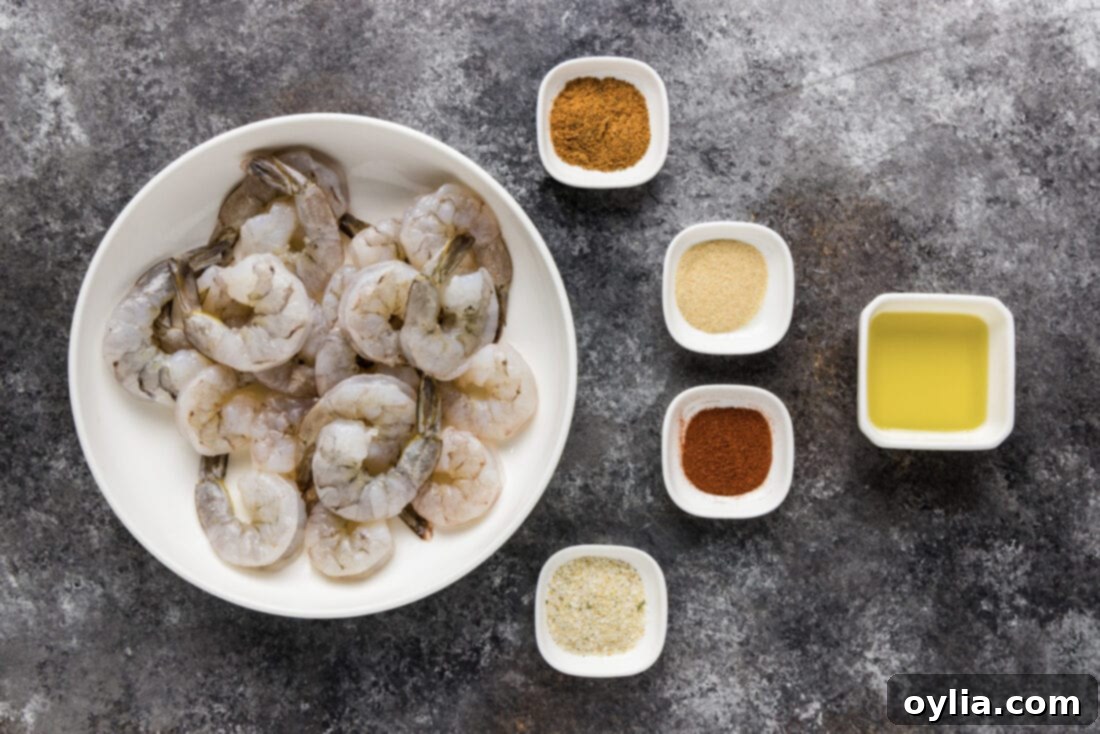
Ingredient Info and Substitution Suggestions
Let’s take a closer look at the components that make this broiled shrimp recipe truly shine:
- SHRIMP: The star of our dish! We typically opt for large or extra-large shrimp (often labeled as grilling shrimp or tiger shrimp) for their impressive size and succulent texture when broiled. These larger varieties hold up well under high heat and provide a satisfying bite. Any large or jumbo shrimp will work beautifully. Ensure your shrimp are peeled and deveined for the best eating experience. You can buy them pre-peeled and deveined to save time, or do it yourself for maximum freshness.
- SEASONING: This is where you can truly personalize your broiled shrimp. Our go-to blend for a balanced, savory flavor includes Old Bay seasoning, onion powder, paprika, and garlic salt. This combination offers a rich, aromatic profile that complements the natural sweetness of the shrimp. However, feel free to experiment! Other fantastic options include:
- Homemade Shrimp Seasoning: If you’re a seasoned chef (pun intended!), a jar of homemade shrimp seasoning is a game-changer and works wonderfully here.
- Lemon Pepper: For a bright, zesty flavor.
- Cajun/Creole Spices: If you like a little heat and bold flavor.
- Italian Herbs: A mix of oregano, basil, and thyme for an Mediterranean twist.
- Smoked Paprika: To add a deeper, smoky note.
Remember to adjust the amount of salt based on your seasoning blend, especially if it already contains salt.
- OLIVE OIL: A good quality olive oil is essential for coating the shrimp. It helps the seasonings adhere, prevents the shrimp from sticking to the rack, and contributes to that desirable crispy exterior while keeping the shrimp moist. Both extra virgin olive oil or a lighter olive oil will work.
How to Make Delicious Broiled Shrimp: Step-by-Step Instructions
These step-by-step photos and instructions are designed to help you visualize how to make this recipe. For a convenient printable version, complete with all measurements and detailed instructions, you can Jump to Recipe at the bottom of this page.
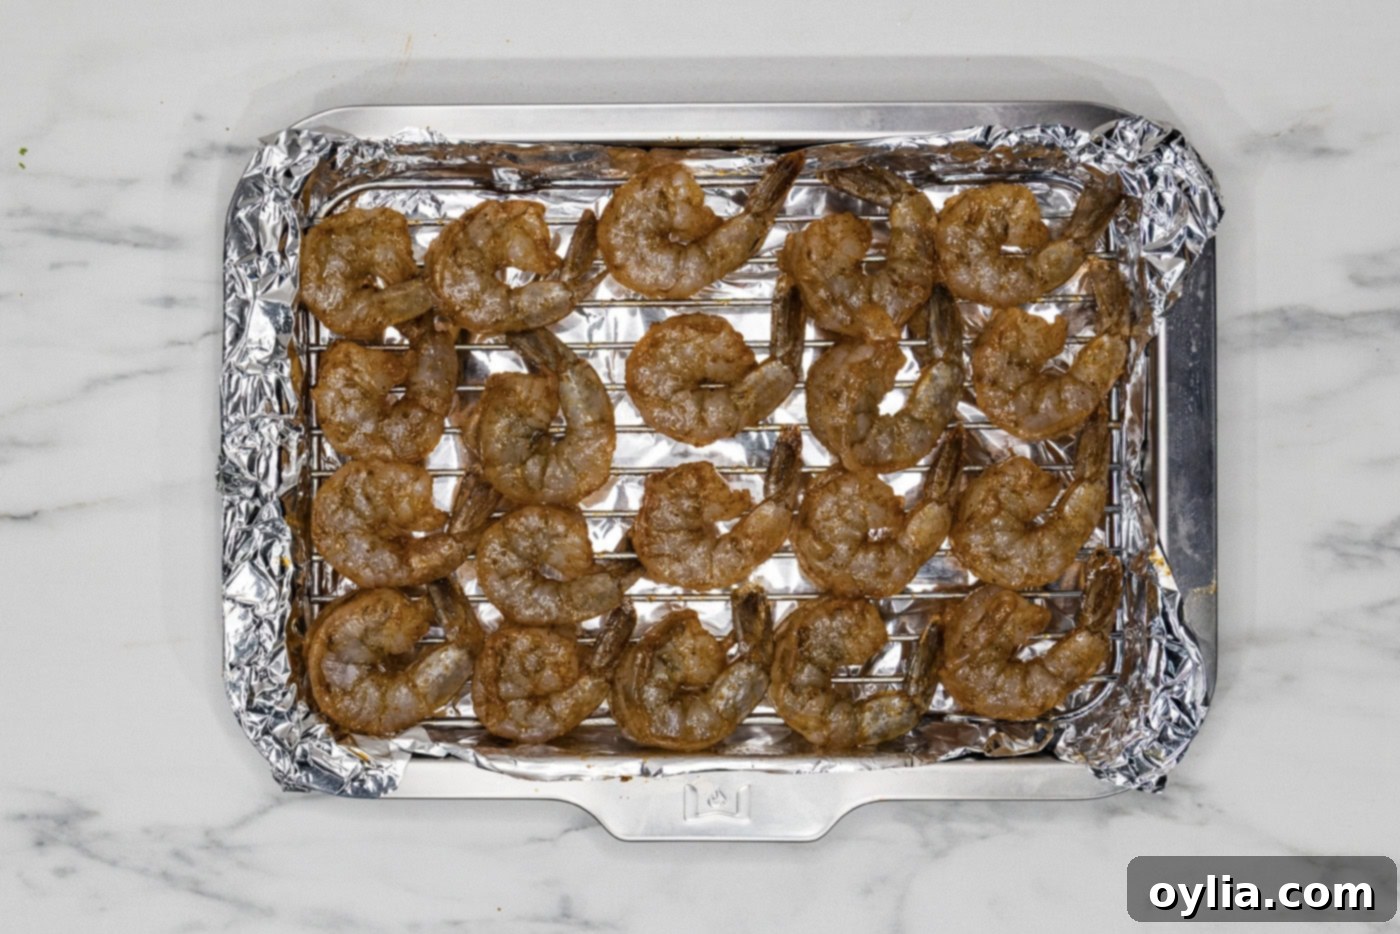
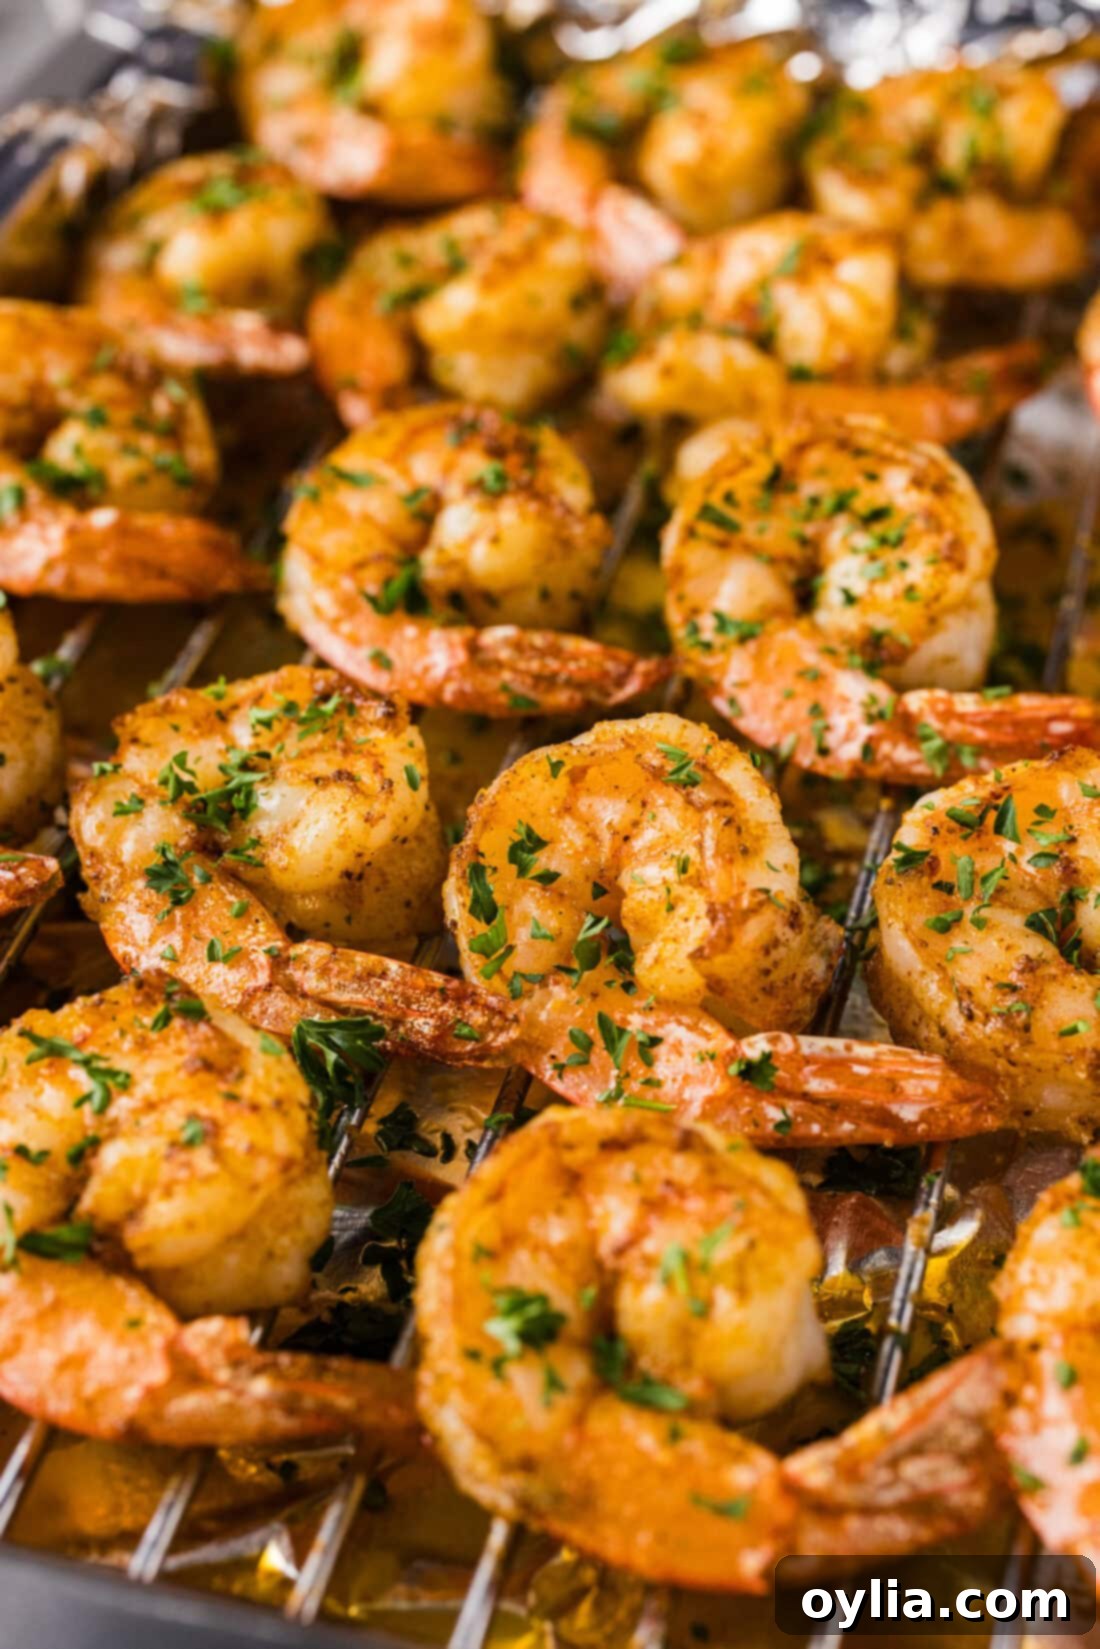
- Prepare Your Broiler and Pan: Begin by preheating your oven to the broil setting (usually high). The broiler uses intense top-down heat, so ensure your oven rack is positioned about 6 inches from the heating element. Line a baking sheet with aluminum foil for easy cleanup, then place a wire rack on top. This setup is crucial for even cooking, allowing air to circulate around the shrimp.
- Create Your Flavorful Seasoning Mix: In a medium-sized bowl, combine all your chosen seasonings (Old Bay, onion powder, paprika, garlic salt, or your preferred blend) with the olive oil. Whisk everything together thoroughly until you have a well-combined, aromatic mixture. This ensures every shrimp gets an even coating of flavor.
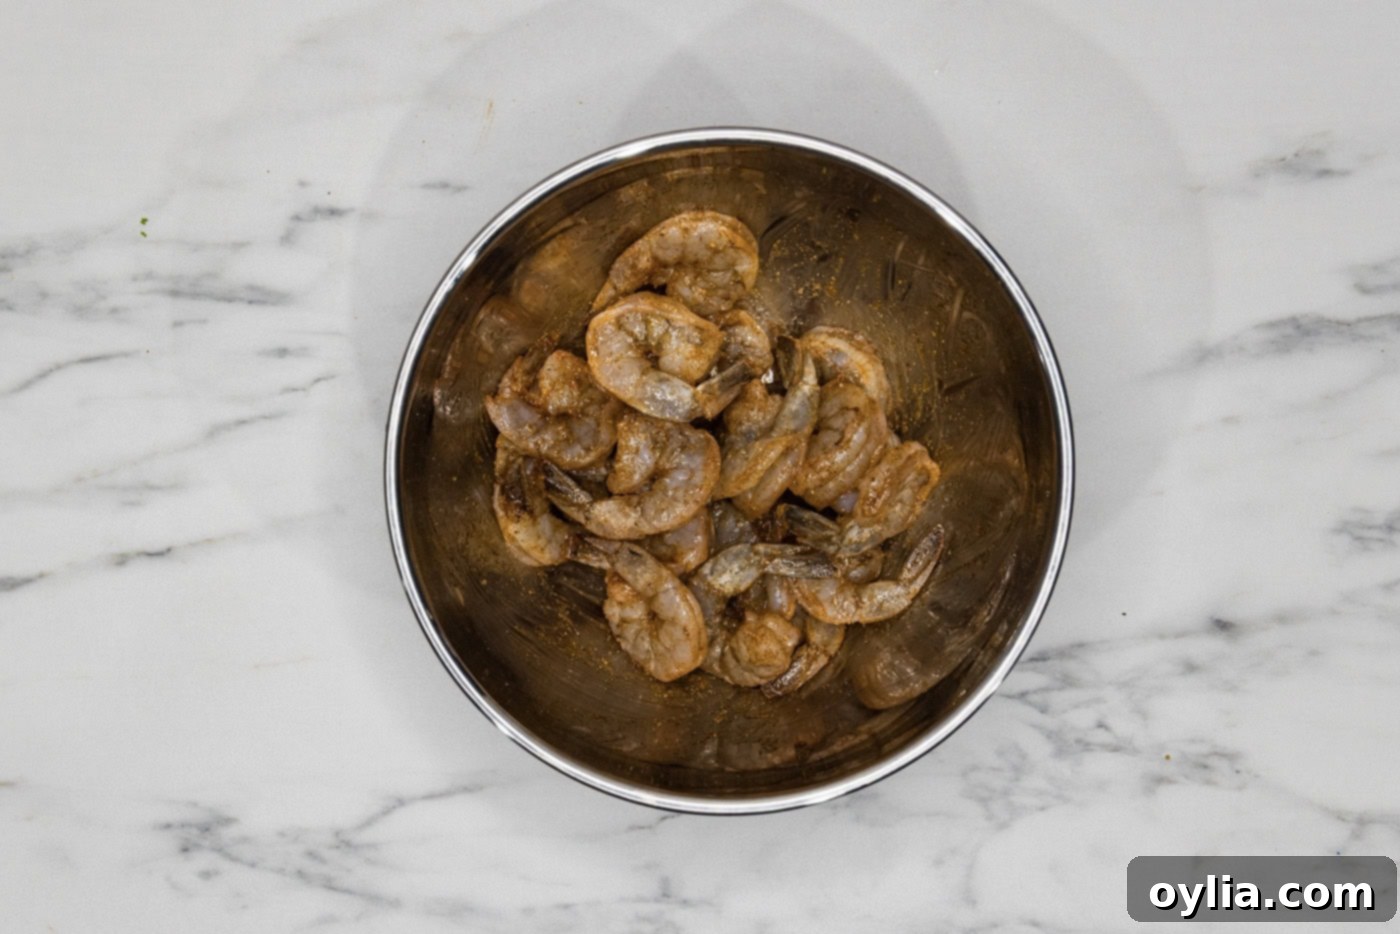
- Coat the Shrimp: Place your peeled and deveined raw shrimp into a large mixing bowl. Pour the prepared seasoning mixture over the shrimp.
- Toss for Even Coverage: Using gloved hands (or clean bare hands), gently toss and coat the shrimp with the seasoning mixture. Make sure each shrimp is evenly covered, which is key for consistent flavor and beautiful color once broiled.

- Arrange on Wire Rack: Arrange the seasoned shrimp in a single layer on the wire rack over your prepared foil-lined baking sheet. Avoid overcrowding the pan; leave a little space between each shrimp to ensure proper air circulation and even broiling. If necessary, cook in batches.

- Broil to Perfection: Place the baking sheet with the shrimp under the preheated broiler. Broil for 5-7 minutes. Keep a close eye on them, as broilers can vary in intensity. The shrimp are done when they curl up into a C-shape and turn opaque with beautiful pink and red hues. Overcooked shrimp will form an O-shape and become tough.
Frequently Asked Questions & Expert Tips for Broiled Shrimp
Absolutely! Frozen shrimp are a convenient option. However, it is crucial to thaw them completely before you begin the cooking process. This prevents the flavorful seasoning from slipping off during cooking and ensures even broiling. To thaw shrimp quickly, place them in a sealed zip-top bag and submerge the bag in a bowl of cold water. Change the water every 30 minutes or so until the shrimp are fully thawed. Once thawed, pat the shrimp thoroughly dry with paper towels to remove excess moisture; this step is vital for achieving that desired slightly crisp exterior.
Shrimp cooks very quickly, making it prone to overcooking. The key is to watch for specific visual cues. When finished, shrimp will curl into a gentle C-shape and turn opaque with vibrant pink and red hues. If your shrimp curl into a tight O-shape, they are likely overcooked and will have a rubbery, unpleasant texture and a whitish-grey color. It’s better to undercook slightly and check than to overcook.
Store any cooled leftover broiled shrimp in an airtight container in the refrigerator for 2-3 days. Reheating shrimp can be a delicate process, as you want to avoid overcooking them, which leads to a rubbery texture. We highly recommend reheating them gently in a skillet over medium-low heat with a small dash of oil or butter, just until they are warmed through. The microwave tends to be too harsh for shrimp and often results in a rubbery texture, so it’s best to avoid it if possible.
Elevating the shrimp on a wire rack positioned over a baking sheet significantly improves air circulation around each piece of seafood. This ensures that the heat from the broiler reaches the shrimp evenly from all sides, promoting consistent cooking and preventing one side from becoming overly seared while the other remains undercooked. It also allows any excess moisture to drip away, contributing to that desirable slightly crisp texture.
For this broiled shrimp recipe, it’s recommended to use peeled and deveined shrimp. Peeling ensures the seasoning adheres directly to the flesh, maximizing flavor. Deveining removes the digestive tract, which can sometimes contain grit and affect the texture and appearance. While some recipes allow for cooking shrimp with the shells on (especially grilling), for broiling and serving in dishes like pasta or salads, peeled and deveined is the ideal choice for ease of eating.
You can use either extra virgin olive oil or a lighter olive oil for this recipe. Extra virgin olive oil will impart a more robust, fruity flavor, while a lighter olive oil will be more neutral. Both will effectively coat the shrimp and help achieve that perfect broiled texture. The key is using enough to ensure the seasonings stick and the shrimp doesn’t dry out under the high heat.
Delicious Serving Suggestions for Broiled Shrimp
The versatility of broiled shrimp makes it a fantastic addition to countless meals. Its delicate yet flavorful profile allows it to blend seamlessly or stand out as the star. Here are some of our favorite ways to enjoy these perfectly cooked morsels:
- As an Appetizer: Serve broiled shrimp as a sophisticated and easy appetizer for parties. Arrange them on a platter with toothpicks and offer a variety of dipping sauces. Popular choices include classic garlic butter sauce, zesty cocktail sauce, creamy yum yum sauce, or a tangy remoulade sauce. A squeeze of fresh lemon juice is always a welcome addition.
- In Main Dishes: Broiled shrimp are a quick and healthy protein source that can elevate a wide range of main courses:
- Fajitas or Burrito Bowls: Toss them with sliced bell peppers and onions, then pile into warm tortillas or over a bed of rice and beans for a Tex-Mex feast.
- Tacos: Tuck them into soft or hard taco shells with your favorite toppings like shredded cabbage, avocado, pico de gallo, and a drizzle of crema.
- Salads: Add them to a crisp green salad for a light yet satisfying lunch or dinner. They pair wonderfully with a lemon vinaigrette or a creamy Caesar dressing.
- Pasta Dishes: Stir them into your favorite pasta. Imagine them in a simple garlic butter pasta, a creamy Alfredo, or a spicy arrabbiata.
- Stir-fries: Quickly add them to the end of your vegetable stir-fry for an extra boost of protein and flavor.
- Side Dishes: Pair broiled shrimp with roasted vegetables, a fluffy quinoa salad, or simple steamed rice for a balanced and complete meal.
The beauty of broiled shrimp is that you can easily switch up the flavor profile with different spices and seasonings to match the cuisine you’re serving. Enjoy the endless possibilities!
Explore More Delicious Shrimp Recipes
If you love shrimp as much as we do, you’ll be thrilled to try some of our other fantastic shrimp recipes:
- Easy Shrimp Pasta
- Perfect Steamed Shrimp
- Crispy Air Fryer Shrimp
- Flavorful Blackened Shrimp
I love to bake and cook and share my kitchen experience with all of you! Remembering to come back each day can be tough, that’s why I offer a convenient newsletter every time a new recipe posts. Simply subscribe and start receiving your free daily recipes, delivered straight to your inbox!
Broiled Shrimp
IMPORTANT – There are often Frequently Asked Questions within the blog post that you may find helpful. Simply scroll back up to read them!
Print It
Pin It
Rate It
Save ItSaved!
Ingredients
- 1 pound raw large shrimp peeled and deveined
- 1 teaspoon Old Bay seasoning
- 1 teaspoon onion powder
- 1 teaspoon paprika
- 1 teaspoon garlic salt
- 3 Tablespoons olive oil
Things You’ll Need
-
Mixing bowls
-
Baking sheet
-
Wire cooling rack
Before You Begin
- You can use frozen shrimp for this recipe, just be sure to thaw it first and pat it dry with paper towels to ensure proper seasoning adhesion and crispy texture.
- We like grilling shrimp or tiger shrimp for this recipe due to their size, but any large or extra large shrimp (peeled and deveined) will work wonderfully.
- Shrimp cooks very quickly, so be attentive to avoid overcooking. Perfectly cooked shrimp will curl into a C-shape and turn opaque with pink and red hues. Overcooked shrimp will form a tight O-shape and become tough and rubbery.
Instructions
-
Preheat oven to broil (high setting). Position an oven rack about 6 inches from the heating element. Line a baking sheet with aluminum foil and place a wire rack on top.
TIP – Elevating the shrimp on a wire rack over a baking sheet significantly improves air circulation, which in turn, cooks the shrimp evenly and helps achieve a desirable crispness.
-
In a medium bowl, add all the seasonings (Old Bay, onion powder, paprika, garlic salt) and olive oil. Whisk until well combined to form an aromatic paste.1 teaspoon Old Bay seasoning, 1 teaspoon onion powder, 1 teaspoon paprika, 1 teaspoon garlic salt, 3 Tablespoons olive oil
-
Place the peeled and deveined shrimp in a large mixing bowl. Pour the prepared seasoning mixture evenly over the shrimp.1 pound raw large shrimp
-
Using gloved hands (or thoroughly clean hands), gently toss and thoroughly coat each individual shrimp with the seasoning mixture, ensuring even distribution of flavor.
-
Carefully arrange the seasoned shrimp in a single layer on the wire rack over the prepared baking pan. Ensure there is some space between each shrimp for optimal broiling.
-
Broil for 5-7 minutes. Keep a close watch; shrimp cook very quickly under the broiler. They are perfectly done when they curl up into a C-shape and turn opaque with beautiful pink and red tones. Avoid overcooking to prevent a rubbery texture.
Expert Tips & FAQs
- Store any cooled leftovers in an airtight container in the refrigerator for 2-3 days. When reheating, avoid the microwave as it can make shrimp rubbery. Instead, gently warm them in a skillet over medium-low heat with a dash of oil or butter until heated through.
- Don’t overcrowd the pan. If you’re cooking a large batch, broil the shrimp in two separate rounds to ensure even cooking and a good sear on each piece. Overcrowding lowers the pan temperature and steams the shrimp instead of broiling them.
- Always pat your shrimp dry after thawing or rinsing. Excess moisture can lead to steaming instead of searing, preventing that lovely crisp exterior.
- Keep a close eye on the broiler. Broilers can be very powerful, and shrimp cook extremely fast. A minute too long can mean the difference between perfectly juicy and rubbery.
Nutrition Information
The recipes on this blog are tested with a conventional gas oven and gas stovetop. It’s important to note that some ovens, especially as they age, can cook and bake inconsistently. Using an inexpensive oven thermometer can assure you that your oven is truly heating to the proper temperature. If you use a toaster oven or countertop oven, please keep in mind that they may not distribute heat the same as a conventional full sized oven and you may need to adjust your cooking/baking times. In the case of recipes made with a pressure cooker, air fryer, slow cooker, or other appliance, a link to the appliances we use is listed within each respective recipe. For baking recipes where measurements are given by weight, please note that results may not be the same if cups are used instead, and we can’t guarantee success with that method.
