Delicious 3-Ingredient Jello Popsicles: Your Ultimate Guide to Easy Homemade Summer Treats
As the days grow longer and the temperatures rise, there’s nothing quite as refreshing as a homemade popsicle. And when it comes to simplicity and vibrant fun, these Jello popsicles take the crown! Made with just three basic ingredients, they are incredibly quick to prepare, offering an instant burst of cool, fruity flavor. Whether you’re planning a backyard BBQ, a pool party, or simply looking for a delightful way to beat the summer heat, these colorful freeze pops are an absolute game-changer. Dive into the world of endless flavor combinations and get ready to create a rainbow of icy treats that will bring smiles to faces of all ages!
Why These Jello Popsicles Are Your Go-To Summer Treat
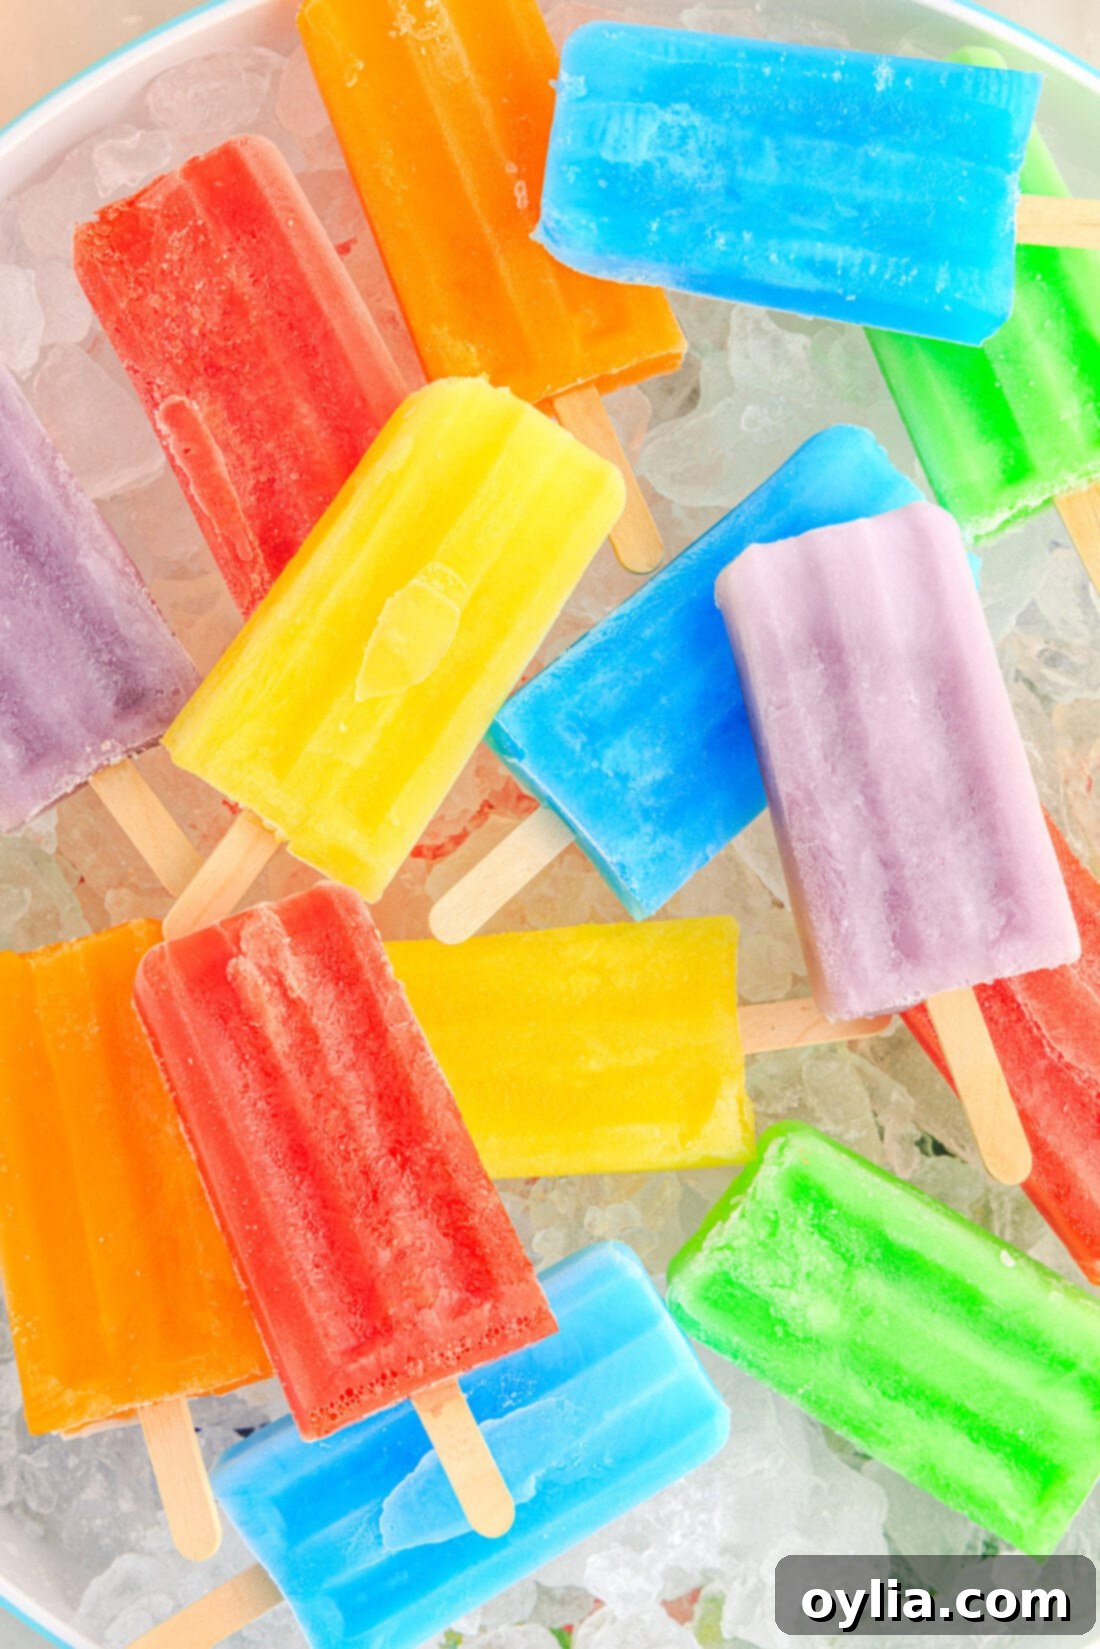
Jello popsicles truly epitomize the ideal icy summertime treat. Their appeal lies not only in their incredible taste but also in the speed and ease of preparation. You can literally have these ready to freeze in mere minutes, making them a lifesaver for last-minute gatherings or an impromptu craving for something cool. The most challenging part of the entire process is simply the waiting game while they solidify in the freezer – but trust us, the anticipation is well worth it!
What makes this recipe so effective is the magic of Jello itself. This versatile dessert staple, combined with just sugar and water, transforms into a perfectly textured, refreshingly sweet popsicle. Jello has a fantastic ability to deliver intense fruit flavor in a fun, wobbly, and in this case, frozen form. It’s fascinating how many different culinary creations you can conjure from a simple packet of Jello powder. From delightful Jello roll-ups to innovative Jello cookies and even impressive Jello trifles, the creative possibilities are vast. For popsicles, Jello’s wide spectrum of flavors means you can craft any kind of frozen treat your heart desires. Imagine a single-flavor burst or an artistic layering of different colors in the same mold – the choice is yours! The simplicity of ingredients and method ensures consistent results every time, guaranteeing a successful batch of homemade popsicles. Let’s get started on bringing these vibrant frozen wonders to life.
The Essential 3 Ingredients for Jello Popsicles
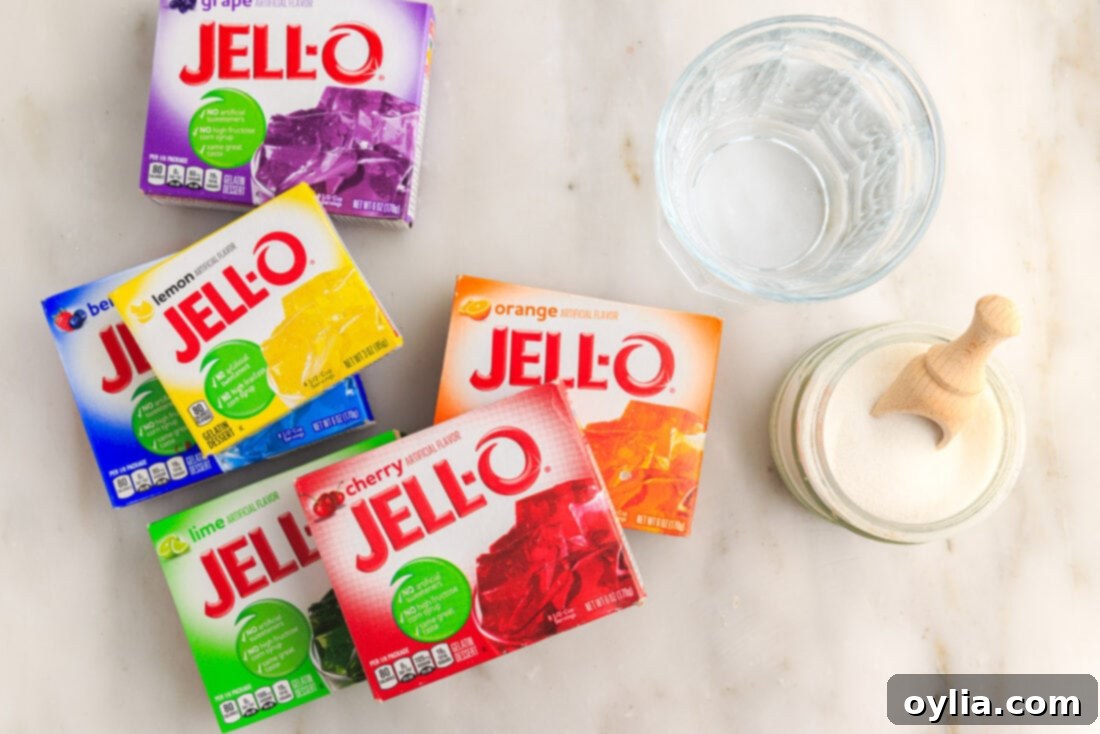
Preparing these delightful Jello popsicles requires an incredibly short and sweet ingredient list. You’ll only need three simple items, most of which you probably already have in your pantry, making this a budget-friendly and convenient recipe. For a precise breakdown of quantities and the full step-by-step method, please refer to the complete printable recipe card located at the very end of this post.
Detailed Ingredient Information and Clever Substitutions
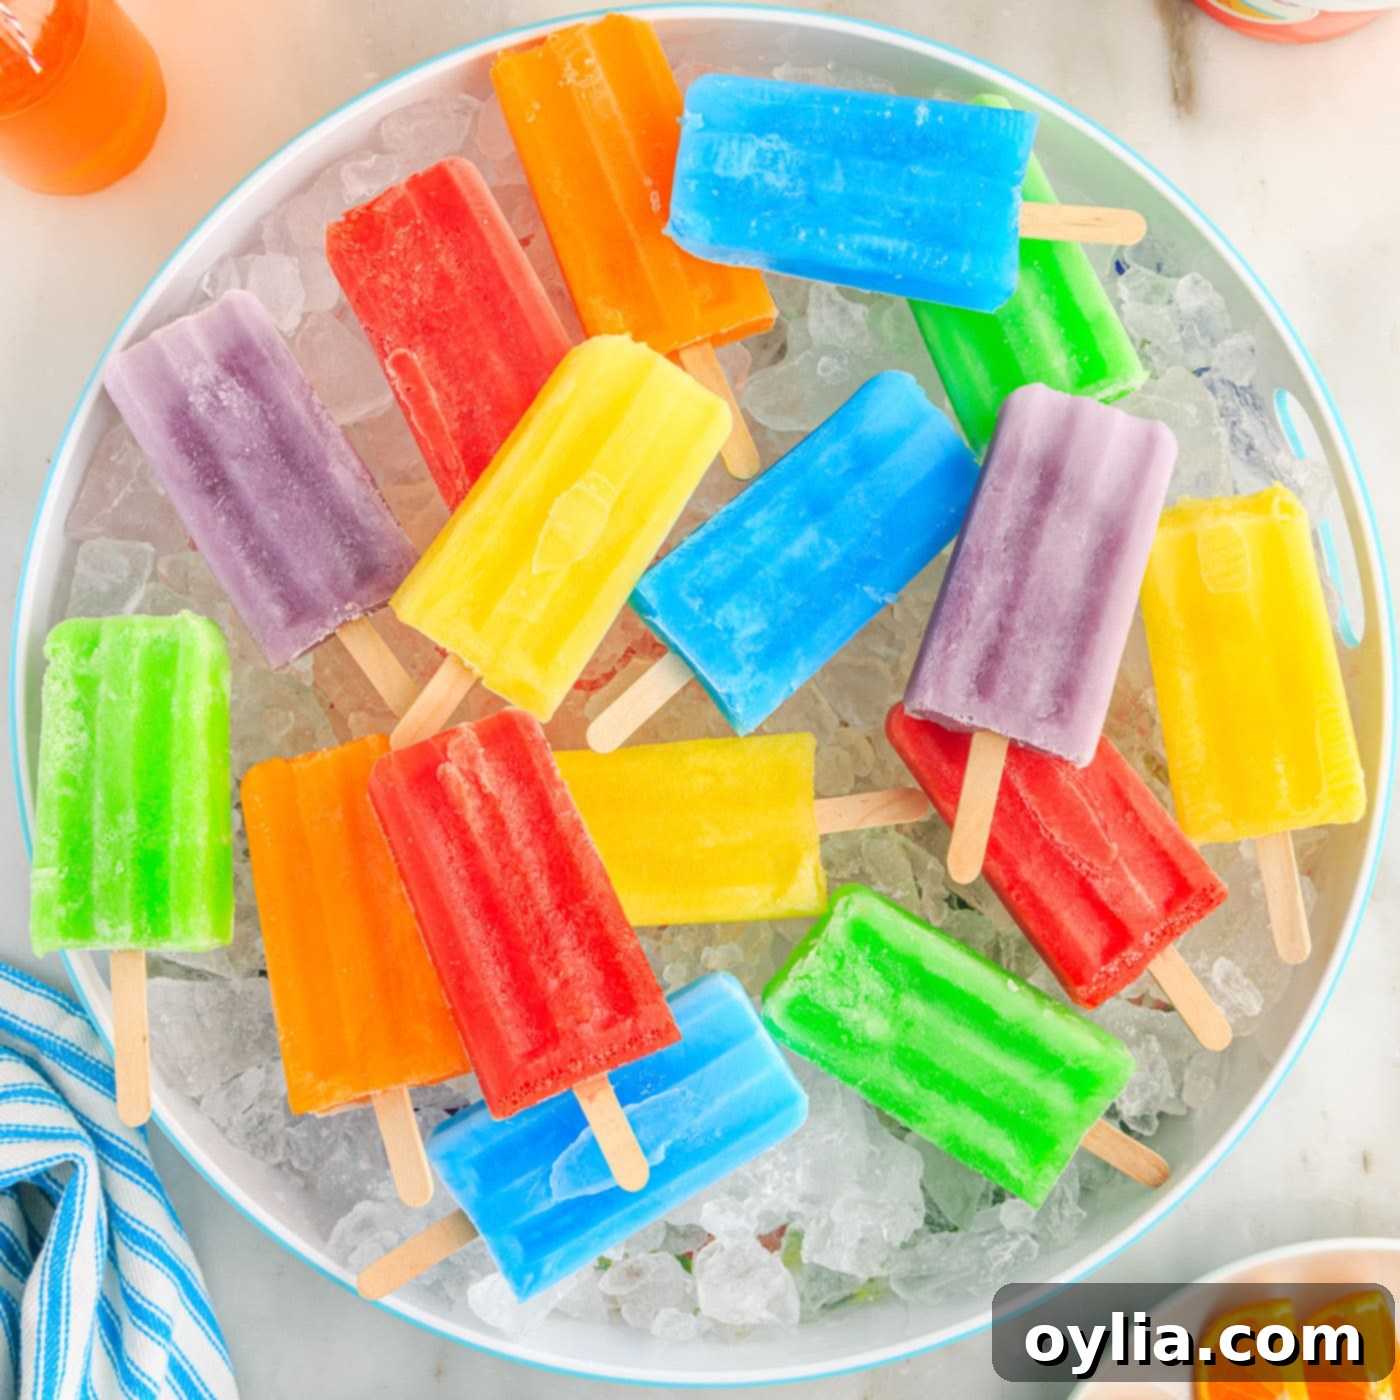
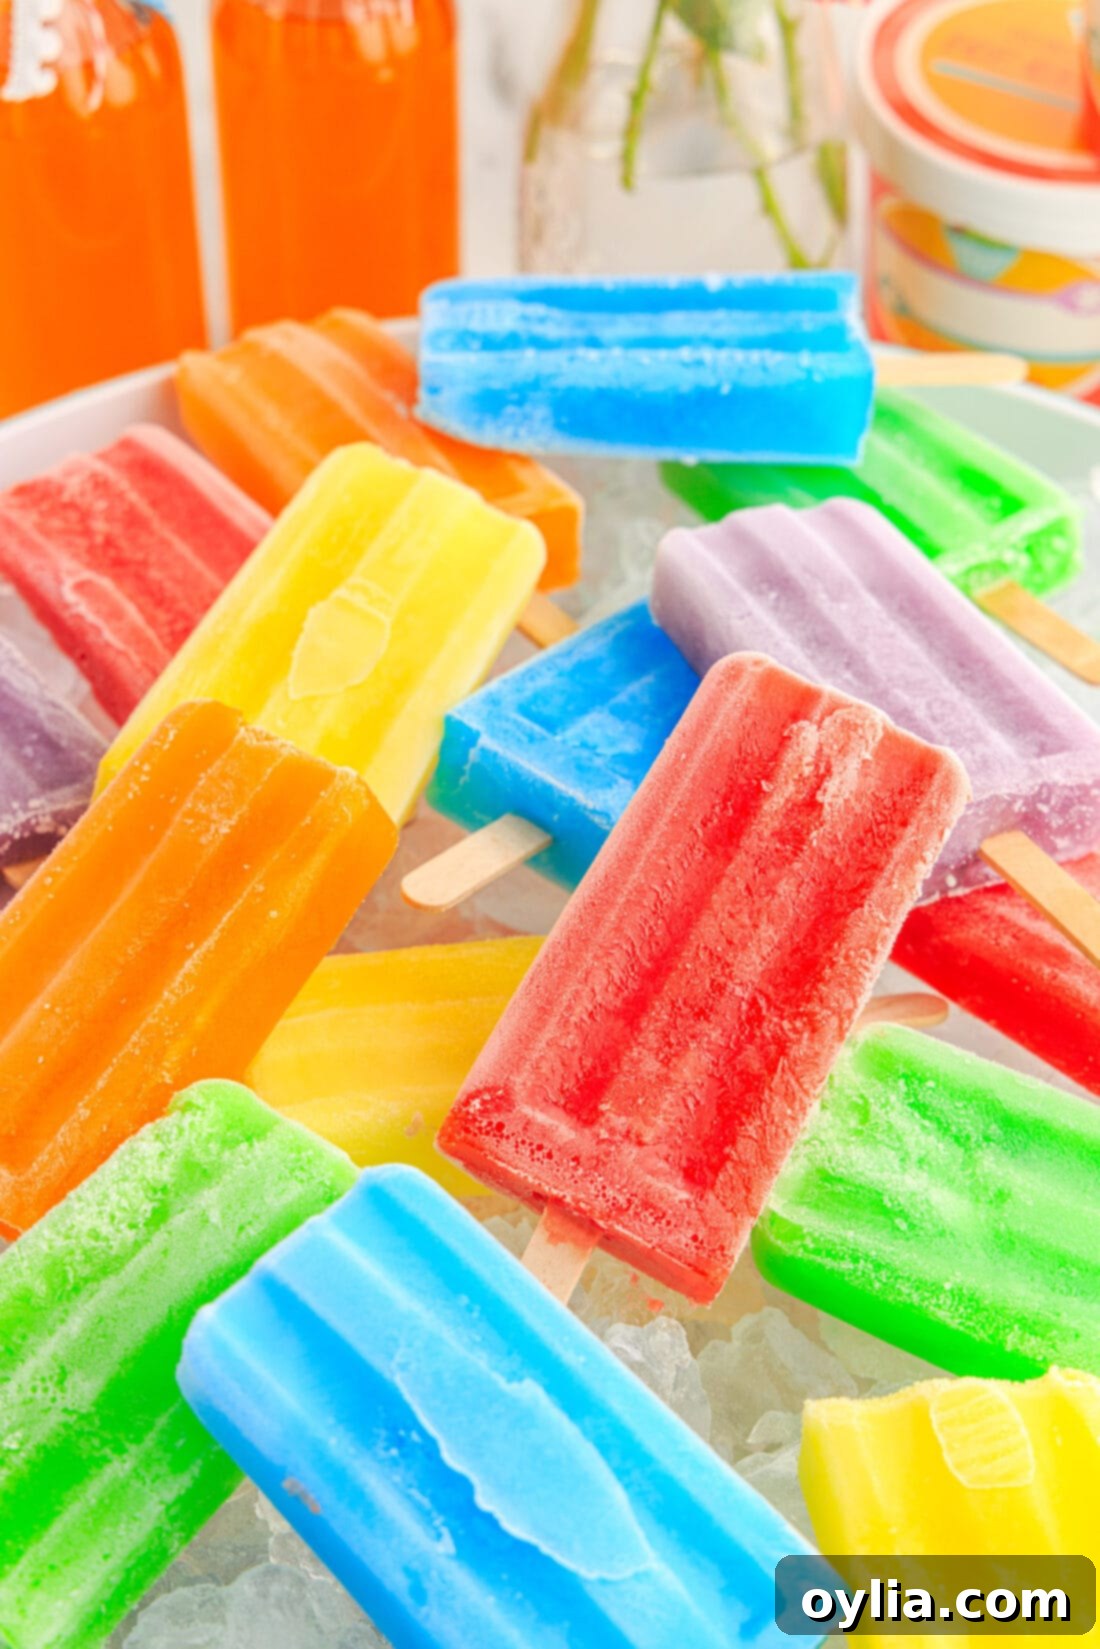
- JELLO Powder: This is where all the fun and flavor truly begins! The primary ingredient for these popsicles is, of course, a 3-ounce package of Jello powder. The beauty of Jello is its immense variety of flavors and brilliant colors. For the visually stunning popsicles featured in our photographs, we used classic flavors such as grape, cherry, lemon, lime, orange, and berry blue Jello. This selection allowed us to create a vibrant, appealing rainbow. It’s important to remember that the recipe provided specifically details the ingredients for a single batch of one color or flavor. Should you desire to make a magnificent multi-colored assortment, simply multiply the ingredient quantities to create additional batches using different flavors. Don’t be afraid to experiment with sugar-free Jello options for a lighter treat, or even explore other gelatin brands that might offer unique flavor profiles.
- Granulated Sugar: The granulated sugar plays a dual role in this recipe. Firstly, it enhances the sweetness of the Jello, ensuring a perfectly balanced taste in your frozen pops. Secondly, and perhaps more importantly for texture, sugar acts as an anti-freeze. It helps to keep the popsicles from freezing rock-hard, contributing to a smoother, more palatable icy texture that melts pleasantly in your mouth. While granulated sugar is recommended for consistent results, you can explore alternatives. If using sugar-free Jello, you might find you need little to no extra sugar. For other sweeteners like honey or maple syrup, be aware that they can alter both the flavor profile and potentially the freezing consistency, so proceed with caution and adjust to taste.
- Water: You will need a total of 2 cups of water, precisely divided. The first 1 cup of water should be boiling hot. This hot water is absolutely critical for effectively dissolving both the Jello powder and the granulated sugar. Thorough dissolution at this stage ensures your popsicle mixture is smooth, free of gritty particles, and allows the gelatin to properly activate. After the dry ingredients are fully dissolved, you’ll add the second 1 cup of cold water. This rapidly cools down the mixture, bringing it to an optimal temperature for pouring into molds and initiating the freezing process efficiently. For the purest flavor in your popsicles, especially if your local tap water has a strong taste, using filtered or bottled water is a recommended practice.
How to Make Jello Popsicles: Step-by-Step Instructions
These step-by-step photos and detailed instructions are provided to help you easily visualize and execute this recipe. For a convenient printable version, which includes precise measurements and comprehensive instructions, you can effortlessly Jump to Recipe at the bottom of this post.
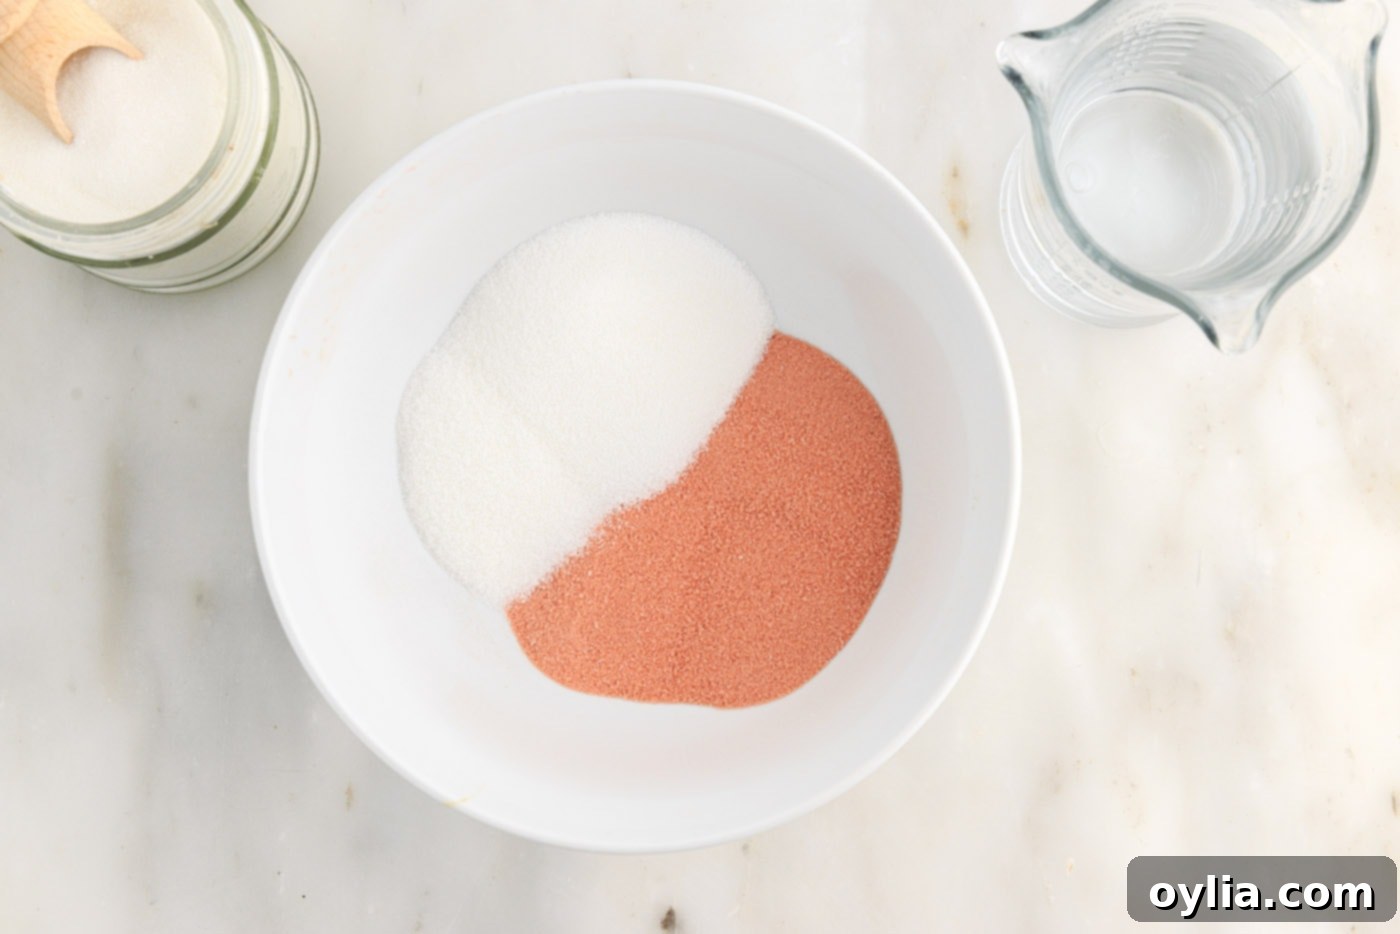
- Combine Dry Ingredients: Begin by carefully placing the Jello powder and the granulated sugar into a medium-sized mixing bowl. Alternatively, a large liquid measuring cup with a spout can be incredibly helpful for easier pouring later on. Give the dry ingredients a quick whisk or stir with a spoon to ensure they are well combined before adding any liquid. This prevents lumps and aids in even dissolution.

- Dissolve with Boiling Water: Very carefully, add 1 cup of freshly boiled water to the bowl containing your Jello and sugar. Immediately begin whisking the mixture vigorously. Continue to whisk for at least 1 to 2 minutes, or until both the Jello powder and all the sugar granules are completely and visibly dissolved. There should be no undissolved particles at the bottom of your bowl, ensuring a smooth and crystal-clear liquid base for your popsicles.

- Add Cold Water: Once the Jello and sugar are fully dissolved, pour in the remaining 1 cup of cold water into the mixture. Stir well until all the liquids are thoroughly combined and the overall temperature of the Jello mixture has cooled down considerably. This cold water step is essential as it brings the mixture to a suitable temperature for immediate freezing, preventing damage to your molds and speeding up the chilling process.

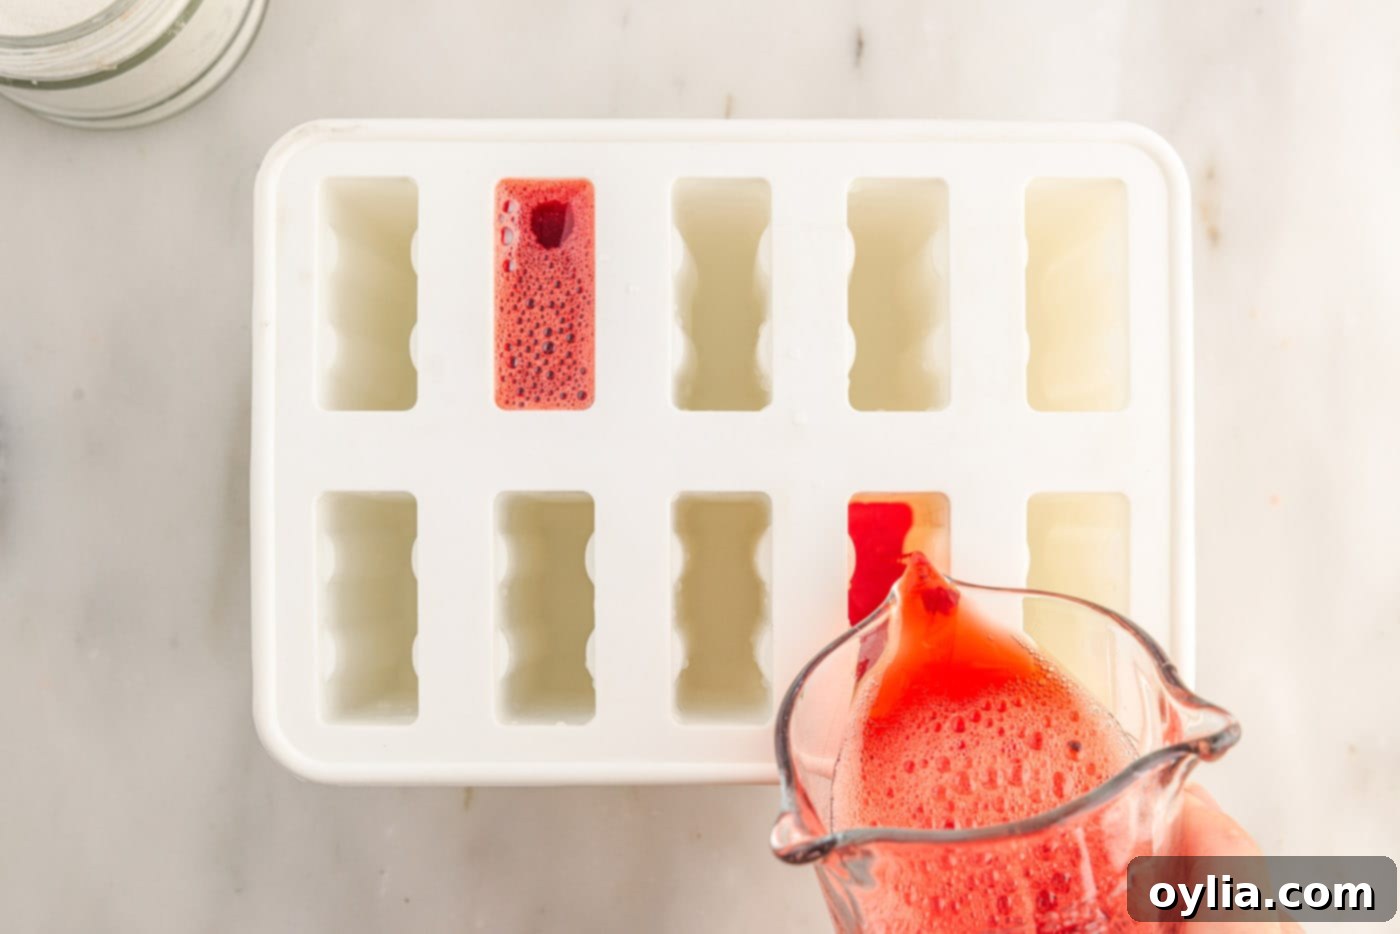
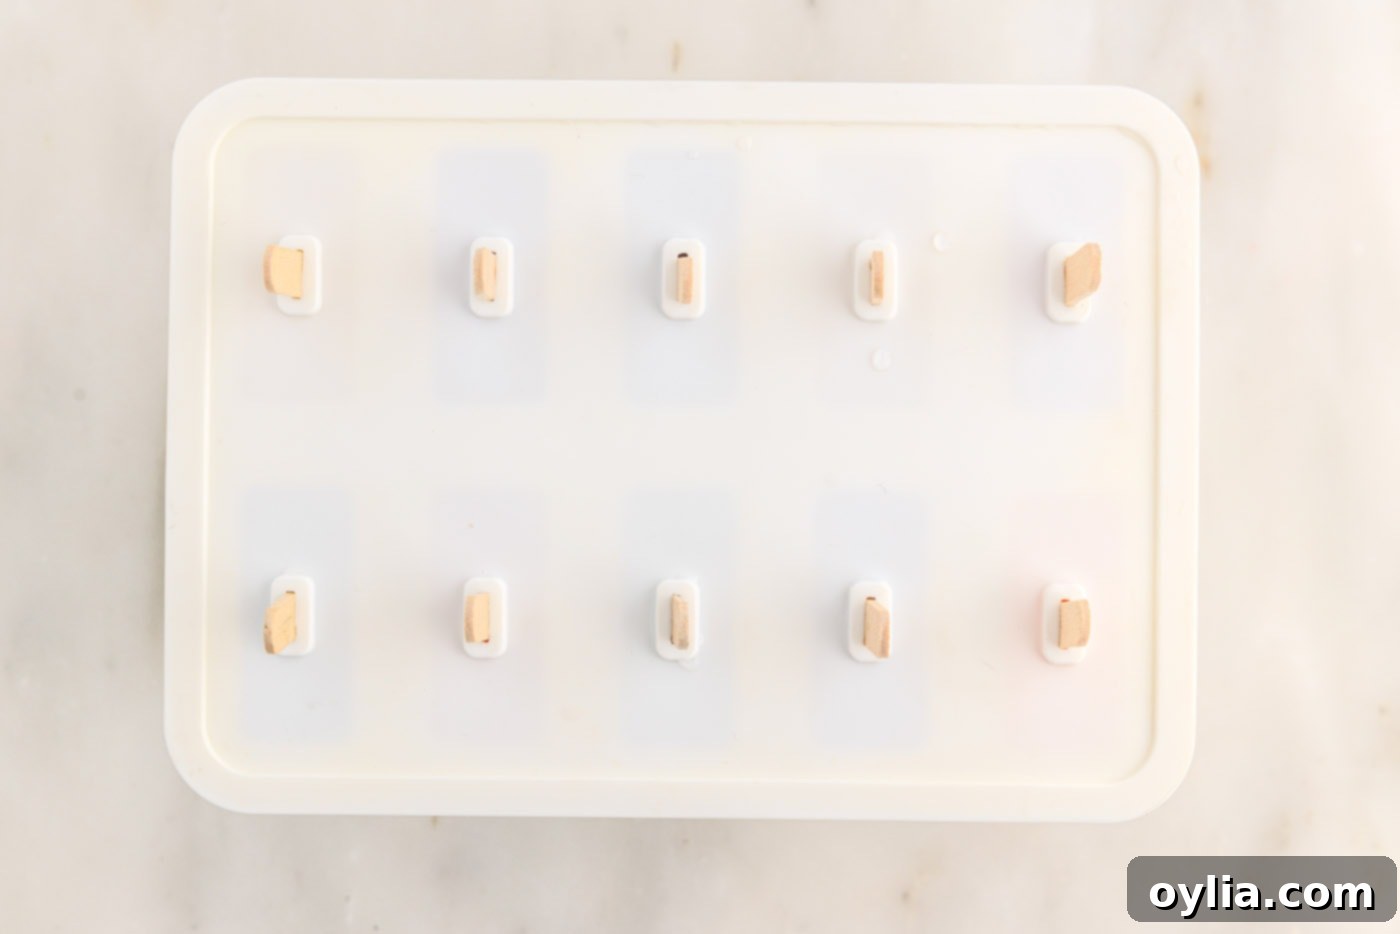
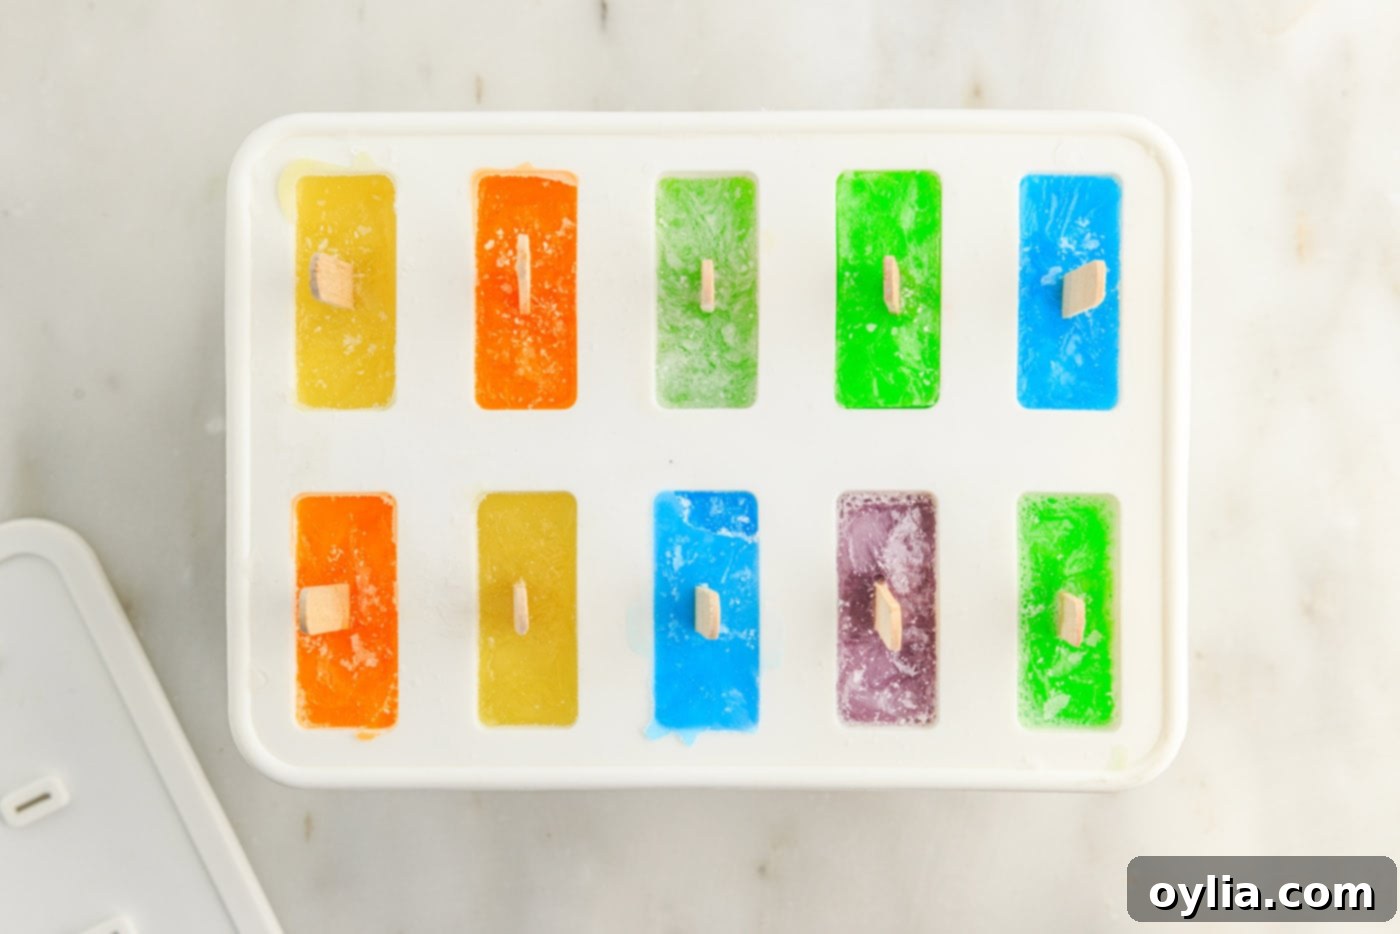
- Fill the Popsicle Molds: Carefully pour the prepared Jello mixture into your popsicle molds. Be sure to leave approximately 1/2 inch of empty space at the very top of each mold. This crucial gap allows for the liquid to expand slightly as it freezes, preventing any overflow and ensuring your popsicles have perfect, smooth tops. Secure the lid firmly and insert the popsicle sticks. If your particular mold design does not have a mechanism to hold the sticks upright, an easy solution is to partially freeze the Jello for 1-2 hours (until it’s gelled but not rock-solid), then insert the sticks before returning them to the freezer to finish the process.


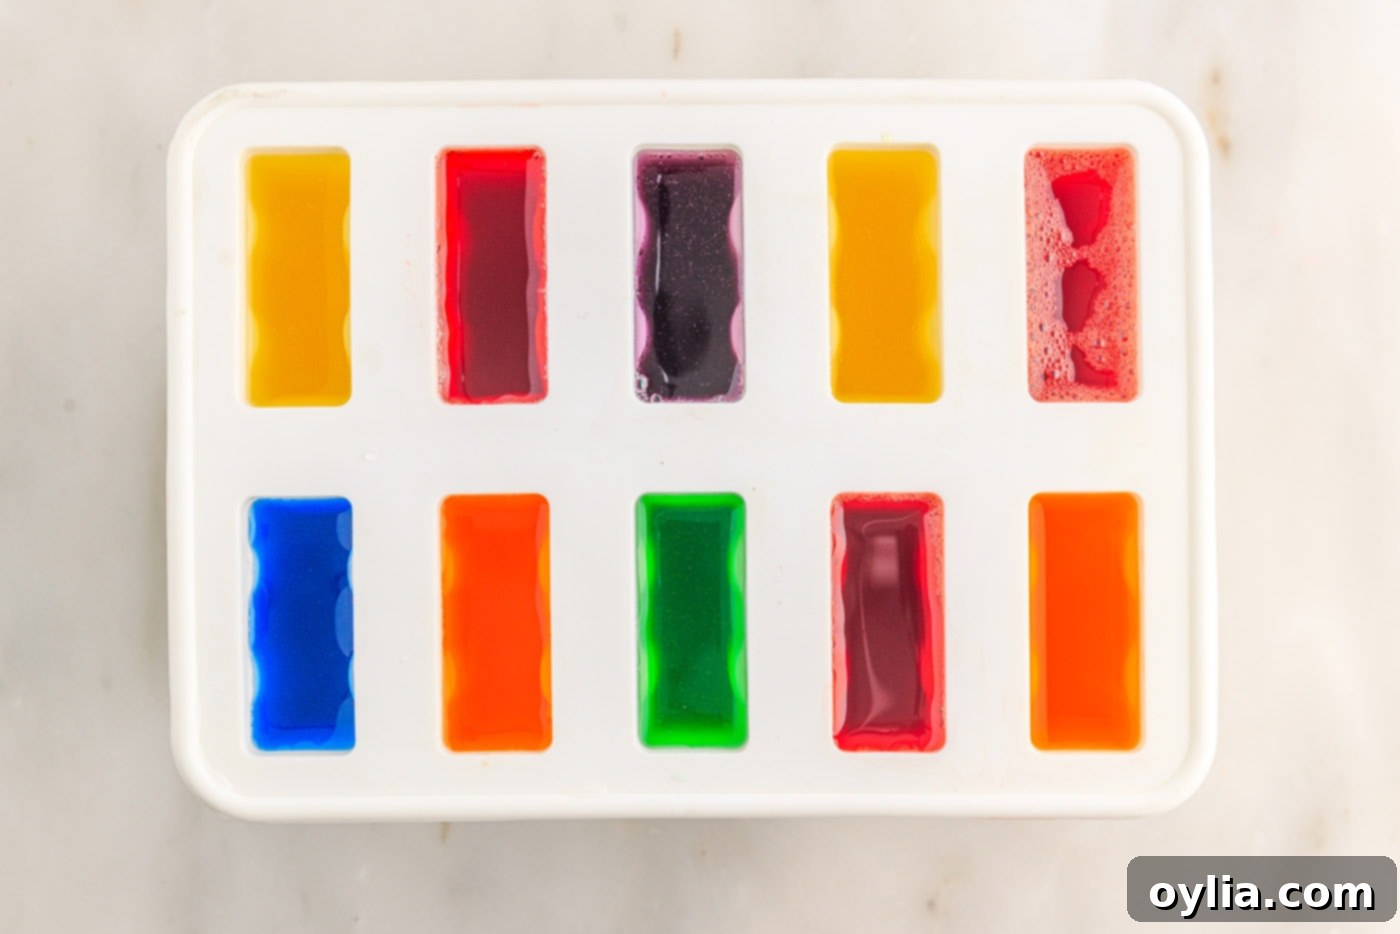
- Freeze to Perfection: Transfer the filled popsicle molds to your freezer, ensuring they are placed on a flat, stable surface. Allow them to freeze for approximately 8 hours, or ideally overnight, until they are completely solid and very firm to the touch. This extended freezing time ensures the popsicles are thoroughly set and will be easy to remove without breaking or squishing.

- Remove and Store for Enjoyment: Once your Jello popsicles are perfectly frozen and firm, carefully remove them from their molds. To prevent them from sticking together when stored, you can either individually wrap each popsicle in plastic wrap, or place them in layers in a freezer-safe container or resealable bag, separating each layer with a piece of parchment paper. This method ensures they remain separate and easy to grab whenever you’re ready for a refreshing treat. Store them in the freezer for up to 6 months for optimal freshness.
Frequently Asked Questions & Expert Tips for Jello Popsicles
For the best results and to ensure your Jello popsicles stay delicious for as long as possible, it’s crucial to store them correctly. Once they are completely frozen solid, remove them from their molds. The most effective method for long-term storage (up to 6 months) is to individually wrap each popsicle tightly with plastic wrap. This barrier helps prevent freezer burn and, more importantly, stops them from sticking together in a clump. After wrapping, place all the individually wrapped popsicles into a large resealable freezer bag or an airtight container. If you plan to consume them within a few weeks, you can also opt to simply layer them in a freezer-safe container with sheets of parchment paper placed between each layer.
If your popsicles are stubborn and refuse to release from their molds, there’s a simple trick. Briefly dip the bottom of the molds into lukewarm (not hot!) water for just a few seconds. This gentle warmth will slightly loosen the frozen outer layer of the popsicle, allowing it to slide out effortlessly. For silicone molds, you often just need to gently press up from the bottom of each cavity. Remember, for a clean and intact popsicle, it’s essential that they are frozen absolutely solid. Trying to remove partially frozen pops can lead to squishing or breaking.
Crafting beautiful layered Jello popsicles is a fun way to add an extra touch of flair and flavor variation. To achieve this, begin by filling your molds partially with your first chosen Jello flavor. Place these molds into the freezer for approximately 1-2 hours, or until that initial layer has fully set (it should be firm, similar to refrigerator-set Jello, but not frozen hard). Once the first layer is firm, you can then carefully pour on the next Jello layer. Repeat this freezing and pouring process for each subsequent color until your molds are completely filled. While this multi-step technique requires more time and patience than a single-flavor fill, the impressive visual effect and delightful flavor combinations are undoubtedly worth the extra effort!
Yes, you can certainly experiment with using fruit juice instead of water, but be mindful that it might slightly alter the setting time and the final texture of your popsicles. Fruit juices contain varying levels of natural sugars and acids, which can sometimes interfere with Jello’s gelling properties. If you decide to go this route, consider a 1:1 substitution for the cold water portion of the recipe, and you might want to reduce the added granulated sugar, adjusting to your taste preference. For the most consistent and reliable results, sticking to plain water as specified is generally best. However, a splash of juice mixed with the cold water can provide an extra flavor boost without significantly impacting the set.
The beauty of Jello popsicles lies in their versatility! For classic and always-popular combinations, try mixing cherry and lime, orange and pineapple, or grape and berry blue. For a more adventurous palate, consider layering lemon with strawberry, or even tropical blends like mango and peach. You can also elevate your popsicles by adding small, finely diced pieces of fresh fruit (like blueberries, raspberries, or kiwi) to the mixture before freezing for an extra layer of texture and natural sweetness. Ensure fruit pieces are small enough not to impede the freezing process or block the popsicle stick.
If your Jello popsicles are watery or too icy, it often comes down to the water-to-Jello ratio or insufficient sugar. Ensure you are using the precise measurements of Jello powder, sugar, and water as specified in the recipe. Too much water will dilute the gelatin, resulting in a weaker set and a more icy texture. The sugar is also crucial for a smoother, less hard freeze. Double-check that all Jello and sugar granules are completely dissolved in the boiling water before adding the cold water. If the mixture isn’t homogenous, it won’t set correctly.
Creative Serving Suggestions for Your Homemade Jello Popsicles
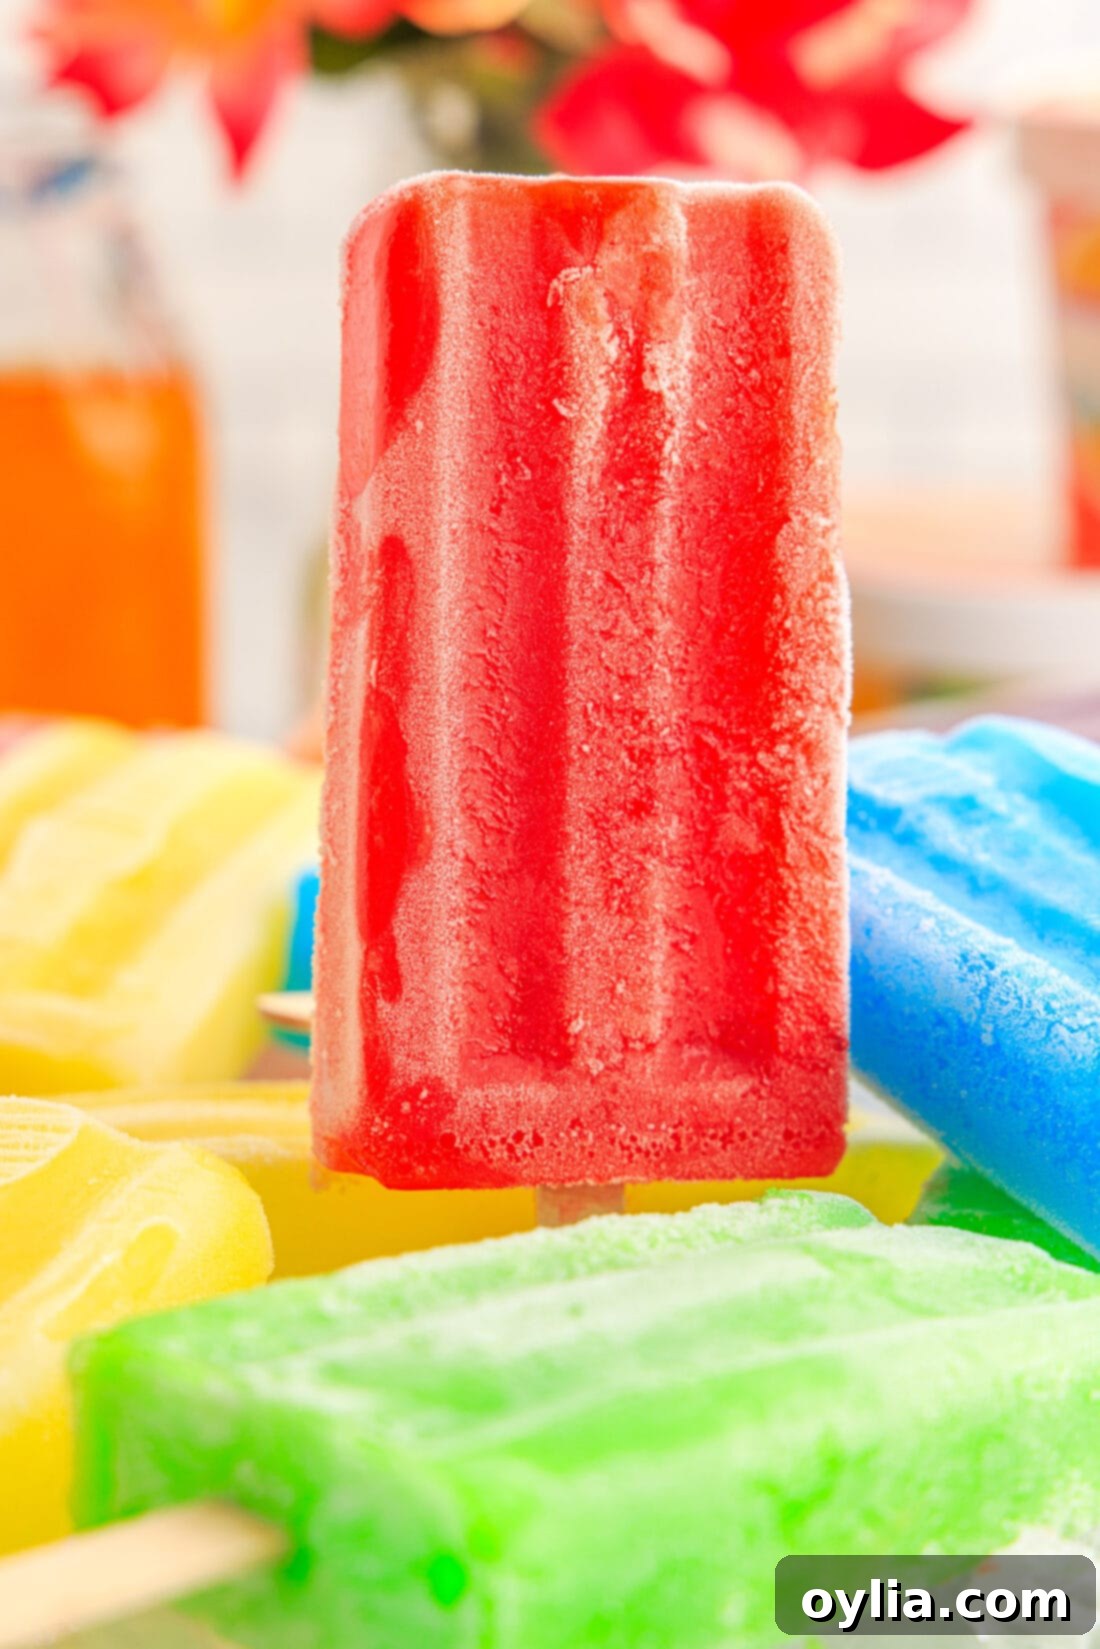
These delightful Jello popsicles are far more than just a quick dessert; they are a vibrant, refreshing celebration of summer itself. Their ease of creation and wonderfully customizable flavors make them the ultimate warm-weather treat. Think beyond simple snacking – these pops can be a fantastic addition to any occasion! For a festive touch, coordinate Jello flavors with holiday themes, such as red and blue for patriotic celebrations, or vibrant greens and oranges for a tropical luau. You can easily switch up the flavors to match your mood or the preferences of your guests. For an extra layer of texture and natural sweetness, consider gently folding in finely diced fresh fruits like strawberries, blueberries, or kiwi into your Jello mixture before pouring it into the molds. The added fruit pieces create a delightful surprise with every bite. Furthermore, if you’re looking to impress, experiment with layering different colors in the same mold to create stunning, multi-hued popsicles that are as beautiful to behold as they are delicious to devour. Just be sure to keep your popsicles well-frozen until the very last moment of serving to ensure they are at their refreshing best!
Explore More Refreshing Homemade Popsicle Recipes
If you’ve enjoyed the simplicity and deliciousness of making your own Jello popsicles, you’re in for a treat! The world of homemade frozen desserts is vast and exciting. Here are some other fantastic popsicle recipes from our collection that you might love to try next, each offering a unique flavor and texture profile:
- Homemade Fruit Popsicles: A truly healthy and refreshing option, bursting with the natural goodness and vibrant flavors of fresh fruits. Perfect for a guilt-free indulgence.
- Boozy Ice Pops: For adults looking to add a little sparkle to their summer, these spirited ice pops are an exciting and fun way to cool down.
- Creamy Creamsicle Popsicles: Indulge in the nostalgic and comforting flavor combination of zesty orange and smooth, sweet vanilla, transformed into a luscious frozen treat.
- Strawberry Banana Popsicles: A beloved classic fruit pairing that is universally popular and consistently delicious. Simple, sweet, and satisfying for all ages.
- Blueberry Cheesecake Popsicles: For those seeking a truly indulgent frozen dessert, these pops deliver all the rich, creamy, and fruity flavors of a decadent blueberry cheesecake in a convenient popsicle form.
I absolutely adore spending time in the kitchen, experimenting with baking and cooking, and my greatest joy comes from sharing all my culinary experiences and delightful recipes with each and every one of you! Remembering to revisit the blog daily for new inspirations can sometimes be a challenge, and I completely understand that. That’s precisely why I’ve made it incredibly convenient for you: I offer a complimentary newsletter that delivers a brand-new recipe straight to your inbox every single time a fresh post goes live. Simply subscribe today, and you can start receiving your free daily recipes, ensuring you never miss out on a tasty new adventure in your own kitchen!
Jello Popsicles
IMPORTANT – There are often Frequently Asked Questions within the blog post that you may find helpful. Simply scroll back up to read them!
Print It
Pin It
Rate It
Save It
Saved!
Ingredients
- 3 ounce package of jello in any flavor
- ⅓ cup granulated sugar
- 2 cups water divided. 1 cup boiling, 1 cup cold
Things You’ll Need
-
Popsicle mold 3 – 3.5 ounces in each cavity
-
Mixing bowls
Before You Begin & Important Tips
- ** Please note that this recipe is specifically designed for ONE color/flavor batch. If your goal is to create a multi-colored or multi-flavored assortment, simply multiply the ingredients to prepare additional batches using different Jello flavors.
- For the visually appealing and vibrant popsicles showcased in our photos, we opted to use a selection of popular Jello flavors: grape, cherry, lemon, lime, orange, and berry blue. Feel free to choose your personal favorites!
- The Jello mixture, once prepared, will maintain a fairly liquid consistency at room temperature for a considerable amount of time. If you find yourself needing to freeze your popsicles in multiple batches, simply cover any remaining Jello mixture with plastic wrap to keep it fresh. Should the mixture become too thick to easily pour into the molds, a quick microwave session of 20-30 seconds can effectively restore its pourable consistency.
- If you encounter any difficulty in removing the popsicles from their molds, a handy trick is to briefly dip the molds into lukewarm (not hot) water for just a few seconds. This gentle warmth helps to slightly melt the outer layer, making the popsicles much easier to release. For silicone molds, a simple press from the bottom of the mold often does the trick. Always ensure the popsicles are frozen completely solid before attempting removal to prevent them from squishing or breaking.
- If your culinary ambition includes creating beautiful, multi-layered colored popsicles, here’s how to achieve that stunning effect: Fill the molds partially with your first desired Jello flavor. Then, place these molds into the freezer for approximately 1-2 hours, allowing that initial layer to set to a firm, gel-like consistency (similar to how Jello sets in the refrigerator). Once the first layer is set, you can then carefully pour on the next Jello layer, and repeat the freezing and pouring process. Continue these steps until you have filled the mold with all your desired layers. While this layering process does require a bit more time and patience compared to making single-flavor pops, the impressive visual appeal and delightful mixed flavor combinations are absolutely worth the extra effort!
- For an extra boost of flavor, consider adding a few drops of food-grade flavor extract (such as vanilla, lemon, or even a complementary fruit extract) to your Jello mixture before freezing. This can enhance the existing Jello flavor beautifully.
- Ensure your freezer is set to its coldest temperature possible for optimal freezing speed and to achieve the hardest, most enjoyable popsicle texture.
Instructions
-
1. Prepare Dry Ingredients: Place the Jello powder and granulated sugar into a medium mixing bowl or a large liquid measuring cup. Stir them briefly to combine the dry ingredients evenly.
-
2. Dissolve with Hot Water: Carefully add 1 cup of boiling water to the dry mixture. Whisk continuously and vigorously for 1-2 minutes until both the Jello powder and sugar are completely dissolved, ensuring no granules remain.
-
3. Add Cold Water: Pour in the remaining 1 cup of cold water into the Jello mixture. Stir until thoroughly combined and the mixture has cooled significantly, reaching an ideal temperature for freezing.
-
4. Fill Molds and Insert Sticks: Carefully pour the liquid Jello mixture into your popsicle molds, leaving approximately 1/2 inch of space at the top for expansion. Secure the lid and insert the popsicle sticks. If your mold doesn’t hold sticks, partially freeze for 1-2 hours until firm, then insert sticks.
-
5. Freeze Until Solid: Place the filled popsicle molds in the freezer for about 8 hours, or ideally overnight, until they are very firm and completely solid.
-
6. Remove and Store: Once frozen, carefully remove the popsicles from their molds. Store them in a freezer-safe container or bag, separating layers with parchment paper, or individually wrapped in plastic wrap to prevent sticking and freezer burn.
Nutrition Information
Tried this Recipe? Pin it for Later!Follow on Pinterest @AmandasCookin or tag #AmandasCookin!
The recipes on this blog are tested with a conventional gas oven and gas stovetop. It’s important to note that some ovens, especially as they age, can cook and bake inconsistently. Using an inexpensive oven thermometer can assure you that your oven is truly heating to the proper temperature. If you use a toaster oven or countertop oven, please keep in mind that they may not distribute heat the same as a conventional full sized oven and you may need to adjust your cooking/baking times. In the case of recipes made with a pressure cooker, air fryer, slow cooker, or other appliance, a link to the appliances we use is listed within each respective recipe. For baking recipes where measurements are given by weight, please note that results may not be the same if cups are used instead, and we can’t guarantee success with that method.
