Homemade Vegetable Broth: Your Ultimate Guide to Flavorful & Healthy Cooking
Discover the secret to elevating your culinary creations with our comprehensive guide to making delicious homemade vegetable broth. A foundational ingredient in countless dishes, a good vegetable broth built on fresh herbs, crisp celery, sweet carrots, pungent onions, and aromatic garlic provides an unparalleled depth of flavor. Forget bland, store-bought cartons; learning how to craft your own vibrant veggie base is simple, rewarding, and completely transforms your soups, stews, sauces, and risottos. Just a few steps of chopping, simmering, and straining will equip your kitchen with a hearty, versatile, and vegetarian-friendly liquid gold that makes every meal a masterpiece.
Why This Homemade Vegetable Broth Recipe Is a Must-Try
Making your own vegetable broth isn’t just a kitchen chore; it’s an investment in flavor and health. This recipe stands out because it prioritizes fresh, high-quality ingredients, ensuring a bright, clean, and deeply aromatic final product. While it might be tempting to use up every last kitchen scrap, for the best possible flavor, always opt for vegetables that are in good condition – vibrant, firm, and free from sliminess or decay. Remember, the quality of your broth directly reflects the quality of your ingredients. Using vegetables that are past their prime will unfortunately transfer those less-than-ideal flavors into your broth, which is certainly not the robust base we want for our cherished soups, stews, and sauces.
Unlike meat stocks, which derive their richness from bones and marrow, this homemade vegetable broth is meticulously crafted to be 100% vegetarian-friendly without compromising on taste. We achieve an incredible depth of flavor by combining a generous amount of fresh herbs like thyme and rosemary, aromatic bay leaves, whole peppercorns, and just the right amount of salt. This thoughtful blend creates a broth that is not only packed with natural goodness but also versatile enough to become the backbone of an endless array of delicious, healthy meals. It’s truly a game-changer for any home cook looking to enhance their dishes naturally.
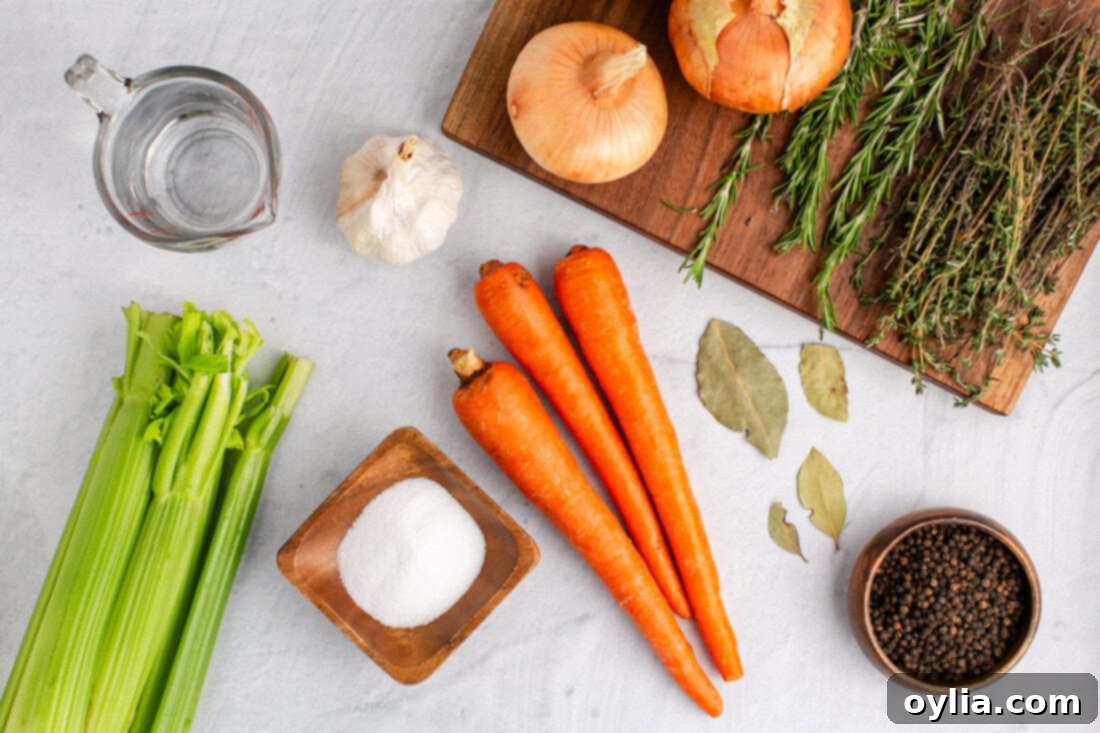
Essential Ingredients for a Flavorful Homemade Vegetable Broth
Crafting a truly exceptional vegetable broth begins with selecting the right ingredients. This recipe focuses on a classic combination of fresh vegetables and aromatic herbs, creating a balanced and robust flavor profile that will complement any dish. Below, you’ll find a detailed list of what you’ll need. For precise measurements and step-by-step instructions, be sure to check the printable recipe card at the very end of this post.
Our core ingredients form the traditional “mirepoix” base – a time-honored blend of carrots, celery, and onions, which provides the sweet, earthy foundation for our broth. To this, we add garlic for a pungent kick, and a medley of fresh herbs, salt, and peppercorns to layer in complex flavors. Each component plays a vital role in building a deeply satisfying and aromatic broth that is far superior to anything you can buy in a carton.
Ingredient Deep Dive & Smart Substitution Suggestions
Understanding the role of each ingredient and knowing how to make smart substitutions will help you tailor this homemade vegetable broth recipe to your taste and what you have on hand.
VEGETABLES – The foundation of any great broth. For this recipe, we rely on celery, carrots, onions, and garlic. These are non-negotiables for their classic flavor profile. If you’re out of yellow onions, shallots are an excellent, milder substitute that will add a delicate sweetness. Other wonderful additions that can enhance your broth include leek greens (the dark green parts that are often discarded), corn cobs (for a subtle sweetness), mushroom stems (for an umami boost), and even peas. It’s crucial, however, to prepare your vegetables properly. Always peel the skins from your onions and carrots; these can impart an unpleasant bitterness to the finished broth. Similarly, remove any leaves still attached to celery stalks, as they too can contribute to bitterness. For the most vibrant flavor, always opt for fresh vegetables over limp or older ones.
HERBS – Fresh herbs are where much of the magic happens in a homemade vegetable broth. They infuse the liquid with a complex aroma and depth that dried herbs simply can’t match. Our chosen blend of fresh thyme, fragrant rosemary, and earthy bay leaves creates a harmonious bouquet that is both comforting and invigorating. Feel free to experiment with other fresh herbs like parsley stems, oregano, or even a sprig of sage, but start with the recommended herbs for a tried-and-true base. Remember, fresh is always best when it comes to infusing maximum flavor.
Crafting Your Homemade Vegetable Broth: Step-by-Step Guide
These step-by-step photos and detailed instructions are provided to help you visualize each stage of making this delicious homemade vegetable broth. For a convenient printable version of this recipe, complete with precise measurements and comprehensive instructions, you can Jump to Recipe at the bottom of this page.
-
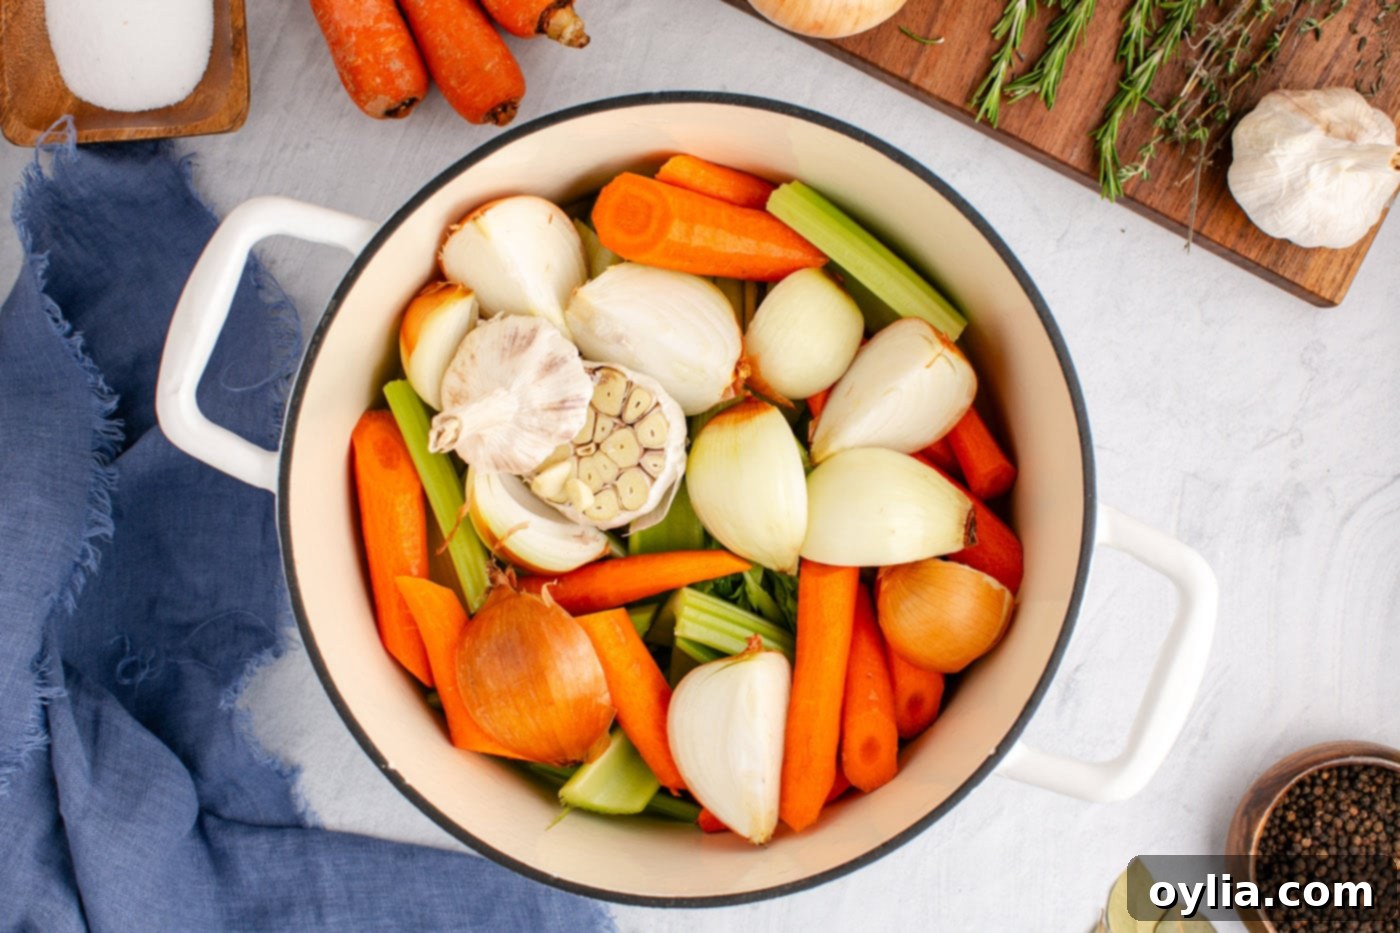
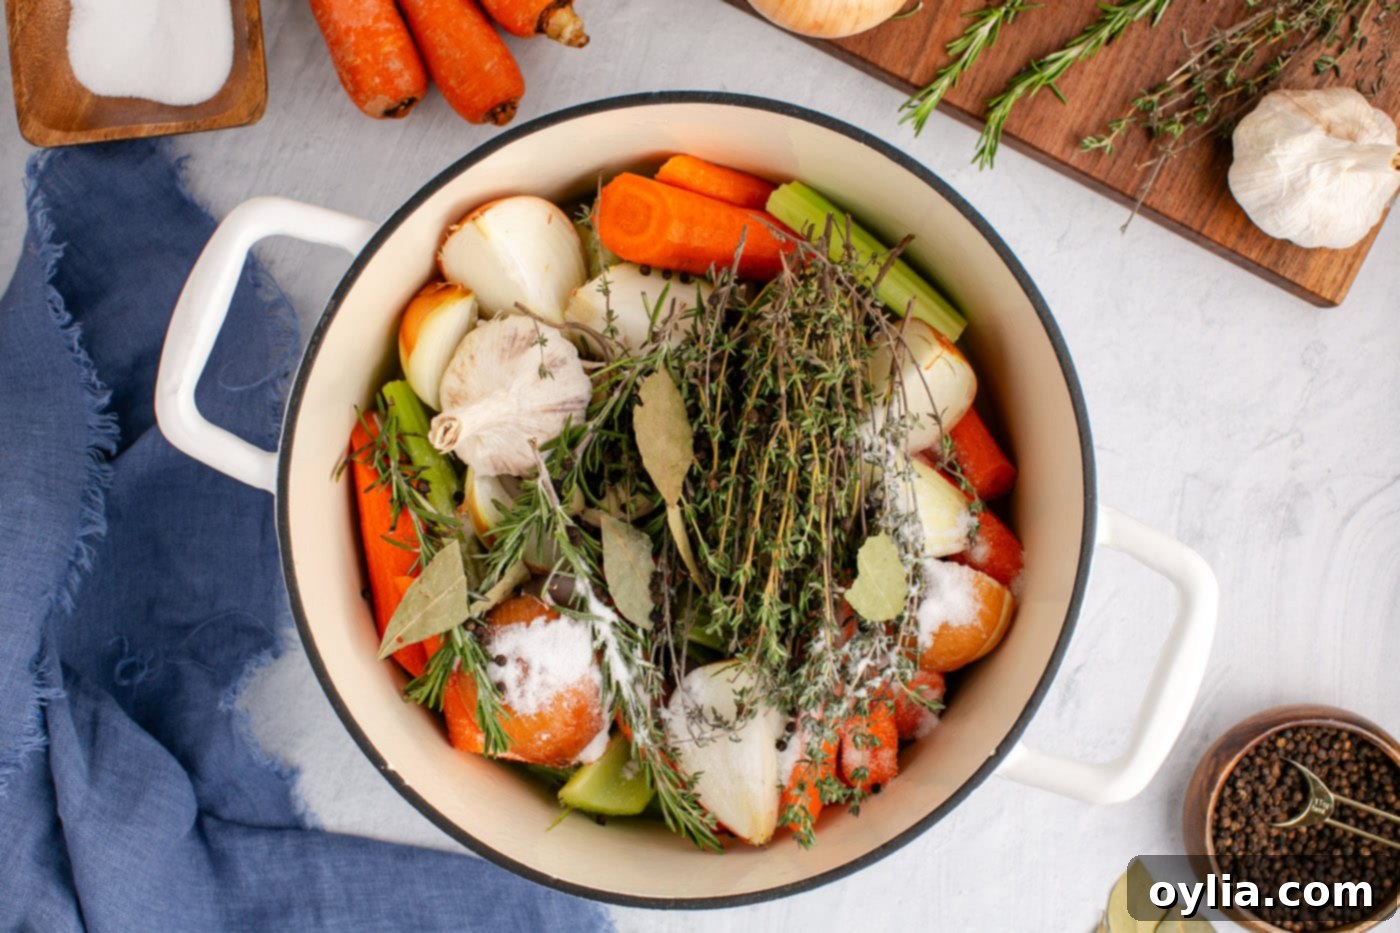
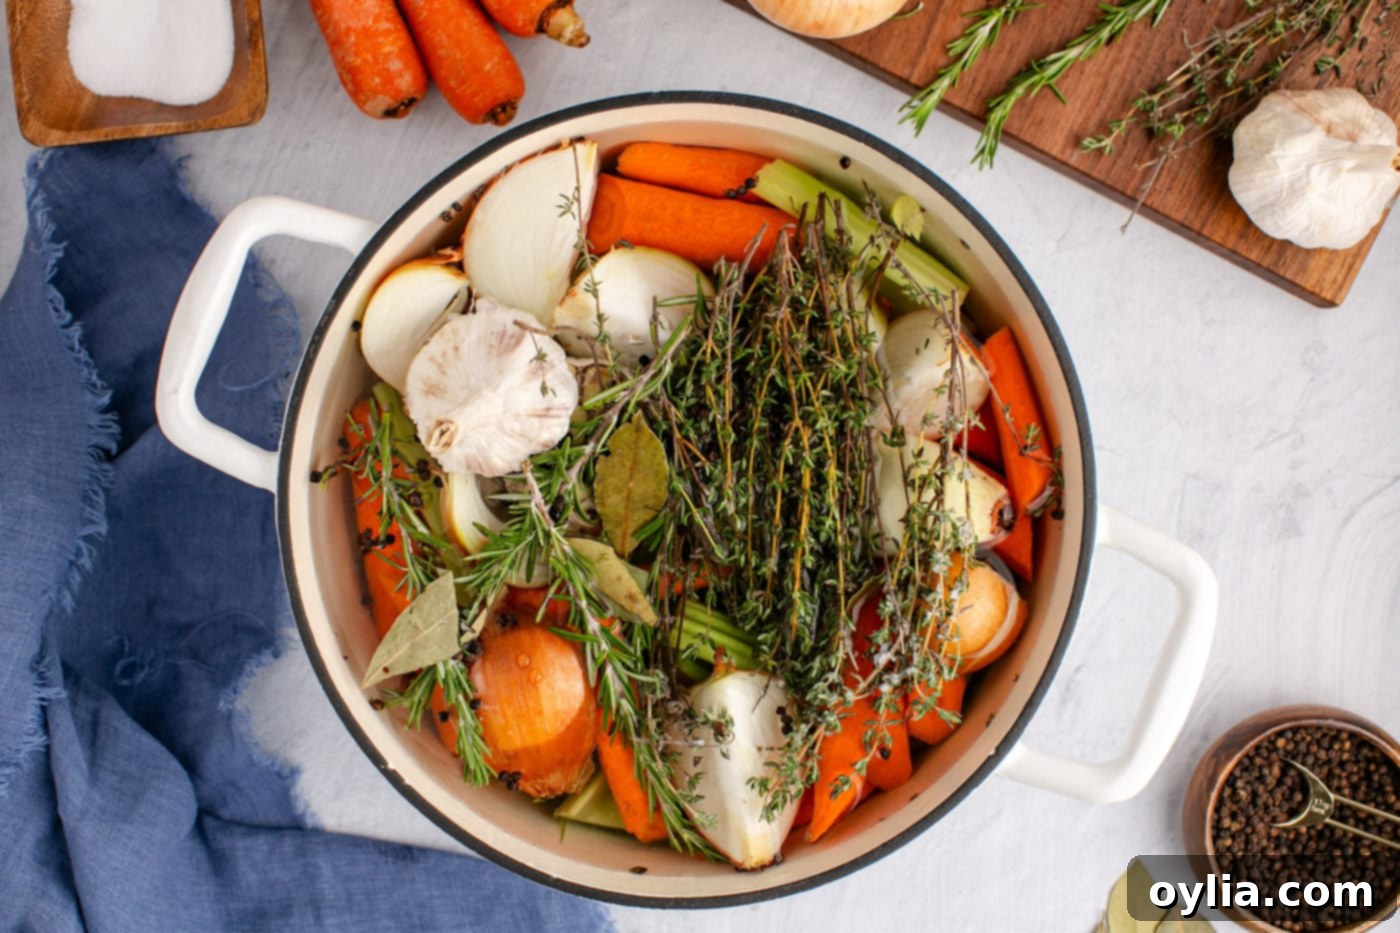
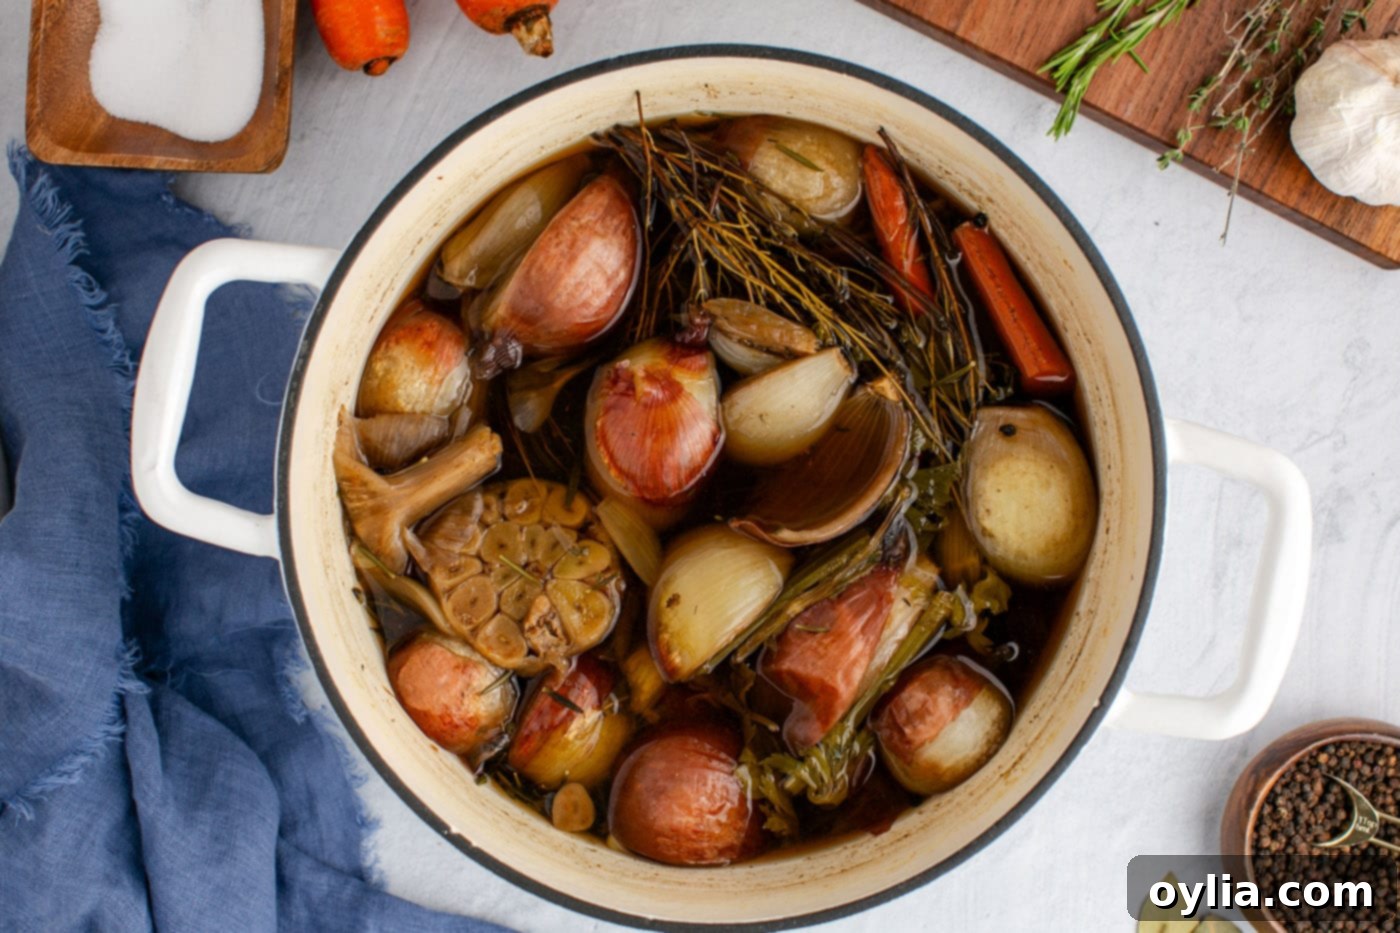
In a generously sized stockpot, combine all your prepared ingredients: the roughly chopped celery, carrots, and peeled onions, the fresh sprigs of thyme and rosemary, bay leaves, halved garlic bulbs, sea salt, and whole peppercorns. Once all your aromatics and vegetables are in place, pour in 30-32 cups of fresh water, ensuring all ingredients are fully submerged.
EXPERT TIP – The right pot is essential for a successful batch of homemade broth. For a full recipe yielding ample broth, you will ideally need a 14-quart stockpot or even larger. If you’re looking to make a smaller quantity, a 7-quart stockpot will be sufficient for a half batch. In the accompanying step photos below, we’ve demonstrated the process using a 7-quart pot to prepare a half-sized portion.


-
Place the stockpot over medium-high heat and bring the mixture to a rolling boil. Once boiling vigorously, reduce the heat to low. The goal is a gentle simmer, not a rapid boil. Allow the broth to simmer uncovered for approximately 4 hours. This long, slow simmer is key to extracting maximum flavor from the vegetables and herbs. Around the 3-hour mark, take a small taste of the broth and adjust the seasoning by adding more salt if you feel it’s needed. Remember, you can always add more salt later in your final dish, so it’s better to under-salt slightly than over-salt at this stage.

-
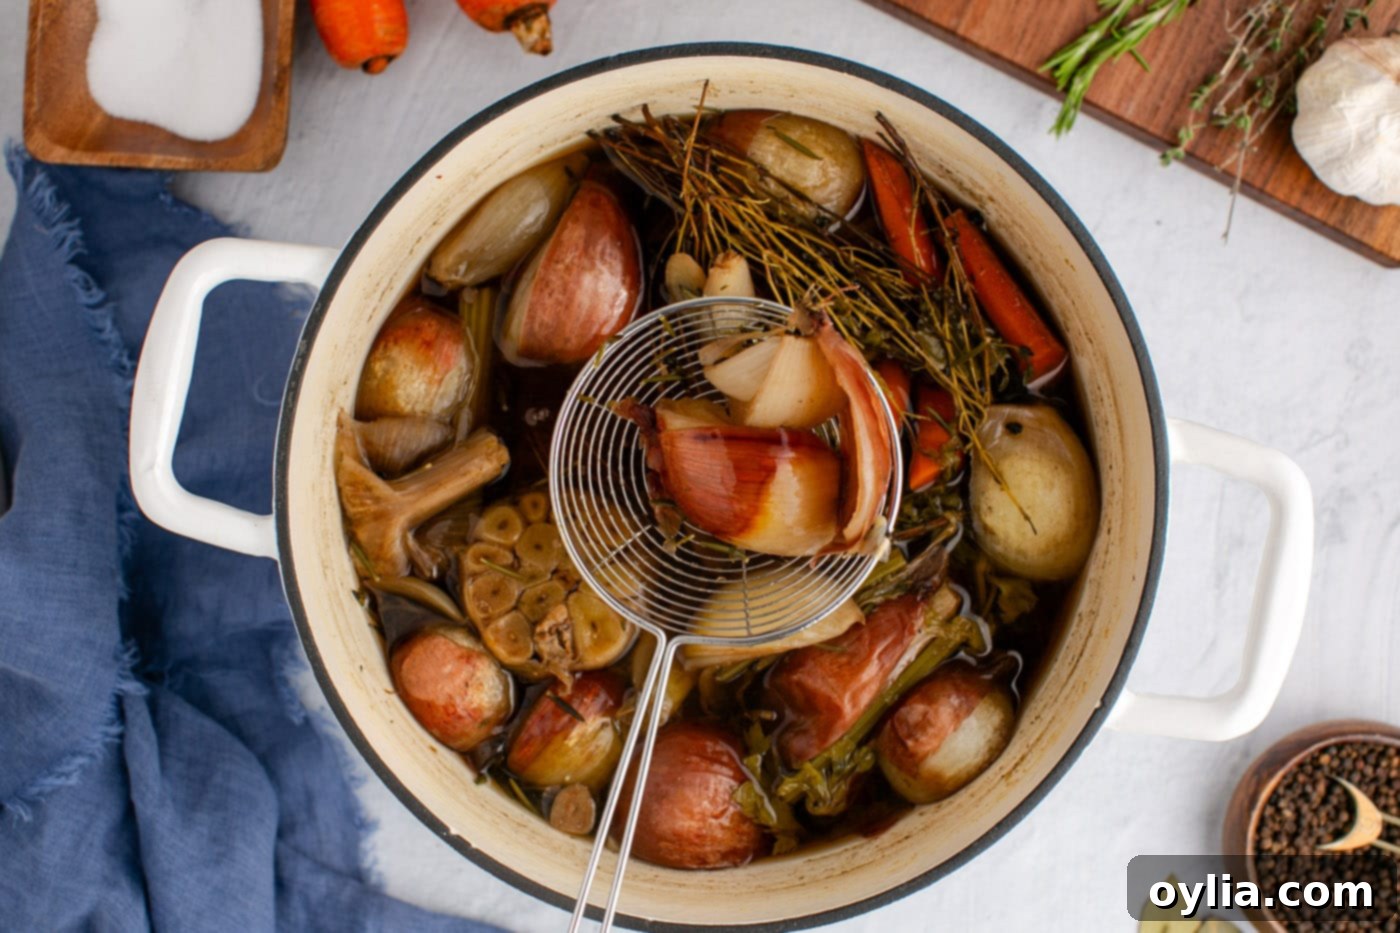
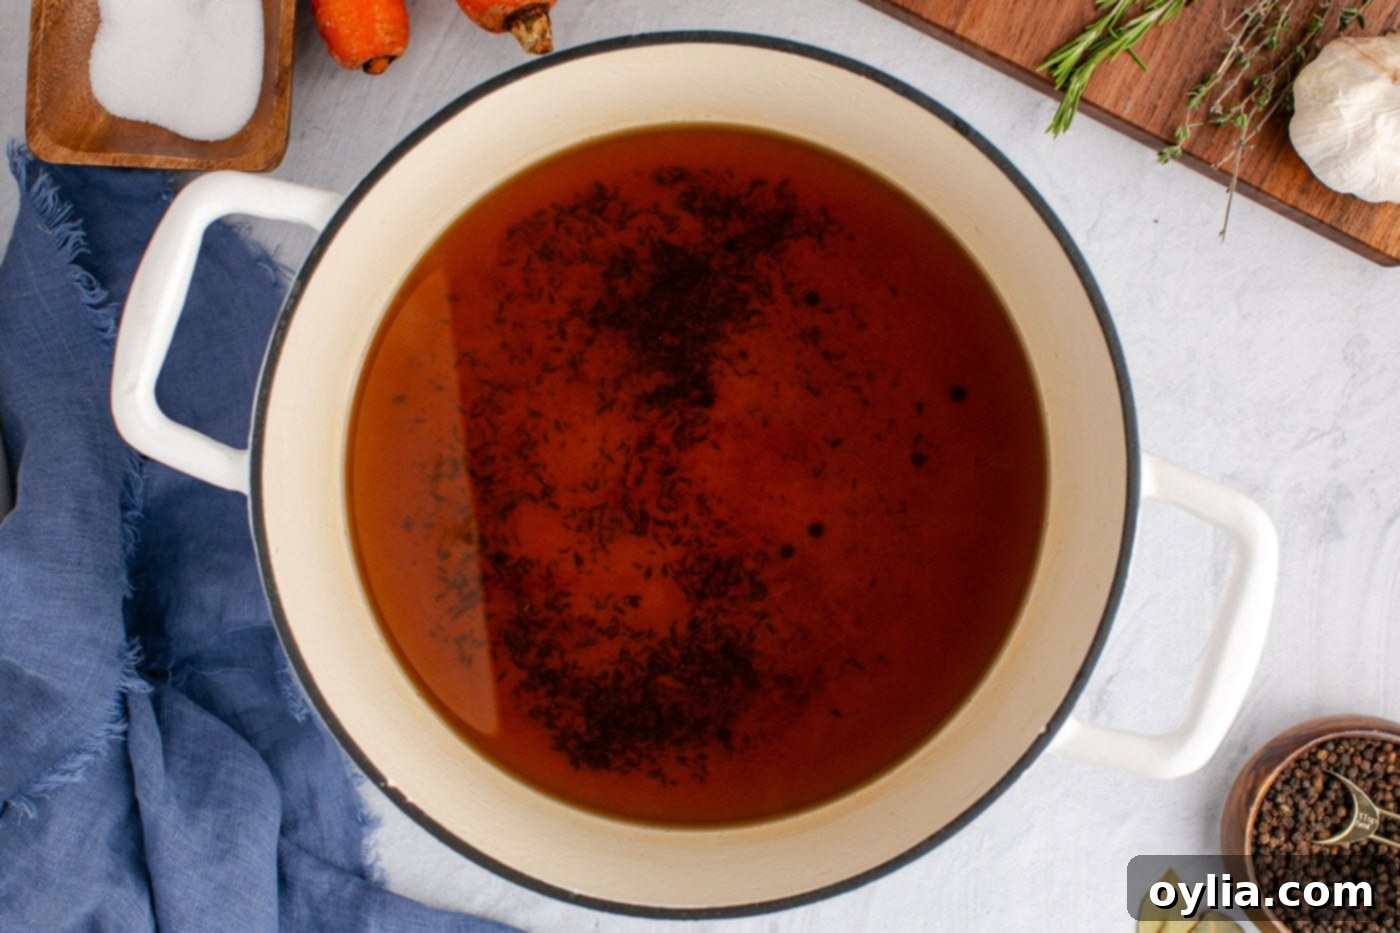
Once the broth has simmered for the full duration and developed its rich flavor, it’s time to strain it. Begin by carefully removing any large pieces of vegetables and herbs using a slotted spoon. For a truly clear and smooth broth, pass the liquid through a cheesecloth-lined fine-mesh strainer. If you don’t have cheesecloth, a very fine strainer will also work. You may need to repeat this straining process a couple of times to ensure all smaller particles are removed, leaving you with a beautifully golden and crystal-clear vegetable broth.


Frequently Asked Questions & Expert Tips for Perfect Broth
Bitterness in homemade vegetable broth is a common issue, but it’s usually preventable with a few key considerations. One primary culprit is improper preparation of certain vegetables. Celery, while a staple in broth, can become bitter if you use the dark green leafy parts or if the stalks are old. For the best results, stick to the paler, inner stalks of fresh celery and always remove any attached leaves before adding them to your pot. Similarly, the skins of onions and carrots can contribute an off-putting bitterness. Ensure you peel both your onions and carrots thoroughly, and discard the root end of the onion. Over-simmering or using too many cruciferous vegetables (like broccoli or cabbage) can also lead to bitterness. Always aim for fresh, clean-tasting vegetables as your base.
While the idea of using “any veggie” in your broth might seem appealing for minimizing waste, certain vegetables can severely impact the flavor. Avoid all vegetables from the Brassica family, which includes common culprits like broccoli, Brussels sprouts, cauliflower, cabbage, and kale. These vegetables release strong, sulfurous compounds when cooked for extended periods, leading to a distinctly bitter or unpleasant aroma and taste in your broth. Green beans and zucchini are also best avoided for similar reasons, as they can also contribute unwanted bitterness or sliminess. Potatoes are generally acceptable, but be aware that they can release starch and make your broth cloudy. If clarity is important, skip them. Stick to classic aromatics like onions, carrots, celery, and leeks for a consistently delicious and clear broth.
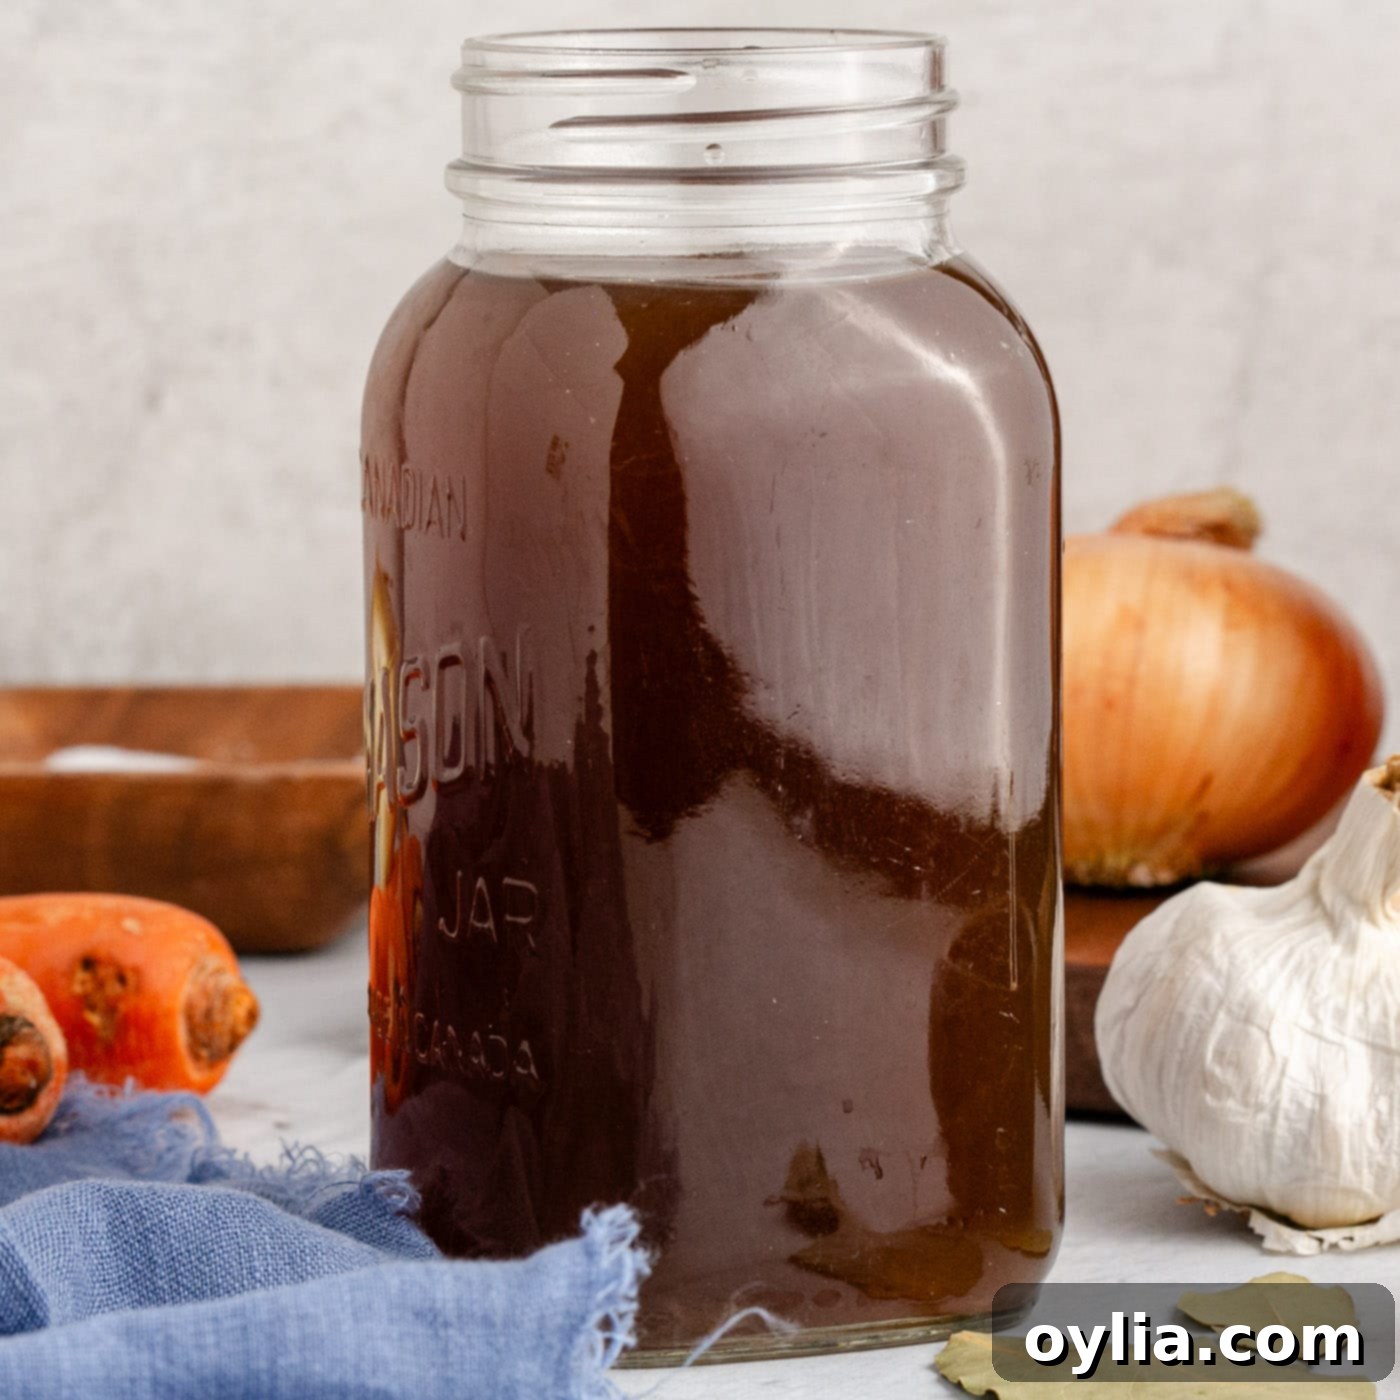
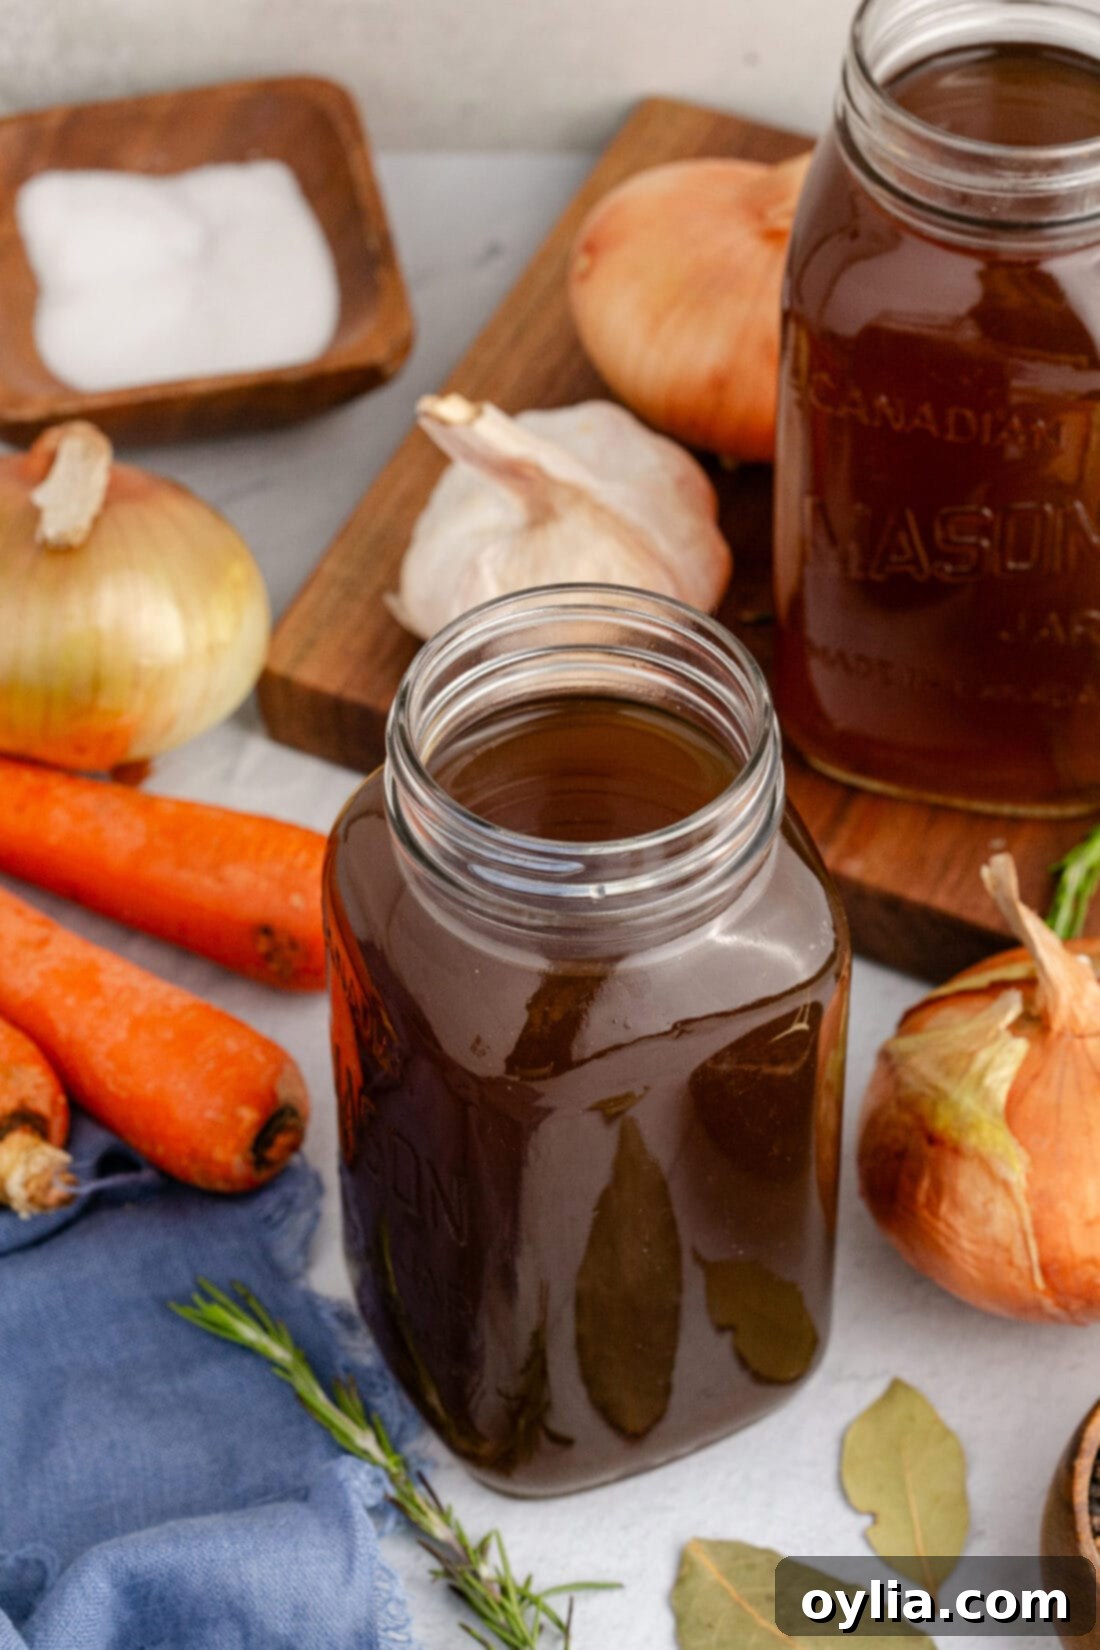
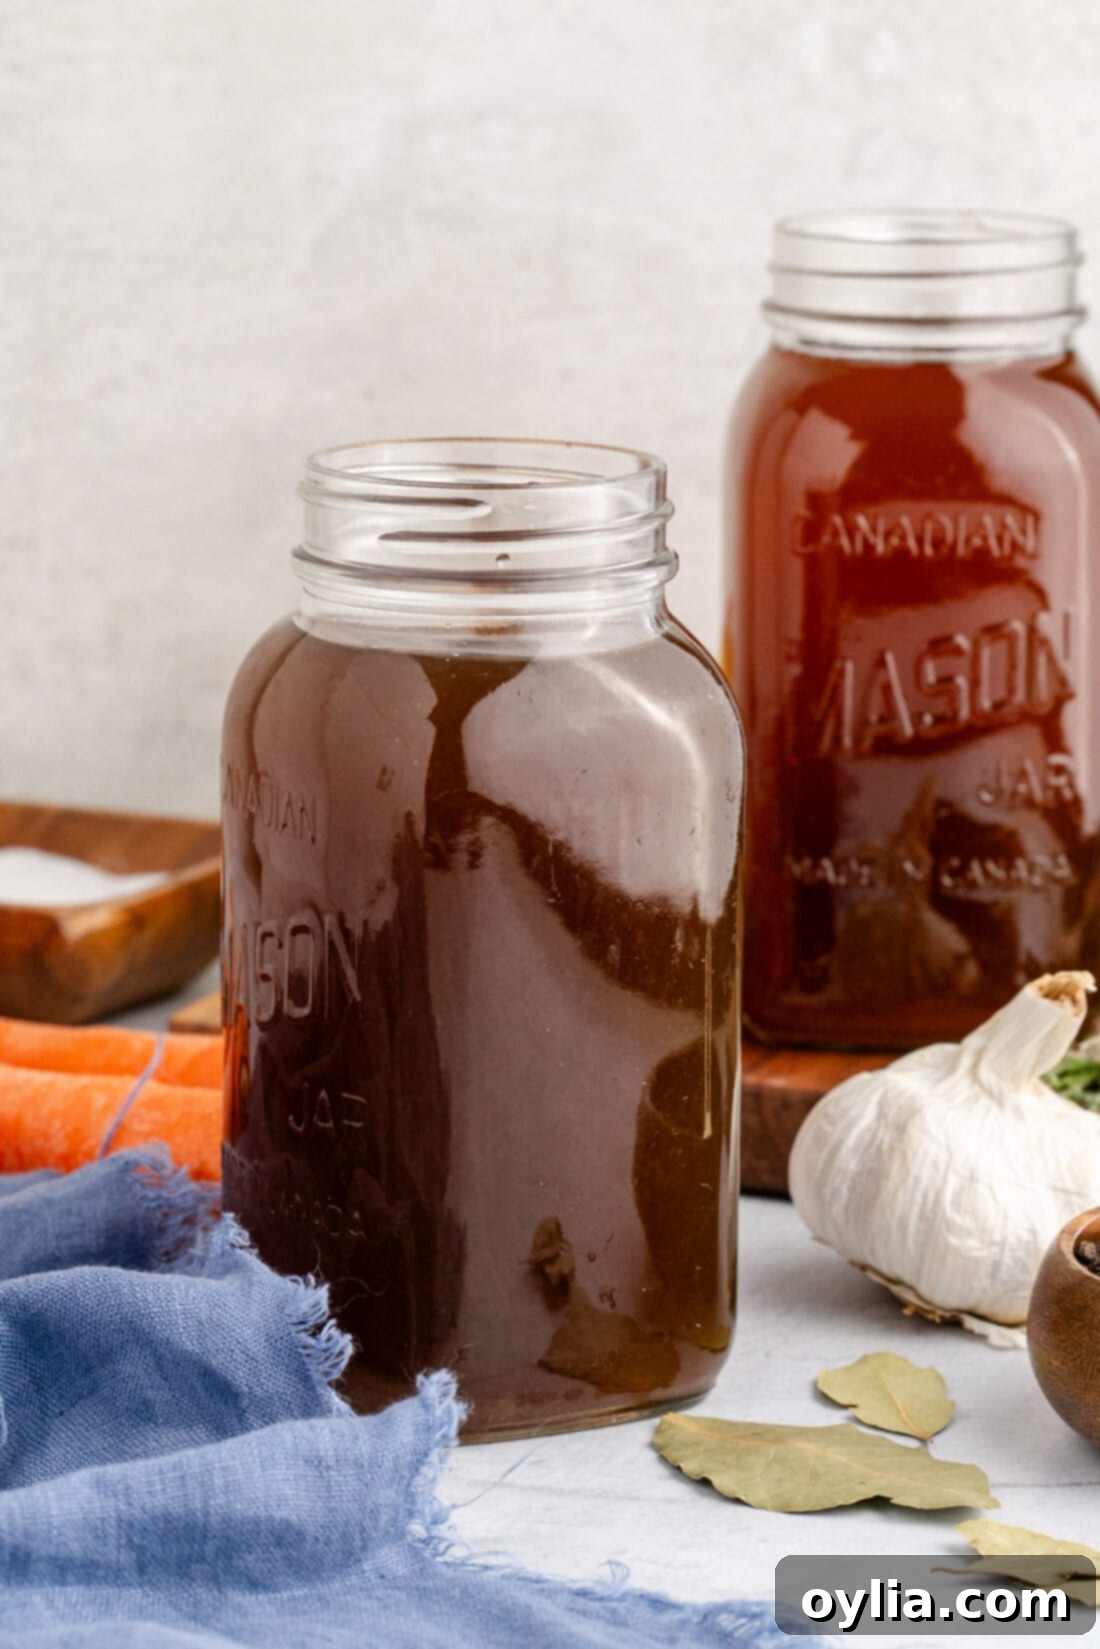
Proper storage is key to enjoying your homemade vegetable broth for longer. Once the broth has cooled completely to room temperature, transfer it to an air-tight container. For refrigeration, two 32-ounce mason jars are ideal, and the broth will keep fresh for up to 4 days. If you plan to store it for an extended period, freezing is your best option. Pour the cooled broth into large freezer bags (laying them flat to freeze saves space) or sturdy air-tight containers, leaving at least an inch of headspace to account for expansion during freezing. Frozen vegetable broth can be stored safely for 5-6 months. Thaw it in the refrigerator overnight or gently on the stovetop when ready to use.
Although often used interchangeably, stock and broth have distinct differences that impact their texture, flavor, and culinary applications. The most significant difference lies in their primary ingredients and cooking process. Stock, whether vegetable or meat-based, typically involves simmering bones (for meat stock) or fibrous vegetable parts (for vegetable stock) for a much longer period, usually yielding a thicker consistency due to the collagen released from bones. Broth, on the other hand, is primarily made from simmering meat, vegetables, and aromatics, resulting in a lighter, thinner, and more seasoned liquid. Our vegetable broth recipe focuses on vegetables and herbs, producing a delicious, lighter base that is ready to be seasoned further in your dishes, whereas a vegetable stock might use more root ends and peels for body and mineral content, often less seasoned and cooked longer. Broth is generally consumed on its own or used as a flavorful cooking liquid, while stock is often reserved for building sauces or gravies where a richer, more viscous base is desired.
Unleash the Flavor: Ideas for Using Your Homemade Broth
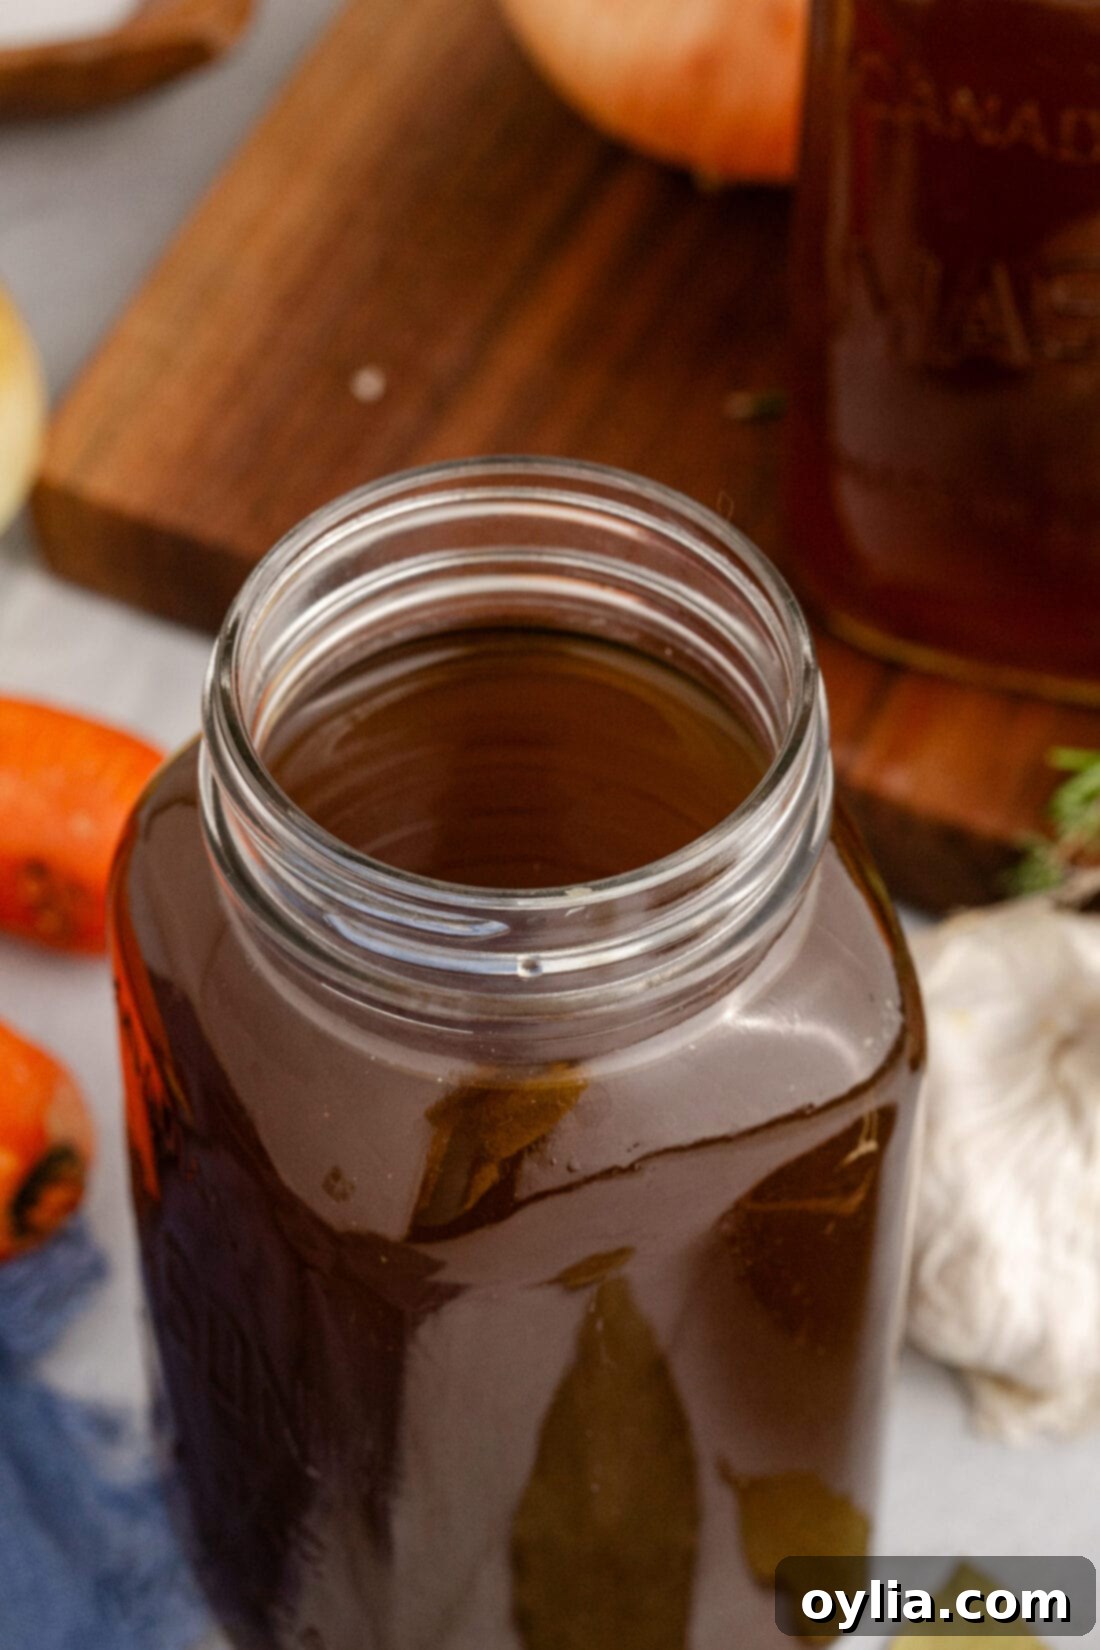
Once you’ve made a batch of this incredibly flavorful homemade vegetable broth, you’ll be amazed at its versatility in the kitchen. It’s far more than just a base for soup! This rich, aromatic liquid can instantly upgrade countless dishes, often serving as a healthier and more flavorful alternative to store-bought beef or chicken broth. This recipe yields enough for two full 32-ounce mason jars (totaling 2 quarts), ensuring you’ll have plenty to enjoy immediately and freeze for future culinary adventures. Think beyond the obvious: use it to deglaze pans, simmer grains like quinoa or couscous for added depth, moisten stuffing, or create the most incredible gravies and pan sauces. It’s truly a secret weapon for any home cook!
Delicious Recipes That Shine with Homemade Vegetable Broth
Your freshly made vegetable broth is ready to become the star of many delicious meals. Here are some fantastic recipes where this rich, homemade broth will truly make a difference:
- Hearty Italian Stew
- Comforting Lasagna Soup
- Bright Lemon Couscous
- Classic Easy Tomato Soup
- Nourishing Healthy Vegetable Soup
- Decadent Creamy Mushroom Risotto
I love to bake and cook and share my kitchen experience with all of you! Remembering to come back each day can be tough, that’s why I offer a convenient newsletter every time a new recipe posts. Simply subscribe and start receiving your free daily recipes!
Homemade Vegetable Broth
IMPORTANT – There are often Frequently Asked Questions within the blog post that you may find helpful. Simply scroll back up to read them!
Print It
Pin It
Rate It
Save ItSaved!
Ingredients
- 20 celery ribs leaves removed, roughly chopped
- 16 medium carrots peeled and roughly chopped
- 6 large yellow onions peeled and halved or quartered
- 20-24 fresh sprigs thyme
- 8 bay leaves
- 6 sprigs rosemary
- 2 bulbs garlic halved
- 3 Tablespoons sea salt PLUS 1 teaspoon. more to taste
- 2 Tablespoons whole peppercorns
- 30-32 cups water
Things You’ll Need
-
14 quart stockpot
-
Fine mesh strainer
-
two 32 ounce mason jars for storing
Before You Begin
- While it may seem like you can add just about any veggie to vegetable broth, that isn’t entirely true. Steer clear of any veggies in the Brassica family (broccoli, Brussels sprouts, cauliflower, cabbage, kale, turnips) as well as green beans and zucchini – all of which will cause bitterness. Potatoes are okay but will cause cloudiness.
- Be sure to peel the skin from the onion and carrots as well as any leaves still attached to the celery stalks before adding them to the pot. All of these can cause bitterness in the finished broth.
- When making vegetable broth, do your best to use fresh veggies for the freshest flavor. Old vegetables that are slimy, tough, wilting, or breaking down will relay their flavor into the finished broth – and we certainly don’t want that to be the base we use for delicious soups, stews, and sauces.
- Store the broth in an air-tight container or two 32-ounce mason jars kept in the refrigerator for up to 4 days. To freeze, transfer the cooled broth to a large freezer bag or air-tight container with room at the top to allow for expansion. Freeze for 5-6 months.
Instructions
-
In a large stockpot place all ingredients and cover with 30-32 cups of water.
-
Bring to a boil on medium-high heat, then reduce to low heat and simmer for about 4 hours, uncovered. Taste the broth after 3 hours and add more salt if needed.
-
Strain out any large pieces with a slotted spoon. Use a cheesecloth or a fine strainer to catch any smaller pieces. Repeat as needed.
Nutrition
The recipes on this blog are tested with a conventional gas oven and gas stovetop. It’s important to note that some ovens, especially as they age, can cook and bake inconsistently. Using an inexpensive oven thermometer can assure you that your oven is truly heating to the proper temperature. If you use a toaster oven or countertop oven, please keep in mind that they may not distribute heat the same as a conventional full sized oven and you may need to adjust your cooking/baking times. In the case of recipes made with a pressure cooker, air fryer, slow cooker, or other appliance, a link to the appliances we use is listed within each respective recipe. For baking recipes where measurements are given by weight, please note that results may not be the same if cups are used instead, and we can’t guarantee success with that method.
