Fresh & Easy Shrimp Spring Rolls: A Healthy Appetizer or Light Meal
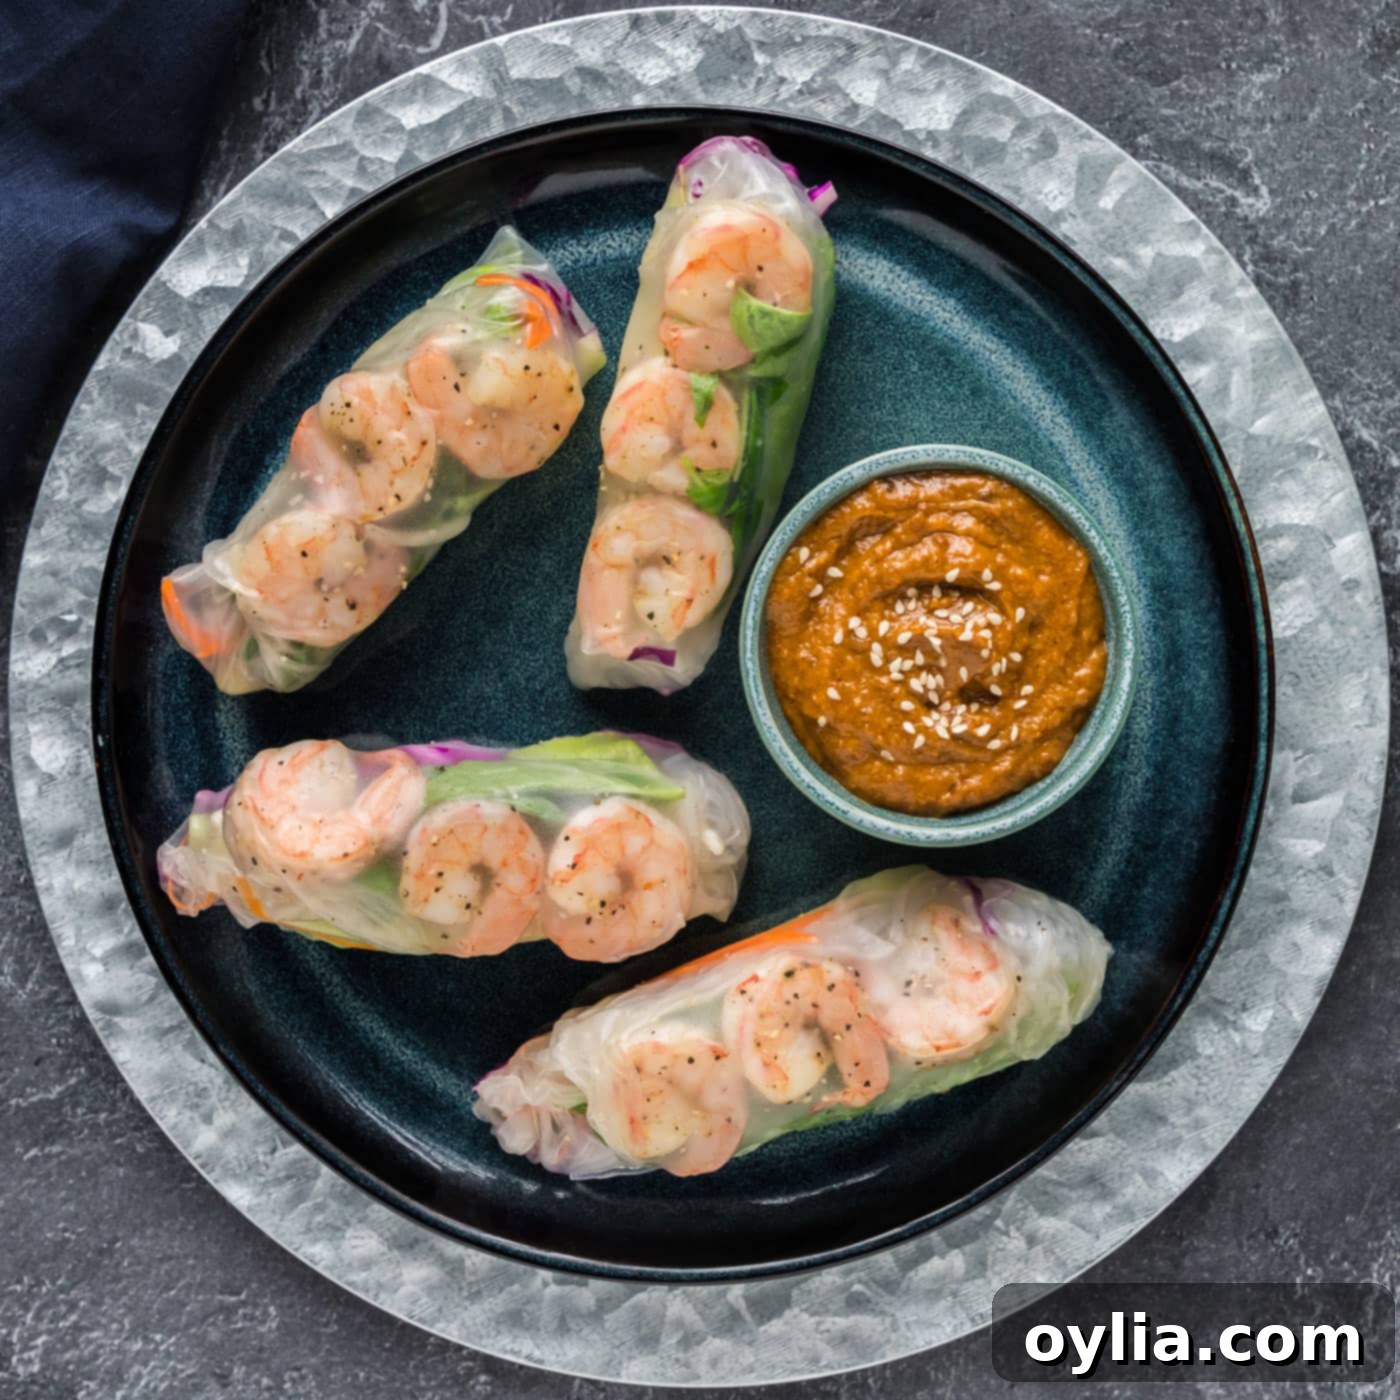
Dive into the delightful world of fresh shrimp spring rolls, a culinary experience defined by vibrant, crisp vegetables, delicate bean thread noodles, and succulent shrimp, all elegantly wrapped in translucent rice paper. These fresh spring rolls offer an exceptional combination of textures and flavors, making them a perfect choice for a healthy, quick, and super easy meal or appetizer. Forget the deep fryer; these uncooked rolls are packed with pure, wholesome goodness and are ready in under an hour!
Why These Fresh Shrimp Spring Rolls Are a Must-Try
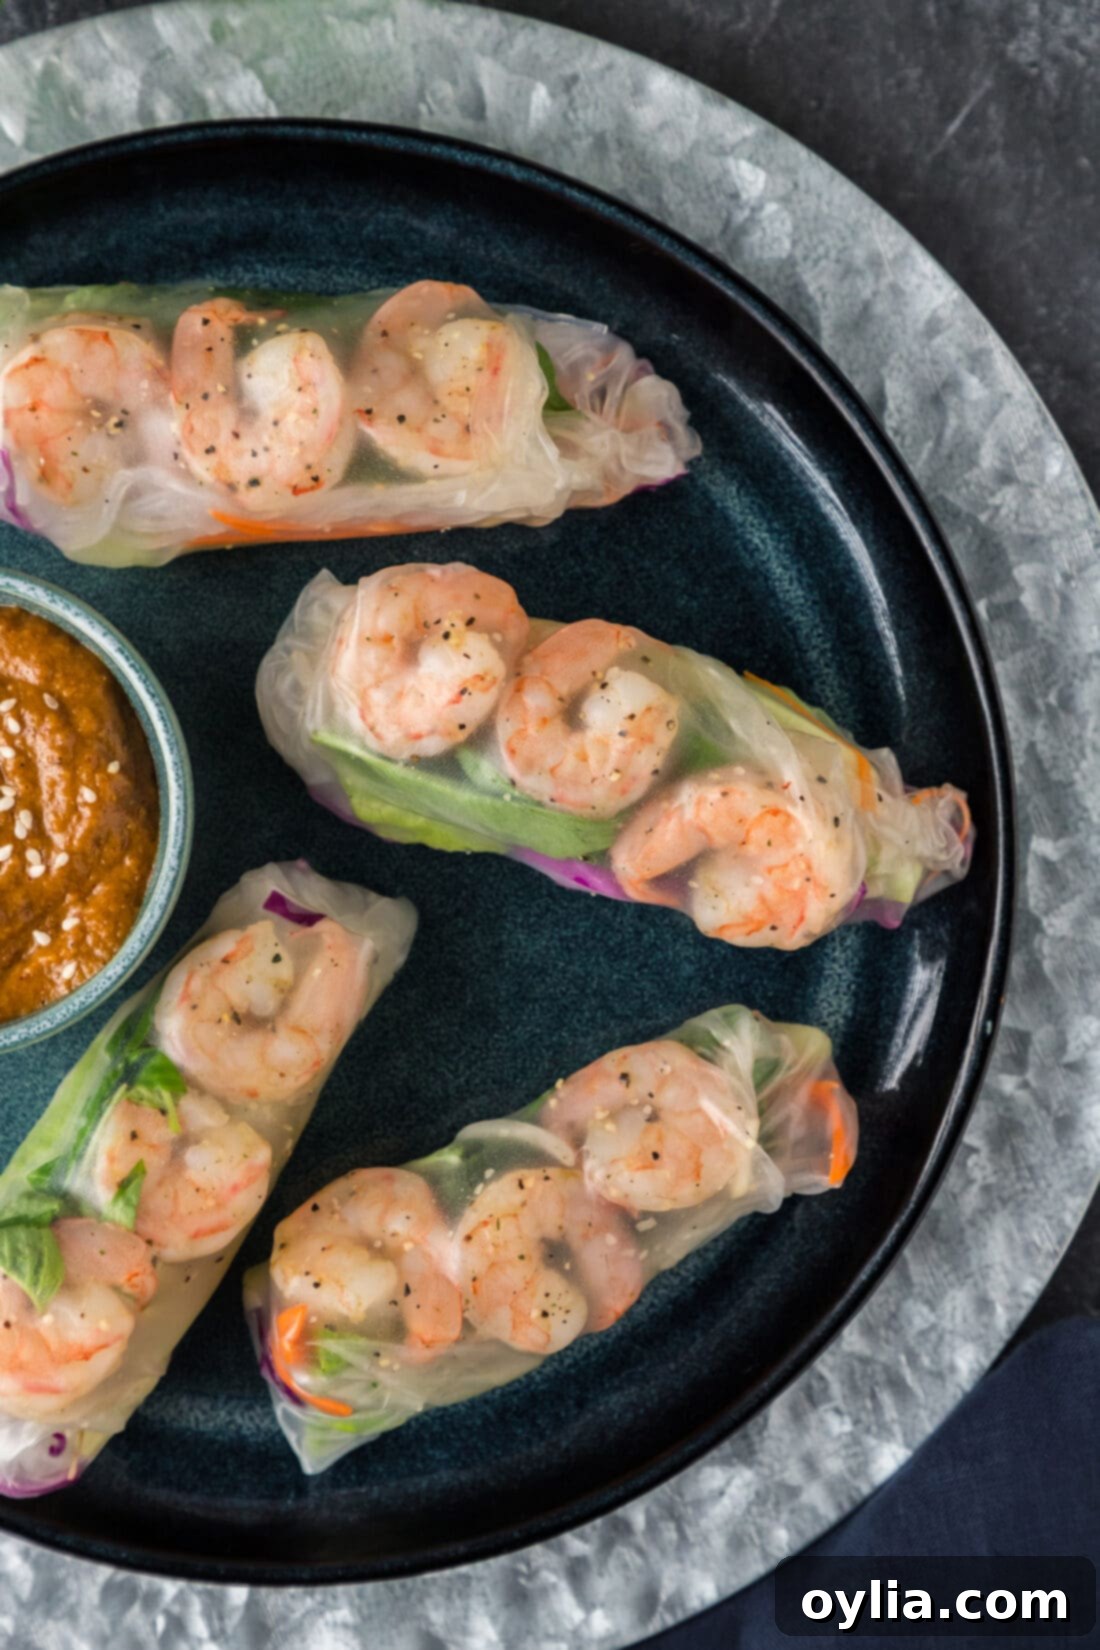
This recipe elevates your everyday vegetable spring rolls by introducing plump, juicy shrimp, transforming them into an irresistible dish suitable for both a light lunch and an elegant appetizer. What makes these fresh rolls so special?
- Harmonious Textures: Each bite delivers a delightful interplay of textures – the tender snap of perfectly cooked shrimp, the satisfying crunch of fresh, crisp vegetables like romaine and cabbage, the soft chewiness of bean thread noodles, and the delicate, slightly chewy exterior of the spring roll wrapper. It’s a symphony for your palate!
- Bursting with Fresh Flavor: Unlike fried alternatives, these fresh spring rolls allow the natural flavors of the ingredients to shine through. The subtle sweetness of shrimp, the earthy notes of basil, and the refreshing crispness of the vegetables create a clean, vibrant taste.
- Incredibly Healthy: Packed with lean protein, fiber-rich vegetables, and light noodles, these spring rolls are a powerhouse of nutrition without heavy sauces or excess oil. They’re a fantastic way to enjoy a satisfying meal guilt-free.
- Effortless Preparation: With minimal cooking required and straightforward assembly, you’ll be surprised at how quickly these gourmet-looking rolls come together. Most of the time is spent on simple chopping, making this an ideal recipe for busy weeknights or casual entertaining.
- Versatile & Customizable: While our recipe features a classic combination, these fresh rolls are incredibly adaptable. Feel free to swap or add your favorite ingredients to suit your taste or what you have on hand.
Essential Ingredients for Perfect Shrimp Spring Rolls
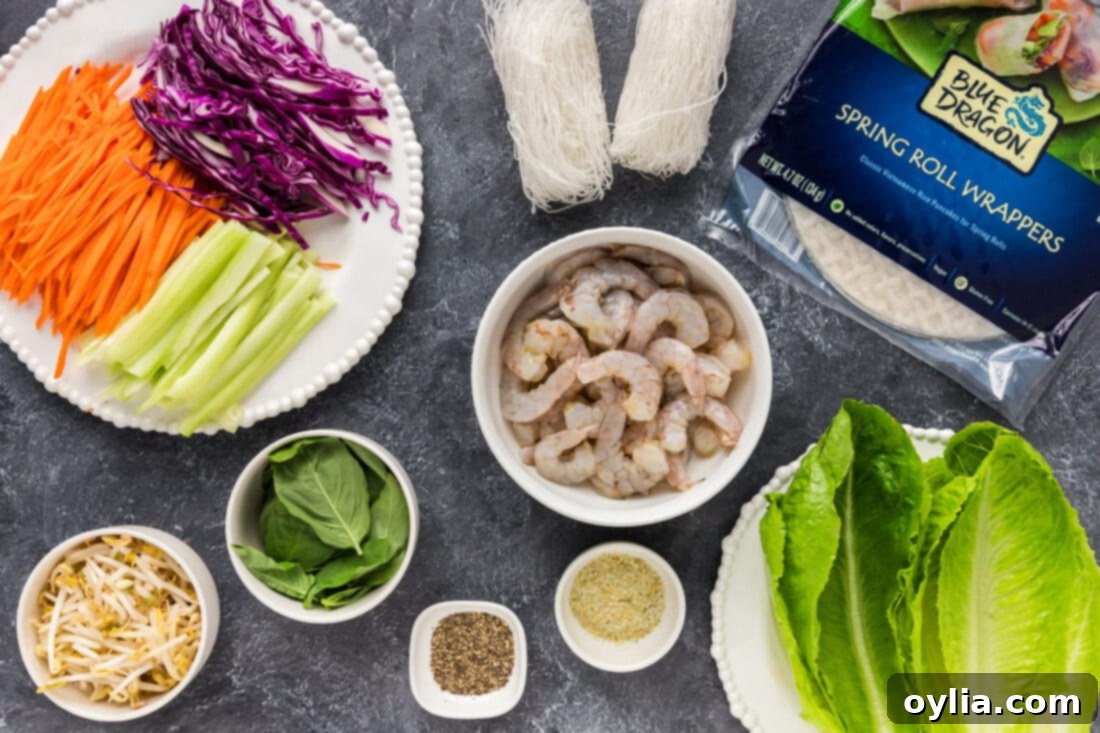
Crafting delicious shrimp spring rolls starts with fresh, high-quality ingredients. You’ll find all precise measurements and detailed instructions in the printable recipe card at the very end of this post.
Ingredient Breakdown & Smart Substitutions
Understanding each component will help you master these fresh rolls and confidently make adjustments.
- SHRIMP: You’ll need about 1 pound of medium raw shrimp, preferably peeled, deveined, and with tails removed for ease of eating.
- Fresh vs. Frozen: Frozen shrimp works wonderfully, just ensure it’s completely thawed before cooking. For a quick thaw, place them in a zip-top bag and submerge in a bowl of cold water for about 15-20 minutes.
- Pre-cooked vs. Raw: While pre-cooked shrimp can be used for convenience, we highly recommend raw shrimp. Cooking it fresh at home yields a superior, more tender texture that beautifully complements the crisp vegetables, avoiding the slightly rubbery texture pre-cooked shrimp can sometimes have.
- VEGETABLES: The core of our spring rolls includes refreshing Romaine lettuce, crunchy red cabbage, sweet carrots, crisp celery, and delicate bean sprouts.
- Preparation is Key: Ensure all vegetables are julienned or thinly sliced to prevent them from tearing the delicate wrappers and to ensure an even distribution in each bite. Aim for uniform, manageable sizes.
- Customize Your Crunch: Feel free to experiment! Other fantastic additions include thinly sliced cucumber, bell peppers, fresh mint, cilantro, or even avocado for a creamy element. The goal is a colorful and textural medley.
- NOODLES: We use bean threads, also known as mung bean noodles, cellophane noodles, or glass noodles. These clear, delicate noodles are incredibly easy to prepare and absorb flavors beautifully.
- Cooking Tip: Always refer to your package instructions, as preparation times can vary. Generally, they require soaking in hot (not boiling) water for a few minutes until tender, then draining and rinsing with cold water to stop the cooking process and prevent sticking.
- Substitution: If bean threads aren’t available, thin rice vermicelli noodles are an excellent alternative and can be prepared in a similar fashion.
- SPRING ROLL WRAPPERS: These are the magic behind fresh spring rolls, typically made from rice paper.
- Choosing Wrappers: Look for thin, round rice paper wrappers in the Asian aisle of your grocery store. They become translucent and pliable when softened.
- Handling Tip: They are delicate when wet, so handle them gently. Don’t over-soak, or they will become too sticky and tear easily.
- SEASONINGS: Simple garlic salt and black pepper are used to enhance the shrimp’s natural flavor. Fresh basil leaves provide an aromatic, herbaceous touch that is classic in fresh spring rolls.
Crafting Your Own Fresh Shrimp Spring Rolls: A Step-by-Step Guide
These step-by-step photos and detailed instructions are designed to help you visualize each stage of making this delicious recipe. For a convenient printable version, complete with precise measurements and instructions, simply Jump to Recipe at the bottom of this page.
Before you begin, ensure all your ingredients are prepped and laid out. This assembly-line approach will make the rolling process much smoother and more enjoyable!
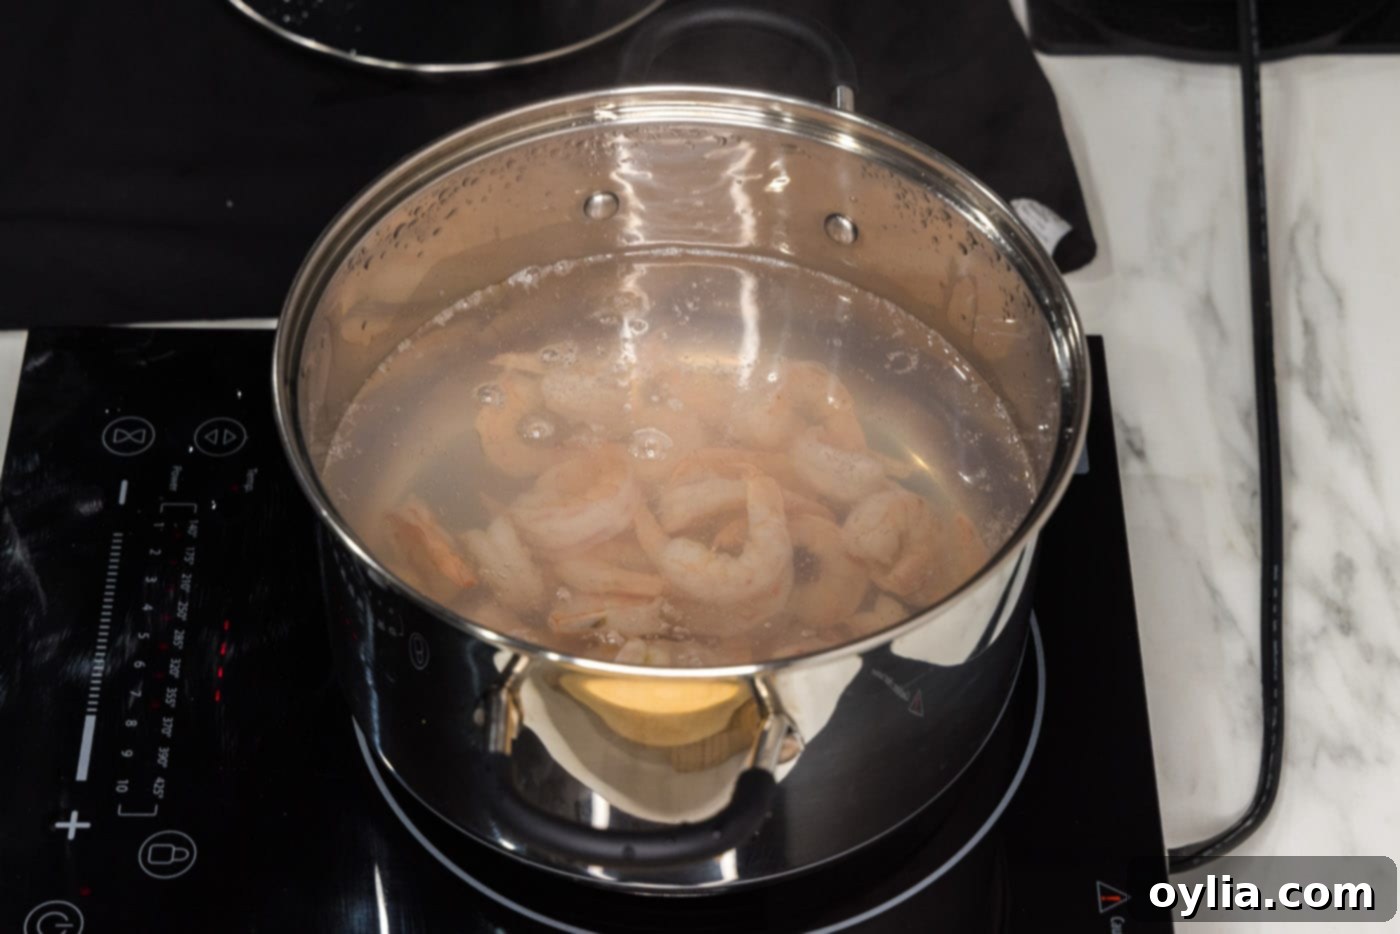
- Fill a stockpot 2/3 full with water. Bring it to a rolling boil over medium-high heat. Once boiling, add the raw shrimp, then immediately turn off the heat. Stir the shrimp gently and let it sit in the hot water for just 2-3 minutes. This quick poaching method ensures the shrimp cooks through without becoming tough.

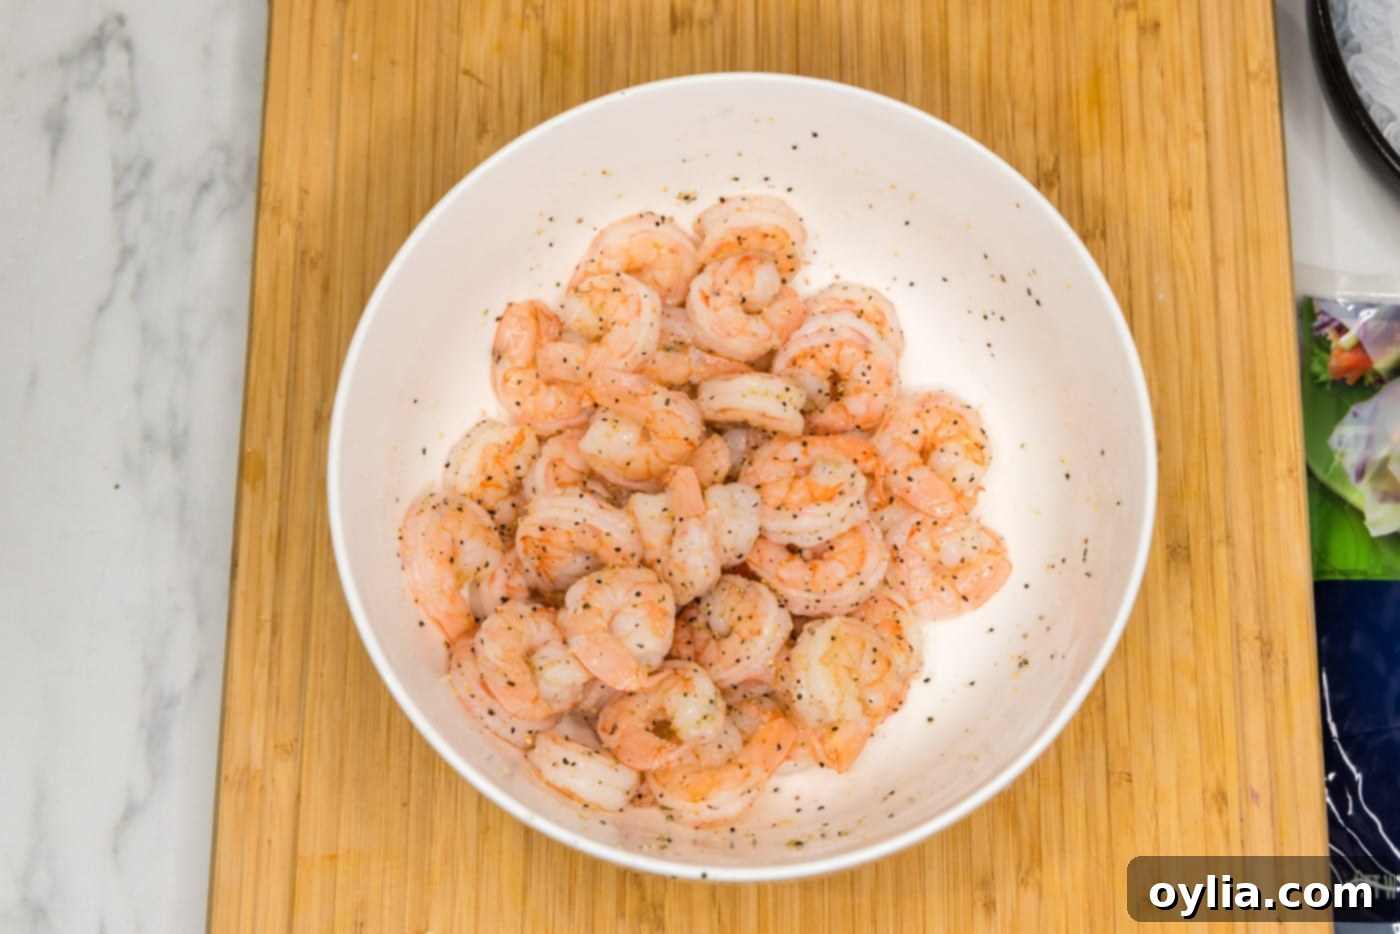
- Drain the cooked shrimp thoroughly through a colander and transfer them to a large mixing bowl. Season the shrimp with garlic salt and black pepper. Use gloved hands to toss the shrimp gently, ensuring the seasonings are evenly distributed over each piece.

- Cook and drain the bean threads according to their package directions. This typically involves soaking them in hot water until tender, then rinsing with cold water.
- Remove the stems from your fresh basil leaves, preparing them for easy addition to the rolls.
- Separate the Romaine lettuce into individual leaves. These will form the base layer of your filling.
- Carefully julienne (cut into thin, matchstick-like strips) the carrots, celery, and red cabbage. Uniform cuts are key for aesthetic and structural integrity.
- Place the bean sprouts in a small bowl, ready for assembly.
- Dampen a few paper towels or a clean kitchen towel and lay it flat on your work surface. This creates the ideal non-stick, slightly moist surface for rehydrating wrappers.
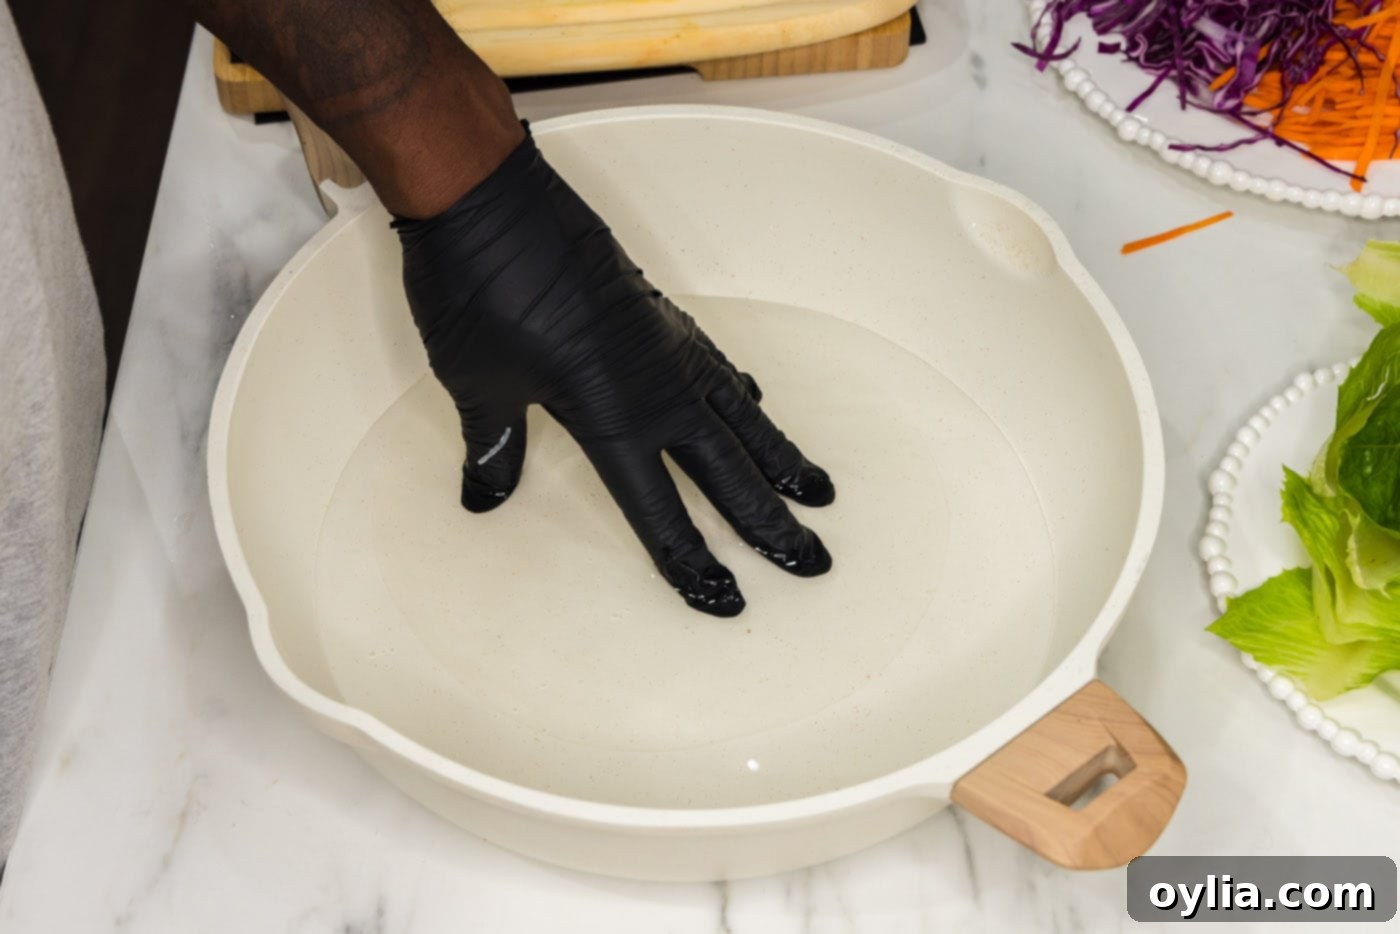
- Add about 2 inches of room temperature tap water to a skillet or any shallow dish/pan that is large enough to comfortably fit a spring roll wrapper.
- Working with one wrapper at a time, dip the spring roll wrapper into the water. Turn it over to ensure both sides are moistened, then immediately remove it to your damp towel. It will continue to soften on the towel. Do not over-soak in the water, as it will become too sticky.

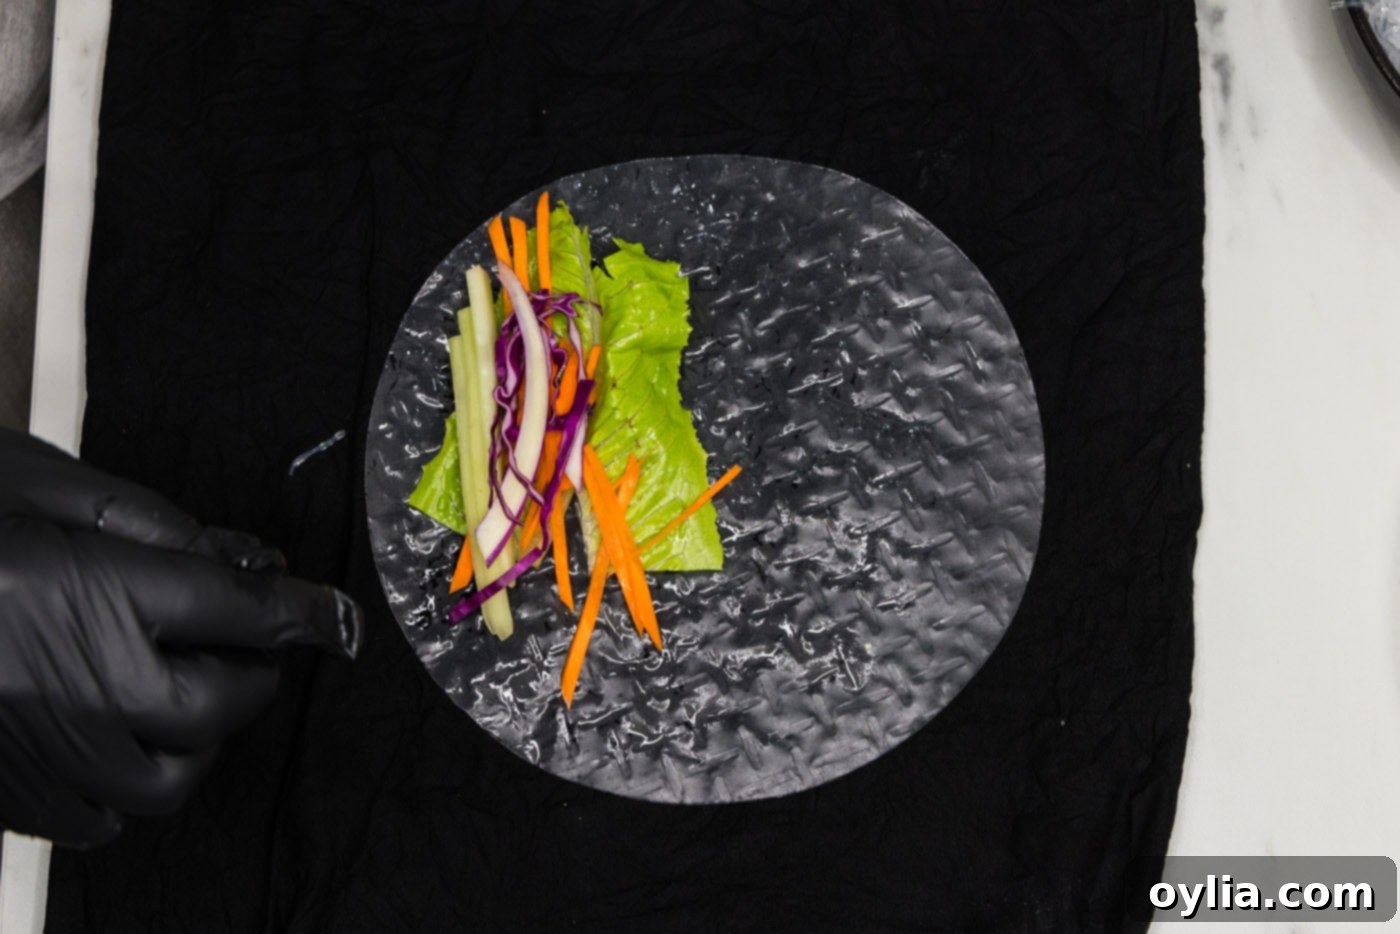
- Once the wrapper is pliable (this takes about 30 seconds to a minute on the towel), layer one lettuce leaf, a small amount of bean threads, some bean sprouts, carrots, celery, and red cabbage onto the lower third of the wrapper, leaving space on the sides.

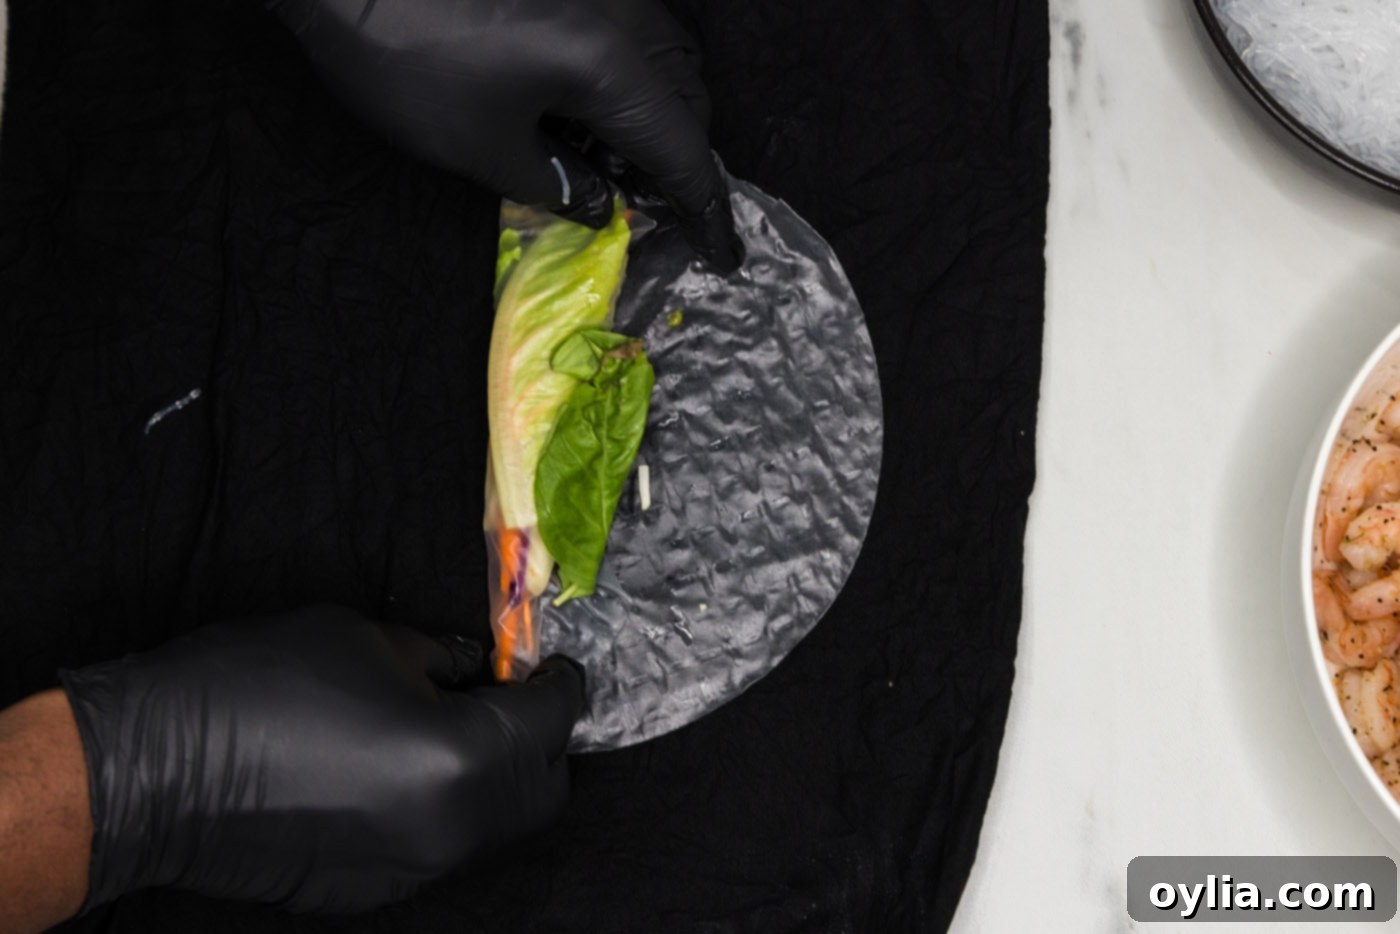
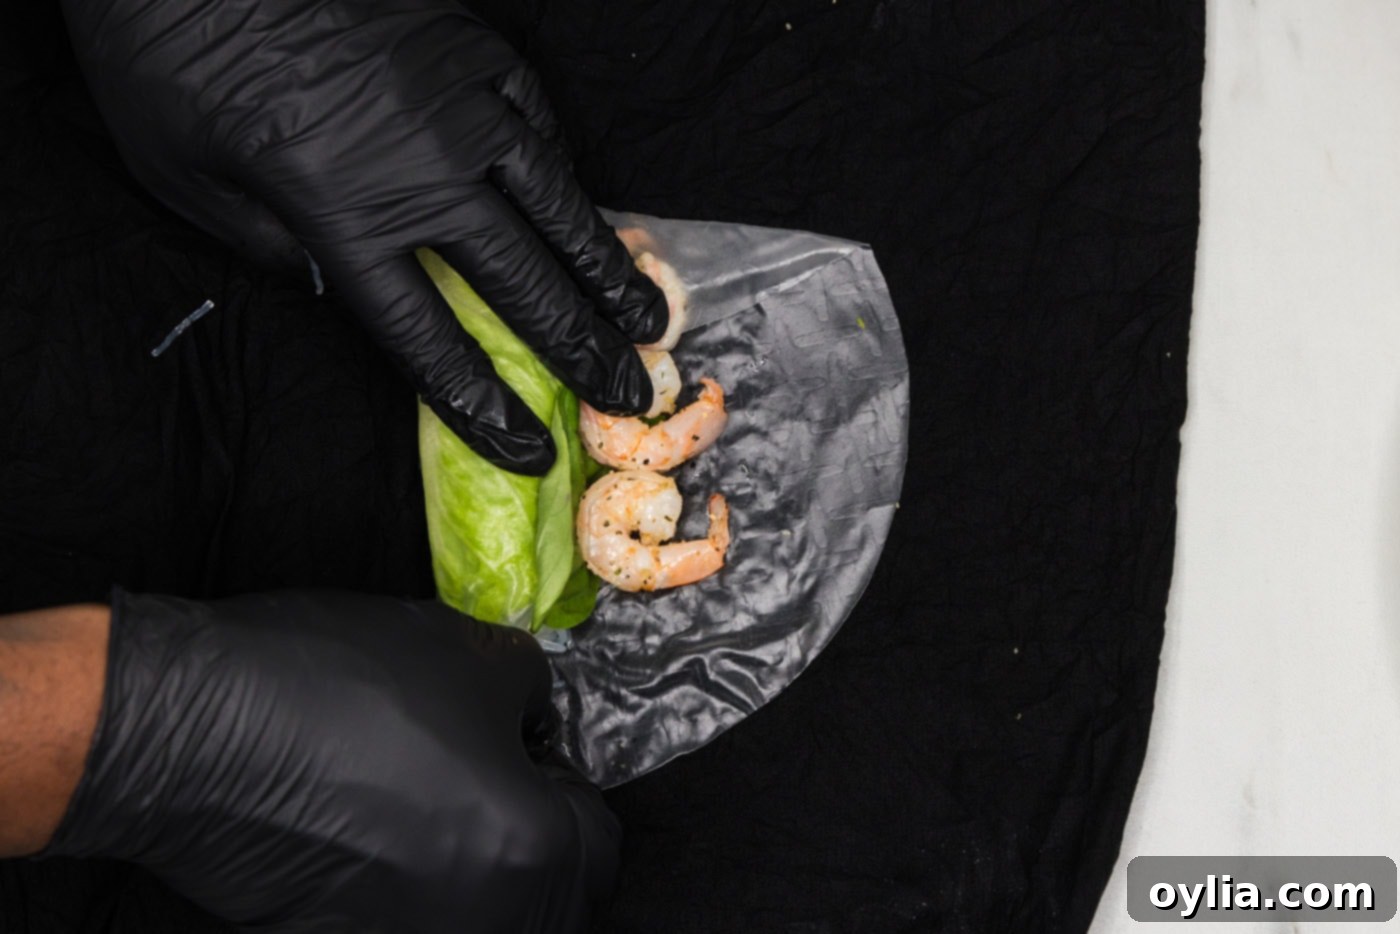
- Begin to roll the wrapper up about halfway, then add a couple of fresh basil leaves and 3 seasoned shrimp on top of the rolled section. Positioning the shrimp and basil at this stage ensures they are visible through the wrapper for a beautiful presentation.


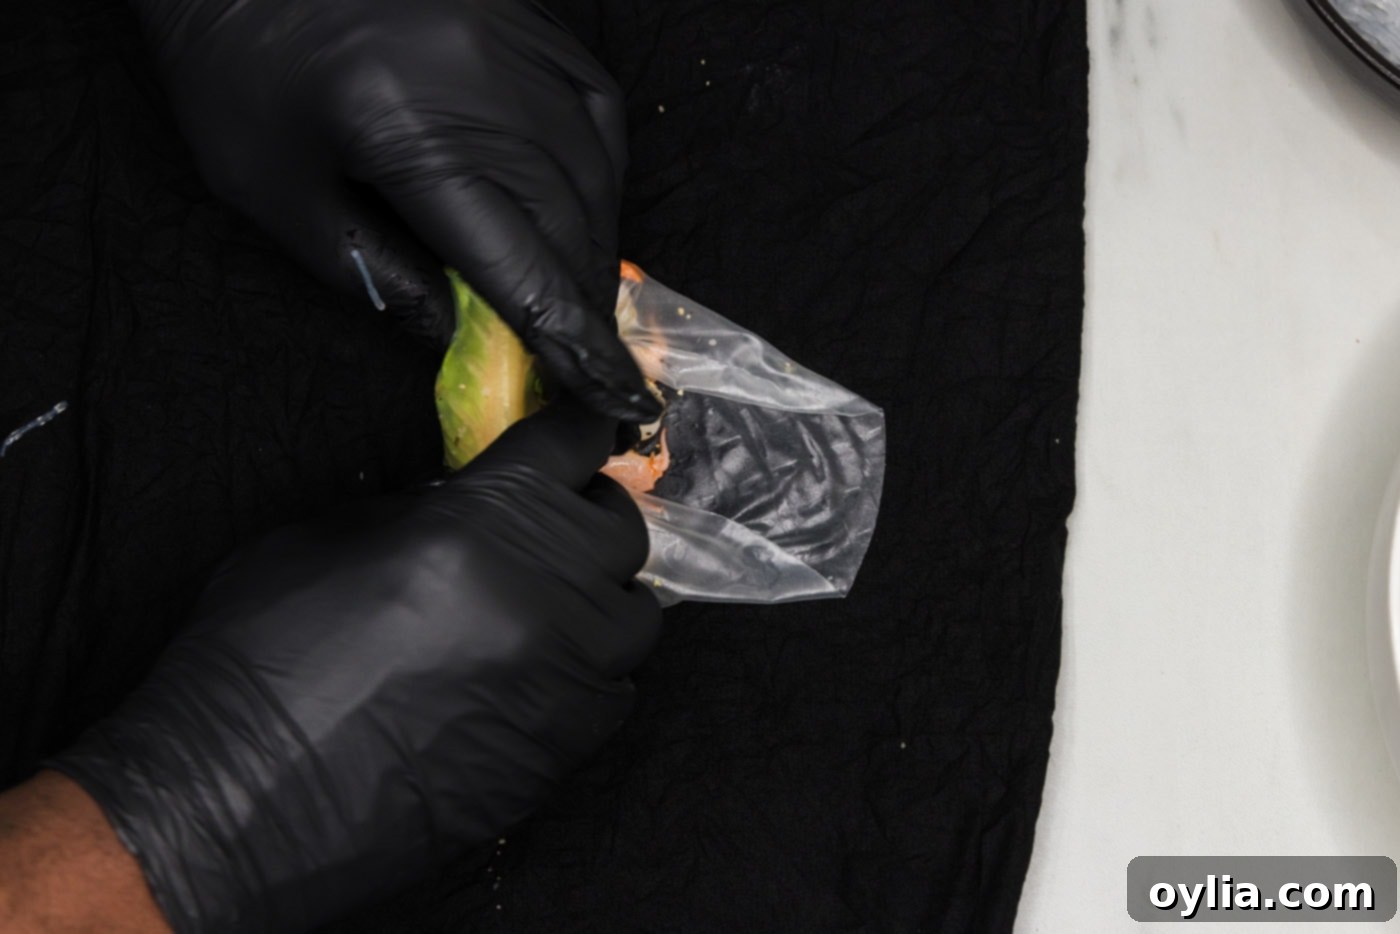
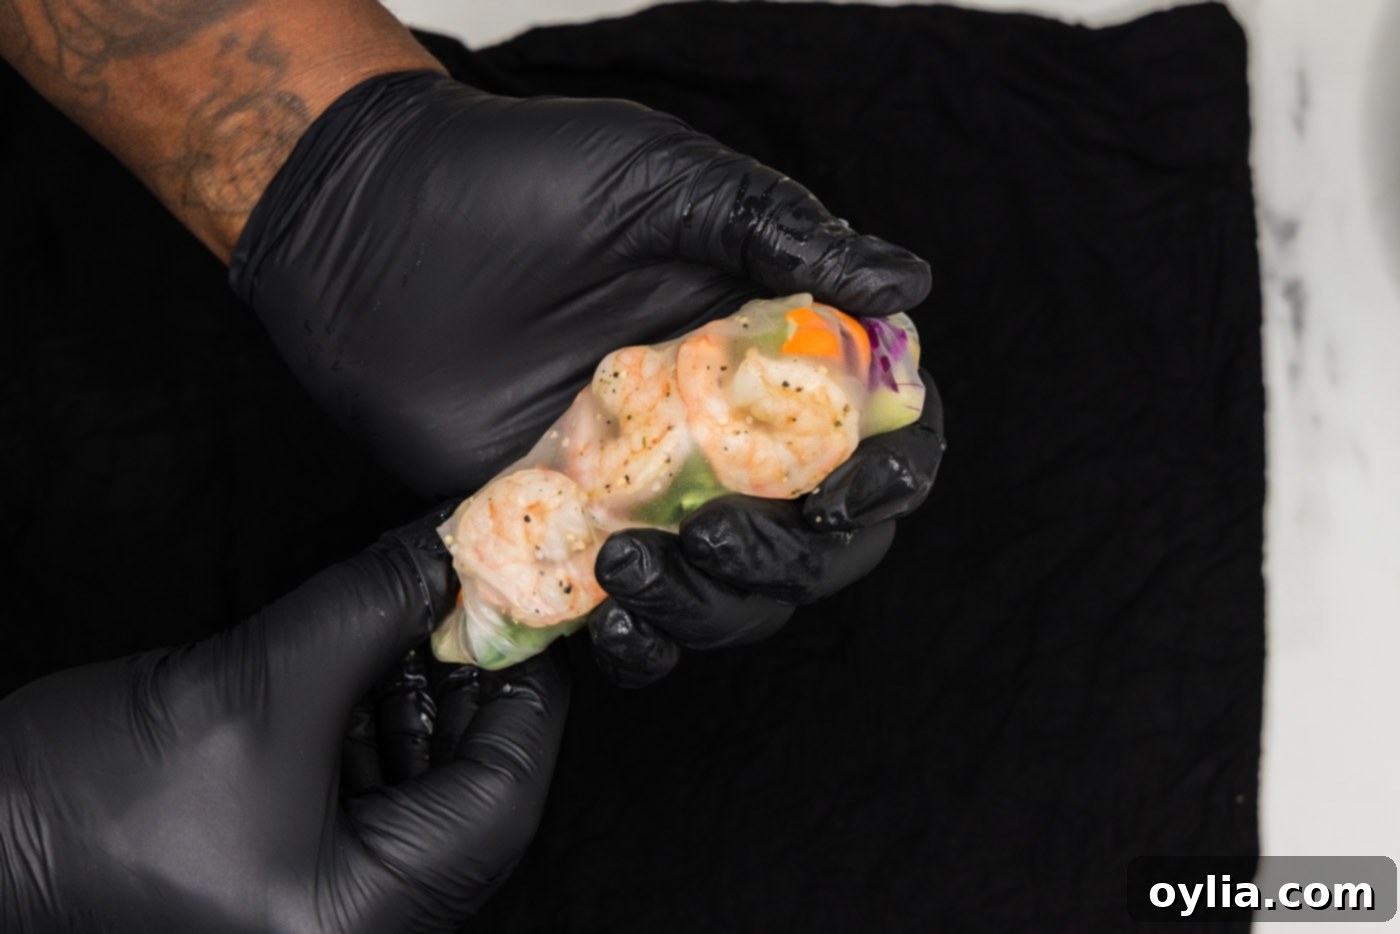
- Continue rolling the rest of the way, folding in the sides like a burrito as you go. The damp spring roll wrapper will naturally stick to itself, securely holding all the delicious fillings inside. Repeat this process for the remaining spring rolls, arranging them on a serving platter as you finish.


Frequently Asked Questions & Expert Tips for Success
While fresh spring rolls are best enjoyed immediately for optimal texture, you can certainly prepare them a day in advance. Do note that the delicate rice paper wrappers may become slightly chewier or more rubbery when refrigerated overnight. To minimize this, wrap each spring roll individually in a damp paper towel, then place them in an air-tight container or tightly cover them with plastic wrap. The damp towel helps maintain moisture and a more desirable texture. If stacking multiple layers in a container, place a sheet of parchment paper between each layer to prevent sticking.
Store any leftover shrimp spring rolls in an air-tight container in the refrigerator for 1-2 days. Following the damp paper towel method mentioned above will help keep them fresh. Beyond two days, the wrappers tend to harden, and the vegetables might lose their crispness.
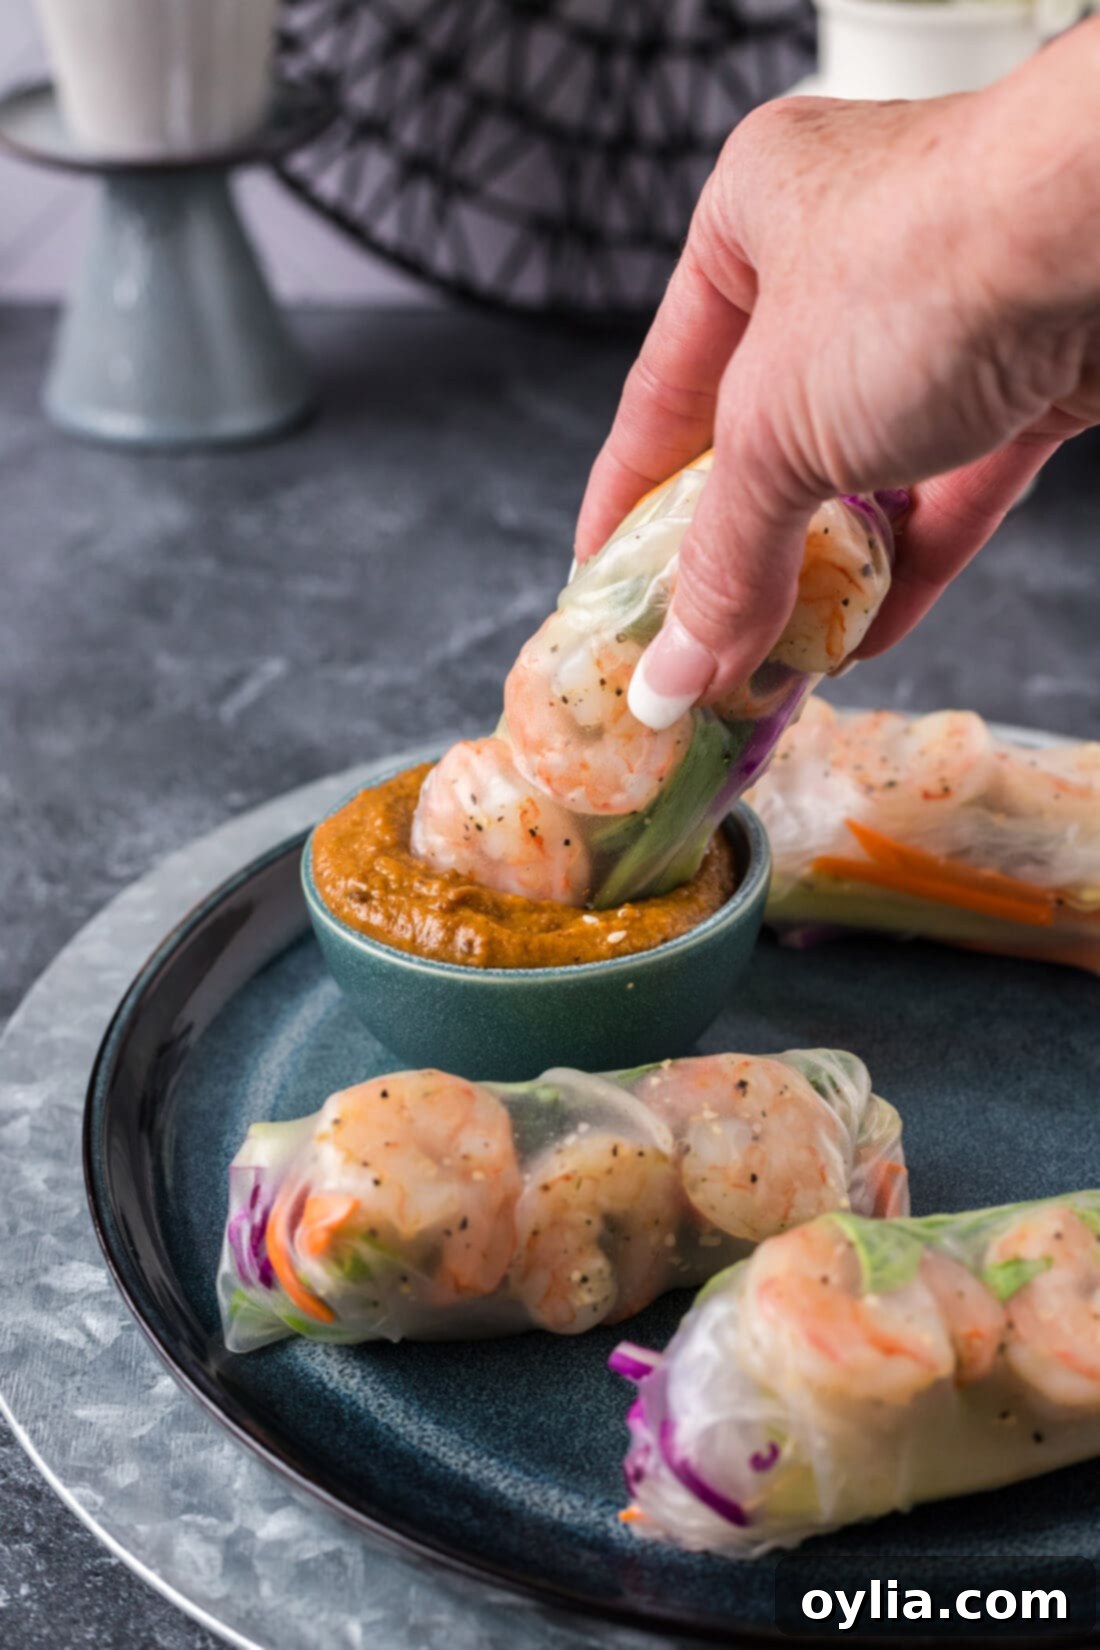
The right dipping sauce can truly elevate your spring rolls! Classic choices include a savory peanut sauce (often creamy and slightly sweet), a tangy and sweet Thai sweet chili sauce, or a homemade sweet and sour sauce. For a lighter option, a simple nuoc cham (Vietnamese dipping sauce) with fish sauce, lime juice, sugar, and chilies is also excellent. You can also explore hoisin sauce or a soy-ginger-sesame dressing.
Yes, typically fresh spring rolls are naturally gluten-free! Rice paper wrappers are made from rice flour, and bean thread noodles (mung bean noodles) are made from mung bean starch. Always double-check ingredient labels to ensure no hidden gluten is present in your specific brands of wrappers or noodles, especially if you have a severe allergy.
Absolutely! These rolls are incredibly versatile. You can easily substitute the shrimp with cooked chicken (shredded or thinly sliced), thinly sliced pork, pan-fried tofu, or extra vegetables to make them vegetarian. Experiment with different combinations to find your favorite!
- Don’t Overfill: Less is more when it comes to filling. Start with modest amounts; you can always add more next time if you feel comfortable. Overfilling will lead to tears.
- Work Quickly: Once the wrapper is hydrated, it gets stickier as it sits. Roll promptly but carefully.
- Practice Makes Perfect: Don’t get discouraged if your first few rolls aren’t perfect. With a little practice, you’ll become a master roller!
- Keep Surfaces Damp: The damp towel helps the wrapper remain pliable without becoming overly sticky or drying out too fast.
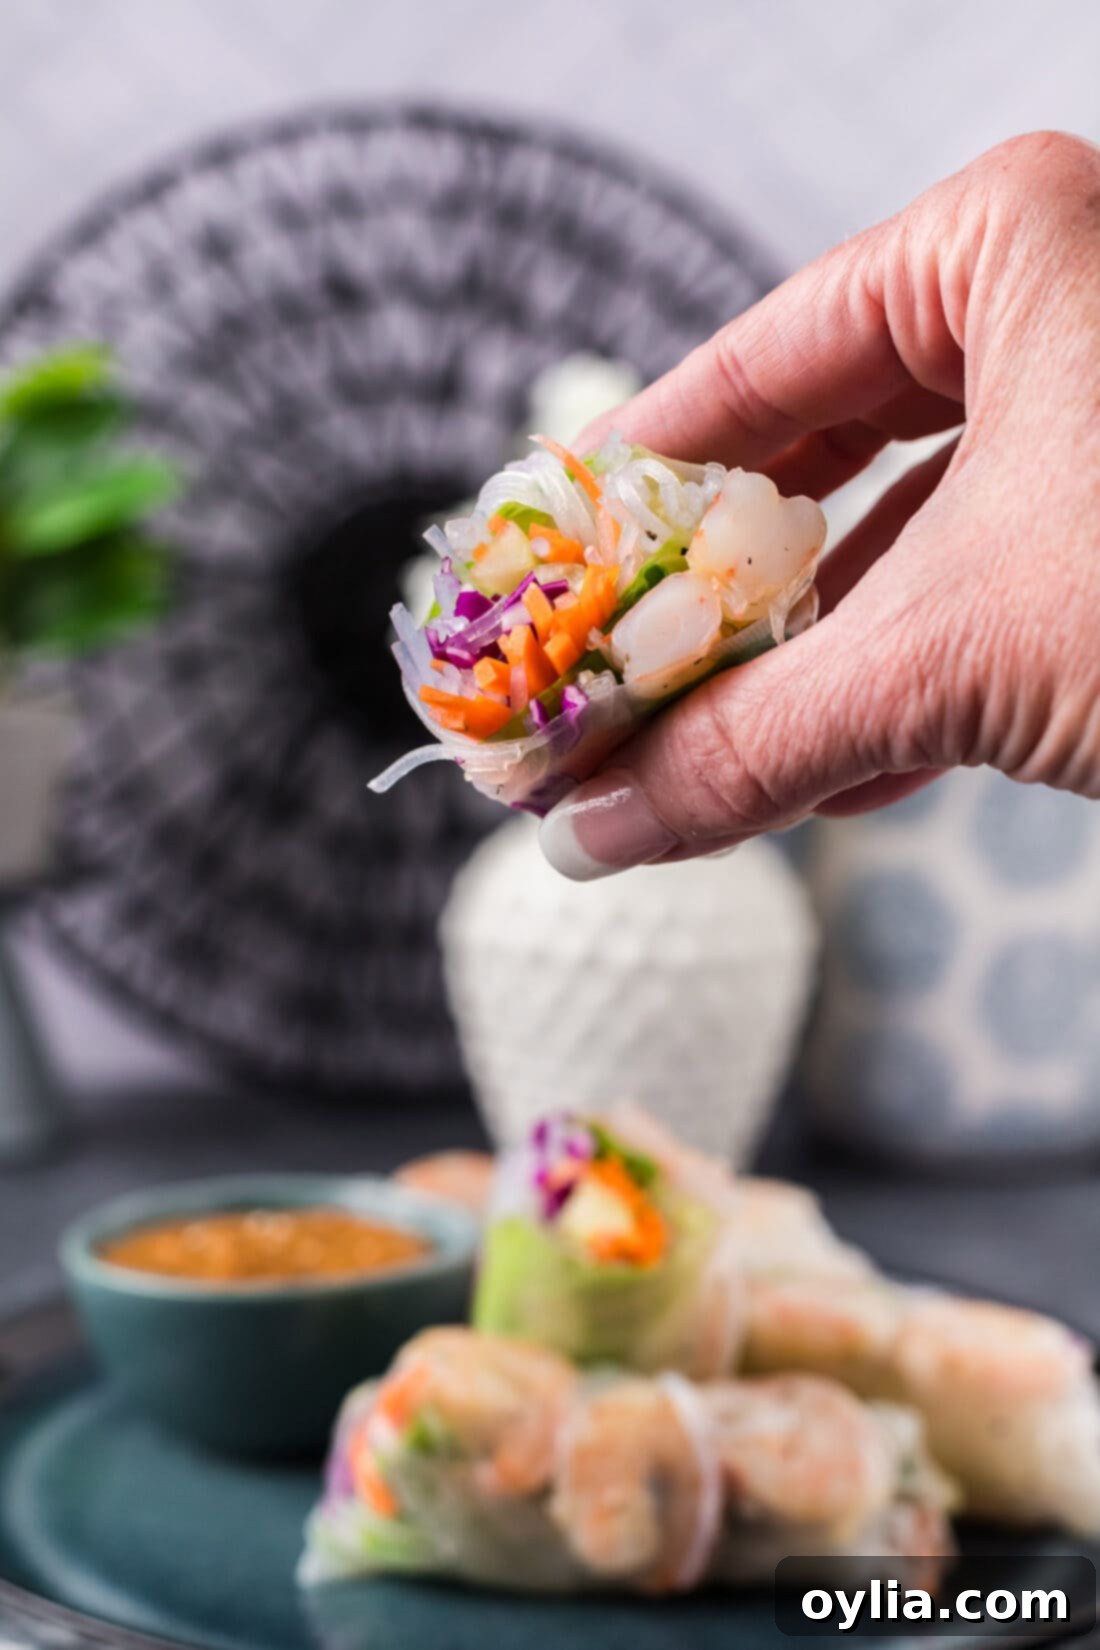
Delicious Serving Suggestions for Your Spring Rolls
Shrimp spring rolls are fantastic on their own, but they truly shine when paired with the right accompaniments. Serve them immediately for the freshest experience, or chill them for about an hour for a wonderfully cool and refreshing bite. They make an ideal appetizer for gatherings, a light and satisfying lunch, or a healthy snack.
- Dipping Sauces: As mentioned, sweet and sour sauce, rich peanut sauce, or a spicy Thai sweet chili sauce are perfect complements.
- Pair with a Salad: A simple side salad with a light vinaigrette or sesame dressing can complete the meal.
- Noodle Bowls: Serve the spring rolls alongside a bowl of vermicelli noodles and fresh herbs for a deconstructed noodle bowl experience.
- Soup Companion: A light broth-based soup makes a great partner, especially on cooler days.
Explore More Delicious Recipes
If you love the flavors and freshness of these shrimp spring rolls, be sure to check out these other fantastic recipes:
- Crispy Shrimp Tempura
- Classic Vegetable Spring Rolls
- Refreshing Lobster Cucumber Boats
- Unique Mexican Style Summer Rolls
- Flavorful Shrimp Pad Thai
I love to bake and cook and share my kitchen experience with all of you! Remembering to come back each day can be tough, that’s why I offer a convenient newsletter every time a new recipe posts. Simply subscribe and start receiving your free daily recipes, delivered right to your inbox!
Shrimp Spring Rolls
IMPORTANT – There are often Frequently Asked Questions within the blog post that you may find helpful. Simply scroll back up to read them!
Print It
Pin It
Rate It
Save ItSaved!
Ingredients
- 1 pound medium raw shrimp peeled, deveined, tails removed
- 2 teaspoons garlic salt
- 1 teaspoon black pepper
- 3 ounces bean threads about 1/2 a package
- 1 bunch fresh basil leaves
- 1 head Romaine lettuce leaves
- 1 cup red cabbage
- 1 large carrot
- 1 stalk celery
- 1 cup bean sprouts
- 4.7 ounces spring roll wrappers 1 package (rice paper wrappers)
Things You’ll Need
-
Stockpot
-
Colander
-
Mixing bowls
-
Vinyl gloves
-
Skillet (or shallow dish for dipping wrappers)
Before You Begin & Important Tips
- It’s incredibly important to have all your ingredients prepped and ready before you begin the rolling process. Think of it as setting up an assembly line. Only roll one wrapper at a time. We highly recommend using gloves during the rolling process, as the damp spring roll wrappers can be quite sticky and easier to handle with gloves.
- Pay close attention to how you cut your vegetables. Ensure they are not cut too long or thick, as they could easily poke through the delicate wrappers, ruining the roll. Uniform, thin strips (julienne cut) work best for both aesthetics and ease of rolling.
- Bean threads (also known as mung bean noodles, cellophane noodles, or glass noodles) are central to the texture. They are typically easy to prepare by soaking. Always refer to your specific package instructions, as brands can vary in their recommendations. If you prefer, thin rice vermicelli noodles are a suitable substitute.
- When dipping the wrappers, only briefly immerse them. They will continue to soften on your damp work surface. Over-soaking will make them too flimsy and prone to tearing.
- For visible shrimp and basil, place them strategically on the wrapper after the first fold, so they show through the translucent wrapper.
Instructions
Cook the Shrimp
-
Fill a large stockpot 2/3 full with water. Bring the water to a rapid rolling boil over medium-high heat. Carefully add the peeled, deveined, and tail-removed raw shrimp to the boiling water, then immediately turn off the heat. Stir the shrimp gently to ensure even cooking and let them sit in the hot water for precisely 2-3 minutes, or until they turn pink and opaque. Overcooking will make them rubbery.
-
Promptly drain the cooked shrimp through a colander to stop the cooking process. Transfer the drained shrimp to a large mixing bowl. Season the warm shrimp generously with 2 teaspoons of garlic salt and 1 teaspoon of black pepper. Use gloved hands to toss the shrimp, ensuring the seasonings are evenly distributed and each shrimp is coated. Set aside.
Prep the Filling (Vegetables & Noodles)
-
Cook and drain the 3 ounces of bean threads according to the package directions. After cooking, rinse them with cold water to prevent sticking and cool them down.
-
Remove the stems from the fresh basil leaves, ensuring only the aromatic leaves are used.
-
Separate the Romaine lettuce into individual, crisp leaves. These will provide a fresh, crunchy base for your rolls.
-
Julienne cut (cut into thin, uniform matchsticks) the large carrot, stalk of celery, and 1 cup of red cabbage. This ensures easy rolling and a pleasant texture in every bite.
-
Place the 1 cup of bean sprouts in a small bowl, ready for quick assembly.
Assemble & Roll Your Spring Rolls
-
Dampen several paper towels or a clean kitchen towel and lay it flat on your work surface. This will be where you soften and roll your wrappers.
-
Add about 2 inches of room temperature tap water to a skillet or any shallow dish/pan that is large enough to comfortably fit a spring roll wrapper.
-
Working with one wrapper at a time, dip the entire spring roll wrapper into the water for just a few seconds, ensuring it is fully moistened. Turn it over once, then immediately remove it and lay it flat on your damp towel. It should still feel a little firm but will continue to soften and become pliable on the towel as you arrange the filling. Do not over-soak.
-
Once the wrapper is soft (this usually takes 30-60 seconds on the towel), layer one Romaine lettuce leaf, a small portion of bean threads, some bean sprouts, julienned carrots, celery, and red cabbage onto the lower third of the wrapper. Leave about an inch or two clear on both sides. Remember, don’t overfill!
-
Carefully roll the wrapper up about halfway, tucking the filling tightly as you go. Then, position a couple of fresh basil leaves and 3 seasoned shrimp strategically on top of the rolled section. This ensures they are visible through the translucent wrapper for a beautiful presentation.
-
To complete the roll, fold in the left and right sides of the wrapper over the filling, then continue to roll it tightly from the bottom up, similar to a burrito. The damp spring roll wrapper will naturally stick to itself, sealing the roll securely. Repeat this process with the remaining wrappers and fillings until all ingredients are used, then serve immediately or chill as desired.
Expert Tips & FAQs
- Store any leftover shrimp spring rolls in an air-tight container kept in the refrigerator for 1-2 days. For best results, individually wrap each roll in a damp paper towel before placing it in the container.
- Make-ahead strategy: While the assembled rolls are best fresh, you can definitely prep all components a day in advance! Cook the shrimp, cook the noodles, chop all your vegetables, and prepare your dipping sauces. Store each component separately in airtight containers in the refrigerator. This way, all you have to do on the day of serving is dip wrappers and roll, making assembly super quick and easy.
- The measurements provided for the fillings are approximate. The actual amount you use per roll will depend on the size of your wrappers and how much filling you prefer. Start with less and adjust as you get comfortable with rolling.
- Always use room temperature water for dipping the wrappers. Cold water takes longer to soften them, and hot water can make them too sticky too quickly.
Nutrition
The recipes on this blog are tested with a conventional gas oven and gas stovetop. It’s important to note that some ovens, especially as they age, can cook and bake inconsistently. Using an inexpensive oven thermometer can assure you that your oven is truly heating to the proper temperature. If you use a toaster oven or countertop oven, please keep in mind that they may not distribute heat the same as a conventional full sized oven and you may need to adjust your cooking/baking times. In the case of recipes made with a pressure cooker, air fryer, slow cooker, or other appliance, a link to the appliances we use is listed within each respective recipe. For baking recipes where measurements are given by weight, please note that results may not be the same if cups are used instead, and we can’t guarantee success with that method.
