The Ultimate Lemon Pound Cake Recipe: Moist, Zesty & Easy to Make
Prepare to fall in love with this exquisite Lemon Pound Cake, a true masterpiece of baking that perfectly balances bright, refreshing citrus notes with an incredibly tender, moist crumb. Each slice offers a delightful burst of sweet, summery tang, harmoniously brought together by a luscious, homemade lemon glaze. This isn’t just a cake; it’s an experience, a sunshine-filled treat that promises to elevate any moment.

Why This Lemon Pound Cake Recipe is a Must-Try
If life hands you lemons, forget the lemonade and make this spectacular lemon pound cake instead! This recipe is a standout for several compelling reasons. First, its texture is simply divine: soft, incredibly moist, and wonderfully dense, exactly what you expect from a classic pound cake, but with an added lightness that keeps you coming back for more. Second, it’s absolutely bursting with vibrant citrus flavor, not just a hint, but a full-bodied, exhilarating lemon essence that brightens every bite.
What truly elevates this particular lemon loaf is the subtle yet impactful lemon glaze that crowns it. This delicate topping doesn’t just add sweetness; it infuses an additional layer of lemony goodness, creating a symphony of flavors that is pure bliss. We genuinely believe it doesn’t get any better than this when it comes to citrus desserts.
Here at Amanda’s Cookin’, lemon holds a special place in our hearts when it comes to baking. From our beloved Lemon Cake and indulgent Lemon Brownies to refreshing lemon loaves, we can’t get enough of its versatility. The fresh juice adds a refreshing pop, while the zest delivers that unmistakable lemony zing we all crave. This specific homemade lemon pound cake comes together effortlessly, thanks to straightforward steps and readily available ingredients. It’s so versatile and utterly delicious, you’ll find yourself enjoying it for breakfast, as a delightful snack, or as an impressive dessert.

Key Ingredients for Your Zesty Lemon Pound Cake
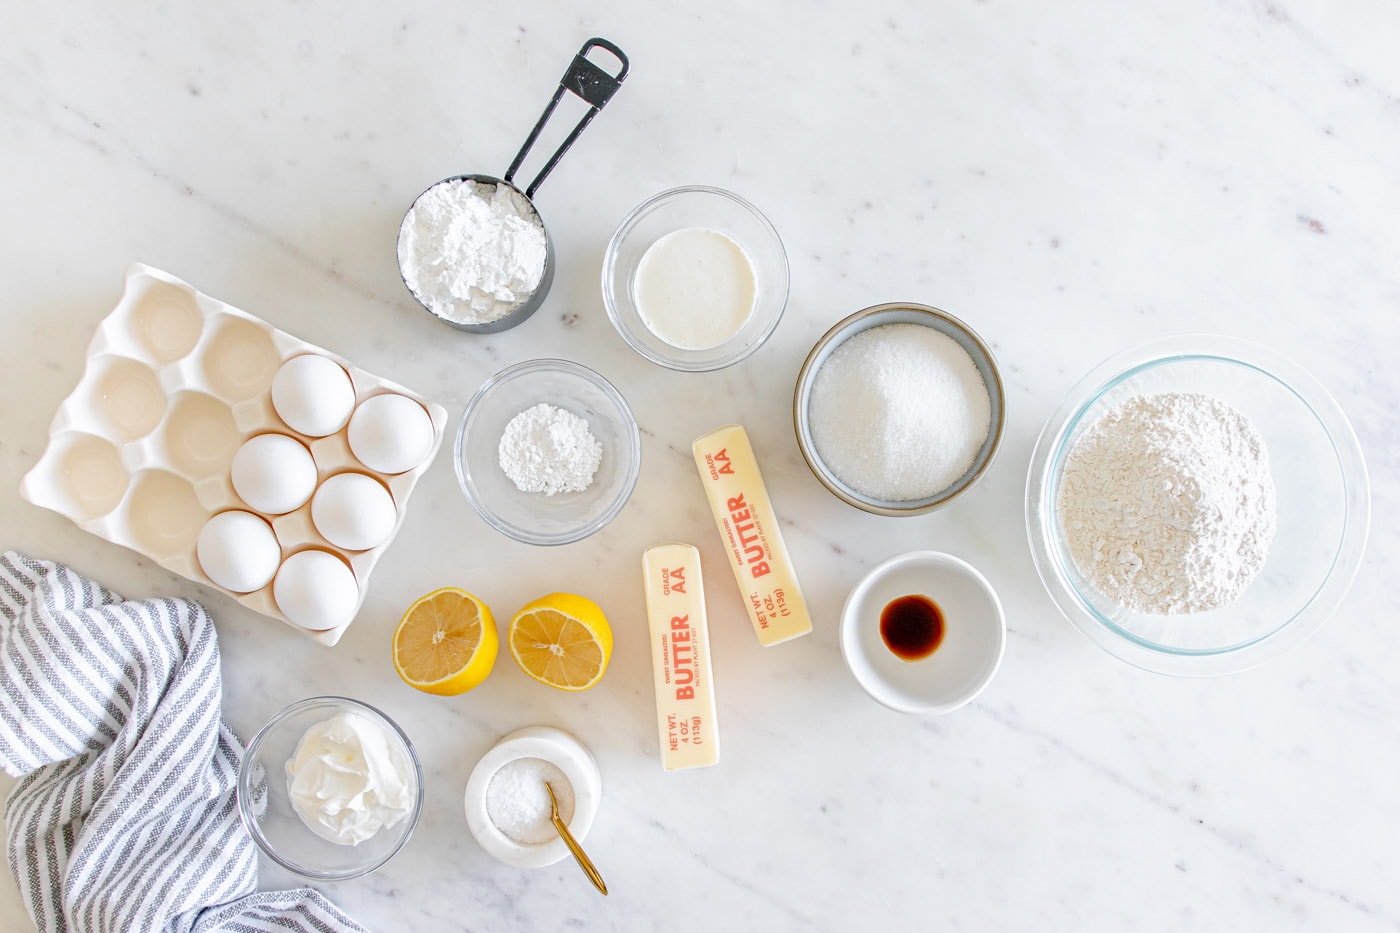
Crafting the perfect moist lemon pound cake starts with selecting high-quality ingredients. Each component plays a vital role in achieving that signature tender crumb and bright flavor. Below, you’ll find the list of essential ingredients for both the cake and its irresistible lemon glaze. Remember, precise measurements are key to baking success, so be sure to refer to the printable recipe card at the end of this post for all quantities and detailed instructions.
Ingredient Insights & Expert Substitution Tips
Understanding each ingredient and its role is crucial for baking success. Here’s a deeper dive into the components of our delicious lemon pound cake, along with helpful tips and potential substitutions:
FLOUR – All-purpose flour forms the structural backbone of our pound cake. Achieving that coveted tender crumb largely depends on how you measure it. The absolute key to success is the “scoop and sweep” method. First, aerate your flour by fluffing it with a spoon in its container. Then, gently spoon the flour into your dry measuring cup until it’s slightly overflowing. Finally, take the flat side of a butter knife or a straight edge and sweep it across the top to level it perfectly. Never, ever scoop flour directly from the bag, as this compacts it, leading to an excess amount. Similarly, avoid tapping the measuring cup, which also packs the flour down. Either of these mistakes can result in a dry, dense, or crumbly baked good – outcomes we definitely want to avoid in our perfectly moist lemon pound cake!
LEMON – The star of the show! You’ll need at least two whole, fresh lemons for this recipe. It’s always a good idea to grab a third lemon, just in case one doesn’t yield enough juice or zest. Fresh lemon juice and zest are absolutely non-negotiable for the vibrant flavor of this cake; bottled lemon juice simply won’t deliver the same zing. For effortlessly zesting, a microplane grater is a game-changer, yielding fine, aromatic zest without the white pith. For juicing, a handheld lemon squeezer will extract every last drop efficiently. If you’re a true lemon enthusiast and want to amplify that citrus punch even further, consider substituting the vanilla extract with a high-quality lemon extract. This will intensify the lemon flavor, making it even more pronounced.
EGGS – Eggs provide structure, richness, and help with the leavening of the cake. It is absolutely crucial that your eggs are at room temperature before you begin mixing. Room temperature eggs emulsify much better with the butter and sugar, creating a smoother, more uniform batter that traps air more effectively. This leads to a lighter, more voluminous, and ultimately more tender pound cake. If you forget to take them out, simply place them in a bowl of warm water for 10-15 minutes.
BUTTER – Unsalted butter is preferred as it gives you complete control over the salt content in your recipe. Like the eggs, your unsalted butter should be at a true room temperature – soft enough to make an indentation with your finger but not melted or greasy. This is vital for proper creaming with the sugar, which creates air pockets essential for the pound cake’s texture. To speed up the process, slice the butter into smaller pieces and let it rest on the counter for 30-40 minutes.
SOUR CREAM – Sour cream is the secret ingredient for an exceptionally moist and tender crumb in this lemon pound cake. Its high fat and acid content contributes significantly to the cake’s richness and delicate texture. Just like the eggs and butter, ensuring your sour cream is at room temperature is important. Cold sour cream can cause the batter to curdle and become lumpy, impacting the final texture. If you don’t have sour cream, plain full-fat Greek yogurt or even buttermilk (reduce other liquids slightly if using buttermilk) can be reasonable substitutes, though sour cream is highly recommended for optimal results.
ICING – This simple yet elegant glaze is what ties all the flavors of our lemon pound cake together. It’s made with sifted powdered sugar, fresh lemon juice, and a touch of heavy cream. Sifting the powdered sugar is crucial to prevent lumps and achieve a silky-smooth glaze. The lemon juice provides the essential tang, while heavy cream adds richness and helps achieve that perfect pourable consistency. For an extra layer of citrus aroma and visual appeal, don’t hesitate to stir in a teaspoon or two of fresh lemon zest to the icing mixture. This subtle addition will make your glaze even more vibrant and flavorful.
Step-by-Step Guide: Crafting Your Perfect Lemon Pound Cake
These step-by-step photos and detailed instructions are designed to help you visualize how to make this delicious recipe with confidence. For a printable version of this recipe, complete with precise measurements and comprehensive instructions, simply Jump to Recipe at the bottom of this post.
- Begin by preheating your oven to 350°F (175°C). This ensures your oven is at the correct temperature when the cake goes in, promoting even baking. Lightly spray an 8×4 inch loaf pan generously with nonstick cooking spray, making sure to coat all sides and corners. This will prevent sticking and ensure easy removal. Set the prepared pan aside.
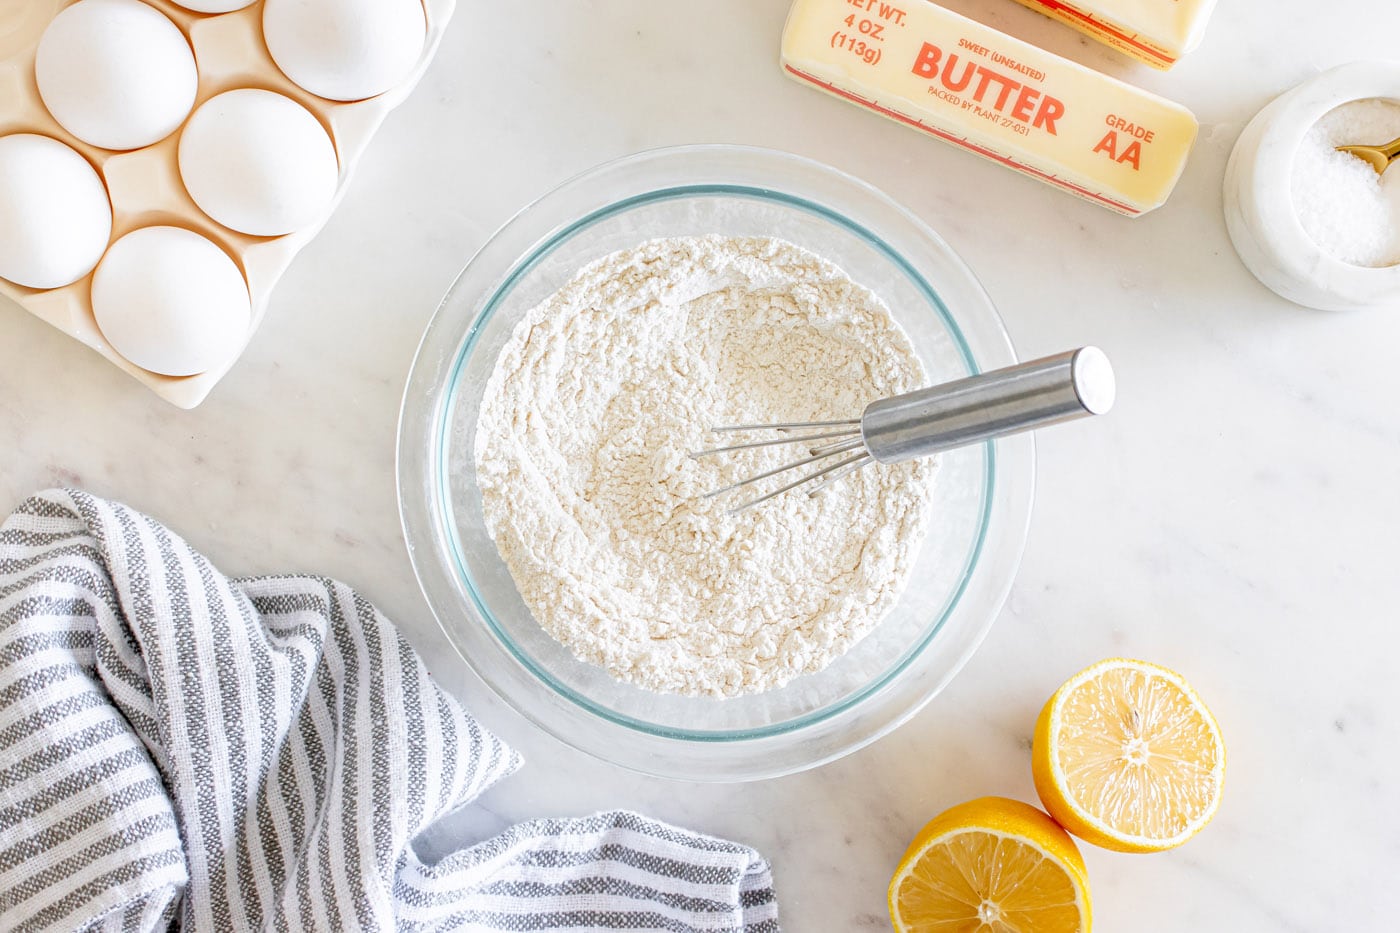
- In a medium-sized bowl, whisk together your dry ingredients: the properly measured all-purpose flour, baking powder, salt, and the aromatic lemon zest. Whisking ensures these ingredients are evenly distributed, which is crucial for the cake’s texture and rise. Set this mixture aside for later use.

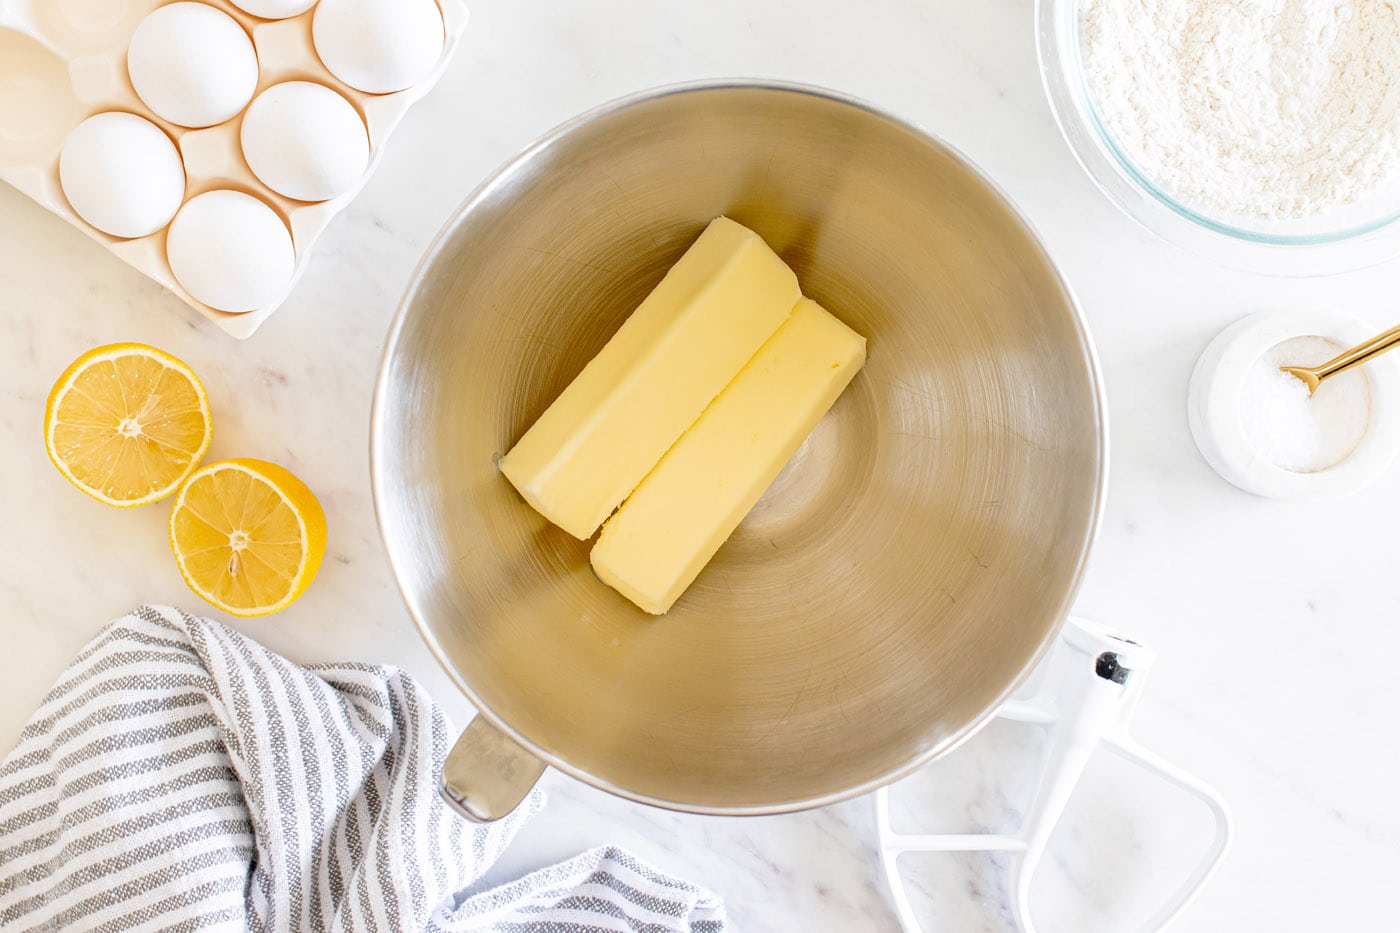
- Using a stand mixer fitted with a paddle attachment (or a hand mixer), beat the room temperature unsalted butter on medium speed until it’s light and creamy, which should take about 1 minute. This initial creaming incorporates air, contributing to the cake’s tender texture.

- Gradually add the granulated sugar to the creamed butter. Continue beating on medium speed for about 2 minutes, until the mixture becomes light, fluffy, and pale in color. Remember to stop and scrape down the sides of the bowl with a spatula once or twice to ensure everything is thoroughly combined. This step is crucial for incorporating air and dissolving the sugar.
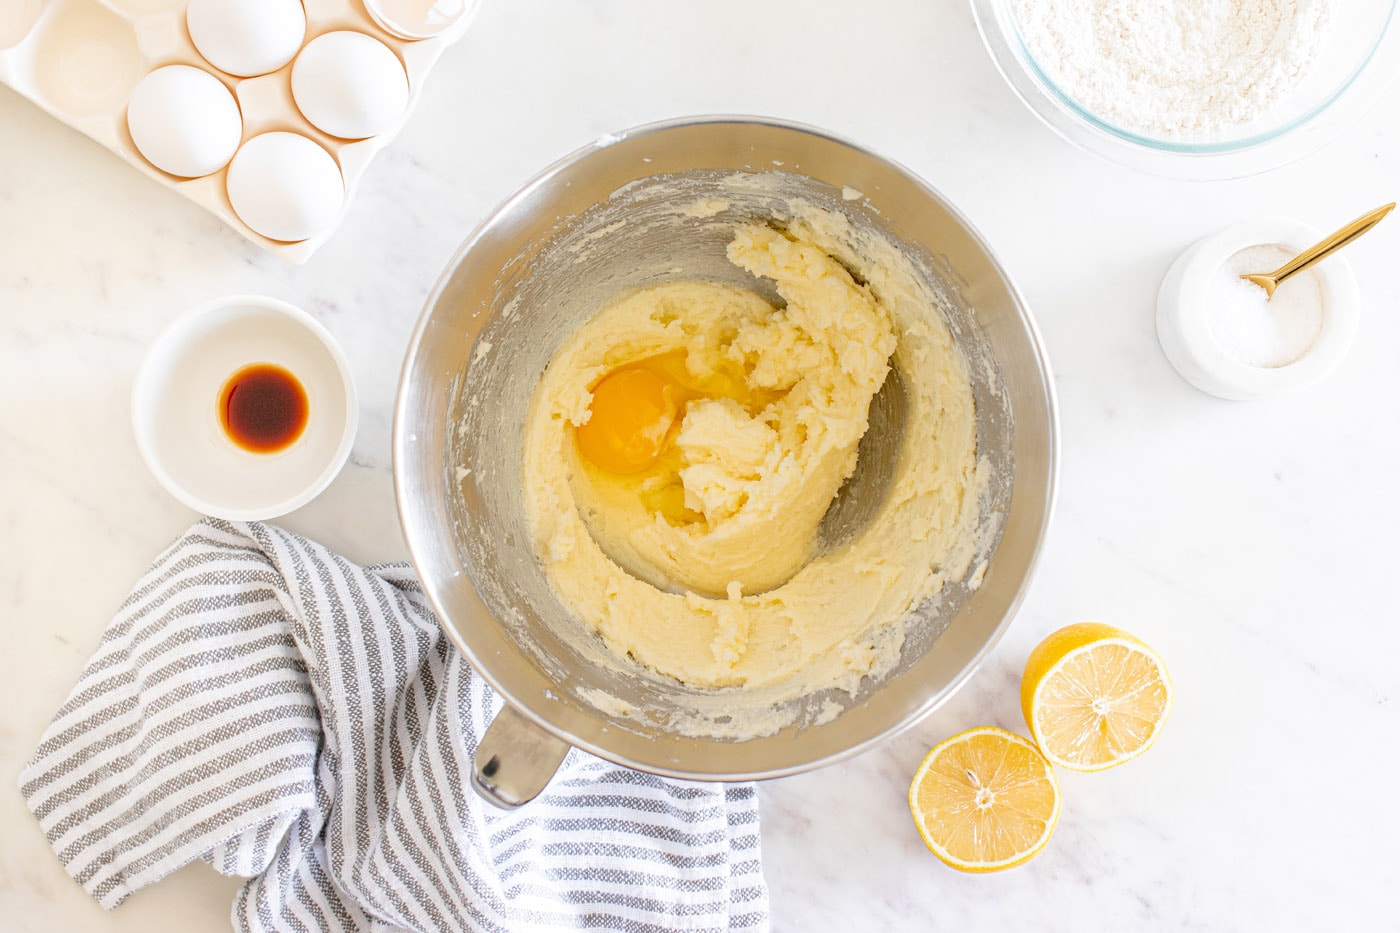
- Reduce the mixer speed to low. Add the room temperature eggs one at a time, allowing each egg to be fully incorporated before adding the next. This prevents the mixture from separating and ensures a smooth emulsion. Once all eggs are added and just combined, turn off the mixer.

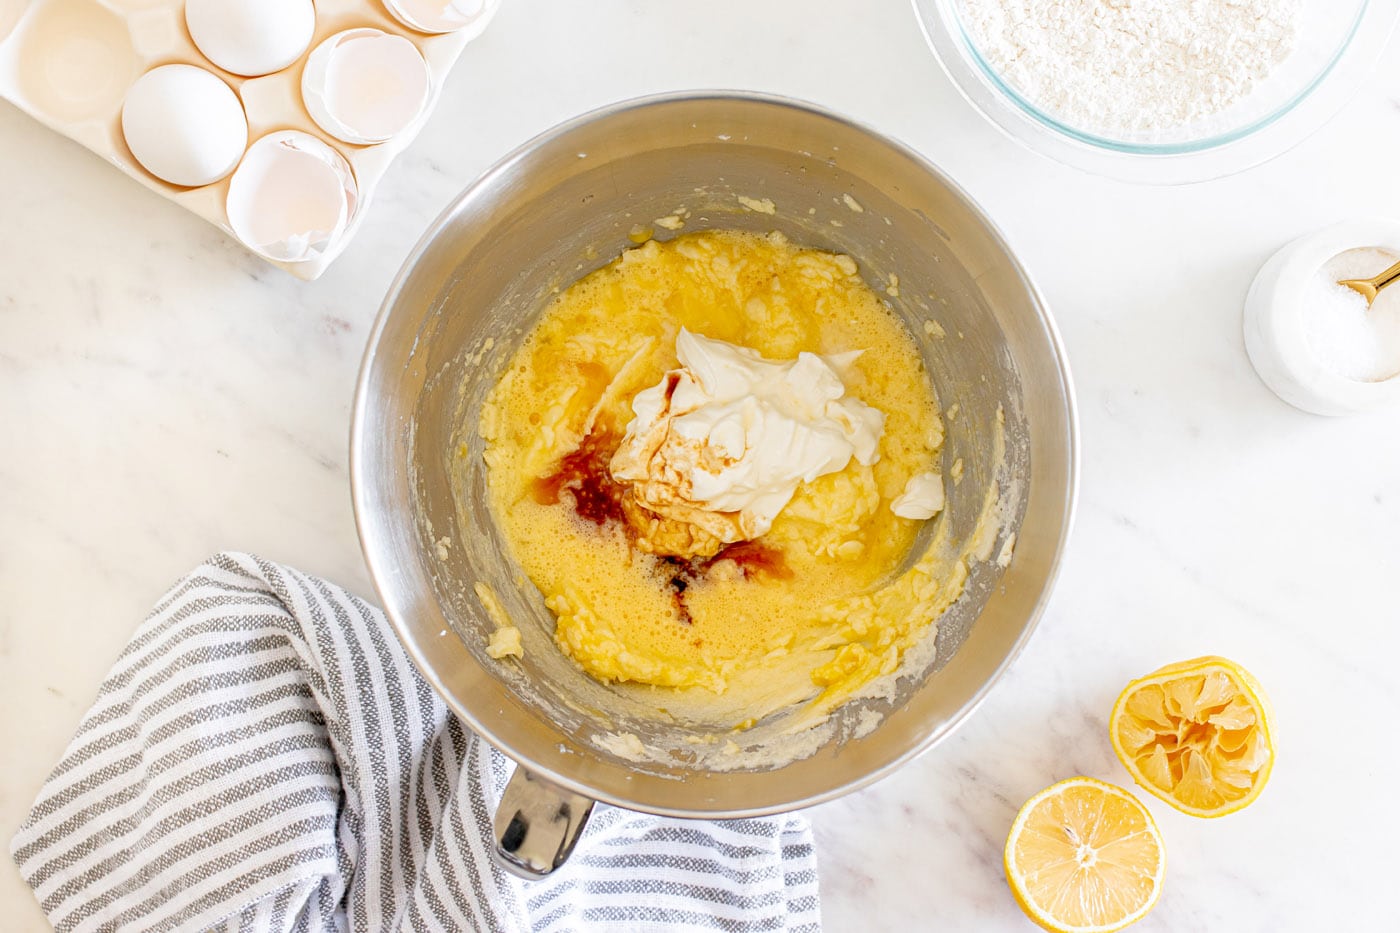
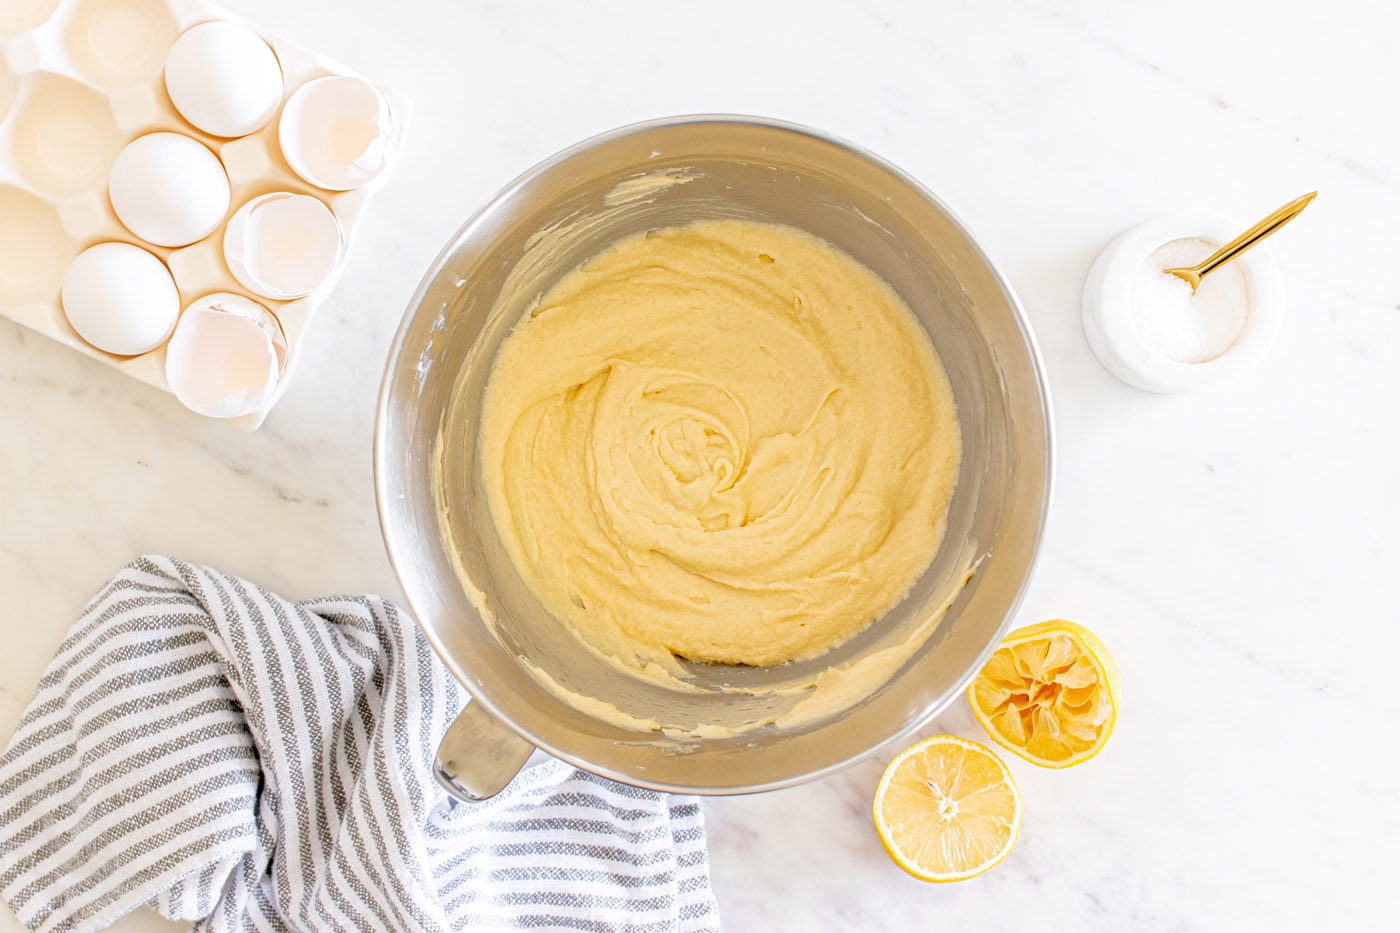
- Now, add the room temperature sour cream, vanilla extract (or lemon extract for an intensified lemon flavor), and fresh lemon juice to the mixture. Beat on medium speed until everything is just combined. The mixture might appear slightly curdled at this stage, but don’t worry – this is completely normal and will smooth out once the flour mixture is added. Remember to scrape down the sides of the bowl as needed to ensure all ingredients are incorporated.

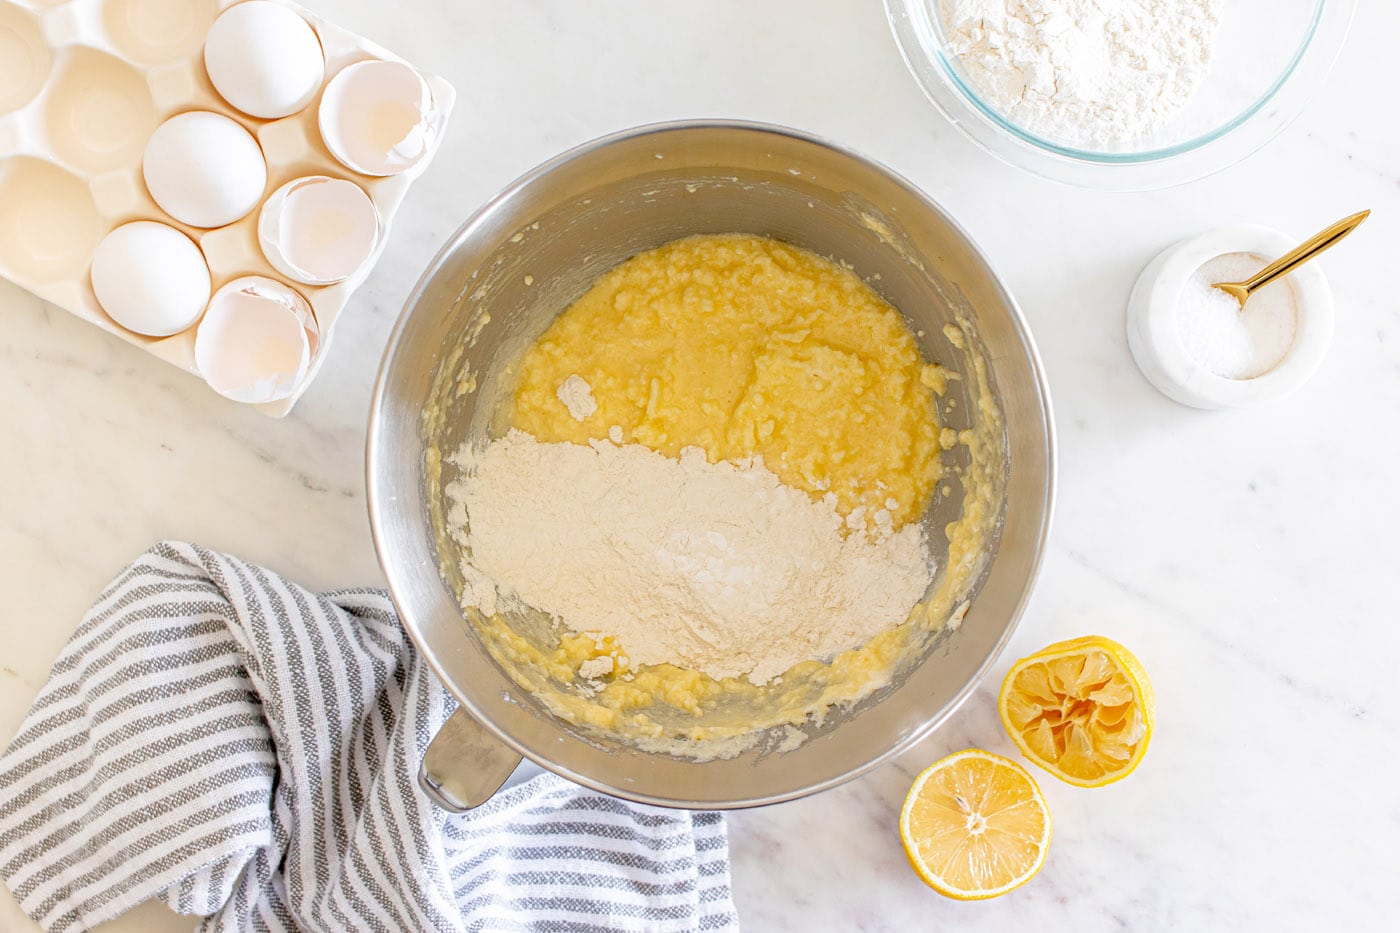
- With the mixer on low speed, slowly add the whisked flour mixture to the wet ingredients in two or three additions. Mix only until the dry ingredients are just incorporated and no streaks of flour remain. It’s crucial to avoid overmixing the batter, as this can develop the gluten too much, resulting in a tough and dense cake rather than a tender one.


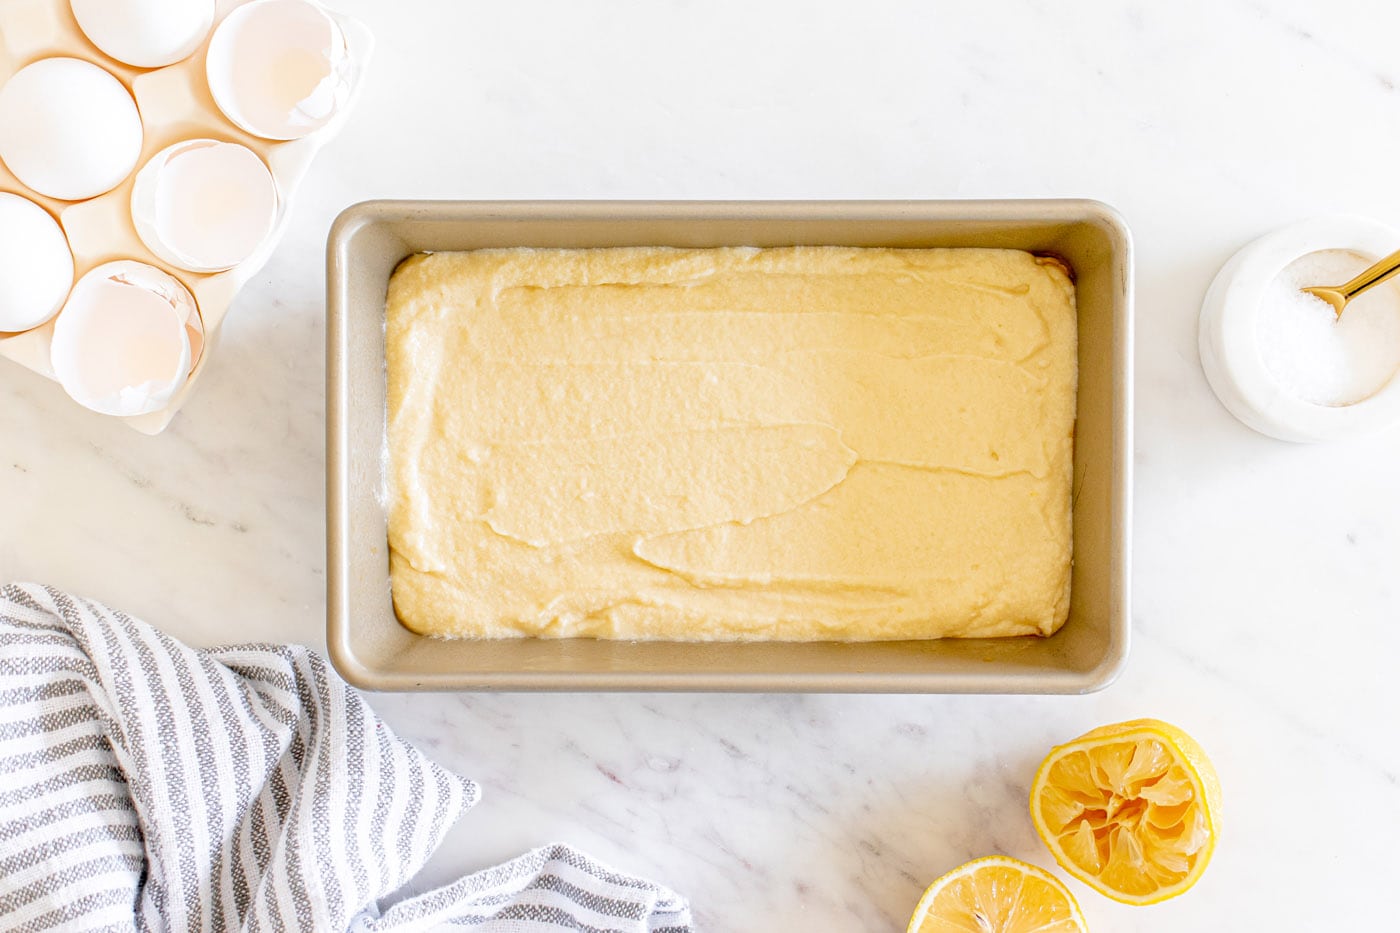
- Carefully spread the finished batter evenly into the greased loaf pan. Place it into the preheated oven and bake for 50-65 minutes, or until a wooden skewer or toothpick inserted into the center comes out clean. Baking times can vary depending on your oven, so keep an eye on it, especially after 45 minutes. The top should be golden brown and the edges slightly pulled away from the pan.

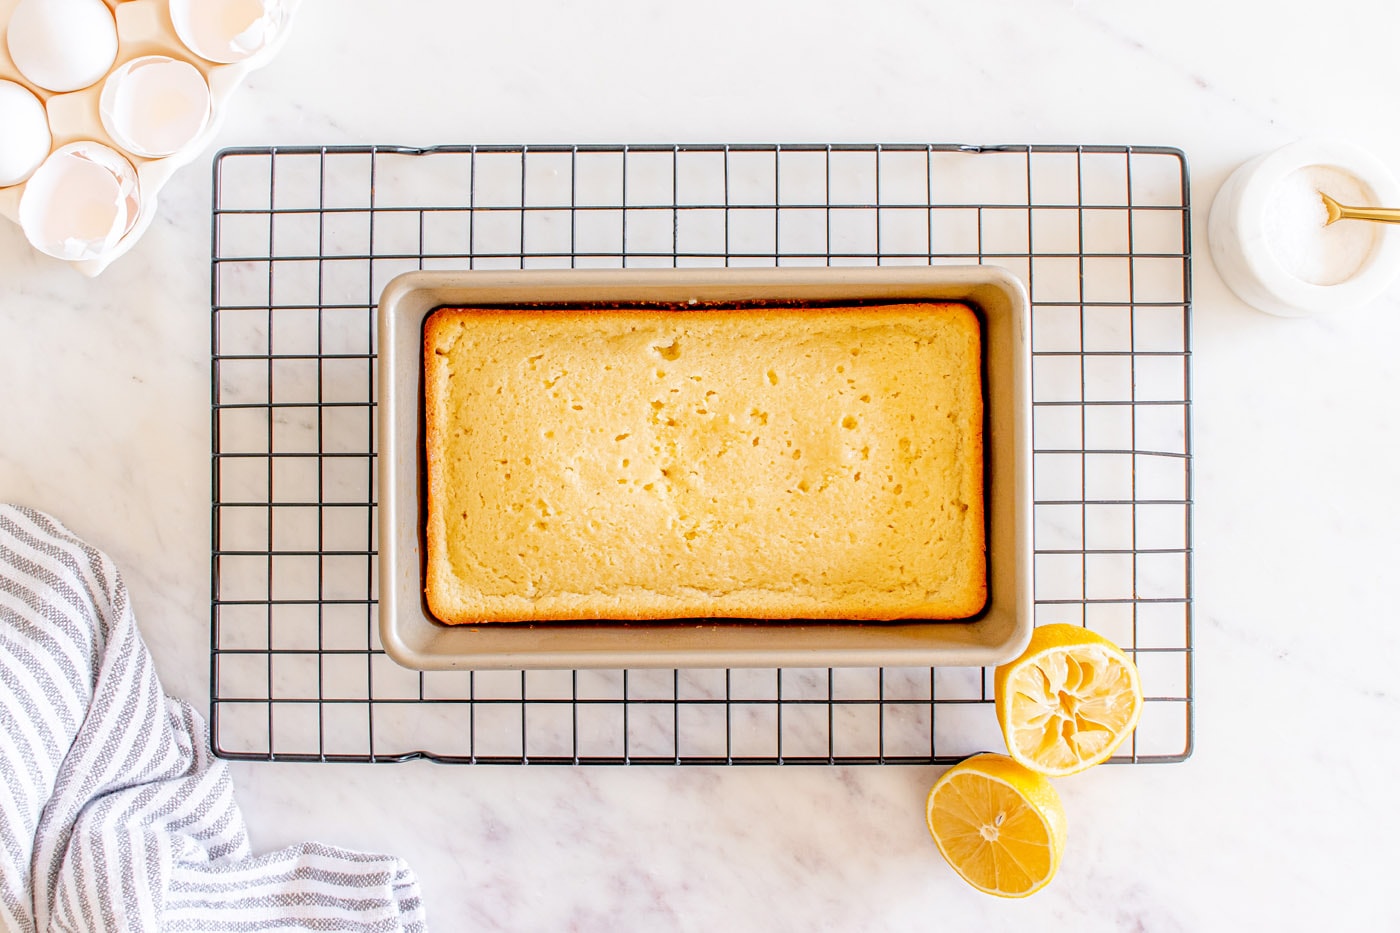
- Once baked, remove the cake from the oven and let it cool in the loaf pan for about 10-15 minutes on a cooling rack. This allows it to set and makes it easier to remove without breaking. After this initial cooling, carefully invert the cake onto the cooling rack and allow it to cool completely to room temperature before applying the icing. Icing a warm cake will cause the glaze to melt and run off.

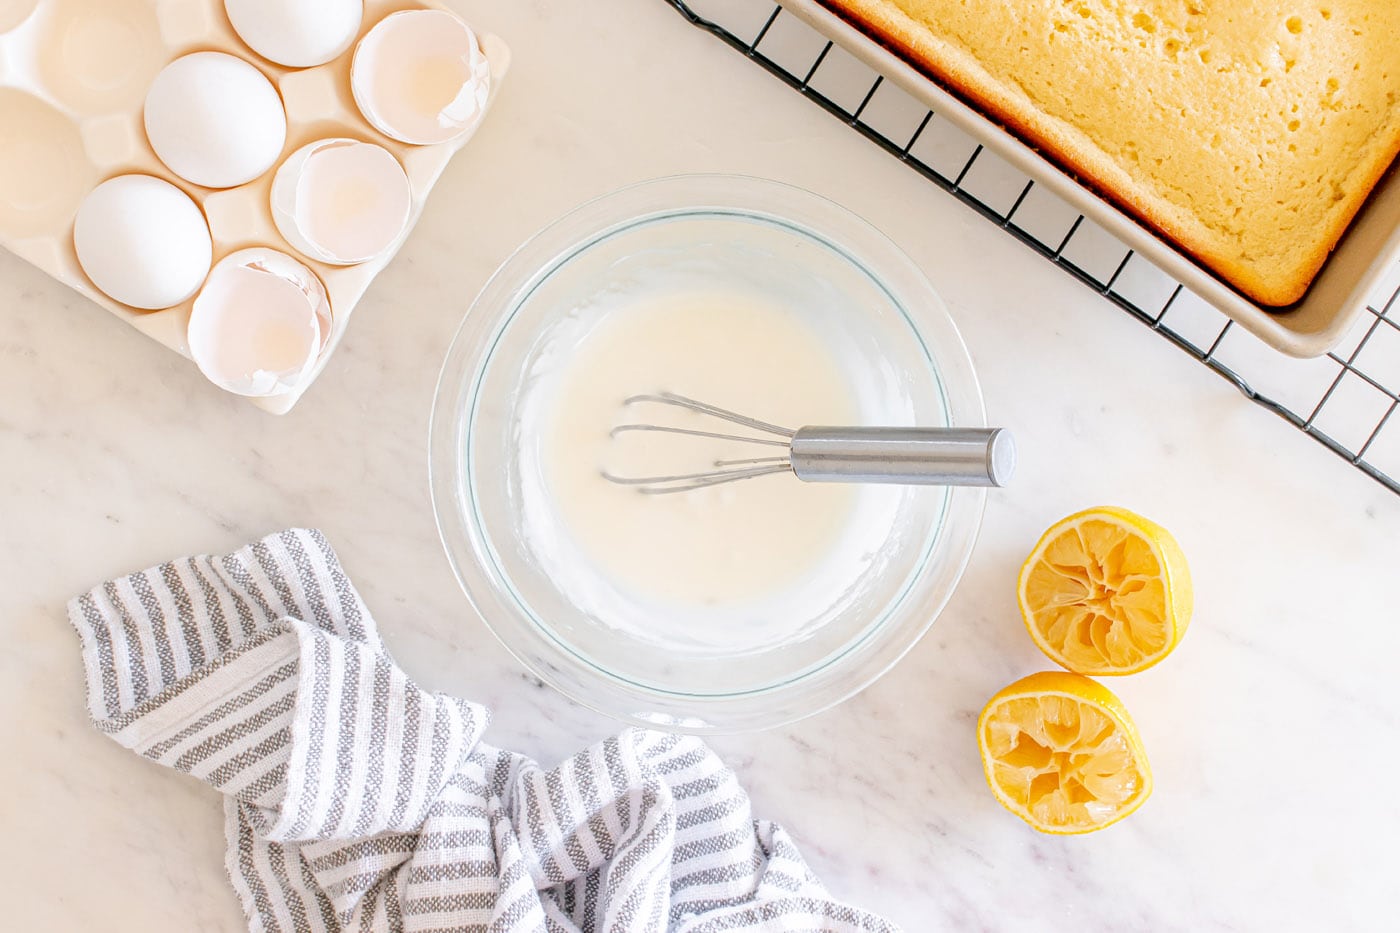
- While the cake cools, prepare your vibrant lemon glaze. In a medium-sized mixing bowl, combine all the icing ingredients: sifted powdered sugar, fresh lemon juice, and heavy whipping cream. Whisk vigorously until the mixture is thick, smooth, and has a pourable consistency. If it’s too thick, add a tiny bit more lemon juice or cream; if too thin, add a little more sifted powdered sugar.

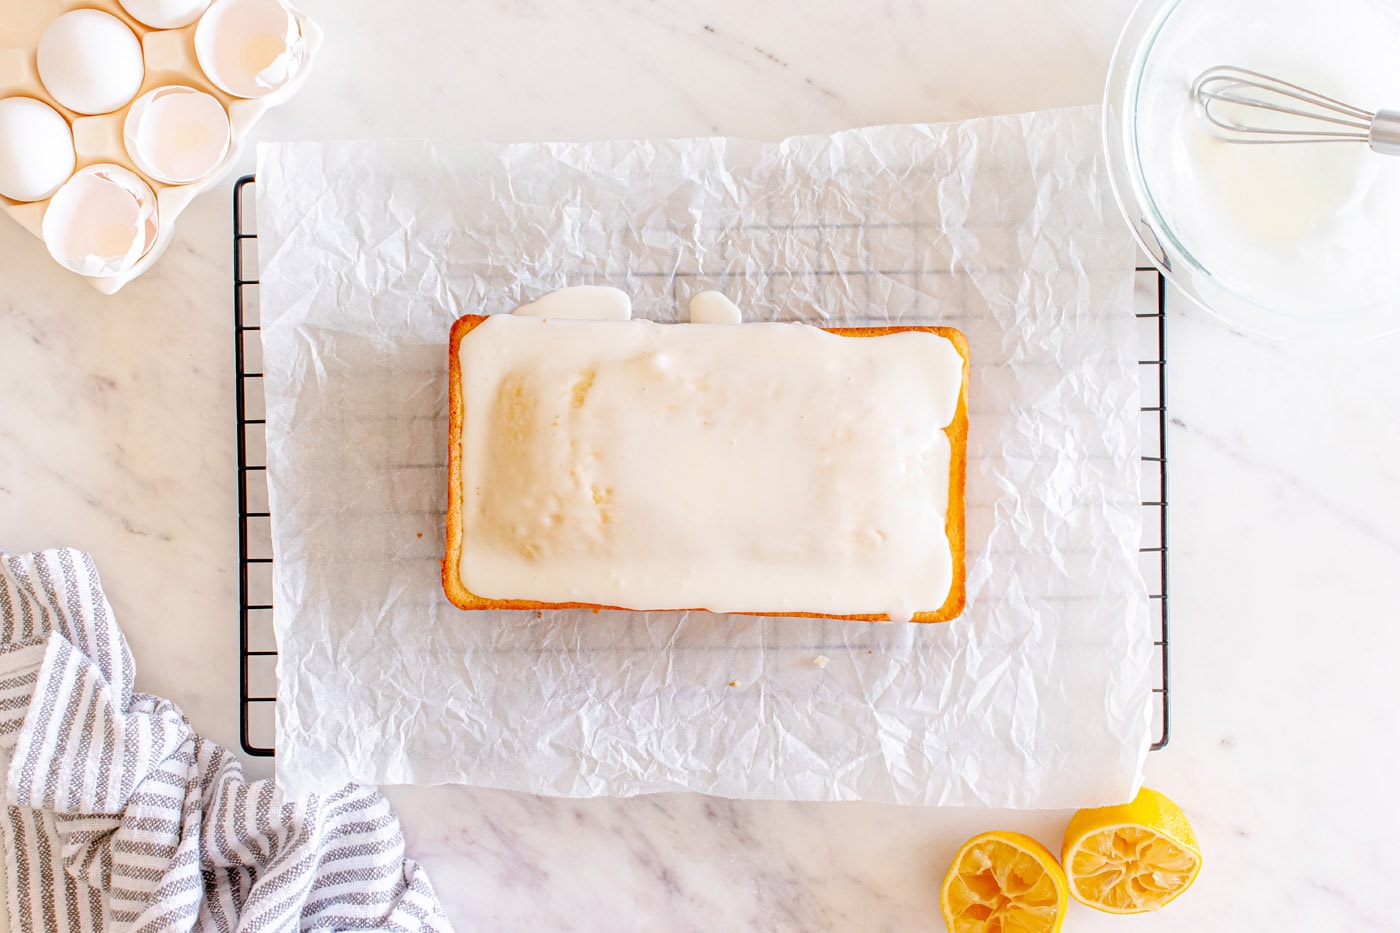
- Once the pound cake is completely cool, carefully pour the prepared lemon glaze evenly over the top. Allow the cake to sit for approximately 30 minutes to 1 hour, or until the glaze has fully set and hardened slightly. This creates that beautiful, slightly crackled top. Slice, serve, and savor the glorious taste of your homemade lemon pound cake!

Frequently Asked Questions & Expert Tips for the Best Lemon Pound Cake
To maintain the incredible moistness and flavor of your lemon pound cake, store any leftovers in an airtight container or tightly wrapped in plastic wrap at room temperature. It will stay wonderfully fresh and delicious for up to 7 days. Avoid refrigeration if possible, as it can dry out the cake.
Absolutely! Lemon pound cake freezes exceptionally well, making it perfect for meal prepping or enjoying later. To freeze, ensure the cake or individual slices are completely cooled first. Then, wrap them tightly a couple of times in plastic wrap, followed by a layer of aluminum foil, or place them in an air-tight freezer-safe container or a large zip-top bag. This double-layer protection helps prevent freezer burn. You can freeze it for up to 3 months. When ready to enjoy, simply thaw overnight on the countertop at room temperature before serving.
There are a couple of common culprits for a dense, dry, or chewy lemon pound cake. The primary reason is often overmixing the batter, especially after adding the eggs and flour. Once the flour mixture goes in, you only want to mix until it’s *just* combined and no streaks of dry flour remain. Overmixing develops the gluten in the flour too much, leading to a tough, chewy texture. Another significant reason for a dense or dry cake is improperly measuring the flour. If you scoop flour directly from the bag or tap the measuring cup, you’ll end up with too much flour, which results in a heavy, dry cake. Always use the “scoop and sweep” method mentioned in the ingredient notes for the best, lightest crumb.
Yes, you certainly can! While this recipe is optimized for a loaf pan, it can be adapted for a Bundt pan. You’ll likely need to adjust the baking time, as Bundt cakes are typically larger and thicker. A standard 10-12 cup Bundt pan will work. Ensure you prepare the Bundt pan meticulously by greasing and flouring it thoroughly to prevent sticking. Bake at 325°F (160°C) for 60-75 minutes, or until a wooden skewer comes out clean. Keep an eye on it, as oven temperatures and pan materials can vary.
This recipe is already designed for maximum moisture thanks to the sour cream and precise butter-to-flour ratio. However, a few extra tips can enhance it further: 1) Ensure all your dairy and eggs are truly at room temperature. 2) Do not overbake! Use a toothpick test to ensure it’s just done. Overbaking is the quickest way to a dry cake. 3) For an extra lemony moistness, consider poking holes in the warm cake after it comes out of the oven and brushing it with a simple lemon syrup (equal parts sugar and lemon juice, simmered until dissolved). Let it absorb before cooling completely and glazing.

Delightful Serving Suggestions for Lemon Pound Cake
This lemon pound cake is a versatile delight that shines on its own, but also pairs beautifully with various accompaniments. It makes for an ideal citrusy sweet snack, a light yet satisfying dessert, or even a sophisticated breakfast cake. Serve it at room temperature to best appreciate its tender crumb and bright flavors. For an extra touch of gourmet, consider adding a couple of dashes of fresh lemon zest directly into the icing mixture before glazing – this enhances both the aroma and visual appeal.
Beyond the glaze, think about these enhancements:
- Fresh Berries: A scattering of fresh blueberries, raspberries, or sliced strawberries adds a wonderful contrast in texture and a natural sweetness that complements the lemon perfectly.
- Whipped Cream: A dollop of freshly whipped cream provides a cloud-like lightness and balances the cake’s richness.
- Ice Cream: A scoop of vanilla bean or even a complementary fruit sorbet (like raspberry) alongside a warm slice of pound cake creates an indulgent dessert experience.
- Coffee or Tea: For a simple yet elegant pairing, enjoy a slice with your morning coffee or a soothing cup of afternoon tea.
- Lemon Curd: A spoonful of homemade lemon curd can be served on the side for an ultimate lemon lover’s dream.
Explore More Zesty Lemon Recipes
If you’ve fallen in love with the vibrant flavor of lemon, we have plenty more citrus-infused recipes for you to explore. From bars to beverages, these recipes are guaranteed to brighten your day:
- Lemon Bars with Sweet Sour Cream Topping
- Refreshing Frozen Lemonade
- Copycat Starbucks Lemon Loaf
- Tender Lemon Streusel Squares
- Decadent Lemon Meringue Pie Bars
- Moist Lemon Poppy Seed Cake
I absolutely adore sharing my passion for baking and cooking with all of you! To ensure you never miss out on our latest delicious creations, I offer a convenient newsletter delivered right to your inbox every time a new recipe is posted. Simply subscribe here and start receiving your free daily recipes to inspire your kitchen adventures!

Lemon Pound Cake
IMPORTANT – There are often Frequently Asked Questions and Expert Tips within the blog post that you may find incredibly helpful. Simply scroll back up to read them!
Print It
Pin It
Rate It
Save ItSaved!
Ingredients
Lemon Loaf
- 1 ½ cups all-purpose flour spooned into a measuring cup and leveled off with a knife
- ½ teaspoon baking powder
- ½ teaspoon salt
- 1 Tablespoon lemon zest
- 1 cup unsalted butter two sticks, at room temperature
- 1 cup granulated sugar
- 3 large eggs at room temperature
- ½ cup sour cream at room temperature
- 1 teaspoon vanilla extract
- 1 lemon juiced
Icing
- 1 cup powdered sugar sifted
- 2 Tablespoons lemon juice
- 1 Tablespoon heavy whipping cream
Essential Equipment
-
8×4 loaf pan
-
Stand mixer or hand mixer
-
Lemon juicer
-
Microplane grater
-
Whisk
-
Wire cooling racks
Important Notes & Tips
- Room Temperature Ingredients: Always ensure all cold ingredients (eggs, butter, sour cream) are at room temperature before you begin mixing. This is vital for proper emulsification, which creates a smooth batter and a wonderfully tender cake.
- Lemon Selection: You will need two whole, fresh lemons for this recipe, but it’s always a good idea to have a third on hand just in case. Fresh lemon juice and zest are key for that authentic, bright flavor – avoid bottled juice. A microplane grater is perfect for zesting, and a handheld lemon squeezer for juicing. For an extra intense lemon flavor, consider substituting vanilla extract with lemon extract.
- Accurate Flour Measurement: Proper flour measurement is paramount for baking success. Always use the “scoop and sweep” method: aerate the flour with a spoon, gently spoon it into your measuring cup until overflowing, then level it off with a straight edge. Never scoop directly from the bag or tap the cup, as this compacts the flour and can lead to a dry, dense cake.
- Storing Your Pound Cake: Leftover lemon pound cake can be stored in an airtight container or wrapped tightly in plastic wrap at room temperature for up to 7 days, maintaining its moistness and flavor.
- Freezing Instructions: This pound cake freezes beautifully. Once the cake (or individual slices) is completely cooled, wrap it thoroughly with a couple of layers of plastic wrap, then an additional layer of aluminum foil, or place it in an airtight, freezer-safe container. It can be frozen for up to 3 months. Thaw overnight on your countertop before serving.
Instructions
-
Preheat your oven to 350°F (175°C) and prepare an 8×4 inch loaf pan by generously spraying it with nonstick cooking spray. Set aside.
-
In a medium bowl, thoroughly whisk together the all-purpose flour, baking powder, salt, and lemon zest until well combined. Set this dry mixture aside.
-
Using a stand mixer (or hand mixer) fitted with a paddle attachment, beat the room temperature unsalted butter until it is light and creamy, approximately 1 minute.
-
Gradually add the granulated sugar and continue to beat for 2 minutes on medium speed until the mixture is light, fluffy, and well creamed. Remember to scrape down the sides of the bowl as needed.
-
Reduce the mixer speed to low and slowly add the room temperature eggs, one at a time, ensuring each is fully incorporated before adding the next. Once combined, turn off the mixer.
-
Add the room temperature sour cream, vanilla extract (or lemon extract), and fresh lemon juice. Beat on medium speed until all ingredients are just combined, scraping down the sides of the bowl as necessary.
TIP – Do not be alarmed if the mixture appears slightly curdled before adding the flour. This is a normal occurrence and the batter will smooth out once the dry ingredients are incorporated.
-
Slowly add the whisked flour mixture to the wet ingredients in 2-3 additions. Mix on low speed until the flour is just combined and no dry streaks remain. Be careful not to overmix, as this can result in a tough cake.
-
Evenly spread the pound cake batter into the prepared loaf pan. Bake for 50-65 minutes, or until a wooden skewer inserted into the center comes out clean.
-
Once baked, transfer the cake (still in its pan) to a cooling rack and let it cool for 10-15 minutes. Then, carefully invert the cake onto the rack and allow it to cool completely to room temperature before proceeding with the icing.
For The Icing
-
In a medium-sized mixing bowl, add all the icing ingredients: sifted powdered sugar, fresh lemon juice, and heavy whipping cream. Whisk until the mixture is thick, smooth, and has a pourable consistency.
-
Pour the luscious glaze evenly over the top of the completely cooled pound cake. Let the cake sit for about 30 minutes to 1 hour, allowing the glaze to set beautifully. Slice, serve, and enjoy every zesty, moist bite!
Nutrition Information
The recipes on this blog are meticulously tested with a conventional gas oven and gas stovetop. Please note that oven performance can vary, especially with age, leading to inconsistencies in cooking and baking times. We highly recommend using an inexpensive oven thermometer to ensure your oven is truly heating to the proper temperature for optimal results. If you use a toaster oven or countertop oven, be aware that their heat distribution may differ from a conventional full-sized oven, and you might need to adjust your cooking or baking times accordingly. For baking recipes where measurements are provided by weight, please understand that using cup measurements instead may yield different results, and we cannot guarantee success with alternative measurement methods.

