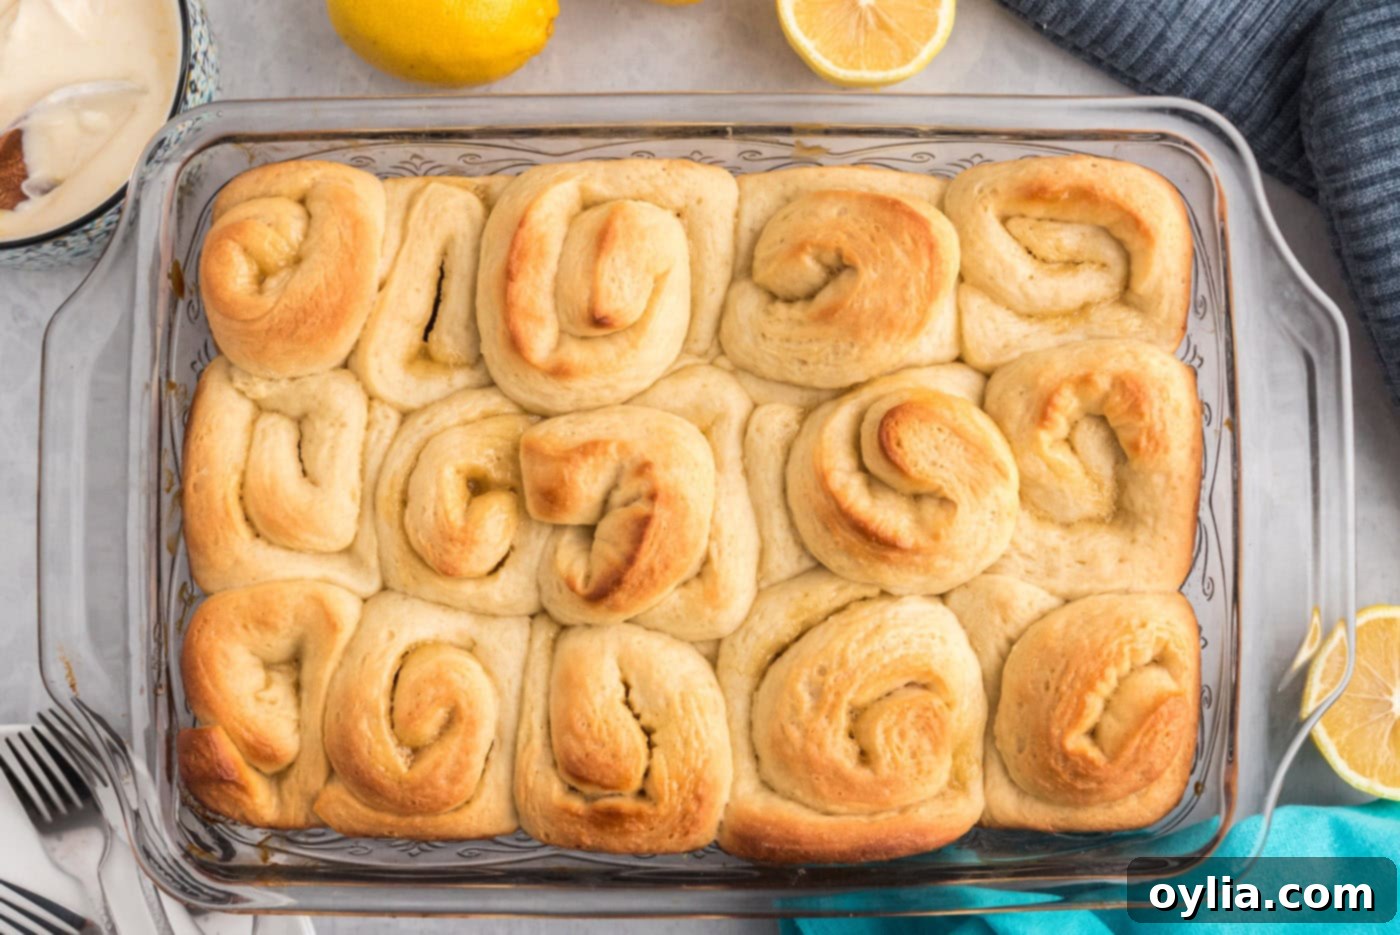
Irresistibly Fluffy Lemon Sweet Rolls with Zesty Cream Cheese Frosting
Imagine a breakfast pastry so delightful, it instantly brightens your day. These **Lemon Sweet Rolls** are just that – featuring pillowy soft dough rolled with vibrant swirls of homemade lemon curd, creating a perfect balance of sweet and tangy. Crowned with a rich, luscious **lemon cream cheese icing**, these rolls are a dream come true for breakfast, brunch, or dessert. Get ready to indulge in a citrusy sensation that will have everyone asking for more!

Why You’ll Fall in Love with These Lemon Sweet Rolls
If the mere thought of classic homemade cinnamon rolls makes your mouth water, and you cherish the bright, refreshing zing of lemon, then these Lemon Sweet Rolls are destined to become your new obsession. We take the beloved concept of a sweet roll and elevate it by swapping out the traditional cinnamon sugar filling for a rich, tangy, and utterly irresistible homemade lemon curd. This simple yet brilliant substitution infuses each bite with a vibrant citrus freshness that’s reminiscent of our popular quick orange rolls, but with its own distinct, sun-kissed charm.
The magic doesn’t stop there. Once baked to golden perfection, these fluffy lemon-stuffed rolls are generously topped with an incredibly decadent lemon cream cheese icing. The creamy, tangy icing perfectly complements the sweet and zesty filling, creating a harmonious symphony of flavors and textures. From the delicate rise of the yeast dough to the intense burst of lemon, every component of this recipe is designed to deliver a truly unforgettable baking experience and a truly delightful treat. It’s no wonder we’re doting over them so much – they’re simply divine!

Essential Ingredients for Your Lemon Sweet Rolls
Crafting these delectable lemon sweet rolls requires a few key ingredients, most of which you likely already have in your pantry. The full list of measurements, ingredients, and detailed instructions can be found in the printable recipe card at the very end of this post. However, let’s dive into some of the stars of this recipe and what makes them so special.
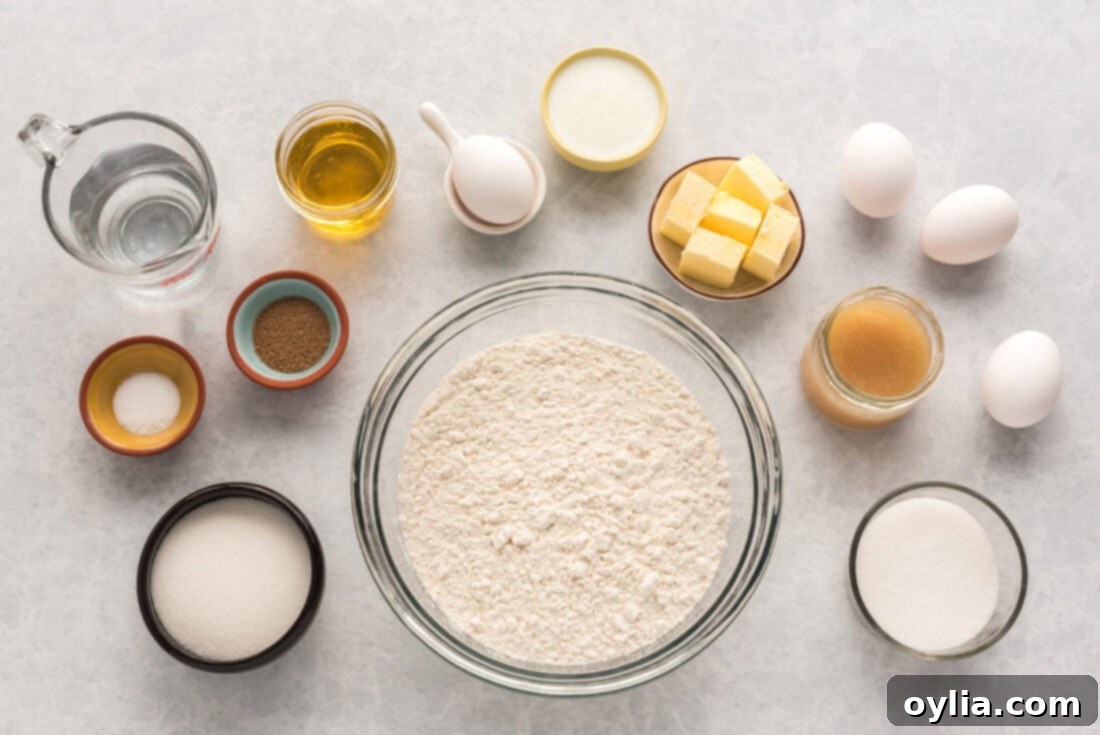
Ingredient Spotlight & Smart Substitutions
Understanding your ingredients is key to successful baking. Here’s a closer look at the components of these lemon sweet rolls and how you can manage substitutions if needed.
- LEMON CURD – While you can certainly grab a store-bought jar for convenience, making homemade lemon curd is surprisingly simple and truly makes these rolls exceptional. The depth of flavor from fresh, homemade curd is unparalleled and truly the star of this dish. For the best results, I **highly recommend** using fresh lemons. You’ll need approximately 2 ½ lemons to yield the ½ cup of juice required for the lemon curd portion of this recipe. If you opt for store-bought, choose a high-quality brand for superior taste.
- BUTTERMILK – Buttermilk contributes to the tender crumb and subtle tang of the dough. If you don’t have buttermilk on hand, don’t fret! You can use whole milk as a direct substitute without needing to add vinegar. For those who bake frequently, keeping powdered buttermilk in your pantry is a fantastic tip for quick and easy access.
- YEAST – Active dry yeast is crucial for creating that wonderfully light and fluffy texture. Always double-check the expiration date on your yeast packet. A simple proofing test will confirm its vitality: if your yeast does not bubble or foam when combined with warm water and sugar, it’s no longer active or “alive,” and your dough will not rise properly. Don’t skip this step – it’s fundamental to perfectly risen rolls!
- ICING – The lemon cream cheese icing is the perfect crowning glory, adding a creamy, zesty finish. It’s like the cherry on top of a sundae, tying all the flavors together. The recipe provides the ideal consistency, which should be spreadable but not too thick. If you find it needs thickening, simply add a little more powdered sugar (though this is rarely necessary if measurements are followed). Just like with the curd, using fresh lemons for the juice and zest in the icing will provide the brightest and most authentic lemon flavor. You should only need about 1 lemon for the icing portion of this recipe.
- FLOUR – All-purpose flour is used here, providing the structure for our soft dough. For best results, measure your flour by weight if possible, or use the “spoon and level” method to avoid compacting the flour, which can lead to dense rolls.
- SUGAR & FATS – Granulated sugar sweetens the dough and the curd, while unsalted butter and vegetable oil contribute richness and moisture, ensuring a tender, melt-in-your-mouth experience.
Crafting Your Homemade Lemon Sweet Rolls: A Step-by-Step Guide
These step-by-step photos and detailed instructions are here to help you visualize how to make this delightful recipe. For a concise, printable version of this recipe, complete with precise measurements and instructions, you can Jump to Recipe at the bottom of this post.
Part 1: The Zesty Homemade Lemon Curd
Starting with the lemon curd ensures it has ample time to cool and thicken, creating a perfect consistency for spreading. This vibrant filling is what truly sets these rolls apart.
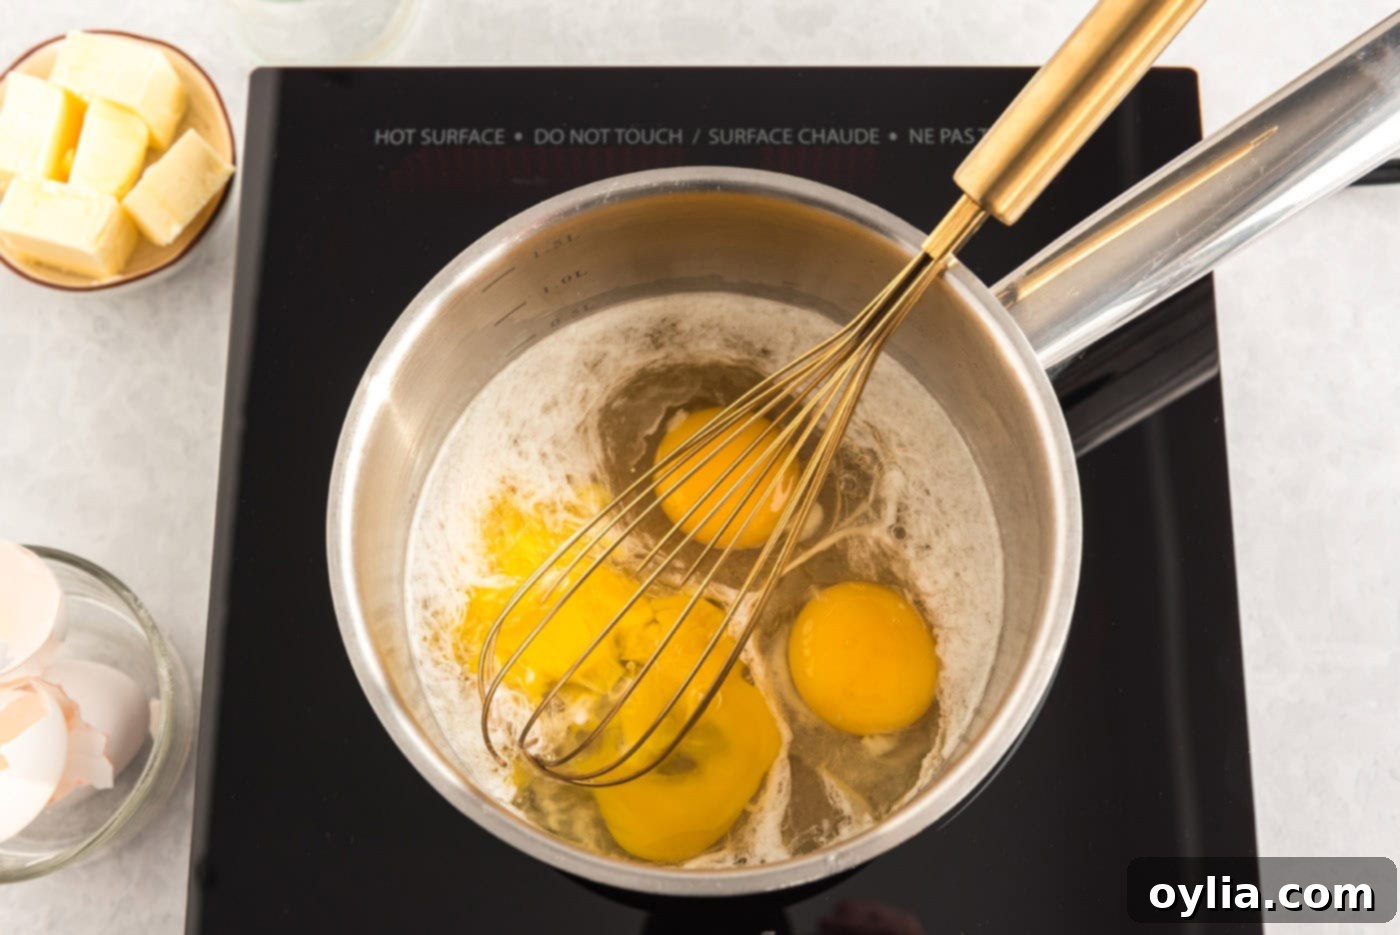
- To make the lemon curd, begin by combining the fresh lemon juice and granulated sugar in a medium saucepan. Whisk them together thoroughly until the sugar begins to dissolve. Then, crack in the eggs and whisk vigorously to ensure they are fully incorporated and smooth.
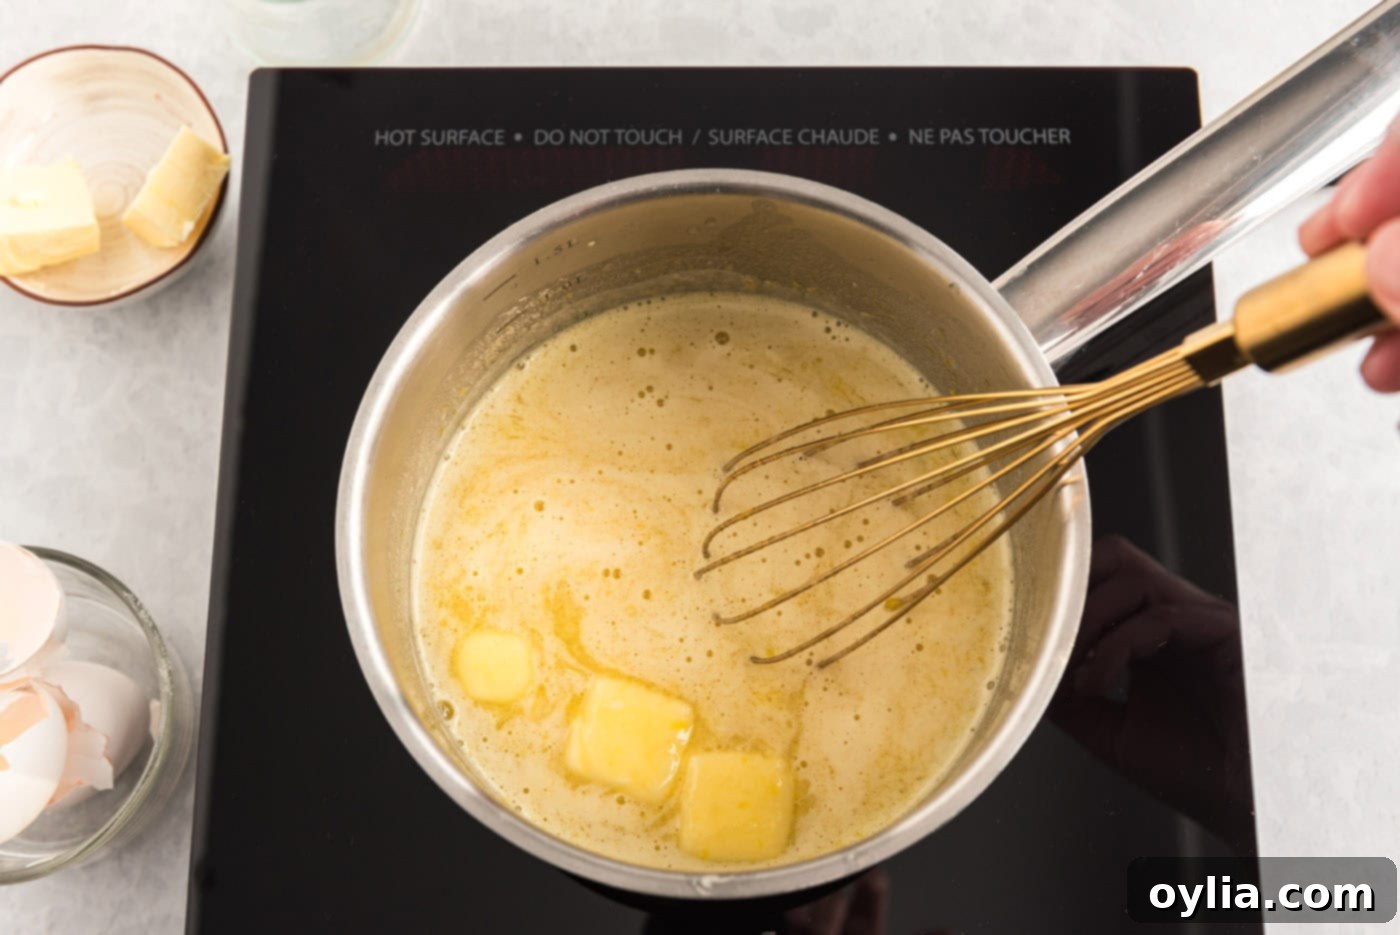
- Place the saucepan over medium-low heat. As the mixture gently heats, gradually whisk in the unsalted butter, a tablespoon at a time. Continue to whisk constantly to prevent the eggs from scrambling and to ensure a smooth, creamy texture.
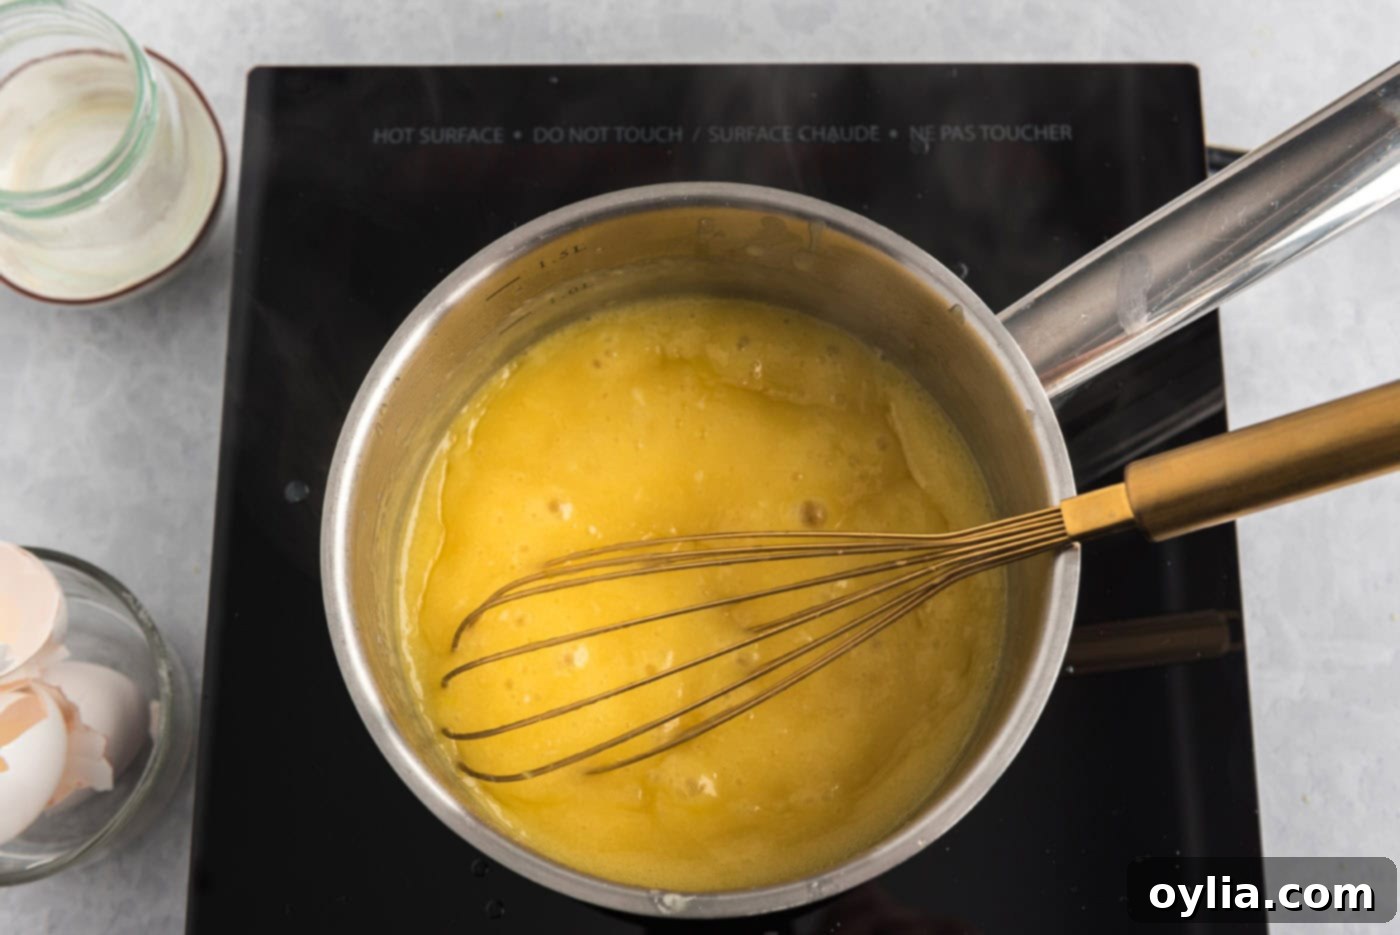
- Allow the mixture to gently bubble around the edges for approximately 2-3 minutes, all while continuing to whisk. You’ll notice it starting to thicken to a custard-like consistency. Once it coats the back of a spoon, remove it from the heat. Transfer the hot curd to a heat-proof bowl or a mason jar. Let it cool slightly on the counter before covering it and chilling it in the refrigerator until firm, typically for at least 2-3 hours, or even overnight. This cooling process is crucial for the curd to achieve its perfect spreadable texture.


Part 2: Preparing the Fluffy Yeast Dough
The foundation of any great sweet roll is a soft, tender dough. This recipe delivers just that, with simple steps for a perfect rise.
- First, prepare your baking vessel. Grease and lightly flour a 13×9 casserole dish and set it aside. This will prevent your beautiful rolls from sticking.
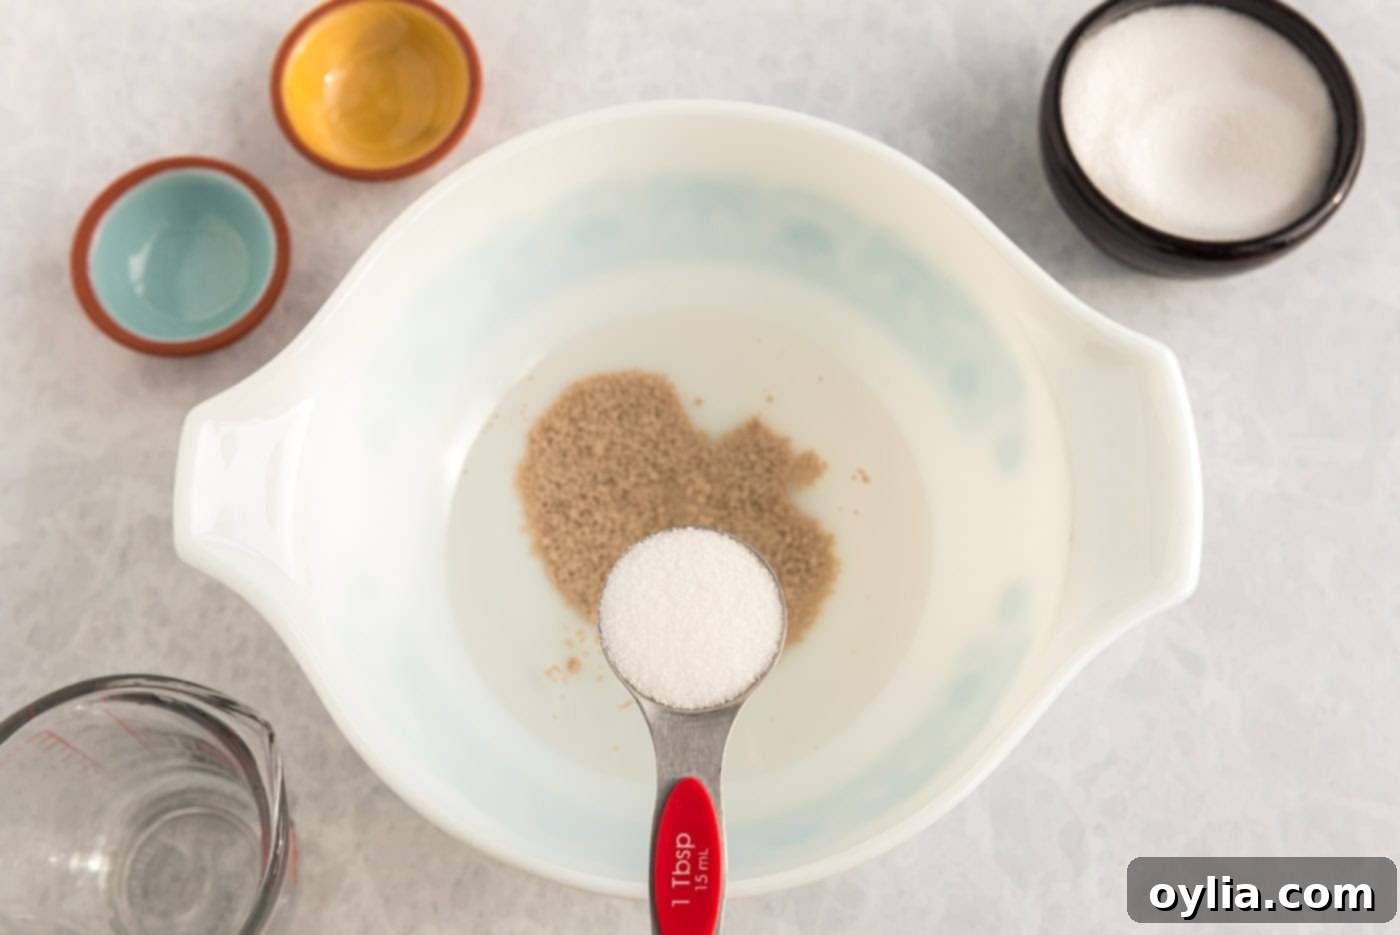
- To begin the dough, combine the warm water (ensure it’s between 105-115°F, warm to the touch but not hot), active dry yeast, salt, and 2 tablespoons of the granulated sugar in a large mixing bowl. The sugar helps “feed” the yeast.

- Allow this mixture to “proof” for 5 minutes. You should see a foamy layer form on the surface, indicating the yeast is active and ready to work its magic. If no foam appears, your yeast may be old, and you should start again with fresh yeast.
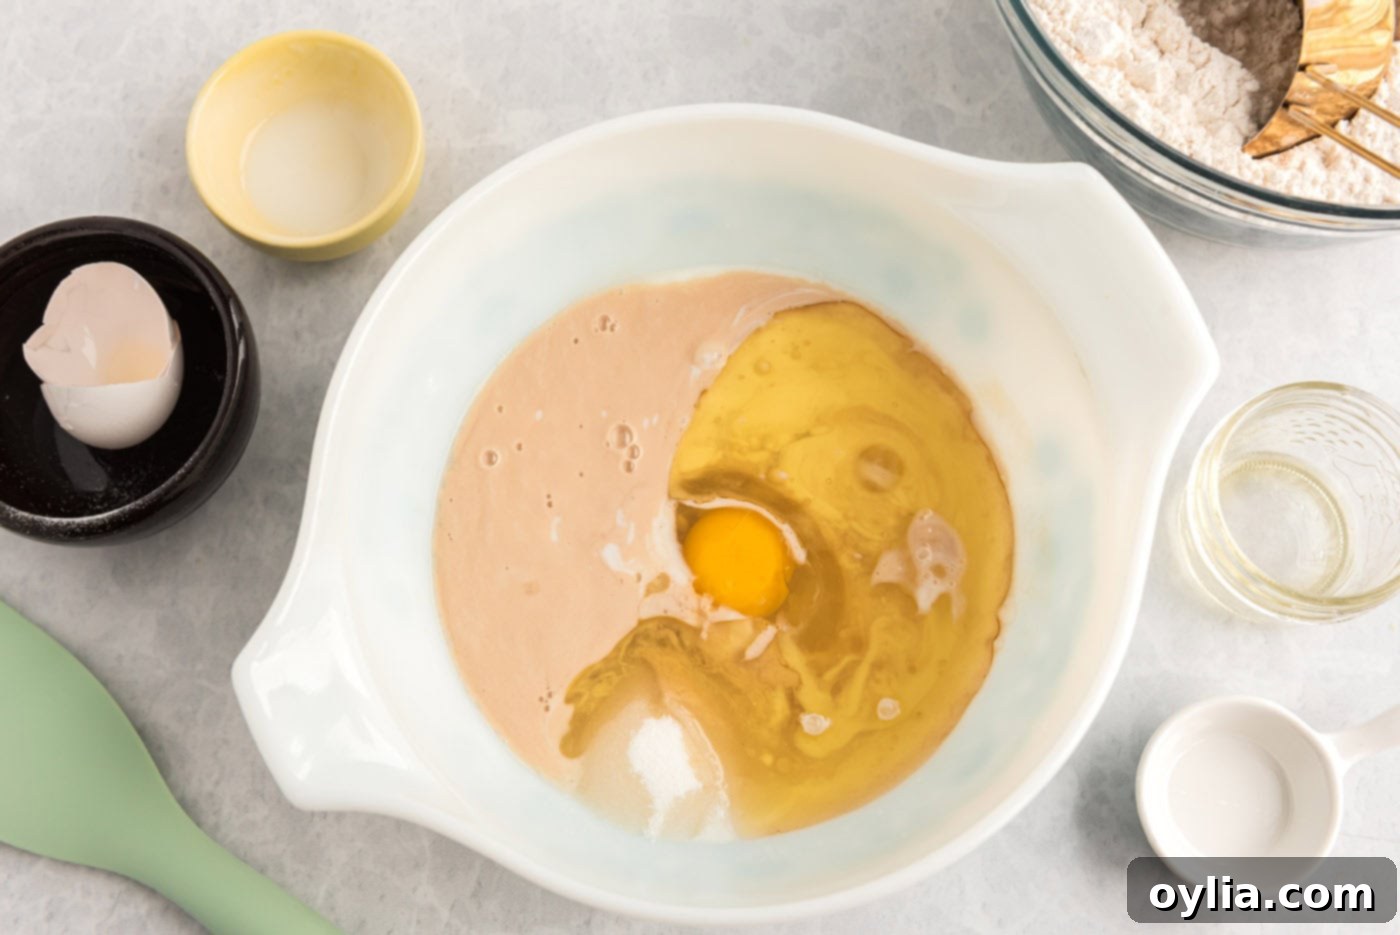
- Next, add the remaining 6 tablespoons of granulated sugar, buttermilk, one large egg, and vegetable oil to the yeast mixture. Stir all these wet ingredients together thoroughly until they are well combined.

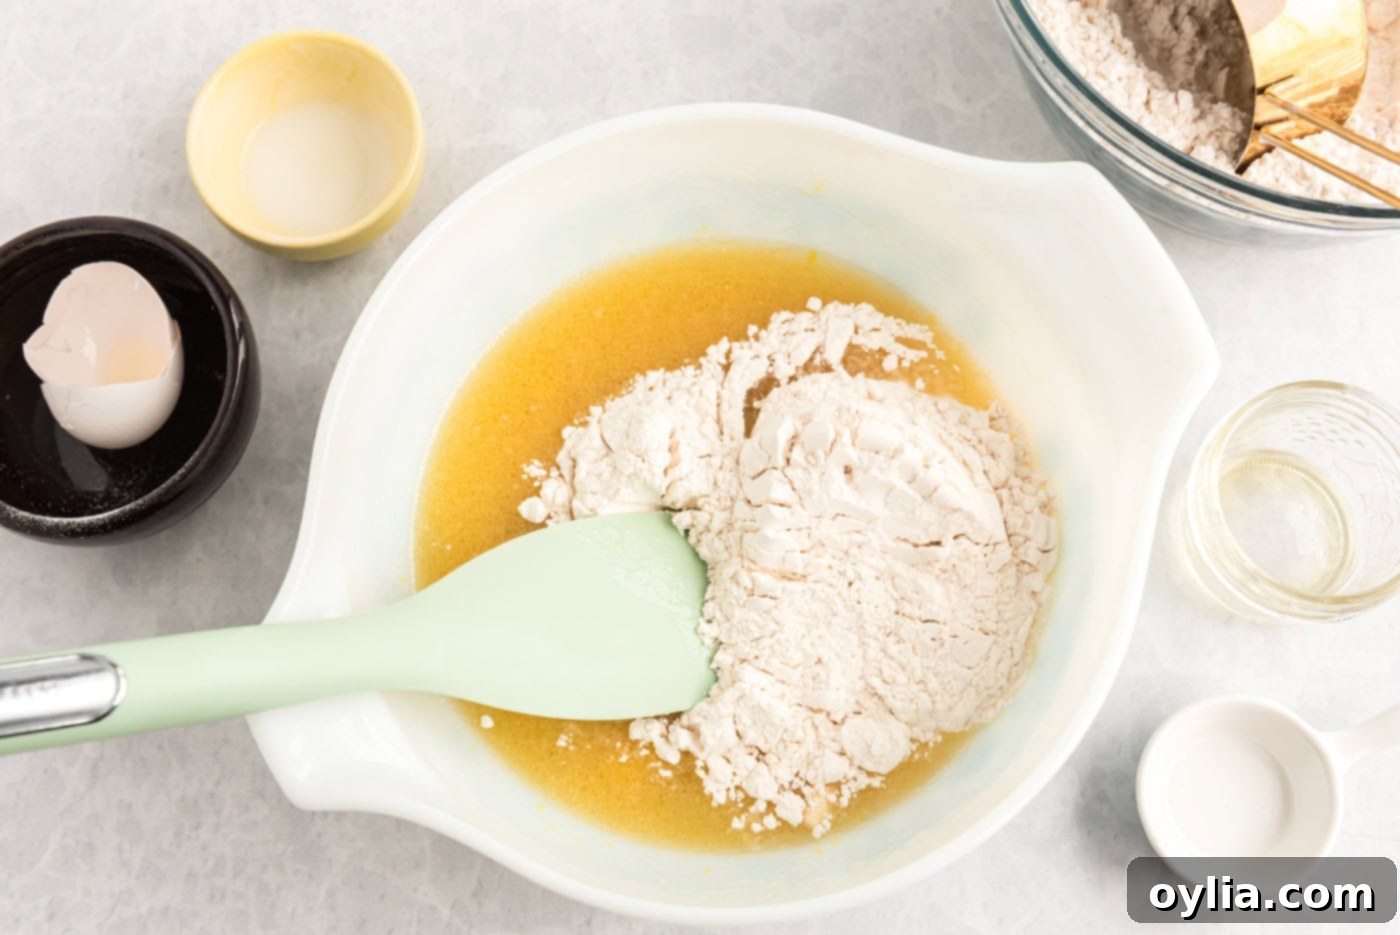
- Gradually add the all-purpose flour, 1 cup at a time, mixing until each addition is fully incorporated before adding the next. This ensures a smooth, well-hydrated dough.

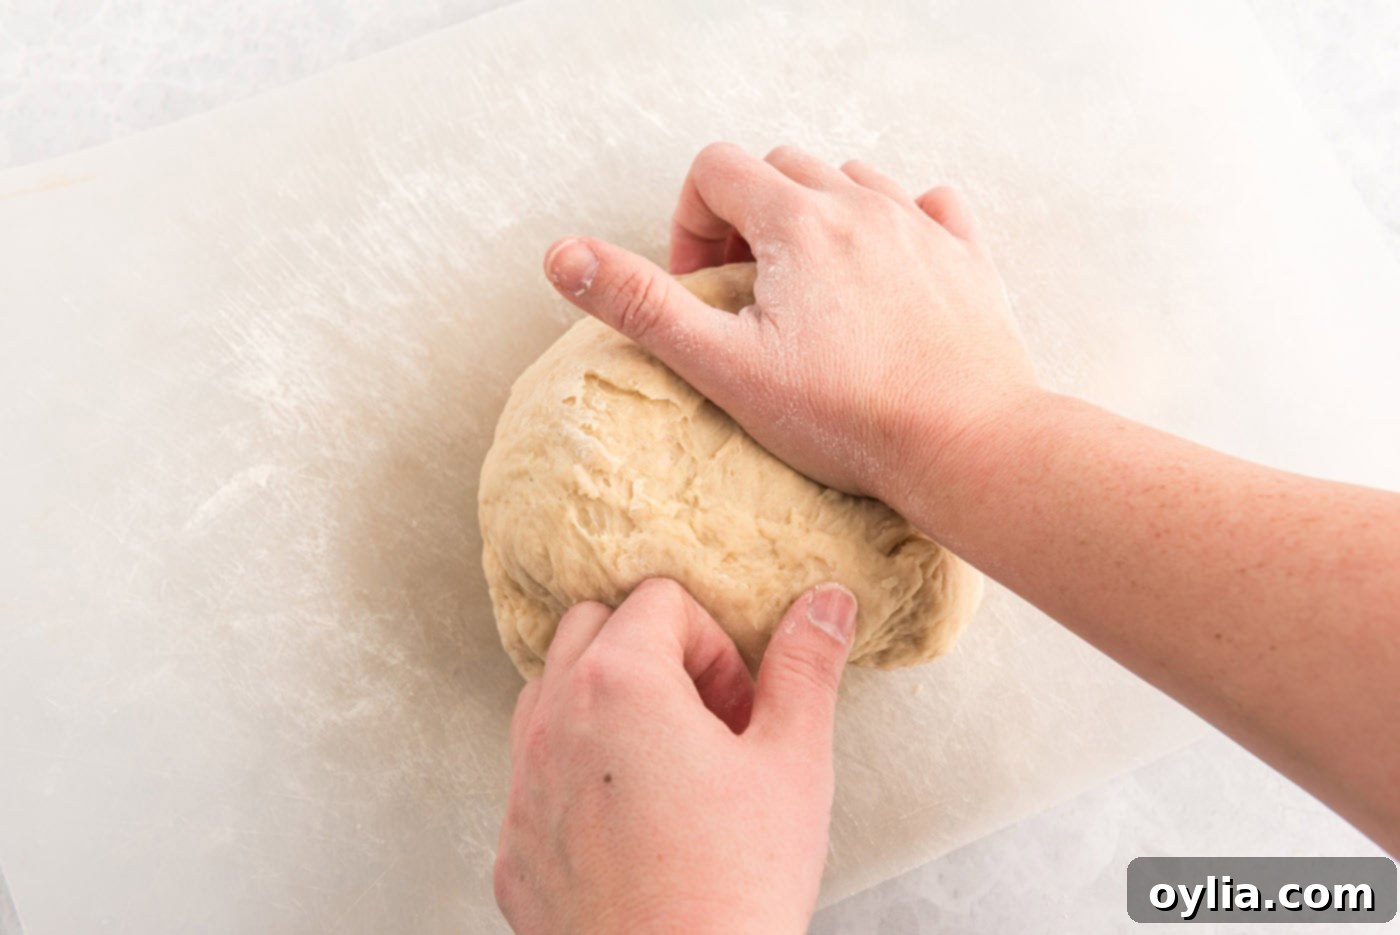
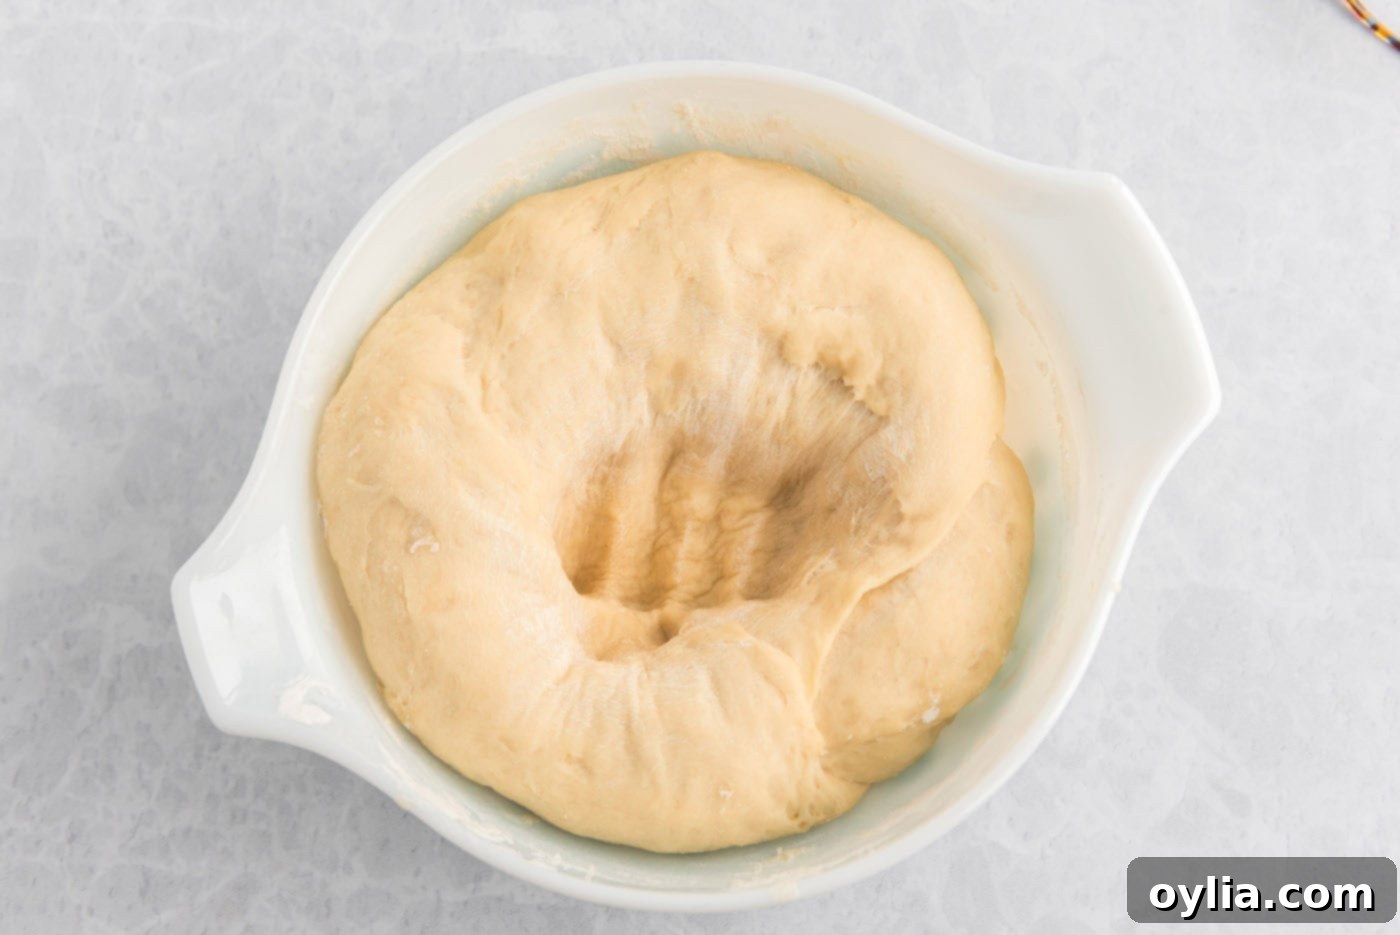
- Once all the flour is added and the dough comes together, turn it out onto a lightly floured surface. Knead the dough for approximately 5 minutes. Kneading develops the gluten, which is essential for that signature fluffy and chewy sweet roll texture. You can do this by hand or with a stand mixer fitted with a dough hook. After kneading, place the dough ball back into the bowl, cover it with a clean kitchen towel, and let it rise in a warm place for about an hour, or until it has doubled in size.

Part 3: Assembling and Baking Your Lemon Sweet Rolls
This is where the magic truly comes together, transforming simple dough and curd into irresistible sweet rolls.
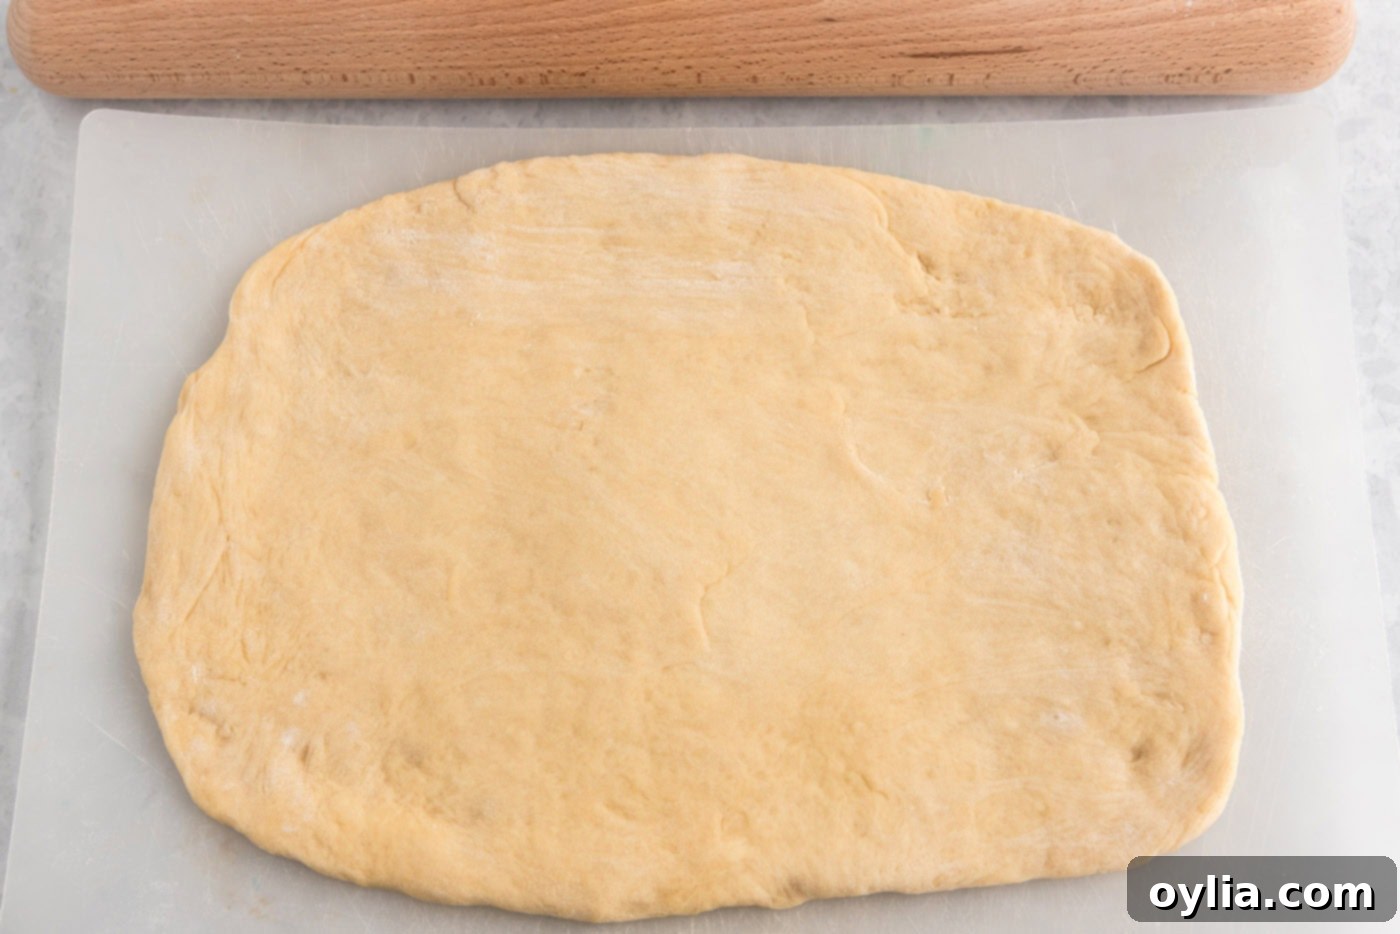
- Once the dough has risen beautifully, gently punch it down to release the air. Then, transfer it to a lightly floured surface. Using a rolling pin, roll the dough out into a large rectangle, aiming for a thickness of about ½ inch. Ensure you use enough flour on your surface and rolling pin to prevent sticking, but not so much that it dries out the dough.


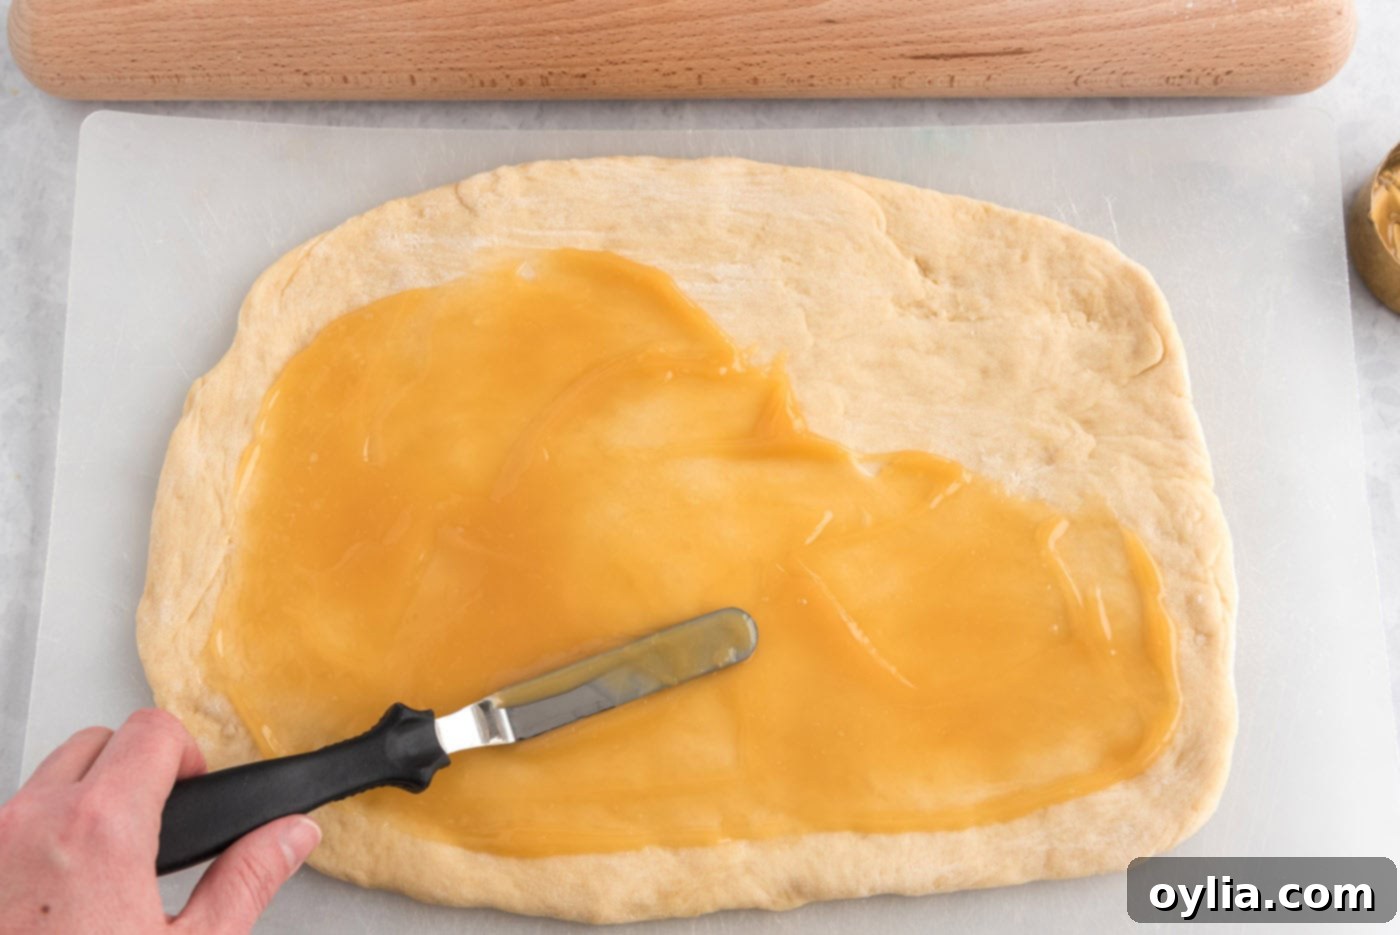
- Evenly spread the cooled lemon curd over the entire surface of the rolled dough, leaving a small border on one long edge. Then, starting from the long side opposite the border, carefully roll the dough into a tight log. A tight roll ensures beautiful swirls in your finished sweet rolls.


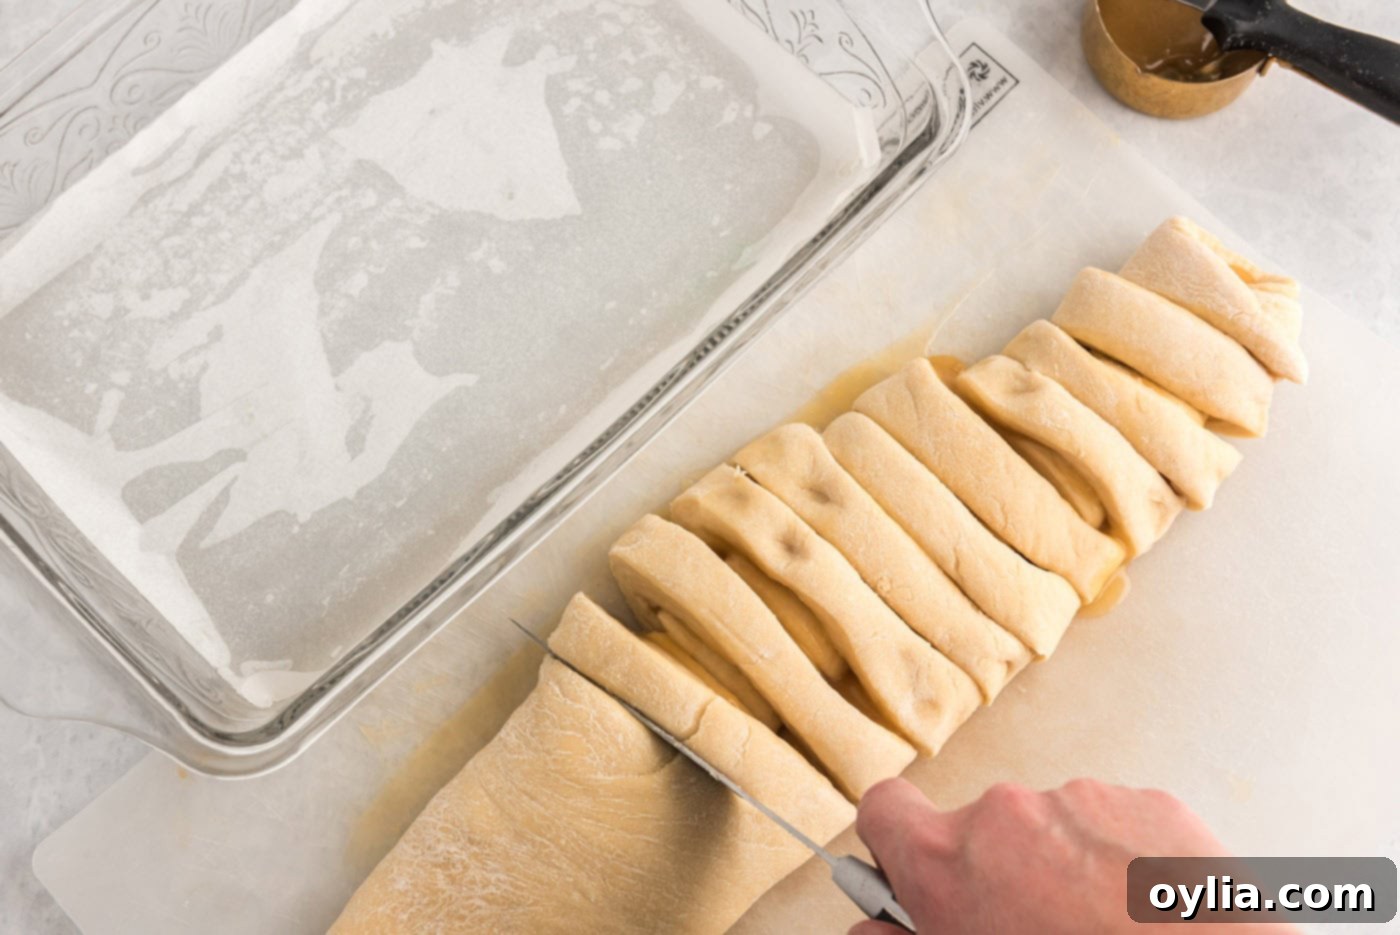
- Using a sharp knife or even unflavored dental floss (for perfectly clean cuts), slice the log into individual 2-inch sections. This will create your beautiful sweet rolls.

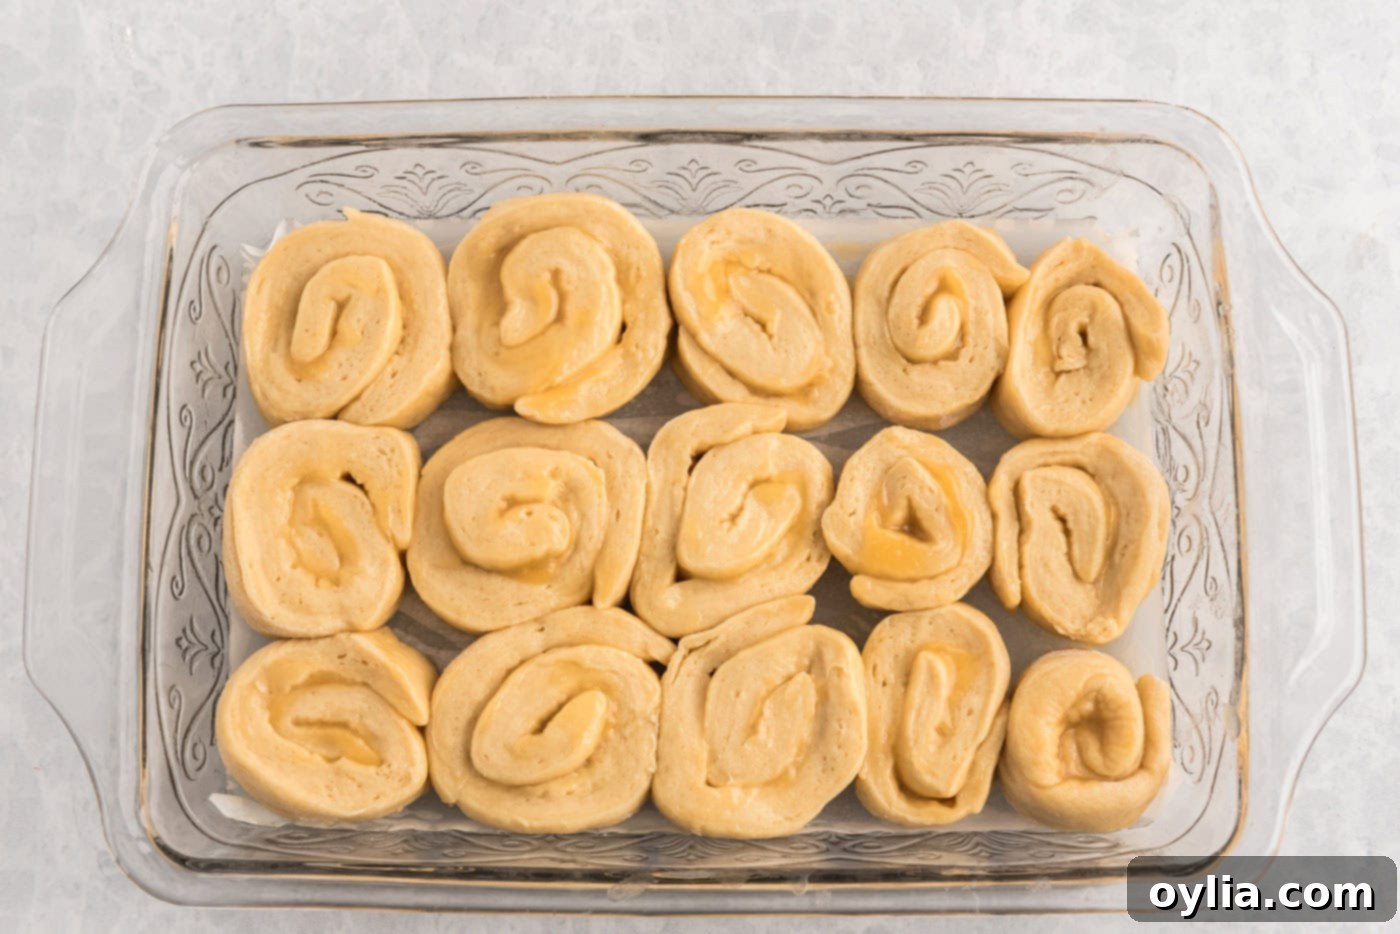
- Arrange the sliced buns in the prepared casserole dish, leaving a little space between them as they will expand. Cover the dish loosely with aluminum foil or a clean kitchen towel, and allow the rolls to rise one final time for approximately 1-2 hours, or until they look puffy and have nearly doubled in size. This second rise is crucial for light and airy rolls.


- Preheat your oven to 350°F (175°C). Once preheated, bake the rolls for about 17 minutes, or until they are golden brown on top and cooked through. Keep an eye on them to prevent over-browning.

The Grand Finale: Luscious Lemon Cream Cheese Icing
No sweet roll is complete without a generous slather of decadent icing. This lemon cream cheese frosting adds the perfect creamy, tangy counterpoint to the sweet rolls.
- While your lemon rolls are baking and filling your kitchen with an intoxicating aroma, begin preparing the icing. In a medium bowl, beat the softened cream cheese with an electric mixer until it is wonderfully smooth and lump-free.
- Add the softened unsalted butter to the cream cheese and continue mixing until both are thoroughly combined and creamy. Next, incorporate the fresh lemon juice, lemon zest (for an extra burst of citrus aroma), and pure vanilla extract. Finally, gradually add the powdered sugar, beating until the icing is smooth, fluffy, and perfectly combined.
- Once the rolls are out of the oven and still warm, use an icing spatula to spread the glorious lemon cream cheese icing generously over the top of the baked rolls. The warmth of the rolls will slightly melt the icing, allowing it to cascade into all the nooks and crannies. You might find you have a little extra icing – a delicious bonus to serve on the side for those who crave even more!
Frequently Asked Questions & Expert Baking Tips
To help you achieve bakery-quality results every time, and answer any lingering questions, here are some expert tips and common queries about making these delicious lemon sweet rolls.
After baking, allow your Lemon Sweet Rolls to cool completely. Then, cover the top of the pan tightly with aluminum foil or transfer them to an airtight container. Refrigerate them for up to 4 days. When you’re ready to enjoy one, simply reheat a lemon roll in the microwave for 15-20 seconds, or until it’s warm and soft again.
Yes, absolutely! You can substitute active dry yeast with instant yeast to speed up the process slightly. If using instant yeast, you only need to let the dough rise once (when it’s in the bowl after kneading), and you can skip the second rise specified in step 12. This can shave a significant amount of time off your preparation.
Yes, these rolls are perfect for making ahead! Follow all instructions up to step 12 (placing the sliced buns in the casserole dish and covering them). Instead of allowing them to rise a second time, immediately refrigerate the covered pan for up to 1 day. On baking day, take the pan out of the refrigerator and let it sit at room temperature for 1-2 hours to allow the dough to rise before baking as directed.
Several factors contribute to fluffy rolls. First, ensure your yeast is active (proof it!). Second, don’t skimp on kneading – this develops gluten for a good structure. Third, allow for both rises to happen completely; a warm, draft-free spot is ideal. Finally, avoid over-baking, which can dry out the rolls.
While you technically can, for the most vibrant and authentic lemon flavor that truly makes these rolls shine, freshly squeezed lemon juice is highly recommended. Bottled juice often lacks the brightness and subtle nuances of fresh lemons.

Serving Your Delicious Lemon Sweet Rolls
These lemon sweet rolls are incredibly versatile and can be enjoyed in various ways, making them perfect for almost any occasion. The lemon cream cheese icing we’ve provided is truly the ideal topping, offering a creamy, tangy, and sweet finish that complements the rolls perfectly. For a simpler alternative, you could opt for a quick powdered sugar glaze made with powdered sugar, a splash of milk, and a little lemon juice for tang.
To elevate the presentation and enhance the citrus aroma, consider garnishing your rolls with a light dusting of fresh lemon zest before serving. The vibrant yellow flecks add both beauty and a burst of fresh fragrance. These lemon rolls are absolutely at their best when served warm and fluffy, allowing the icing to become wonderfully melty and smooth. They are the quintessential accompaniment to your morning coffee or tea, making for an unforgettable breakfast. However, their bright, refreshing flavor profile also makes them a fantastic choice for a special brunch centerpiece or a light, zesty dessert after any meal. Don’t be surprised if they disappear quickly – they’re that good!
More Citrusy & Sweet Delights
If you loved these Lemon Sweet Rolls, you might enjoy exploring other delightful recipes that bring bright flavors and comforting sweetness to your table. Here are some of our favorites:
- Quick Orange Rolls: Another fantastic citrus-infused roll that’s quick to prepare.
- Lemon Baked Donuts: For a lighter, baked treat with a similar zesty kick.
- Blueberry Breakfast Cake: A delicious cake perfect for breakfast or brunch, full of fruity goodness.
- Cherry Cream Cheese Coffee Cake: A rich and fruity coffee cake that’s always a crowd-pleaser.
I love to bake and cook and share my kitchen experience with all of you! Remembering to come back each day can be tough, that’s why I offer a convenient newsletter every time a new recipe posts. Simply subscribe and start receiving your free daily recipes!

Lemon Sweet Rolls
IMPORTANT – There are often Frequently Asked Questions within the blog post that you may find helpful. Simply scroll back up to read them!
Print It
Pin It
Rate It
Save ItSaved!
Course: Breakfast
Cuisine: American
Ingredients
Homemade Lemon Curd
- ½ cup lemon juice 125g
- ½ cup granulated sugar 113g
- 3 large eggs
- 6 Tablespoons unsalted butter 85g
Dough
- ¾ cup warm water 190g
- 2 ¼ teaspoon active dry yeast 1 packet. 8g
- 1 teaspoon salt
- ½ cup granulated sugar divided. 118g
- ¼ cup buttermilk 67g
- 1 large egg
- ⅓ cup vegetable oil 68g
- 4 ½ cups all purpose flour 722g
Lemon Cream Cheese Frosting
- 4 ounces brick style cream cheese 113g
- 3 Tablespoons unsalted butter softened at room temperature. 42g
- 2 Tablespoons lemon juice
- 1 Tablespoon lemon zest
- ¼ teaspoon pure vanilla extract
- 1 cup powdered sugar 120g
Before You Begin
- Be sure to check the expiration date on your yeast. If it does not bubble or foam when combined with warm water and sugar then it is no longer active or “alive” and your dough will not rise properly.
- You can easily substitute with a store-bought jar of lemon curd to make this recipe quicker if preferred. I highly recommend sticking to fresh lemons for this recipe as the flavor is superior and the star of this dish. You will need about 2 1/2 lemons to yield 1/2 cup of juice called for in the lemon curd portion of this recipe.
Instructions
Make the Lemon Curd
-
To make the lemon curd, combine the lemon juice and sugar in a saucepan, whisk well, then add in the eggs. Heat over medium-low heat and start to whisk in the butter.1/2 cup lemon juice, 1/2 cup granulated sugar, 3 large eggs, 6 Tablespoons unsalted butter
-
Allow the mixture to bubble for about 2-3 minutes until starting to thicken before removing from heat. Allow to cool (you can transfer into a mason jar after it has cooled a bit to continue chilling in the fridge).
Make the Dough
-
Grease and line the casserole dish and set aside.
-
To make the dough, combine the warm water, yeast, salt, and 2 Tablespoons of the sugar in a large bowl.3/4 cup warm water, 2 1/4 teaspoon active dry yeast, 1 teaspoon salt
-
Allow the mixture to “proof” (bubble) for 5 minutes before continuing with the recipe.
-
Add the remaining 6 tablespoons sugar, buttermilk, egg, and vegetable oil and stir well.1/4 cup buttermilk, 1 large egg, 1/3 cup vegetable oil
-
Add in the flour, 1 cup at a time, until well incorporated.4 1/2 cups all purpose flour
-
Knead the dough for 5 minutes, then cover the bowl with a clean kitchen towel and allow to rise, about an hour.
-
Punch down the dough and then roll out on a floured surface into a large rectangle about 1/2″ thick. (Use flour to prevent the dough from sticking to the rolling pin as well.)
-
Spread the lemon curd over the rolled dough and then roll one long side of the rectangle towards the other, forming a tight log.
-
Cut the log into 2″ sections to form the sweet rolls.
-
Place the buns in the prepared casserole dish and cover with foil, allowing to rise one last time, approximately 1-2 hours.
-
Heat the oven to 350F and bake the rolls for 17 minutes.
Lemon Cream Cheese Icing
-
Start the icing while the lemon rolls are baking. Beat the cream cheese with an electric mixer until smooth. Add the butter and continue mixing until combined. Add the lemon juice, zest, vanilla extract, and powdered sugar and beat until combined.4 ounces brick style cream cheese, 3 Tablespoons unsalted butter, 1 cup powdered sugar, 1 Tablespoon lemon zest, 2 Tablespoons lemon juice, 1/4 teaspoon pure vanilla extract
-
Use an icing spatula to spread the icing over the top of the baked rolls. You may have extra icing, which I like to serve on the side.
Expert Tips & FAQs
- Storage – Allow your lemon sweet rolls to cool, cover the top of the pan with aluminum foil, and refrigerate them for up to 4 days after baking. Reheat a lemon roll in the microwave for 15-20 seconds or until warm.
- Make Ahead – You can prepare these lemon sweet rolls in advance. Follow the directions of rolling, slicing, and placing the buns into a pan covered with aluminum foil (step 12). Refrigerate the prepared rolls up to 1 day in advance. I would suggest allowing them to come to room temperature on the counter before baking, around 1-2 hours.
Nutrition
Tried this Recipe? Pin it for Later!Follow on Pinterest @AmandasCookin or tag #AmandasCookin!
The recipes on this blog are tested with a conventional gas oven and gas stovetop. It’s important to note that some ovens, especially as they age, can cook and bake inconsistently. Using an inexpensive oven thermometer can assure you that your oven is truly heating to the proper temperature. If you use a toaster oven or countertop oven, please keep in mind that they may not distribute heat the same as a conventional full sized oven and you may need to adjust your cooking/baking times. In the case of recipes made with a pressure cooker, air fryer, slow cooker, or other appliance, a link to the appliances we use is listed within each respective recipe. For baking recipes where measurements are given by weight, please note that results may not be the same if cups are used instead, and we can’t guarantee success with that method.
This recipe originally appeared here on May 19, 2018 and has since been updated with new photos and expert tips. Original recipe contributed by Jennifer at SugarSpiceandGlitter.

