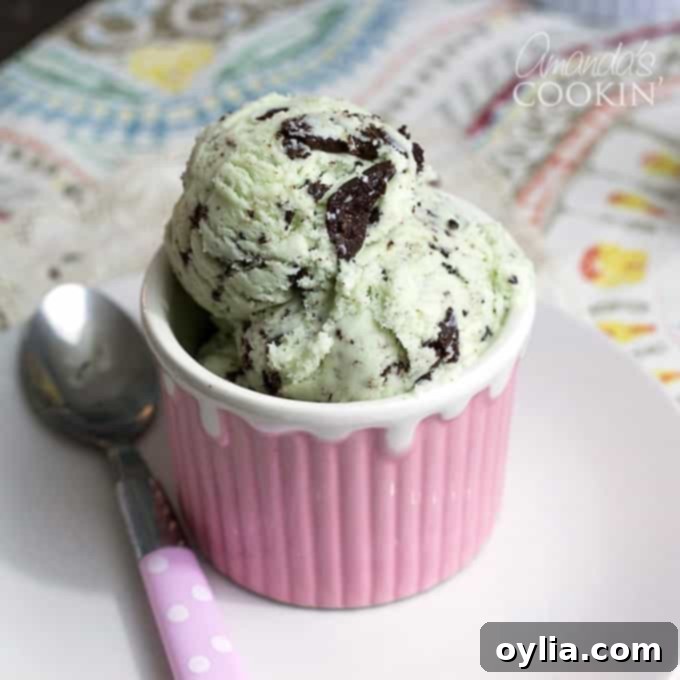
There’s something uniquely satisfying about homemade ice cream, and in our house, mint chocolate chip ice cream reigns supreme as an undisputed champion. This vibrant, refreshing, and deeply satisfying flavor holds a special place in our hearts – and our freezers! I still remember the excitement when I upgraded from my old, manual-crank ice cream maker to a shiny new one with an actual motor. It felt like stepping into the future of dessert making, and this very mint chocolate chip recipe was among the first I eagerly experimented with. The results were so spectacular that it quickly became a foundational recipe, a testament to how simple yet profoundly delicious homemade treats can be.
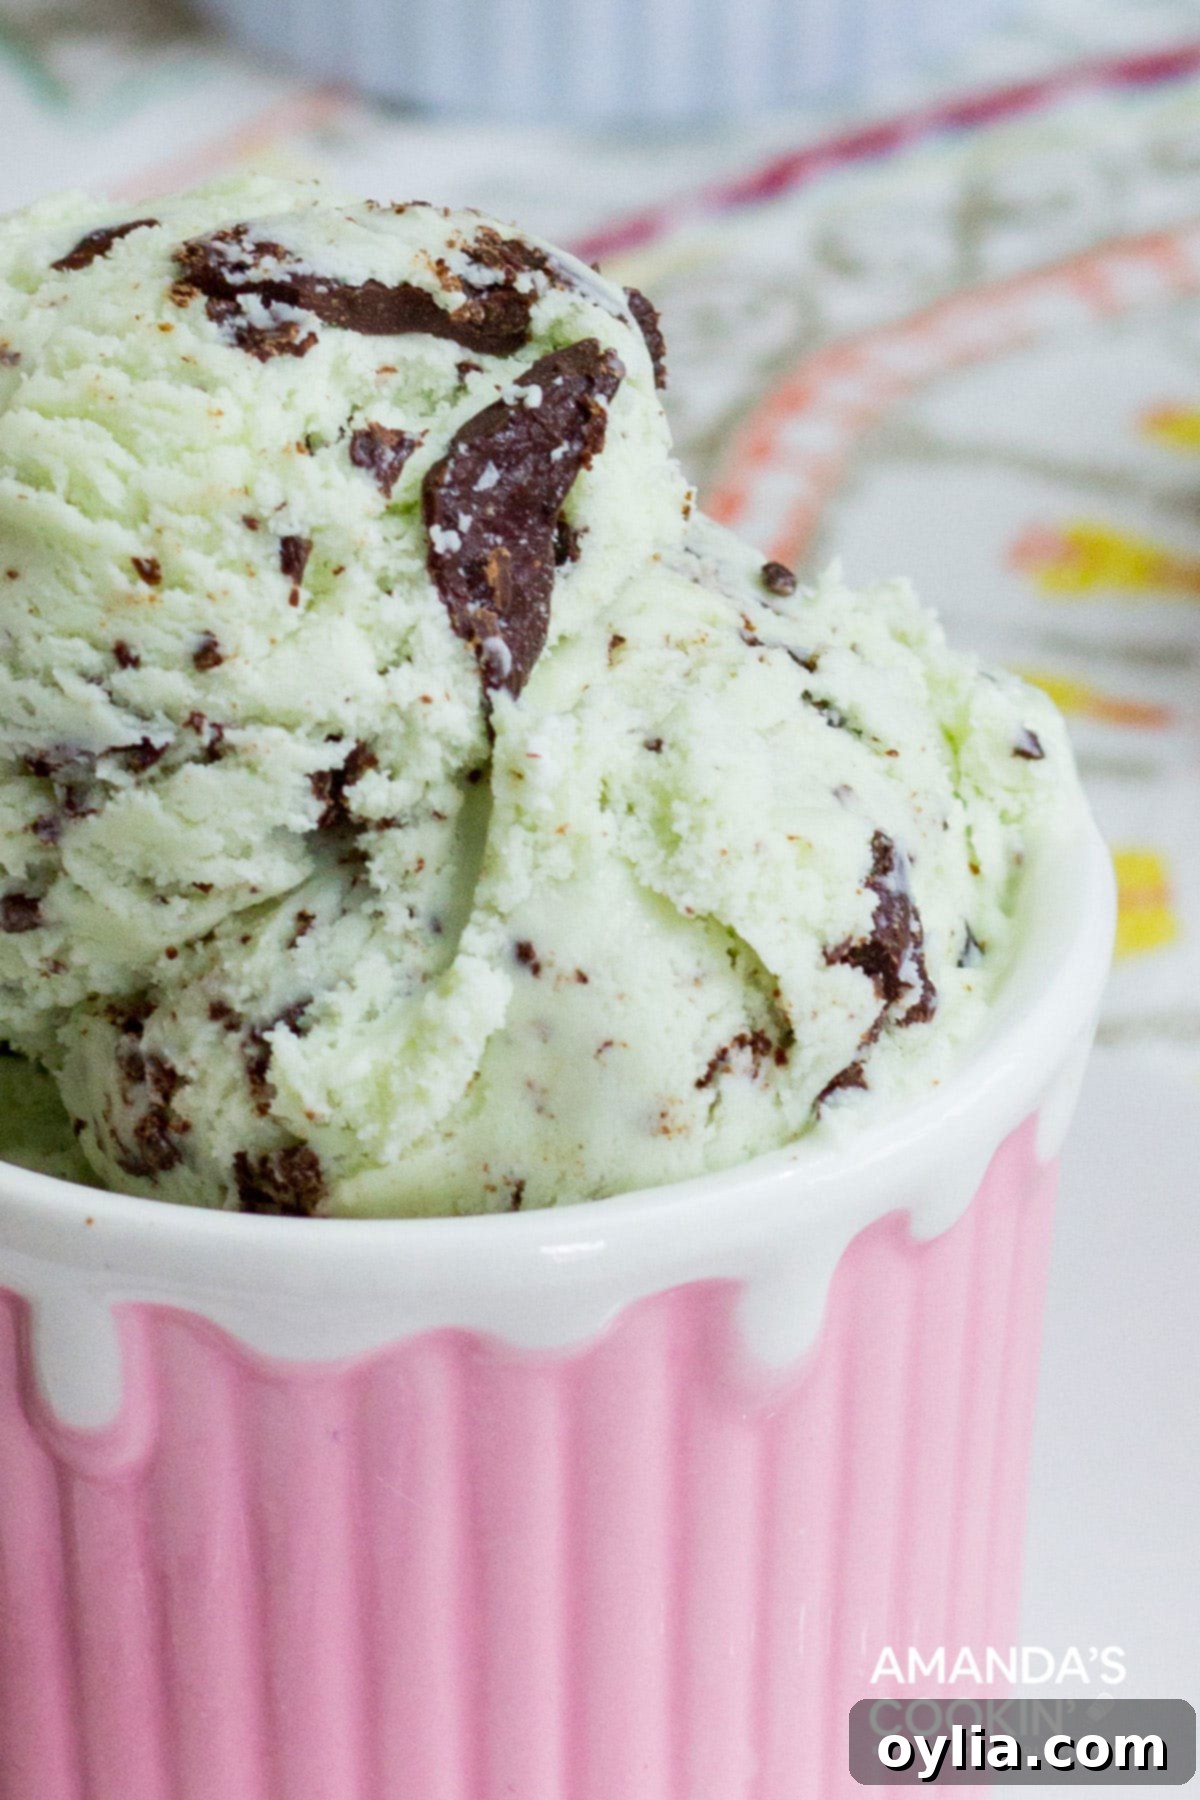
The Ultimate Guide to Homemade Mint Chocolate Chip Ice Cream: Easy, No-Cook & Incredibly Creamy
Why This No-Cook Mint Chocolate Chip Ice Cream Recipe is a Game Changer
This isn’t just another homemade ice cream recipe; it’s a revelation. Our mint chocolate chip ice cream is so good, it easily rivals, and often surpasses, anything you can buy from a gourmet ice cream parlor, let alone the supermarket. What makes it truly stand out? Several key factors:
- Effortless Preparation: Forget complicated steps and lengthy cooking sessions. This recipe is incredibly easy to make, perfect for beginners and seasoned home cooks alike.
- No Eggs, No Cooking Required: That’s right! No need to temper egg yolks or fuss over a custard base on the stovetop. This eliminates a significant step, making the process much quicker and less intimidating. This also means no long chilling times in the refrigerator for your base mixture.
- Incredibly Delicious: The flavor balance of fresh mint and rich chocolate is simply divine. It’s smooth, creamy, and bursting with authentic taste.
- Family Approved: My kids absolutely adore this ice cream. Much like my popular Nutella Swirl Cheesecake Ice Cream, a batch of this mint chocolate chip never lasts more than a couple of nights in our freezer. It has become a consistent family favorite, requested time and time again over the years.
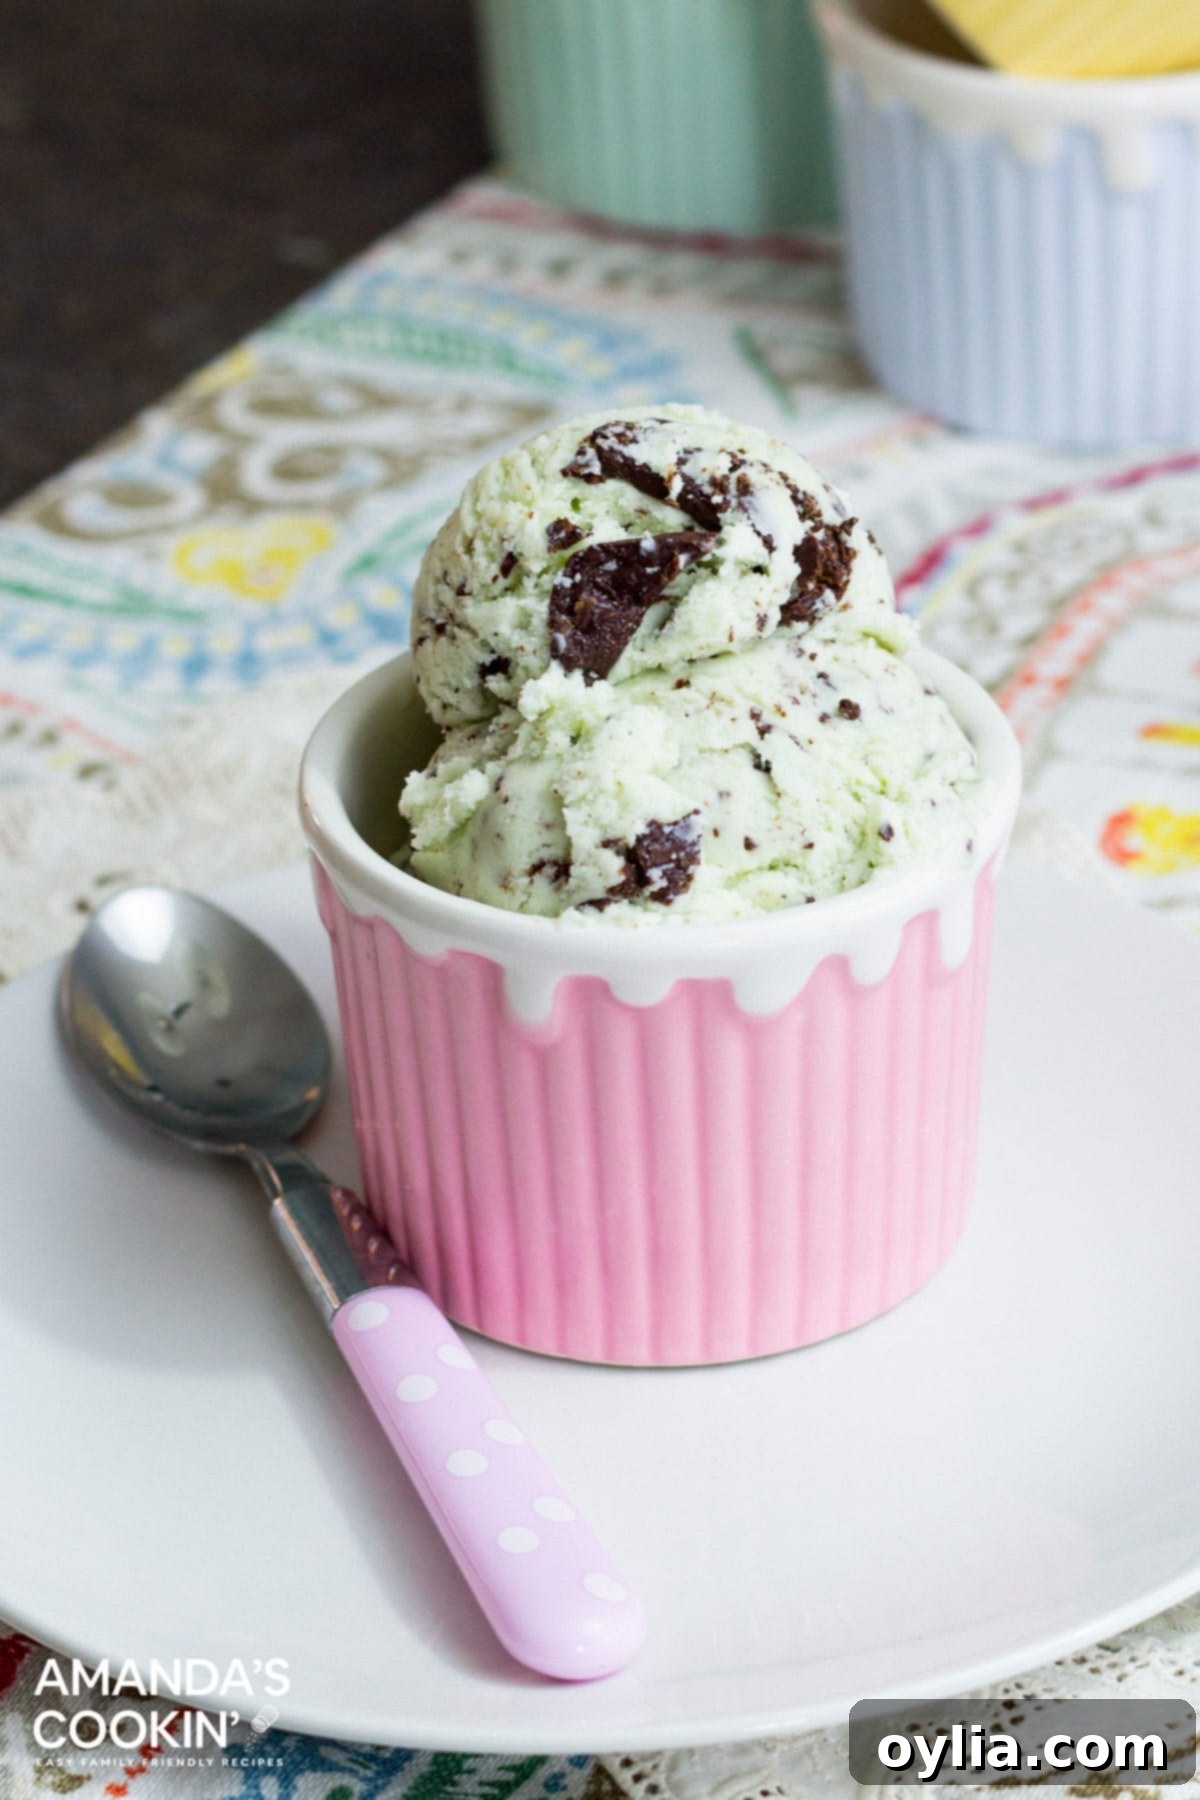
The Magic of a Sweetened Condensed Milk Base
My preferred method for making ice cream relies on a sweetened condensed milk base, and once you try it, you’ll understand why! This approach isn’t just about ease; it’s about achieving an incredibly smooth and creamy texture without the usual hassle. Traditional egg custard bases, while delicious, require careful cooking and chilling. With sweetened condensed milk, you simply mix your ingredients, pour them into the ice cream maker, and let it churn. The result is a rich, dense ice cream that freezes beautifully without becoming icy. This simplicity means more time enjoying your dessert and less time in the kitchen.
You’ll notice many of my ice cream recipes on this blog feature a sweetened condensed milk base. While I appreciate the craft involved in egg custards and have certainly made them, I’ve found this method to be consistently superior for homemade results. It delivers on flavor, texture, and convenience every single time.
Ingredients You Will Need for This Dreamy Treat
Gathering your ingredients is the first step to creating this delightful frozen dessert. Each component plays a crucial role in achieving the perfect balance of flavor and texture. For exact measurements and a printable version, be sure to scroll to the end of this post.
- 14-oz can sweetened condensed milk: The star of our no-cook base, providing sweetness and an incredibly creamy consistency.
- 2 cups heavy cream: Adds richness and helps create that luxurious, smooth texture we all crave in ice cream.
- 1 cup milk (I use 1%): Balances the richness of the heavy cream and condensed milk. You can adjust the fat content to your preference.
- Large pinch salt: A touch of salt enhances all the other flavors, especially the chocolate and mint, preventing the ice cream from tasting overly sweet.
- 2 teaspoons vanilla extract: A classic addition that rounds out the flavors and adds a subtle warmth.
- 1/2 teaspoon pure mint extract: The key to that signature minty fresh taste. Ensure it’s pure mint extract for the best, most authentic flavor.
- 5 drops green food coloring (optional): For that iconic mint chocolate chip green hue. Feel free to skip this if you prefer a natural, uncolored ice cream.
- 4 ounces bittersweet chocolate: This is for our homemade chocolate chips! Bittersweet chocolate provides a lovely contrast to the sweetness of the ice cream base and gives a satisfying snap when frozen.
How To Make Homemade Mint Chocolate Chip Ice Cream: Step-by-Step Guide
Follow these simple steps, accompanied by photos, to visualize the process. The full printable recipe is available at the bottom of this page.
- Prepare the Ice Cream Base: In a large mixing bowl, combine the sweetened condensed milk, heavy cream, milk, a large pinch of salt, vanilla extract, pure mint extract, and the optional green food coloring. Whisk all these ingredients together thoroughly until the mixture is completely uniform in color and consistency. You want to ensure the mint and vanilla extracts are evenly distributed. Once mixed, pour this vibrant green (or white, if you skipped the food coloring) base into your ice cream maker. Process according to your manufacturer’s specific instructions. This usually involves churning for about 20-30 minutes, or until the mixture reaches a soft-serve consistency.
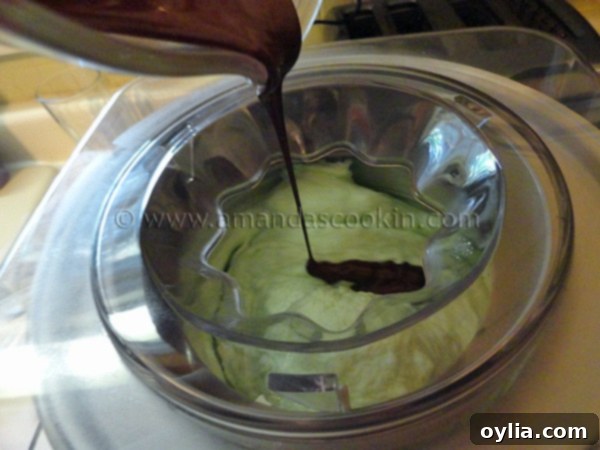
- Prepare the Chocolate Chips (Stracciatella Style): Approximately five minutes before the churning process is complete, it’s time to prepare your chocolate. Melt the bittersweet chocolate in your microwave, heating it on 50% power in short bursts (30-second intervals), stirring in between, until it’s smooth and fully melted. This controlled melting prevents scorching.
- Create the Stracciatella Effect: With the ice cream maker still churning, slowly and steadily drizzle the melted chocolate into the churning ice cream mixture. The sudden difference in temperature between the warm melted chocolate and the cold, churning ice cream will cause the chocolate to instantly harden and shatter into irregular, thin flakes and chips. This fantastic method is known as the “stracciatella” technique, and it creates a wonderful variety of chocolate textures that are far more exciting than pre-made chips.
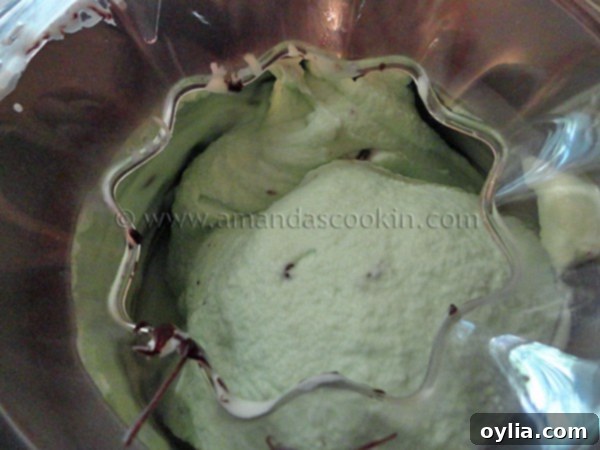
- Final Freeze and Enjoy: Once the churning is complete and your chocolate chips are perfectly dispersed, carefully scoop the freshly churned ice cream out of the maker and transfer it into an airtight freezer-safe container. Place the container in your freezer for a few hours (typically 2-4 hours, or until it reaches your desired firmness). This final freezing period allows the ice cream to harden completely and develop its full, rich texture.
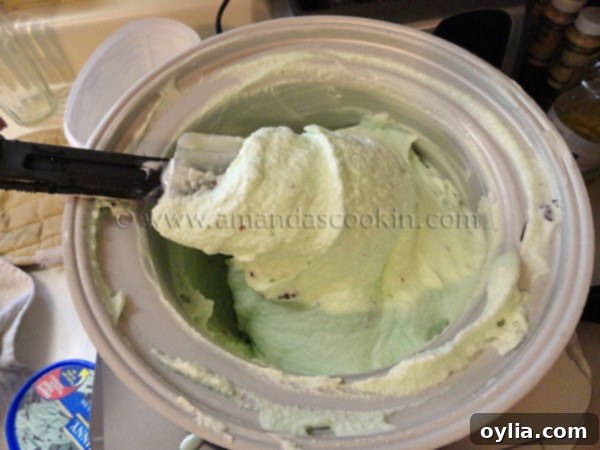
That’s all there is to it! Just a few hours of patience for it to harden in the freezer, and then you’re ready to scoop and enjoy the most incredible homemade mint chocolate chip ice cream you’ve ever tasted!
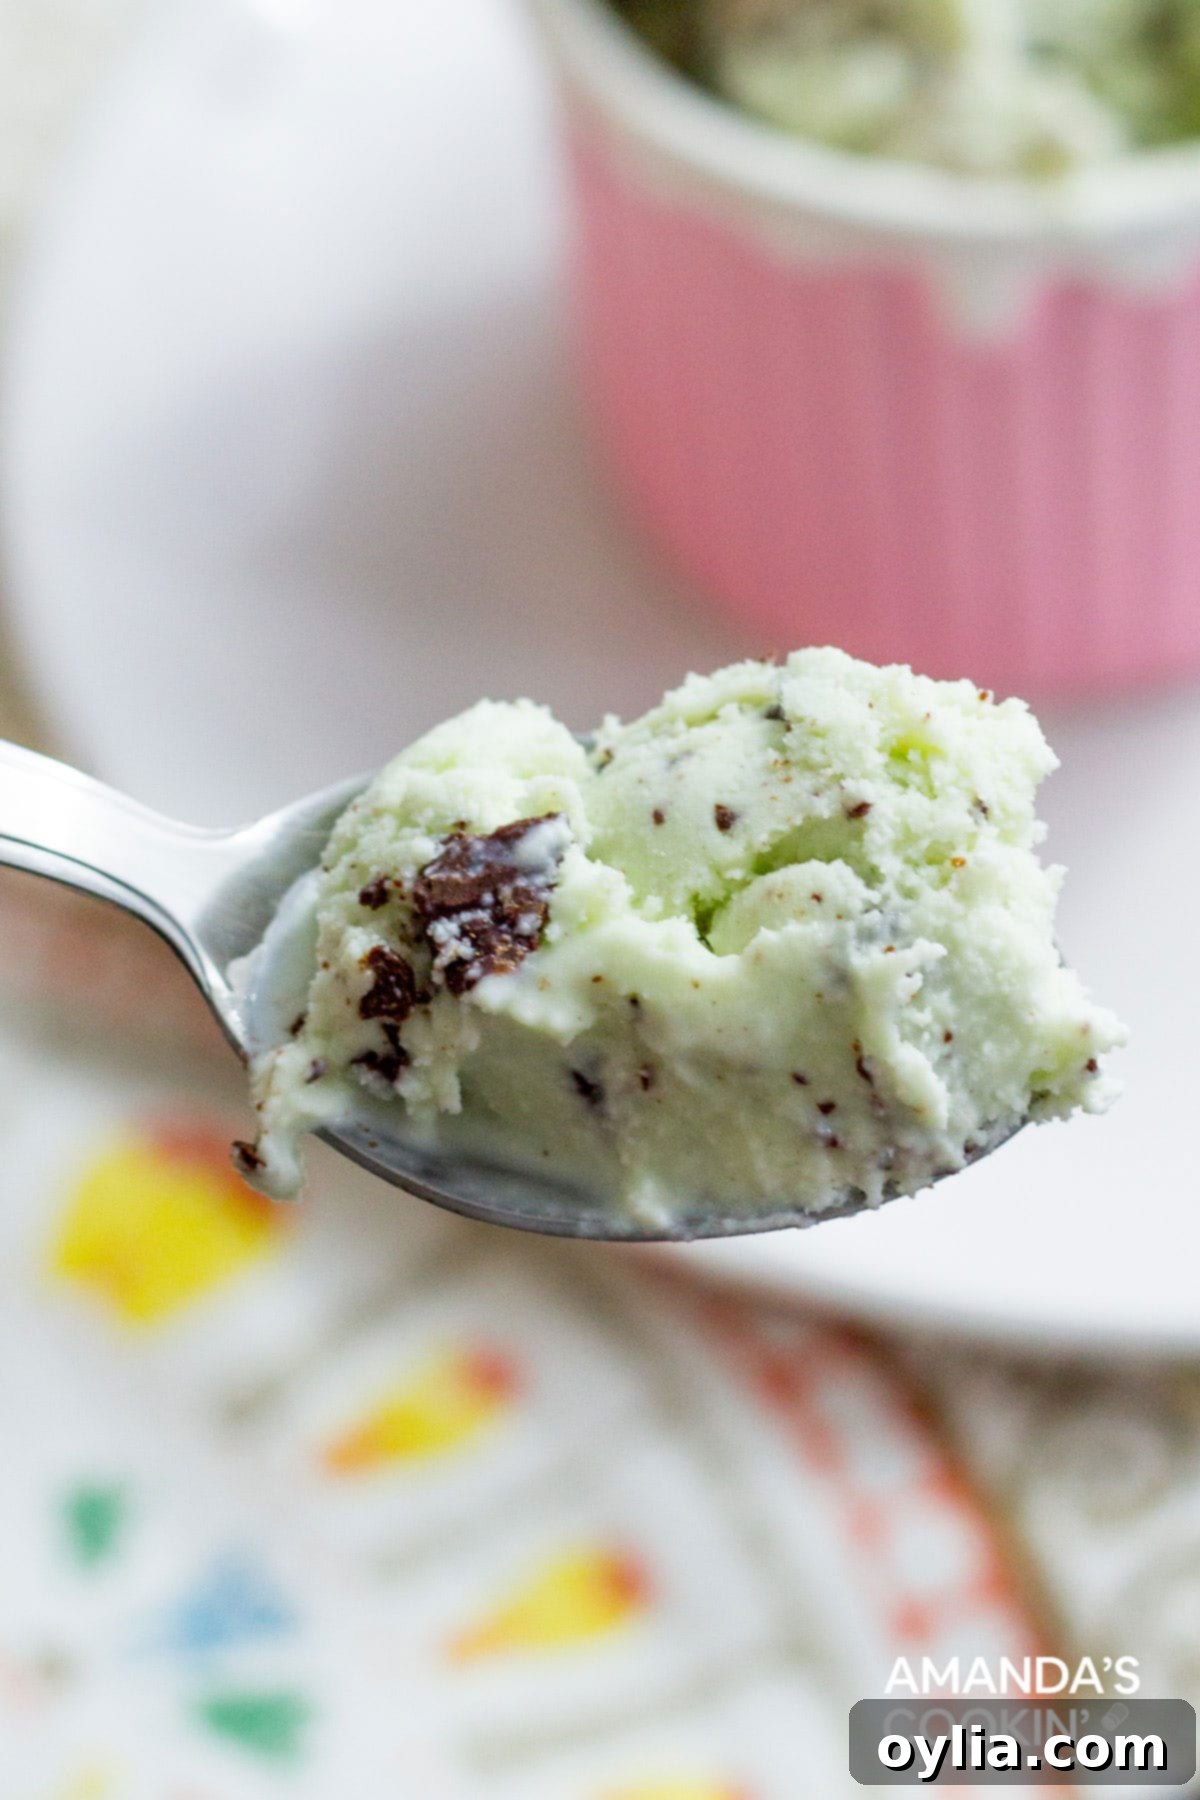
Tips for Perfect Homemade Mint Chocolate Chip Ice Cream
- Chill Your Base: Although this recipe is “no-cook” and doesn’t require extended chilling like custard bases, ensuring your milk and cream are very cold before mixing can help the ice cream churn faster and result in a smoother texture.
- Pre-Freeze Your Ice Cream Bowl: Always make sure your ice cream maker’s freezer bowl is fully frozen (typically 12-24 hours) for optimal churning. This is crucial for achieving the right consistency.
- Pure Mint Extract is Key: For the best, most authentic mint flavor, opt for pure mint extract over peppermint. Peppermint can sometimes have a stronger, more toothpaste-like flavor, whereas mint extract is brighter and more refreshing.
- Experiment with Chocolate: While bittersweet chocolate is recommended for its balanced flavor, feel free to use dark, semi-sweet, or even milk chocolate if that’s your preference. The stracciatella method works with any type of chocolate.
- Don’t Over-Churn: Churn until it reaches the consistency of soft-serve. Over-churning can sometimes lead to a grainier texture. The freezer will do the rest of the work.
Variations to Try
Once you master the basic recipe, the possibilities for customization are endless:
- Double Chocolate Mint: Add a tablespoon of unsweetened cocoa powder to your ice cream base for a darker, richer mint chocolate experience.
- Crunchy Delights: Fold in crushed Oreo cookies, thin mints, or even some mini chocolate chips at the very end of churning (after the stracciatella drizzle) for extra texture.
- Boozy Twist: A splash of crème de menthe or peppermint schnapps can add an adult kick to this classic flavor. Add it with the extracts.
- White Chocolate Mint: Use white chocolate for your stracciatella drizzle instead of bittersweet for a different flavor profile and visual appeal.
Storing Your Homemade Ice Cream
To keep your homemade mint chocolate chip ice cream tasting its best, store it in an airtight container in the coldest part of your freezer. This prevents ice crystals from forming and maintains its creamy texture. It typically stays fresh and delicious for up to two weeks, though in our house, it rarely lasts that long!
I truly hope you and your family fall in love with this creamy and absolutely delicious mint chocolate chip ice cream as much as we have. It’s a simple pleasure that brings so much joy!
See what our readers are saying!
Oh my goodness! Heaven in a bowl! During quarantine we have rediscovered our ice cream maker. However we’ve been stuck on vanilla because it was so delicious. Today my son asked for mint chocolate chip, my favorite, so I headed online and found your recipe. I adore easy recipes and this one was so simple. The perfect subtle amount of mint. And the melted chips at the end making the crackle? That’s what cinched the deal for me. All of my kids now agree this is the best flavor we’ve made yet! Thank you!
~Melanie
Better than any!!! I used lactose-free half-and-half, now everyone can enjoy this ice cream. I used your same recipe blend, and the lactose free half-and-half, to make chocolate chip, too (omitting the mint extract). Rave reviews and special thanks from my lactose intolerant friends and family. Thank you for sharing!!!
~ Barbara
More of My Homemade Ice Cream Recipes You’ll Love
If you’re eager to explore more amazing homemade ice cream flavors, you’re in the right place! Here are a few other incredibly delicious recipes to whip up:
- This Mocha Chocolate Chip Ice Cream is an absolute game-changer for coffee and chocolate lovers.
- For a rich and decadent treat, try our Caramel Chocolate Nut Ice Cream.
- Looking for a healthier, yet equally satisfying frozen treat? Our Mint Chocolate Popsicles are a fantastic alternative and you won’t be disappointed!
- Speaking of extremely delicious ice cream bases, we recently enjoyed my Freakshakes (Extreme Milkshakes) again the other night, and oh my! You guys HAVE to try these epic milkshakes! They are super fun for birthday parties and will completely change how you make milkshakes forever.
- After making these Butterfinger Ice Cream Sandwiches, I’m inspired to combine our amazing mint ice cream with chocolate mint cookies to create the ultimate chocolate mint ice cream sandwiches!
And if your love for mint and chocolate knows no bounds, be sure to try our peppermint patty brownies for another delightful dessert.
More Irresistible Mint Chocolate Recipes
- Mint Chocolate Lasagna
- Chocolate Mint Brownies
- Oreo Thin Mint Shooters
- Mint Chocolate Popsicles
- Chocolate Mint Cookies
- Grasshopper Pie
I absolutely love creating and sharing delicious recipes with you! I know it can be tough to remember to come back and search for your favorites, so I’ve made it super easy with my weekly newsletter. You can subscribe for free, and I’ll send delightful recipes directly to your email inbox every week.
Mint Chocolate Chip Ice Cream
IMPORTANT – There are often Frequently Asked Questions within the blog post that you may find helpful. Simply scroll back up to read them!
Print It
Rate It
Save ItSaved!
Ingredients
- 14 oz can sweetened condensed milk
- 2 cups heavy whipping cream
- 1 cup milk I use 1%
- large pinch salt
- 2 teaspoons vanilla extract
- ½ teaspoon pure mint extract
- 5 drops green food coloring
- 4 ounces bittersweet chocolate
Things You’ll Need
-
Ice cream maker
-
Whisk
-
Food coloring
-
Measuring cups and spoons
Before You Begin
Instructions
-
Combine all ingredients except for the chocolate in a large bowl and whisk until well combined. Pour into your ice cream maker and process according to the manufacturer’s instructions.
-
5 minutes before churning is complete, melt the chocolate on 50% power in your microwave. Slowly drizzle the chocolate into the churning ice cream maker.
-
The difference in temperature between the ice cream and the meted chocolate will cause the chocolate to harden and crack, creating wonderful chocolate chips. This method is known as straccietella.
-
Turn the ice cream out into a freezer container and freeze until hard, usually a few hours or so.
Nutrition
The recipes on this blog are tested with a conventional gas oven and gas stovetop. It’s important to note that some ovens, especially as they age, can cook and bake inconsistently. Using an inexpensive oven thermometer can assure you that your oven is truly heating to the proper temperature. If you use a toaster oven or countertop oven, please keep in mind that they may not distribute heat the same as a conventional full sized oven and you may need to adjust your cooking/baking times. In the case of recipes made with a pressure cooker, air fryer, slow cooker, or other appliance, a link to the appliances we use is listed within each respective recipe. For baking recipes where measurements are given by weight, please note that results may not be the same if cups are used instead, and we can’t guarantee success with that method.
This recipe was originally published on this blog on September 13, 2011. It has been updated with fresh content, enhanced details, and additional tips for an even better reader experience.
