Creamy & Spiced Homemade Apple Cider Ice Cream: An Easy 5-Ingredient Fall Treat
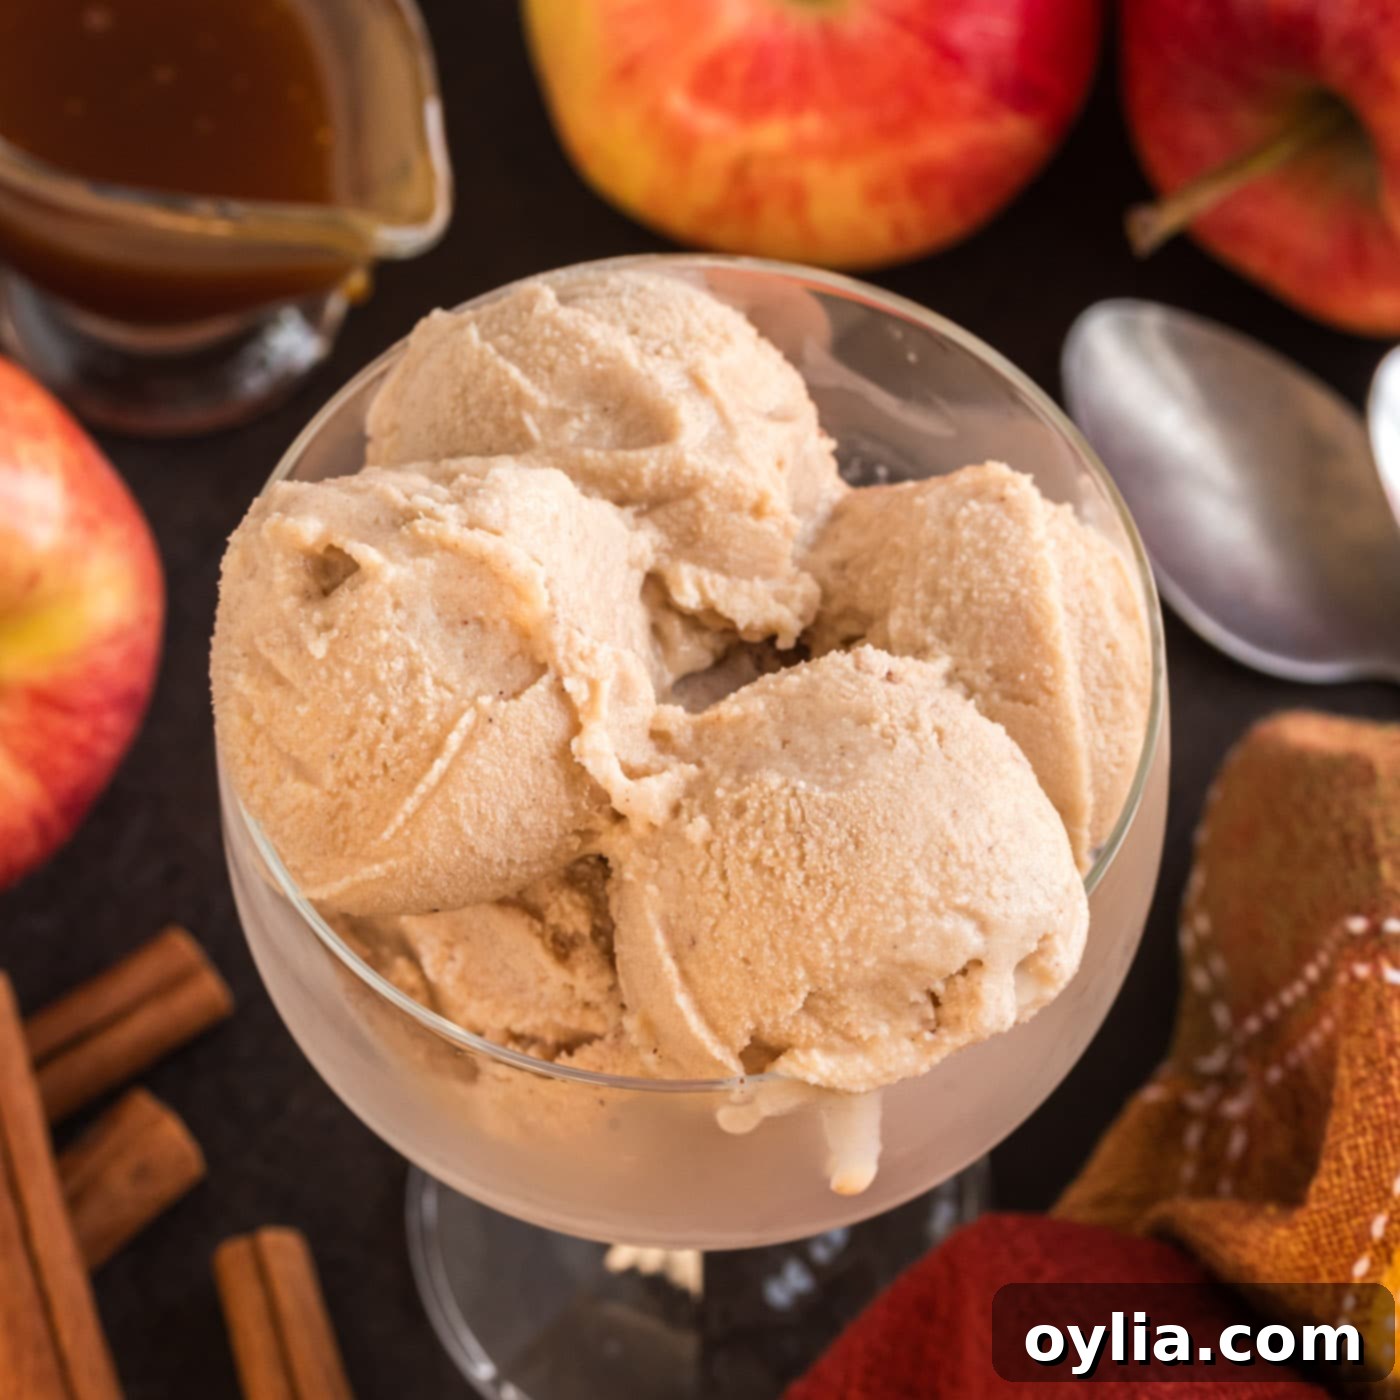
As the crisp autumn air arrives and apple orchards burst with their sweet harvest, there’s no better way to capture the essence of fall than with a scoop of this incredible homemade apple cider ice cream. This simple 5-ingredient recipe delivers a creamy, sweet, and perfectly spiced dessert that will quickly become a seasonal favorite. Imagine the vibrant, sweet-tart notes of fresh apple cider mingling with warm cinnamon, all enveloped in a rich, velvety ice cream. It’s an experience that’s truly reminiscent of cozy autumn days and festive gatherings.
Why This Apple Cider Ice Cream Recipe is a Must-Try
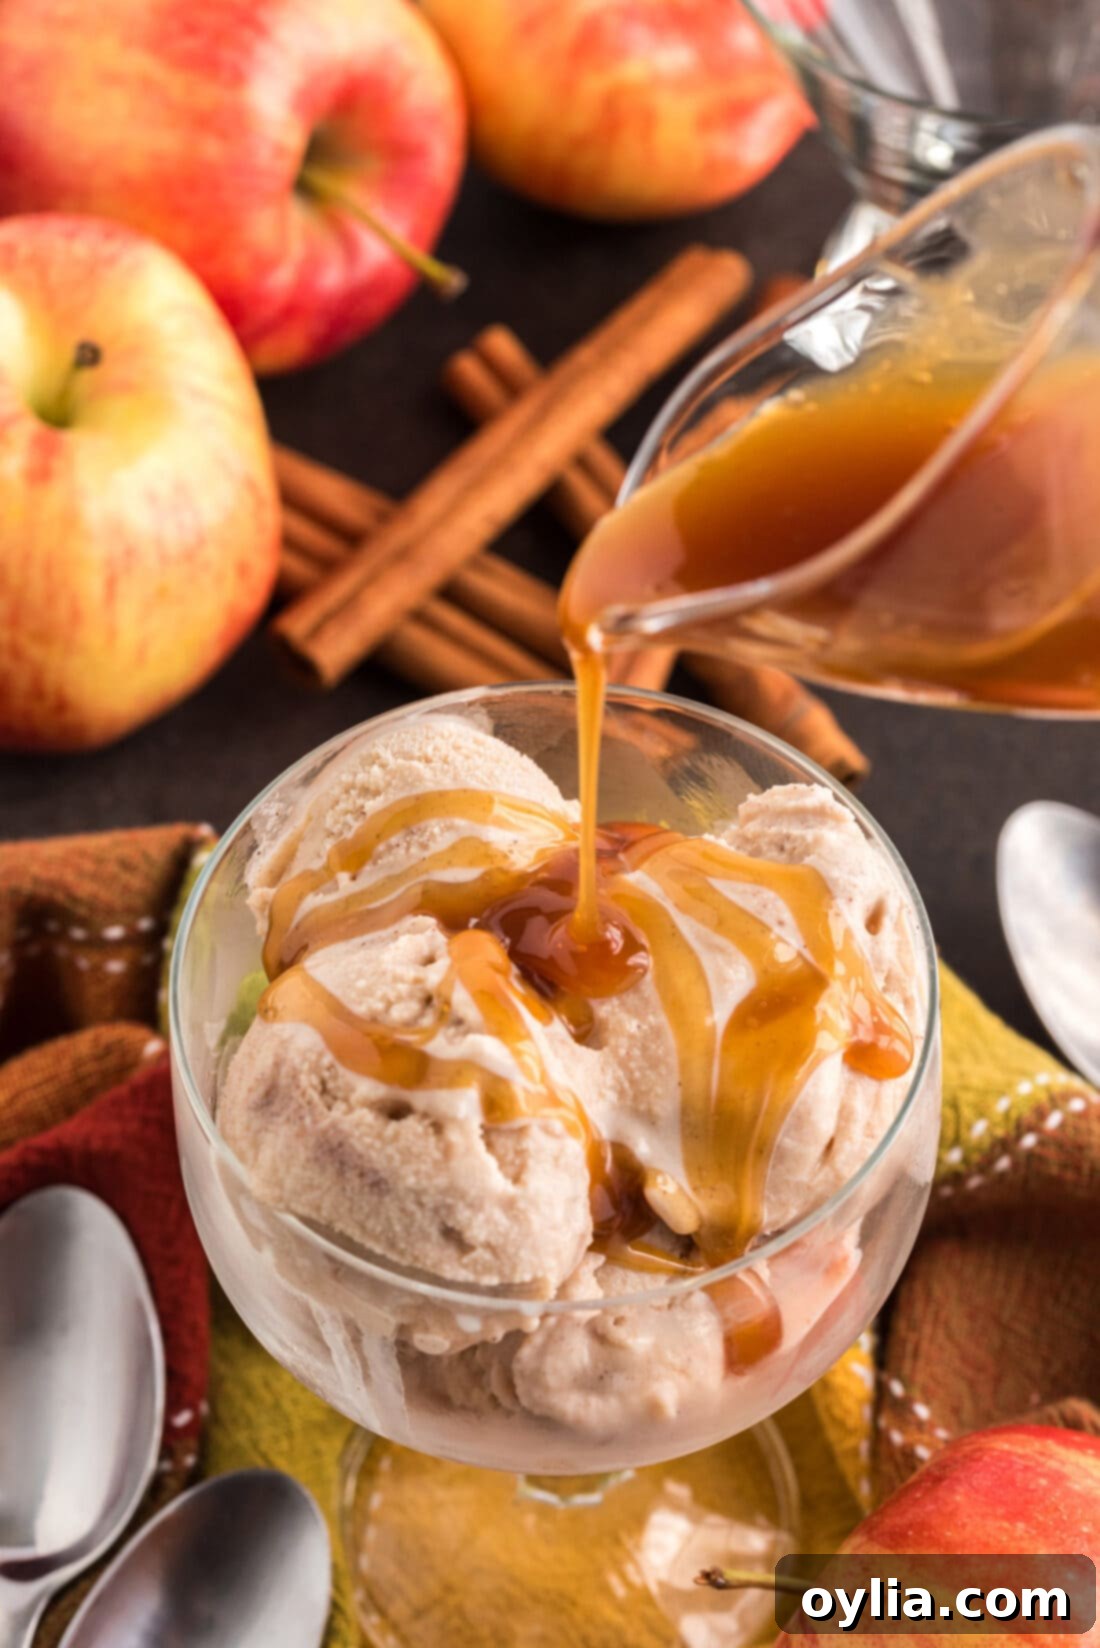
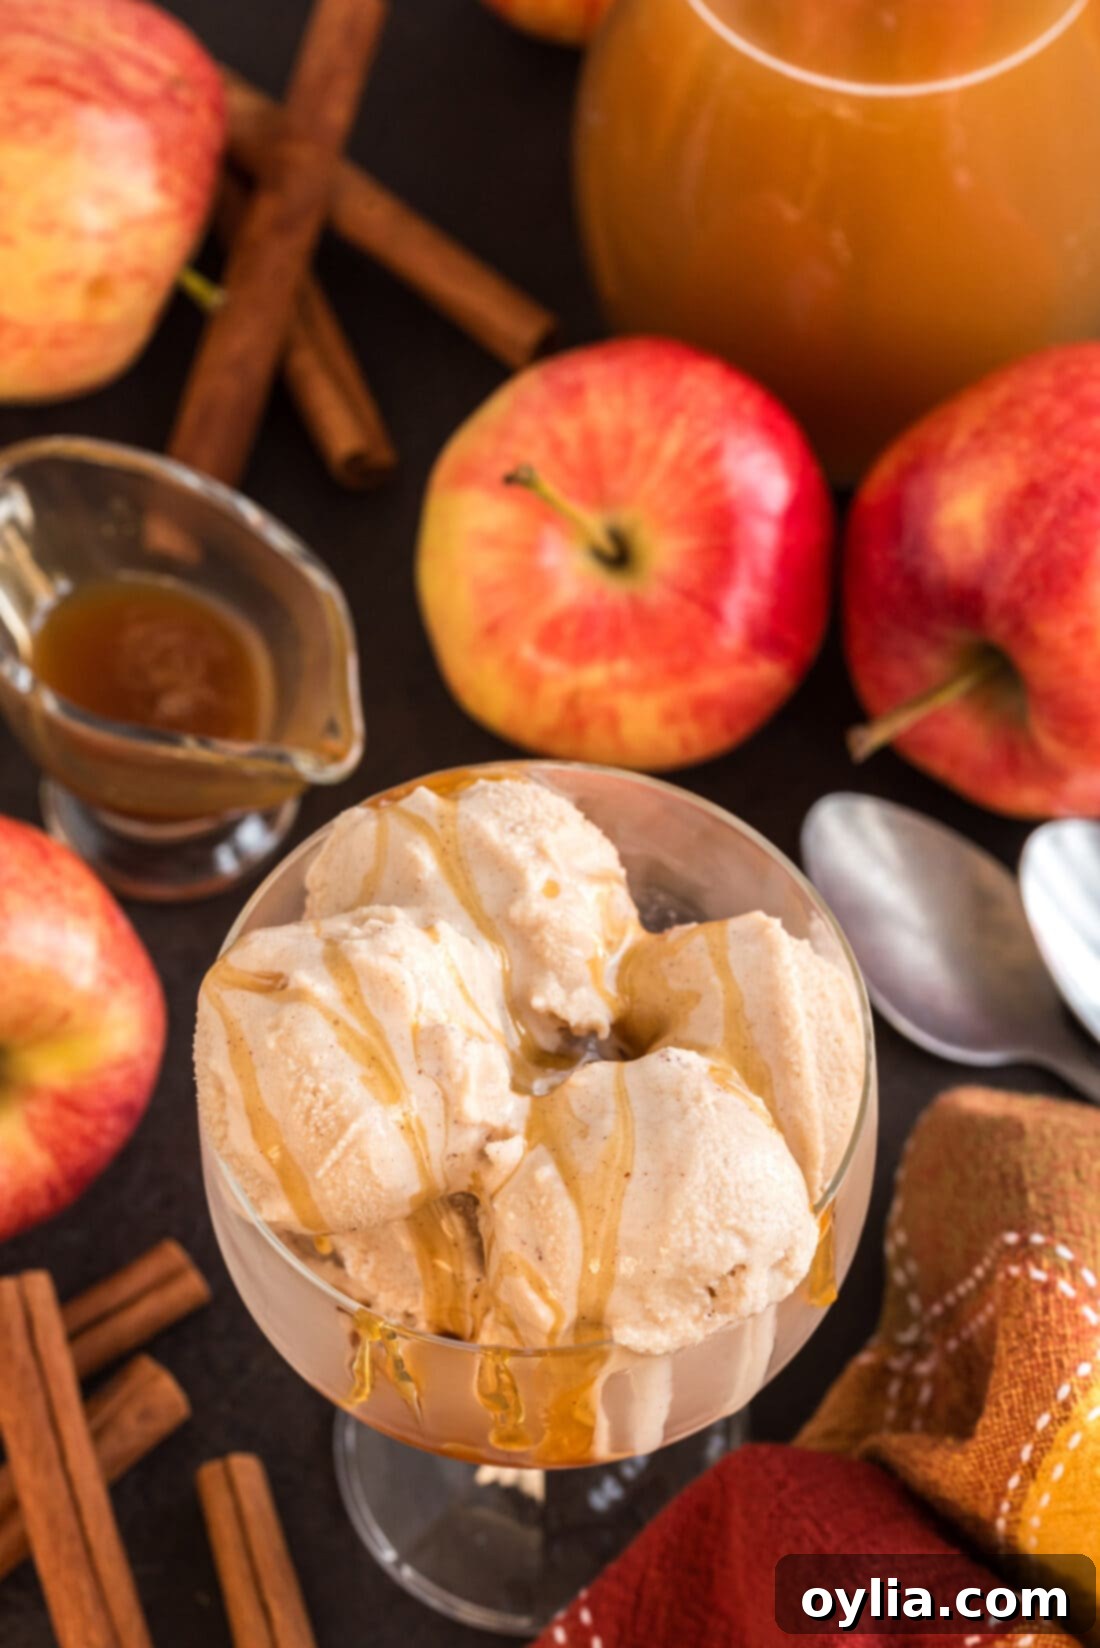
This apple cider ice cream isn’t just a dessert; it’s an experience. Its cool, creamy texture perfectly complements the sweet-tart apple flavor, which is beautifully enhanced by a subtle hint of warm cinnamon. This heavenly combination is elevated even further with a generous drizzle of caramel sauce, making it an irresistible treat that truly captures the spirit of autumn.
My inspiration for this delightful recipe comes from cherished memories of a local apple orchard, just a short mile from my home. It was a magical place where you could watch fresh apple cider being pressed right before your eyes. They sold an array of delicious apple products, from homemade cider doughnuts to fresh-pressed cider, various cheeses, and sausages. But what truly captivated me were their samples of apple cider milkshakes. The rich, apple-infused creaminess of those milkshakes sparked the idea to transform that beloved cider into an equally amazing, scoopable ice cream. This recipe is a homage to those nostalgic flavors, bringing the charm of the apple orchard right into your kitchen with just five simple ingredients.
Beyond its fantastic flavor, this recipe works because of its simplicity and the thoughtful preparation of the key ingredient. By reducing the apple cider, we concentrate its natural sweetness and tartness, intensifying the apple flavor while removing excess water that could lead to icy ice cream. This crucial step, combined with the rich base of sweetened condensed milk and heavy cream, ensures a luxuriously smooth and intensely flavored result that stands out from typical homemade ice cream.
Key Ingredients for Your Homemade Apple Cider Ice Cream
Creating this delightful apple cider ice cream requires just five simple ingredients, each playing a crucial role in achieving its rich flavor and creamy texture. You’ll find all precise measurements, ingredients, and detailed instructions in the printable recipe card located at the end of this post.
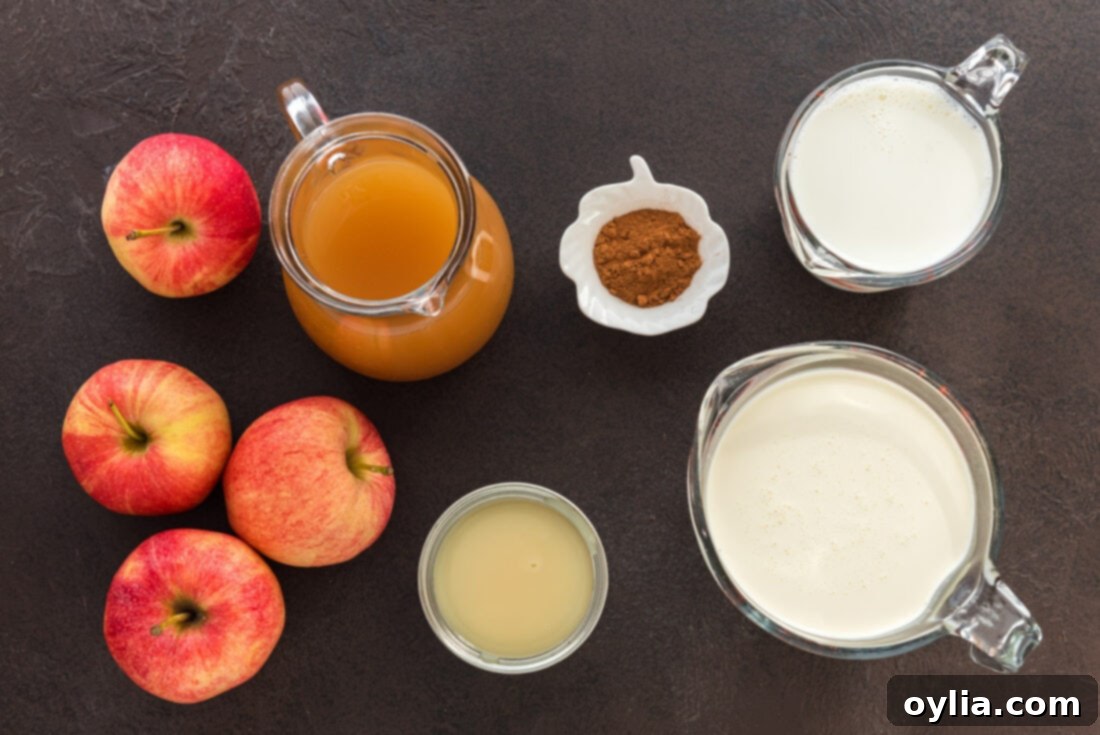
Ingredient Spotlight & Expert Substitution Advice
Let’s take a closer look at each ingredient and understand its purpose, along with any suitable substitution suggestions:
- APPLE CIDER: The star of the show! While high-quality store-bought apple cider will work perfectly, if you have a local apple farm nearby, I wholeheartedly encourage you to grab some fresh, unpasteurized cider for an unparalleled flavor experience. It’s crucial to use apple cider, not apple juice. Apple juice is filtered and pasteurized, resulting in a much sweeter and less complex flavor profile. Apple cider, on the other hand, is typically unfiltered, unpasteurized, and boasts a richer, more robust apple essence.
- Why Reduce the Cider? This is a vital step. Boiling the cider until it’s reduced concentrates its natural sugars and intense apple flavor. More importantly, it boils out excess water. Water is the enemy of creamy ice cream, as it forms large, undesirable ice crystals. By reducing the water content, you’ll achieve a smoother, richer texture and a more pronounced apple taste, preventing your ice cream from becoming icy.
- SWEETENED CONDENSED MILK: This is a powerhouse ingredient in many homemade ice cream recipes, especially those that aim for a creamy consistency. It provides both sweetness and a thick, smooth texture. A critical note: do NOT use evaporated milk. They are not interchangeable. Sweetened condensed milk is a very thick, pre-sweetened milk product, while evaporated milk is unsweetened and much thinner. Using evaporated milk will significantly alter the sweetness and texture of your ice cream.
- HEAVY CREAM (Heavy Whipping Cream): The fat content in heavy cream is what gives ice cream its signature creamy, rich texture. The higher the fat, the smoother and more luxurious your ice cream will be. Heavy cream typically has a fat content of 36-40%.
- Substitution Suggestion: You do have a little flexibility here. You can use half-and-half (which has a lower fat content, typically 10-18%) in equal parts if you’re looking to cut down on fat. However, be aware that substituting heavy cream with a lower-fat alternative like half-and-half or even regular milk (like 2% or whole milk) will result in a less smooth and less rich finished product. The reduction in fat directly impacts the ice cream’s creamy mouthfeel, potentially leading to a slightly icier texture. For the creamiest, most indulgent results, stick with heavy cream.
- MILK (1%): This helps to balance the richness of the heavy cream and sweetened condensed milk, contributing to the overall liquid volume without making the ice cream excessively heavy. You can use 2% or whole milk if preferred, but 1% works perfectly for a balanced texture.
- GROUND CINNAMON: The perfect spice to complement the apple cider. Cinnamon adds warmth and a cozy, autumnal aroma that enhances the natural apple flavor. Feel free to adjust the amount to your preference, or even add a pinch of nutmeg or ground cloves for an even deeper spice profile.
Crafting Your Homemade Apple Cider Ice Cream: Step-by-Step
These step-by-step photos and detailed instructions are provided to help you visualize the process of making this delicious recipe. For a complete, printable version of this recipe, including all measurements and instructions, you can jump directly to the recipe card at the bottom of this post.
-
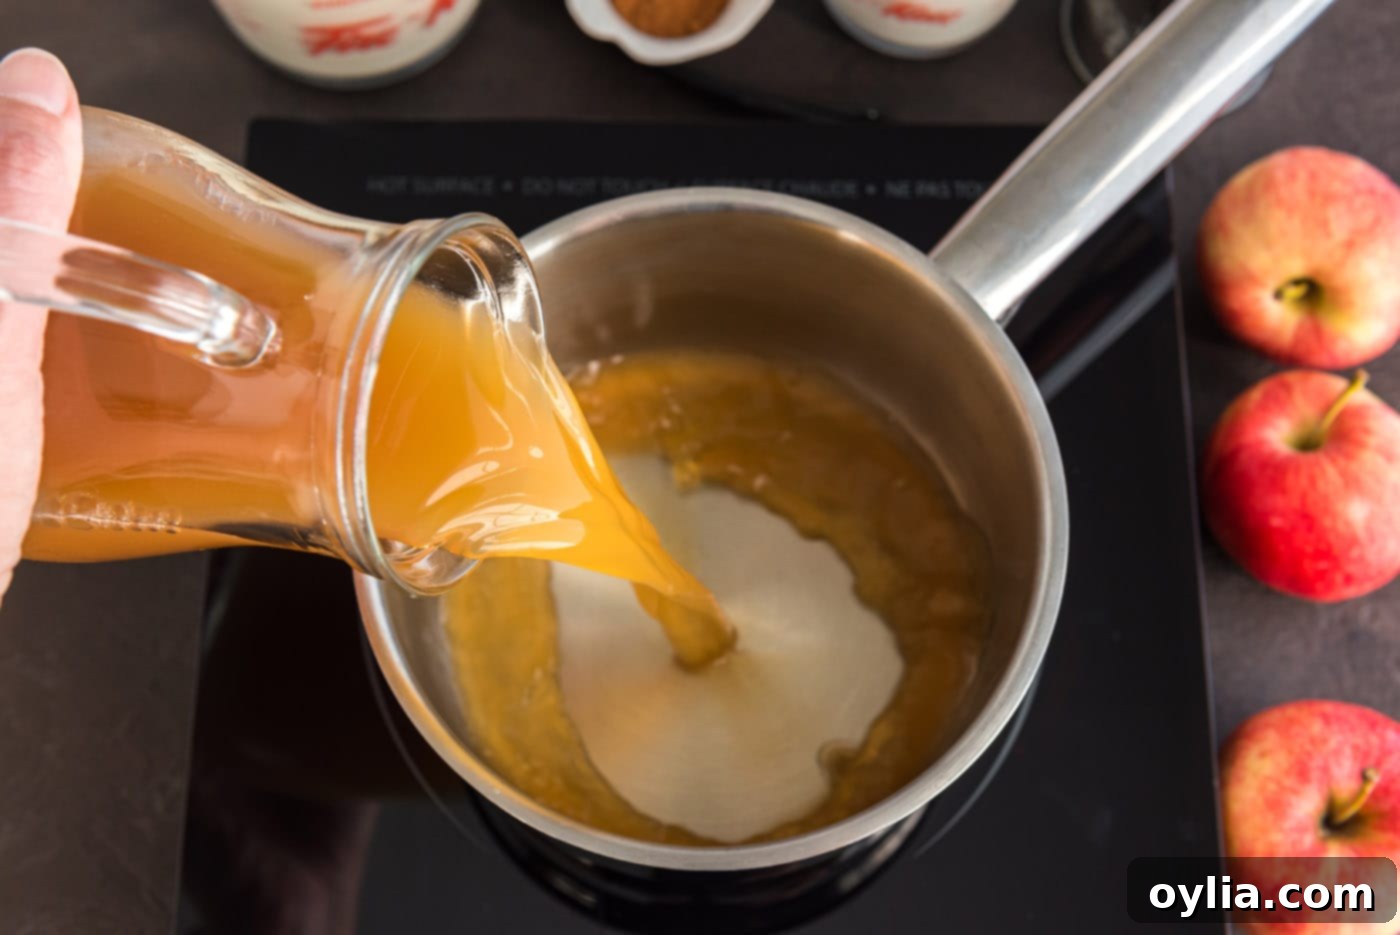
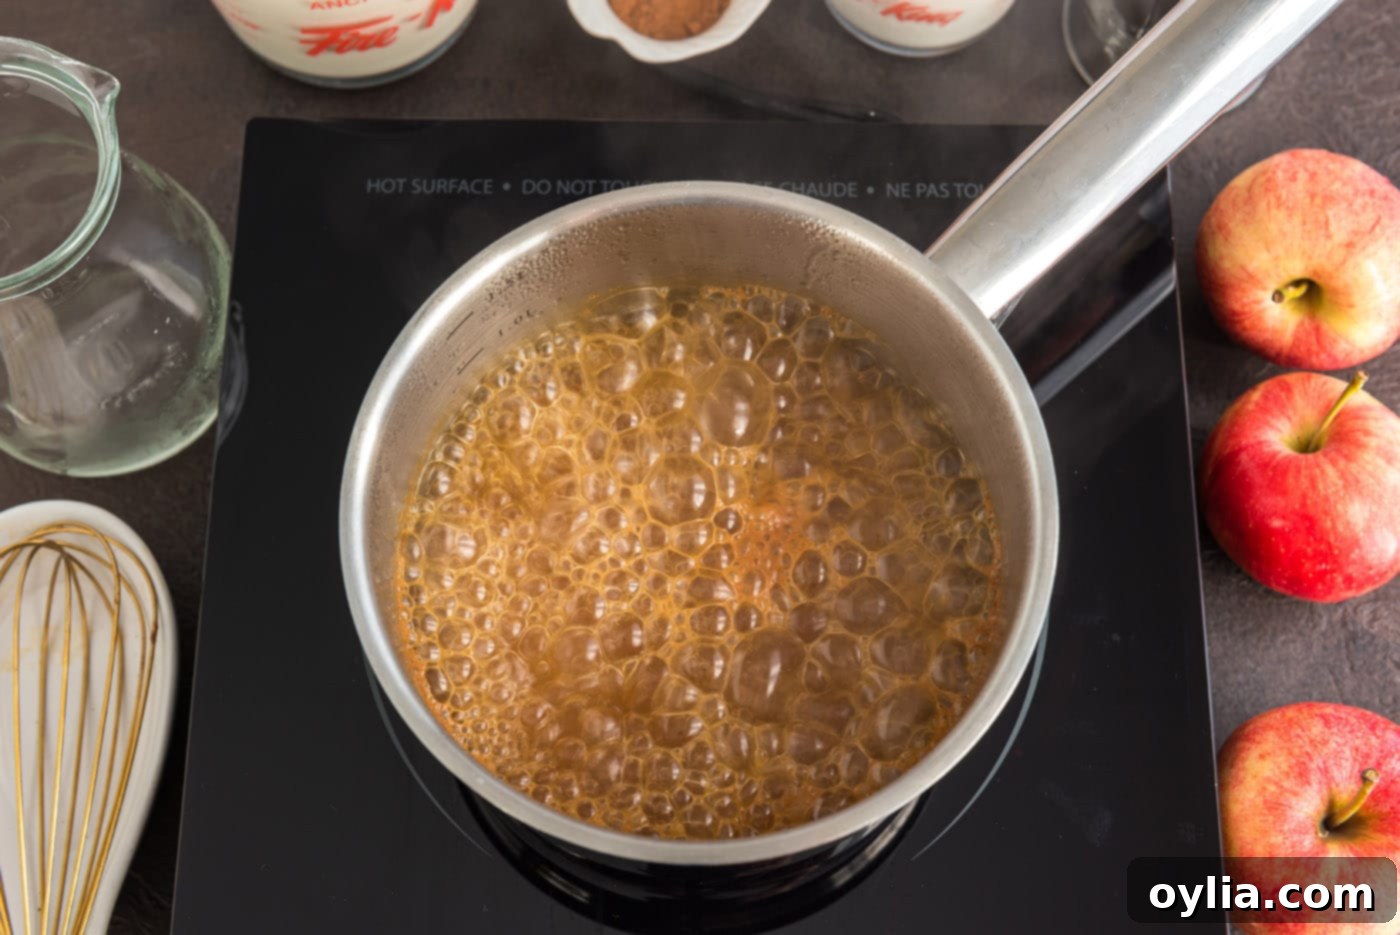
Reduce the Apple Cider: Pour your apple cider into a saucepan and bring it to a rolling boil over medium-high heat. Continue to boil, stirring occasionally, until the cider has reduced significantly to approximately 3 ounces. This process can take anywhere from 15-25 minutes, depending on your stovetop heat and initial volume. The goal is to evaporate excess water, concentrating the intense apple flavor and preventing ice crystals from forming in your final ice cream.
TIP – To accurately measure the reduced cider, carefully pour the hot cider into a liquid measuring cup. If you still have more than 3 ounces, return it to the saucepan and continue boiling for a few more minutes until the desired volume is reached. Precision here ensures the best flavor and texture.


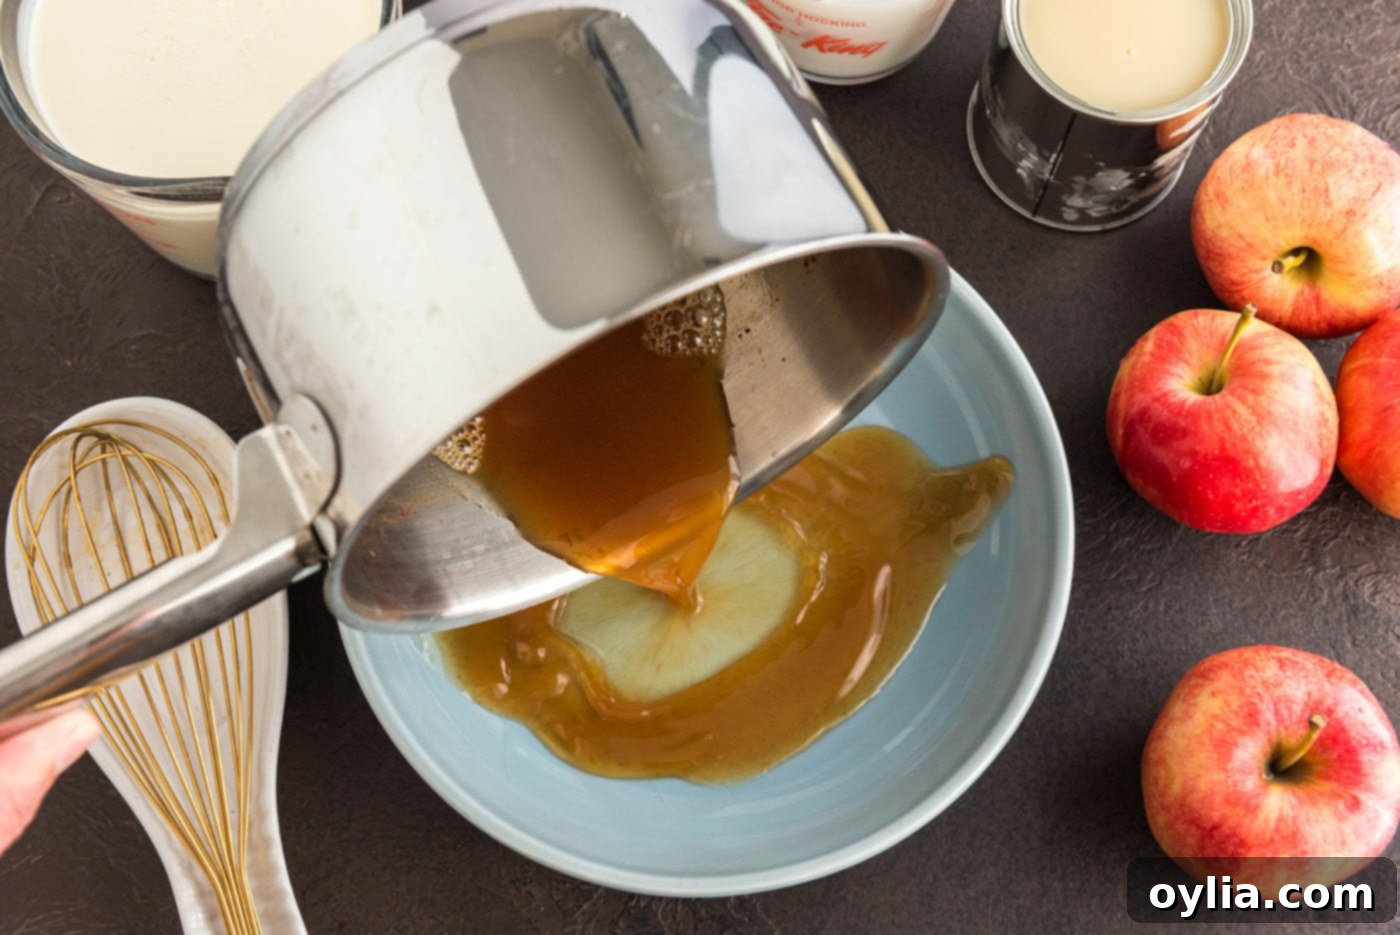
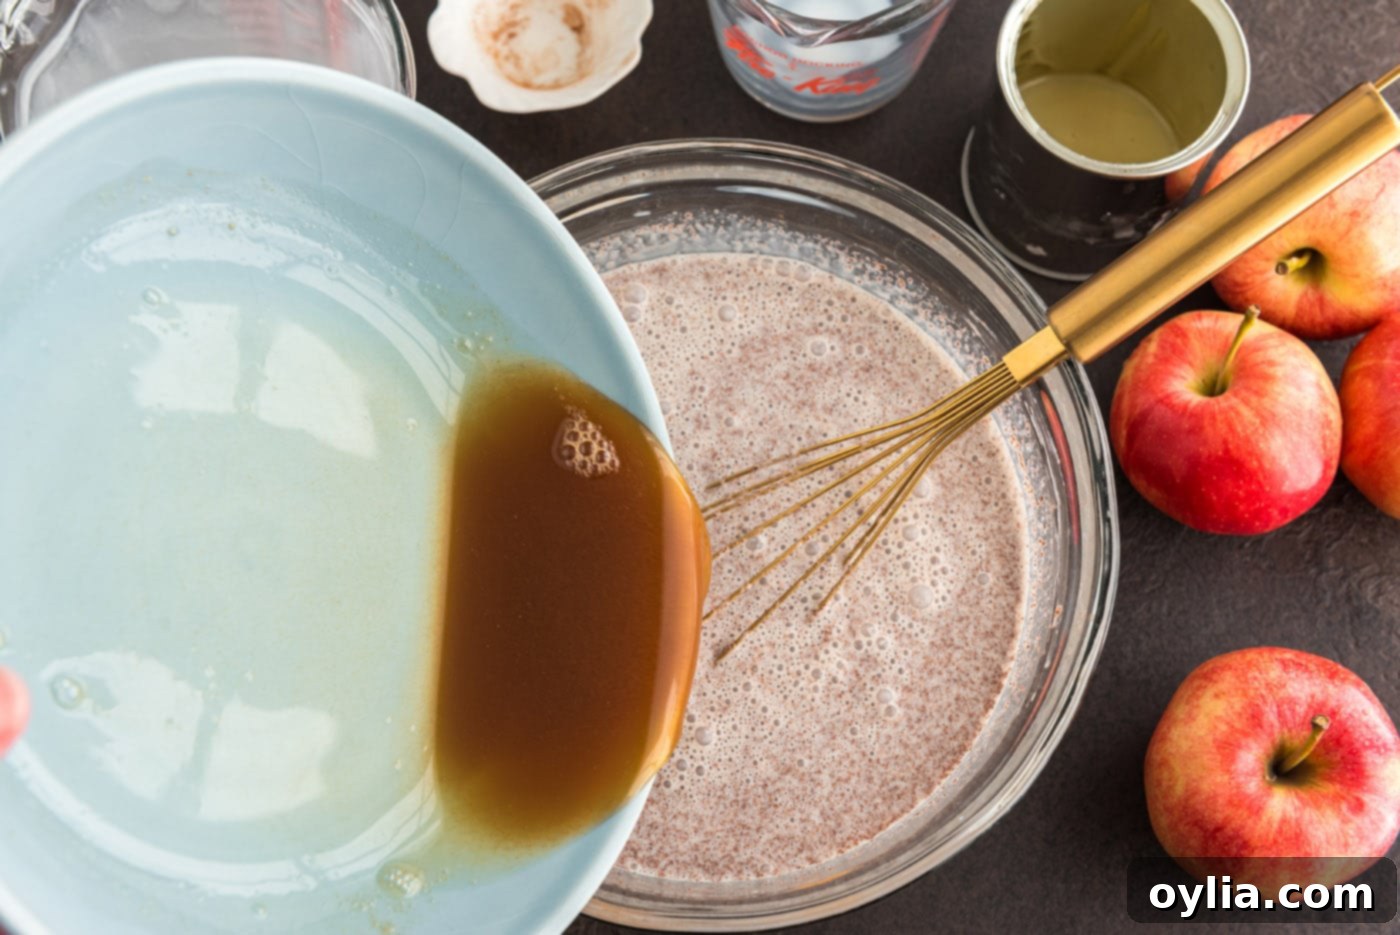
TIP – To cool the reduced cider quickly, pour it onto a wide, flat plate. The increased surface area allows the heat to dissipate much faster than if it were left in a measuring cup or bowl. Ensure it’s completely cool before adding it to the milk mixture.
-
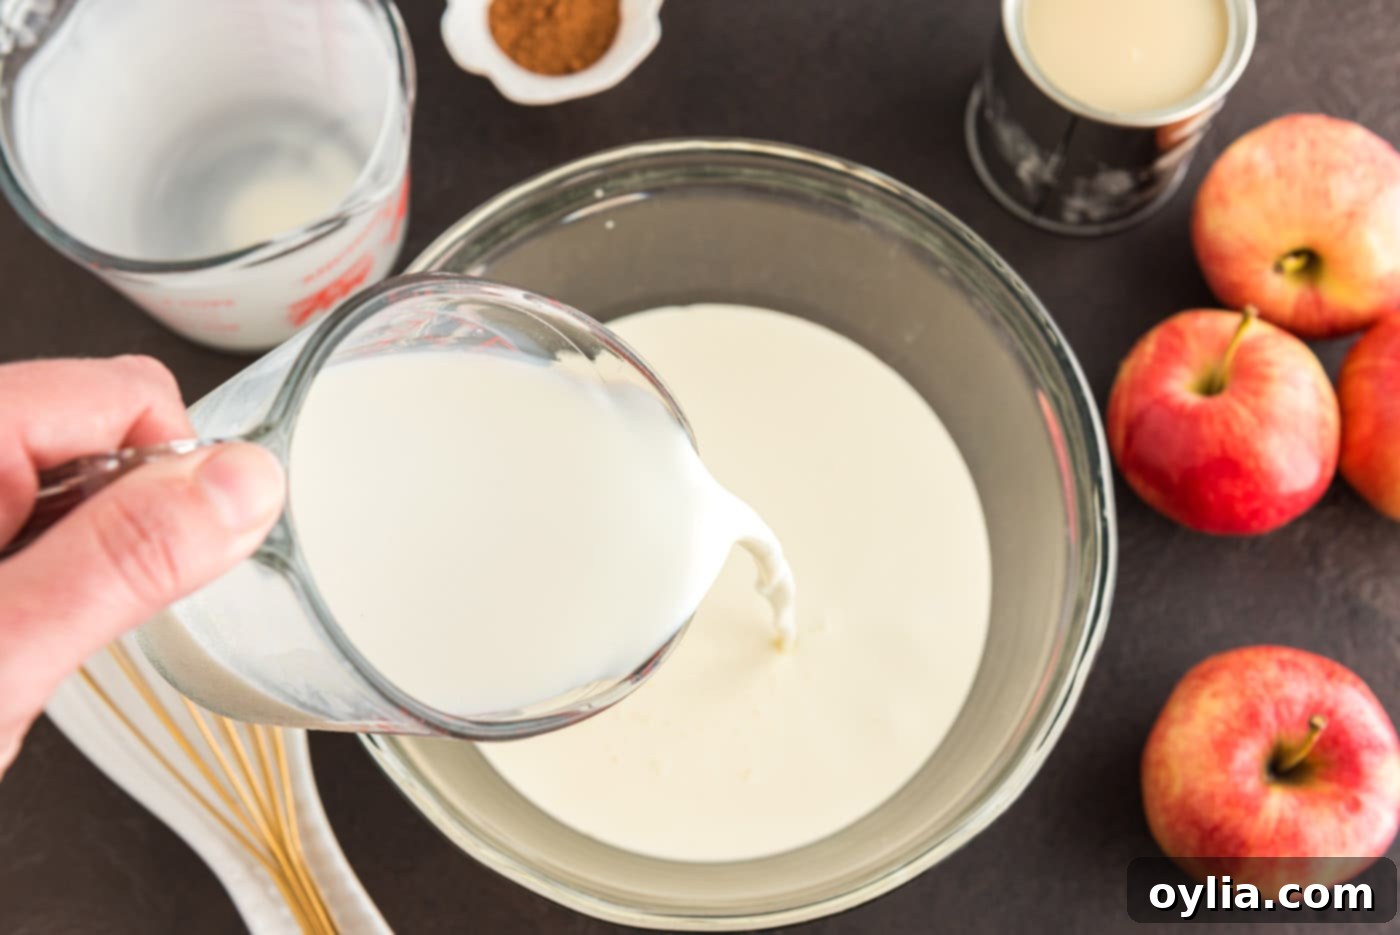
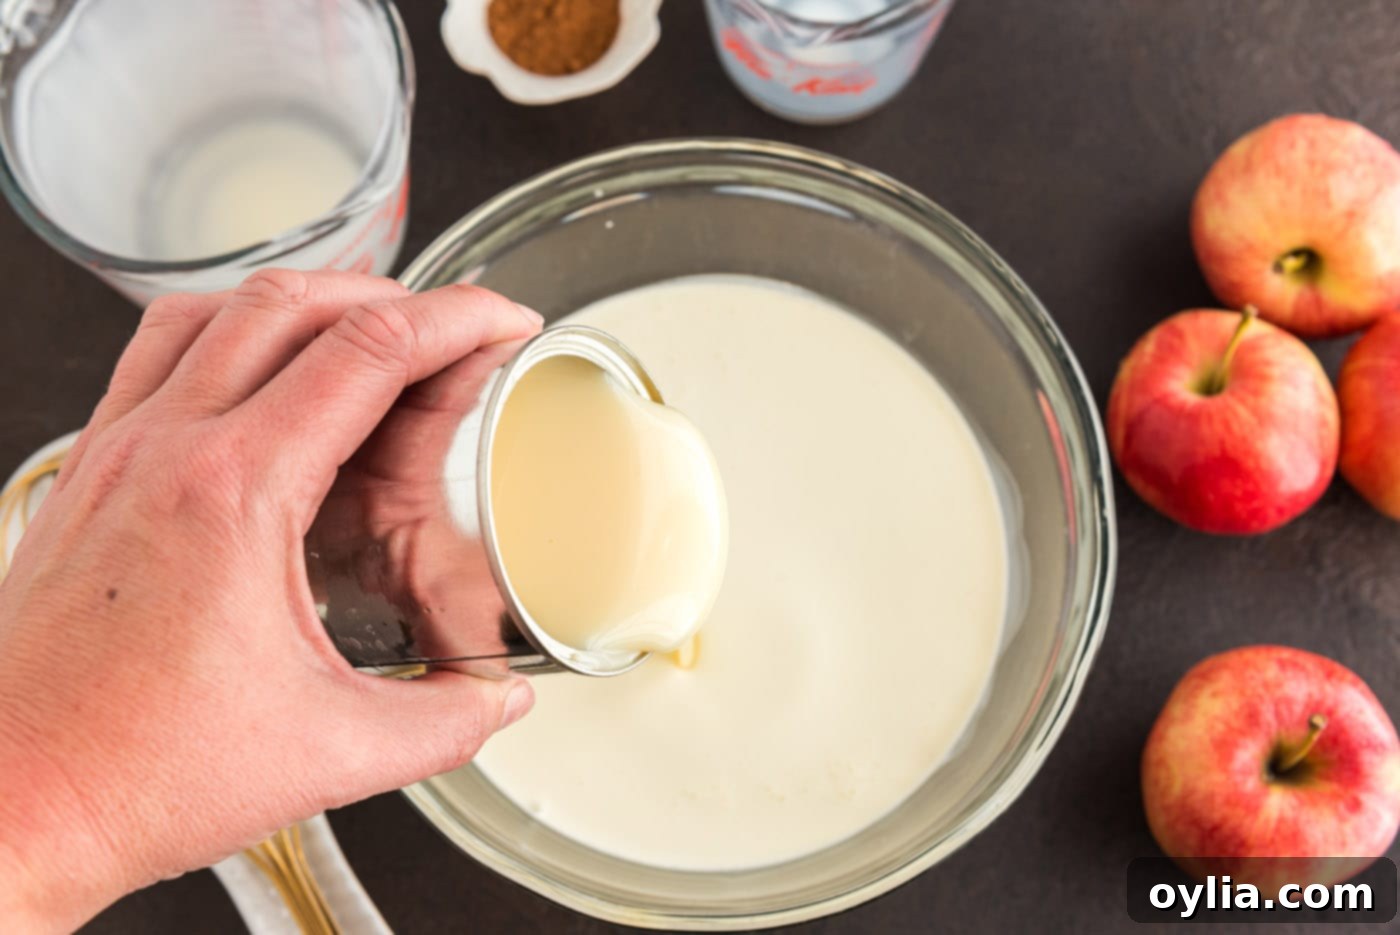
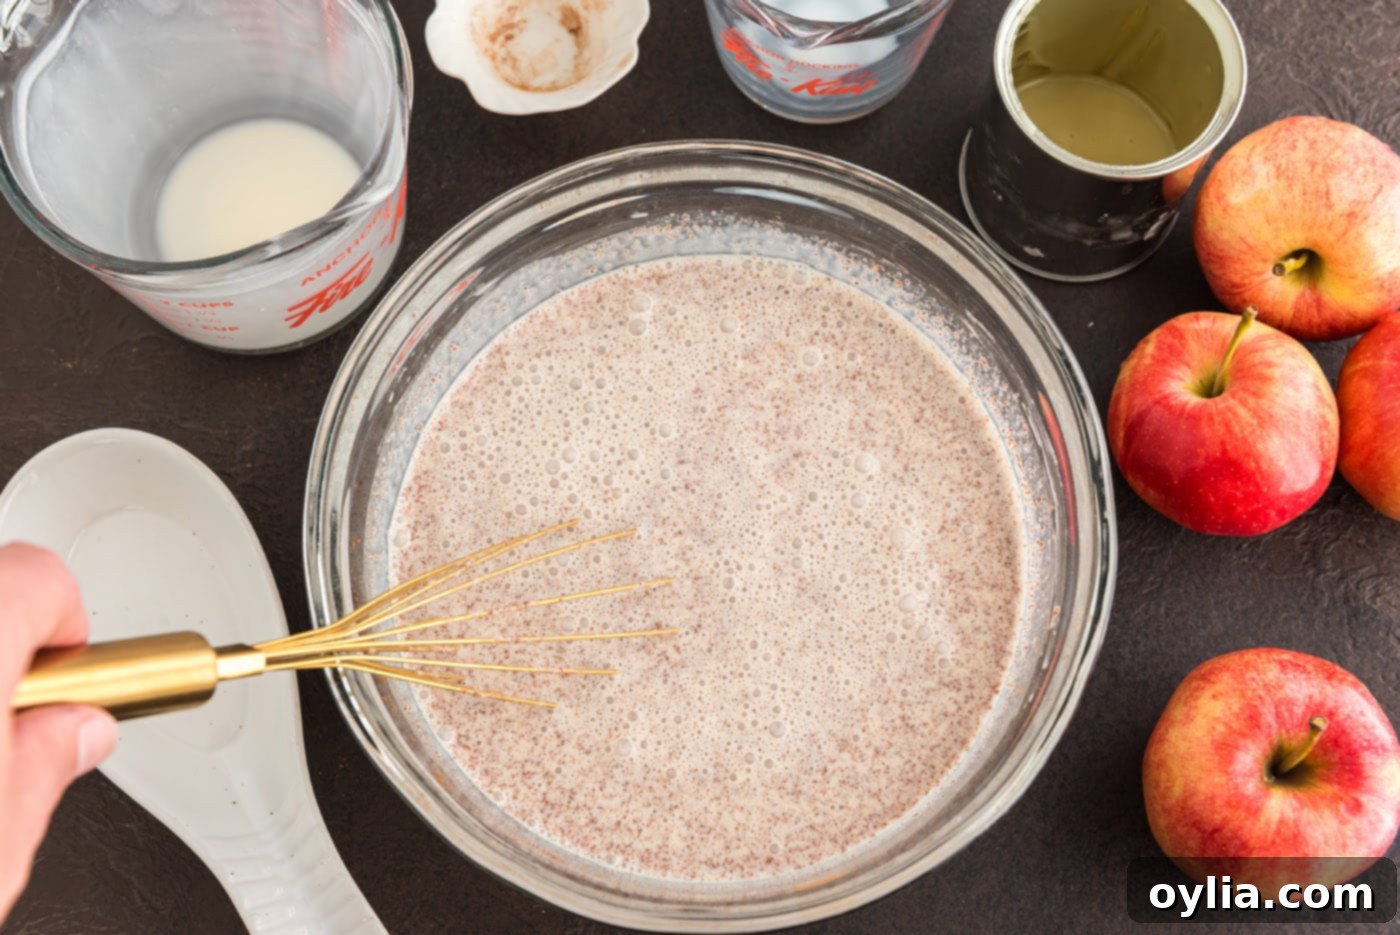
Prepare the Cream Base: In a large mixing bowl, combine the sweetened condensed milk, heavy cream, 1% milk, and ground cinnamon. Whisk these ingredients together thoroughly until they are well combined and smooth. This creates the rich, sweet, and creamy foundation for your ice cream.


-
Combine with Cooled Cider: Once your reduced apple cider is completely cool, pour it into the large bowl with the milk and cream mixture. Whisk everything together until it is thoroughly combined and smooth. This final mixture is now ready for churning.

-
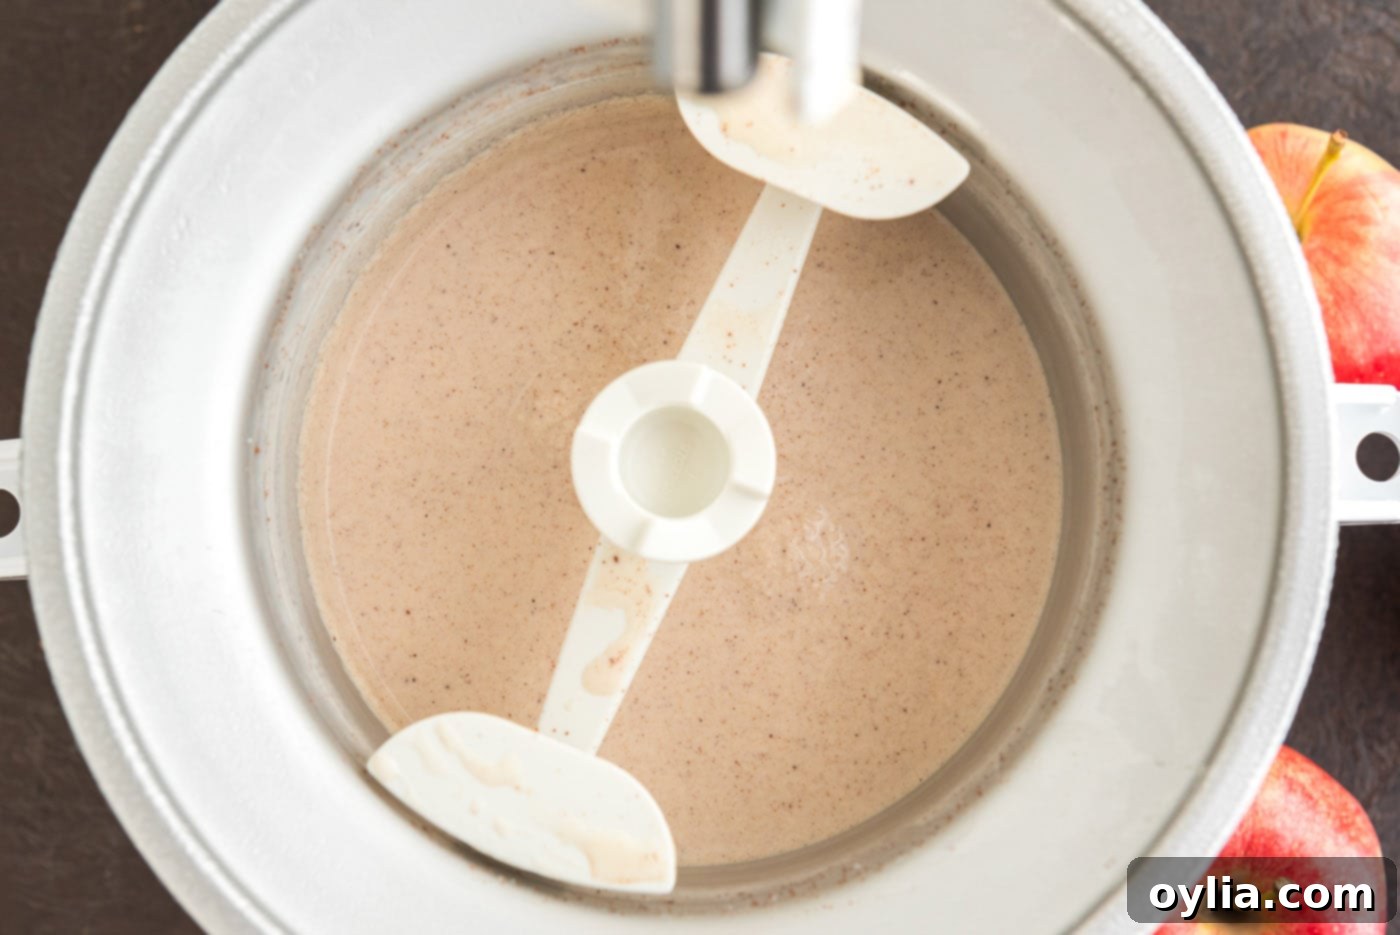
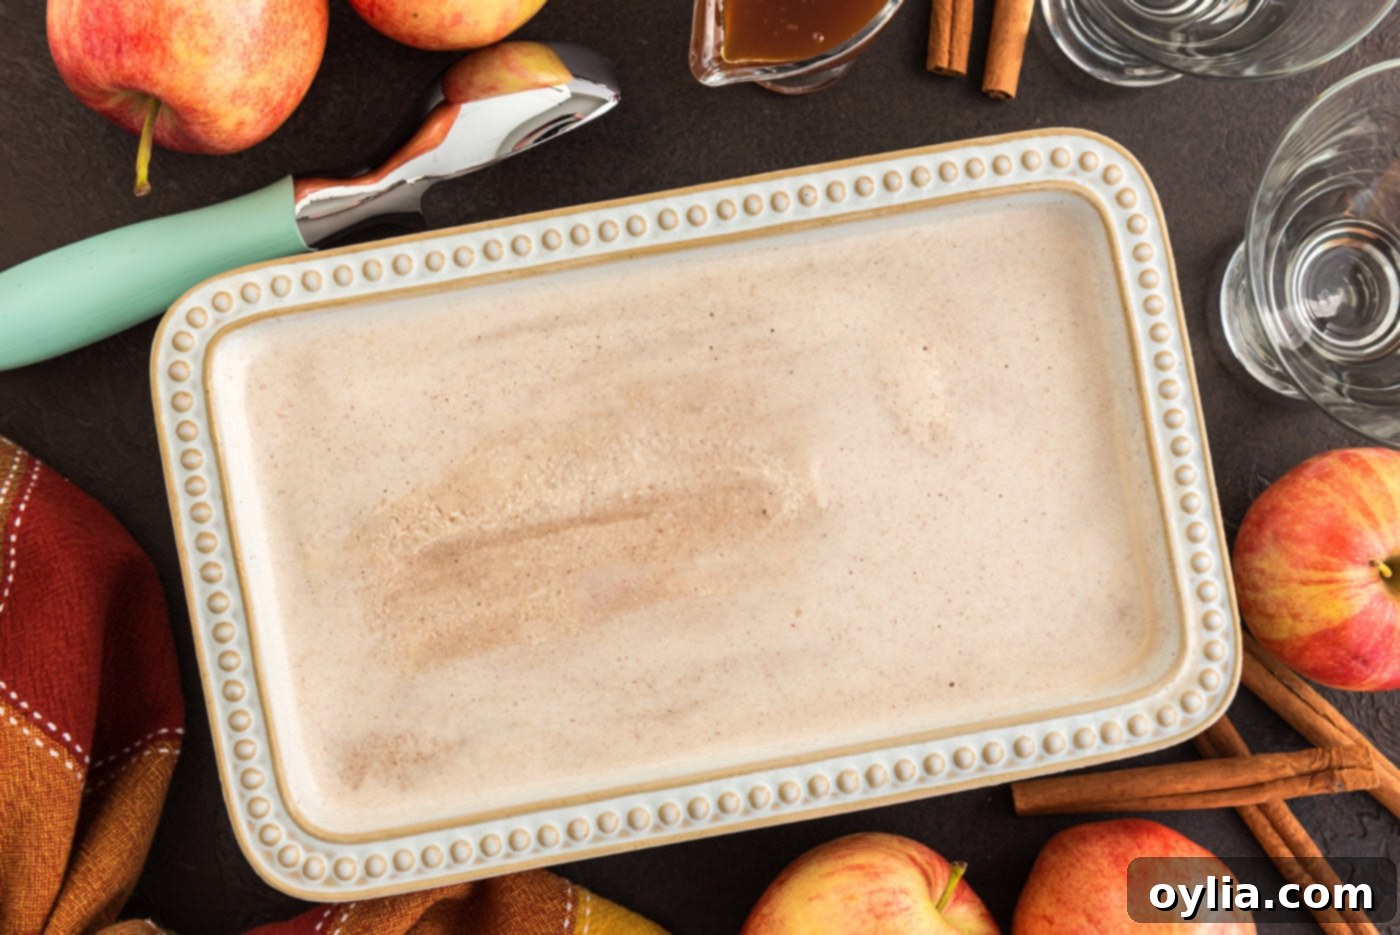
Churn and Freeze: Pour the complete ice cream mixture into your ice cream maker. Churn according to the manufacturer’s directions. This usually takes about 20-30 minutes, or until the mixture reaches a soft-serve consistency. Once churned, transfer the soft ice cream into a freezer-safe container with an airtight lid. Freeze for at least 4-6 hours, or until solid, to achieve the perfect scoopable texture.


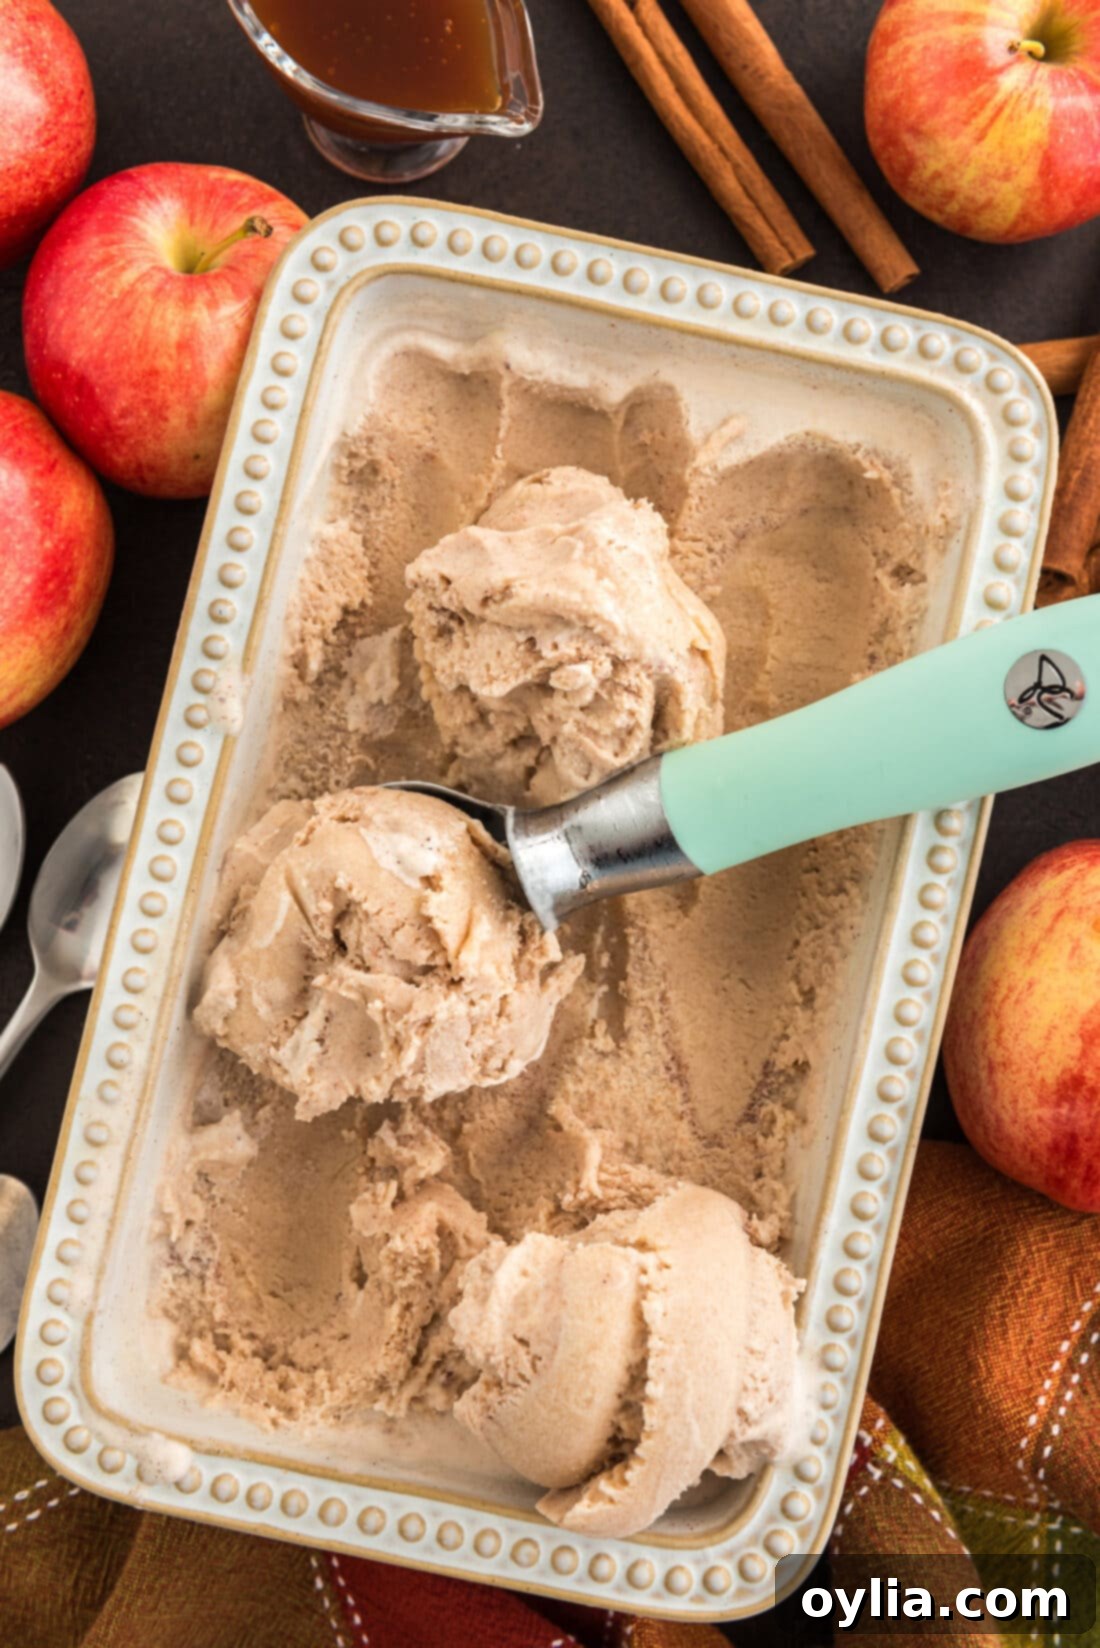
- Serve and Enjoy: Once thoroughly frozen, scoop your delicious apple cider ice cream into bowls or cones. For an extra touch of indulgence, serve it generously drizzled with rich caramel sauce.
Frequently Asked Questions & Expert Tips for Perfect Ice Cream
To maintain optimal freshness and texture, store your homemade apple cider ice cream in an air-tight, freezer-safe container. It will keep well in the freezer for up to 4 weeks. It’s important to note that homemade ice cream generally doesn’t last as long as store-bought varieties because it lacks the stabilizers and preservatives commonly found in commercial products. Always ensure the lid is tightly sealed to prevent freezer burn and maintain its creamy consistency.
The creamy, rich texture of ice cream is largely attributed to its fat content, with heavy cream being the primary source in this recipe. While you can substitute with lower-fat options like 2% milk or half-and-half, it’s important to manage your expectations. If you use regular milk instead of heavy cream, the texture of your finished ice cream will be noticeably less smooth and rich, and it may develop more ice crystals. Half-and-half offers a slightly better compromise if you need to reduce fat, but for the most luxurious and creamy apple cider ice cream, heavy cream is highly recommended.
Reducing the apple cider is a crucial step for two main reasons. First, it intensely concentrates the apple flavor, ensuring your ice cream has a vibrant, authentic apple taste rather than a diluted one. Second, and equally important for ice cream, it boils off excess water. High water content in ice cream leads to the formation of large, undesirable ice crystals, resulting in a grainy or icy texture. By reducing the cider, you’re left with a more flavorful, less watery base that contributes to a much smoother and creamier final product.
Yes, this particular recipe is designed for an ice cream maker. The churning process is essential for incorporating air into the mixture and breaking down ice crystals as they form, which results in the incredibly smooth and creamy texture we’re aiming for. While there are “no-churn” ice cream recipes available, they typically rely on different ratios of ingredients (often more condensed milk and whipped cream) to achieve a similar result without a machine. For this specific formulation, an ice cream maker is necessary to achieve the best results.
Delightful Ways to Serve Your Apple Cider Ice Cream
This creamy apple cider ice cream is incredibly versatile and pairs beautifully with a variety of other fall treats. Here are some of our favorite serving suggestions:
- With Warm Apple Pie or Crumble: The quintessential fall dessert pairing! A generous scoop of this cool, spiced ice cream melting over a slice of warm homemade apple pie or a hearty apple crumble is pure bliss. The contrast of warm and cold, soft and crisp, is simply irresistible.
- Apple Cider Floats: For a refreshing and creamy beverage, place a scoop or two of apple cider ice cream into a tall glass of chilled apple cider. The ice cream will slowly melt, creating a delightful, frothy float that’s bursting with apple flavor.
- Spiced Milkshakes: Blend a few scoops of this ice cream with a splash of milk and a dash more cinnamon for an ultra-creamy and spiced apple cider milkshake. It’s a fantastic way to enjoy a richer version of the orchard classic.
- Classic Style: Sometimes, simplicity is best. Enjoy your apple cider ice cream scooped into a bowl or a crisp waffle cone, topped with a luscious caramel sauce and a dollop of freshly whipped cream. Add a sprinkle of extra cinnamon or a few chopped pecans for added texture and flavor.
- Garnish Ideas: Consider garnishing with a thin apple slice, a cinnamon stick, a sprinkle of toasted nuts (like walnuts or pecans), or even a crumbled ginger snap for a delightful crunch.
Explore More Apple Cider Delights
If you’ve fallen in love with the flavor of apple cider in this ice cream, you’ll be thrilled to discover these other fantastic recipes that celebrate this versatile fall ingredient:
- Hot Apple Cider: A comforting classic, perfect for chilly evenings.
- Apple Cider Milkshake: Recreate the creamy drink that inspired this very ice cream.
- Apple Cider Doughnuts: A quintessential fall treat, tender and spiced.
- Crockpot Caramel Apple Cider: A warm, sweet, and effortlessly made beverage for gatherings.
I absolutely adore spending time in the kitchen, experimenting with flavors, and sharing my culinary discoveries with all of you! To make sure you never miss a new recipe, I offer a convenient newsletter delivered right to your inbox every time a fresh post goes live. Simply subscribe here and start receiving your free daily recipes, tips, and inspiration directly!
Apple Cider Ice Cream
IMPORTANT – Don’t forget to check the Frequently Asked Questions and Expert Tips section within the blog post for helpful insights and troubleshooting. Simply scroll back up to read them!
Print It
Pin It
Rate It
Save ItSaved!
Ingredients
- 14 ounces sweetened condensed milk (1 can)
- 2 cups heavy whipping cream
- 1 cup 1% milk
- 1 ½ cups fresh apple cider
- 1 tablespoon ground cinnamon
Things You’ll Need
-
Saucepan
-
Whisk
-
Ice cream maker
Before You Begin & Recipe Notes
- For the most vibrant apple flavor, fresh, unfiltered apple cider is highly recommended. However, good quality store-bought cider will certainly yield delicious results.
- Crucial Note: Always use sweetened condensed milk, not evaporated milk. They are distinctly different products, and using evaporated milk will negatively impact both the sweetness and the texture of your ice cream.
- This recipe specifically calls for apple cider, which is typically cloudier and more robust in flavor than apple juice. Ensure you pick up the correct kind for the best outcome. The initial step of boiling and reducing the cider is vital. This process concentrates the apple flavor and removes excess water, which helps prevent the formation of icy crystals in your finished ice cream, ensuring a smooth and creamy texture.
- Heavy cream is key to the luxurious creaminess of this ice cream due to its high fat content. If you opt to use a lower-fat alternative like half-and-half or even regular milk (e.g., 2% milk), be aware that the final texture will be less smooth and rich. The higher the fat content, the creamier your ice cream will be.
- Store your homemade apple cider ice cream in an air-tight, freezer-safe container to protect it from freezer burn. For optimal freshness and texture, consume within 4 weeks. Homemade ice cream lacks the preservatives found in commercial varieties, so it has a shorter shelf life.
- Ensure your ice cream maker’s bowl is thoroughly pre-chilled (usually 12-24 hours in the freezer) before you begin churning. This is essential for the ice cream to freeze properly during the churning process.
Instructions
-
Place the apple cider in a saucepan. Bring it to a boil over medium-high heat and continue boiling, stirring occasionally, until it has reduced to precisely 3 ounces. This step concentrates the flavor and removes excess water.
TIP – All liquid measuring cups have markings for ounces. Simply pour the hot reduced cider into a measuring cup to check the volume. If it’s still too much, return it to the saucepan and boil a little longer until it reaches 3 ounces.
-
Pour the reduced cider onto a wide, flat plate to cool completely. This method helps it cool much faster than leaving it in a deep bowl or measuring cup. Ensure it is fully chilled before proceeding.
-
In a large mixing bowl, whisk together the sweetened condensed milk, heavy cream, 1% milk, and ground cinnamon until smooth and well combined. Once the reduced cider is cool, add it to this milk mixture and whisk vigorously until everything is thoroughly incorporated.
-
Pour the prepared mixture into your pre-chilled ice cream maker. Churn according to your manufacturer’s specific directions, typically for 20-30 minutes, or until the ice cream achieves a soft-serve consistency. Transfer the churned ice cream into a freezer-safe container with an airtight lid and freeze for at least 4-6 hours, or until it is firm and solid.
-
Serve generous scoops of the apple cider ice cream, optionally drizzled with a rich caramel sauce for an extra touch of sweetness. Enjoy!
Nutrition Information
The recipes on this blog are tested with a conventional gas oven and gas stovetop. It’s important to note that some ovens, especially as they age, can cook and bake inconsistently. Using an inexpensive oven thermometer can assure you that your oven is truly heating to the proper temperature. If you use a toaster oven or countertop oven, please keep in mind that they may not distribute heat the same as a conventional full sized oven and you may need to adjust your cooking/baking times. In the case of recipes made with a pressure cooker, air fryer, slow cooker, or other appliance, a link to the appliances we use is listed within each respective recipe. For baking recipes where measurements are given by weight, please note that results may not be the same if cups are used instead, and we can’t guarantee success with that method.
