Crispy Boom Boom Shrimp: Your Ultimate Guide to a Flavorful & Easy Appetizer or Main Course
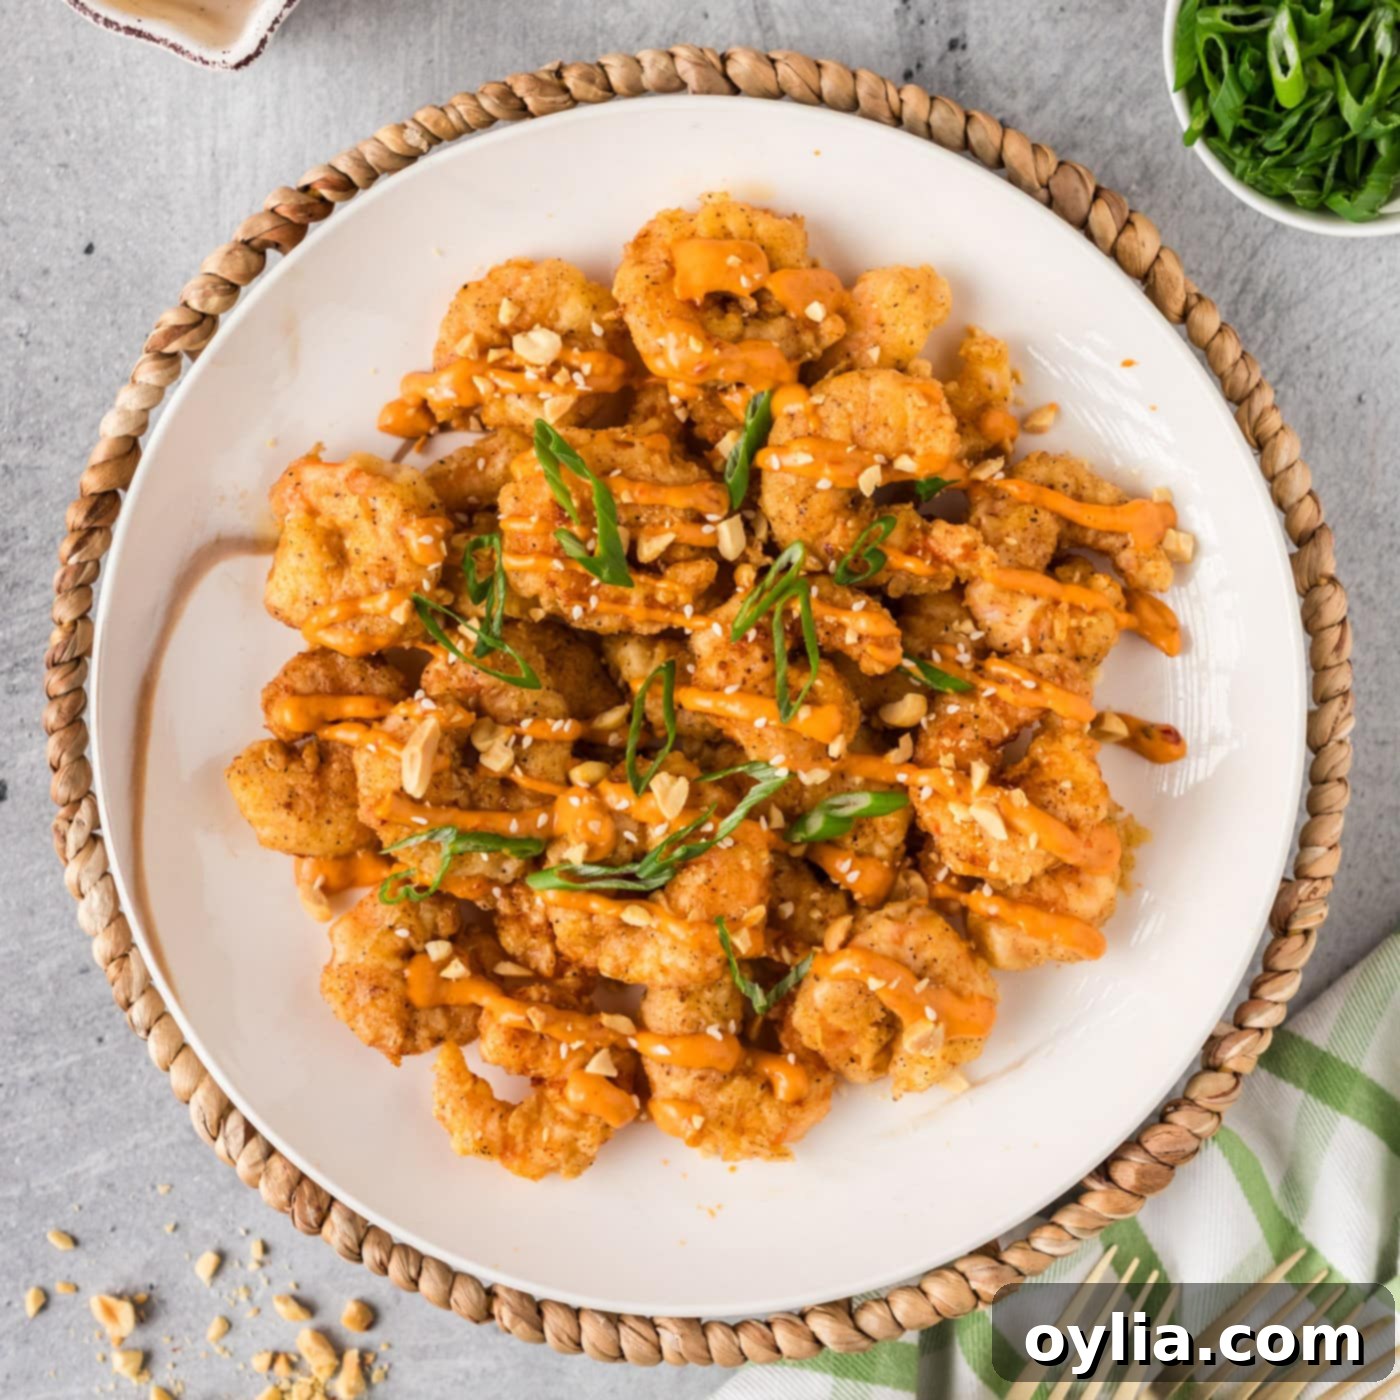
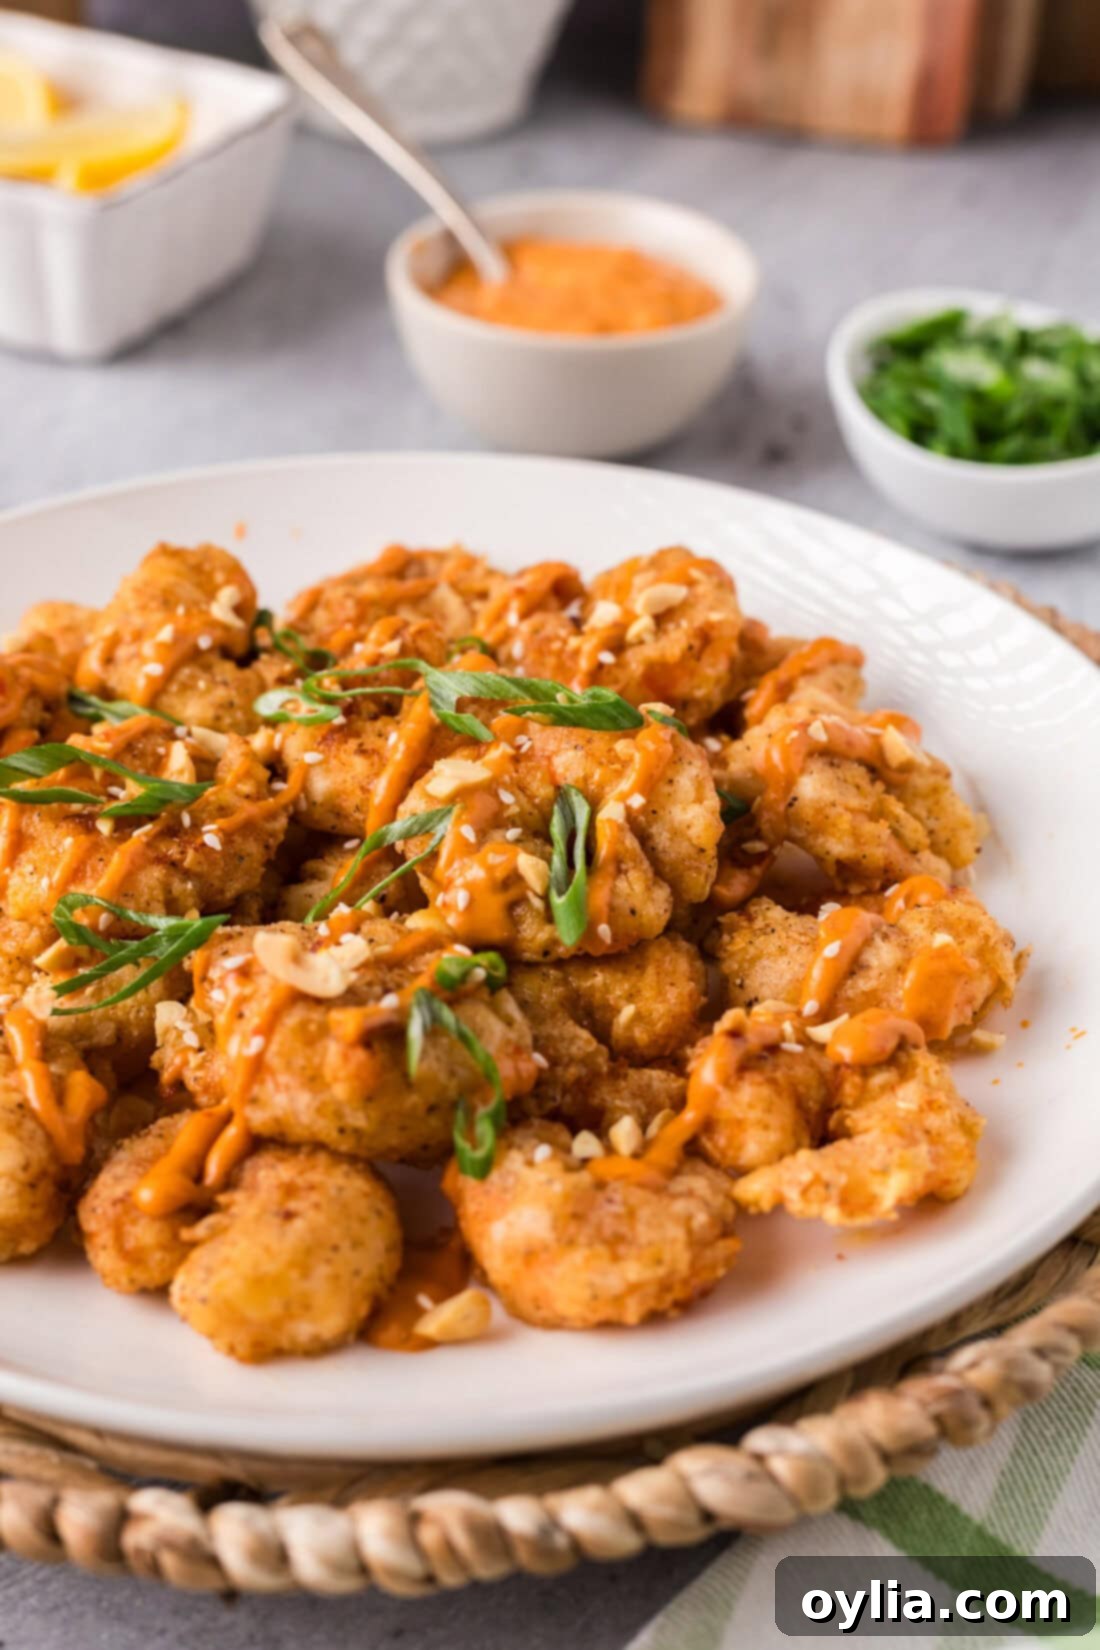
Prepare for an explosion of flavor with this incredible Boom Boom Shrimp recipe! In just 30 minutes, you can create perfectly crispy, succulent shrimp coated in a creamy, spicy, and tangy mayo-based sauce that will tantalize your taste buds. This dish is not just quick and easy; it’s a guaranteed crowd-pleaser, whether you’re serving it as a show-stopping appetizer or a delightful main course.
Why This Crispy Boom Boom Shrimp Recipe Works Every Time
This Boom Boom Shrimp recipe stands out for its undeniable appeal and foolproof execution. The secret to its incredible texture lies in our simple yet effective breading method: fresh shrimp is first lightly dusted with flour, then coated in an egg wash, and finally dredged in a flavorful blend of seasoned flour and cornstarch. This multi-step process ensures a perfectly golden brown, extra-crispy exterior when deep-fried, providing a delightful crunch with every bite. The cornstarch, in particular, is a game-changer, helping to achieve that restaurant-quality crispiness that’s often hard to replicate at home.
But what truly elevates this dish is its signature sauce. Much like its popular cousin, Bang Bang Shrimp, making Boom Boom Shrimp is surprisingly easy. However, the distinct differences in our sauce ingredients give it a unique, addictive profile. Our homemade Boom Boom sauce strikes a harmonious balance of sweet, tangy, and mildly spicy notes, with a rich, creamy base that perfectly complements the crunchy shrimp. It’s a flavor combination that’s both exciting and comforting, making this dish irresistible. Whether you prefer to drizzle the vibrant sauce over the crispy shrimp or fully dunk them for an immersive experience, this recipe delivers consistent, delicious results, making it an ideal choice for both seasoned cooks and kitchen novices.
Essential Ingredients for Your Boom Boom Shrimp
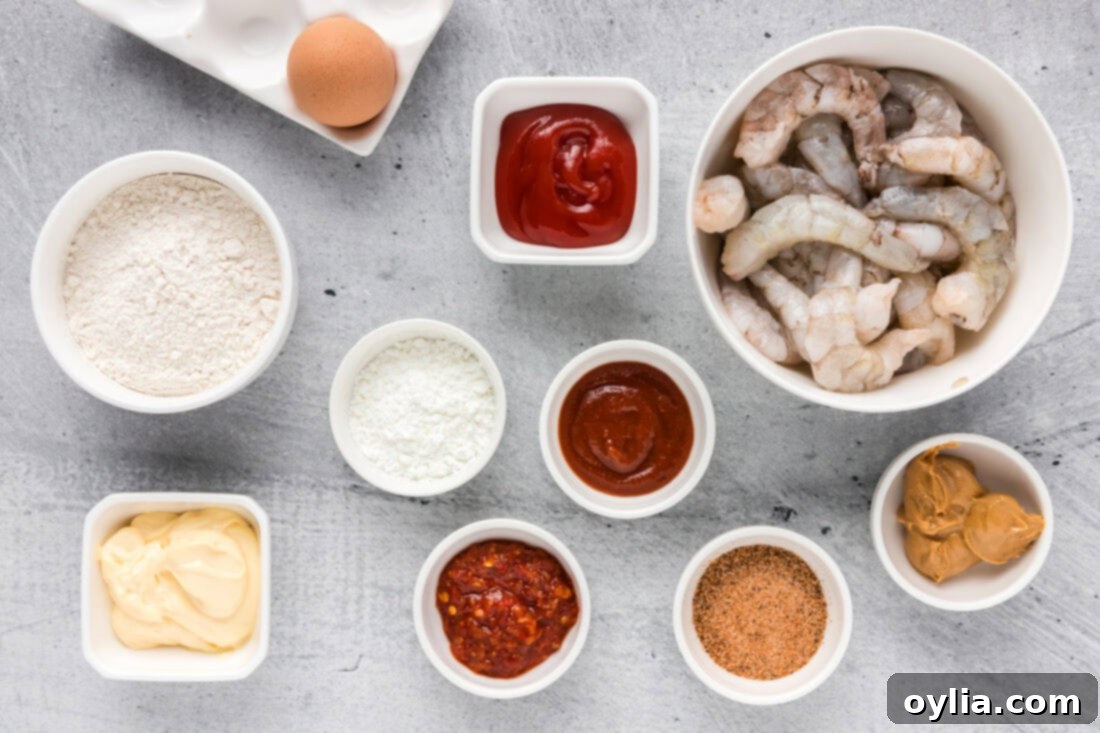
Gathering your ingredients is the first step to creating this delectable dish. We’ve outlined everything you’ll need below. For precise measurements and a complete, printable recipe, scroll to the end of this post.
Ingredient Spotlight: Tips & Substitutions for Perfect Boom Boom Shrimp
Understanding each ingredient’s role can help you master this recipe and even customize it to your liking. Here’s a breakdown of what you’ll need and potential alternatives:
SHRIMP – For many of our recipes, we swear by using “grilling shrimp” due to its robust texture and minimal shrinkage during cooking. This ensures your Boom Boom Shrimp remains plump and juicy inside its crispy shell. If grilling shrimp isn’t available, jumbo or colossal shrimp are excellent alternatives, just ensure they are peeled and deveined. Always opt for fresh shrimp when possible, or thaw frozen shrimp thoroughly and pat them very dry before proceeding with the recipe. This step is crucial for the breading to adhere properly and for achieving maximum crispiness.
BREADING – Our breading mixture is the secret to that irresistible crunch and a burst of flavor. It consists of all-purpose flour, cornstarch, and Cajun seasoning. The all-purpose flour provides the primary coating, while the addition of cornstarch is a chef’s trick to enhance the crispiness, making the fried shrimp remarkably light and airy. For the Cajun seasoning, you have options: a high-quality store-bought blend like Slap Ya Mama Cajun seasoning offers convenience and consistent flavor, or you can craft your own homemade Cajun seasoning to tailor the spice level and flavor profile exactly to your preference. If you’re looking for a gluten-free option, a blend of gluten-free all-purpose flour and cornstarch can work wonders, though results may vary slightly.
SAUCE – The homemade Boom Boom sauce is the heart of this dish, offering a complex yet balanced flavor that ties everything together. It’s surprisingly easy to whip up with just five key ingredients: creamy peanut butter, vibrant Asian sweet chili sauce, fiery sriracha, classic ketchup, and smooth mayonnaise.
- Peanut Butter: Contributes a delightful nuttiness and thickens the sauce, adding to its creamy consistency. For those with peanut allergies, almond butter or sunflower seed butter can be suitable substitutes, though they will slightly alter the flavor profile.
- Asian Sweet Chili Sauce: Provides the foundational sweetness and a mild, fruity heat, along with a pleasant tanginess. It’s essential for the authentic Boom Boom flavor.
- Sriracha: This is where the “boom” comes from! Sriracha adds a kick of heat and a garlicky undertone. You can adjust the amount to control the spice level – add more for a bolder heat or less for a milder experience. Other hot sauces can be used, but sriracha delivers that specific aromatic heat.
- Ketchup: Adds a touch of sweetness, a hint of acidity, and contributes to the sauce’s rich color and tangy depth.
- Mayonnaise: Forms the creamy base of the sauce, mellowing the spiciness from the sriracha and creating a luxurious texture that coats the shrimp beautifully. We find this balance leans on the milder side of heat, making it enjoyable for most palates.
This sauce is incredibly versatile; feel free to taste and adjust the ingredients to match your personal preference for sweetness, tanginess, and spice.
Step-by-Step: How to Make Irresistibly Crispy Boom Boom Shrimp
These step-by-step photos and detailed instructions are here to guide you through making this delicious recipe. For a quick reference with all measurements, jump directly to the printable recipe card at the bottom of this post.
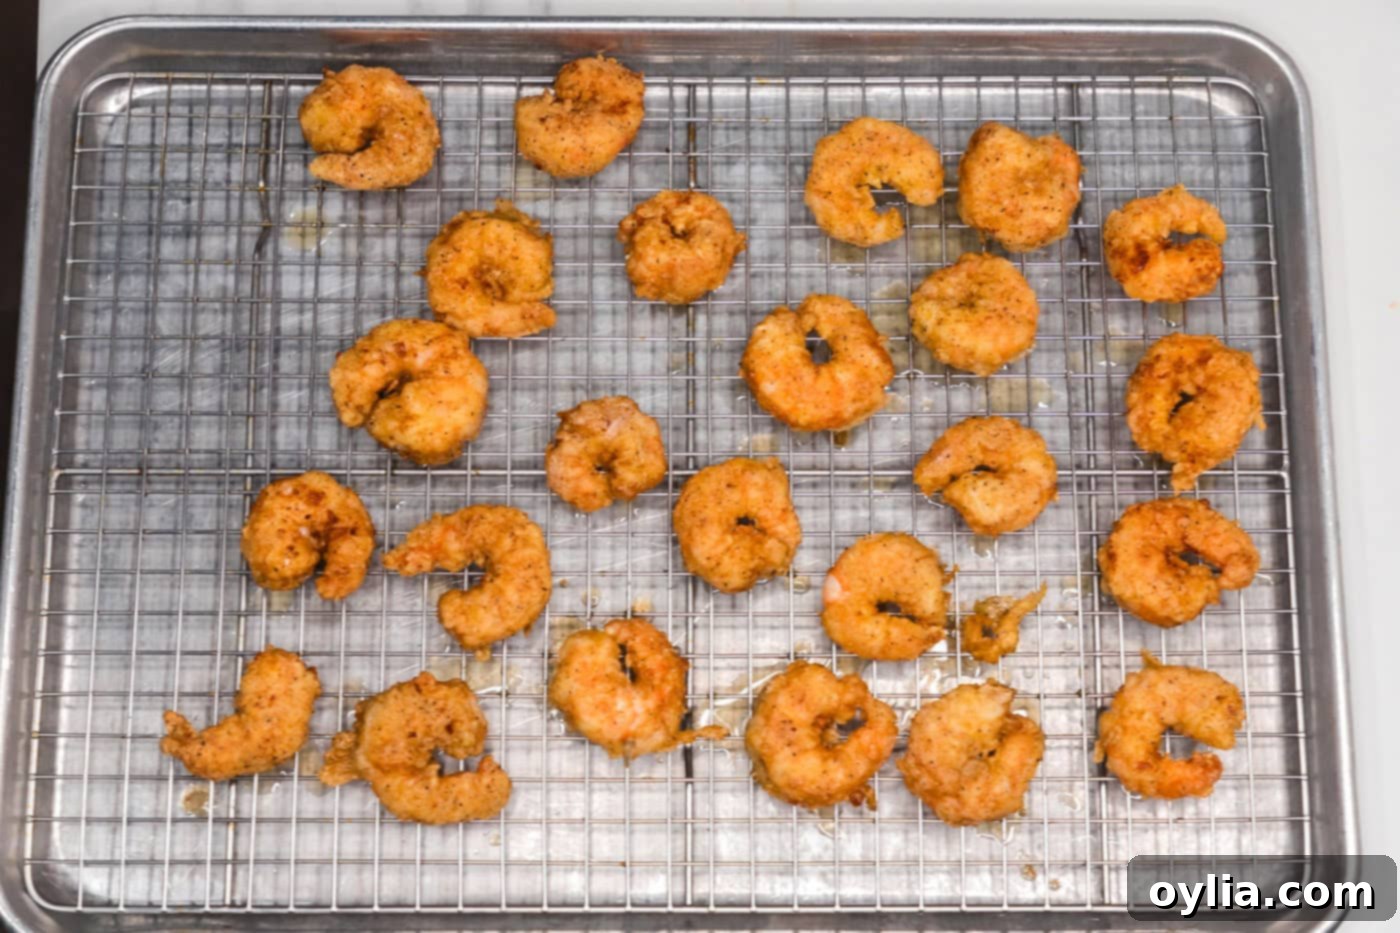
- Begin by preparing your draining station: Line a sturdy baking sheet with a few layers of paper towels, then place a wire rack directly on top. This setup is crucial for allowing excess oil to drain off the fried shrimp, ensuring they remain perfectly crispy and not greasy.
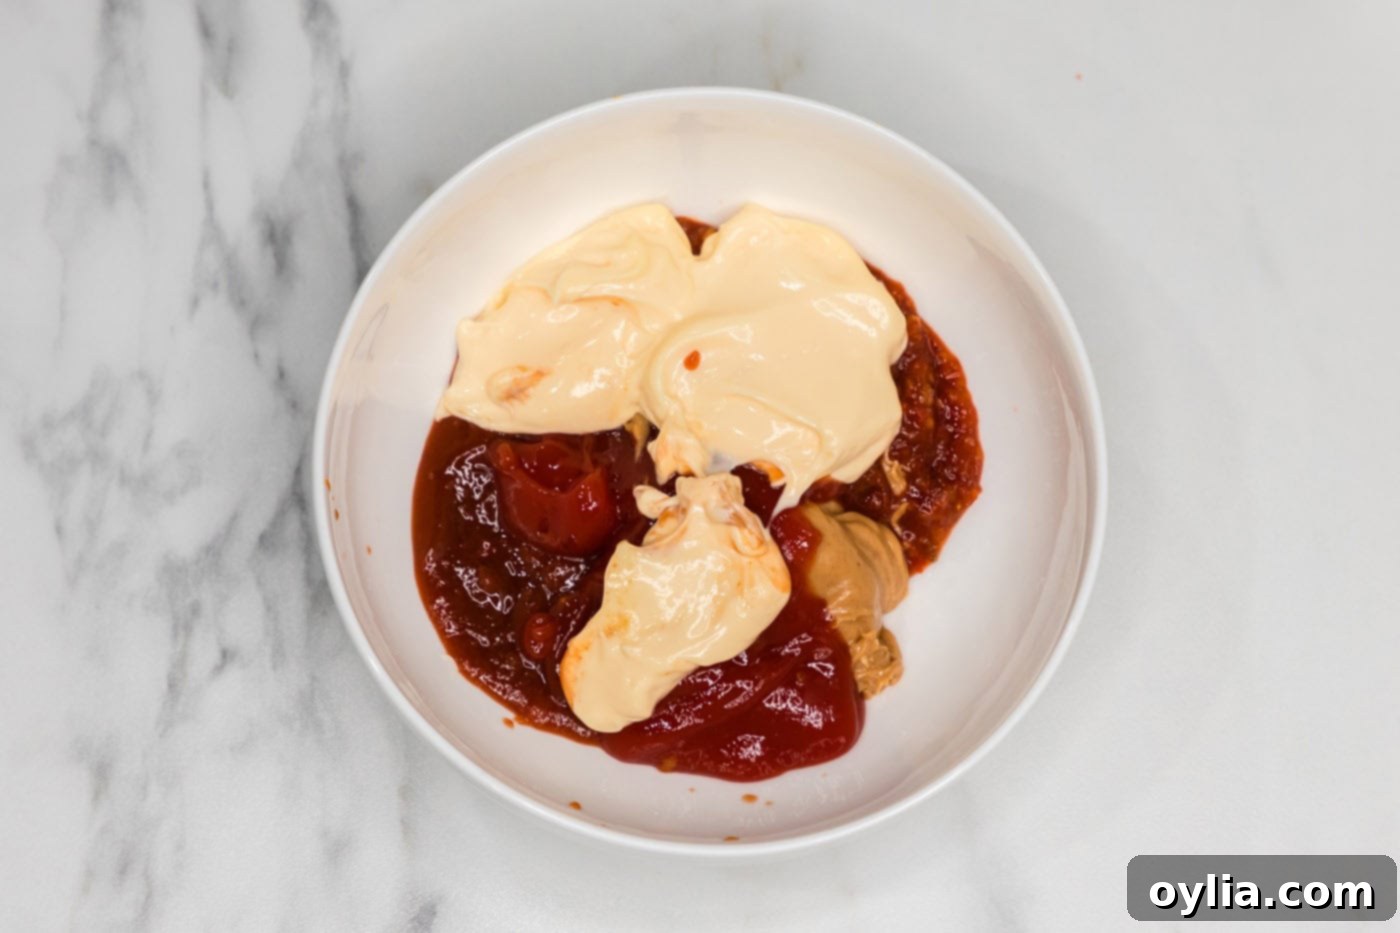
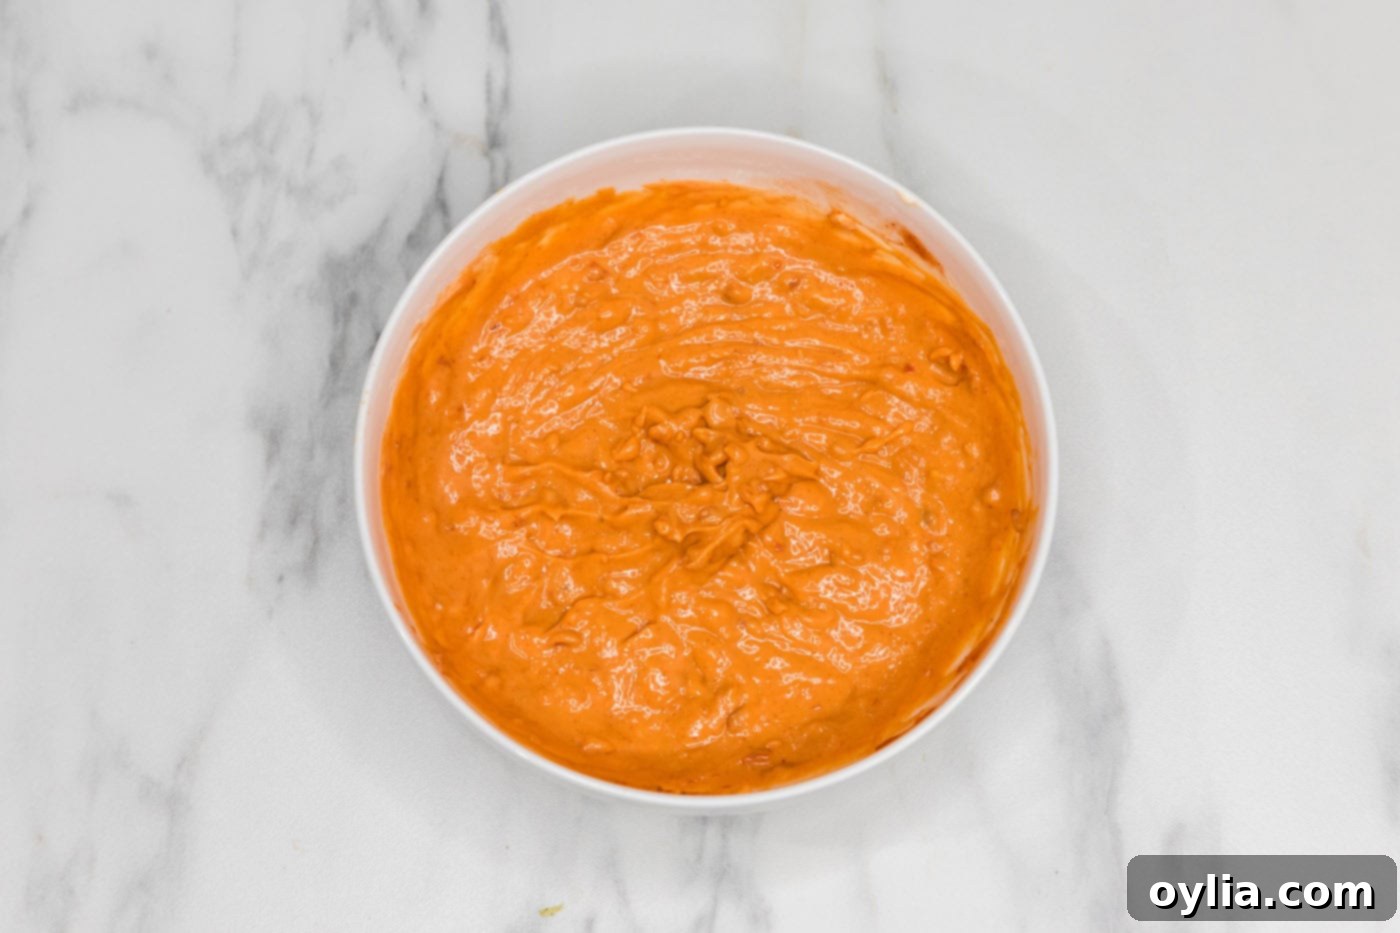
- In a medium-sized mixing bowl, combine all the ingredients for your creamy Boom Boom sauce: peanut butter, Asian sweet chili sauce, sriracha, ketchup, and mayonnaise. Whisk them together thoroughly until the mixture is completely smooth and well-incorporated. Taste and adjust seasonings if desired (e.g., more sriracha for extra heat, a pinch of sugar for added sweetness). Set this vibrant sauce aside.


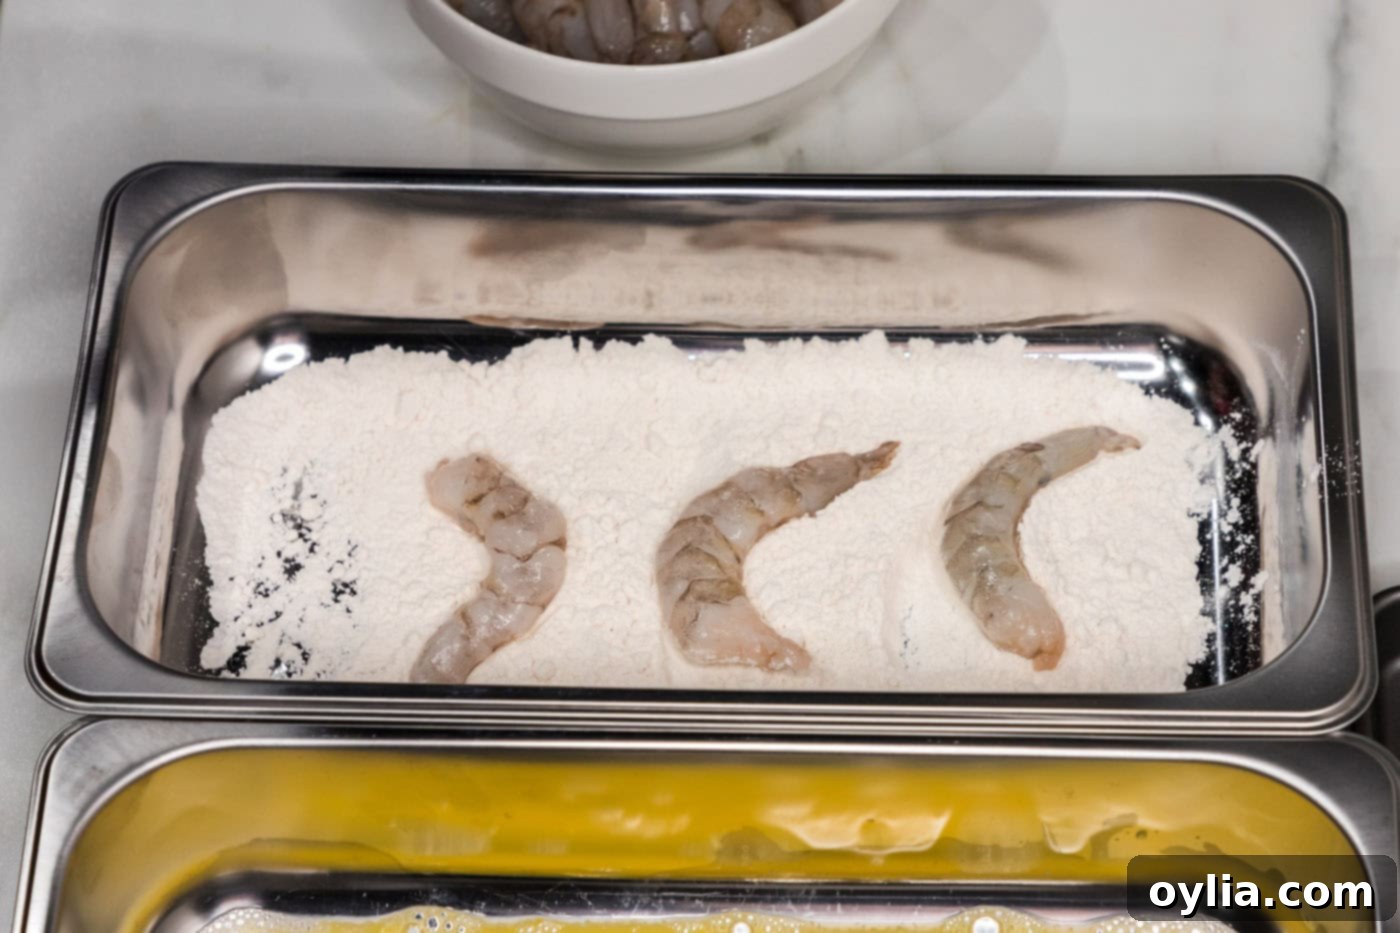
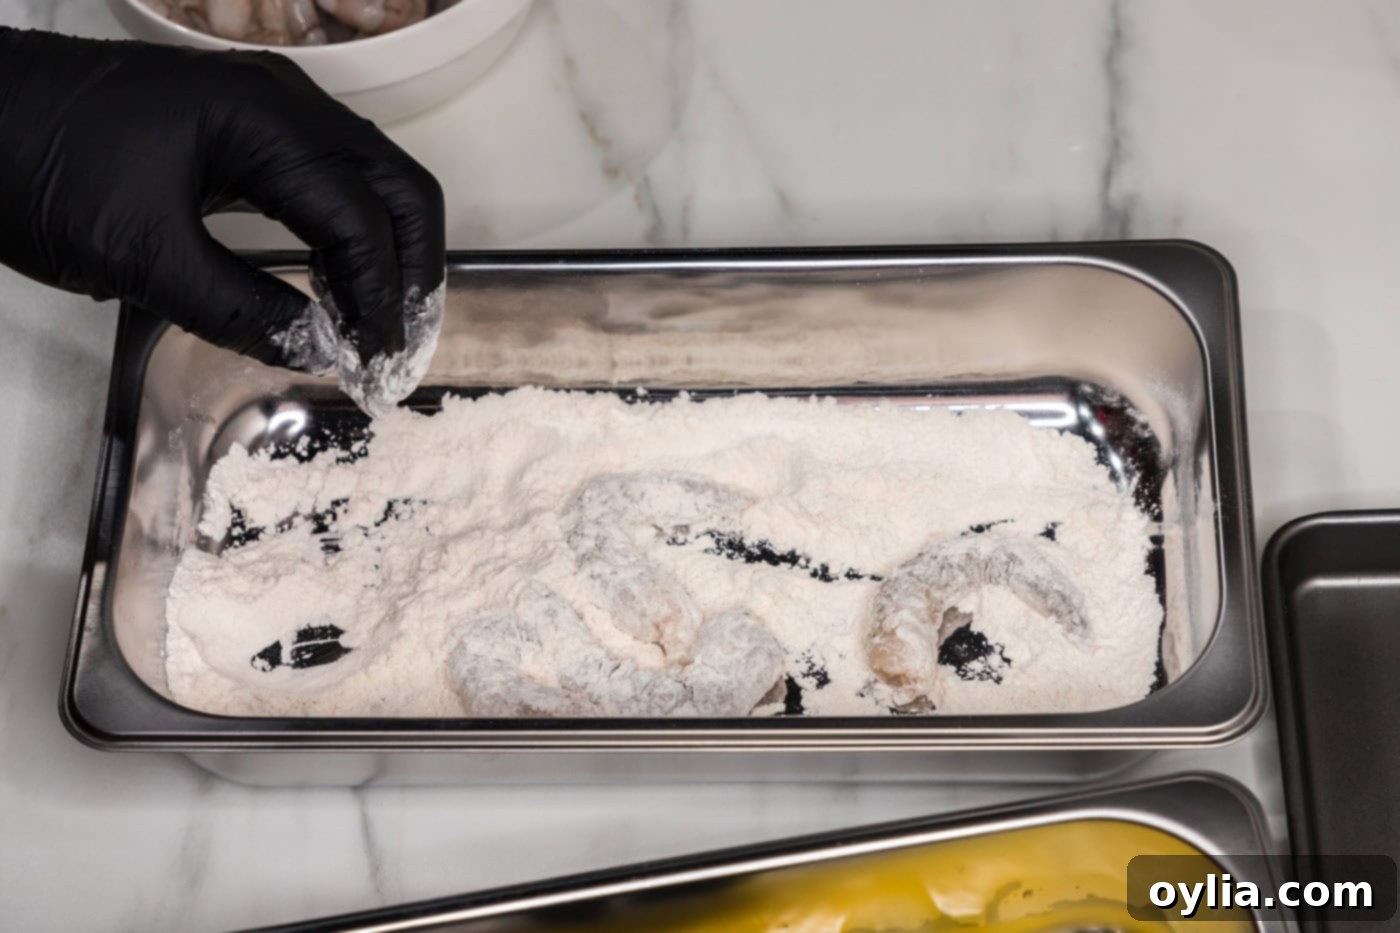
- Set up your breading station. Line up three separate breading trays (or shallow plates/bowls) next to each other. Pour half of the all-purpose flour into the first tray.
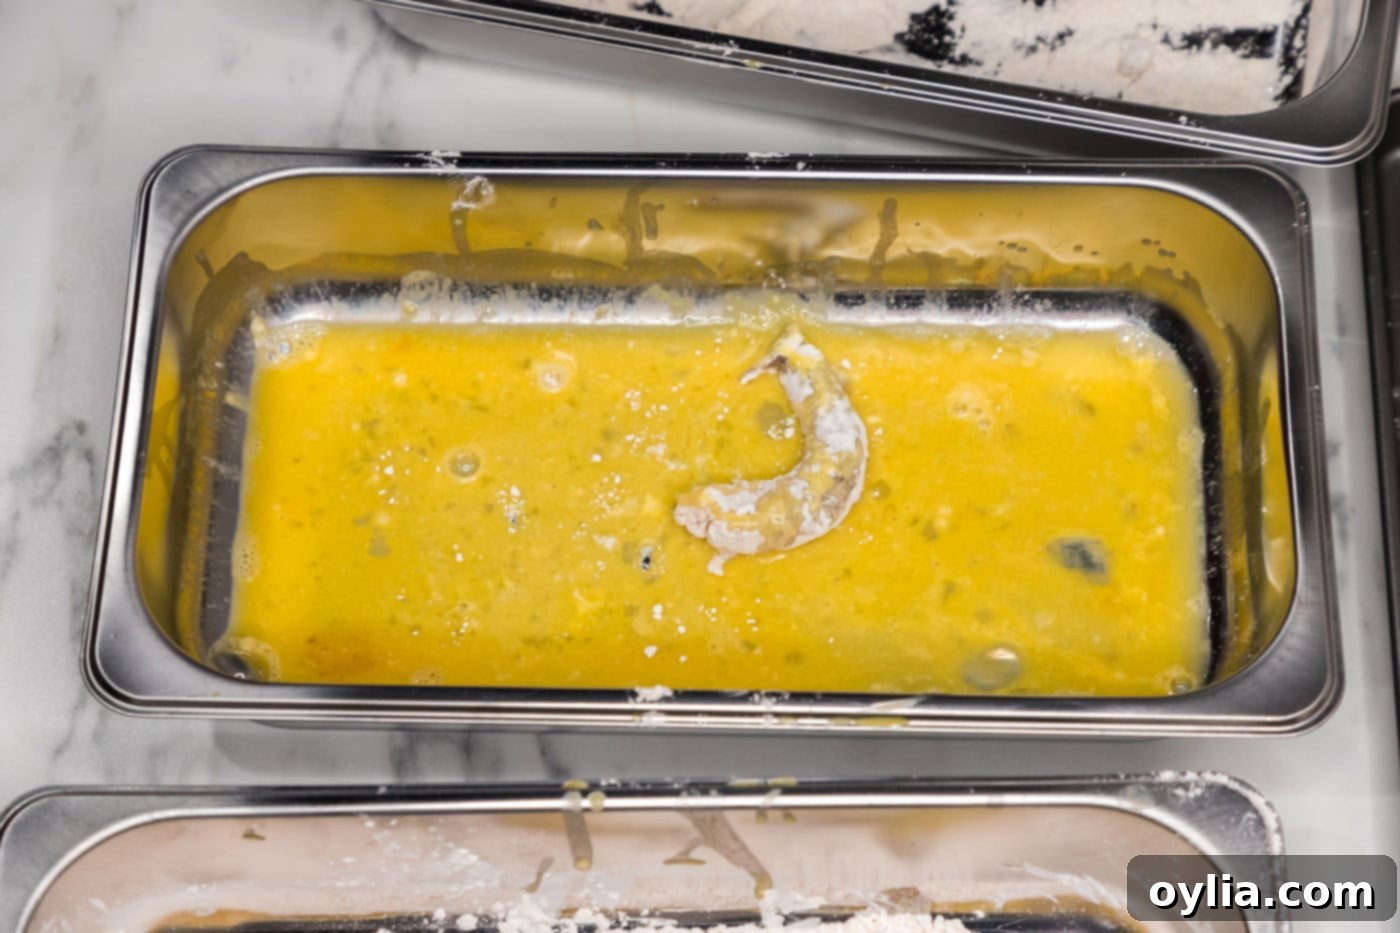
- In the second breading tray, prepare your egg wash. Whisk together the large egg and water until thoroughly combined. This acts as a binder for the coating.
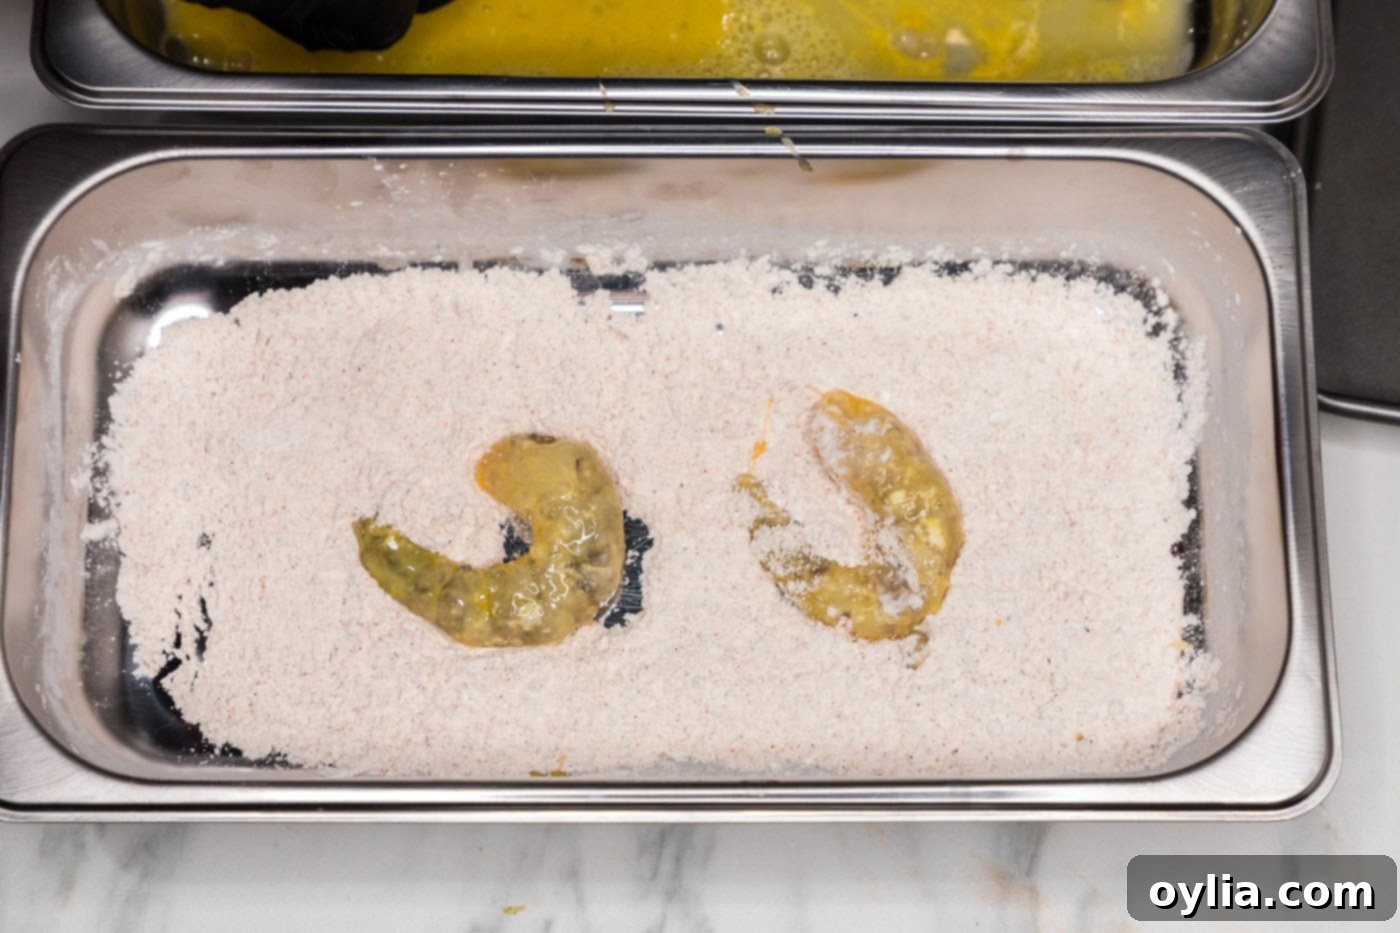
- In the third breading tray, create your seasoned flour mixture: combine the remaining all-purpose flour, the cornstarch (for extra crispiness), and the Cajun seasoning. Mix well to ensure the seasoning is evenly distributed.
- Ensure your shrimp are perfectly dry by patting them thoroughly with paper towels. Next, dredge each shrimp individually in the flour from the first tray, shaking off any excess. This initial flour coat helps the egg wash stick better.


- Carefully dip each flour-dredged shrimp into the egg wash, making sure all sides are thoroughly coated. Allow any excess egg wash to drip off.

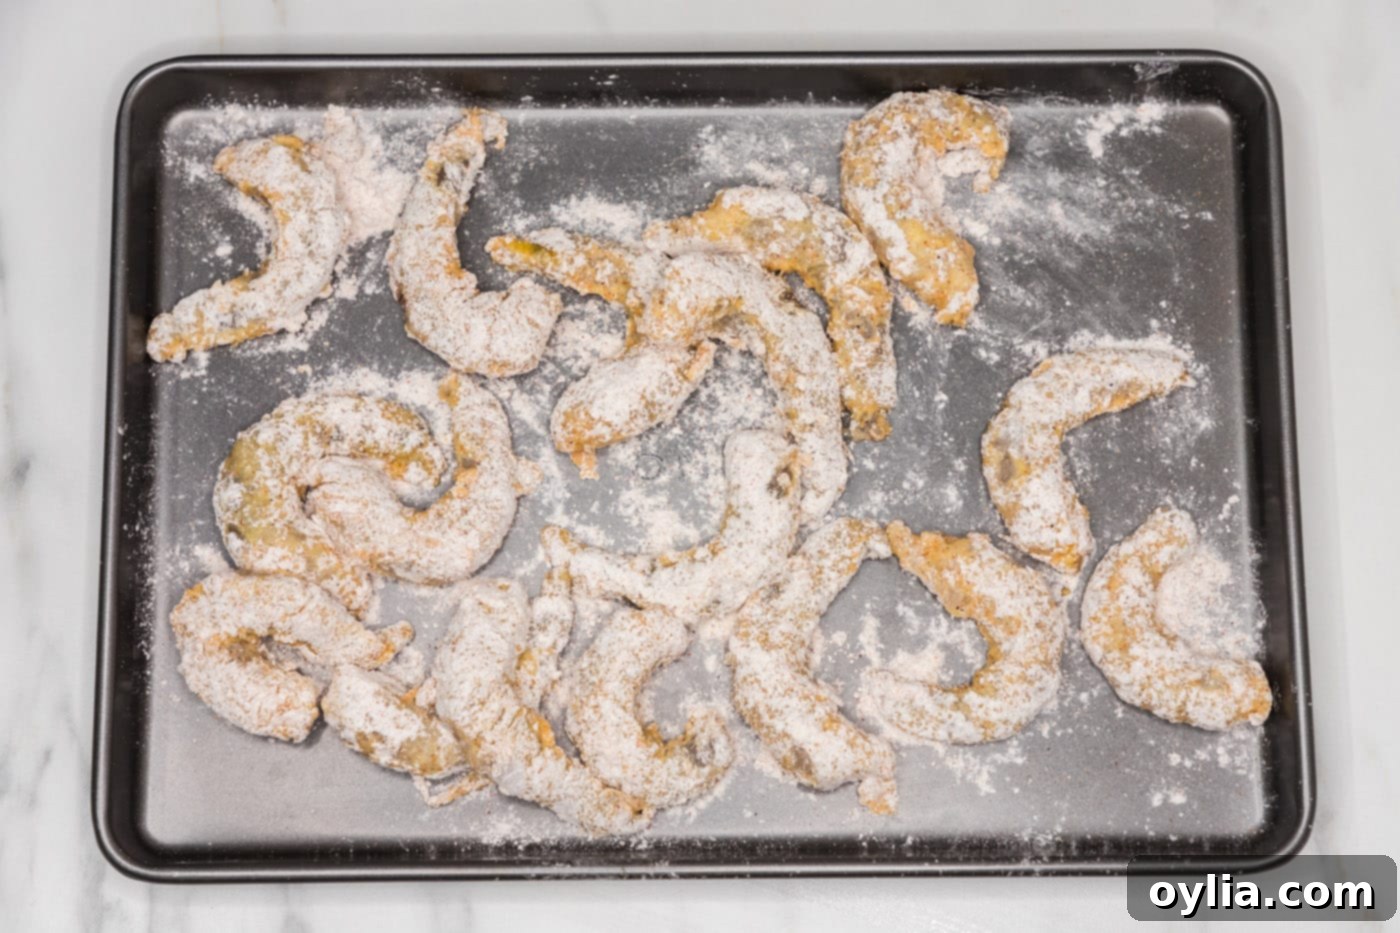
- Finally, coat the egg-washed shrimp in the seasoned flour mixture from the third tray. Press gently to ensure the breading adheres well. Place all your prepared, breaded shrimp in a single layer on a separate tray or plate, ready for frying. Avoid stacking them, as this can make the coating sticky.


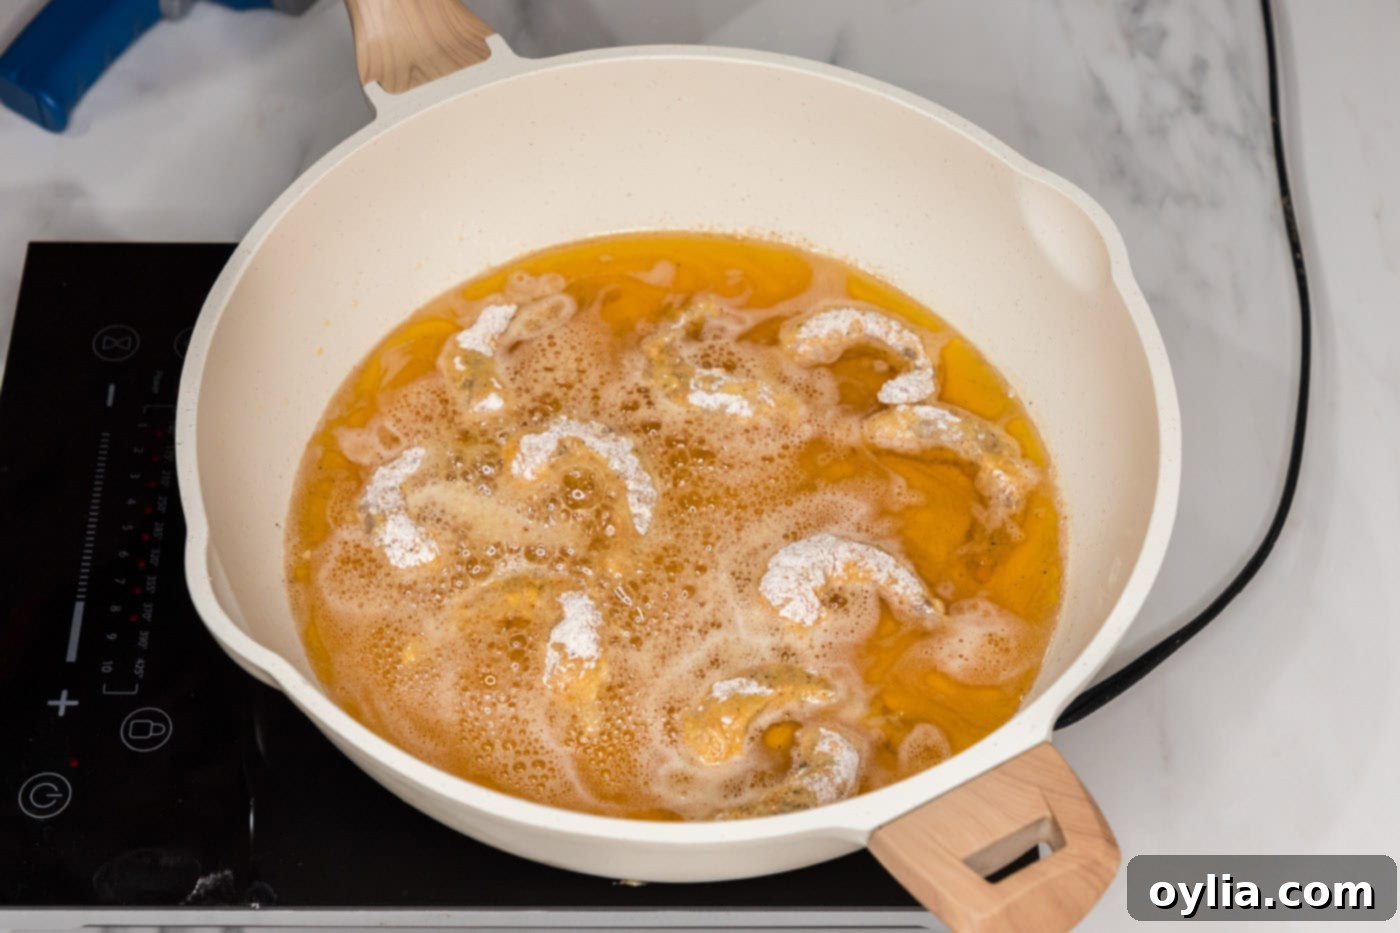
- Heat your frying oil: In a large heavy-bottomed skillet, add enough cooking oil (such as vegetable, canola, or peanut oil) to reach about 1/2-inch up the sides of the pan. Heat the oil over medium-high heat until it registers 350°F (175°C) on a kitchen thermometer. Maintaining the correct oil temperature is crucial for crispy, non-greasy shrimp.
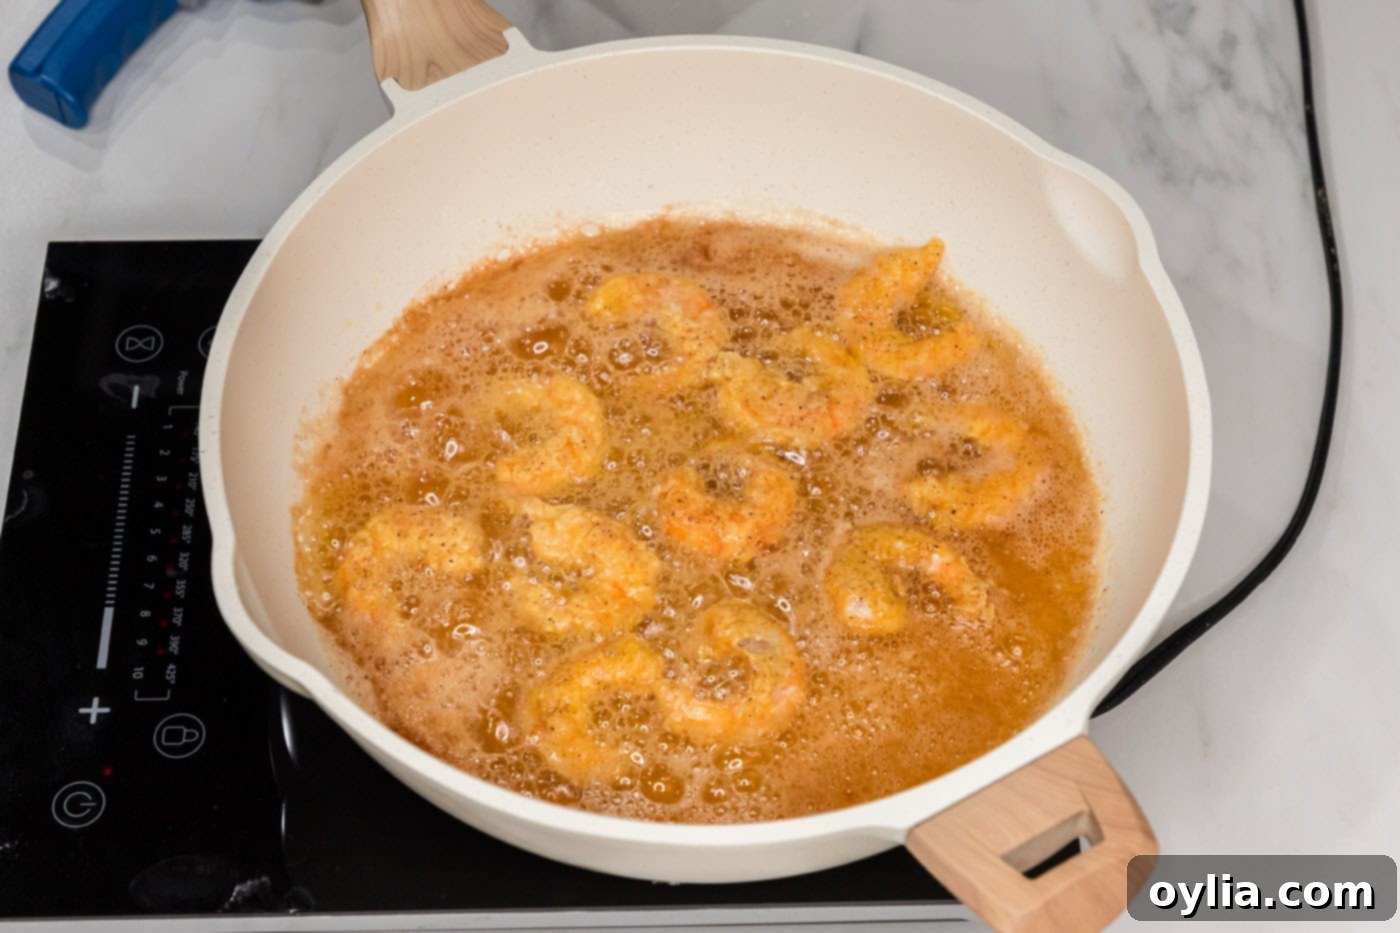
- Carefully add the breaded shrimp to the hot oil, ensuring not to overcrowd the pan. Fry in batches if necessary to maintain oil temperature. Cook for approximately 2 minutes per side, turning once, until the shrimp are beautifully golden brown and crispy. They will also curl into a gentle ‘C’ shape, indicating they are cooked through.


- Once fried, promptly remove the crispy shrimp from the skillet and place them on your prepared wire rack. Allow them to rest for 1-2 minutes. This brief resting period helps drain any remaining oil and maintains their delightful crispness.
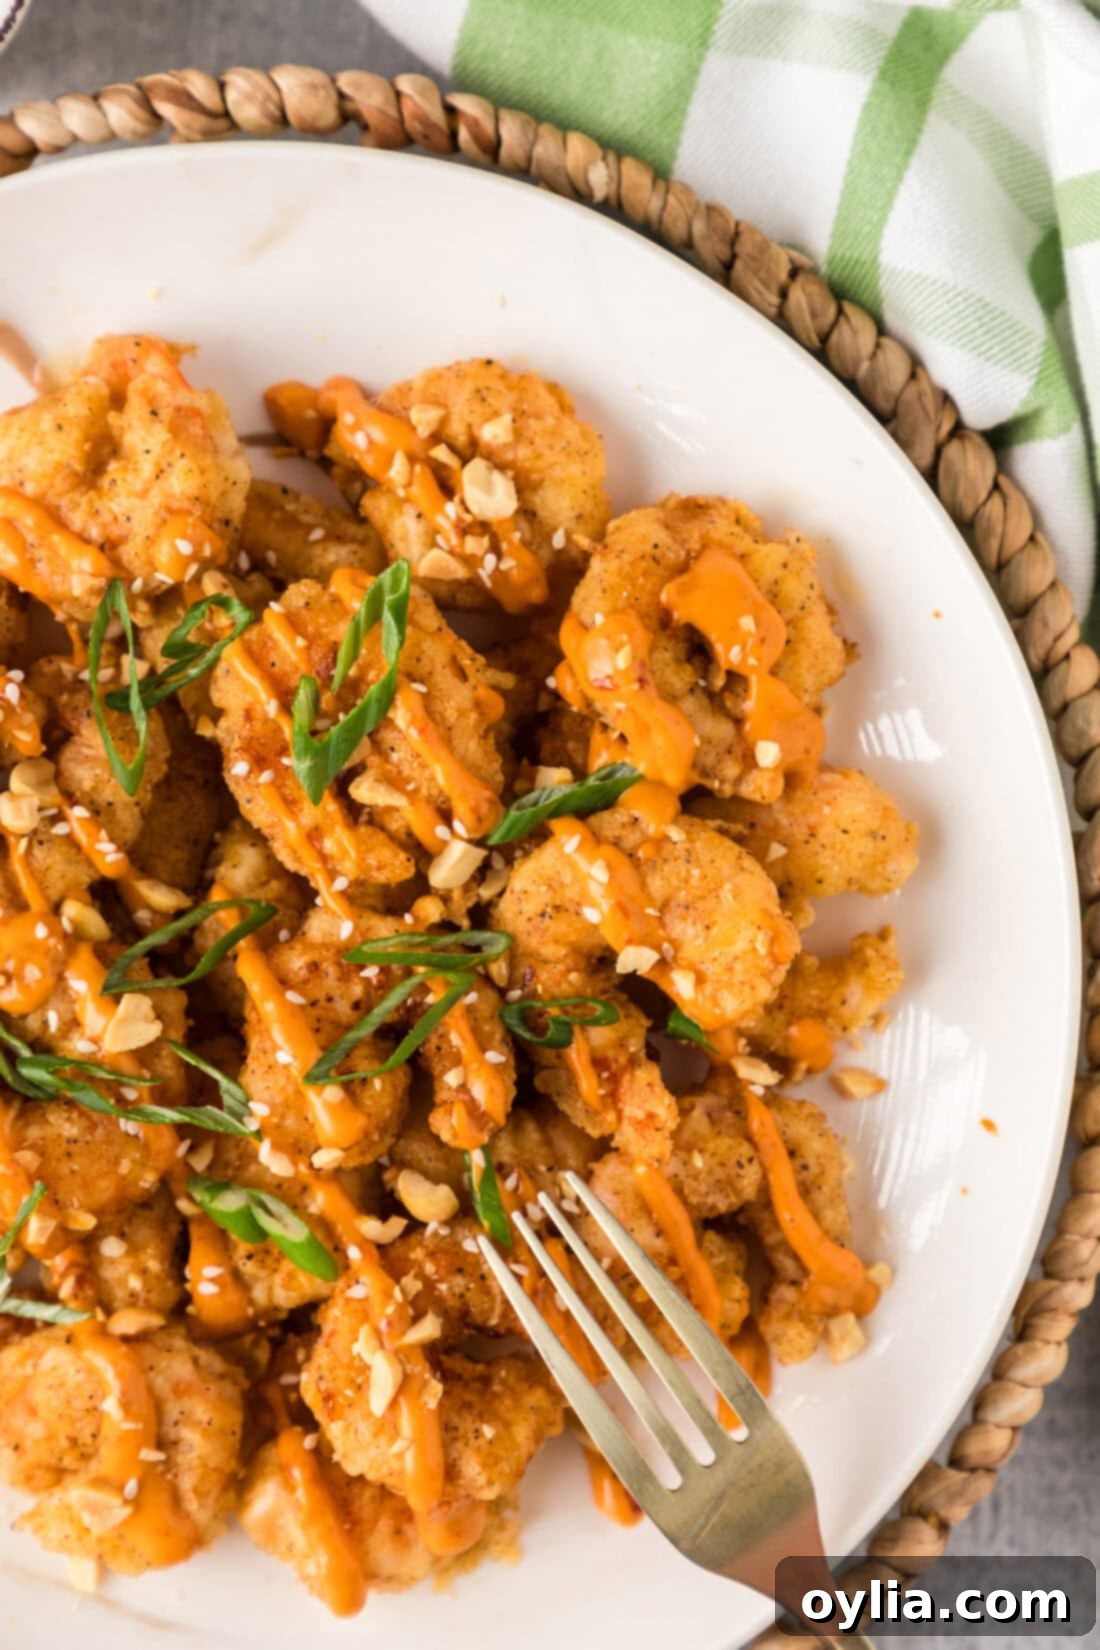
- Now for the grand finale – serving! You have two delicious options: You can gently toss all the breaded shrimp directly with the creamy Boom Boom sauce you prepared in step 2 for full, even coverage. Alternatively, for a lighter touch or to allow for dipping, you can arrange the crispy shrimp on a platter and elegantly drizzle the sauce over them, or serve the sauce on the side.

Frequently Asked Questions & Expert Tips for Boom Boom Shrimp
Shrimp cooks remarkably fast, which also means it can be easily overcooked. The key visual cues are curling and color change. When perfectly cooked, shrimp will curl into a relaxed “C” shape and turn opaque with vibrant pink and orange hues. The breading, of course, should be golden brown and crispy. If the shrimp forms a tight “O” shape, it’s likely overcooked, resulting in a rubbery and tough texture. Trust the visual cues and short cooking time to avoid this common pitfall.
Absolutely! Frozen shrimp is a convenient option. However, it’s vital to thaw them completely before starting the recipe. The best way to thaw shrimp quickly is to place them in a plastic bag and submerge them in a bowl of cold water for about 15-20 minutes. Once thawed, pat them extremely dry with paper towels. Any excess moisture will prevent the breading from sticking properly and result in a less crispy finish.
Like most fried delicacies, Boom Boom Shrimp is at its absolute best when enjoyed fresh, right off the wire rack. The crispiness is unmatched. If you do have leftovers, store them in an airtight container in the refrigerator for 1-2 days. To bring them back to life and restore some of their crunch, reheating is key. Avoid the microwave, which will make them soggy. For best results, reheat in a preheated oven at 350°F (175°C) for about 10 minutes, or in an air fryer using its reheat function or at 350°F (175°C) for 5-7 minutes, until heated through and crispy again.
Yes, you can adapt this recipe for an air fryer! For a healthier, less oil-intensive version, after breading the shrimp, lightly spray them with cooking oil. Arrange the shrimp in a single layer in your air fryer basket, ensuring not to overcrowd it. Air fry at 375°F (190°C) for 8-12 minutes, flipping halfway through, until golden brown and cooked through. The crispiness will be slightly different from deep-frying but still delicious!
Absolutely! Preparing the sauce in advance is a fantastic time-saver. Simply whisk all the sauce ingredients together as directed in the recipe, then transfer it to an airtight container. Store it in the refrigerator for up to 3-5 days. Give it a good stir before serving, as the ingredients might separate slightly.
For deep frying, you want an oil with a high smoke point and a neutral flavor so it doesn’t overpower the shrimp. Excellent choices include vegetable oil, canola oil, and peanut oil. These oils can withstand the high temperatures needed for frying without burning or imparting off-flavors.
Creative Ways to Serve Your Crispy Boom Boom Shrimp
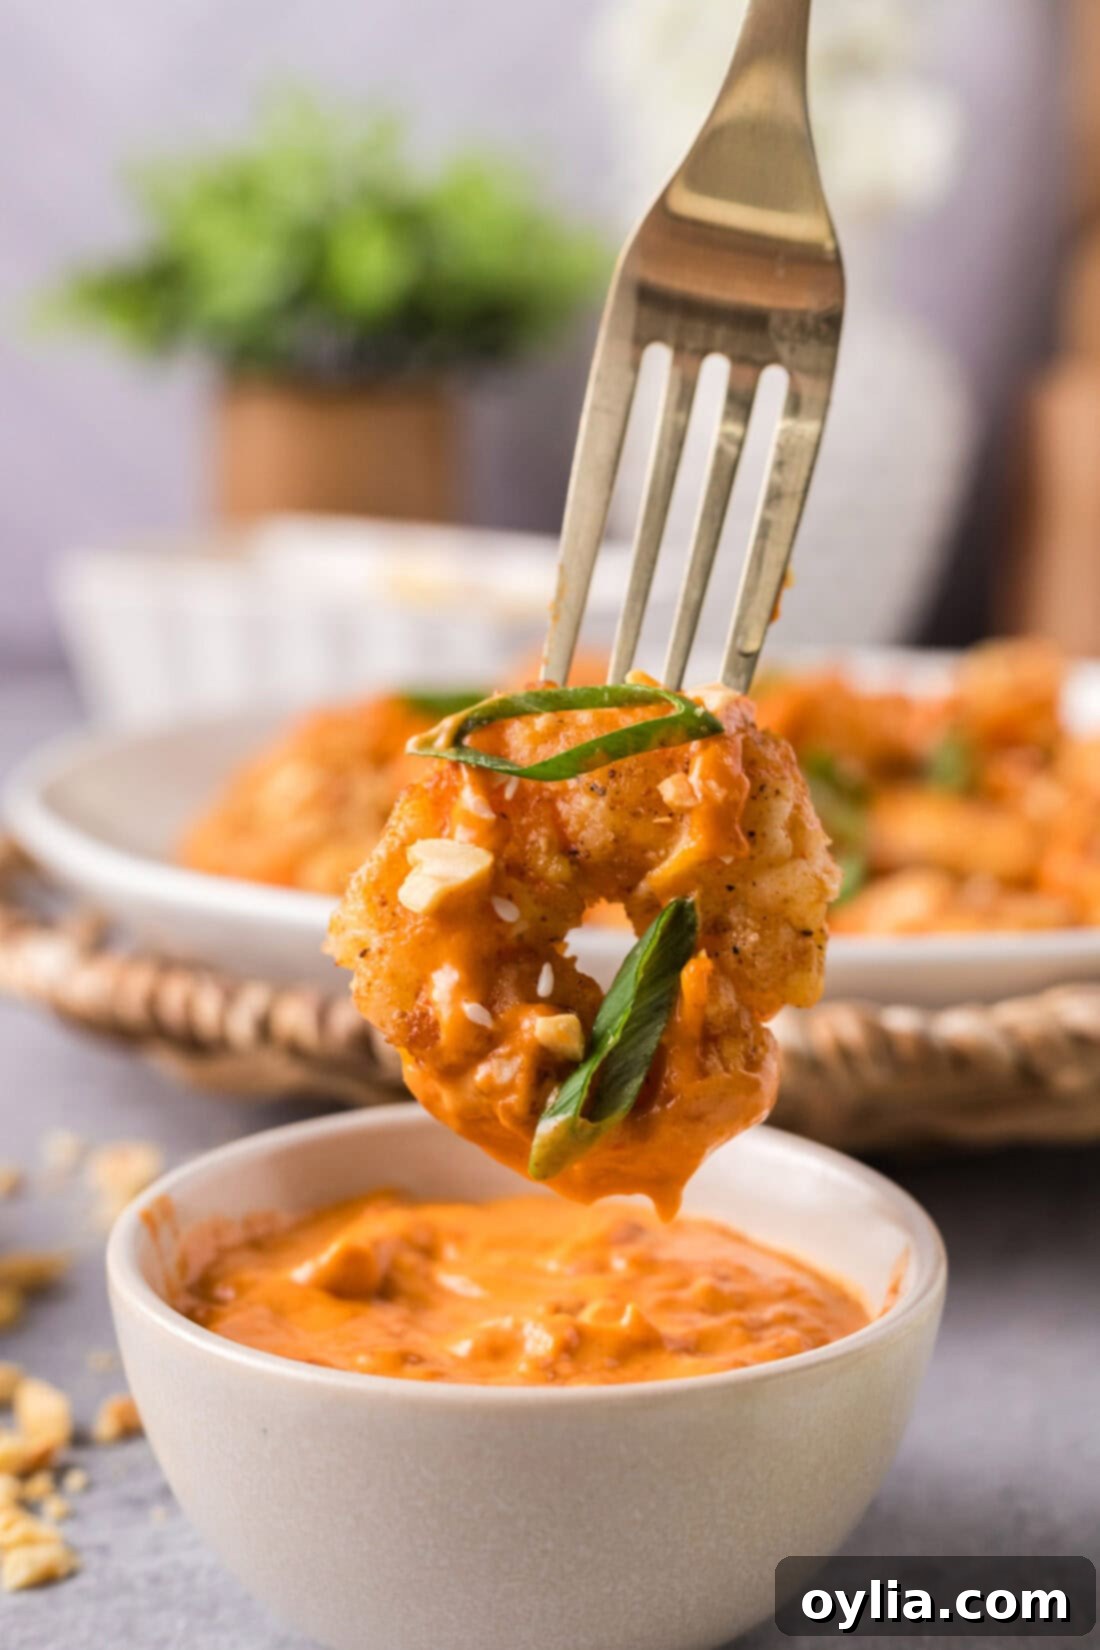
The versatility of Boom Boom Shrimp makes it a fantastic addition to various meals and occasions. Here are some delectable serving suggestions to inspire you:
- Classic Appetizer: Serve these crispy bombshells on a platter with the Boom Boom sauce on the side for dipping. They’re perfect for parties, game nights, or as a vibrant starter to any meal. Garnish with chopped green onions and a sprinkle of sesame seeds for an extra touch of elegance and flavor.
- Hearty Main Course with Rice: Turn this appetizer into a satisfying dinner by serving it over a bed of fluffy white rice, jasmine rice, or even a flavorful fried rice. The rice soaks up the extra sauce, creating a complete and delicious meal.
- Boom Boom Shrimp Tacos: A truly creative and satisfying option! Wrap the crispy shrimp in soft flour or corn tortillas. Add some fresh shredded cabbage or coleslaw for crunch, a squeeze of lime, and a generous dollop of extra Boom Boom sauce. You can also add avocado slices or a sprinkle of fresh cilantro.
- Salad Topper: For a lighter meal, arrange the Boom Boom Shrimp over a fresh bed of mixed greens. Drizzle with a lighter vinaigrette or even a bit more of the Boom Boom sauce thinned with a splash of lime juice.
- Lettuce Wraps: Similar to tacos, but with a low-carb twist. Use large, crisp lettuce leaves (like butter lettuce or iceberg) as your wrapper. Fill with shrimp, a little shredded carrot, and the sauce.
- Mini Sliders: Place a few pieces of shrimp on small slider buns, perhaps with a slice of tomato and a bit of lettuce for a fun, bite-sized sandwich.
Don’t forget to enhance the presentation and flavor with optional garnishes like a sprinkle of chopped peanuts for added texture, finely sliced green onions for a fresh, pungent kick, or toasted sesame seeds for a subtle nutty aroma. These small additions can elevate your Boom Boom Shrimp experience even further!
More Related Recipes You’ll Love
- Hibachi Shrimp
- Butterfly Shrimp
- Shrimp Tempura
- Bang Bang Shrimp
- Mongolian Shrimp
I love to bake and cook and share my kitchen experience with all of you! Remembering to come back each day can be tough, that’s why I offer a convenient newsletter every time a new recipe posts. Simply subscribe and start receiving your free daily recipes!
Boom Boom Shrimp
IMPORTANT – There are often Frequently Asked Questions within the blog post that you may find helpful. Simply scroll back up to read them!
Print It
Pin It
Rate It
Save It
Saved!
Course: Appetizer, Dinner
Cuisine: American
Ingredients
- 3 Tablespoons peanut butter
- 2 Tablespoons Asian sweet chili sauce
- 2 Tablespoons sriracha
- 3 Tablespoons ketchup
- ¼ cup mayonnaise
- ½ cup all purpose flour
- 1 Tablespoon Slap Ya Mama Cajun seasoning
- 2 Tablespoons cornstarch
- 1 large egg
- 1 Tablespoon water
- 1 pound large raw grilling shrimp peeled and deveined
- oil such as vegetable, canola, or peanut oil for frying
Things You’ll Need
-
Mixing bowls
-
Wire cooling rack
-
Baking sheet
-
Breading trays or plates
-
Large heavy bottomed skillet
Before You Begin
- To thaw shrimp quickly, place them in a plastic bag and submerge them in a bowl of cold water.
- We prefer to use grilling shrimp for many of our recipes because it’s hearty and doesn’t shrink as much as other varieties. However, jumbo shrimp can be used as well.
Instructions
-
Line a baking sheet with paper towels. Place a wire rack on top of the baking sheet.
-
In a medium bowl, combine peanut butter, Asian sweet chili sauce, sriracha, ketchup, and mayonnaise. Set aside.
-
Line up three breading trays next to each other. Put half of the flour in the first breading tray.
-
In the second breading tray, make an egg wash by whisking together egg and water.
-
In the third breading tray combine remaining flour, the cornstarch, and Cajun seasoning.
-
Pat the shrimp dry with paper towels. Dredge shrimp in the flour in the first tray.
-
Dip dredged shrimp in the egg wash, turning to coat all sides.
-
Lastly, coat the egg washed shrimp in the flour mixture of the third tray. Press gently to adhere and place all prepared shrimp on a tray or plate in a single layer.
-
To the skillet, add enough cooking oil to come about 1/2-inch up the sides of the pan. Heat oil over medium-high until it reaches a temperature of 350 F.
-
Add shrimp to the hot oil, being careful not to crowd. Cook for 2 minutes per side, turning once. Shrimp will be golden brown and crispy.
-
Remove shrimp from skillet and place on wire rack to rest for 1-2 minutes.
-
There are two ways to serve this dish. You can gently toss the breaded shrimp with the Boom Boom sauce you made in step 2, or you can drizzle the sauce on to the breaded shrimp.
Expert Tips & FAQs
- Boom boom shrimp is best enjoyed right away for the best texture. However, you can store leftovers in an air-tight container kept in the refrigerator for 1-2 days. For best results, reheat in the oven at 350F for around 10 minutes, or in the air fryer using the reheat function.
Nutrition
Tried this Recipe? Pin it for Later!Follow on Pinterest @AmandasCookin or tag #AmandasCookin!
The recipes on this blog are tested with a conventional gas oven and gas stovetop. It’s important to note that some ovens, especially as they age, can cook and bake inconsistently. Using an inexpensive oven thermometer can assure you that your oven is truly heating to the proper temperature. If you use a toaster oven or countertop oven, please keep in mind that they may not distribute heat the same as a conventional full sized oven and you may need to adjust your cooking/baking times. In the case of recipes made with a pressure cooker, air fryer, slow cooker, or other appliance, a link to the appliances we use is listed within each respective recipe. For baking recipes where measurements are given by weight, please note that results may not be the same if cups are used instead, and we can’t guarantee success with that method.
