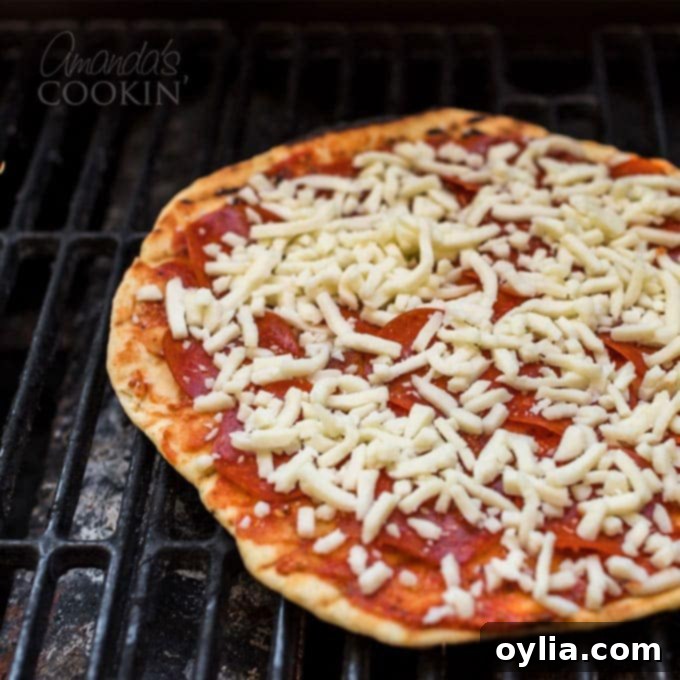
Mastering Grilled Pizza: Your Ultimate Guide to Perfect Outdoor Pies
There’s nothing quite like the taste of fresh, homemade pizza, especially when it’s infused with that irresistible smoky flavor only a grill can provide. For years, like many, I relied on my oven for pizza nights. But a friend’s recommendation to try grilling pizza transformed my summer cooking. It was a revelation! Not only does it keep the heat out of your kitchen during those sweltering summer months, but it also creates a remarkably crispy crust and perfectly melted toppings that rival any pizzeria. I’ve experimented with various methods over the years, and I’m thrilled to share the technique that consistently delivers the best grilled pizza – one I now prefer over the traditional oven-baked version. So, get ready to fire up your grill and enjoy incredible pizza all summer long!
Before you even think about laying dough on the grates, ensure your grill is meticulously clean. A clean grill prevents sticking and off-flavors. Every spring, I make it a point to thoroughly clean my gas grill, preparing it for a season full of delicious outdoor cooking.
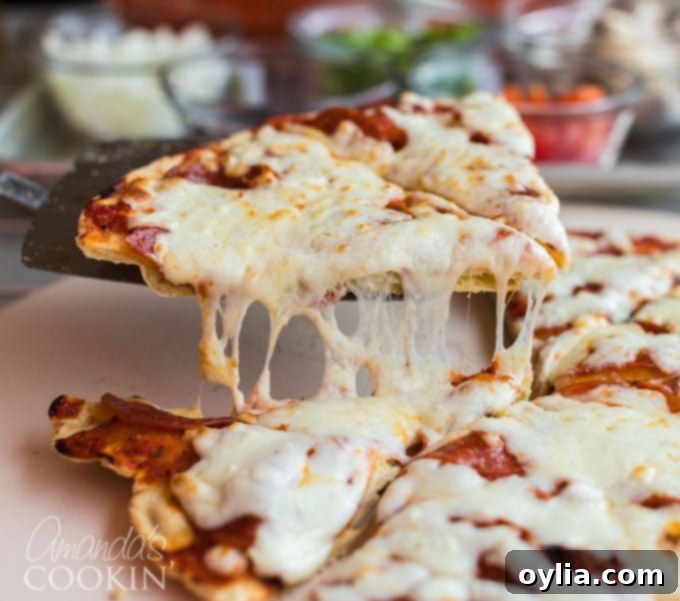
Why Grill Your Pizza? The Benefits You Can’t Ignore
It’s been over a decade since I first discovered the magic of grilling pizza. I vividly remember the excitement my kids felt that day, exploring a new way to enjoy their favorite meal right alongside me. Even now, as adults, pizza remains a top choice, and they still rave about the grilled version. But beyond the nostalgic memories, there are several compelling reasons to embrace grilled pizza:
- Escape the Heat: During the scorching summer months, cranking your oven up to over 400 degrees Fahrenheit can turn your kitchen into an unbearable sauna. Grilling pizza keeps all that heat outdoors, allowing you to stay cool and comfortable while you cook.
- Unbeatable Flavor and Texture: Grilling imparts a unique smoky flavor to the crust that you just can’t achieve in a conventional oven. The intense, direct heat creates a beautifully charred, crispy crust with a delightful chewiness, while simultaneously melting your cheese to bubbly perfection.
- Outdoor Fun: Pizza making on the grill is an interactive and fun activity, perfect for family gatherings or entertaining friends. Everyone can customize their own personal pizza, making it a truly collaborative culinary experience.
Like any homemade pizza, making grilled pizza does require a little foresight and planning. Prepping your ingredients ahead of time is crucial for a smooth and enjoyable grilling experience. Chopping all your desired toppings, preparing your pizza dough, whipping up your favorite pizza sauce, and even crafting your homemade pizza sausage should all be completed before you even think about lighting the grill.
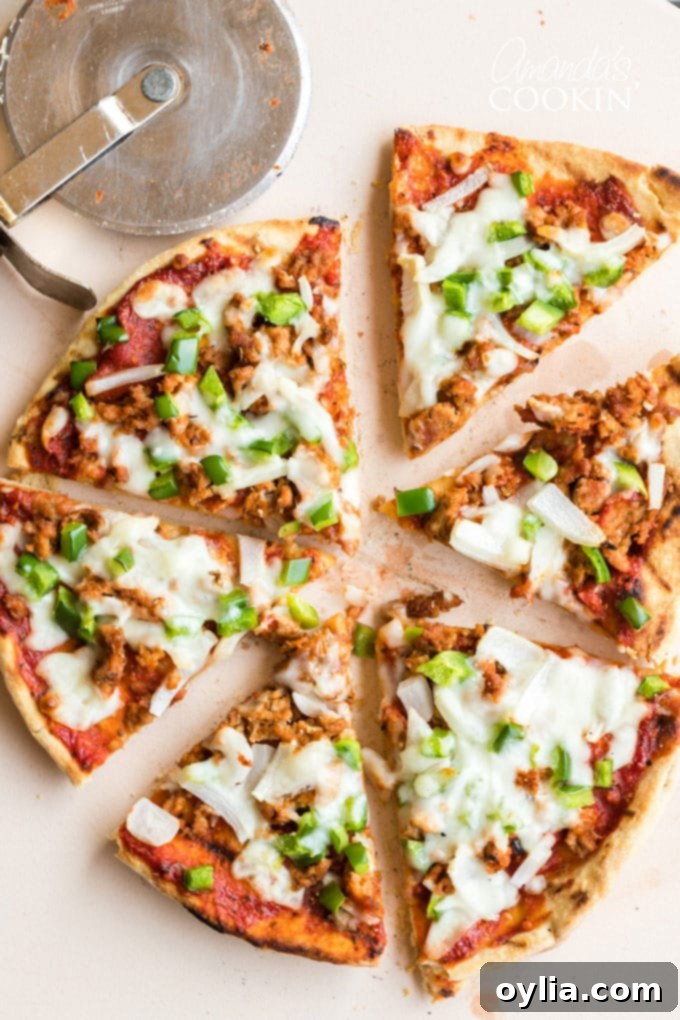
Getting Started: The Importance of Preparation
Essential Ingredients for Your Grilled Pizza Masterpiece
The beauty of pizza lies in its versatility. While you can always pick up ready-made options, making some components from scratch truly elevates the flavor. Here’s what you’ll need, with some tips for the best results:
- Pizza Dough: Store-bought dough from your local grocery store or a pizzeria is perfectly fine for convenience. However, if you have a little extra time, I highly recommend trying my homemade pizza dough recipe. The flavor and texture of fresh, homemade dough are simply unparalleled, giving your grilled pizza an authentic touch. Aim for dough that’s been brought to room temperature for easier handling.
- Pizza Sauce: Just like dough, a good quality store-bought pizza sauce works in a pinch. But for a burst of fresh flavor, consider making your own easy pizza sauce. It’s quicker than you think and tastes so much better!
- Your Favorite Toppings: This is where you can let your creativity shine! We love a classic combination of Mozzarella cheese (shredded, of course), savory pepperoni, my homemade pizza sausage, crisp Bell peppers, finely diced onion, earthy mushrooms, and briny olives. Remember to keep your toppings to a reasonable amount; too many can weigh down the crust and make it soggy.
- Olive Oil: While not an ingredient you’ll be eating in large quantities, olive oil is essential for preventing sticking and adding a subtle, delicious richness to your crust. Use a good quality extra virgin olive oil.
- Cornmeal: This is your secret weapon for effortless pizza transfer. A light dusting of cornmeal on your pizza peel or cutting board acts like tiny “ball bearings,” allowing the raw dough to slide smoothly onto the hot grill grates without sticking.
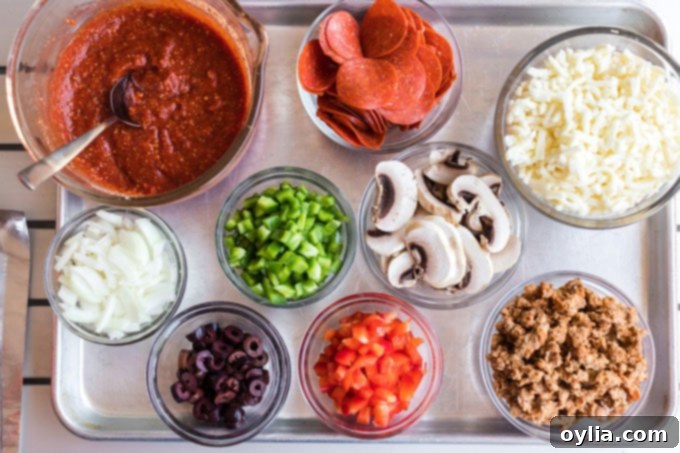
Pro Tip: Mise en Place is Key! You want to have absolutely everything chopped, shredded, measured, and sitting at the ready before you even think about putting dough on the grill. Grilling pizza happens very quickly, much like stir-fry. Being organized ensures a stress-free and successful cooking process.
The Right Tools for Grilling Success
Having the proper tools will make your grilled pizza experience much smoother and more enjoyable:
- Grill – Whether you have a gas grill or a charcoal grill, both can be used to make fantastic pizza. Gas grills offer more precise temperature control, while charcoal grills impart a deeper smoky flavor.
- Silicone basting brush – Essential for evenly applying olive oil to your dough, ensuring a golden, non-stick crust.
- Aluminum foil – Used to create a temporary non-stick surface for handling and transferring the raw dough to the grill.
- Tongs – Indispensable for checking the underside of your crust and carefully maneuvering the hot dough on the grill.
- Metal spatula – A sturdy metal spatula (or a pizza peel) is crucial for removing the grilled dough and the finished pizza from the hot grill grates.
- Pizza stone or large cutting board – This serves as your workstation for assembling the pizza quickly after the initial crust grilling. Sprinkle it with cornmeal for easy sliding.
How to Cook a Pizza on the Grill: A Step-by-Step Guide
I typically use a gas grill with four burners for this method, as it allows for precise control over heat zones. If you’re using a charcoal grill, you’ll need to adapt these instructions for indirect cooking. The key is to create a very hot zone for the initial crust cooking and a cooler, indirect zone for melting the cheese and cooking the toppings. If you’re familiar with setting up a two-zone fire (hot coals on one side, empty on the other), you should be able to follow along and adjust accordingly.
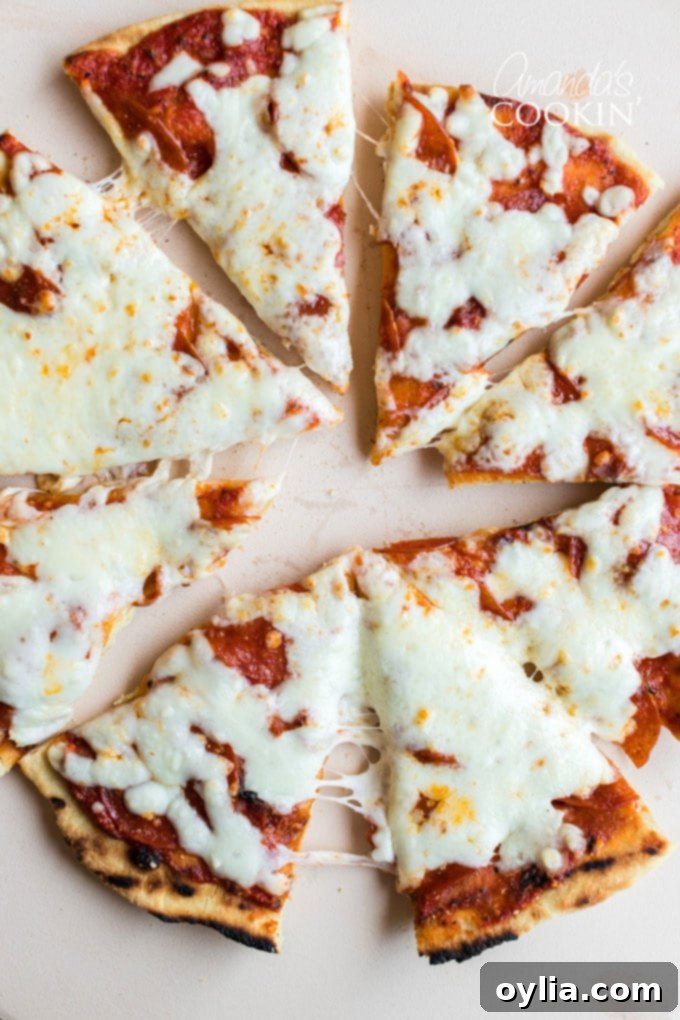
Prepping Your Grill and Dough
- Preheat the Grill: First, turn all your grill burners to medium-high heat (or establish a very hot zone with charcoal). Close the lid and allow it to heat up thoroughly for about 15 minutes. This ensures a consistent and high temperature, which is crucial for a quick, crispy crust.
- Prepare Aluminum Foil Sheets: While the grill heats, pull out 4 sheets of aluminum foil, each large enough to comfortably hold one individual pizza dough. Using a silicone basting brush, lightly brush one side of each piece of foil with olive oil. This oiled foil will be your temporary carrier for the dough, preventing sticking.
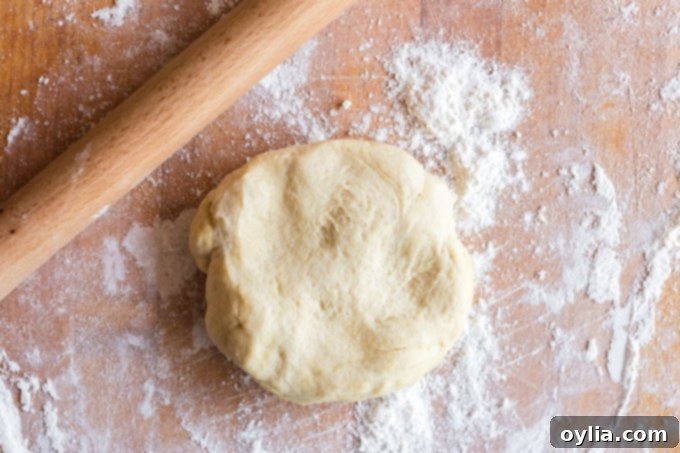
- Shape Your Dough: Divide your pizza dough into 3 or 4 equal pieces. The goal here is to make individual-sized pizzas rather than one large, unwieldy one, which can be difficult to manage on the grill. Use the heel of your hand to gently press and stretch each piece of dough into a flat, roughly 7-8 inch diameter circle. You can also use a rolling pin if you prefer, but pressing by hand often gives a more rustic, appealing look. From one standard dough recipe, you should get about four individual pizzas.

- Oil the Dough: Place one stretched dough circle onto one of the oiled sheets of foil. Use your basting brush or fingers to lightly oil the top surface of the dough. This olive oil is crucial – it not only prevents the dough from sticking to the grill grates but also imparts a wonderful flavor and helps achieve that desirable crispy crust.
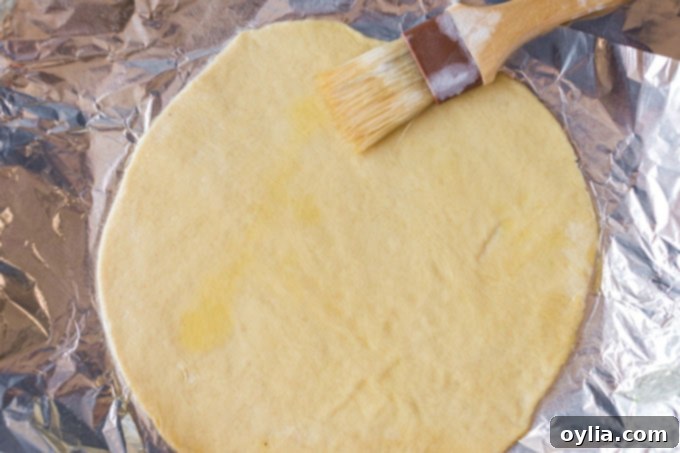
- Stack the Dough: Take another oiled piece of foil and place it, oiled side facing UP, on top of the first piece of dough. Then, place your next dough circle on top of that foil, and oil its surface. Continue this stacking process until all four pieces of dough are on separate oiled foil sheets and each dough surface is oiled. Set this stack aside.
- Prepare Your Workstation: Lightly sprinkle a thin, even layer of cornmeal onto your pizza stone or large cutting board. This will be your designated space for quickly topping the partially cooked crust, and the cornmeal will help the pizza slide off smoothly when it’s time to return it to the grill.
NOTE: The olive oil serves a dual purpose: it prevents the dough from sticking to the grill grates and adds incredible flavor, while also ensuring the dough doesn’t stick to the foil during handling. The foil acts as a convenient, temporary peel to easily transfer the dough to the hot grill.
Grilling the Perfect Crust (First Pass)
- Final Prep Check: Double-check that all your prepared toppings and pizza sauce are within arm’s reach. Ensure your cornmeal-dusted pizza stone or cutting board, tongs, and metal spatula are also ready for action.
- Grill the First Side: With your grill still hot, grab one piece of foil with dough (oiled side up). Turn all four burners down to medium heat (or adjust your charcoal for medium-high direct heat). Open the grill lid and, working quickly and carefully, invert the dough directly onto the grill grates, then immediately peel off the piece of foil. The oiled side of the dough should now be facing down on the grates. Close the lid promptly and LEAVE IT CLOSED for 2 1/2 minutes.
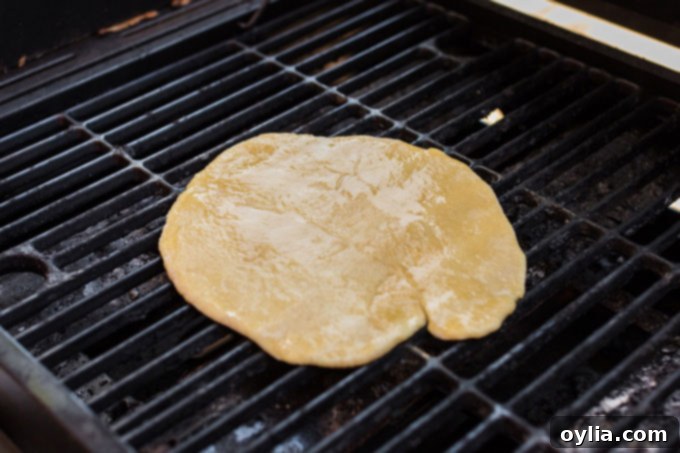
- Check for Doneness: After 2 minutes, carefully lift the lid and use your tongs to gently lift a corner of the dough. You’re looking for the dough to be puffed up and for the underside to have nice, defined brown grill marks. If you see those beautiful marks, move on to the next step. If not, close the grill and allow it to cook for another 30 seconds to a minute; generally, 2 to 3 minutes total is all it takes for the perfect first-side char.
- Remove and Prepare for Toppings: Once the first side of the crust is perfectly grilled, open the lid. Using your tongs and metal spatula, carefully remove the dough from the grill and immediately place it on your cornmeal-dusted pizza stone or cutting board, with the grilled side facing UP.
- Maintain Grill Temperature: Close the grill lid to keep the internal temperature high while you prepare your pizza for its final grilling.
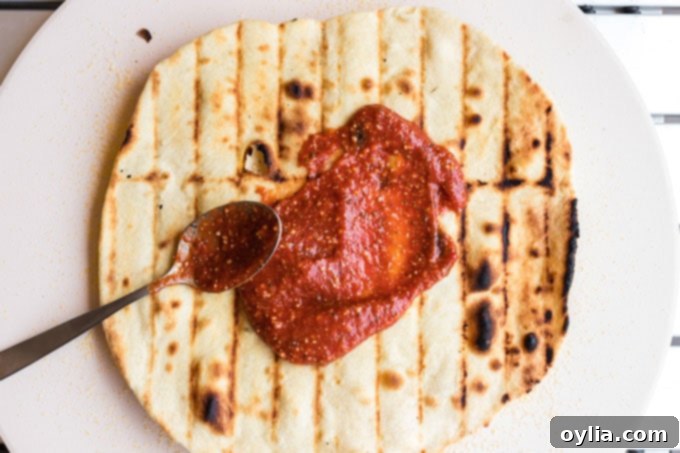
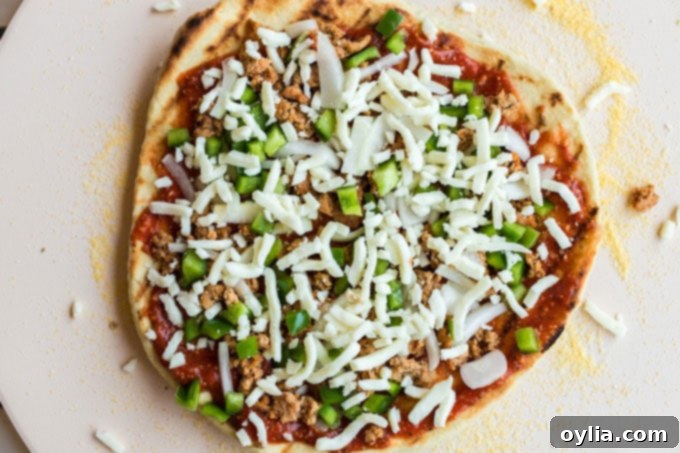
Topping and Finishing Your Grilled Pizza (Second Pass)
- Add Sauce and Toppings: With the grilled side of the dough facing up, quickly spread your desired amount of pizza sauce over the crust, leaving a small border for the edge. Immediately follow with your shredded cheese and chosen toppings. Remember, speed is key here, as you don’t want the crust to cool down too much.
- Set Up for Indirect Heat: This step is critical for perfectly cooked toppings and melted cheese without burning the bottom of the crust. If you have a four-burner gas grill, turn the two middle burners OFF. Then, turn the outer left and right burners up to high. This creates a hot perimeter and a cooler, indirect cooking zone in the center. If using charcoal, push your hot coals to the sides, creating a cool zone in the middle. This indirect heat environment acts much like a convection oven, cooking the toppings and melting the cheese from above while gently crisping the bottom of the crust.
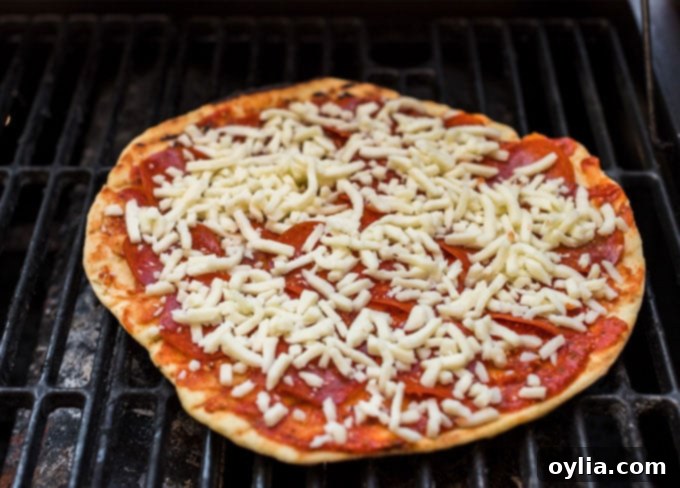
- Final Cook: Open the grill lid and carefully slide your fully topped pizza back onto the grill. Place it directly over the center rack, where the burners are now off (or over your indirect heat zone). The cornmeal you sprinkled earlier will help the pizza slide off the stone or cutting board with ease. Close the lid and let the pizza cook for 5-7 minutes, or until the cheese is beautifully melted, bubbly, and slightly browned, and your toppings are thoroughly cooked. In my experience, this usually takes about 6 to 6.5 minutes.
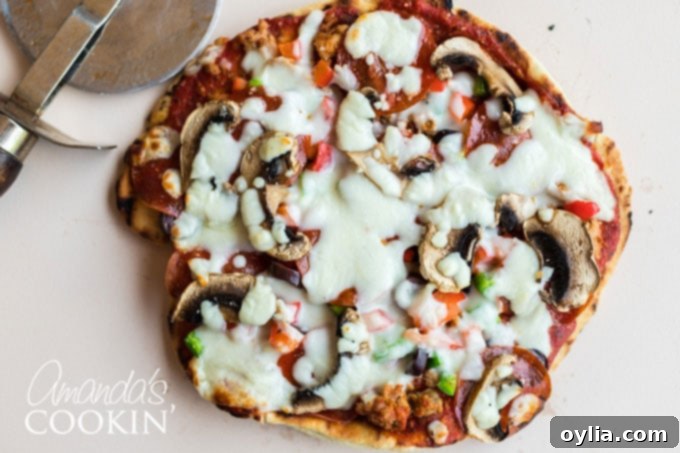
- Remove and Serve: Once done, use your spatula and tongs to carefully remove the hot pizza from the grill. Transfer it to a clean cutting board, slice, and enjoy immediately!
To continue making more pizzas: After removing a finished pizza, remember to turn the middle burners back to high (if using gas) for a minute or two to bring the grill back up to temperature for the next crust. Then, repeat the steps for grilling the dough (steps 1-5), topping (step 6), and indirect cooking (steps 7-9).
NOTE: I often find I can cook two individual pizzas at a time using this method, sliding both onto the middle, indirect heat zone together, maximizing efficiency for a crowd.
Tips for Grilled Pizza Perfection & Troubleshooting
- Don’t Overload: A common mistake is to pile too many toppings on. This makes the pizza soggy, extends cooking time, and can prevent the crust from getting crispy. Less is often more with grilled pizza.
- Pre-Cook Some Toppings: If using ingredients like raw sausage, bacon, or certain vegetables that need longer to cook (e.g., thick-cut mushrooms or onions), it’s best to pre-cook or blanch them before adding them to your pizza.
- Watch the Heat: Grills can have hot spots. If you notice one side of your crust browning faster, rotate the pizza carefully using your tongs.
- Dough Sticking? If your dough is sticking, your grill might not be clean enough, or you might not have used enough olive oil or cornmeal. A well-oiled grill and dough, combined with cornmeal on your transfer surface, are your best defense against sticking.
- Bubbling Crust: It’s common for the dough to bubble up during the first grill pass. If a large bubble forms, you can gently pop it with your tongs to ensure even cooking.
- Serving Right Away: Grilled pizza is best enjoyed fresh off the grill. Have plates and a pizza cutter ready so you can serve it piping hot.
More Pizza and Grill Ideas for Your Culinary Adventures:
- French Bread Pizza
- Cauliflower Pizza Crust
- Pizza Lasagna
- Grilled Chicken
- Grilled Chicken Tacos
- Grilled Watermelon & Pineapple Skewers
- Perfect Grilled Pork Chops
- Cedar Plank Salmon
- Shrimp Kabobs
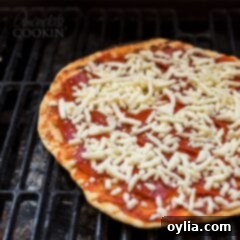
Making Pizza on the Grill
IMPORTANT – There are often Frequently Asked Questions within the blog post that you may find helpful. Simply scroll back up to read them!
Print It
Rate It
Save ItSaved!
Ingredients
- pizza dough
- pizza sauce
- toppings
- olive oil
Instructions
-
First, turn your grill on to high and close the lid. Allow it to heat up and get good and hot, about 15 minutes.
-
Next, you will need 4 pieces of aluminum foil (big enough to cover a cookie sheet). Brush each piece of foil (on one side only) with olive oil.
-
Cut your dough into 3 or 4 pieces. You want to make individual pizzas instead of trying to make one great big one. Use the heel of your hand to press the dough flat and stretch it out, or if you prefer you can roll it, pressing it give it a more rustic look though. 🙂 I made mine about 7-8″ in diameter and got 4 pizzas from one dough recipe. Place one dough onto an oiled sheet of foil. Use brush or your fingers to oil the top of the dough. Place next piece of foil, oiled side facing up, on top of that dough. (You are stacking here) Now place the next dough on top of that foil, then oil the dough, repeat until all four pieces of foil have dough on them and they are all oiled. Just FYI – the olive oil keeps the dough from sticking to the grill grates and adds great flavor as well. Oh, and it also keeps the dough from sticking to the foil. The foil works as a handy way to slap the dough onto the grill.
-
Place your stack of dough/foil aside for now.
-
Again, be sure all your toppings and your sauce are at the ready, make sure you have your pizza stone or cutting board sprinkled with cornmeal. Have tongs and spatula ready.
-
Grab one piece of foil with dough. Turn all four burners down to medium, open grill and invert the dough onto the grill, peel off the piece of foil. Close the lid and LEAVE IT CLOSED for 2 1/2 minutes.
-
After two minutes you can check and see how the dough is doing, it should be getting puffy and developing grill marks on the bottom. Check this by lifting the corner with your tongs. If you have nice brown grill marks move on to the next step. If not, close the grill and let them cook a little longer, but generally 2-3 minutes does the trick.
-
Next, open the grill, use the tongs and metal spatula to remove your dough and place it on the stone or cutting board, grill marks up. Close the grill.
-
Now, add your sauce and toppings to your dough, again the grill marks should be facing up.
-
Turn the two middle burners OFF and turn the outer left and right burners back up to high. This creates a hot environment, but allows you to cook on indirect heat so that the bottom of your crust does not burn.
-
Open the grill and carefully slide your pizza back onto the grill (the cornmeal acts as ball bearings and lets the dough slide off the stone or cutting board easily) on the center rack, where the burners should be off. Close the lid and let cook for 5-7 minutes, or until cheese is melted and toppings are done.
-
Use spatula and tongs to remove pizza. Enjoy!
The recipes on this blog are tested with a conventional gas oven and gas stovetop. It’s important to note that some ovens, especially as they age, can cook and bake inconsistently. Using an inexpensive oven thermometer can assure you that your oven is truly heating to the proper temperature. If you use a toaster oven or countertop oven, please keep in mind that they may not distribute heat the same as a conventional full sized oven and you may need to adjust your cooking/baking times. In the case of recipes made with a pressure cooker, air fryer, slow cooker, or other appliance, a link to the appliances we use is listed within each respective recipe. For baking recipes where measurements are given by weight, please note that results may not be the same if cups are used instead, and we can’t guarantee success with that method.
This post was originally published here on June 25, 2009. We’ve updated it with additional tips and expanded details to ensure you have the best grilled pizza experience possible.
