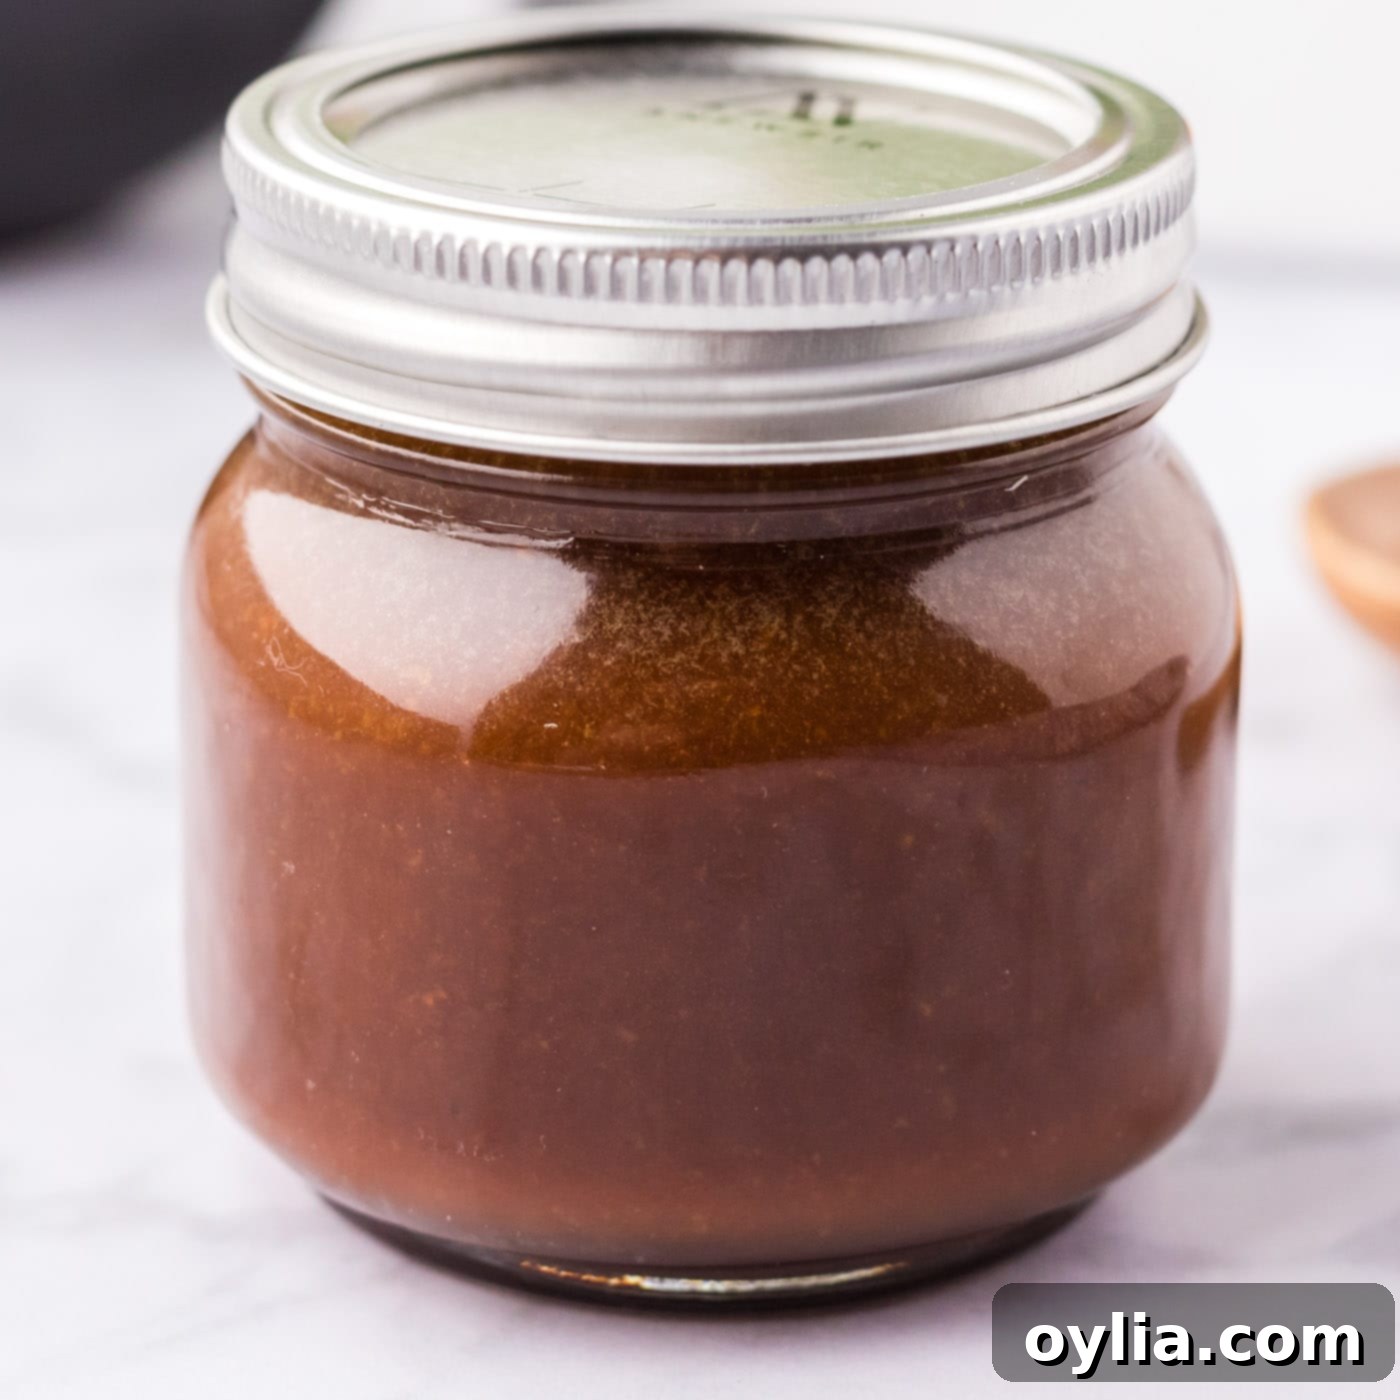
The Best Easy Homemade Teriyaki Sauce: Sweet, Tangy & Versatile
Forget store-bought! Elevate your home cooking with this incredibly easy homemade teriyaki sauce. In just minutes, you can create a luscious, sweet, and tangy sticky glaze bursting with the fresh flavors of ginger and garlic, perfectly balanced with the richness of oyster sauce and the savory depth of soy sauce. This recipe delivers a hefty dose of authentic flavor that will transform your meals, offering a healthier and more delicious alternative to pre-made options.
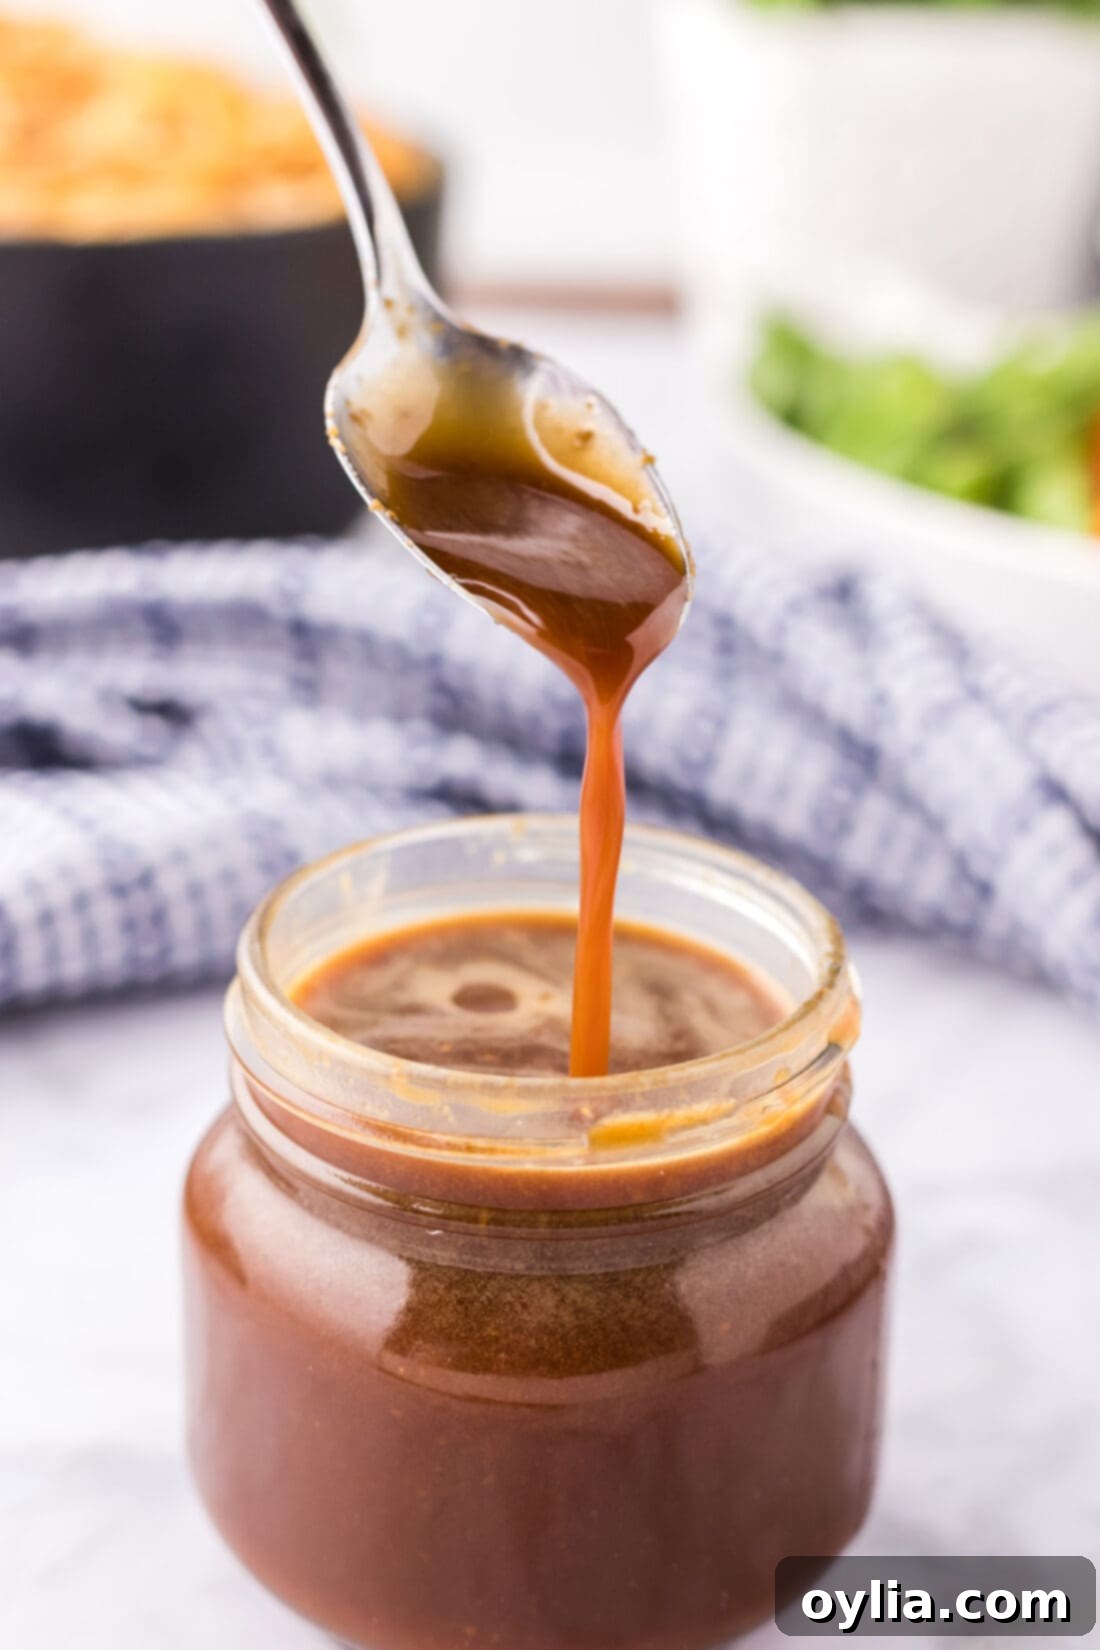
Why This Homemade Teriyaki Sauce Recipe Works Wonders
This teriyaki sauce recipe isn’t just easy; it’s a game-changer for your kitchen. With a simple quick blitz of an immersion blender, you’ll have a gourmet-quality teriyaki sauce at your fingertips, ready to transform ordinary ingredients into extraordinary meals. Here’s why this recipe deserves a permanent spot in your culinary repertoire:
Unmatched Ease and Speed
In a world where convenience often compromises quality, this recipe offers the best of both. You can whip up a batch faster than you can find your car keys to drive to the grocery store for a jarred version. All it takes is combining a few common pantry staples and blending them together. This minimal effort yields maximum flavor, making it perfect for busy weeknights or when you need a quick flavor boost.
Incredible Versatility for Any Dish
Once you have this homemade teriyaki sauce, the culinary possibilities are endless. It’s an incredibly versatile condiment that seamlessly integrates into various cooking styles and dishes:
- **Glaze:** Spoon it generously over cooked meats like chicken, salmon, beef, or shrimp for a beautiful, sticky finish. It caramelizes wonderfully under a broiler or in a hot pan.
- **Marinade:** Use it to marinate your favorite proteins, infusing them with a deep, savory, and sweet flavor before grilling, baking, or pan-frying. It’s particularly fantastic for teriyaki chicken skewers or tender beef strips.
- **Stir-fries:** Toss it into your next stir-fry with vegetables, rice, or noodles. It coats every ingredient, ensuring a harmonious blend of flavors.
- **Dipping Sauce:** Serve it alongside appetizers like chicken wings, spring rolls, dumplings, or even as a flavorful dip for vegetable sticks.
- **Noodle Dishes:** A simple bowl of noodles becomes a gourmet experience when tossed with this rich teriyaki sauce.
- **Salad Dressing Base:** Thin it slightly with a touch of water or citrus juice for a unique and flavorful salad dressing.
Superior Flavor & Quality Control
Unlike many store-bought teriyaki sauces that often contain high fructose corn syrup, artificial flavors, and excessive sodium, making your own gives you complete control over the ingredients. You can adjust the sweetness, saltiness, and tang to your preference, ensuring a fresher, more vibrant taste that simply can’t be matched by commercial alternatives.
Excellent for Meal Prepping
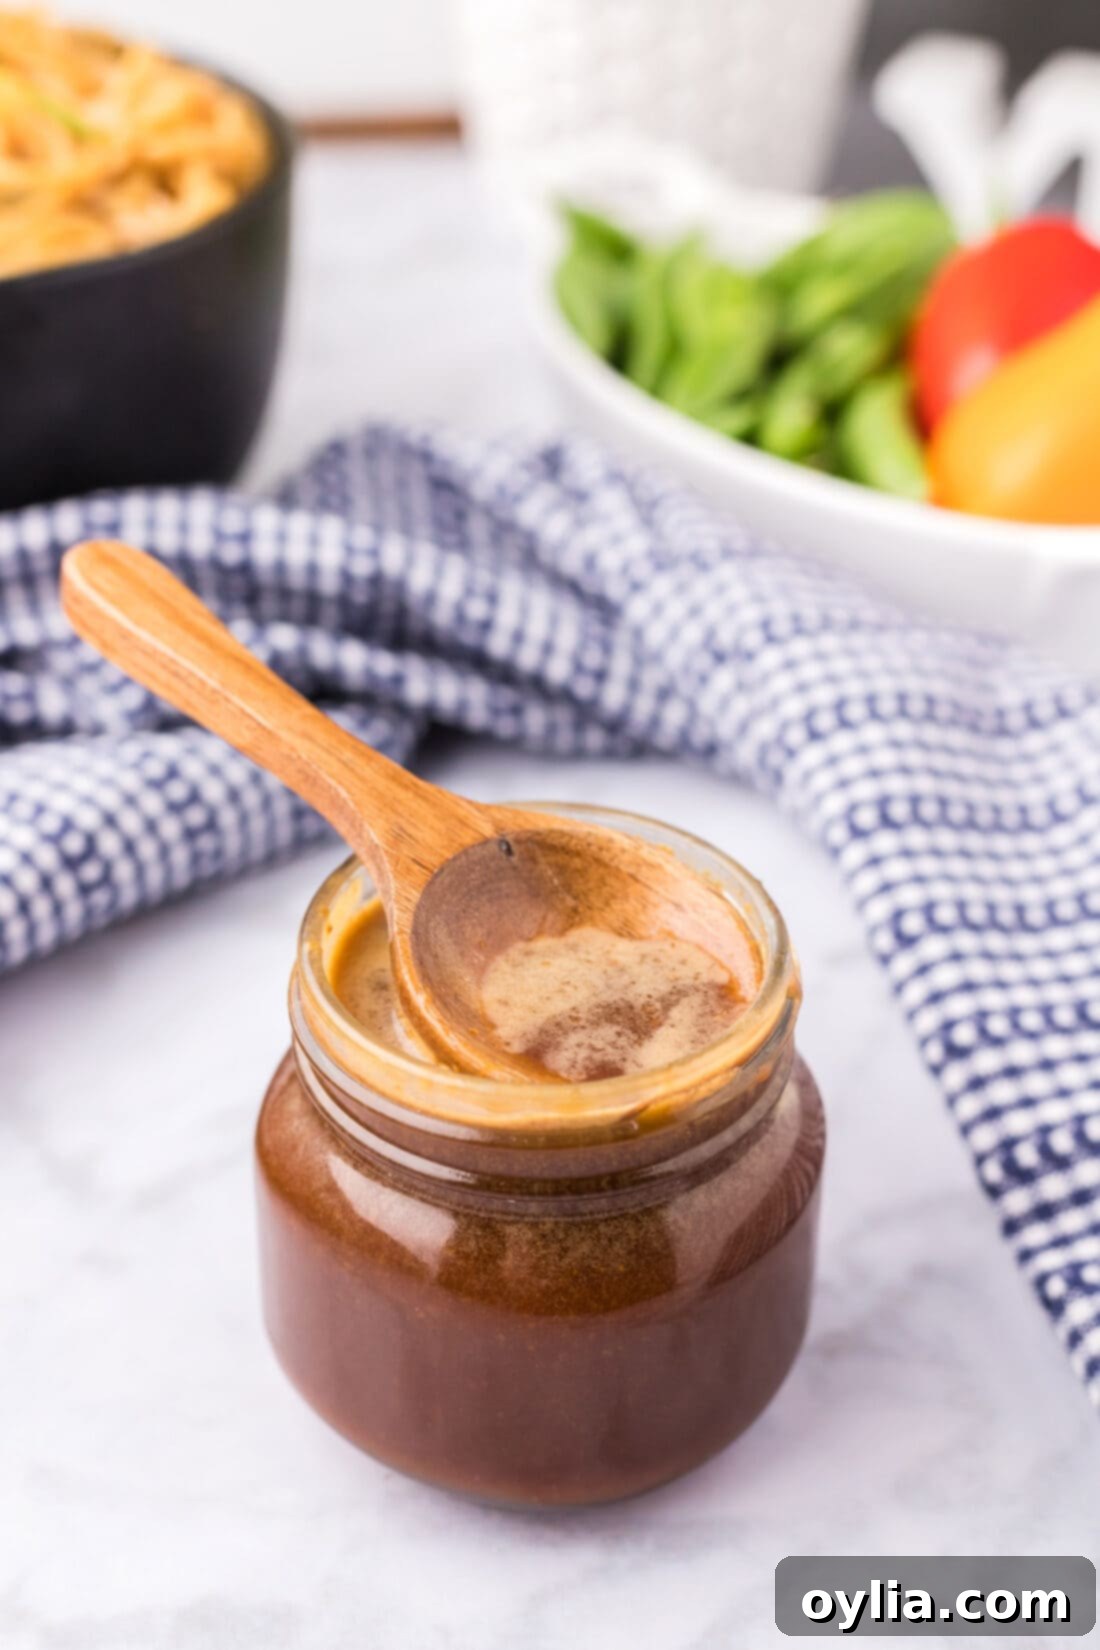
One of the standout features of this recipe is its impressive shelf life. This homemade sauce keeps beautifully in an airtight container in the refrigerator for up to 2 months. This makes it an ideal component for meal prepping. You can make a large batch once and have a delicious flavor enhancer ready for a variety of meals throughout the weeks, saving you time and effort when you need it most.
Key Ingredients for Your Homemade Teriyaki Sauce
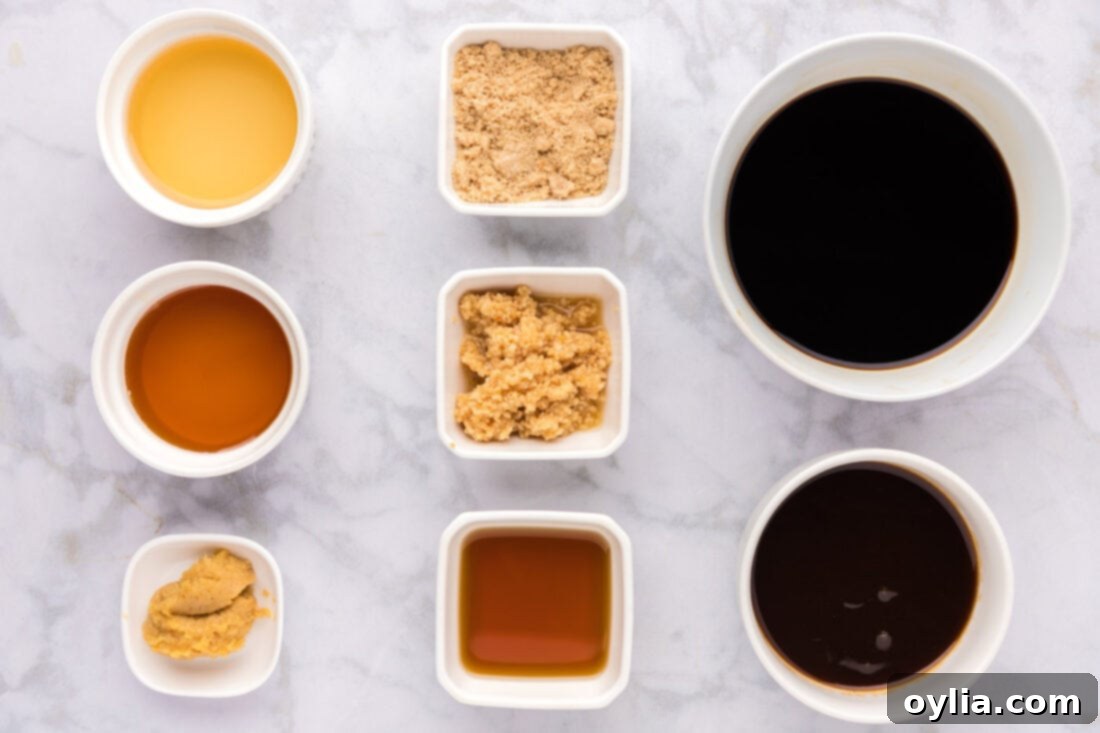
Crafting the perfect teriyaki sauce relies on a handful of essential ingredients, each playing a crucial role in achieving that signature sweet, savory, and tangy profile. You’ll find all exact measurements and detailed instructions in the printable recipe card at the end of this post, but let’s dive into what makes each component so important.
Ingredient Info and Substitution Suggestions
Each ingredient contributes uniquely to the rich, balanced flavor of this homemade teriyaki sauce. Here’s a closer look:
- Low Sodium Soy Sauce: This forms the savory base of our teriyaki. Using low sodium soy sauce allows us to control the overall saltiness of the sauce. If you only have regular soy sauce, you might want to slightly reduce the amount or adjust other ingredients. For a gluten-free option, easily substitute with tamari.
- Sesame Oil: Toasted sesame oil is key here. Its distinctive nutty aroma and flavor are crucial for an authentic teriyaki taste. Do not substitute with plain sesame oil; the toasted variety provides the depth of flavor you’re looking for.
- Oyster Sauce: Our recipe uniquely incorporates oyster sauce, which adds an incredible layer of umami, a subtle sweetness, and a thicker, glossier consistency that results in a beautiful glaze. While it enhances the sauce significantly, if you don’t have it or prefer a vegetarian/vegan option, you can substitute it with an equal amount of additional soy sauce. Be aware that this will make the sauce a bit saltier and thinner. You might consider adding a touch more honey or brown sugar and a small amount of cornstarch (when thickening later) to compensate for the lost sweetness and body.
- Honey & Brown Sugar: These are our primary sweeteners, working in harmony to provide that signature sweet and tangy balance, mellowing out the strong savory notes from the soy and oyster sauce. You can adjust the quantity to suit your desired level of sweetness. Maple syrup or agave nectar can be used as alternatives, though they will slightly alter the final flavor profile.
- Rice Vinegar: This ingredient adds a crucial acidic brightness and tang, cutting through the richness and balancing the sweetness. Do not skip it! Apple cider vinegar can be a substitute in a pinch, but rice vinegar’s milder acidity is preferred.
- Garlic & Ginger: These aromatics are the heart of teriyaki’s vibrant flavor. While fresh garlic, minced, and fresh ginger, grated, will always offer the most potent flavor, we’ve opted for the convenience of jarred minced garlic and chopped ginger. This saves time and is perfect for when fresh ingredients aren’t readily available. If using fresh, ensure they are finely minced or grated to integrate smoothly into the sauce.
Optional Additions to Customize Your Sauce:
- Red Pepper Flakes: For a touch of heat, a pinch or two of red pepper flakes can be added.
- Mirin: A traditional Japanese sweet rice wine, mirin adds another layer of subtle sweetness and a beautiful sheen. If you have it, a tablespoon or two can elevate the flavor.
- Citrus Zest/Juice: A tiny squeeze of fresh lime or orange juice, or a little zest, can add a bright, fresh finish to the sauce, especially when serving.
Crafting Your Homemade Teriyaki Sauce: Step-by-Step
These step by step photos and instructions are here to help you visualize how to make this recipe. You can Jump to Recipe to get the printable version of this recipe, complete with measurements and instructions at the bottom.
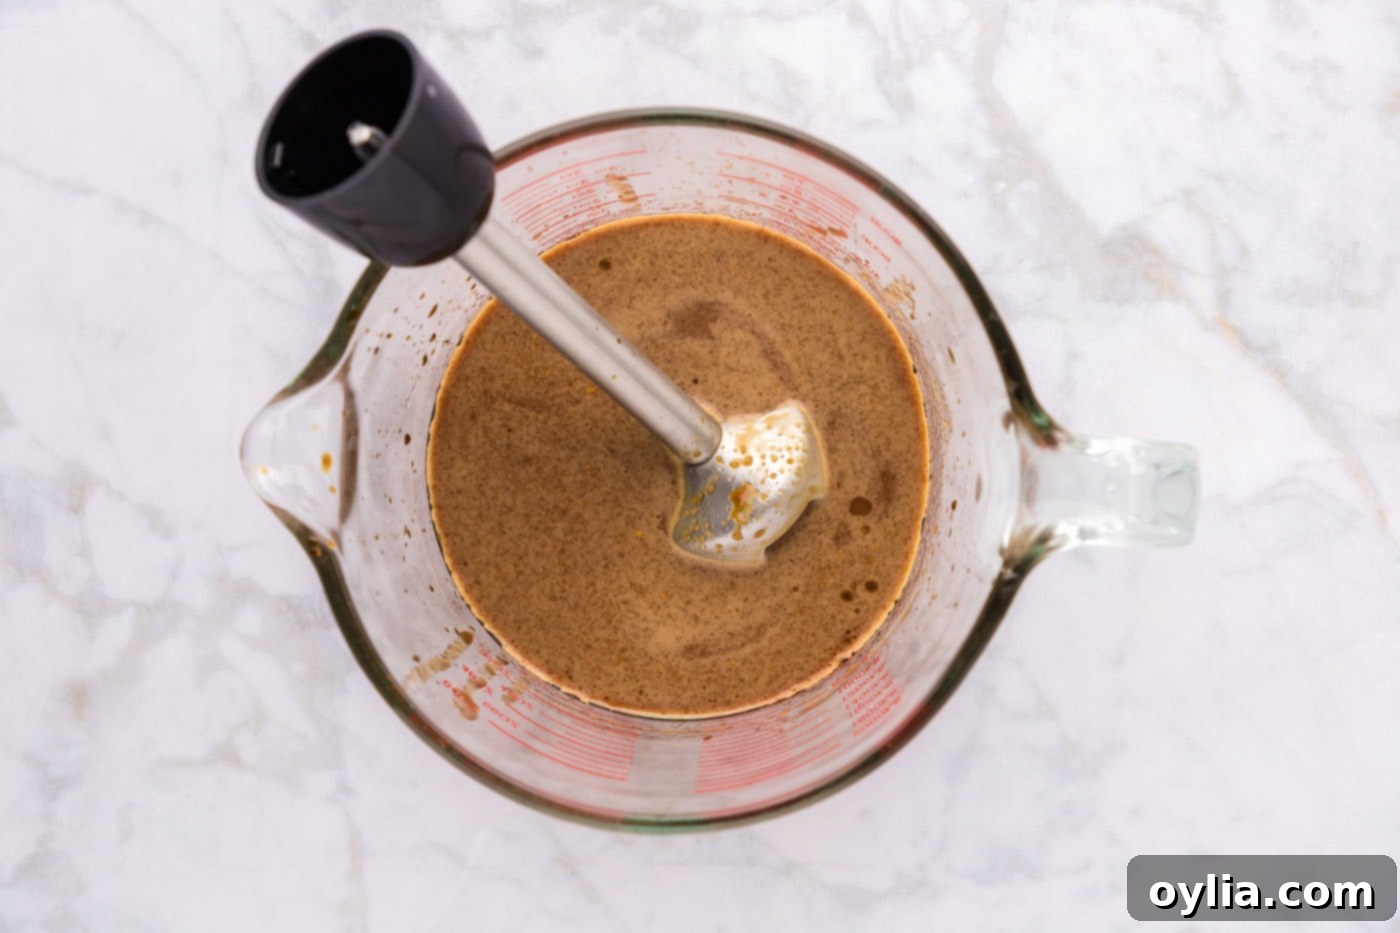
- Combine All Ingredients: In a tall measuring cup or a mixing bowl, combine the low sodium soy sauce, sesame oil, oyster sauce, honey, rice vinegar, chopped ginger, minced garlic, and brown sugar.
- Blend Until Smooth: Using an immersion blender, blend all the ingredients together until completely smooth and well combined. This process ensures that the garlic and ginger are finely incorporated, and the honey and sugar are fully dissolved. At this stage, the sauce will be thin. We are purposely NOT adding cornstarch yet, as the thickening agent is typically added later when the sauce is used for cooking.
- Store for Later Use: Transfer the blended teriyaki sauce to an airtight container or a jar. Store it in the refrigerator. This sauce can be prepared well in advance, making it a fantastic staple for quick weeknight meals.
- To Use and Thicken: When you’re ready to use your delicious homemade teriyaki sauce, add about 1/2 cup to your cooked meat or noodles in a skillet (this amount is generally suitable for a family-sized meal). To achieve that desirable thick, sticky glaze, you’ll need to create a cornstarch slurry. In a separate small bowl, whisk together one tablespoon of cornstarch with approximately 1/4 cup of cold water until smooth. Add this slurry to the skillet with your sauce and ingredients, then simmer gently while stirring constantly until the sauce visibly thickens to your desired consistency.
Frequently Asked Questions & Expert Tips for Success
This sauce is excellent for meal prep! Simply transfer it to a clean, airtight container or a glass jar. It can be safely stored in the refrigerator for up to 2 months. Always ensure it’s tightly sealed to maintain freshness and prevent absorption of other fridge odors.
Absolutely! This is one of the biggest advantages of making teriyaki sauce at home. After blending, taste a small amount. If you prefer it sweeter, add another teaspoon of honey or brown sugar and blend again. If it’s too salty, a tiny splash of water or more rice vinegar can help balance it out. If it’s not savory enough, a touch more soy sauce can be added, but remember to do so sparingly as it can quickly become too salty.
Making this recipe gluten-free is simple! Just substitute the low sodium soy sauce with an equal amount of gluten-free tamari. Tamari offers a similar flavor profile to soy sauce but without the wheat content, making it perfect for those with gluten sensitivities or celiac disease.
Yes, to make this teriyaki sauce vegan, you will need to omit the oyster sauce. Oyster sauce contains oyster extracts. To compensate for the umami and slight sweetness, you can increase the soy sauce by a couple of tablespoons and consider adding a dash of mushroom umami seasoning or a finely minced mushroom (like shiitake) to the blend. You might also want to add a tiny bit more brown sugar or a plant-based sweetener to maintain the sweet balance.
While an immersion blender makes the process incredibly fast and ensures a super smooth sauce, you can also use a regular blender. If you don’t have a blender, ensure your garlic and ginger are very, very finely minced or grated, and whisk all ingredients vigorously until the honey and sugar are fully dissolved. The texture might not be as perfectly smooth, but the flavor will still be fantastic.
Creative Ways to Serve Your Homemade Teriyaki Sauce
The beauty of this homemade teriyaki sauce lies in its incredible versatility. Once you have a batch ready, you’ll find countless ways to incorporate it into your cooking. Here are some serving suggestions to inspire your next meal:
- Classic Teriyaki Dishes: It’s a perfect match for traditional favorites. Spoon it generously over grilled or pan-seared chicken, shrimp, or salmon. Serve with a side of steamed rice and your favorite stir-fried vegetables for a complete and satisfying meal.
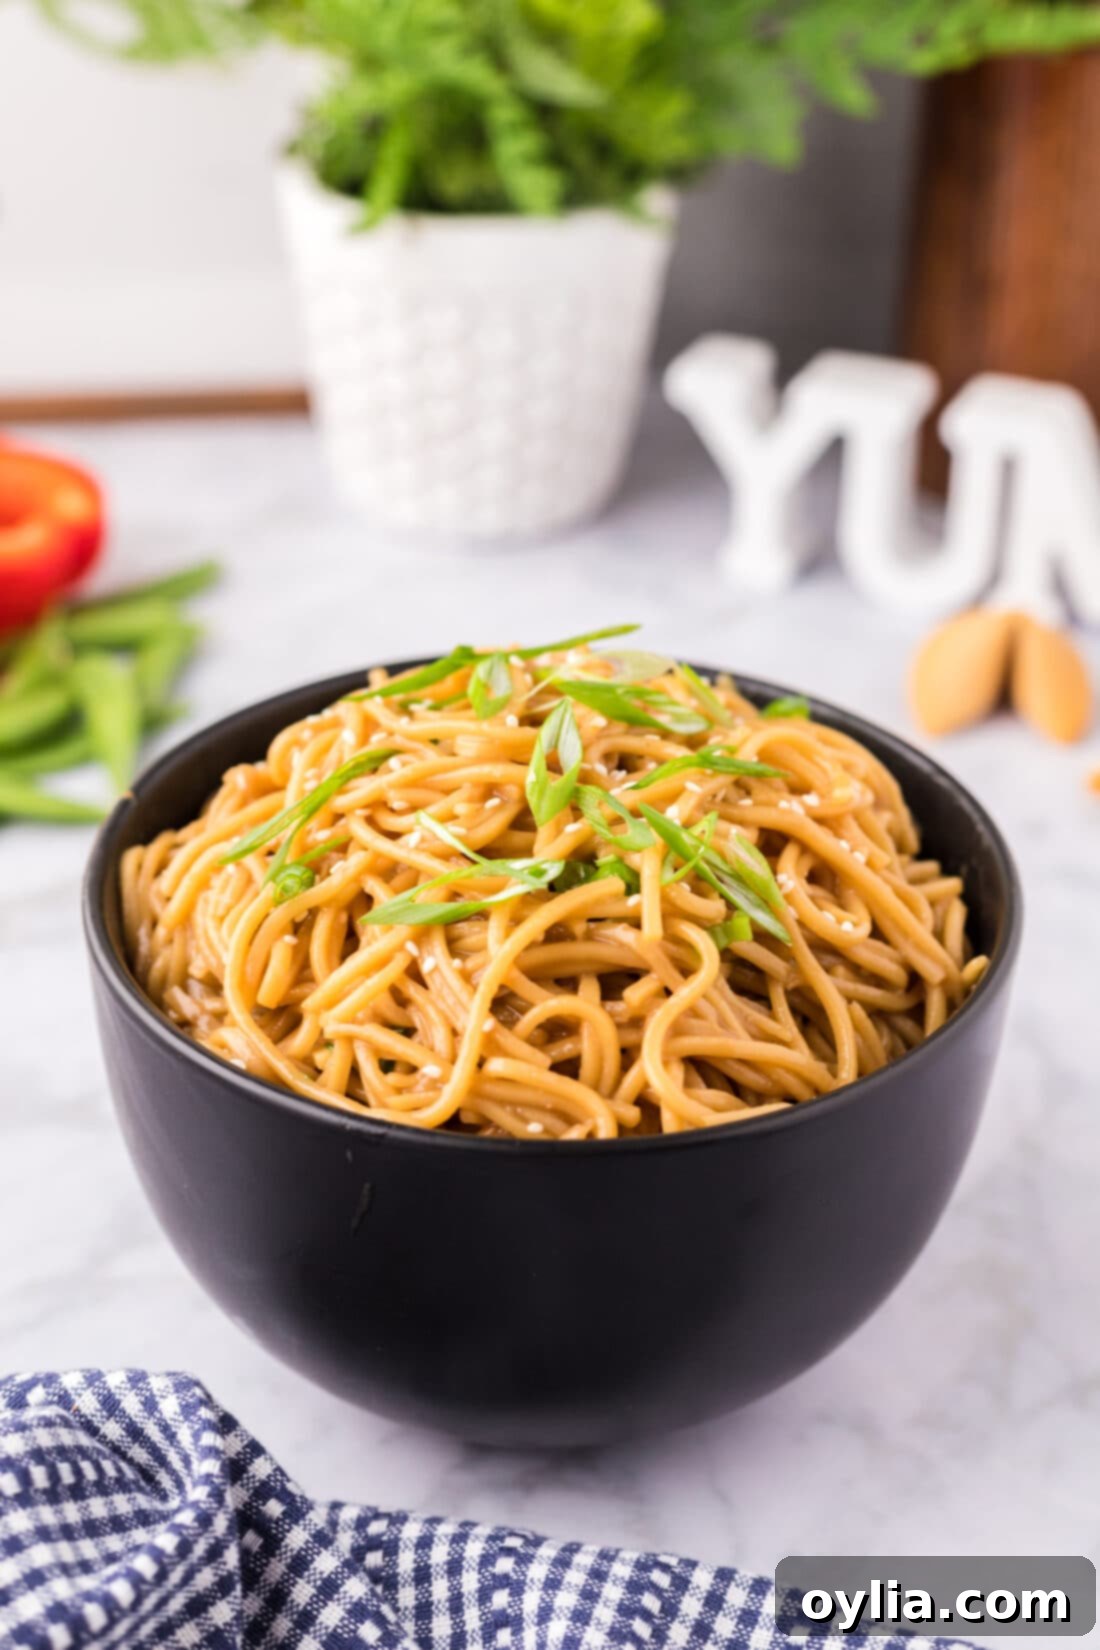
- Noodle & Rice Bowls: Elevate simple teriyaki noodles or a rice bowl by tossing them with this sauce. Add some cooked protein (chicken, tofu, beef), fresh vegetables, and a sprinkle of sesame seeds for a vibrant and flavorful dish.
- Stir-Fries: This sauce is a must-have for any stir-fry. It provides the ideal sticky glaze that coats every ingredient beautifully, bringing together all the flavors of your chosen meats and vegetables.
- Appetizers & Snacks: Use it as a dipping sauce for crispy spring rolls, potstickers, or homemade chicken nuggets. It’s also fantastic drizzled over baked chicken wings or even meatballs for an instant flavor upgrade.
- Marinades for Grilling: Marinate chicken thighs, beef skewers, or pork tenderloin in the teriyaki sauce for at least 30 minutes (or several hours for deeper flavor) before grilling or baking. The result will be incredibly tender and flavorful.
- Vegetarian & Vegan Options: This sauce pairs wonderfully with plant-based proteins. Glaze baked tofu, tempeh, or seitan with the teriyaki sauce, or use it to flavor a hearty vegetable stir-fry with broccoli, bell peppers, and snap peas. (Remember to use the vegan modification mentioned in the FAQ if needed).
Having this homemade teriyaki sauce on hand is a secret weapon for quick, flavorful meals. It transforms simple ingredients into culinary delights, proving that delicious and wholesome eating doesn’t have to be complicated.
Explore More Teriyaki Recipes
If you’re now a fan of the incredible flavor of homemade teriyaki, you’ll love these other teriyaki-inspired dishes:
- Teriyaki Chicken
- Teriyaki Salmon
- Teriyaki Chicken and Rice
- Teriyaki Noodles
I love to bake and cook and share my kitchen experience with all of you! Remembering to come back each day can be tough, that’s why I offer a convenient newsletter every time a new recipe posts. Simply subscribe and start receiving your free daily recipes!
Homemade Teriyaki Sauce
IMPORTANT – There are often Frequently Asked Questions within the blog post that you may find helpful. Simply scroll back up to read them!
Print It
Pin It
Rate It
Save ItSaved!
Ingredients
- 1 cup low sodium soy sauce
- ¼ cup sesame oil
- ½ cup oyster sauce
- ¼ cup honey
- 3 Tablespoons rice vinegar
- 1 Tablespoon chopped ginger
- 2 Tablespoons minced garlic
- 1 Tablespoon brown sugar
To Prepare
- cornstarch
- water
Things You’ll Need
-
immersion blender
-
Measuring cups and spoons
Before You Begin
- This sauce can be kept in a sealed container in the refrigerator for up to 2 months, making it perfect for meal prepping.
- Our version uses both oyster sauce and soy sauce. Oyster sauce provides a unique umami, sweetness, and thicker consistency. If substituting with more soy sauce, the result may be saltier and thinner. Consider adding a bit more sweetener and adjusting thickening later.
- For a gluten-free option, substitute low-sodium soy sauce with tamari.
- For a vegan sauce, omit oyster sauce and consider adding mushroom umami or a dash more soy sauce and sweetener.
Instructions
-
Combine all ingredients (soy sauce, sesame oil, oyster sauce, honey, rice vinegar, chopped ginger, minced garlic, brown sugar) in a tall cup or bowl. Blend together with an immersion blender until smooth. The sauce will be thin at this stage as cornstarch is not added yet.
-
Store the blended sauce in an airtight container or jar in the refrigerator for up to 2 months.
To Use and Thicken
-
To use, add about 1/2 cup of homemade teriyaki sauce to cooked meat or noodles in a skillet (for a family sized meal).
To thicken, prepare a cornstarch slurry by whisking a tablespoon of cornstarch into about 1/4 cup of cold water. Add this slurry to the skillet and simmer, stirring constantly, until the sauce has thickened to your desired consistency.
Nutrition
The recipes on this blog are tested with a conventional gas oven and gas stovetop. It’s important to note that some ovens, especially as they age, can cook and bake inconsistently. Using an inexpensive oven thermometer can assure you that your oven is truly heating to the proper temperature. If you use a toaster oven or countertop oven, please keep in mind that they may not distribute heat the same as a conventional full sized oven and you may need to adjust your cooking/baking times. In the case of recipes made with a pressure cooker, air fryer, slow cooker, or other appliance, a link to the appliances we use is listed within each respective recipe. For baking recipes where measurements are given by weight, please note that results may not be the same if cups are used instead, and we can’t guarantee success with that method.
