Easy Homemade Hawaiian Rolls: Soft, Sweet & Fluffy Bread Recipe
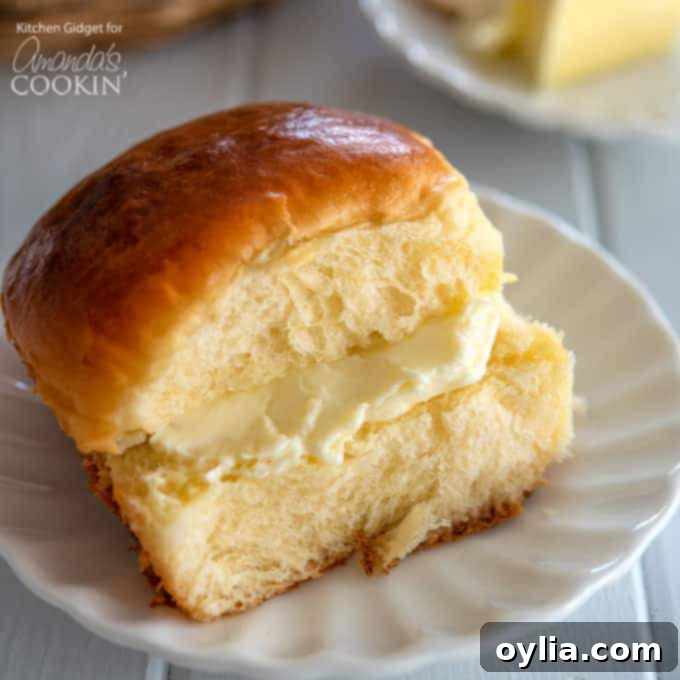
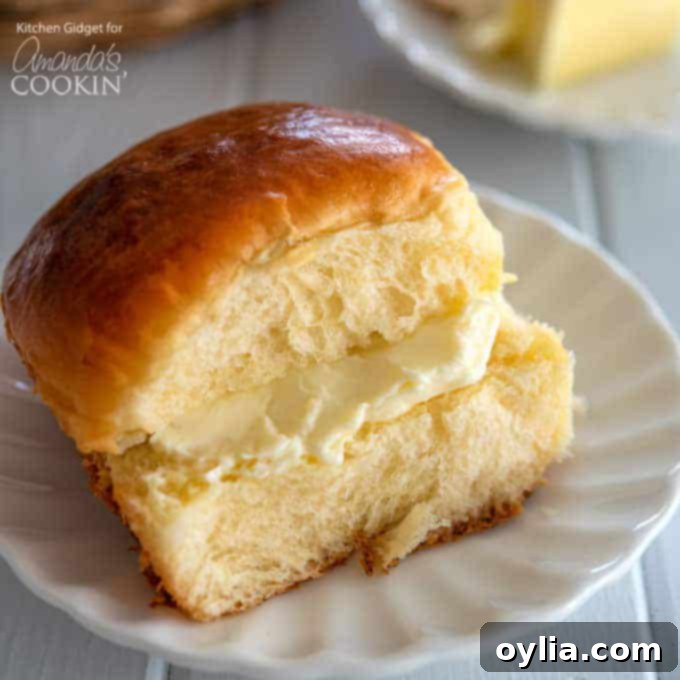
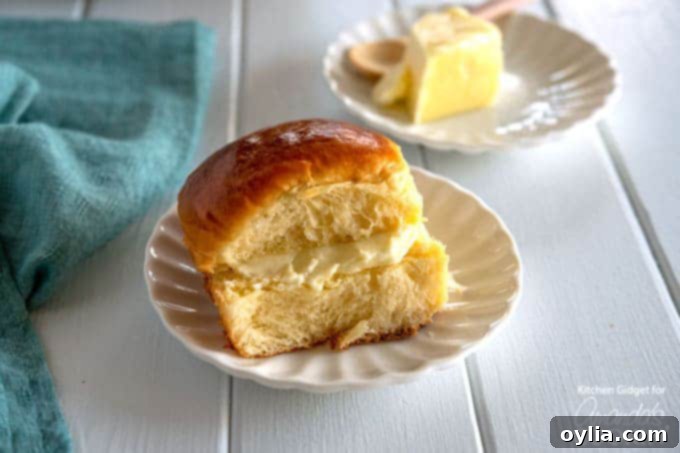
Imagine biting into a perfectly soft, wonderfully sweet, and incredibly fluffy roll that practically melts in your mouth. That’s the magic of homemade Hawaiian rolls, and the good news is, you can create this delightful experience right in your own kitchen! These irresistibly sweet dinner rolls are not just a side dish; they’re a culinary journey to paradise, bringing a touch of island warmth to any meal. Forget store-bought versions; once you try this recipe, you’ll be hooked on the superior taste and texture of freshly baked Hawaiian bread.
My Hawaiian Journey: The Inspiration Behind These Irresistible Rolls
My love affair with Hawaiian rolls began during my college years in Hawaii. Yes, I was one of the lucky few who got to do their homework on pristine beaches, surrounded by the breathtaking beauty and vibrant culture of the islands! Living in Hawaii wasn’t just about the scenery; it was a profound immersion into a world rich with diverse foods and traditions. From fresh poke to poi, every meal was an adventure. But among all the culinary delights, the soft, sweet embrace of Hawaiian bread left an indelible mark on my memory.
Most people are familiar with these iconic sweet rolls – they’re a staple at many dinner tables and potlucks. Their signature softness and delicate sweetness are truly unique. What many don’t realize, however, is that the Hawaiian roll’s origins are deeply rooted in Portuguese sweet bread, known as Pão Doce. Immigrant workers brought this cherished recipe to the islands, where it evolved over time, adapting to local ingredients and tastes to become the beloved bread we know today. My goal with this recipe was to capture that authentic, melt-in-your-mouth flavor I remember from my island days.
Why Homemade Hawaiian Rolls are Simply the Best
There’s a special satisfaction that comes with baking your own bread, and these homemade Hawaiian rolls deliver on all fronts. They are so sweet and unbelievably fluffy that you might find yourself enjoying them for breakfast with just a smear of butter and a cup of coffee. But their true calling often lies as the ultimate dinner roll, elevating any meal from ordinary to extraordinary. Beyond the dinner table, these versatile rolls are fantastic for appetizers like Hawaiian Ham and Cheese Sliders or Slow Cooker Parmesan Chicken Sliders, and the recipe easily doubles if you’re feeding a crowd.
Crafting the perfect Hawaiian roll took me several attempts to get that exact tenderness and sweetness I remembered. What I discovered is that it’s a surprisingly simple dough to work with. You don’t even need a stand mixer, though you’re welcome to use your KitchenAid if you prefer. The most crucial secret to achieving these incredibly soft and tender rolls is resisting the urge to add too much flour. The dough should be a little sticky; that’s actually perfect for ensuring a light, airy texture once baked. Over-flouring can lead to dense, dry rolls, which is exactly what we want to avoid!
Essential Ingredients & Helpful Kitchen Tools
Gathering your ingredients and tools before you start baking will make the process smooth and enjoyable. Pay attention to the temperatures of ingredients like milk and butter, as they play a crucial role in activating the yeast and achieving the perfect dough consistency.
Ingredients you will need:
- 1 cup milk
- 1 packet active dry yeast
- ¾ cup sugar
- 1 teaspoon salt
- ½ cup (1 stick) unsalted butter, cooled to about 85F or less
- 2 large eggs
- 16.8 ounces all-purpose flour, plus more for sprinkling surface
- 1 large egg (for egg wash)
- 2 tablespoons water (for egg wash)
- 1 tablespoon butter, melted (for brushing after baking)
Helpful kitchen tools:
- Large mixing bowl
- Glass measuring cups
- Pastry brush
- Measuring spoons
- Kitchen scale (highly recommended for accurate flour measurement!)
Baking Perfection: Step-by-Step Guide to Fluffy Hawaiian Rolls
The journey to creating these delectable rolls begins with activating the yeast. Warm your milk to the ideal temperature of 100-110°F – this is crucial for the yeast to thrive without being killed by excessive heat. In a large mixing bowl, dissolve the active dry yeast along with one teaspoon of granulated sugar in the warm milk. Give it about 10 minutes to rest; you’ll know it’s working when a frothy layer, or “bloom,” forms on the surface. This indicates your yeast is alive and ready to make your rolls wonderfully airy.
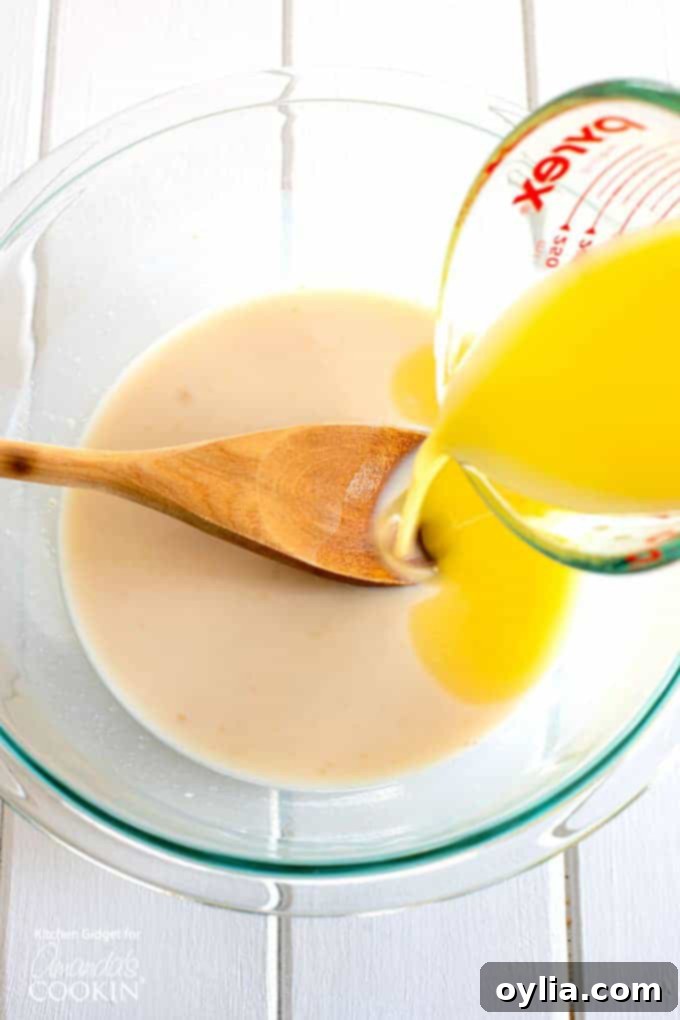
Once your yeast is active, it’s time to build the flavor. Add the remaining granulated sugar, salt, the slightly cooled melted butter (make sure it’s not hot, about 85°F or less, to protect the yeast), and your room temperature eggs to the yeast mixture. Beat everything vigorously to ensure all ingredients are well combined. This can be achieved with a whisk by hand for a good arm workout, or effortlessly with the paddle attachment of a stand mixer.
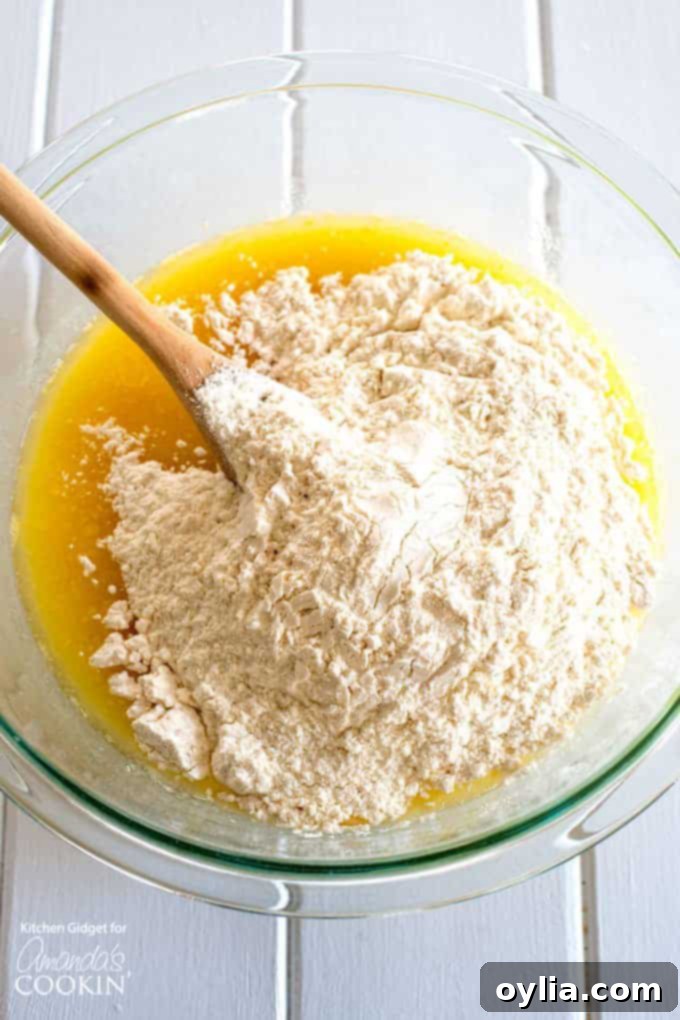
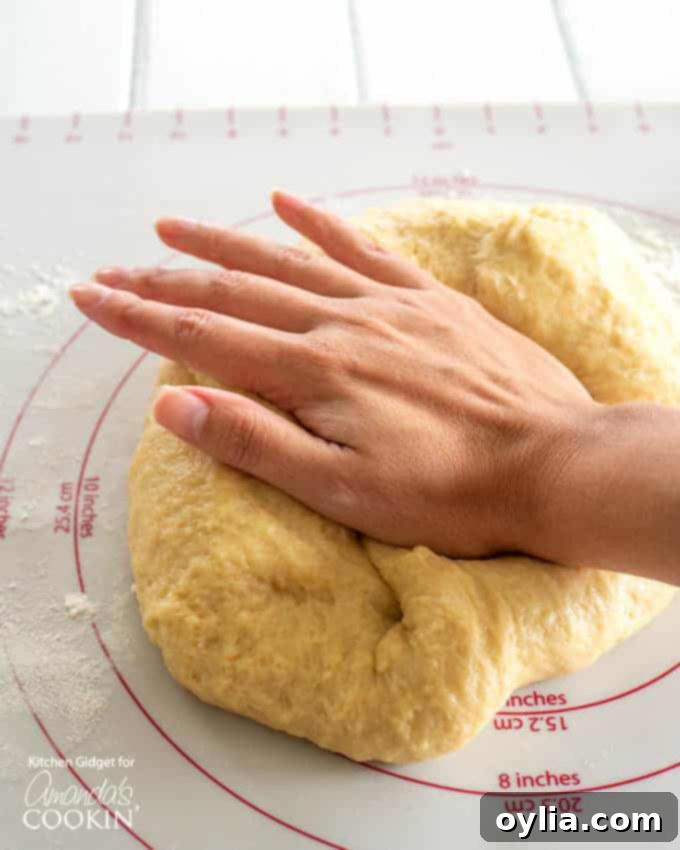
Next, gradually stir in the all-purpose flour. You’ll want to add it until a stiff dough begins to form, but remember our golden rule: don’t over-flour! Turn the dough out onto a lightly floured surface and gently knead it for about 3-5 minutes. The goal is a smooth, elastic dough. It will be a bit sticky, and that’s exactly what we want for tender rolls. If it feels too sticky to handle, add a minimal amount of flour, just enough to make it workable, but try to let the kneading process itself develop the gluten and reduce stickiness naturally.
After kneading, place the dough in a clean, lightly greased bowl, cover it loosely, and let it rise in a warm spot until it has doubled in size. This usually takes about an hour, depending on your kitchen’s temperature. Once doubled, gently punch down the dough to release the air. Now it’s time to shape your rolls! For this recipe, I typically shape them into 12 larger rolls, perfect for making satisfying lunch sandwiches or mini burgers. However, for a dinner party or a more traditional dinner roll size, you can easily form 18 smaller, tight balls.
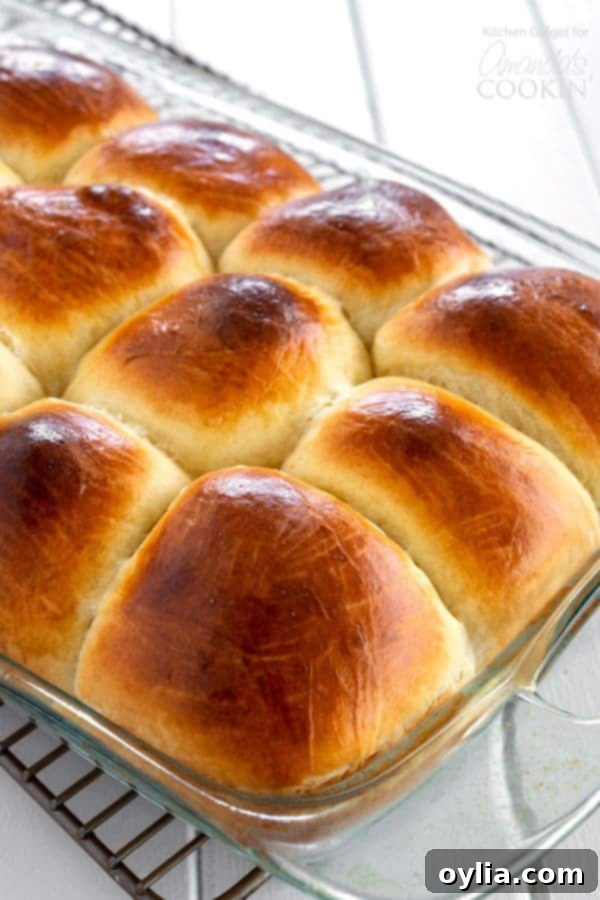
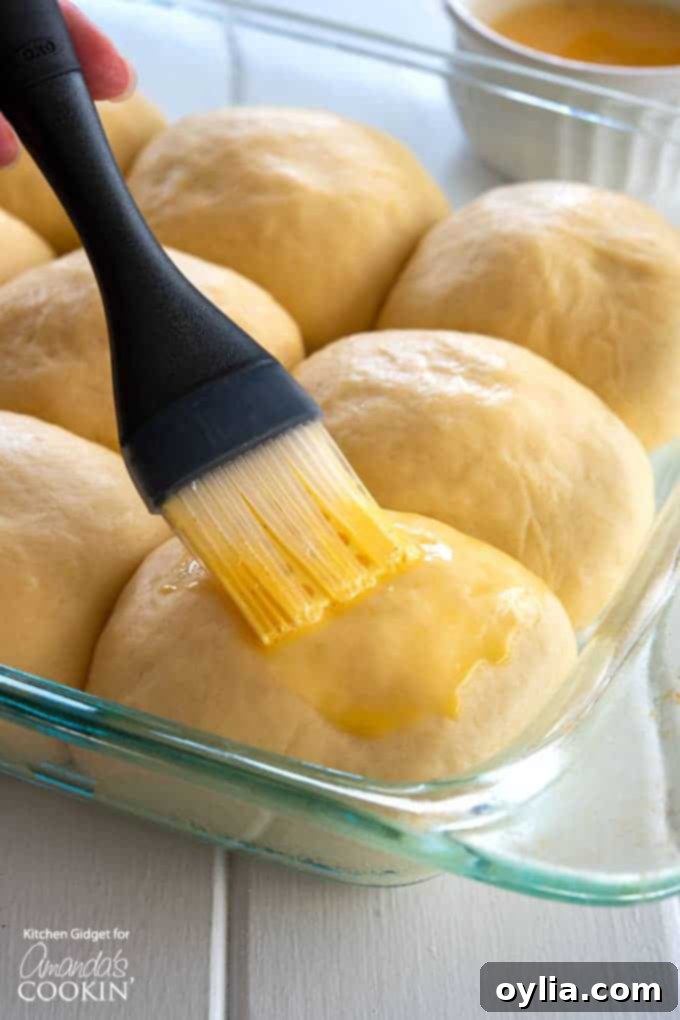
No matter the size or shape you choose, arrange them in your greased baking tray – a 13×9 inch dish is ideal for 18 rolls. Cover them lightly again and let them rise until doubled in size one more time, about another hour. While they’re performing their second rise, preheat your oven to 375°F. Just before baking, whisk one large egg with two tablespoons of water to create an egg wash. Gently brush this mixture over the tops of your rolls; it will give them that beautiful, golden-brown crust and an appealing shine. Bake for approximately 20 minutes, or until they are perfectly golden.
The final, ultimate secret to ensuring these homemade Hawaiian rolls stay incredibly soft and luscious is to brush them generously with a tablespoon of melted butter immediately after they come out of the oven. This creates a tender crust and adds another layer of delicious flavor. Let them cool slightly in the pan on a wire rack for about 10 minutes before serving. Enjoy the fruits of your labor!
Perfect Pairings & Versatile Serving Ideas
These sweet and soft Hawaiian rolls are incredibly versatile and can accompany a wide range of dishes or be the star of their own show. Beyond being amazing dinner rolls, here are some ideas to inspire you:
- Sliders & Mini Sandwiches: As mentioned, they’re tailor-made for Ham Salad Sliders, Hawaiian Ham and Cheese Sliders, or Slow Cooker Parmesan Chicken Sliders. They’re also fantastic with pulled pork or mini burgers.
- Breakfast Treat: Slice them horizontally and use them for breakfast sandwiches with scrambled eggs, cheese, and bacon, or simply toast them and spread with jam or honey.
- Bread Bowls: If you opt to bake them as large round loaves in pie pans, they transform into excellent, edible bread bowls for creamy dips or hearty soups.
- With Soups & Stews: Their sweetness provides a wonderful contrast to savory soups like a classic tomato soup or a robust beef stew.
- As a Side Dish: These rolls complement almost any main course. Looking for some dinner recipes to pair these rolls with? Try our delicious crockpot roast beef, our best meatloaf recipe ever, a savory, juicy, Roasted Chicken dinner, or this easy crockpot bbq chicken!
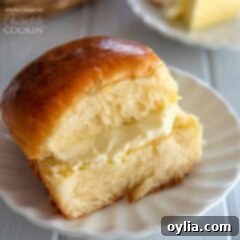
Homemade Hawaiian Rolls
IMPORTANT – There are often Frequently Asked Questions within the blog post that you may find helpful. Simply scroll back up to read them!
Print It
Pin It
Rate It
Save ItSaved!
Ingredients
For the dough:
- 1 cup milk heated to 100-110F
- 1 packet active dry yeast 2 1/4 teaspoons
- 1 teaspoon granulated sugar
- ¾ cup granulated sugar
- 1 teaspoon salt
- ½ cup unsalted butter 1 stick, melted and cooled slightly, about 85 F or less
- 2 large eggs room temperature
- 16.8 ounces all-purpose flour 4 cups, 476 g
For glazing:
- 1 large egg
- 2 tablespoons water
- 1 tablespoon butter melted
Things You’ll Need
-
Mixing bowls
-
Whisk
-
13×9 baking dish
-
Kitchen scale
Before You Begin
**If using salted butter, reduce salt to 1/2 teaspoon.
Dough can also be mixed and kneaded in a stand mixer.
Dough can be shaped into 12 rolls for larger buns. Can also be shaped into 2 large rounds and baked in pie pans for Hawaiian bread.
Instructions
-
Warm the milk to 100-110°F in the microwave or on the stovetop, then transfer to a large mixing bowl. Add the yeast and 1 teaspoon of sugar, stirring to dissolve. Let rest until the yeast begins to bloom and foam, about 10 minutes.1 cup milk, 1 packet active dry yeast, 1 teaspoon granulated sugar
-
Stir in the 3/4 cup sugar, salt, melted butter and eggs, whisking well to combine.3/4 cup granulated sugar, 1 teaspoon salt, 1/2 cup unsalted butter, 2 large eggs
-
Stir in the flour until a stiff but sticky dough forms. Turn out onto a floured surface and knead until smooth, about 3-5 minutes. Try not to add additional flour; dough should be sticky.16.8 ounces all-purpose flour
-
Place the dough in a clean, lightly greased bowl and cover lightly. Let rise until doubled in size, about 1 hour.
-
Punch down dough and form into 18 tight balls. Place in a greased 13×9 dish and cover lightly. Let rise until doubled in size, about 1 hour.
-
Preheat oven to 375°F.
-
In a small bowl, beat egg and water together for egg wash. Gently brush rolls with egg wash and bake for 20 minutes until golden brown.1 large egg, 2 tablespoons water
-
Let rolls cool in pan on a wire rack for 10 minutes. Brush tops with melted butter and serve.1 tablespoon butter
Expert Tips & FAQs
- Cool Your Butter: Be sure to cool the butter after melting it. If it’s too hot, it can kill your yeast and make the dough significantly stickier and harder to work with, leading to denser rolls.
- Weigh Your Flour for Accuracy: Your best bet is to weigh your flour using a kitchen scale. We have found that different measuring cups don’t always hold the same amount of flour, which can drastically affect the dough’s consistency and the final texture of your rolls. Using a kitchen scale (16.8 ounces or 476 grams for this recipe) is much more accurate and guarantees consistent results.
- Room Temperature Eggs: Using room temperature eggs allows them to incorporate more evenly into the dough, creating a smoother emulsion and a more consistent final product.
- Don’t Over-Flour: As emphasized earlier, a slightly sticky dough is a good dough for Hawaiian rolls. Resist the temptation to add excessive flour during kneading, as this will toughen the rolls.
- Check Your Oven Temperature: Bread baking is precise. An inexpensive oven thermometer can assure you that your oven is truly heating to the proper temperature. This can prevent over or under-baking.
Nutrition
The recipes on this blog are tested with a conventional gas oven and gas stovetop. It’s important to note that some ovens, especially as they age, can cook and bake inconsistently. Using an inexpensive oven thermometer can assure you that your oven is truly heating to the proper temperature. If you use a toaster oven or countertop oven, please keep in mind that they may not distribute heat the same as a conventional full sized oven and you may need to adjust your cooking/baking times. In the case of recipes made with a pressure cooker, air fryer, slow cooker, or other appliance, a link to the appliances we use is listed within each respective recipe. For baking recipes where measurements are given by weight, please note that results may not be the same if cups are used instead, and we can’t guarantee success with that method.
