The Ultimate No-Bake Eclair Cake: Easy Layers of Creamy Goodness & Rich Chocolate Ganache
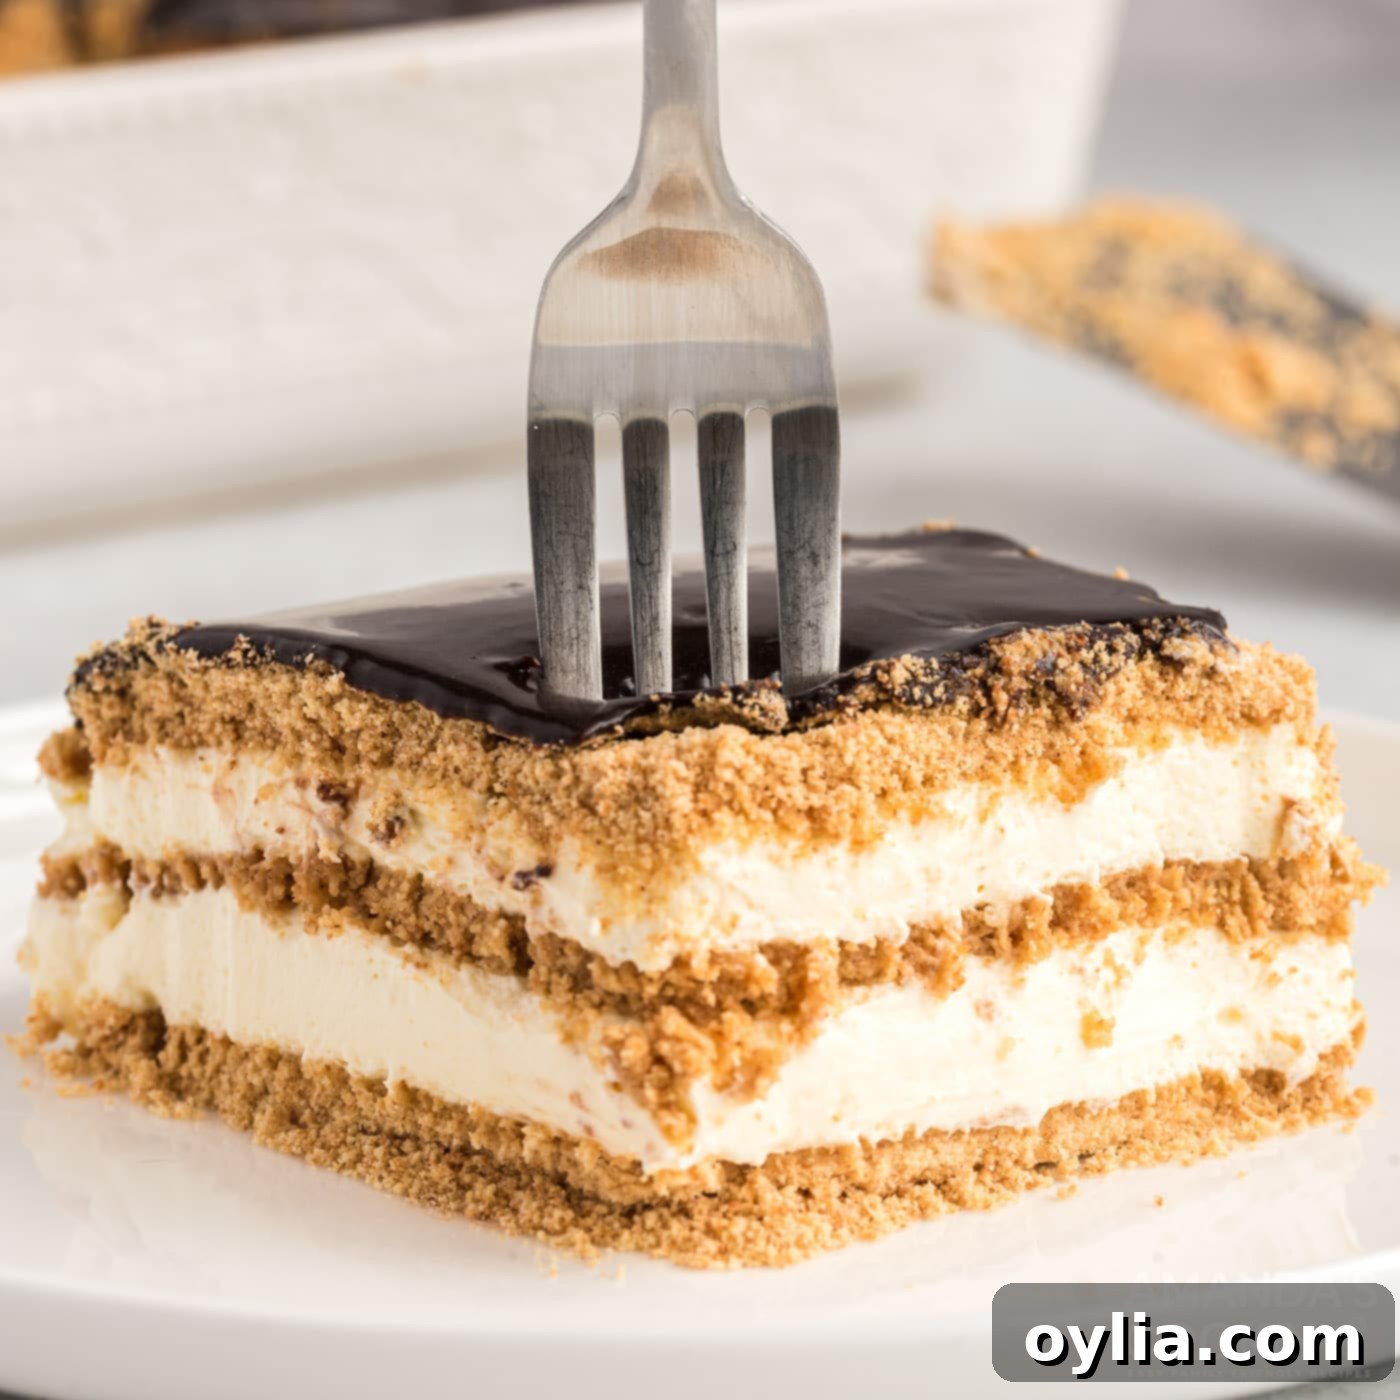
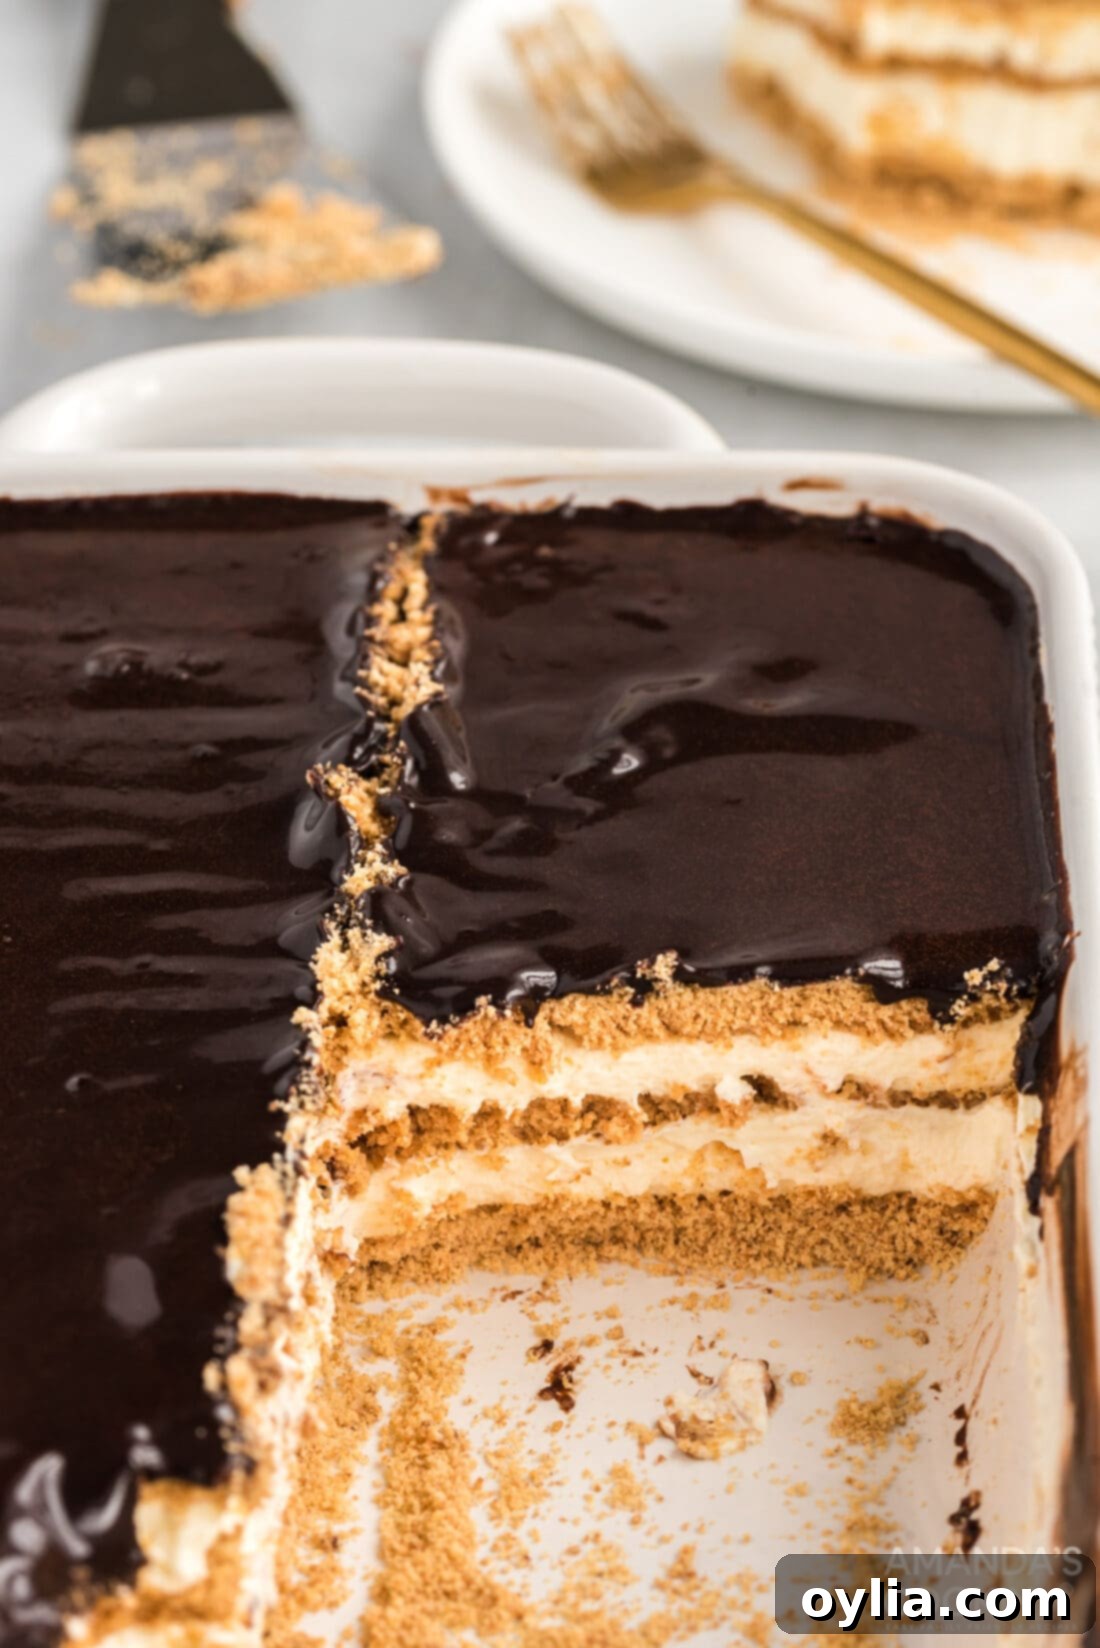
Prepare to fall in love with the ultimate no-bake eclair cake, a dessert that effortlessly combines the nostalgic charm of a classic eclair with the ease of an icebox cake. This delightful creation features layers of crisp graham crackers, velvety vanilla pudding, and light whipped topping, all crowned with a luscious, silky-smooth chocolate ganache. It’s a simple, no-bake wonder that promises to be the star of any gathering, leaving your guests utterly charmed and asking for the recipe!
Why This Easy No-Bake Eclair Cake is a Must-Try
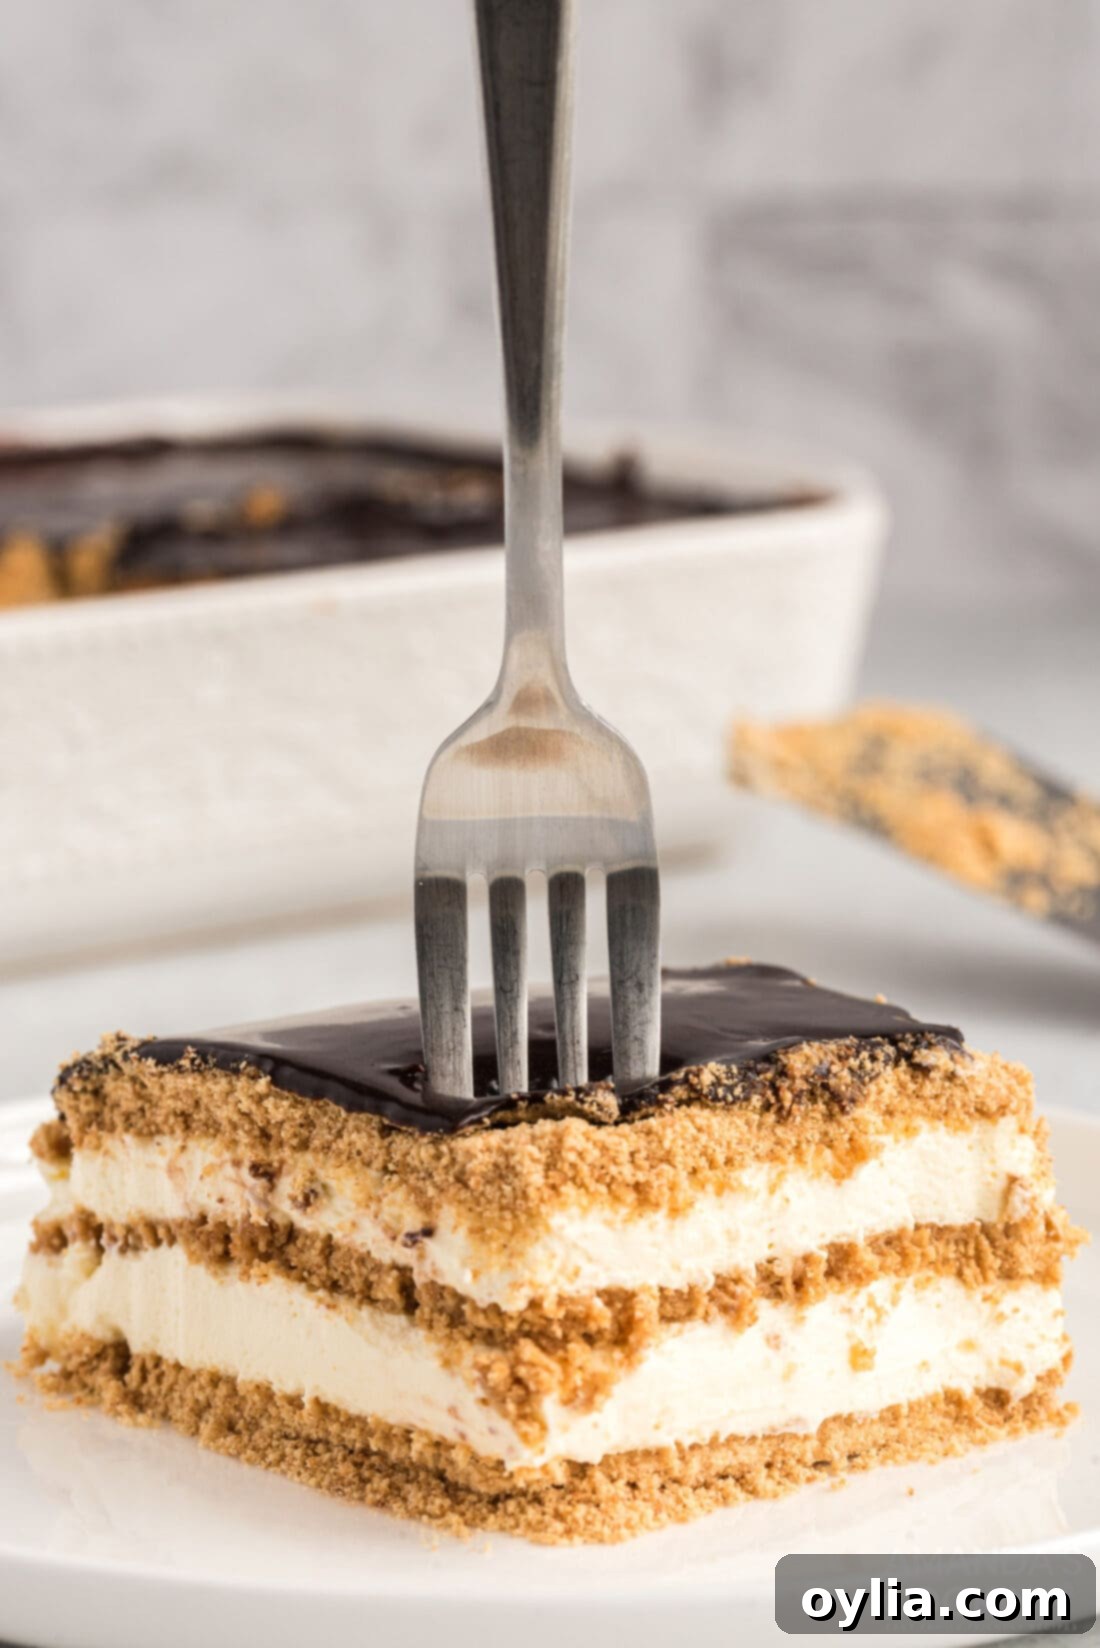
This eclair cake takes inspiration from the beloved cream-filled pastry, but transforms it into an effortlessly decadent, creamy, and incredibly easy-to-make dessert. Often called an icebox cake, this version uses convenient ingredients like instant pudding, classic graham crackers, and fluffy whipped topping, all brought together with a spectacular, smooth, and luscious homemade chocolate ganache.
The beauty of this easy no-bake eclair cake lies in its simplicity and universal appeal. No need to turn on the oven, making it perfect for hot summer days or when you simply want a quick yet impressive treat. It’s an ideal dessert for backyard barbecues, potlucks, family gatherings, or just a sweet weeknight indulgence. Every bite is a dream, and we guarantee your guests will be clamoring for seconds, and even thirds!
RELATED: If you love quick and creamy desserts, you might also like this recipe for a delightful Lemon Icebox Cake.
Key Ingredients for Your No-Bake Eclair Cake
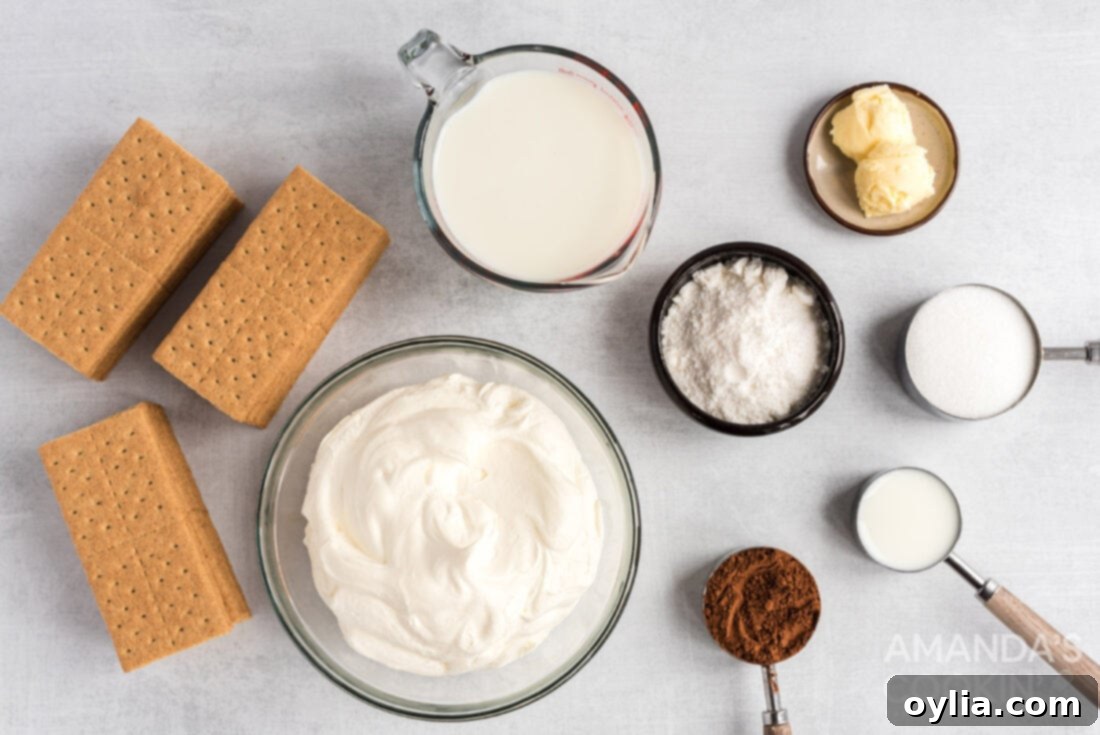
The beauty of this easy no-bake dessert lies in its simple, accessible ingredients. You likely have many of these staples in your pantry already! For exact measurements and a detailed step-by-step guide, please refer to the printable recipe card at the very end of this post.
Ingredient Spotlight & Smart Substitutions
Let’s dive deeper into the components that make this eclair cake so special, along with some great ideas for customizing it to your taste!
- Graham Crackers: These form the structural and textural backbone of our eclair cake. You’ll use three full layers of graham-goodness! While classic honey graham crackers are traditional, don’t hesitate to experiment. For a richer, deeper flavor, consider using chocolate graham crackers. If you prefer a smoother texture throughout the cake, you can skip pulsing the graham crackers into crumbs for the top layer and simply use whole crackers for all three layers, allowing them to soften into a cake-like consistency as it chills.
- Pudding & Milk: The creamy heart of this eclair cake comes from instant vanilla pudding mixed with milk, then folded into whipped topping. It’s a match made in dessert heaven! It is crucial to use instant pudding for this recipe, not the “cook and serve” variety, as it sets much faster and more reliably without heat. You also won’t follow the package directions for milk; our recipe card provides the precise amount needed to achieve the perfect consistency when combined with the whipped topping. Feel free to get creative with pudding flavors! Cheesecake, white chocolate, or even banana cream instant pudding can offer delightful twists. Any type of milk (dairy or non-dairy) will work, but whole milk will yield the richest, creamiest result.
- Whipped Topping: This adds an airy, light texture to the pudding mixture, making the filling wonderfully smooth and not too heavy. While store-bought frozen whipped topping (like Cool Whip), thawed, is incredibly convenient and reliable, you can absolutely use homemade whipped cream for an extra touch of richness. If making your own, stabilize it slightly with a bit of powdered sugar and cream of tartar to ensure it holds up well in the cake.
- Chocolate Ganache: The crowning glory of our eclair cake is this simple yet sophisticated chocolate topping. Our homemade ganache is crafted from sifted cocoa, sugar, milk, and butter, creating a lustrous, silky-smooth finish that is simply irresistible. Sifting the cocoa powder is a small but important step to prevent lumps and ensure a perfectly smooth ganache. If you’re short on time or prefer a shortcut, a can of good-quality chocolate frosting will work in a pinch. You could also try a homemade chocolate buttercream frosting or chocolate fudge frosting for a different flavor profile.
Crafting Your Delicious No-Bake Eclair Cake: A Step-by-Step Guide
These step-by-step photos and detailed instructions are here to guide you through making this incredible dessert. For the full printable recipe, complete with precise measurements and instructions, simply jump to the recipe card at the bottom of this page.
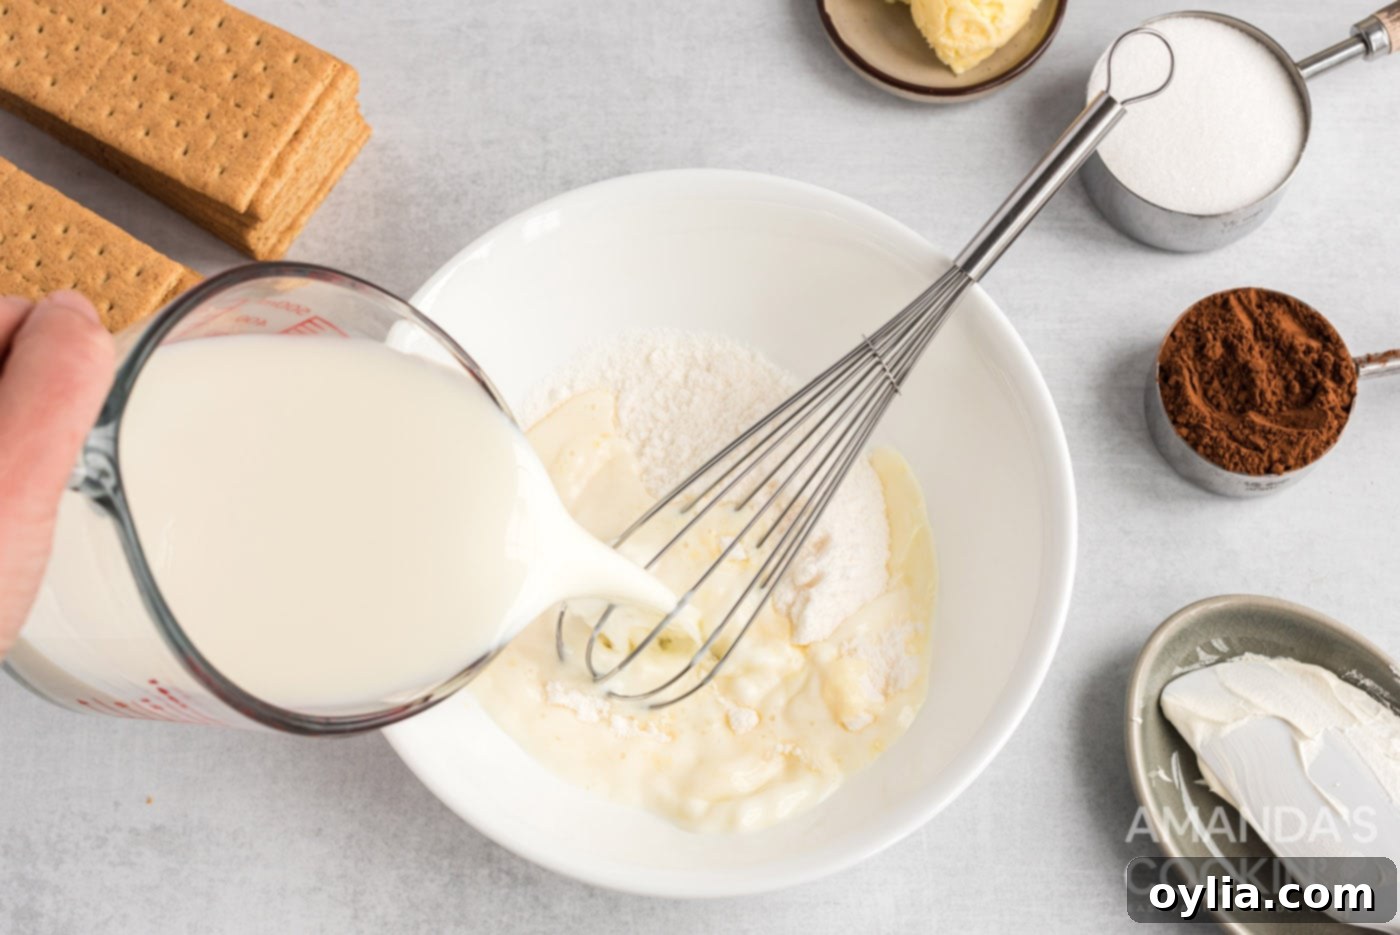
- Prepare the Pudding Base: In a large mixing bowl, combine the instant pudding mix and milk. Whisk them together thoroughly until the mixture is completely smooth and free of lumps. This usually takes about 2-3 minutes of vigorous whisking. Allow the mixture to sit undisturbed for about 5 minutes; this crucial resting period allows the pudding to thicken properly.

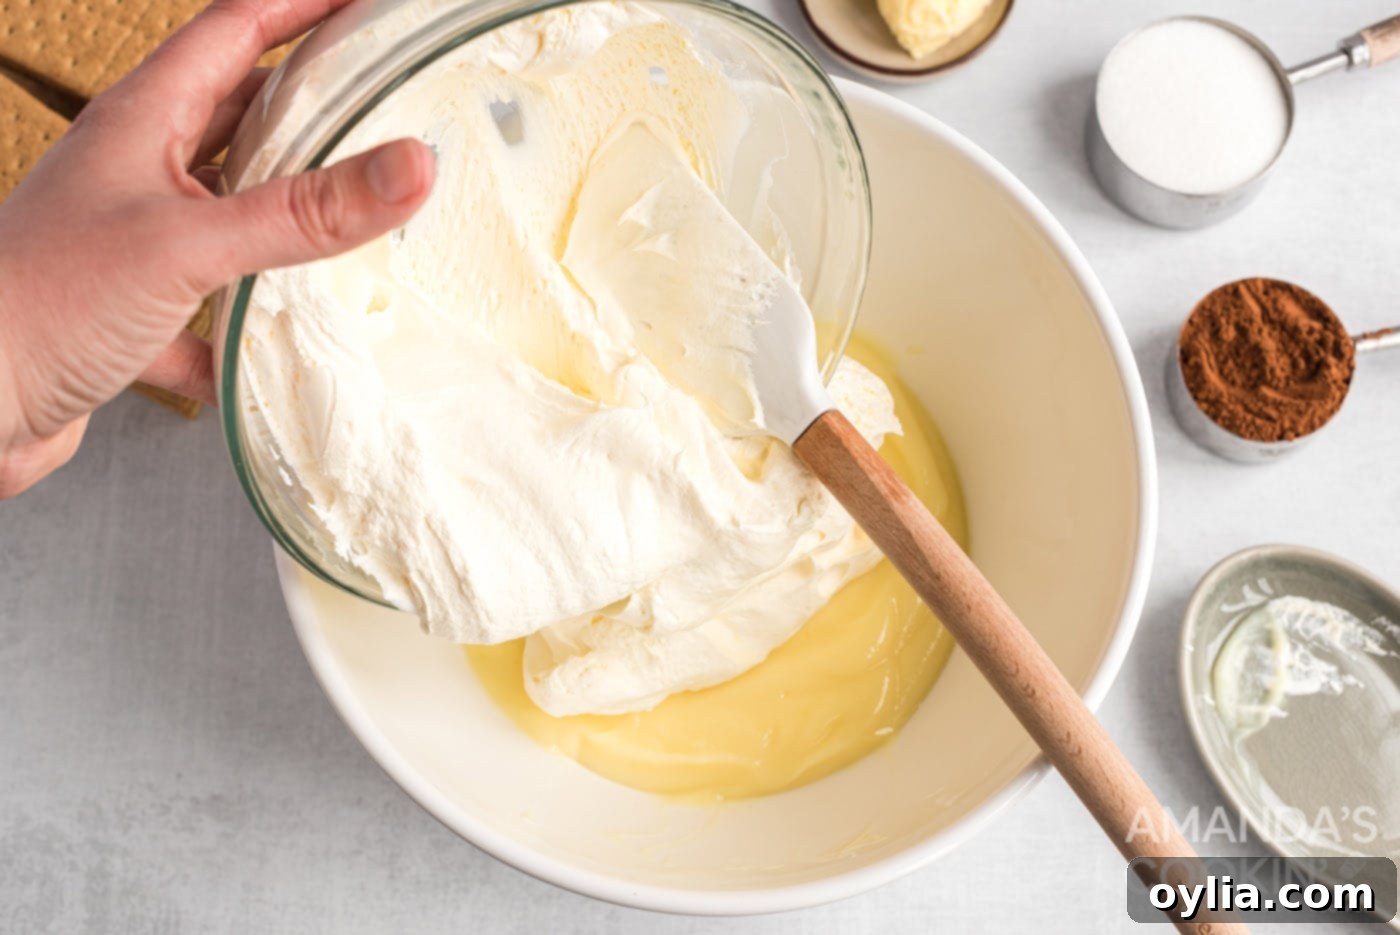
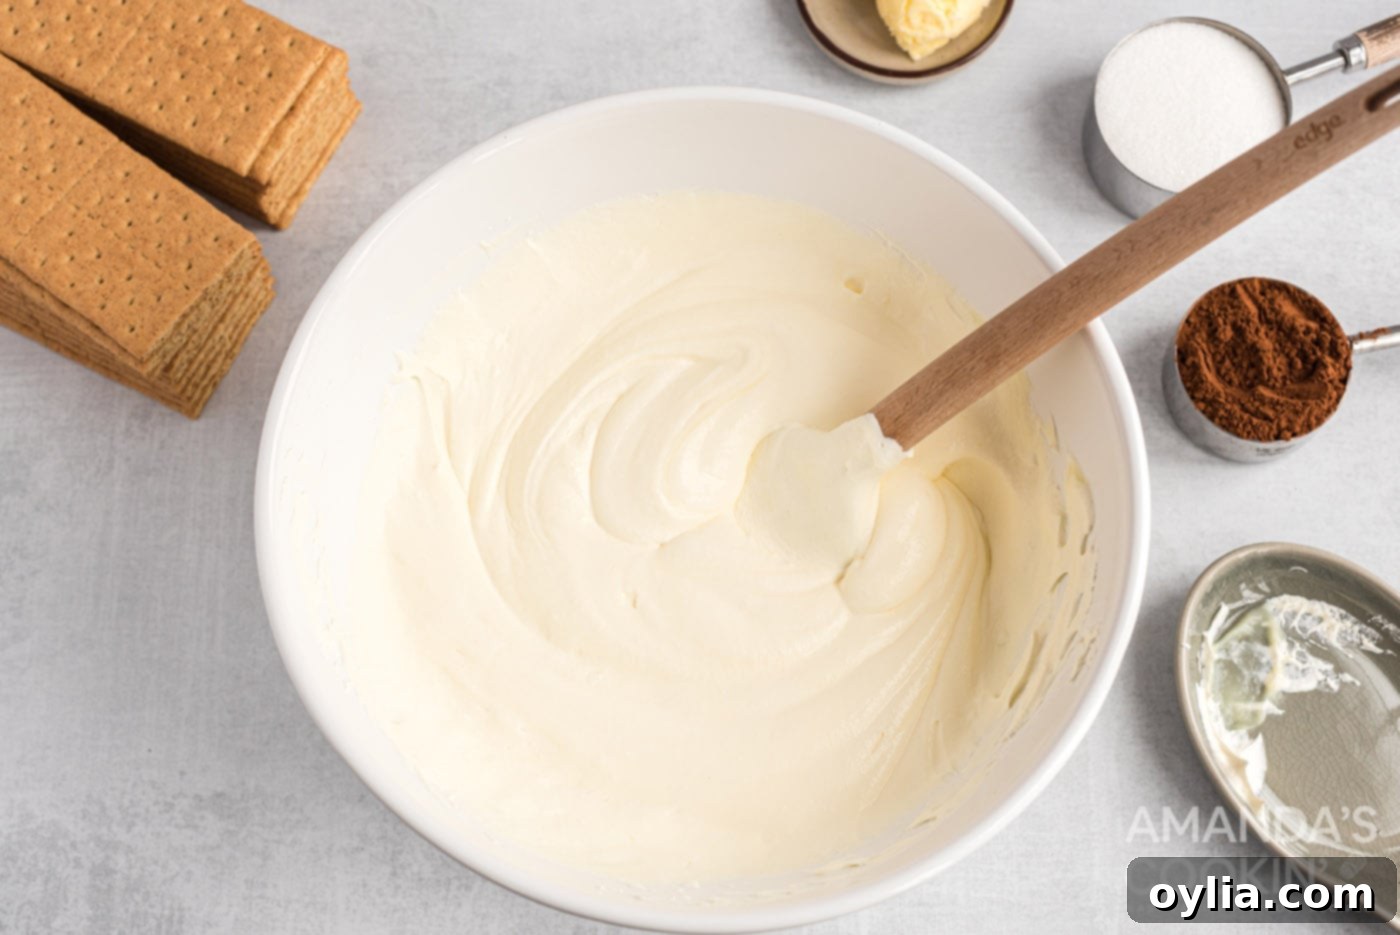
- Fold in Whipped Topping: Once your pudding has thickened, gently fold in the thawed whipped topping. Use a rubber spatula and a light hand to incorporate it without deflating the airiness of the whipped topping. Continue folding until the mixture is uniform and smooth. Set this creamy filling aside.


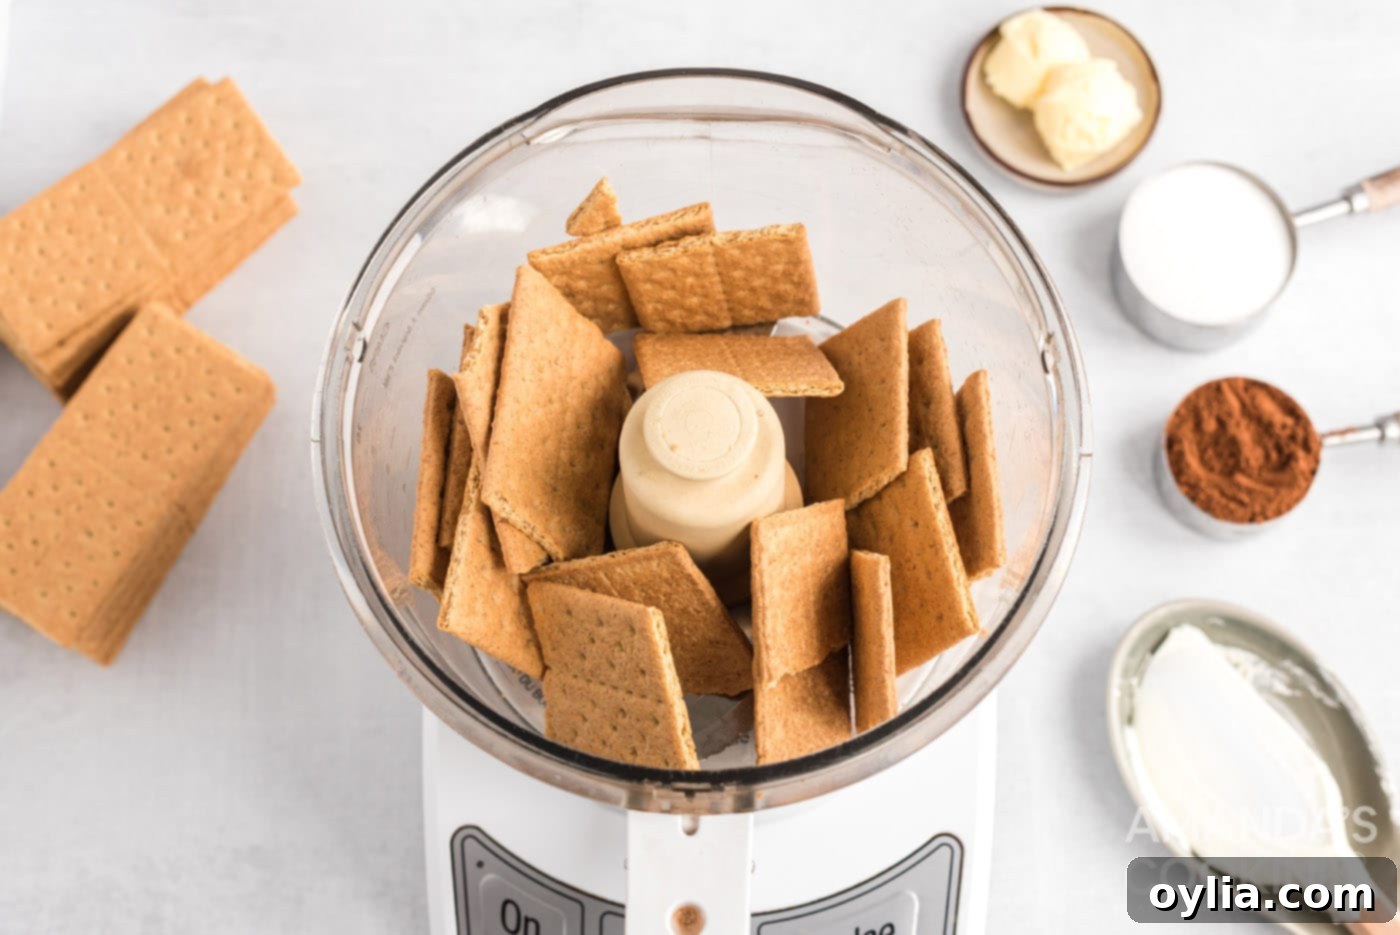
- Prepare Graham Cracker Crumbs (Optional): If you desire a crumbled graham cracker topping, use a food processor to pulse one sleeve of graham crackers into fine crumbs. Set these aside for later. This step is only for the top layer’s texture; the internal layers will use whole crackers.

- First Layer of Graham Crackers: Take a 10.5 x 7 inch baking dish and carefully arrange a single layer of whole graham crackers to cover the bottom. Break crackers as needed to fit perfectly and minimize gaps.
EXPERT TIP – For a really solid base, use a flat icing spatula or the bottom of a glass to gently press and pack down the graham cracker layer. This helps create an even foundation.
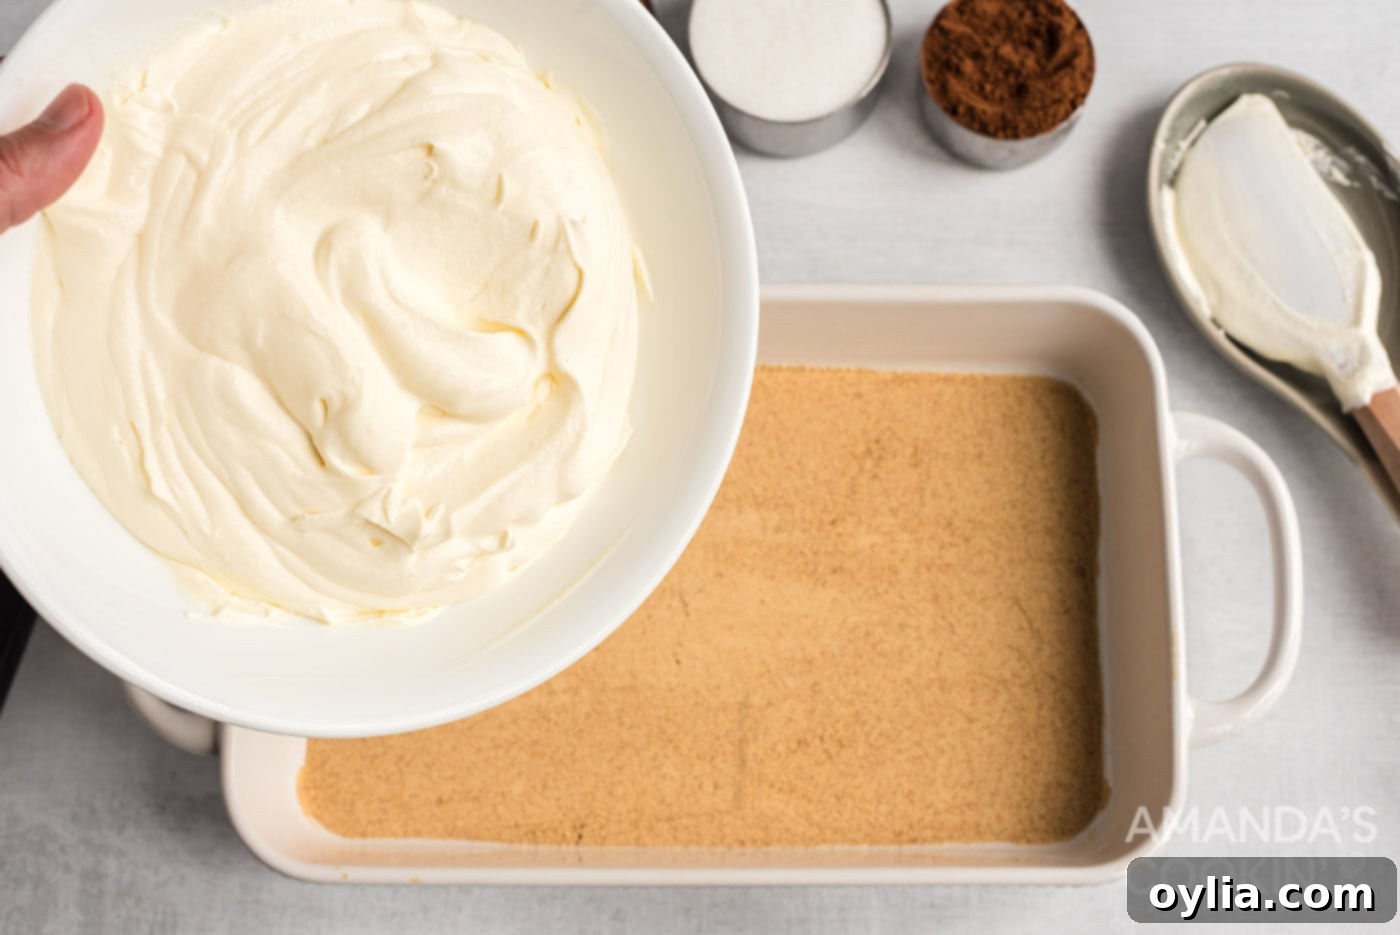
- First Pudding Layer: Pour half of the creamy pudding and whipped topping mixture evenly over the first layer of graham crackers. Use your spatula to spread it smoothly to all edges.

- Second Graham Cracker Layer: Carefully lay a second single layer of graham crackers over the pudding mixture, breaking pieces as necessary to cover the entire surface.

- Final Pudding Layer: Pour the remaining pudding mixture over the second graham cracker layer and spread it out evenly to create a smooth, consistent top.
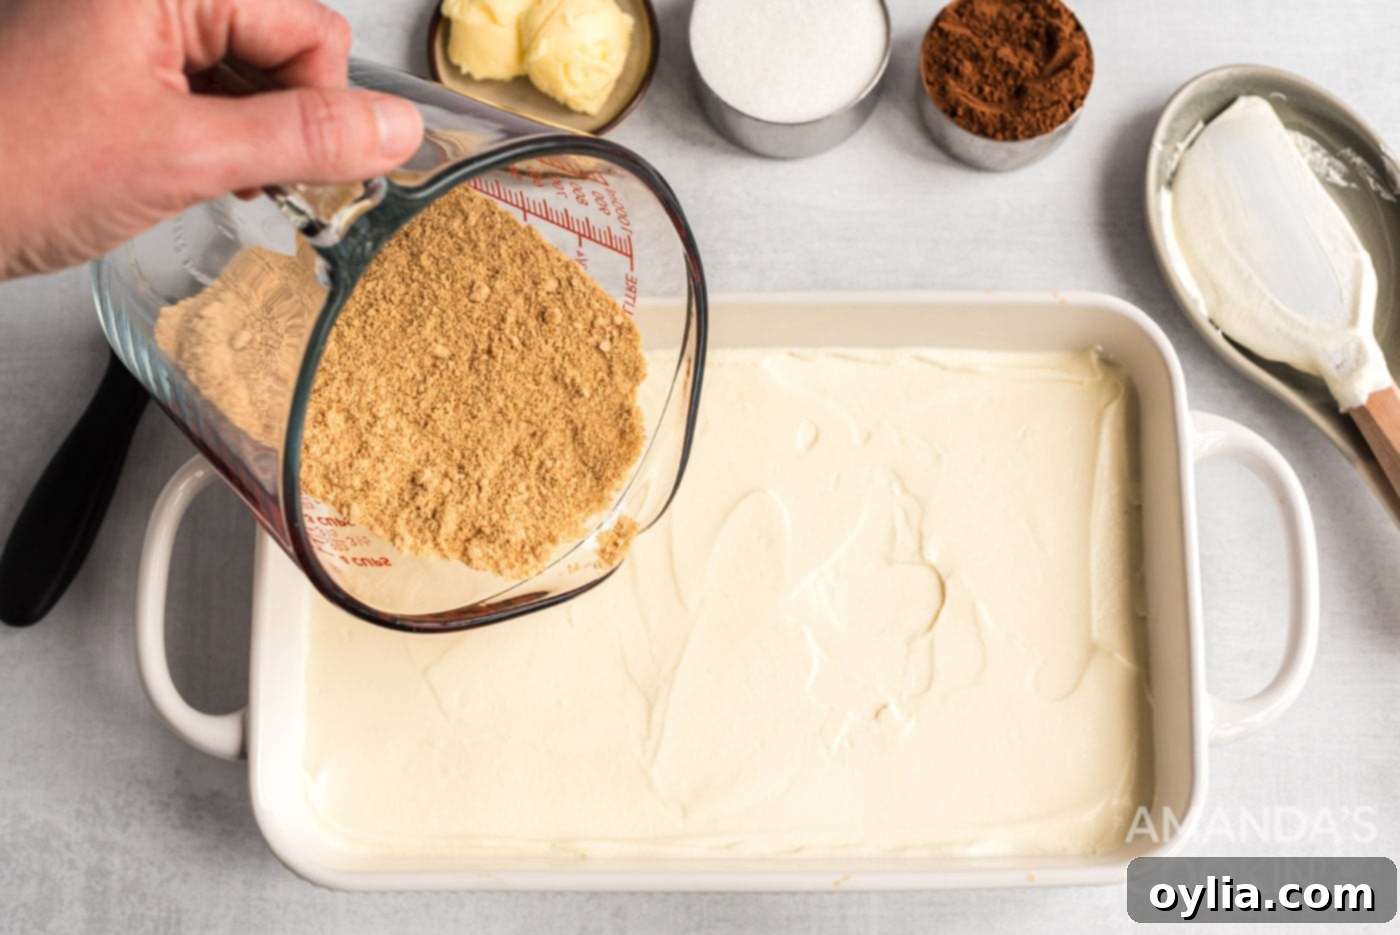
- Third Graham Cracker Layer (Optional Crumbs): If you prepared graham cracker crumbs, sprinkle them generously over the entire surface of the cake. This adds a lovely texture contrast. If you opted out of crumbs, simply place a third layer of whole graham crackers. Place the cake into the refrigerator to chill while you prepare the ganache. This helps the layers begin to set.
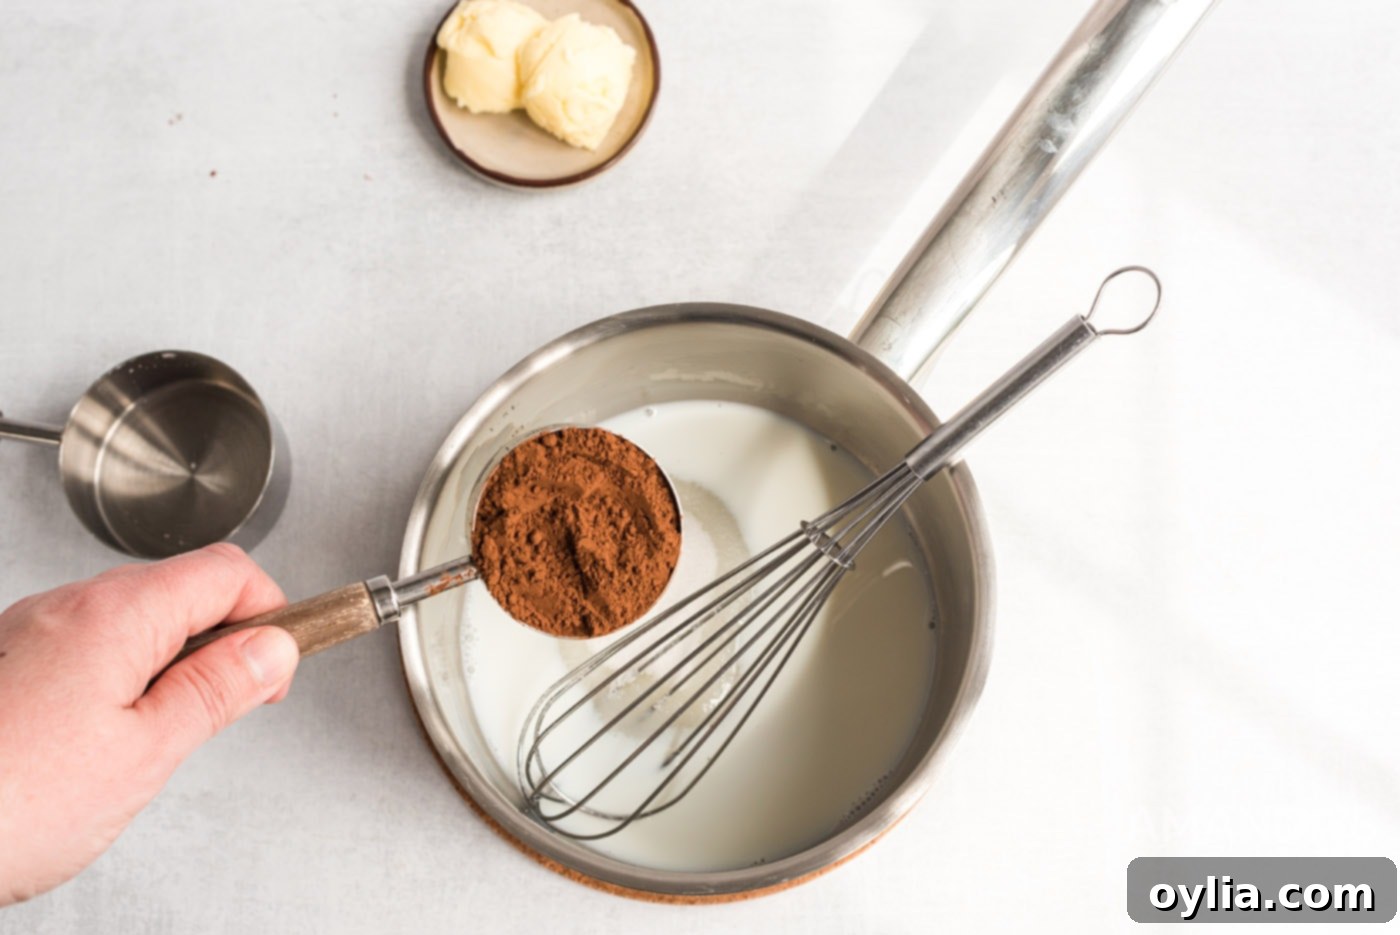
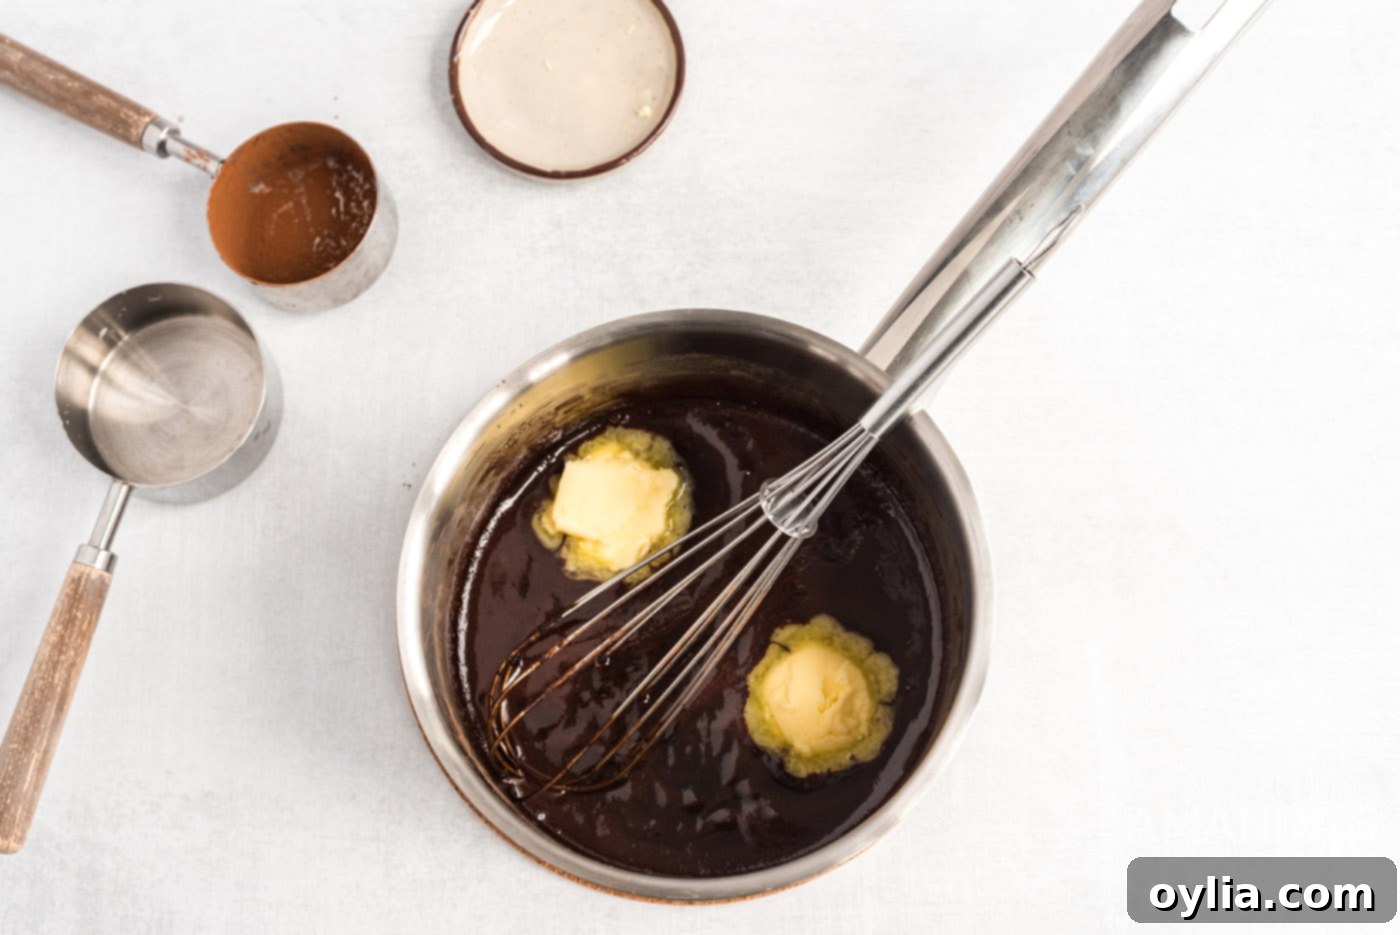
- Make the Silky Ganache: In a small saucepan, warm the milk over a medium flame, whisking continuously until it is gently heated through but not boiling. Add the sugar and sifted cocoa powder to the warm milk. Continue to heat and whisk until the mixture reaches a gentle boil and all the sugar and cocoa are dissolved and smooth. Remove the saucepan from the heat immediately.

- Add Butter for Smoothness: Whisk in the softened butter until it has completely melted and incorporated into the chocolate mixture, creating a beautifully smooth and glossy ganache.

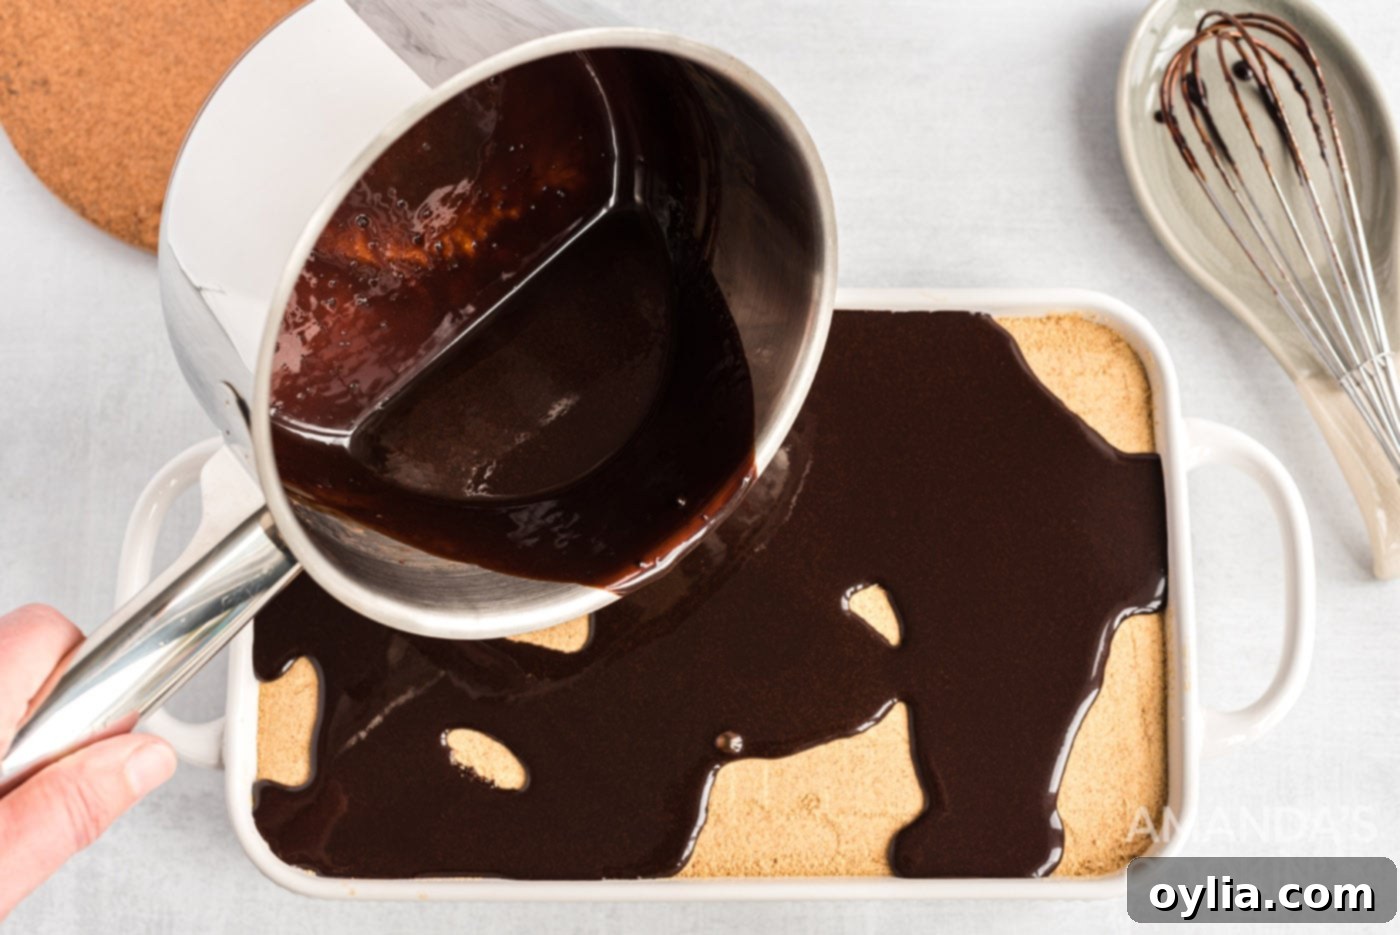
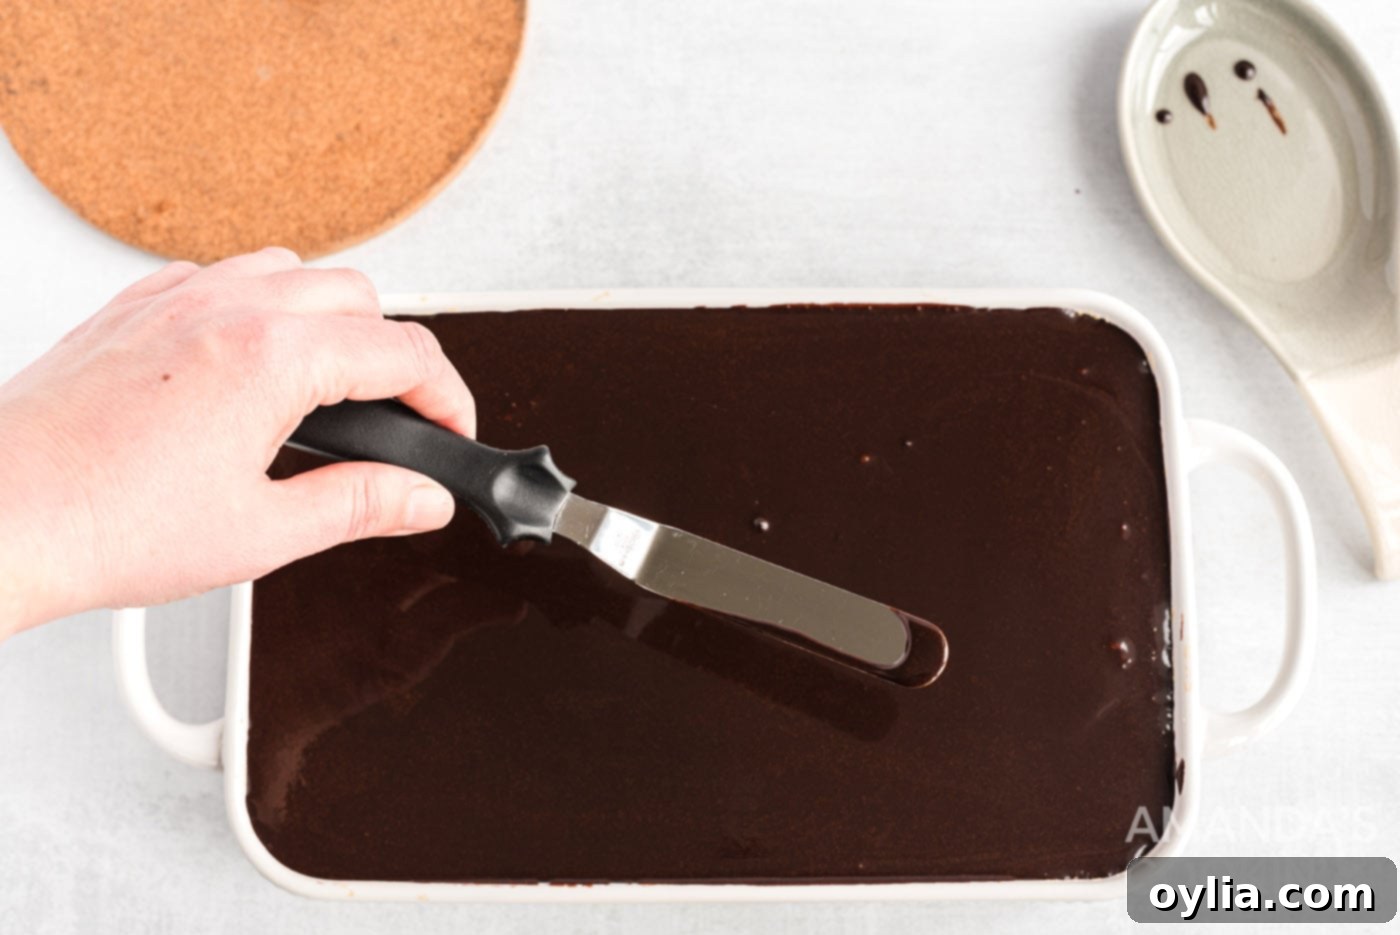
- Top with Ganache: Gently pour the warm ganache over the chilled cake. Using an icing spatula or a rubber spatula, carefully spread the ganache evenly over the entire surface, creating a smooth, glossy top layer.


- Chill Overnight: Cover the baking dish tightly with an airtight lid or plastic wrap. Transfer the eclair cake to the refrigerator and allow it to chill overnight, or for a minimum of 8 hours. This prolonged chilling time is essential for the graham crackers to soften, for the pudding layers to firm up beautifully, and for all the flavors to meld together perfectly. Serve well chilled for the best texture and taste.
Frequently Asked Questions & Expert Tips for Success
Absolutely! This eclair cake is an ideal make-ahead dessert. In fact, we highly recommend preparing it at least 24 hours in advance. This extended chilling period in the refrigerator allows the graham cracker layers to fully soften and transform into a tender, cake-like texture, while the creamy pudding layers set beautifully. The flavors also have more time to meld, creating a richer, more cohesive dessert. Simply store it in the refrigerator, covered securely with an airtight lid or plastic wrap, until you’re ready to serve.
When properly stored, your eclair cake will remain fresh and delicious in the refrigerator for 3-4 days. To ensure its longevity and prevent the ganache layer from sticking to plastic wrap, try placing a few toothpicks into the cake before covering it. This creates a small tent, keeping the plastic wrap elevated and preserving the pristine look of your chocolate topping. Always use an airtight container or tightly sealed plastic wrap to prevent it from absorbing other odors in the fridge.
Yes, absolutely! The recipe provides the option to pulse one sleeve of graham crackers into crumbs for a textured topping. However, if you prefer a more uniform, softer cake throughout, you can definitely use full graham crackers for all three layers, including the top. As the cake chills, these full crackers will soften beautifully, becoming indistinguishable from a traditional cake layer. This is a matter of personal preference for texture.
Yes, you can! If you prefer homemade, beat 2 cups of heavy cream with 1/4 cup powdered sugar and 1/2 teaspoon vanilla extract until stiff peaks form. For extra stability, you can add 1/4 teaspoon of cream of tartar during whipping. This will give your cake an even richer flavor, though it adds a small extra step to the preparation.
This recipe is designed for a 10.5 x 7 inch baking dish, which is a standard size that allows for the perfect number of layers and slices. If you use a different size, you may need to adjust the amount of graham crackers or the thickness of your layers. A slightly larger or smaller dish will still work, but be mindful of how it affects the overall height and density of the cake.
Beyond the suggested cheesecake or white chocolate instant pudding, you can get creative with your eclair cake! Try using chocolate pudding for a double chocolate delight, or a lemon instant pudding for a zesty twist. You can also experiment with different toppings – a sprinkle of toasted coconut flakes, mini chocolate chips, or even chopped nuts can add extra flavor and crunch to the ganache layer. Think about seasonal fruits too, like sliced strawberries or raspberries, for a fresh addition just before serving.
Effortless Serving & Presentation Tips
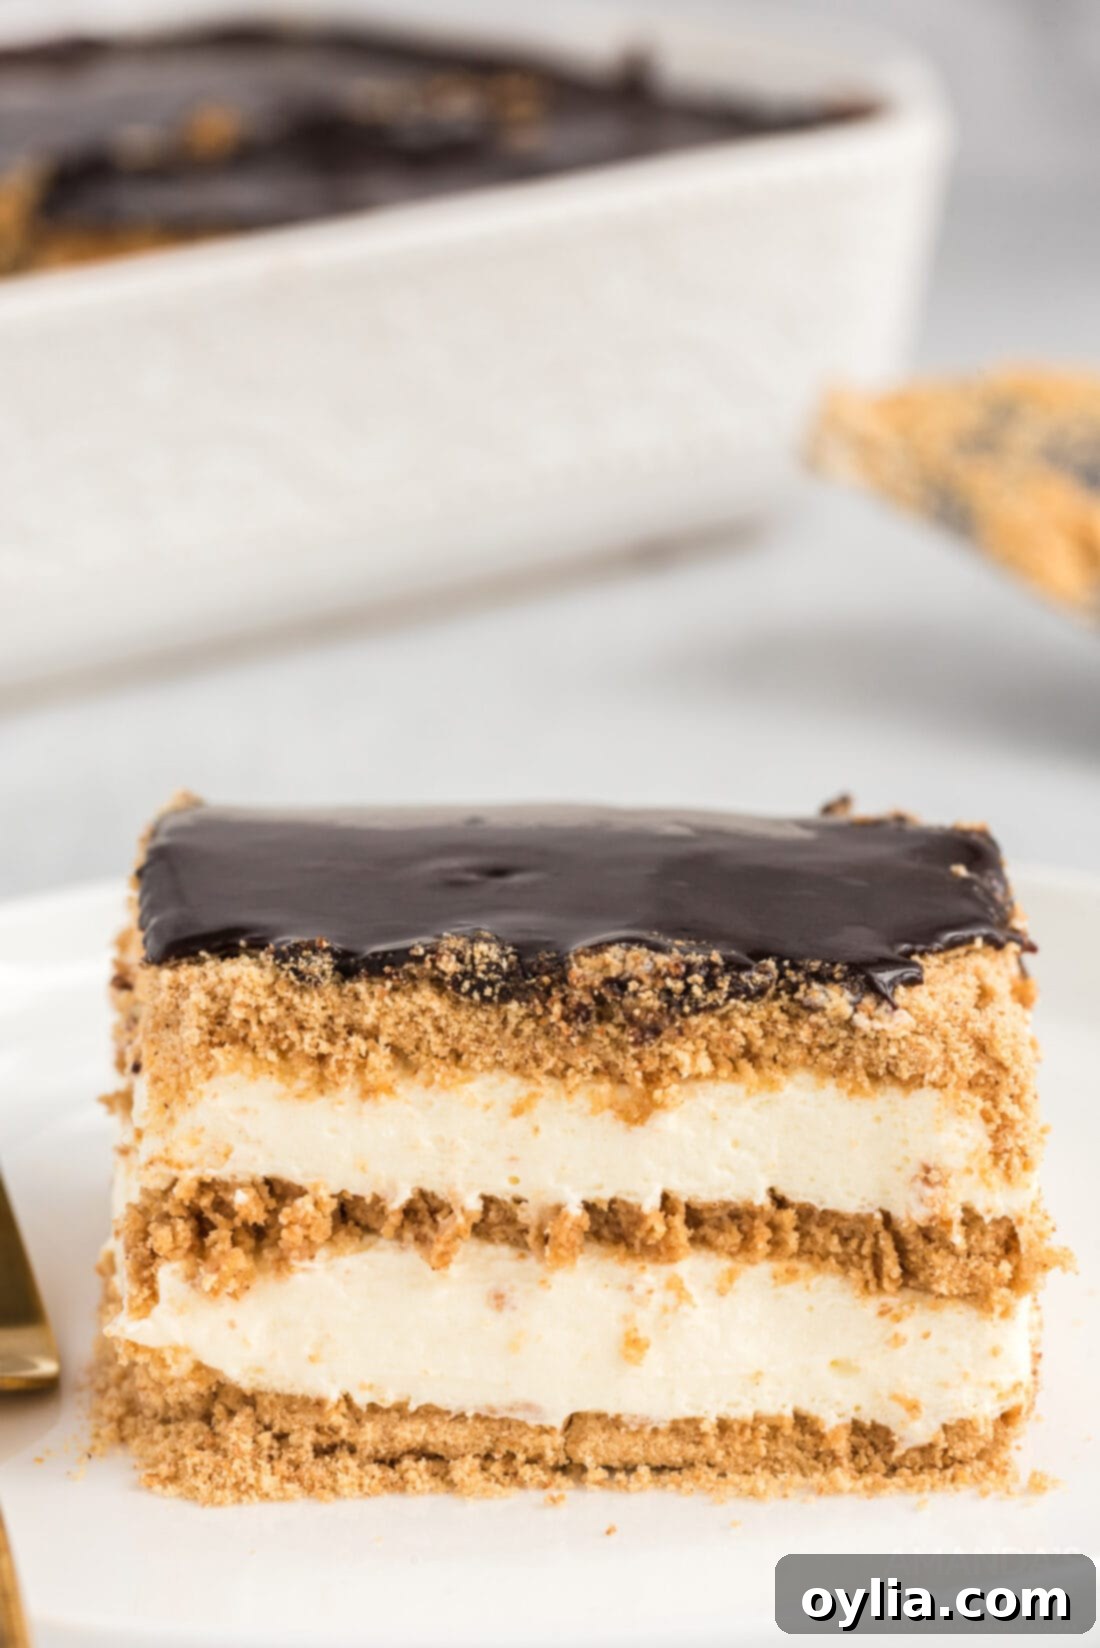
This single-pan dessert is an absolute showstopper for any get-together or party. You can typically get around 15 generous slices from this recipe, making it perfect for sharing. For the cleanest cuts, the ganache layer on top can be a bit firm, so we recommend using a hot, sharp knife. Simply run your knife under hot water, wipe it dry, and then slice into the cake as soon as it comes out of the refrigerator. Repeat for each cut for perfectly defined slices. Use a wide spatula to carefully remove each slice from the pan, ensuring the layers stay intact. Always serve this eclair cake well chilled for the best texture and taste!
More Delightful One-Pan No-Bake Desserts
If you loved the simplicity and deliciousness of this no-bake eclair cake, you’ll surely enjoy these other fantastic one-pan dessert recipes that require minimal effort and deliver maximum flavor:
- Pineapple Dream Dessert
- Chocolate Lasagna
- Blueberry Delight
- Cream Puff Chocolate Eclair Cake
- Boston Cream Poke Cake
- Better Than Sex Cake
- Lemon Cream Cheese Pudding Dessert
I absolutely adore spending time in the kitchen, creating and experimenting with new recipes, and I’m thrilled to share my culinary journey with all of you! Remembering to check back for daily inspiration can be tricky, which is why I’ve made it easy for you. I offer a convenient newsletter that delivers a brand-new recipe straight to your inbox every time I post. Simply subscribe today and start receiving your free daily recipes!
Icebox Eclair Cake
IMPORTANT – There are often Frequently Asked Questions within the blog post that you may find helpful. Simply scroll back up to read them!
Print It
Pin It
Rate It
Save ItSaved!
Ingredients
- 3.4 oz box vanilla instant pudding & pie filling
- 2 cups milk any kind
- 8 oz whipped topping thawed
- 14 oz graham crackers 1 box
For the Chocolate Frosting
- ¼ cup milk any kind
- ½ cup sugar
- ⅓ cup cocoa sifted
- 2 tbsp butter softened
Things You’ll Need
-
10.5×7 baking dish
-
Food processor
-
Rubber spatula
Before You Begin
- You will not need the entire box of graham crackers for this recipe; you’ll likely have about one extra sleeve leftover.
- For perfect, clean slices, use a hot, sharp knife. Run it under hot water and wipe dry before each cut, slicing right as the cake comes out of the refrigerator. A wide spatula will help you gently remove the slices from the pan. Always serve chilled.
Instructions
-
In a mixing bowl, whisk together pudding mix and milk until smooth. Allow to set (about 5 min).
-
Gently fold whipped topping into the pudding mixture and set aside.
-
In a food processor, pulse 1 sleeve graham crackers into crumbs; set both aside. (this step is only required if you want to use graham cracker “crumbs” for the top layer).
-
In a 10.5 x 7 baking dish, line bottom with a single layer of graham crackers.
-
Pour half of the filling over the crackers and spread evenly.
-
Create a second layer of graham crackers.
-
Pour in remaining filling and spread evenly.
-
Sprinkle crumbled graham crackers over entire surface; place cake in refrigerator while you prepare frosting.
For the ganache:
-
In a small saucepan over medium flame, heat and whisk milk until warmed through, add sugar and cocoa. Heat and whisk until gentle boil occurs; remove from heat.
-
Whisk in butter until smooth.
-
Gently pour frosting over cake using an icing or rubber spatula to spread evenly.
-
Cover and refrigerate overnight and serve chilled.
Nutrition
The recipes on this blog are tested with a conventional gas oven and gas stovetop. It’s important to note that some ovens, especially as they age, can cook and bake inconsistently. Using an inexpensive oven thermometer can assure you that your oven is truly heating to the proper temperature. If you use a toaster oven or countertop oven, please keep in mind that they may not distribute heat the same as a conventional full sized oven and you may need to adjust your cooking/baking times. In the case of recipes made with a pressure cooker, air fryer, slow cooker, or other appliance, a link to the appliances we use is listed within each respective recipe. For baking recipes where measurements are given by weight, please note that results may not be the same if cups are used instead, and we can’t guarantee success with that method.
This post was originally published here on May 27, 2021.
