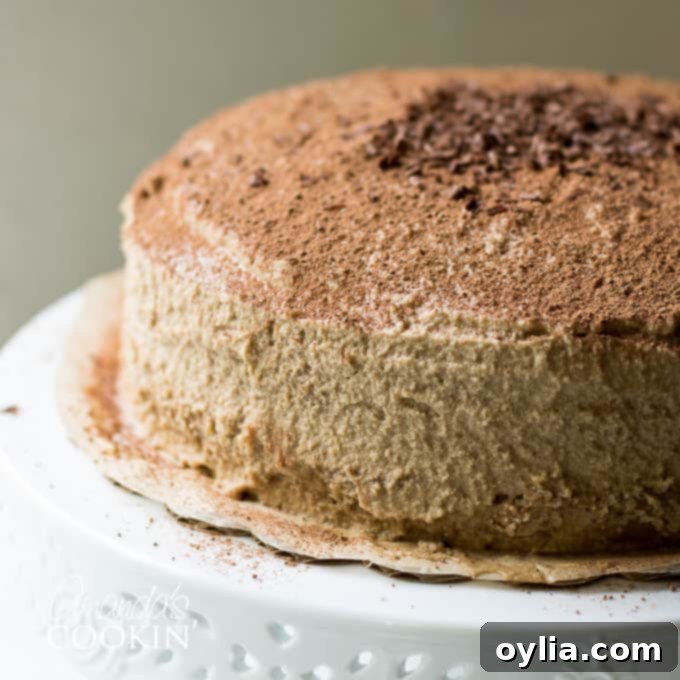
Decadent Homemade Tiramisu Cake: The Ultimate Italian Espresso Dessert Recipe
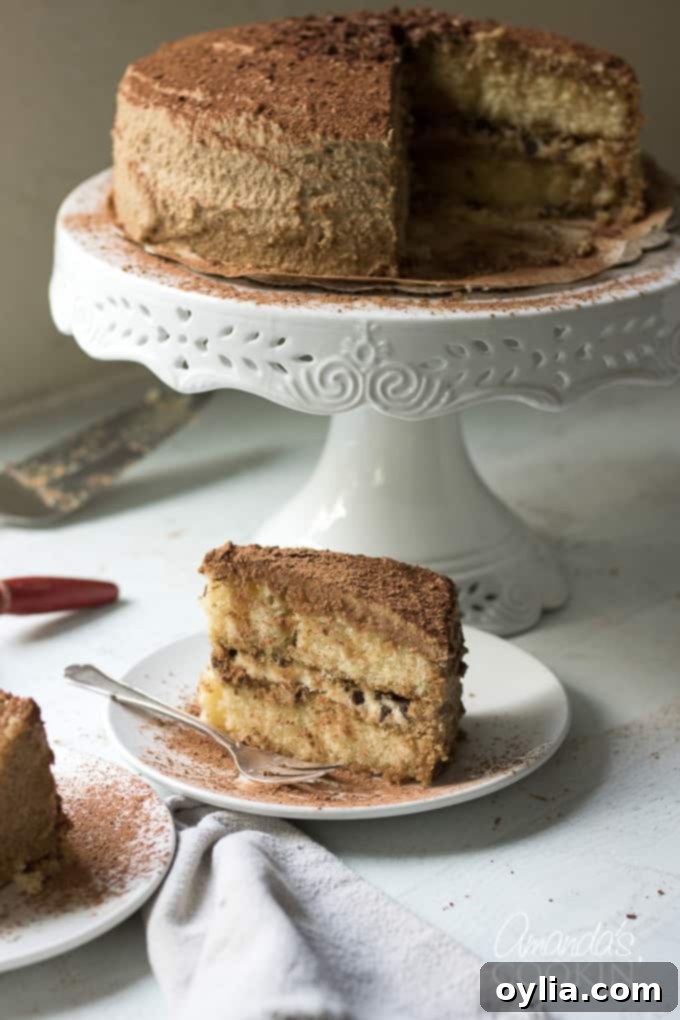
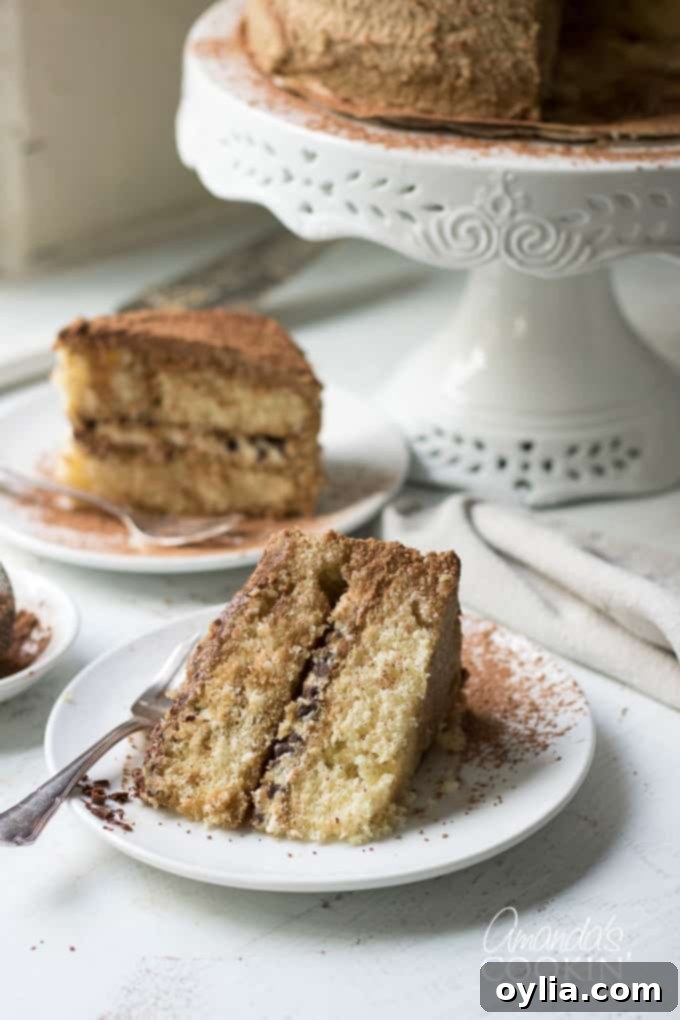
Prepare to be captivated by this magnificent Tiramisu cake, a glorious layered dessert that transforms the beloved Italian classic into an unforgettable cake experience. Each slice offers a symphony of flavors: tender cake layers generously infused with aromatic espresso, a light and airy mascarpone cheese filling that melts in your mouth, and a rich, coffee-flavored icing that crowns this masterpiece. It’s more than just a cake; it’s an indulgence, a celebration of coffee, cream, and pure baking joy.
If you’ve ever savored a classic tiramisu, you’ve undoubtedly fallen for its enchanting blend of rich espresso, creamy mascarpone, and a hint of liqueur. The traditional dessert, often featuring coffee-soaked ladyfingers, holds a special place in the hearts of dessert lovers worldwide. My journey with this particular tiramisu cake began in May of 2009, during a delightful online baking group challenge. It was an instant hit, quickly becoming a cherished recipe that perfectly captures the essence of its namesake in a grander, more celebratory form.
The name “Tiramisu” itself is derived from the Italian phrase “tirami su,” which beautifully translates to “pick me up,” “cheer me up,” or “lift me up.” This evocative name perfectly describes the invigorating effect of the coffee and the comforting richness of the dessert. This cake truly lives up to its name, offering a delightful “pick-me-up” with every heavenly bite.
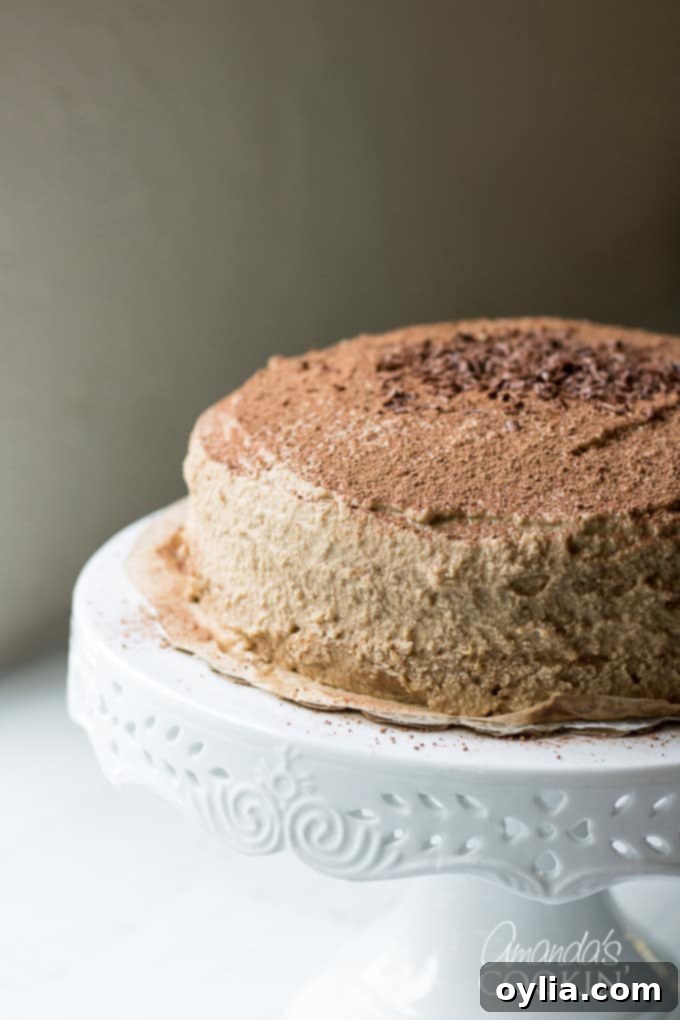
The Allure of Tiramisu Layer Cake
My adoration for tiramisu runs deep, and this particular tiramisu cake recipe stands out as a truly magnificent creation. It’s an ingenious way to enjoy all the iconic flavors of the traditional Italian dessert, but presented in a stunning, multi-layered cake crafted entirely from scratch. This isn’t just a good cake; it’s one of the best I’ve ever had the pleasure of baking and tasting. For those who love to bake, you’ll be pleasantly surprised by how accessible and rewarding this recipe is, yielding a professional-looking dessert that’s bursting with flavor.
RELATED: If you enjoy baking exquisite desserts, you might also love this recipe for a delightful Pistachio Cake.
What Exactly is Tiramisu Cake?
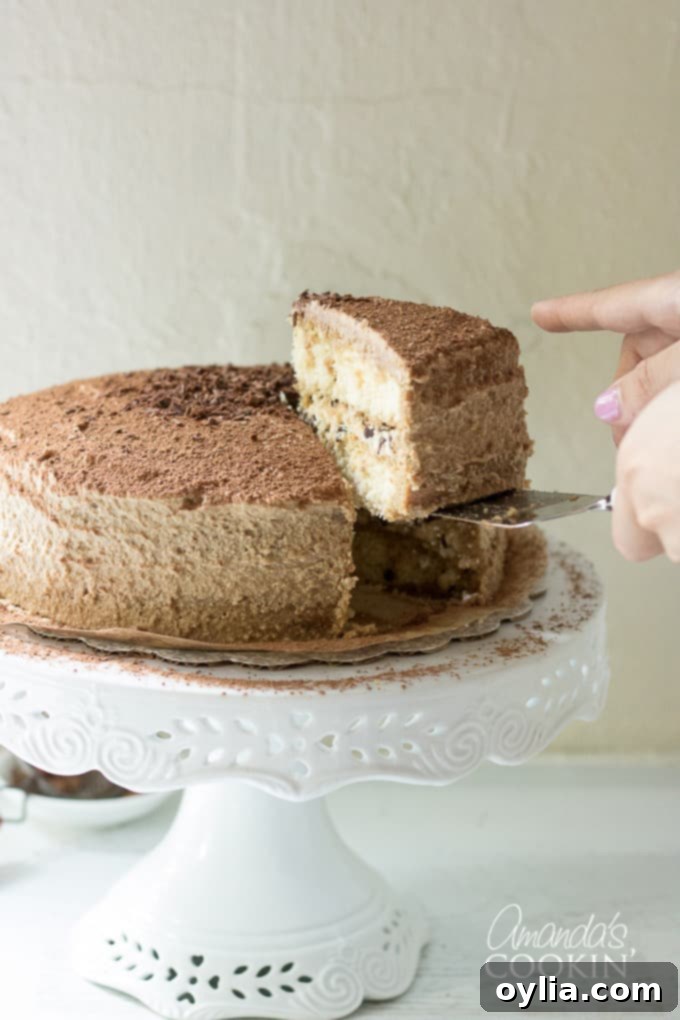
A Tiramisu cake is a sophisticated layer cake that meticulously incorporates almost every delectable element of its classic predecessor, tiramisu. Instead of the typical ladyfingers (savoiardi biscuits) that are traditionally soaked in espresso or a liqueur, this recipe elevates the experience by using beautifully baked cake layers. These tender layers are then generously brushed with a homemade espresso syrup, ensuring every bite carries that signature coffee kick.
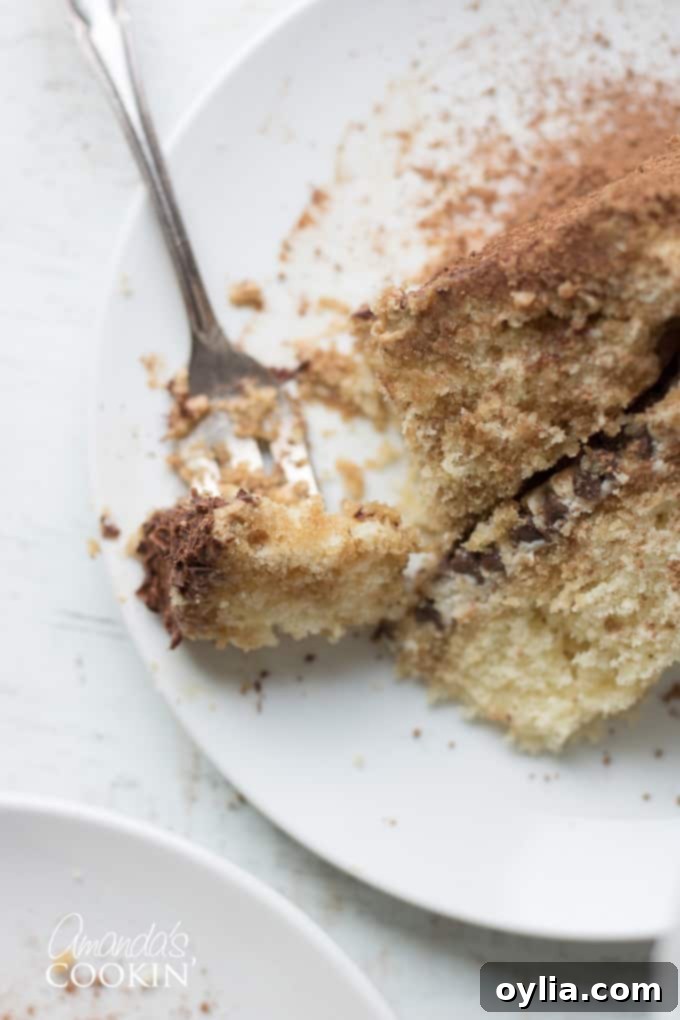
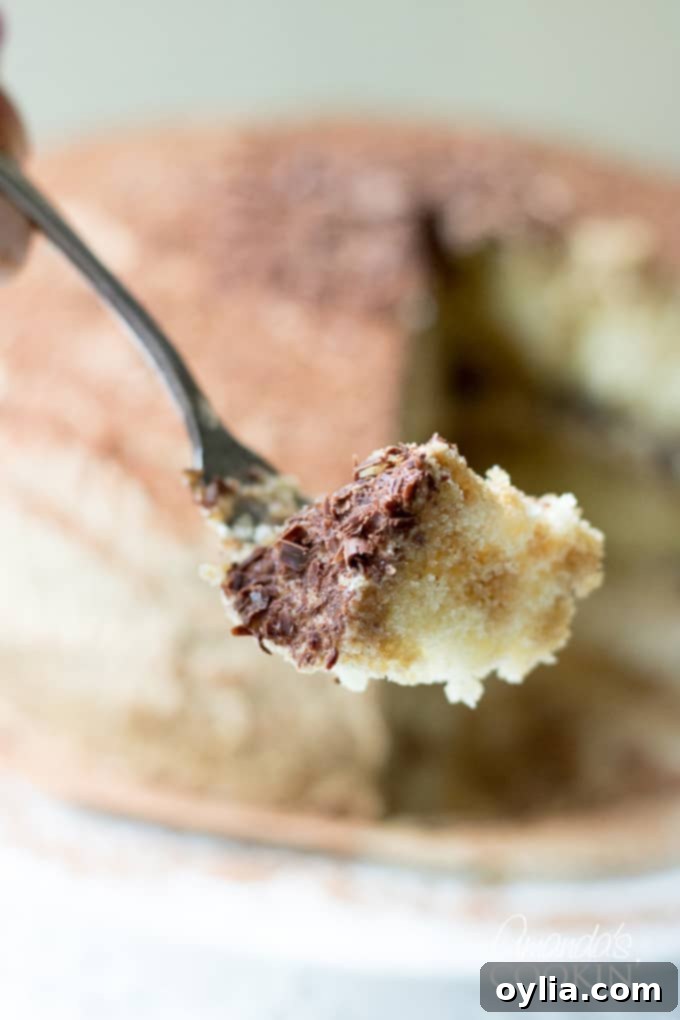
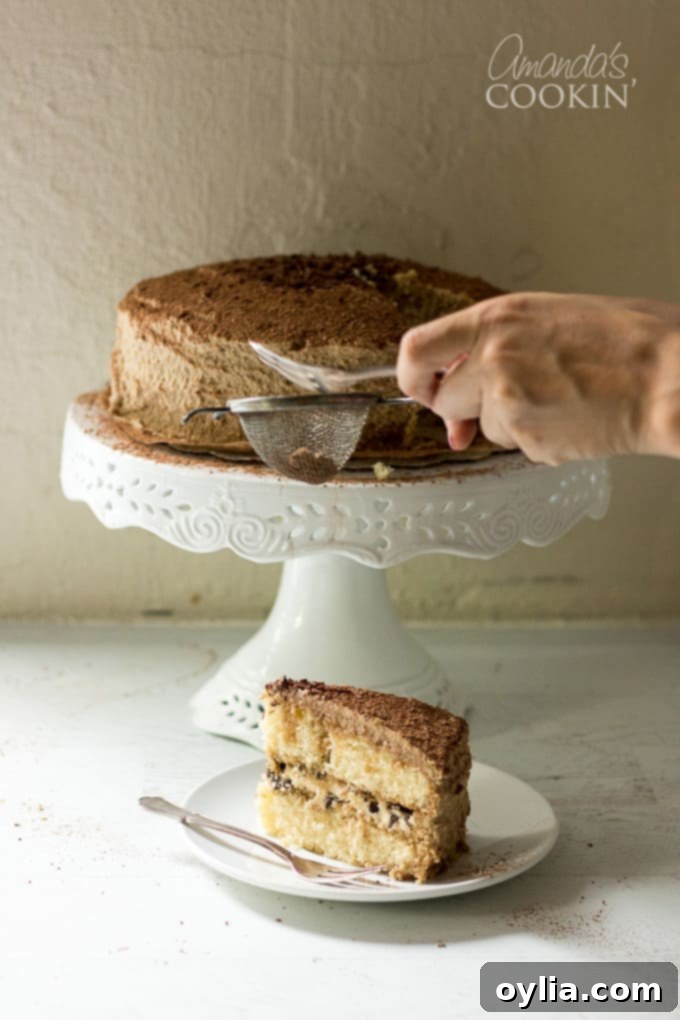
Between these two moist cake layers, you’ll find a luscious layer of creamy mascarpone cheese, often studded with finely chopped chocolate for an added texture and depth of flavor. The entire cake is then enveloped in a silky, homemade mascarpone-espresso icing, providing a smooth, rich finish. For the final flourish, the cake is dusted with a delicate veil of cocoa powder, not only for visual appeal but also to enhance the coffee and chocolate notes. This tiramisu cake is truly a magnificent dessert, perfectly suited to be the star of any special occasion, from birthdays to holiday gatherings.
Essential Tiramisu Cake Ingredients
While the ingredient list for this impressive tiramisu cake may appear extensive at first glance, don’t let it deter you! Each component plays a vital role in building the incredible flavor profile and texture of this dessert. If you have a passion for baking, this recipe is a truly rewarding endeavor. By following the steps carefully, you will create a stunning dessert that will make you beam with pride. Gather these high-quality ingredients to ensure the best possible results:
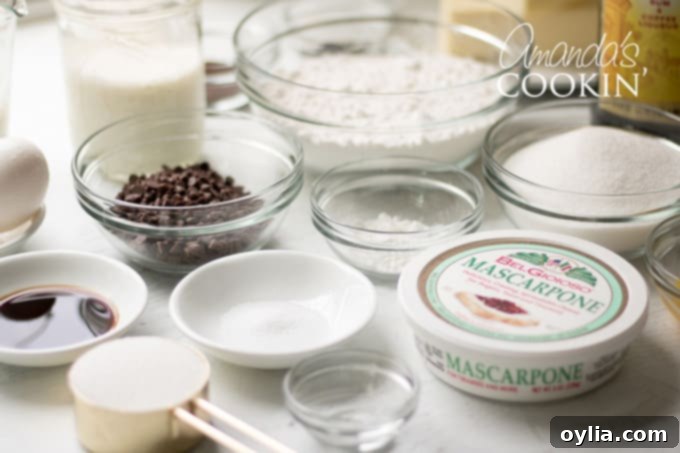
- For the Cake: Cake flour (for a tender crumb), baking powder and baking soda (for lift), salt (to balance flavors), unsalted butter (for richness), sugar, large eggs and an extra yolk (for moisture and structure), vanilla extract (for warmth), and buttermilk (for tenderness and tang).
- For the Espresso Components: Instant espresso powder (the key to that authentic coffee flavor), and water.
- For the Liqueur: Amaretto, Kahlua, or brandy (choose your preferred spirit for that classic tiramisu depth).
- For the Mascarpone Filling & Frosting: Mascarpone cheese (the star of the cream), confectioners’ sugar (for sweetness and smooth texture), heavy cream (for whipping into a light, airy consistency), and chocolate (bittersweet or semi-sweet, for chopping and adding to the filling).
- For Decoration: Cocoa powder (for dusting) and optional chocolate covered espresso beans or shaved chocolate.
Using cake flour, for instance, is crucial for achieving the wonderfully delicate and soft crumb that perfectly complements the creamy fillings. Mascarpone cheese, with its incredibly high fat content, delivers an unparalleled richness and silky texture to the frosting and filling, setting it apart from other cheeses. Don’t cut corners on quality for these key ingredients; they truly make a difference in the final taste and experience of your tiramisu cake.
Essential Kitchen Tools for Your Tiramisu Cake
Having the right tools can make the baking process not only easier but also more enjoyable. For this layered tiramisu cake, a few key kitchen items will be particularly helpful in achieving professional-level results:
- Stand mixer: Indispensable for creaming butter and sugar, and whipping cream.
- 9-inch round cake pans: Two pans are needed for the cake layers.
- Sifter: Essential for sifting dry ingredients, ensuring a light and airy cake texture.
- Mixing bowls: Multiple sizes for different components.
- Rubber spatula: Perfect for scraping bowls and gently folding ingredients.
- Wire cooling rack: Crucial for cooling cakes evenly and preventing sogginess.
- Parchment paper circles: To prevent sticking and make unmolding effortless.
- Saucepan: For preparing the espresso syrup.
- Whisk: For blending the mascarpone filling.
- Cake plate or cake stand: For presentation and assembly.
- Measuring cups and measuring spoons: For accurate ingredient portions.
- Icing spatula (offset): For smooth and professional frosting application.
This exceptional recipe is adapted from Dorie Greenspan’s highly acclaimed cookbook, Baking: From my Home to Yours, a true treasure for any home baker.
Step-by-Step Guide: How to Make This Incredible Tiramisu Cake
Creating this tiramisu cake is a delightful journey through classic baking techniques, resulting in a show-stopping dessert. Follow these detailed instructions to achieve perfection:
Begin by preparing your oven and cake pans. Center a rack in your oven and preheat it to 350 degrees F (175 C). Properly preparing your cake pans is crucial for easy unmolding and perfectly shaped layers. Butter two 9 x 2 inch round cake pans thoroughly, then dust their insides with flour, tapping out any excess. Finally, line the bottoms of the pans with parchment or wax paper circles. Place the prepared pans on a baking sheet; this makes them easier to handle and ensures even baking.
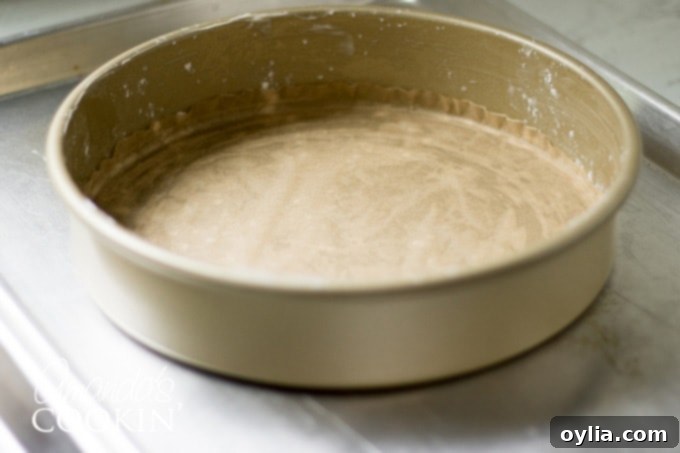
To Prepare the Cake Layers:
- Combine Dry Ingredients: In a medium bowl, sift together the cake flour, baking powder, baking soda, and salt. Sifting is vital here, as it removes lumps and aerates the flour, contributing to a lighter cake texture.
- Cream Butter and Sugar: In the bowl of a stand mixer (fitted with a paddle attachment) or with a hand mixer, beat the room-temperature unsalted butter on medium speed until it’s wonderfully soft and creamy, typically for about 2-3 minutes. Add the sugar gradually and continue beating for another 3 minutes until the mixture is light, fluffy, and pale in color. This creaming process incorporates air, which helps the cake rise.
- Incorporate Eggs and Vanilla: Add the eggs one by one, beating for a full minute after each addition to ensure proper emulsification. Then, incorporate the egg yolk, followed by the vanilla extract. Don’t worry if the mixture appears slightly curdled at this stage; it will smooth out with the addition of the dry ingredients and buttermilk.
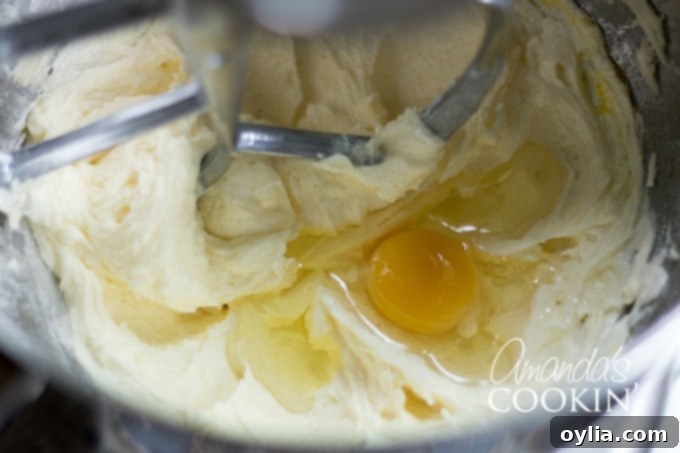
- Alternate Wet and Dry Ingredients: Reduce the mixer speed to low. Begin by adding about one-third of the sifted dry ingredients, mixing until just combined. Then, add half of the buttermilk, mixing until incorporated. Repeat with another third of the dry ingredients, followed by the remaining buttermilk. Finish by adding the last third of the dry ingredients. Remember to scrape down the sides of the bowl as needed to ensure everything is thoroughly mixed. Mix only until the ingredients disappear into the batter; overmixing can lead to a tough cake.
- Bake the Cake Layers: Divide the prepared batter evenly between the two buttered and floured cake pans. Use a rubber spatula to smooth the tops. Bake for 28-30 minutes, rotating the pans halfway through to ensure even browning. The cakes are done when they are golden, springy to the touch, and a thin knife or toothpick inserted into the centers comes out clean.
- Cooling: Transfer the baked cakes to a wire rack immediately and let them cool in their pans for about 5 minutes. This brief cooling period allows the cakes to firm up slightly, making them less prone to breaking. After 5 minutes, carefully run a knife around the sides of the cakes to loosen them, then invert them onto the wire rack. Gently peel off the parchment paper liners. Invert them once more so they are right side up and cool completely to room temperature before proceeding. This prevents condensation and ensures a firm cake.
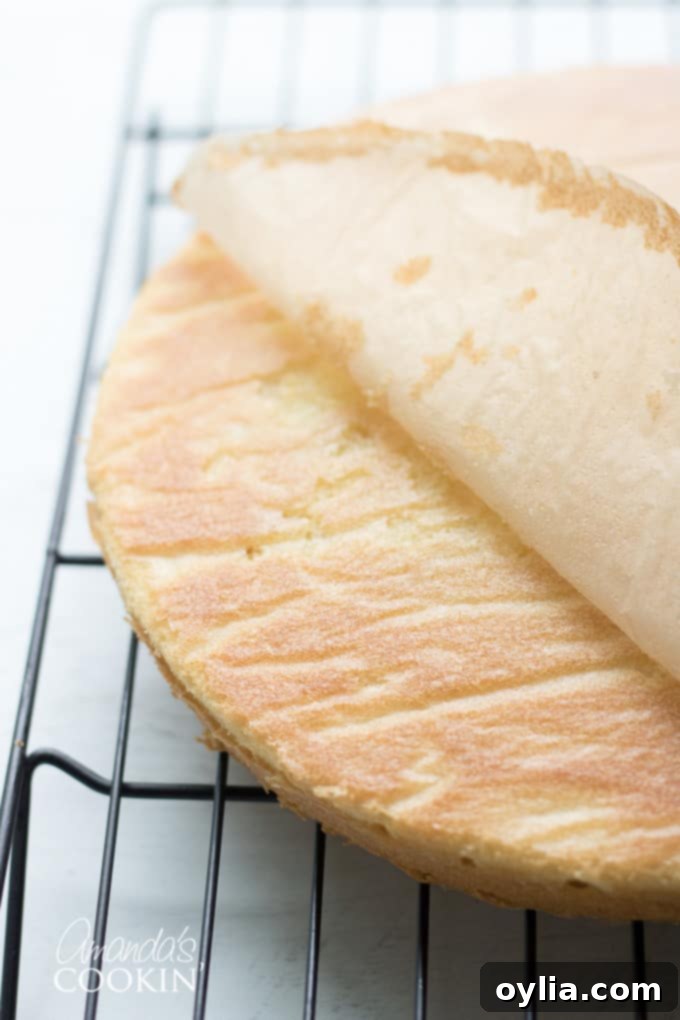
To Prepare the Espresso Extract:
This concentrated espresso extract is the secret to the cake’s vibrant coffee flavor. In a small, heatproof cup, stir the instant espresso powder and boiling water together until the powder is fully dissolved and the mixture is well blended. Set this potent extract aside to cool slightly; it will be used in both the syrup and the frosting.
To Prepare the Espresso Syrup:
The espresso syrup is crucial for moistening the cake layers and infusing them with that characteristic tiramisu taste. In a small saucepan, combine the water and sugar. Bring the mixture just to a boil over medium heat, stirring occasionally until the sugar completely dissolves. Once boiling, remove it from the heat. Pour the hot syrup into a small heatproof bowl and stir in 1 tablespoon of the freshly prepared espresso extract and your chosen liqueur (amaretto, Kahlua, or brandy). Set this flavorful syrup aside to cool to room temperature.
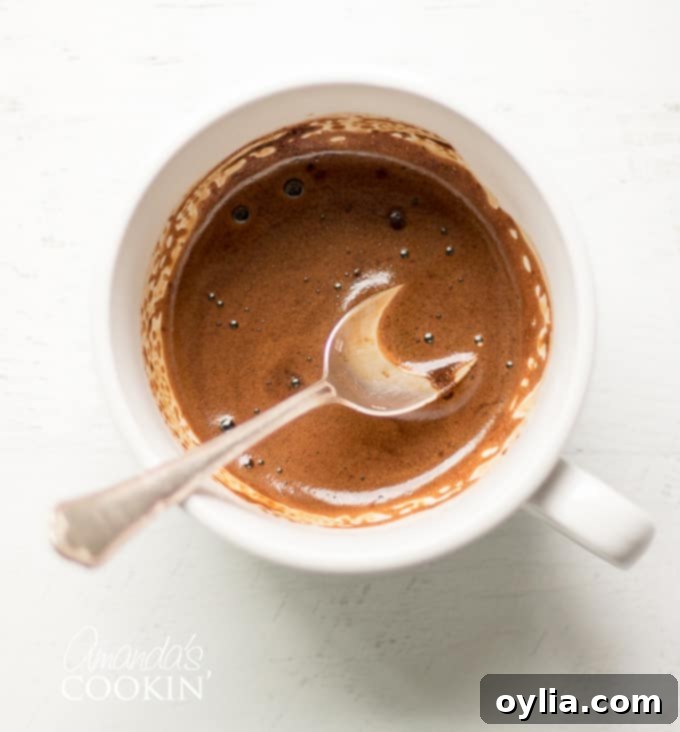
To Make the Luxurious Mascarpone Filling and Frosting:
The heart of tiramisu lies in its creamy, dreamy mascarpone. This recipe combines it with whipped cream to create a filling and frosting that’s both rich and remarkably light.
- Prepare Mascarpone Base: In a large bowl, combine the mascarpone cheese, confectioners’ sugar, vanilla extract, and your chosen liqueur. Whisk these ingredients together gently until they are just blended and smooth. Be careful not to overmix mascarpone, as it can curdle easily.
- Whip Heavy Cream: In a separate, chilled bowl (using the whisk attachment of your stand mixer or a hand mixer), whip the very cold heavy cream on medium-high speed until it holds firm peaks. It should be thick enough to hold its shape.
- Fold Together: Using a rubber spatula, carefully stir about one-quarter of the whipped cream into the mascarpone mixture to lighten it. Then, with a light hand, gently fold in the remaining whipped cream. This folding technique preserves the airiness of the whipped cream, resulting in a cloud-like filling and frosting.
To Assemble Your Tiramisu Cake:
This is where all your efforts come together to create a stunning dessert. Careful assembly ensures beautiful layers and even flavor distribution.
- Prepare Cake Layers: If your baked cake layers have domed tops, use a long, serrated knife and a gentle sawing motion to level them. This creates flat surfaces for stable and even layers. Place one leveled cake layer, right-side up, on your chosen cardboard round or cake plate. To keep your serving plate clean, tuck strips of wax or parchment paper under the edges of the cake.
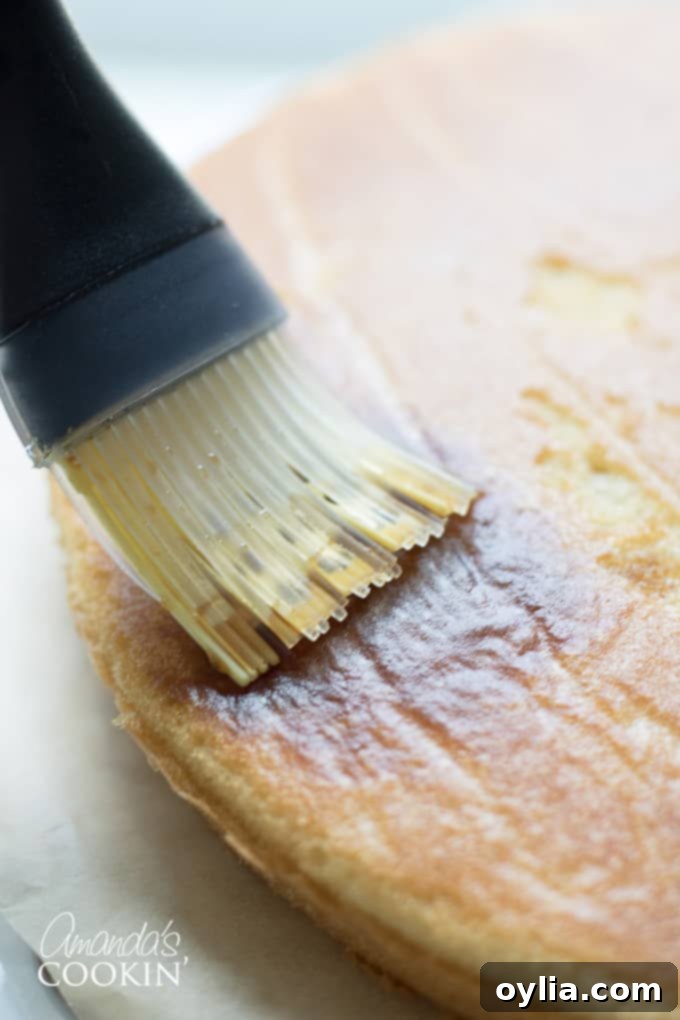
- Soak the First Layer: Using a pastry brush or a small spoon, generously soak the placed cake layer with approximately one-third of the prepared espresso syrup. Ensure the syrup is evenly distributed for a moist and flavorful base.
- Add Mascarpone Filling and Chocolate: Gently spread about 1 ¼ cups of the mascarpone cream evenly over the soaked cake layer. Then, lightly press the finely chopped chocolate into the filling. This adds a wonderful textural contrast and boosts the chocolate flavor.
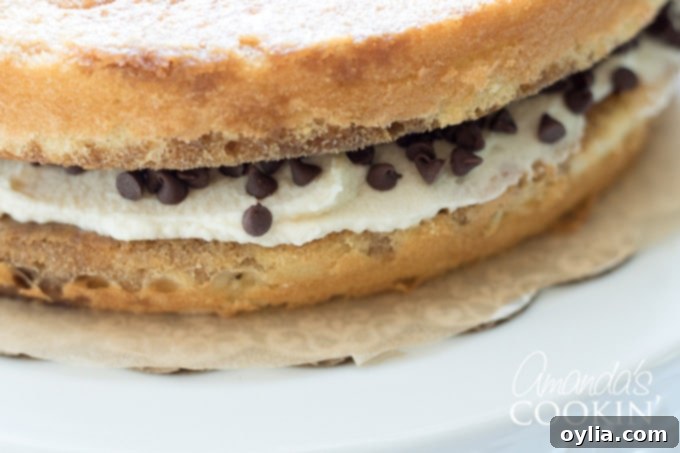
- Add the Second Layer: Take the second cake layer and place it on your counter. Soak its top surface with half of the remaining espresso syrup. Then, carefully invert this layer and position it, soaked side down, directly over the mascarpone filling on the first layer. Finally, soak the exposed top of this second cake layer with the very last of the espresso syrup.
For the Final Frosting:
The frosting is the crowning glory of your tiramisu cake, adding another layer of creamy, espresso-infused goodness.
- Flavor and Adjust Frosting: Whisk 1 to 1 ½ tablespoons of the remaining espresso extract into the remaining mascarpone filling. Taste as you go to achieve your desired level of coffee intensity. If the frosting feels a little too soft to spread easily, gently press a piece of plastic wrap directly onto its surface and refrigerate it for about 15 minutes. It’s also a good idea to refrigerate the assembled cake briefly at this point, as a chilled cake is much easier to frost.
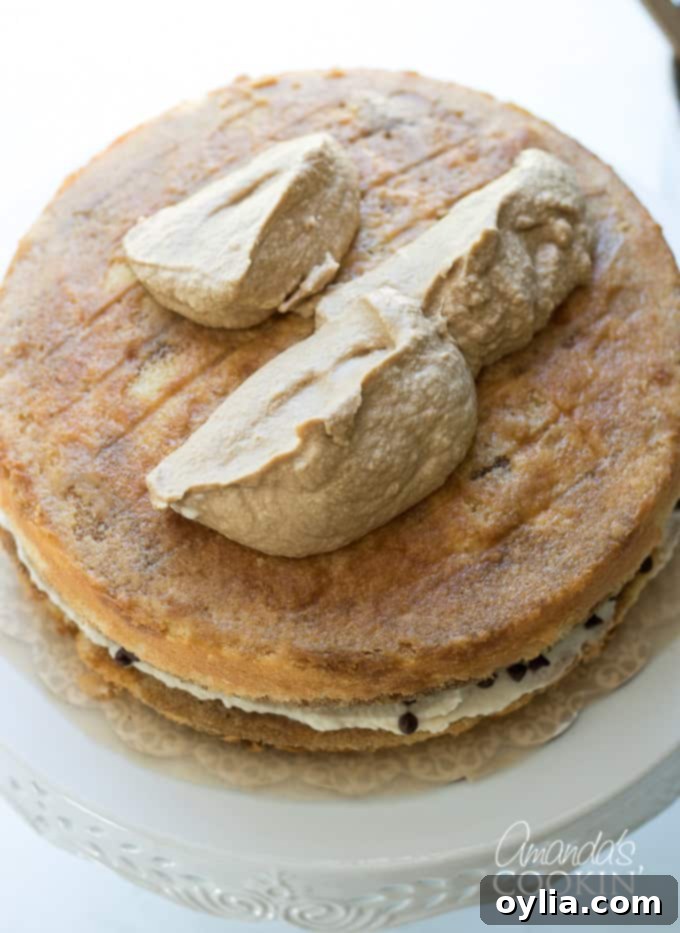
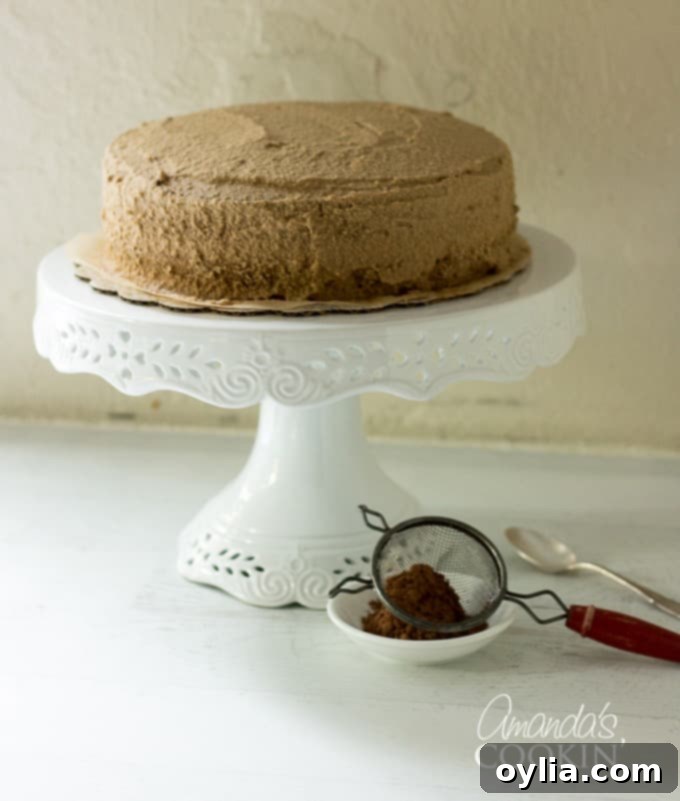
- Frost the Cake: Using a long metal offset icing spatula, carefully smooth the frosting around the sides of the cake and over the top. Aim for an even, attractive finish. Once frosted, gently remove the parchment paper strips from underneath the cake.
- Chill for Flavor Development: Refrigerate the frosted cake for at least 3 hours, or ideally, for up to 1 day before serving. This crucial chilling time allows all the incredible flavors to meld and deepen, and the cake layers to fully absorb the espresso syrup, resulting in a more cohesive and delicious dessert.
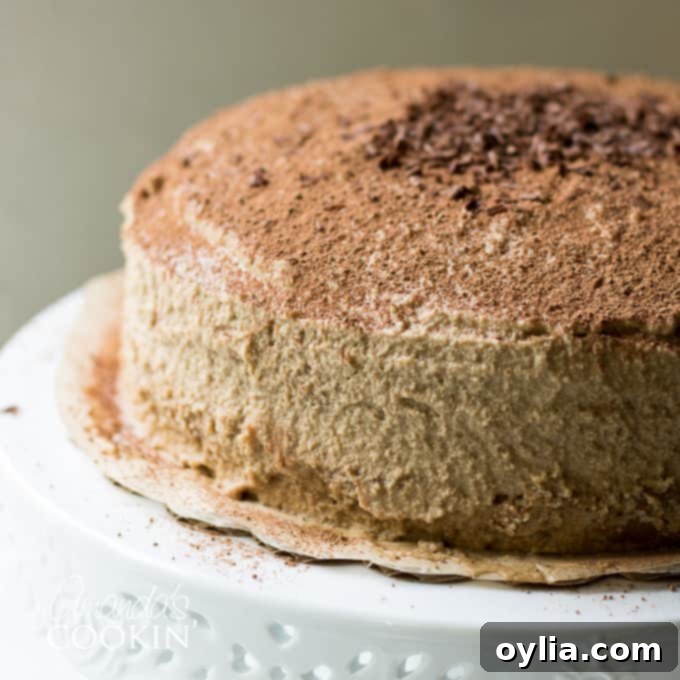
- Final Touches: Just before you’re ready to serve, dust the top of the cake with a generous layer of cocoa powder. Alternatively, you can top it with elegant chocolate shavings for a more sophisticated look.
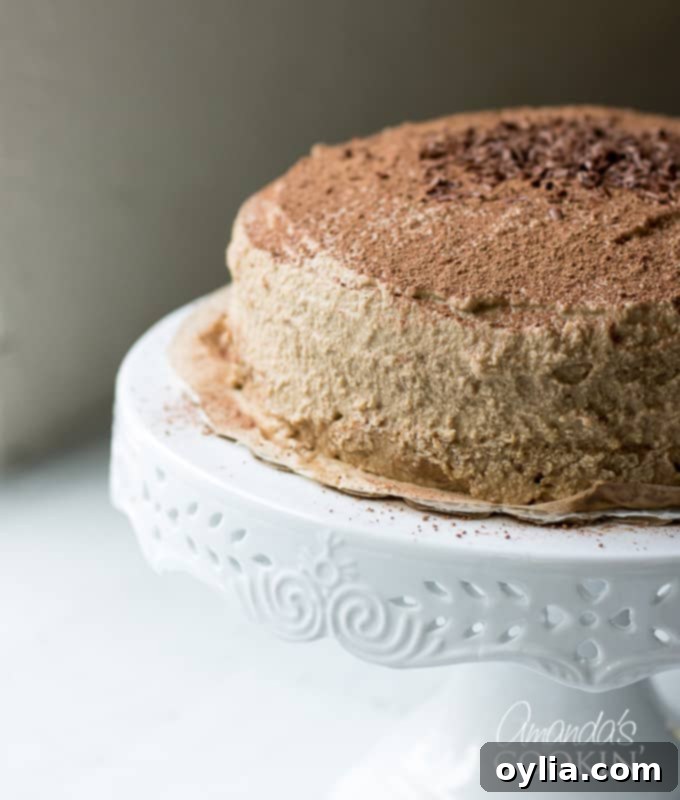
Elevate Your Tiramisu Cake Decoration
While a simple dusting of cocoa is elegantly traditional, you can easily add more flair to your tiramisu cake. After dusting with cocoa, consider arranging whole chocolate-covered espresso beans around the top edge or in a decorative pattern for an extra gourmet touch. For a more elaborate presentation, use a piping bag fitted with a star tip to add delicate buttercream frosting dollops around the cake’s edge or create a central design. A mix of dark and white chocolate shavings can also create a beautiful visual contrast. Don’t be afraid to get creative and personalize your masterpiece!
Common Questions About Tiramisu Cake
Can I use regular coffee for this tiramisu cake?
While traditional tiramisu desserts specifically call for the robust flavor of espresso, not regular coffee, you can use a very strongly-brewed dark roast coffee in a pinch for the espresso syrup. However, for the most authentic and intense coffee flavor that defines a true tiramisu, using instant espresso powder is highly recommended for this particular cake recipe. It provides a concentrated coffee essence that regular coffee simply can’t match.
Can I make this tiramisu cake ahead?
Absolutely! This tiramisu cake is an excellent make-ahead dessert. In fact, making it a day or two in advance allows the flavors to meld beautifully and the cake layers to fully absorb the espresso syrup, resulting in an even more delicious and cohesive dessert. You can store the fully assembled and frosted cake in the refrigerator for up to 1 to 2 days before serving.
Can I freeze this tiramisu cake?
Yes, you can freeze this tiramisu cake to enjoy later! After you have baked and frosted the cake, but *before* dusting it with cocoa powder, place the cake in the refrigerator for at least 4 hours to chill thoroughly. Once well-chilled, wrap the cake tightly in several layers of plastic wrap, followed by a layer of aluminum foil. You can then freeze it for up to 2 months. Thaw overnight in the refrigerator before dusting with cocoa and serving.
Can I substitute cream cheese for mascarpone in tiramisu cake?
While it’s possible to create a substitute, you won’t achieve the exact same rich and delicate flavor profile that authentic mascarpone provides. Mascarpone has a much higher fat content, making it incredibly creamy and less tangy than cream cheese. However, if mascarpone is unavailable or you prefer an alternative, you can try this homemade substitute: beat together 8 ounces of full-fat cream cheese (avoid low-fat versions) with 4 tablespoons of cold heavy whipping cream and 2 tablespoons of softened unsalted butter until just blended and smooth. This mixture will give you approximately 10 ounces (1 ¼ cups) of a mascarpone-like consistency.
Can I replace mascarpone with ricotta?
Ricotta cheese can serve as a lower-cost substitute for mascarpone in many recipes, particularly those where its slightly grainier texture won’t be as noticeable. While the flavor won’t be identical to mascarpone – ricotta is typically lighter and less rich – it can still work well, especially if blended very smoothly. For this tiramisu cake, ensure your ricotta is well-drained to avoid excess moisture.
What is the difference between mascarpone and cream cheese?
The primary distinctions between mascarpone cheese and cream cheese lie in their fat content and their origins. Mascarpone, often referred to as “Italian cream cheese,” boasts a significantly higher milk fat content compared to “American” cream cheese. This higher fat level contributes to mascarpone’s distinctly richer, silkier, and sweeter flavor profile, making it the preferred choice for authentic Italian desserts like tiramisu. Cream cheese, while versatile, is tangier and firmer due to its lower fat content.
What kind of alcohol is typically used in tiramisu?
In authentic Italian tiramisu recipes, Marsala wine or Madeira wine are the most commonly specified alcoholic additions, contributing a subtle depth and complexity. However, many variations exist, and popular alternatives include dark rum, amaretto (an almond-flavored liqueur), or various coffee liqueurs like Kahlua. For this Tiramisu cake, you have the flexibility to choose your favorite from amaretto, Kahlua, or brandy to infuse the cake with a delightful hint of warmth.
Can you get drunk from tiramisu?
Rest assured, the small amount of alcohol used in a typical tiramisu recipe, including this cake, is largely for flavor enhancement and tends to cook off during preparation or dissipate over time. You would need to consume an extremely large quantity – roughly 30 whole tiramisu cakes – to feel any intoxicating effects. Enjoy your slice without worry!
How do I make tiramisu cake using graham crackers?
If you’re looking for a simpler, no-bake tiramisu experience that utilizes graham crackers, you’re in luck! We have a fantastic recipe for a Tiramisu Icebox Cake. This delightful dessert uses layers of graham crackers, along with coffee-soaked ladyfingers, and a luscious cream cheese filling for a unique twist on the classic.
How many calories are in this tiramisu cake?
This generously sized 2-layer, 9-inch round tiramisu cake is designed to yield 12 satisfying slices. Each individual slice contains approximately 525 calories, offering a rich and fulfilling dessert experience.
Explore More Tiramisu-Inspired Desserts
Our love for tiramisu knows no bounds, which is why we’ve continuously created an array of delightful desserts inspired by its iconic flavors. If you’re a fellow tiramisu enthusiast, you’ll adore these other variations that capture the essence of this beloved treat:
- Tiramisu Trifle: A stunning, easy-to-make layered dessert perfect for a crowd.
- Tiramisu Trifle in Mason Jars: Individual portions that are both charming and convenient.
- Tiramisu Icebox Cake: A no-bake wonder for warmer days, using graham crackers and ladyfingers.
- Bailey’s Tiramisu Parfaits: An adult twist with a creamy Irish cream infusion.
- Tiramisu Cheesecake: The best of both worlds – rich cheesecake meets tiramisu flavors.
- Individual Tiramisu: Classic tiramisu served in elegant single servings.
This beloved recipe was originally shared on May 5, 2009, and continues to be a favorite among our readers.
Tiramisu Cake
IMPORTANT – There are often Frequently Asked Questions within the blog post that you may find helpful. Simply scroll back up to read them!
Print It
Rate It
Save ItSaved!
Ingredients
For the cake:
- 2 cups cake flour
- 2 tsp baking powder
- ⅛ tsp baking soda
- ¼ tsp salt
- 10 tbsp unsalted butter room temperature
- 1 cup sugar
- 3 large eggs
- 1 large egg yolk
- 1 1⁄2 tsp pure vanilla extract
- 3⁄4 cup buttermilk
For the espresso extract:
- 2 tbsp instant espresso powder
- 2 tbsp boiling water
For the espresso syrup:
- ½ cup water
- ⅓ cup sugar
- 1 tbsp amaretto or Kahlua, or brandy
For the filling and frosting:
- 8 oz. container mascarpone cheese
- ½ cup confectioners sugar sifted
- 1 1⁄2 tsp pure vanilla extract
- 1 tbsp amaretto or Kahlua, or brandy
- 1 cup heavy whipping cream cold
- 2 ½ oz bittersweet or semisweet chocolate finely chopped, or about 1⁄2 cup store bought mini chocolate chips
Decoration:
- Cocoa powder for dusting
- Chocolate covered espresso beans for decoration (optional)
Things You’ll Need
-
Stand mixer
-
9-inch round cake pans
-
Sifter
-
Mixing bowls
-
Rubber spatula
-
Wire cooling racks
-
Parchment paper circles
-
Saucepan
-
Whisk
-
Cake plate
-
Measuring cups and spoons
-
Offset icing spatula
Before You Begin
- For the best appearance, don’t add the dusting of cocoa until you are ready to serve.
- This cake can be made 1 to 2 days ahead and stored in the refrigerator.
- Tiramisu desserts specifically mention espresso, not regular coffee. If you must use coffee, strongly-brewed coffee will work in a traditional cake. However, for this cake it would be better to use instant espresso powder.
- To freeze, after baking the cake, frost it but don’t dust it with cocoa. Once the cake has chilled in the refrigerator for at least 4 hours, you can put it in the freezer for up to 2 months.
- Can I use cream cheese? You will not get the same result with regular cream cheese, however, you can try beating together 8 ounces of cream cheese (full fat, not low fat) with 4 tablespoons of heavy whipping cream and 2 tablespoons of softened unsalted butter until just blended. This will give you the equivalent of approximately 10 ounces (1 1/4 cups) mascarpone.
- Can I replace mascarpone with ricotta? While the flavor of this substitute is not exactly the same as real mascarpone, it works very well in many recipes. Ricotta cheese can be a low-cost substitute for mascarpone.
Instructions
-
Center a rack in the oven and preheat the oven to 350 degrees F. Butter two 9 x 2 inch round cake pans, dust the insides with flour, tap out the excess and line the bottoms of the pans with parchment or wax paper. Put the pans on a baking sheet.
To make the cake:
-
Sift together the cake flour, baking powder, baking soda, and salt. Working with a stand mixer, preferably fitted with a paddle attachment, or with a hand mixer in a large bowl, beat the butter on medium speed until soft and creamy. Add the sugar and beat for another 3 minutes. Add the eggs one by one, and then the yolk, beating for 1 minute after each addition. Beat in the vanilla; don’t be concerned if the mixture looks curdled. Reduce the mixer speed to low and add the dry ingredients alternately with the buttermilk, adding the dry ingredients in three additions and the buttermilk in two (begin and end with the dry ingredients); scrape down the sides of the bowl as needed and mix only until the ingredients disappear into the batter.
-
Divide the batter evenly between the two pans and smooth the tops with a rubber spatula. Bake for 28-30 minutes, rotating the pans at the midway point. When fully baked, the cakes will be golden and springy to the touch and a thin knife inserted into the centers will come out clean. Transfer the cakes to a rack and cool them for about 5 minutes, then run a knife around the sides of the cakes, unmold them and peel off the paper liners. Invert and cool to room temperature right side up.
To make the extract:
-
Stir the espresso powder and boiling water together in a small cup until blended. Set aside.
To make the syrup:
-
Stir the water and sugar together in a small saucepan and bring just to a boil. Pour the syrup into a small heatproof bowl and stir 1 tablespoon of the espresso extract and the liqueur or brandy; set aside.
To make the filling and frosting:
-
Put the mascarpone, sugar, vanilla, and liqueur in a large bowl and whisk just until blended and smooth. Working with the stand mixer with the whisk attachment or with a hand mixer, whip the heavy cream until it holds firm peaks. Switch to a rubber spatula and stir about one-quarter of the whipped cream into the mascarpone. Fold in the rest of the whipped cream with a light touch.
To assemble the cake:
-
If the tops of the cake layers have crowned, use a long serrated knife and a gentle sawing motion to even them. Place one layer right-side up on a cardboard round or a cake plate protected with strips of wax or parchment paper. Using a pastry brush or a small spoon, soak the layer with about one-third of the espresso syrup. Smooth some of the mascarpone cream over the layer – user about 1 1/4 cups – and gently press the chopped chocolate into the filling. Put the second cake layer on the counter and soak the top of it with half the remaining espresso syrup, then turn the layer over and position it, soaked side down, over the filling. Soak the top of the cake with the remaining syrup.
Make the frosting:
-
Whisk 1 to 1 1/2 tablespoons of the remaining espresso extract into the remaining mascarpone filling. Taste the frosting as you go to decide how much extract you want to add. If the , looks as if it might be a little too soft to spread over the cake, press a piece of plastic wrap against its surface and refrigerate it for 15 minutes or so. Refrigerate the cake them.
-
With a long metal icing spatula, smooth the frosting around the sides of the cake and over the top.
-
Refrigerate the cake for at least 3 hours (or for up to 1 day) before serving – the elements need time to meld.
Decoration:
-
Just before serving, dust the top of the cake with cocoa, or top with shaved chocolate.
-
Optional: decorate the cake with chocolate covered espresso beans.
Nutrition
The recipes on this blog are tested with a conventional gas oven and gas stovetop. It’s important to note that some ovens, especially as they age, can cook and bake inconsistently. Using an inexpensive oven thermometer can assure you that your oven is truly heating to the proper temperature. If you use a toaster oven or countertop oven, please keep in mind that they may not distribute heat the same as a conventional full sized oven and you may need to adjust your cooking/baking times. In the case of recipes made with a pressure cooker, air fryer, slow cooker, or other appliance, a link to the appliances we use is listed within each respective recipe. For baking recipes where measurements are given by weight, please note that results may not be the same if cups are used instead, and we can’t guarantee success with that method.
