Irresistible Orange Creamsicle Cupcakes: Your Perfect Summer Dessert Recipe
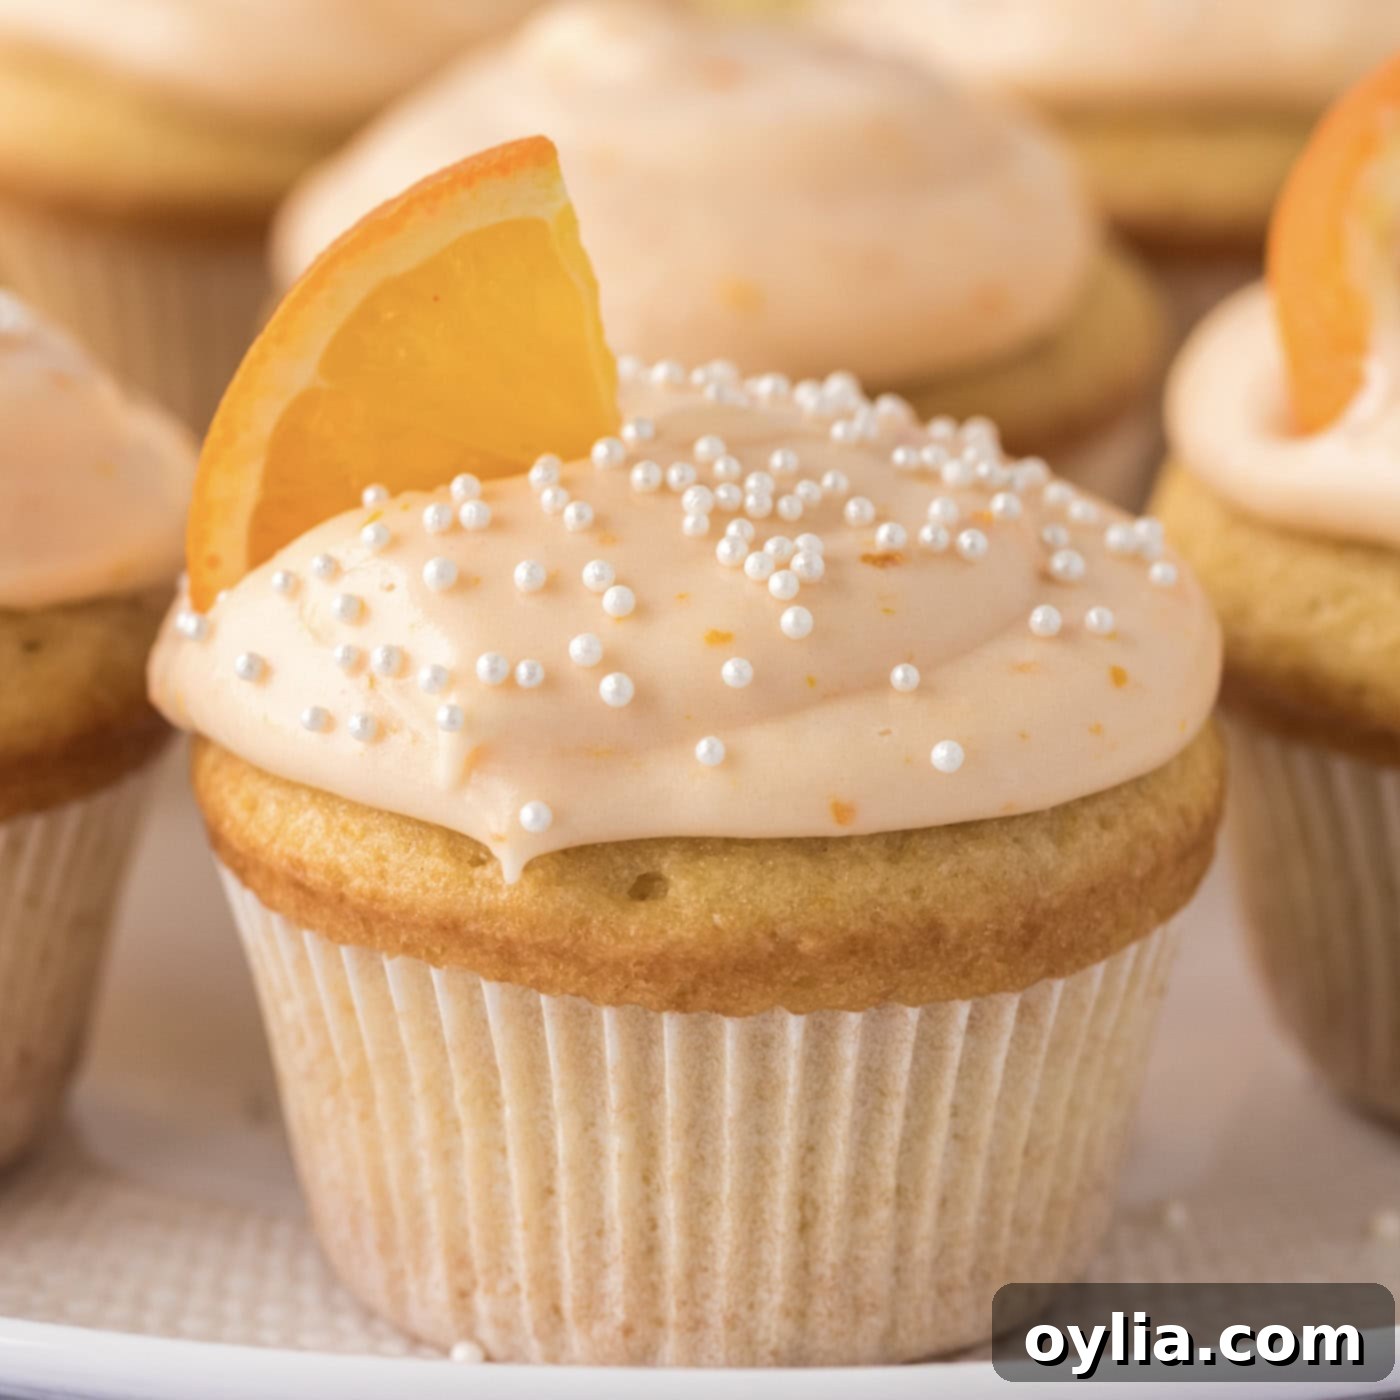
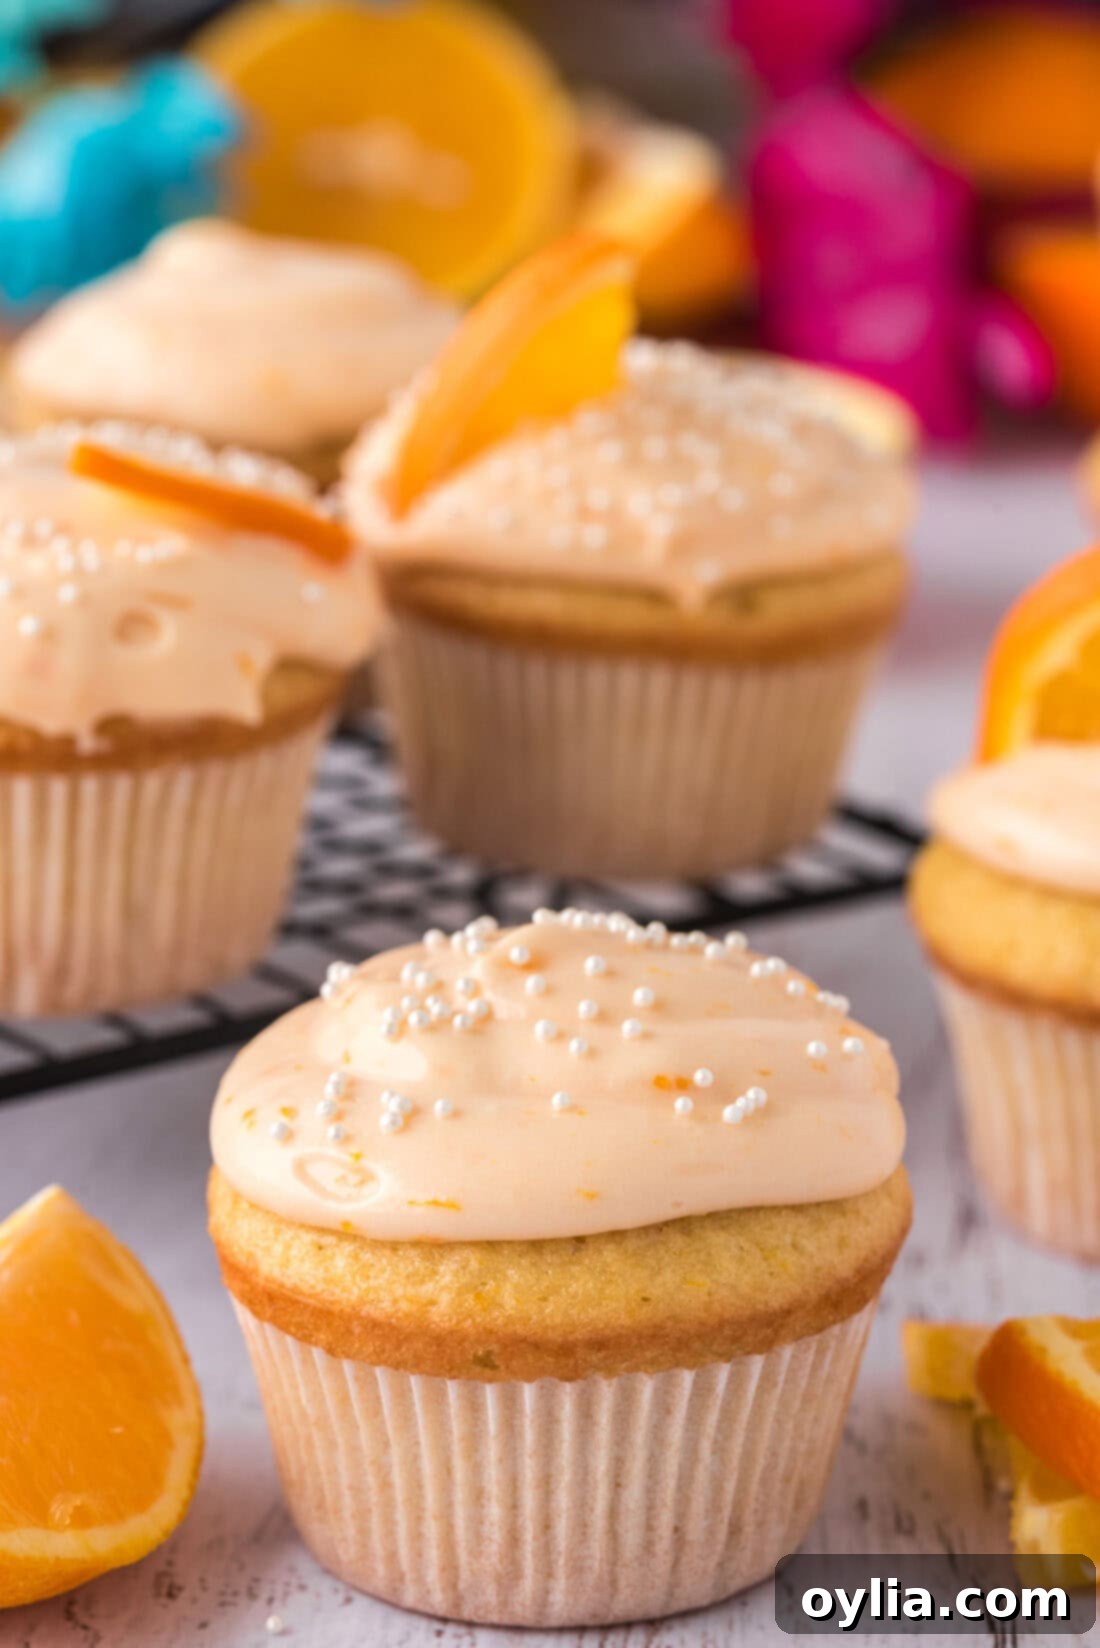
Prepare to be enchanted by these delightful orange creamsicle cupcakes! Featuring incredibly soft and fluffy orange-flavored cake bases crowned with a luscious, silky dreamsicle frosting, these cupcakes are not just a dessert—they’re a refreshing escape, perfect for any summer gathering or a sweet treat any time you crave a burst of sunshine. Experience the nostalgic flavor of your favorite creamsicle in a portable, bite-sized form.
Why These Orange Creamsicle Cupcakes Are an Absolute Must-Try
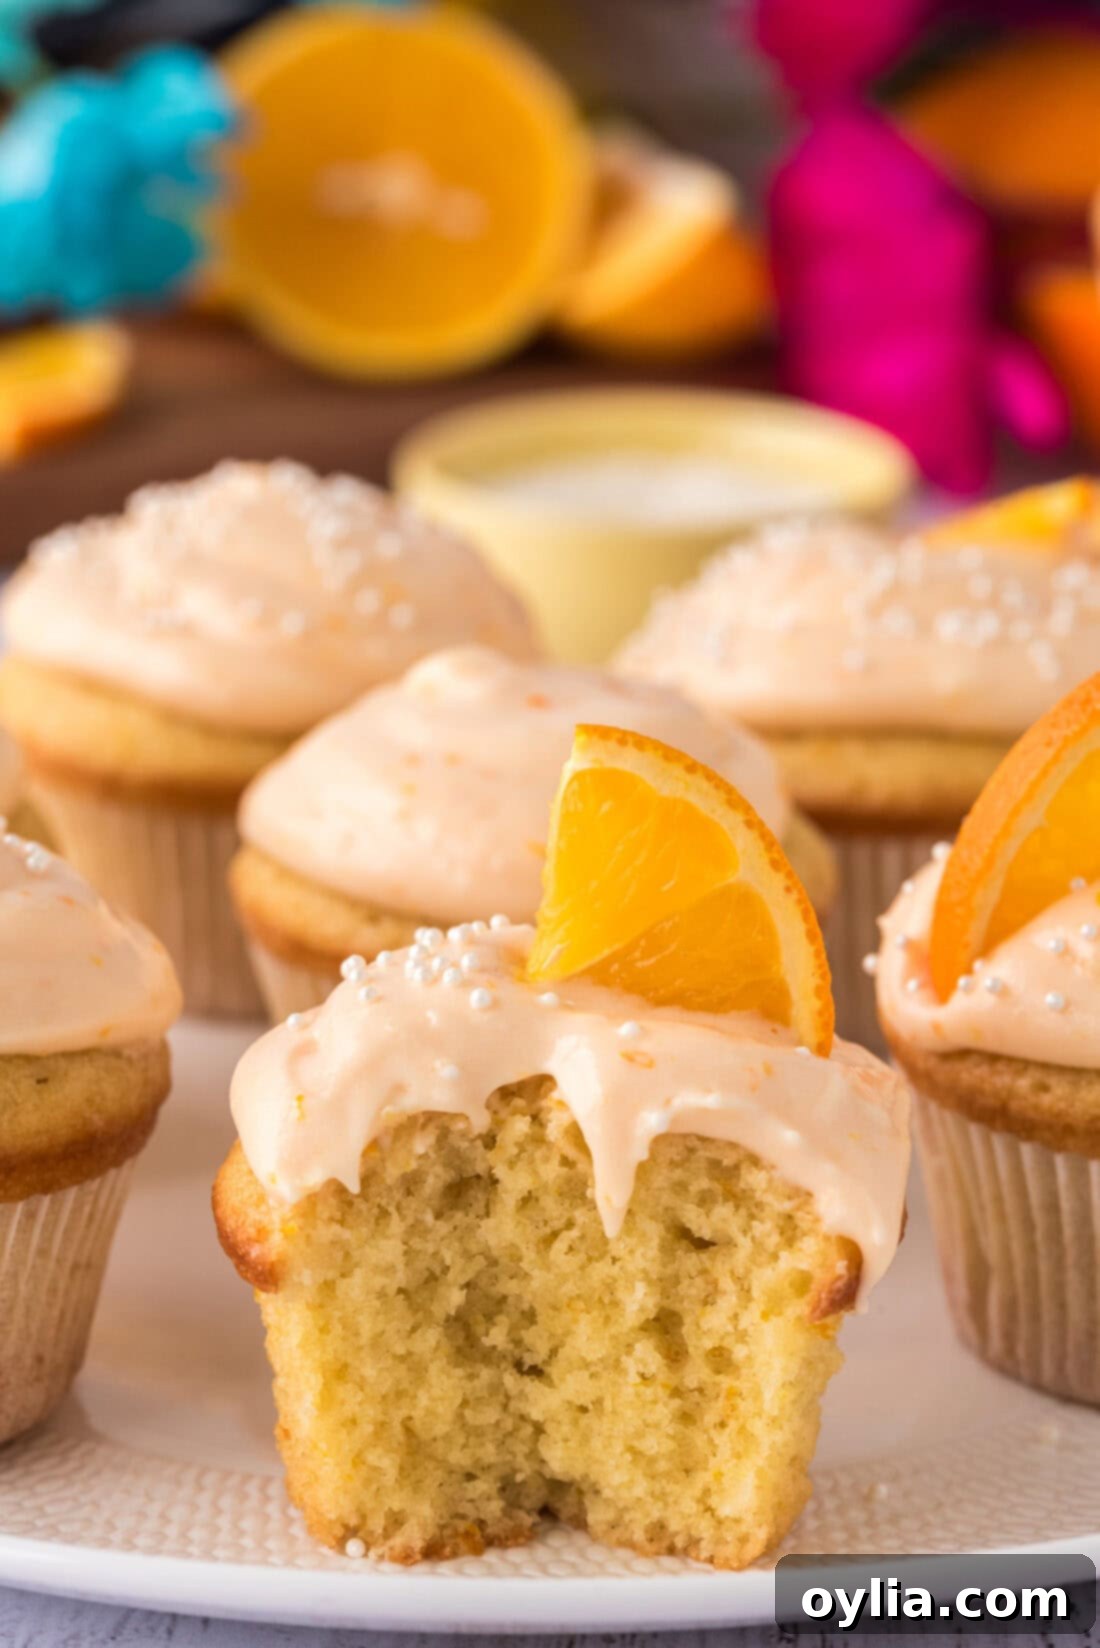
These orange creamsicle cupcakes are more than just a dessert; they’re a trip down memory lane, perfectly capturing the essence of those frosty orange creamsicle popsicles we all cherished during warm summer days. The magic begins with the cupcake base itself – a tender, moist crumb infused with a delightful blend of vanilla and orange extract, beautifully complemented by fresh orange zest that ties all the vibrant citrus notes together. It’s the ideal foundation for what comes next: the truly sensational creamsicle frosting.
The frosting is where these cupcakes truly shine. A dreamy, creamy concoction made with softened cream cheese, fragrant vanilla, bright orange extract, and a generous amount of grated orange zest, it creates a unique flavor profile that is both rich and refreshing. This combination elevates the entire recipe, transforming simple cupcakes into an extraordinary dessert experience. The tangy cream cheese balances the sweetness, while the orange zest provides an aromatic depth that artificial flavors simply cannot replicate. Each bite delivers that classic creamsicle harmony – a cool, creamy vanilla swirled with vibrant, sweet orange.
We’ve carefully crafted these cupcakes to ensure a soft texture and a tender crumb, allowing the bright orange flavor to be prominent without being overwhelming. Sometimes, less is indeed more, especially with frosting. A light, delicate layer of our rich creamsicle frosting is just enough to perfectly complement the cupcake, enhancing its flavor rather than overpowering it. However, we understand that frosting preference is personal! You can easily adjust the amount of frosting to your liking. For those who love a more substantial topping or wish to create elaborate piped designs, simply double the frosting recipe or add a bit more powdered sugar for increased stability and structure, ensuring your creations are as beautiful as they are delicious.
Key Ingredients for Your Orange Creamsicle Cupcakes
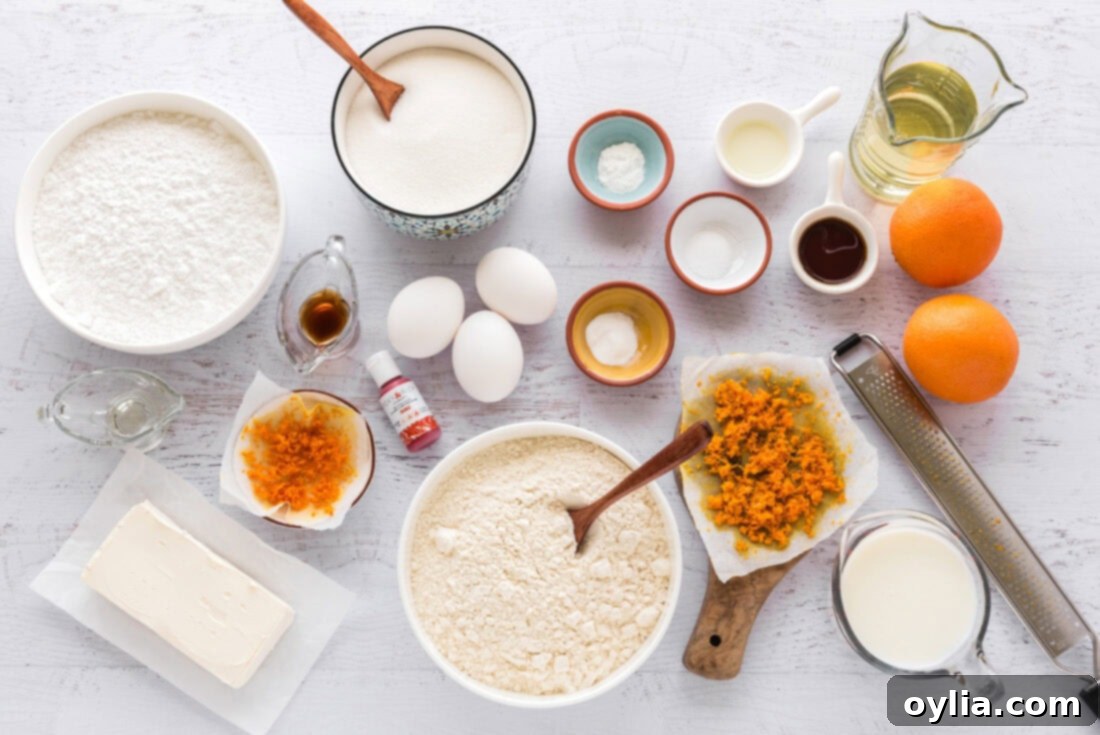
Before diving into the baking process, gather all your ingredients to ensure a smooth and enjoyable experience. You’ll find a detailed list of all measurements and specific instructions in the convenient printable recipe card located at the very end of this post. Having everything prepped and ready will make baking these delightful treats a breeze!
Ingredient Insights & Clever Substitutions
Let’s dive deeper into some key ingredients and how you can adapt them to your pantry or preferences:
VANILLA SUGAR – This recipe specifies vanilla sugar, which is essentially granulated sugar that has been lovingly infused with aromatic vanilla beans. Its subtle vanilla notes add an extra layer of flavor to your cupcakes. You might find it in the specialty baking aisle of larger grocery stores, but if it’s elusive, you can easily purchase vanilla sugar online. No vanilla sugar on hand? No problem! You can substitute it at a straightforward 1:1 ratio with regular granulated sugar. Alternatively, you can make your own by burying a few spent vanilla bean pods in a jar of granulated sugar for a few weeks, allowing the sugar to absorb the vanilla essence.
ORANGE ZEST – Fresh orange zest is paramount for achieving that bright, authentic orange flavor without adding excess liquid. Always opt for fresh zest from organic oranges if possible, and make sure to only grate the colored part of the peel, avoiding the bitter white pith underneath.
BUTTERMILK – Buttermilk is a secret weapon in baking, known for contributing incredible tenderness and a subtle tang to baked goods. If you don’t have buttermilk, you can easily make a homemade substitute: add one tablespoon of lemon juice or white vinegar to a liquid measuring cup, then fill the rest of the cup with regular milk (dairy or non-dairy) until it reaches the 1-cup mark. Let it sit for 5-10 minutes until it slightly curdles, then use as directed.
FROSTING COLOR (OPTIONAL) – To give your frosting that delightful, signature creamsicle hue, we recommend using orange paste food coloring. Paste or gel food coloring is highly concentrated, so a tiny amount goes a long way. Simply dip a toothpick into the coloring, and the small amount that adheres is typically all you’ll need to achieve a lovely pastel orange. Gradually add more if you desire a deeper shade. Keep in mind that this step is purely for aesthetic appeal; if you prefer a natural, off-white frosting, you can omit the food coloring entirely without affecting the taste.
Step-by-Step: Crafting Your Own Orange Creamsicle Cupcakes
These step-by-step photos and detailed instructions are designed to help you visualize each part of the process, ensuring your baking journey is a success. For a convenient printable version of this recipe, complete with precise measurements and instructions, you can Jump to Recipe at the bottom of the page.
- Prepare Your Baking Station: Start by preheating your oven to 350°F (175°C). Line two standard 12-cavity cupcake pans with paper liners. This recipe yields 24 cupcakes, so two pans are essential.
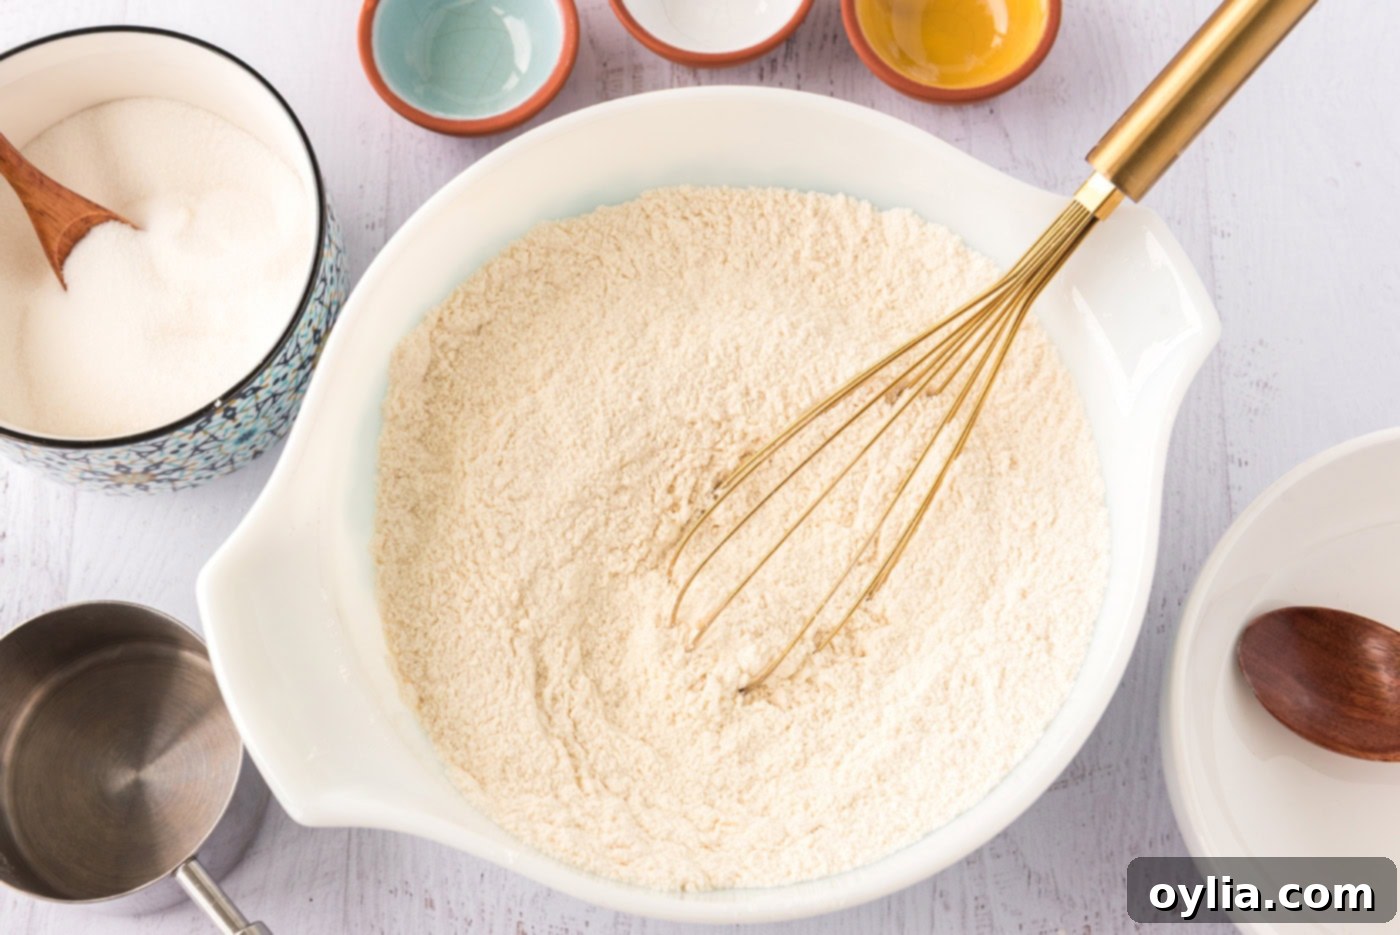
- Whisk Dry Ingredients: In a medium-sized bowl, combine the all-purpose flour, 1 cup of granulated sugar, baking powder, baking soda, and salt. Whisk them together thoroughly until all ingredients are well blended and there are no lumps. This step ensures even distribution of leavening agents, resulting in beautifully risen cupcakes.

- Combine Wet Ingredients (Part 1): In a separate large bowl, preferably the bowl of your electric mixer, beat the eggs, grated orange zest (which adds incredible natural aroma), vanilla extract, and orange extract until they are well combined. The extracts and zest are key to the vibrant flavor profile of these cupcakes.
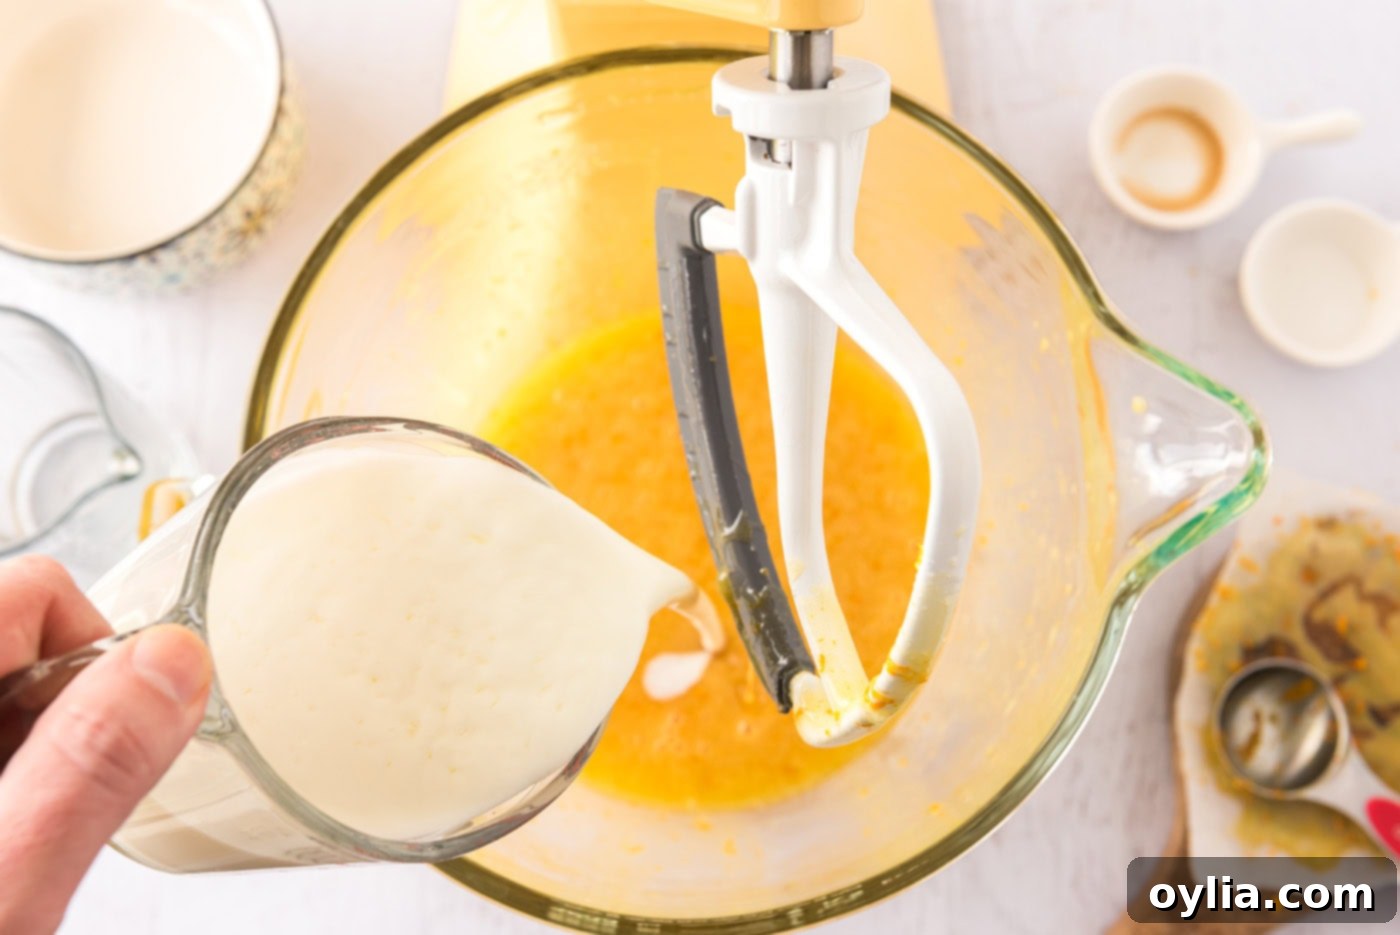
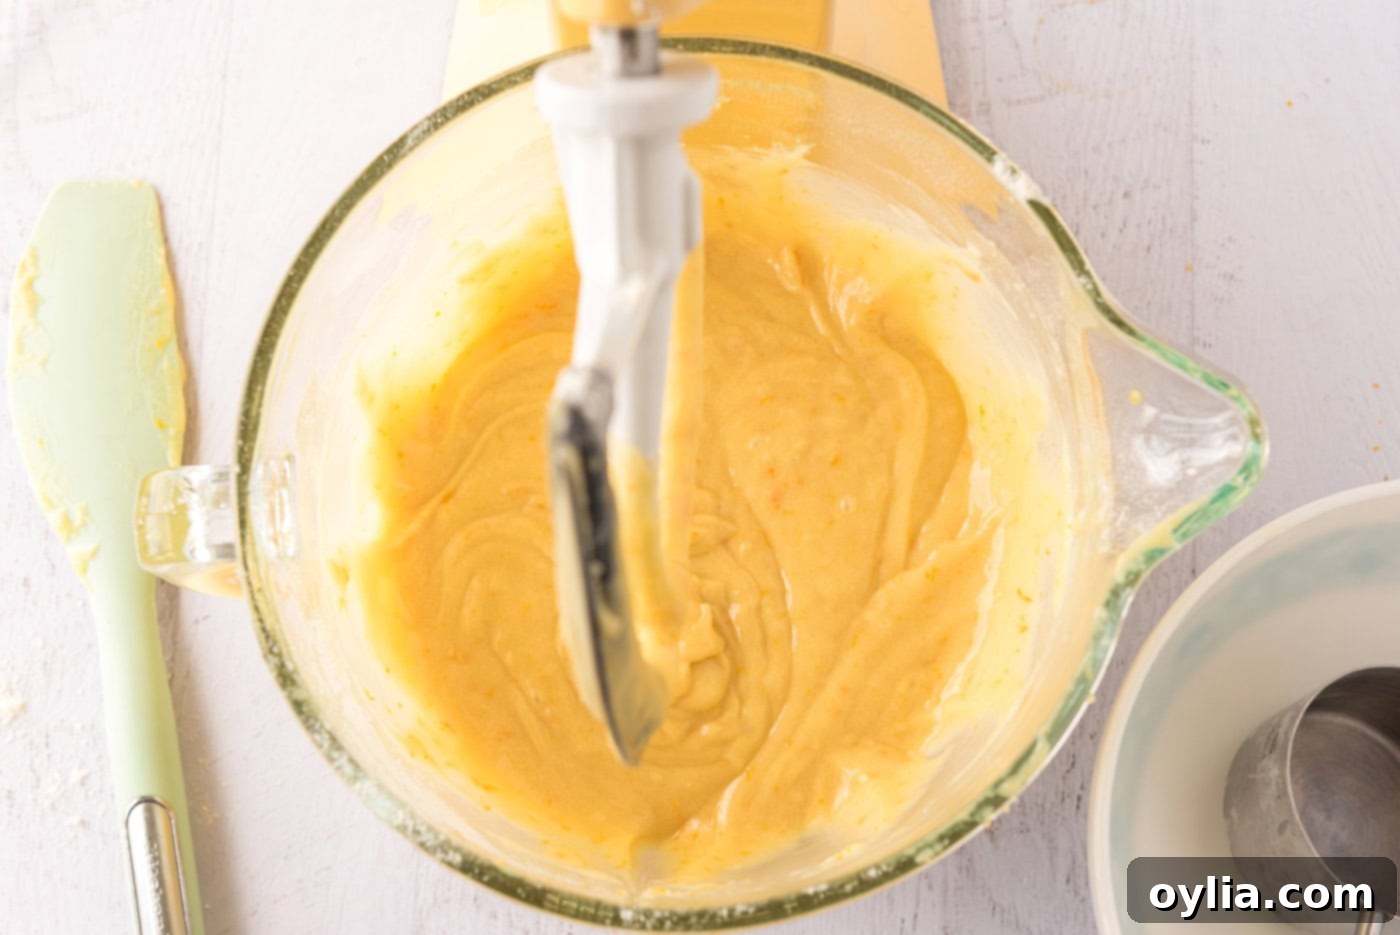
- Incorporate Sugars and Liquids: Gradually beat in the vanilla sugar until it’s fully incorporated. Next, slowly add the vegetable oil, followed by the buttermilk. Continue beating until the mixture is smooth and evenly blended. Buttermilk contributes to the tender crumb and slight tang of the cupcakes.

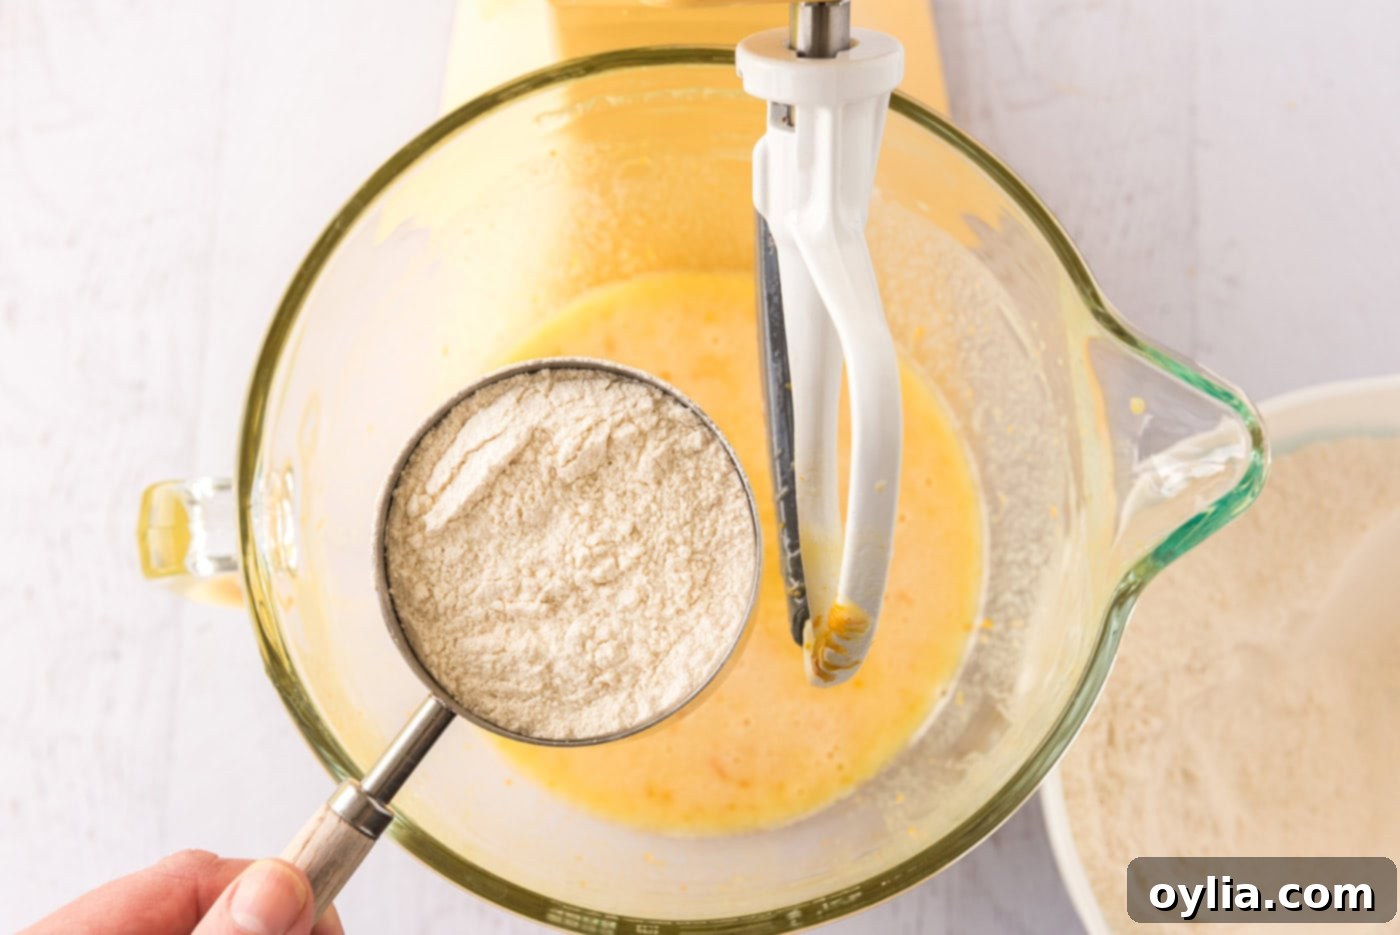
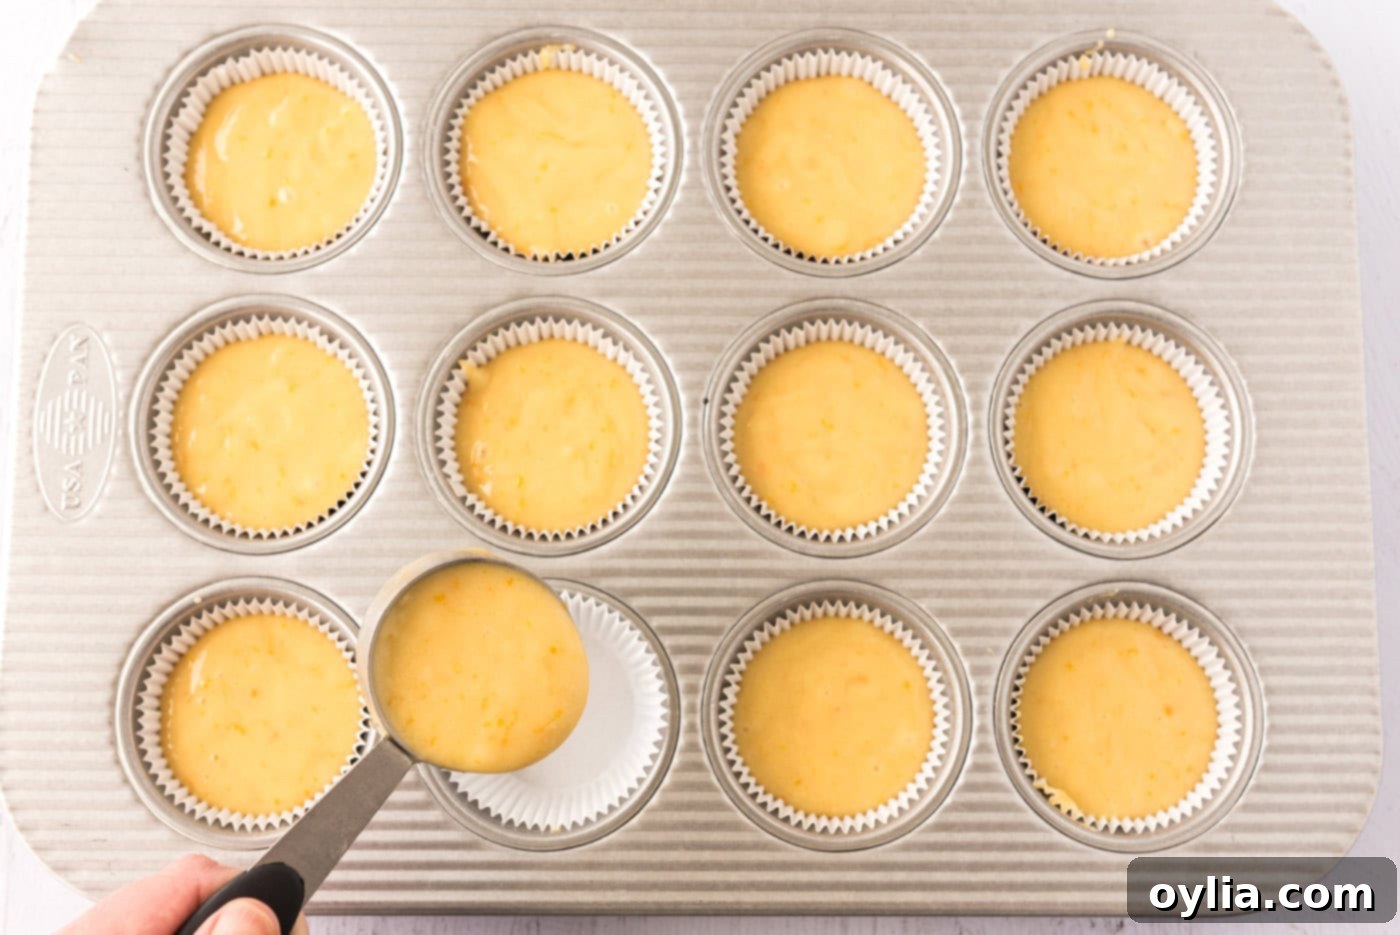
- Combine Wet and Dry Mixtures: With the mixer on low speed, gradually add the whisked flour mixture to the wet ingredients. Beat just until the ingredients are blended. Be careful not to overmix, as this can lead to tough cupcakes. Once combined, spoon approximately 1/4 cup of batter into each prepared muffin cup, filling them about two-thirds full.


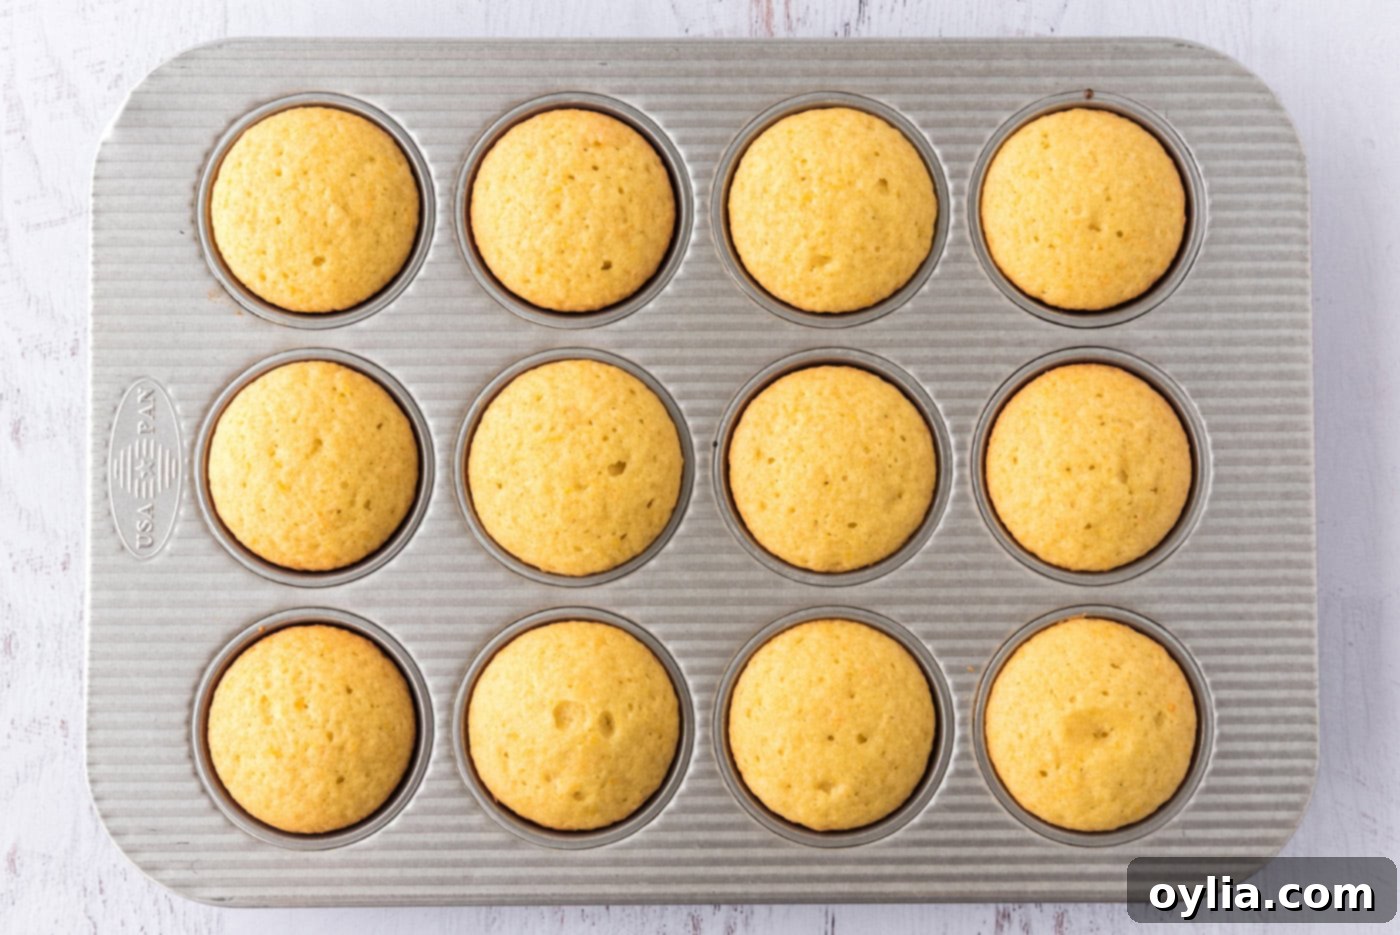
- Bake to Golden Perfection: Bake the cupcakes for 25 to 28 minutes, or until a wooden toothpick inserted into the center of a cupcake comes out clean. This indicates they are fully baked through. Avoid opening the oven door too early, as this can cause cupcakes to sink.

- Cool Completely: Carefully remove the baked cupcakes from the pans and transfer them to a wire rack. It is crucial to let them cool completely before frosting. Attempting to frost warm cupcakes will result in melted, messy frosting.
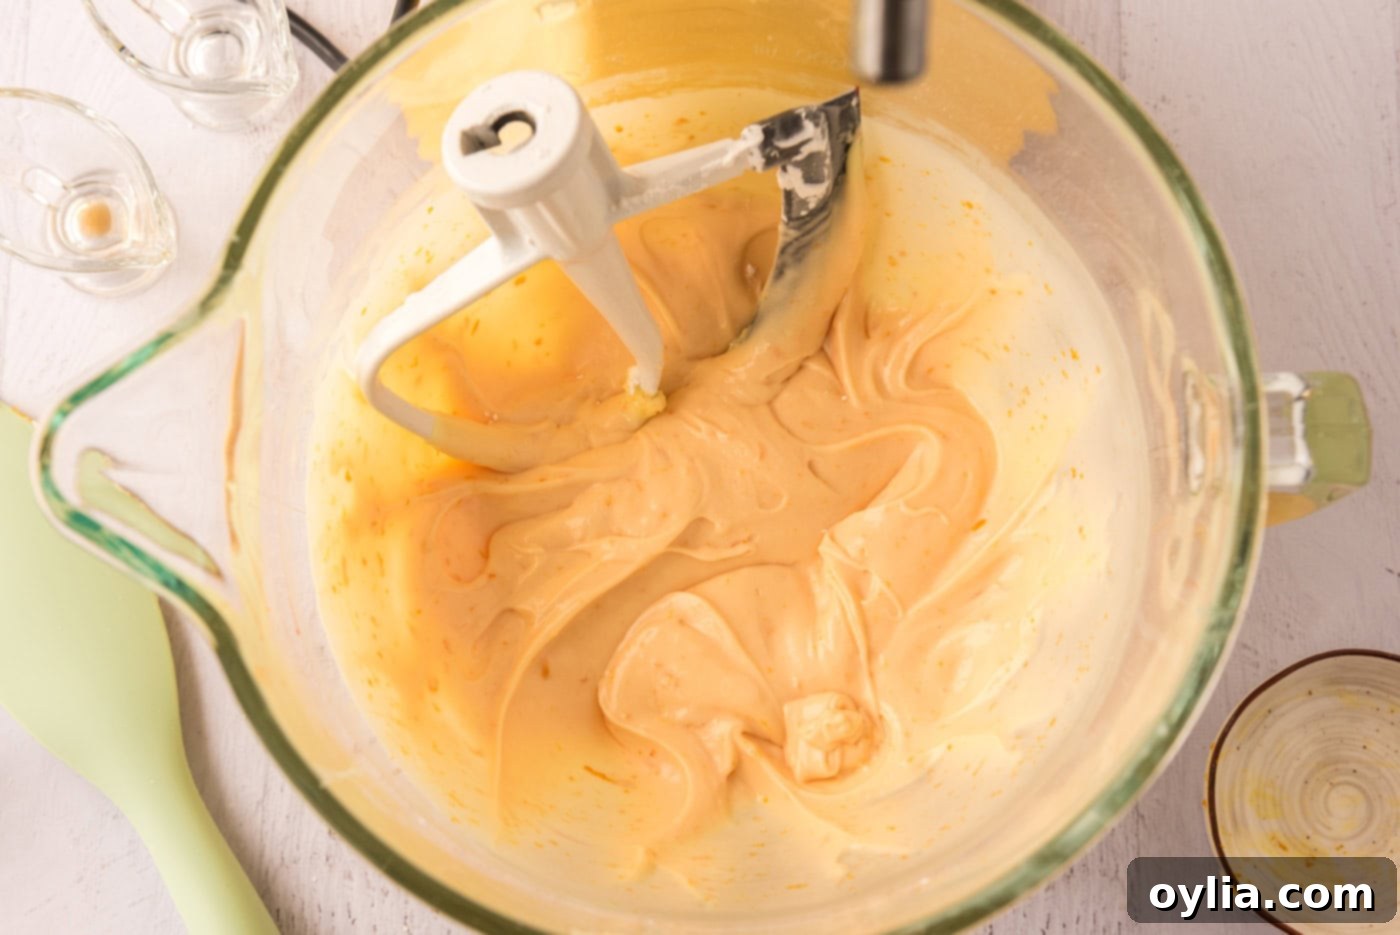
- Prepare the Creamsicle Frosting Base: While the cupcakes cool, begin preparing your dreamy creamsicle frosting. In a medium bowl, use a mixer on low speed to beat together the softened cream cheese, vanilla extract, orange extract, and orange zest until smoothly blended. Ensure your cream cheese is at room temperature for the creamiest, lump-free frosting.
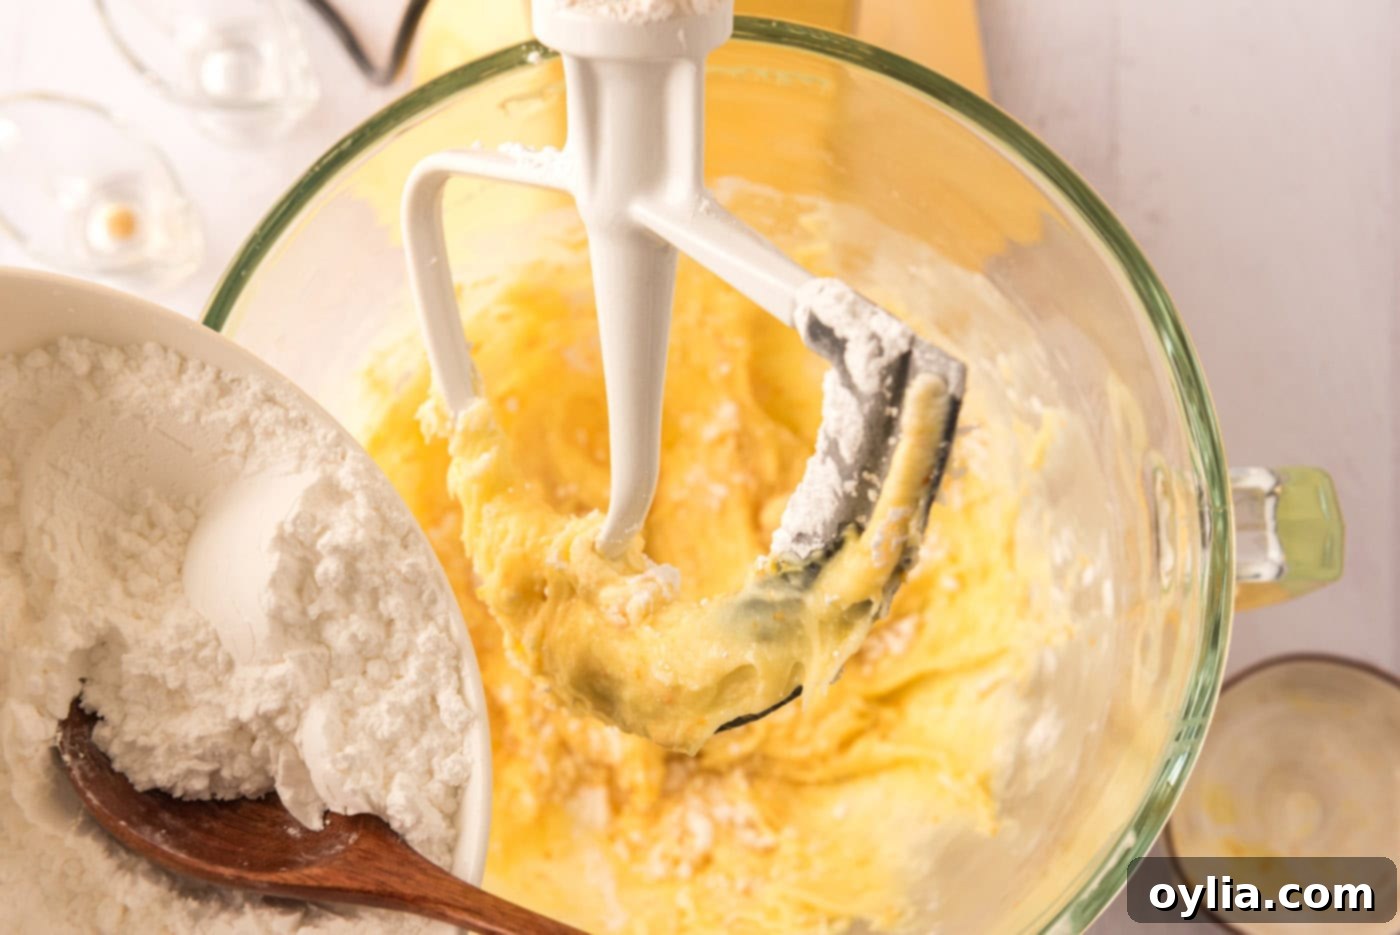
- Add Confectioners’ Sugar: Gradually add the confectioners’ sugar (also known as powdered sugar) to the cream cheese mixture, a little at a time. Beat on low speed until the sugar is fully incorporated, then increase the speed and beat until the frosting is light, airy, and wonderfully fluffy.

- Achieve the Perfect Creamsicle Color: If desired, beat in a tiny amount of orange paste food coloring until the frosting reaches a lovely light orange hue, reminiscent of classic creamsicle treats.
PRO TIP – For frosting that holds its shape beautifully for piping, you might need to adjust its thickness. If your frosting seems too soft, gradually add a small amount more of confectioners’ sugar, beating until your desired firm, yet spreadable, consistency is achieved. Add sugar sparingly to avoid making it too thick or stiff.

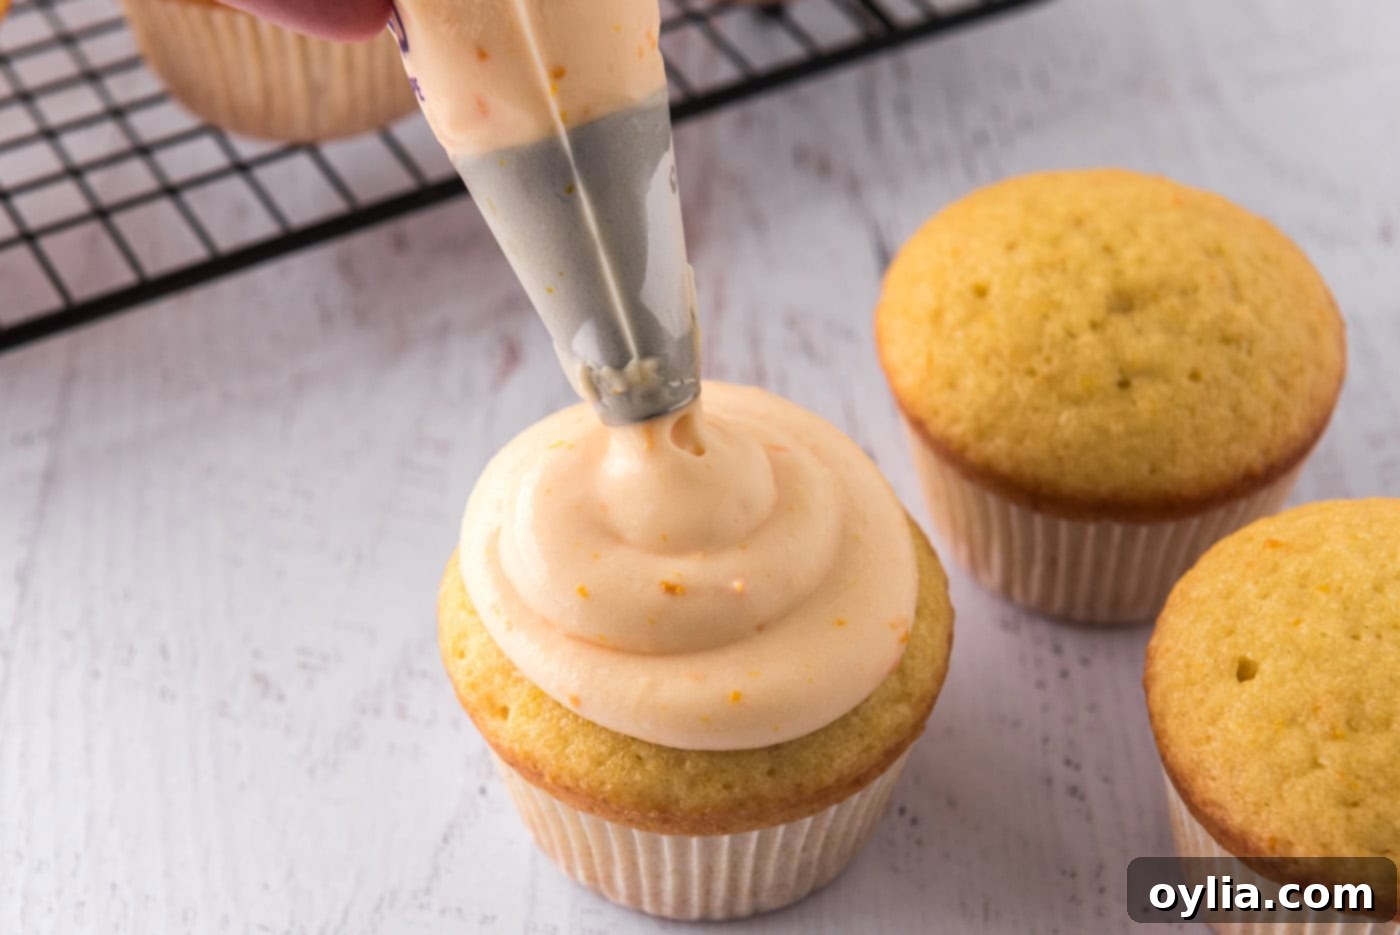
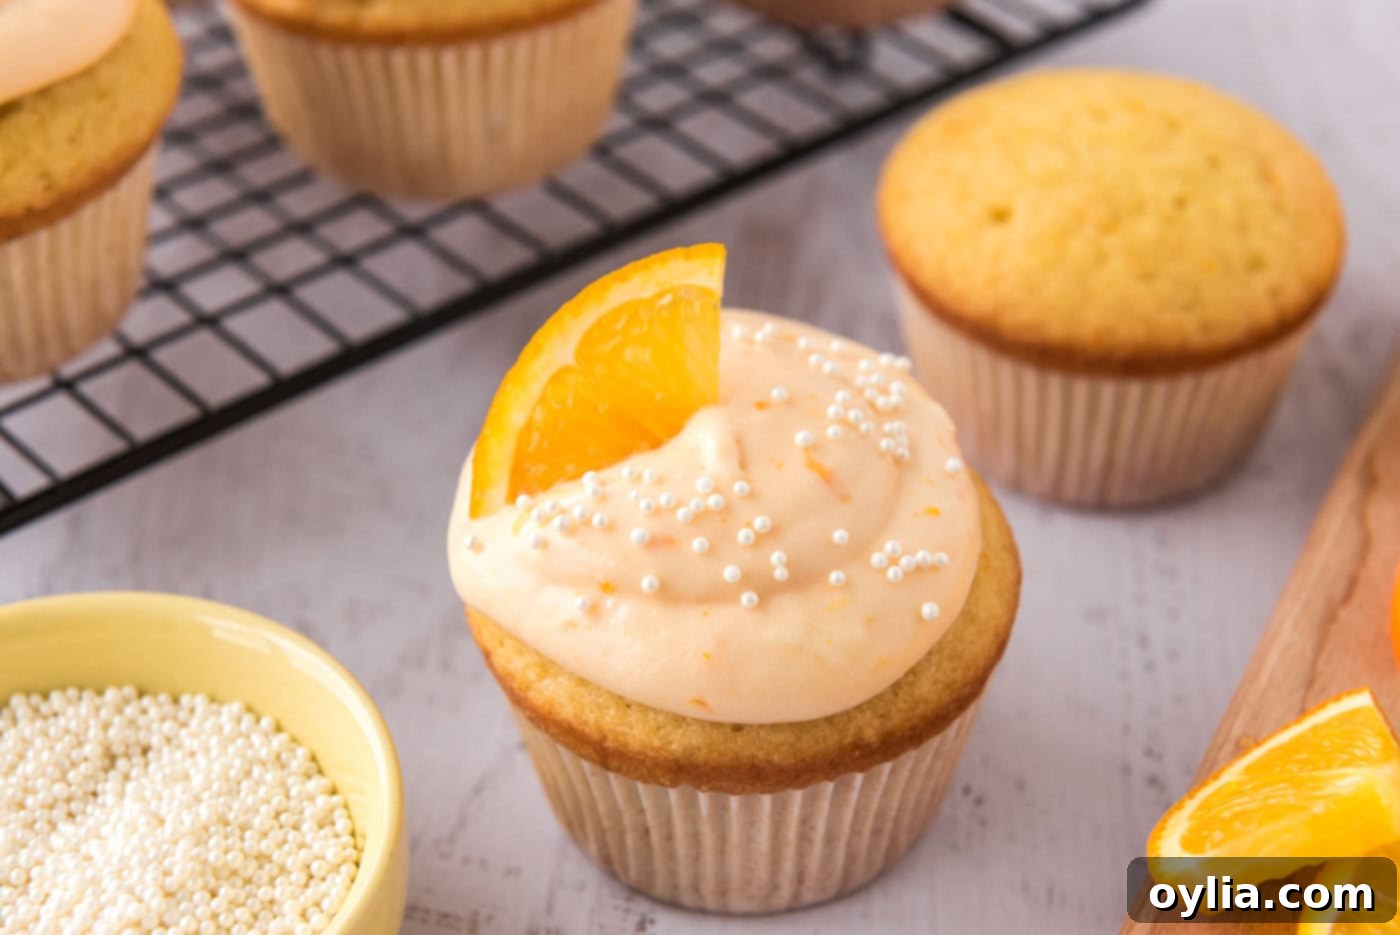
- Frost and Garnish: Once the cupcakes are completely cool and the frosting is at your desired consistency (you may need to refrigerate it briefly if it’s too soft to spread or pipe), it’s time to decorate! You can either spread the frosting on with an offset spatula for a rustic look or pipe it using a pastry bag and tip for a more elegant finish, whichever you prefer. For an extra touch of charm, optionally garnish each cupcake with a small orange wedge and a sprinkle of festive sprinkles.


Frequently Asked Questions & Expert Baking Tips
If you find your creamsicle frosting too soft for intricate piping or prefer a firmer consistency, you can easily thicken it. Simply add more confectioners’ sugar, a tablespoon at a time, beating well after each addition until you achieve your desired thickness. Be cautious not to add too much at once, as this can make the frosting overly stiff or crumbly. A good rule of thumb is to add a small amount, beat, check the consistency, and repeat if necessary.
Absolutely! These cupcakes are excellent for make-ahead preparation. You can bake the cupcake bases up to a day in advance. Once cooled completely, store them in an airtight container at room temperature. The frosting can also be prepared ahead of time and stored separately in an airtight container in the refrigerator for up to 3 days. Before frosting the cupcakes, allow the chilled frosting to come to room temperature, then give it a quick whip with your electric mixer to restore its creamy, fluffy texture.
Yes, you can freeze these cupcakes to enjoy later! For best results, bake and allow the cupcakes to cool completely. Then, transfer them to an airtight container or a heavy-duty freezer-safe ziplock bag. They can be frozen for up to 3 months. When ready to serve, thaw them completely at room temperature before adding the fresh frosting. You can also freeze the frosting separately in an airtight container. However, be aware that frostings made with cream cheese can sometimes develop a slightly grainy texture after thawing, so keep that in mind when planning.
Due to the cream cheese in the frosting, it’s essential to store any leftover orange creamsicle cupcakes in the refrigerator. Place them in an airtight container to prevent them from drying out. When stored properly in the fridge, they will maintain their delicious flavor and texture for 3-4 days. For optimal taste, let them sit at room temperature for about 15-20 minutes before serving to soften the frosting slightly.
Absolutely! Adding a filling is a fantastic way to elevate any cupcake, and these orange creamsicle treats are no exception. Many of our readers have enjoyed success by adding a little extra surprise inside. To do this, simply use a cupcake corer or a small knife to carefully remove a small amount of cake from the center of each cooled cupcake. You can then fill this cavity with an orange curd for an intensified citrus kick, a vanilla bean cream for an even richer creamsicle experience, or any other filling of your choice. Just be sure not to overfill, and replace the top piece of cake before frosting!
For the best flavor, we recommend using fresh navel oranges or Valencia oranges. These varieties are known for their bright, sweet zest and vibrant color. Always wash your oranges thoroughly before zesting, and use a microplane zester to get fine, aromatic zest, avoiding the bitter white pith.
While orange juice provides natural flavor, it also adds liquid, which can alter the texture of the cupcake batter or frosting. Orange extract is highly concentrated and delivers a potent orange flavor without adding significant moisture. For consistency and the intended flavor profile, we recommend sticking with orange extract as specified in the recipe. If you absolutely must use juice, replace a small amount of the buttermilk with fresh orange juice in the cupcake batter (about 1-2 tablespoons) and omit the extract, but proceed with caution.
Serving Suggestions: Elevate Your Creamsicle Experience
While these orange creamsicle cupcakes undeniably evoke images of vibrant summer potlucks, sun-drenched barbecues, and lazy poolside afternoons, their irresistible flavor makes them a welcome treat any time of year! Their bright, refreshing taste is a mood-lifter, no matter the season.
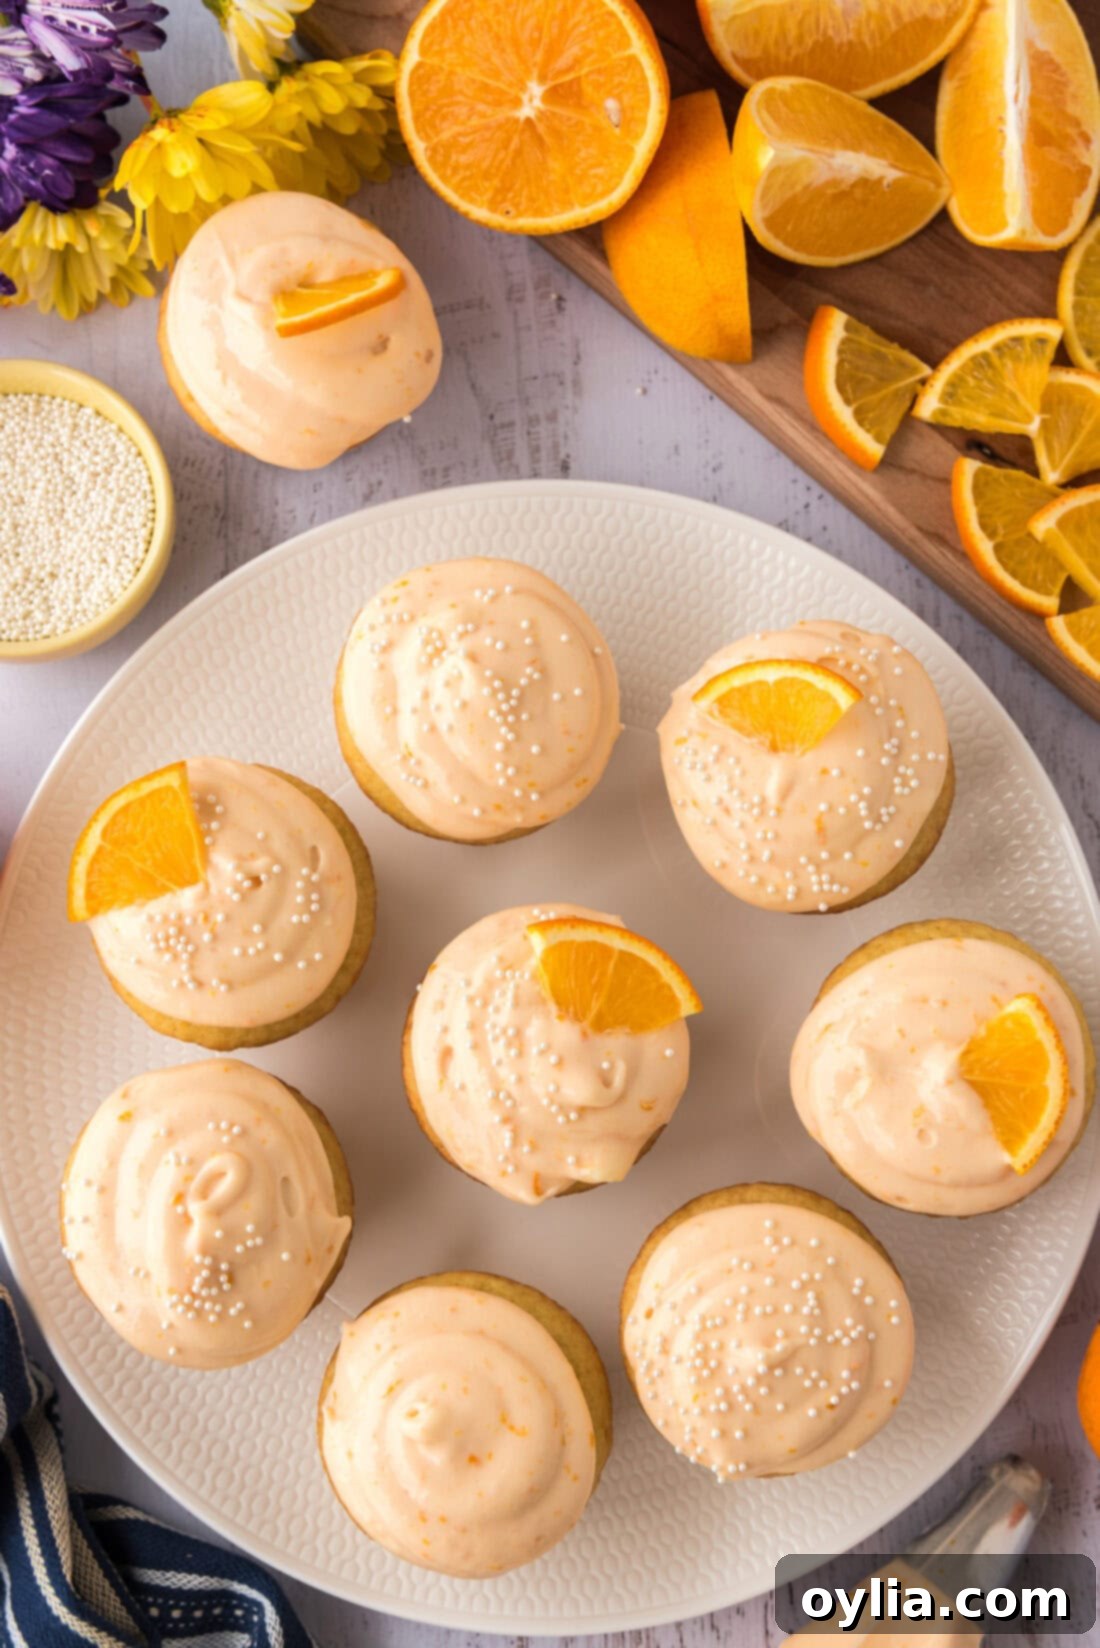
For an extra touch of visual appeal and flavor, serve them elegantly garnished with a fresh orange wedge – a thin slice or a small zest curl will do. A sprinkle of colorful nonpareil sprinkles can add a playful, festive touch that perfectly complements their vibrant nature. Alternatively, for those who appreciate simplicity, these cupcakes are equally delightful enjoyed as is, allowing the fluffy, dreamy creamsicle frosting to be the star in all its glory. They pair wonderfully with a cold glass of milk, a scoop of vanilla bean ice cream, or even a chilled glass of sparkling water infused with orange slices.
Explore More Zesty Orange Dessert Recipes
If you’ve fallen in love with the bright, citrusy flavors of these orange creamsicle cupcakes, you’re in luck! We have an array of other fantastic orange-infused dessert recipes that are sure to tantalize your taste buds and bring a burst of sunshine to your kitchen.
- Orange Icebox Cake: A no-bake wonder, layers of orange cream and graham crackers make for a perfectly chilled and refreshing treat.
- Orange Crinkle Cookies: Soft, chewy cookies bursting with orange flavor and a fun crinkled, powdered sugar coating.
- Mandarin Orange Jello Salad: A retro classic that’s light, fluffy, and packed with sweet mandarin oranges – great for potlucks!
- Whipped Jello Mandarin Orange Mousse: An airy, light, and wonderfully fruity mousse that’s surprisingly easy to make.
I adore creating delicious recipes and sharing my culinary adventures with all of you! To make sure you never miss a new dish, I offer a convenient newsletter delivered straight to your inbox every time a fresh recipe is posted. Simply subscribe today and start receiving your daily dose of free, inspiring recipes!
Orange Creamsicle Cupcakes
IMPORTANT – There are often Frequently Asked Questions within the blog post that you may find helpful. Simply scroll back up to read them!
Print It
Pin It
Rate It
Save ItSaved!
Dessert
American
261
Ingredients
Orange Cupcakes
- 2 ½ cups
all-purpose flour 415g - 1 cup
granulated sugar 218g - ½ teaspoon
baking powder - ½ teaspoon
baking soda - ½ teaspoon
salt - 3 large
eggs - 2 Tablespoons grated
orange zest - 2 teaspoons
vanilla extract - 1 teaspoon
orange extract - 1 cup
vanilla sugar see notes below. 218g - ¾ cup
vegetable oil 162g - 1 cup
buttermilk 244g
Orange Creamsicle Frosting
- 8 ounces
brick style cream cheese softened at room temperature.
226g - 1 teaspoon
vanilla extract - ½ teaspoon
orange extract - 2 teaspoons
grated orange zest - 2 cups
confectioners’ sugar aka powdered sugar. 252g - Orange paste food color optional
Things You’ll Need
-
2 Cupcake pan
-
cupcake liners
-
Whisk
-
Electric mixer
-
Wire cooling racks
Before You Begin
- This recipe calls for vanilla sugar, which is simply granulated sugar infused with vanilla beans. You can typically find it in the baking aisle, but if not, you can also purchase vanilla sugar online. If needed, you can substitute the vanilla sugar at a 1:1 ratio with regular granulated sugar. For an extra touch of vanilla, you could also add ½ teaspoon of vanilla bean paste or extract when using regular granulated sugar.
- To achieve that lovely creamsicle color in your frosting, you’ll need to use orange paste food coloring. Paste or gel food coloring is highly concentrated, so a tiny amount goes a long way. Simply stick a toothpick into the food coloring, and the small amount that comes out is usually all you will need! Gradually add more if you desire a deeper shade. You can omit the food paste coloring altogether if desired; it’s entirely just for aesthetics and will not impact the delicious flavor.
Instructions
To Make the Creamsicle Cupcakes
-
Heat oven to 350 F (175 C). Line two 12-cavity cupcake pans with paper liners.
-
In a medium bowl, whisk together the all-purpose flour, granulated sugar, baking powder, baking soda, and salt until completely blended. This ensures all dry ingredients are evenly distributed.2 1/2 cups all-purpose flour, 1 cup granulated sugar, 1/2 teaspoon baking powder, 1/2 teaspoon baking soda, 1/2 teaspoon salt
-
In a large bowl, using an electric mixer, beat the eggs, fresh orange zest, vanilla extract, and orange extract until the mixture is smooth and well-blended.3 large eggs, 2 Tablespoons grated orange zest, 2 teaspoons vanilla extract, 1 teaspoon orange extract
-
Beat in the vanilla sugar until fully incorporated. Then, gradually add the vegetable oil, followed by the buttermilk, continuing to beat until all liquids are blended into a smooth mixture.1 cup vanilla sugar, 3/4 cup vegetable oil, 1 cup buttermilk
-
With the mixer on low speed, gently beat in the flour mixture just until blended. Avoid overmixing to keep the cupcakes tender. Spoon about 1/4 cup of batter into each muffin cup, filling them approximately two-thirds full.
-
Bake for 25 to 28 minutes, or until a wooden toothpick inserted into the center of a cupcake comes out clean, indicating they are fully baked.
-
Remove the cupcakes from the pan and transfer them to a wire rack to cool completely before proceeding to frosting.
To Make the Creamsicle Frosting
-
In a medium bowl, beat the softened brick-style cream cheese, vanilla extract, orange extract, and grated orange zest with a mixer on low speed until smooth and well blended. Ensure your cream cheese is at room temperature for the best results.8 ounces brick style cream cheese, 1 teaspoon vanilla extract, 1/2 teaspoon orange extract, 2 teaspoons grated orange zest
-
Gradually add the confectioners’ sugar, a little at a time, to the cream cheese mixture. Beat until the frosting becomes light, creamy, and fluffy.2 cups confectioners’ sugar
-
If using, beat in a small amount of orange paste food coloring until a beautiful light orange color is achieved. Refrigerate the frosting until it is firm enough to easily spread or pipe onto the cooled cupcakes.Orange paste food color
-
TIP: If your frosting is too soft for piping, you can make it thicker by gradually adding a small amount more of confectioners’ sugar (1 tablespoon at a time), beating until the desired consistency is reached.
Expert Tips & FAQs
- Because the frosting contains cream cheese, I would highly recommend storing these delicious cupcakes in the refrigerator. Placed in an airtight container, they will remain fresh and delightful for 3-4 days.
- Freezing Instructions: To freeze, first bake the cupcakes and allow them to cool completely. Then, transfer them to an airtight container or a robust ziplock freezer bag. They can be safely frozen for up to 3 months. When you’re ready to enjoy them, simply allow the frozen cupcakes to thaw at room temperature before adorning them with frosting. It’s also possible to freeze the frosting separately in an airtight container; however, be aware that frostings made with cream cheese can sometimes develop a slightly grainy texture after thawing, so please keep this in mind.
Nutrition
4g | Monounsaturated Fat:
3g | Trans Fat: 0.05g | Cholesterol: 34mg | Sodium: 121mg | Potassium: 60mg | Fiber: 0.4g | Sugar: 27g | Vitamin A: 180IU | Vitamin C: 1mg | Calcium: 31mg | Iron: 1mg
Pinterest @AmandasCookin or tag #AmandasCookin!
The recipes on this blog are tested with a conventional gas oven and gas stovetop. It’s important to note that some ovens, especially as they age, can cook and bake inconsistently. Using an inexpensive oven thermometer can assure you that your oven is truly heating to the proper temperature. If you use a toaster oven or countertop oven, please keep in mind that they may not distribute heat the same as a conventional full sized oven and you may need to adjust your cooking/baking times. In the case of recipes made with a pressure cooker, air fryer, slow cooker, or other appliance, a link to the appliances we use is listed within each respective recipe. For baking recipes where measurements are given by weight, please note that results may not be the same if cups are used instead, and we can’t guarantee success with that method.
This recipe originally appeared here on Jan 6, 2011 and has since been updated with new photos and expert tips.
