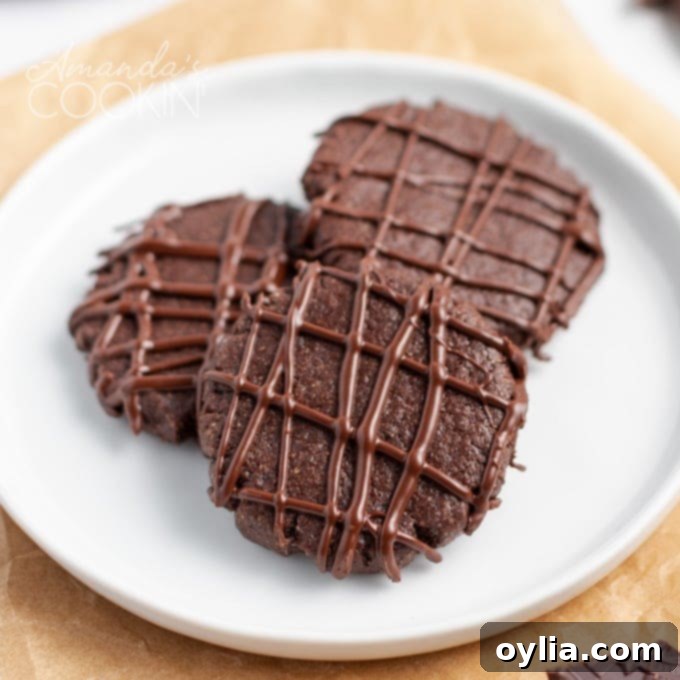
Irresistibly Delicious & Easy Chocolate Mint Cookies Recipe
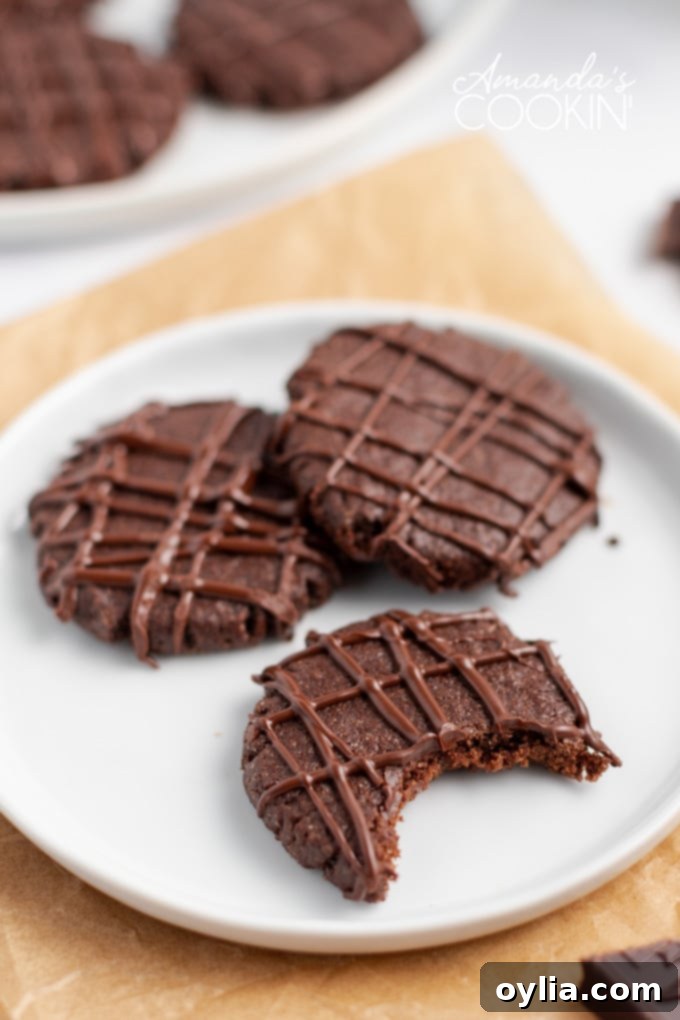
Prepare to fall in love with these heavenly chocolate mint cookies! Perfectly soft, wonderfully chewy, and bursting with the classic combination of rich chocolate and refreshing peppermint, these cookies are a true delight. Adorned with elegant chocolate drizzles, they don’t just taste amazing; they look incredibly festive too. Whether you’re planning for a Christmas cookie exchange, celebrating St. Patrick’s Day, or simply craving a comforting treat, this easy-to-follow recipe will quickly become a favorite in your kitchen. They pair beautifully with other homemade goodies like chocolate peanut butter cookies or delightful mint cheesecake brownies for any holiday gathering.
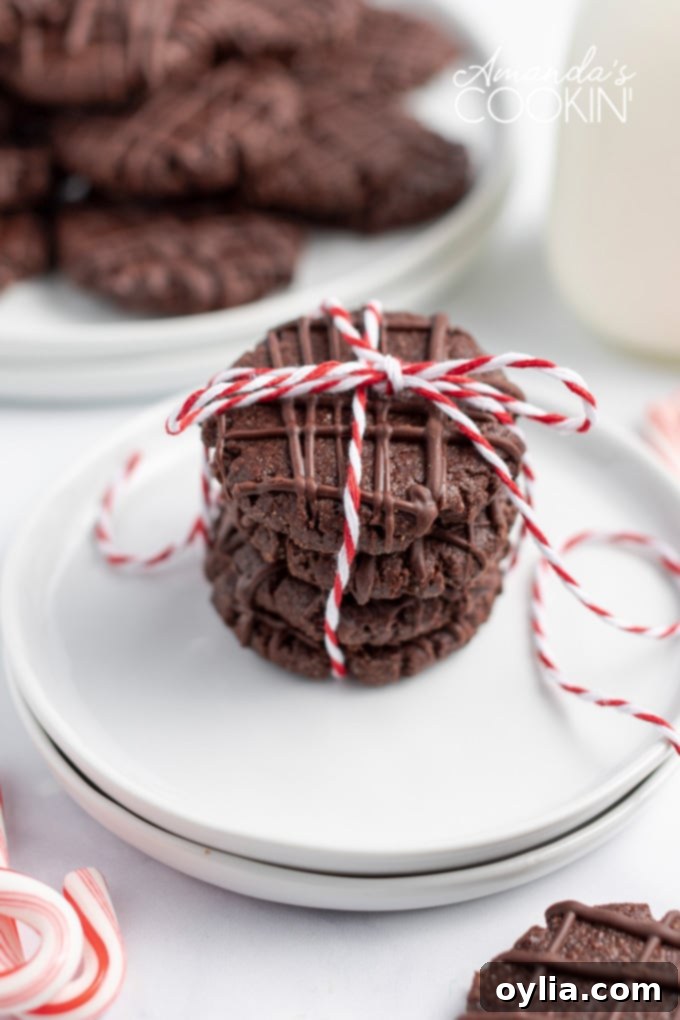
The Perfect Chocolate Mint Cookies: Soft, Chewy, and Full of Flavor
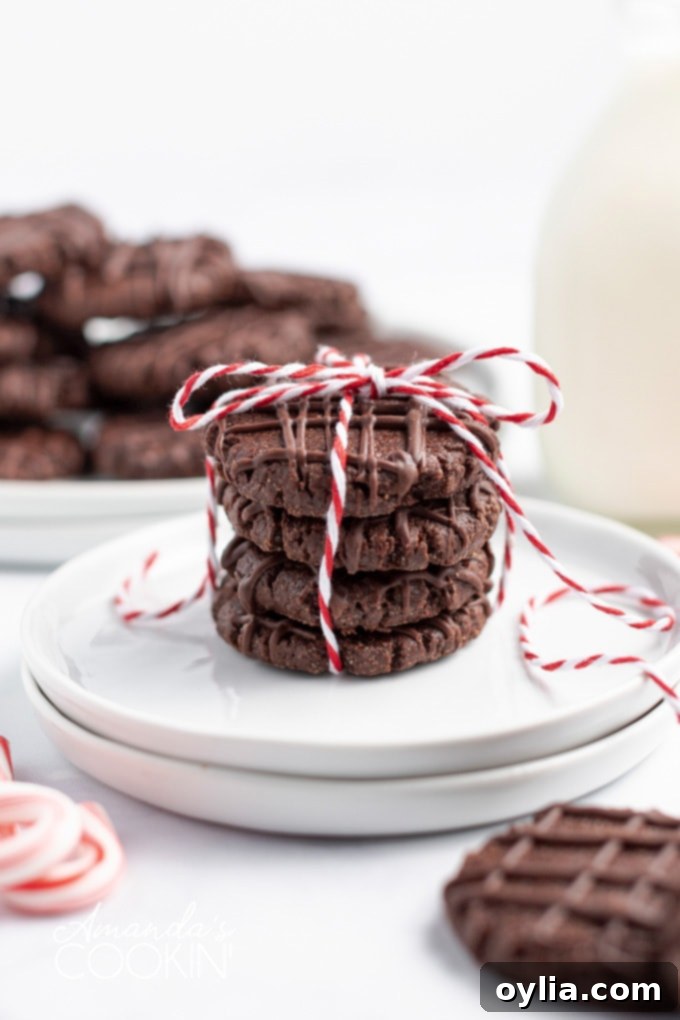
The marriage of chocolate and mint is a match made in dessert heaven, and these cookies perfectly capture that iconic flavor profile. Each bite delivers a rich, cocoa-infused base with a refreshing zing of peppermint. Once the elegant chocolate drizzle has set, these cookies can be neatly stacked and tied with baker’s twine, making them an ideal homemade gift. Their vibrant flavor also makes them a fantastic choice for festive occasions like St. Patrick’s Day, bringing a touch of green-inspired deliciousness to your celebration.
12 DAYS OF CHRISTMAS COOKIES
12 Christmas cookies you will love, PLUS bonus baking tips and TWO extra recipes you will not find on this blog! See ALL my cookbooks here!
Get the Christmas cookies cookbook! ONLY $9.97!!
Essential Baking Tips for Perfect Chocolate Mint Cookies
Achieving the perfect soft, chewy chocolate mint cookie requires attention to a few key details. Here are some of my top baking tips to ensure your cookies turn out beautifully every time:
- Softened Butter is Key: Remember that “softened butter” means it’s pliable but not melted. If it’s too warm, your dough will be oily and your cookies might spread excessively. For optimal results, take your butter out of the refrigerator at least 20-30 minutes before you begin the recipe, allowing it to reach a cool room temperature.
- Room Temperature Eggs: Just like butter, room temperature eggs emulsify better with other ingredients, creating a smoother, more uniform batter. Take your eggs out at the same time as the butter for convenience.
- Don’t Overmix the Dough: Once you add the dry ingredients to the wet ingredients, mix only until just combined. Overmixing develops the gluten in the flour, which can lead to tough, dense cookies instead of soft, tender ones.
- Quality Chocolate for Drizzles: The chocolate drizzle isn’t just for looks; it adds another layer of rich chocolate flavor. I highly recommend using a higher quality bittersweet chocolate, such as Ghirardelli, for the drizzles. Higher quality chocolates melt more smoothly and consistently, resulting in a beautiful, glossy finish without seizing or becoming lumpy.
- Even Baking: Insulated baking sheets help prevent the bottoms of your cookies from burning before the centers are cooked. Using parchment paper or silicone baking mats also ensures even baking and easy release without sticking.
- Cool Completely Before Drizzling: Ensure your cookies are completely cool before applying the chocolate drizzle. If the cookies are still warm, the chocolate will melt and run off, creating a messy rather than a decorative effect.
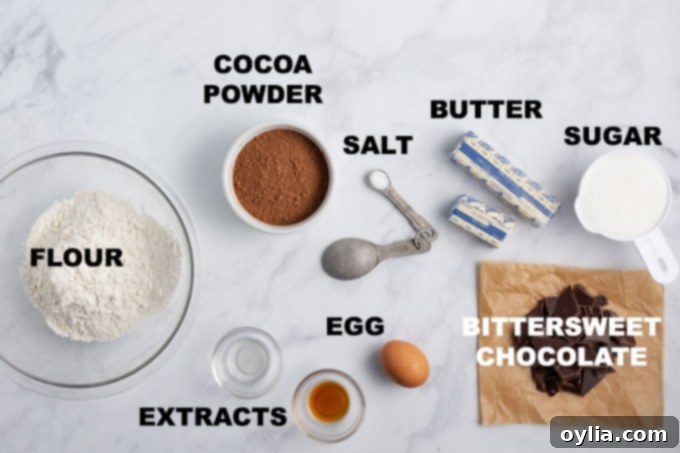
Ingredients You’ll Need for Your Homemade Chocolate Mint Cookies
Gathering your ingredients ahead of time, known as “mise en place,” will make the baking process smooth and enjoyable. Here’s a detailed look at the simple ingredients that come together to create these incredible cookies:
- Dry ingredients:
- All-purpose flour: The structural base of our cookies, providing the perfect chewiness.
- Unsweetened cocoa powder: Gives these cookies their deep, rich chocolate flavor and beautiful dark color. Ensure it’s unsweetened for best control over the cookie’s sweetness.
- Salt: A crucial ingredient that balances the sweetness and enhances all the other flavors, especially the chocolate.
- Wet ingredients:
- Unsalted butter (softened): Provides richness and helps create that desirable soft texture. Using unsalted butter allows you to control the exact amount of salt in the recipe.
- Peppermint extract: The star of the mint flavor, giving a refreshing coolness to each cookie. Be sure to use extract, not oil, for consistent results.
- Vanilla extract: Enhances the overall flavor profile, complementing both the chocolate and mint.
- Granulated sugar: Sweetens the cookies and contributes to their tender crumb.
- Large egg: Acts as a binder, adding moisture and helping the cookies hold their shape.
- Garnish/Decoration:
- Bittersweet chocolate (chopped): Used for the elegant drizzle. Bittersweet chocolate provides a nice contrast to the sweetness of the cookie and melts beautifully for a smooth finish.
Helpful Baking Tools for Optimal Cookie Making
Having the right tools can make all the difference in your baking experience. These are the essential items I recommend for making these chocolate mint cookies with ease and precision:
- Cookie scoop: Essential for creating uniformly sized cookies, ensuring they bake evenly.
- Insulated baking sheets: These help prevent the bottoms of your cookies from browning too quickly, promoting an even bake and soft texture throughout.
- Silicone baking mats: A fantastic alternative to parchment paper, providing a non-stick surface and promoting even heat distribution. They are reusable and eco-friendly!
- Wire cooling rack: Crucial for allowing air to circulate around your cookies, cooling them evenly and preventing them from becoming soggy.
- Electric mixer (stand or hand-held): For creaming butter and sugar, and blending ingredients efficiently.
- Medium and large mixing bowls: For separating dry and wet ingredients and combining the dough.
- Whisk: For thoroughly combining your dry ingredients.
- Measuring cups and spoons: For accurate ingredient measurements.
How to Make These Irresistible Chocolate Mint Cookies: A Step-by-Step Guide
Follow these detailed steps to create your own batch of delightful chocolate mint cookies. Remember to have your butter and egg at room temperature for the best results!
First, begin by preheating your oven to 350 degrees F (175 degrees C). While the oven heats, prepare your baking sheets: line two insulated baking sheets with parchment paper or your trusty silicone baking mats. This prevents sticking and promotes even baking.
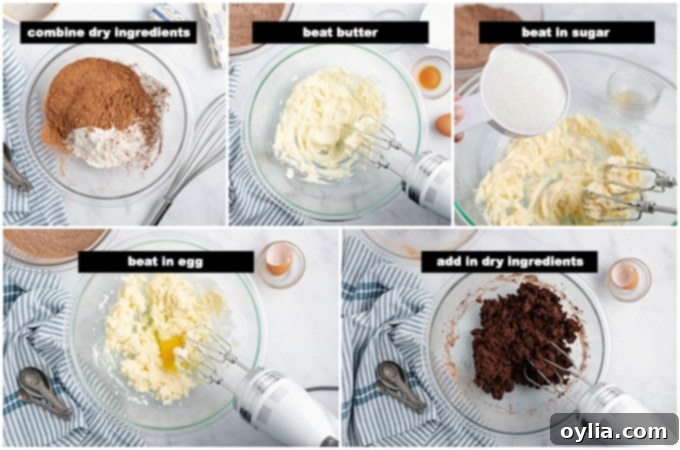
- In a medium-sized bowl, whisk together the all-purpose flour, unsweetened cocoa powder, and salt until they are thoroughly combined. Set this dry ingredient mixture aside for later.
- In a large mixing bowl, using an electric mixer, beat the softened unsalted butter until it’s smooth and creamy, about 1-2 minutes. This is called creaming the butter.
- Next, beat in the peppermint extract and vanilla extract, ensuring they are well incorporated into the butter.
- Gradually add the granulated sugar to the butter mixture, beating on medium speed until the mixture is light and fluffy, about 2-3 minutes. Scrape down the sides of the bowl as needed.
- Add the large egg to the creamed butter and sugar mixture, beating until it is just blended. Be careful not to overmix at this stage.
- Slowly add the prepared dry ingredients to the wet mixture. Beat on low speed just until everything is blended and no streaks of flour remain. Stop mixing as soon as the flour is incorporated to keep the cookies tender.
- Using a cookie scoop (approximately 1.5-2 tablespoons), scoop uniform balls of dough and place them on your prepared baking sheets, spacing them about 1 inch apart. These cookies don’t spread significantly, allowing you to fit a good number on each sheet.
- For a smoother, more even cookie, gently roll each dough ball between your palms to smooth its surface. Then, flatten each ball slightly using the bottom of a drinking glass that has been dipped in water to prevent sticking.

- Bake the cookies in the preheated oven for approximately 13 minutes, or until the tops and edges appear dry to the touch. Avoid overbaking to maintain their soft and chewy texture.
- Once baked, carefully transfer the baking sheets with the cookies to wire cooling racks. Allow them to cool completely before proceeding to the drizzling step.
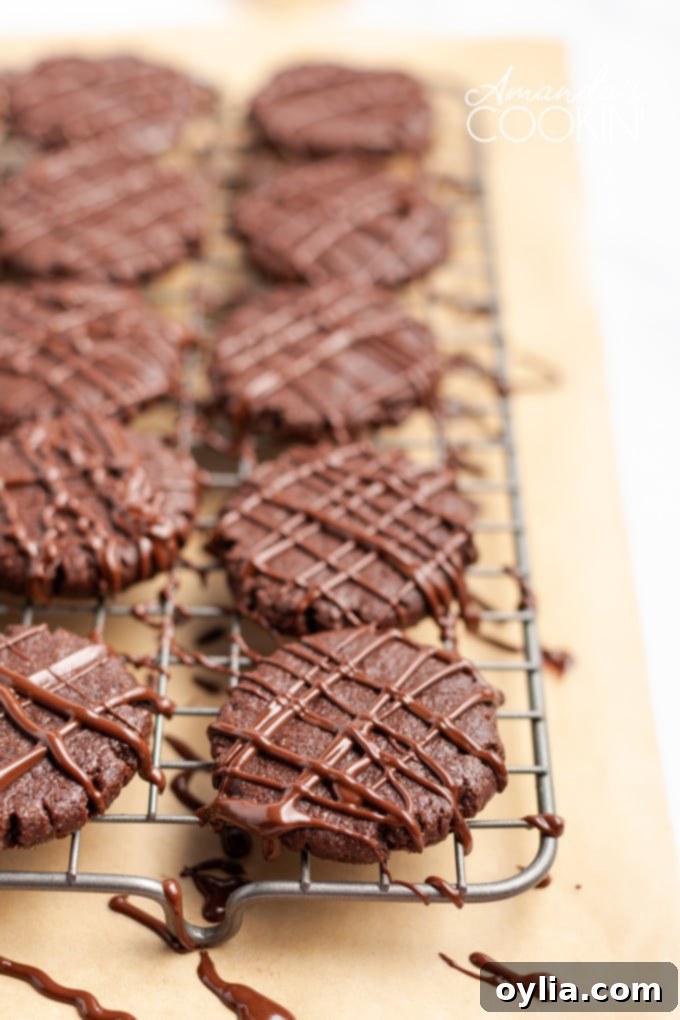
- For easy drizzling, scoot the cooled cookies close together on the cooling rack so they are almost touching. Place a piece of waxed paper or parchment paper underneath the cooling rack to catch any chocolate drips, making cleanup a breeze.
- To prepare your makeshift piping bag, line a jar or a tall drinking glass with a zipper sandwich bag. Melt your chopped bittersweet chocolate in the microwave in 30-second intervals, stirring well after each, until it’s smooth and fully melted.

- Pour the melted chocolate into the sandwich bag, then remove it from the jar. Squeeze out all the excess air and seal the bag. Snip a very small corner off the bag with scissors to create a fine opening for drizzling.
- Using your homemade piping bag, drizzle the melted chocolate back and forth over all the cookies in one direction. Then, repeat the drizzling motion in the opposite direction to create an attractive criss-cross or lattice effect.
- Allow the chocolate drizzle to harden completely. To speed up this process, you can carefully place the cookies in the refrigerator for about 10-15 minutes. Once hardened, your beautiful chocolate mint cookies are ready to enjoy!
Frequently Asked Questions About Chocolate Mint Cookies
Here are some common questions and helpful answers to ensure your chocolate mint cookies are a roaring success:
How do I store chocolate mint cookies?
Once the chocolate drizzle has completely set, store these cookies in an airtight container at room temperature for up to 3-4 days. For longer storage, you can freeze them for up to 2-3 months. Place parchment paper between layers of cookies in a freezer-safe container to prevent them from sticking together. Thaw at room temperature before serving.
Can I make these cookies ahead of time?
Absolutely! The cookie dough can be prepared and refrigerated for up to 3 days. Simply wrap it tightly in plastic wrap. When ready to bake, let it sit at room temperature for about 15-20 minutes to soften slightly, then scoop and bake as directed. You can also freeze the dough balls for up to 3 months. Bake from frozen, adding a couple of minutes to the baking time.
My cookies are spreading too much. What went wrong?
Several factors can cause cookies to spread:
- Butter was too soft or melted: Ensure your butter is softened, not warm or melted.
- Too much liquid: Double-check your measurements, especially for extracts.
- Oven temperature: An oven that’s not hot enough can cause cookies to spread before they set. Use an oven thermometer to verify accuracy.
- Not enough flour: Precision in measuring dry ingredients is important.
- Greased baking sheets: Unless specified, don’t grease your baking sheets (parchment paper/silicone mats are better).
Chilling the dough for 30 minutes before baking can often help reduce spreading.
Can I use a different type of chocolate for the drizzle?
Yes, you can! While bittersweet chocolate offers a nice balance, semi-sweet chocolate chips or even white chocolate (perhaps tinted green for St. Patrick’s Day!) would also work. Just be sure to use high-quality chocolate for the best melting and drizzling consistency.
Can I add chocolate chips to the dough?
For an extra chocolatey kick, feel free to fold in about ½ cup of mini chocolate chips (mint chocolate chips would be amazing!) into the dough just before scooping. This will add more texture and chocolate bursts throughout the cookie.
I genuinely hope you love these chocolate mint cookies as much as we do. Honestly, it’s a challenge to keep them in the house for long, so don’t even ask me how long they’ll last! They tend to disappear rather quickly. Enjoy every minty, chocolatey bite!
CHOCOLATE CHIP COOKIES COOKBOOK!
Chocolate Chip Cookies are a favorite in just about every household. But there’s more than one way to make these delicious hand-held treats. Get 20 different recipes! See ALL my cookbooks here!
20 yummy chocolate chip cookie recipes plus tips for baking your best batch! ONLY $9.97!!
Other Refreshing Mint-Flavored Recipe Ideas
If you’re a fan of the delightful chocolate-mint combination, you’ll love exploring these other delicious recipes:
- Mint Chocolate Lasagna: A layered dessert dream come true.
- Homemade Mint Chocolate Chip Ice Cream: Cool, creamy, and classic.
- Naturally Green Shamrock Shake: A festive and refreshing drink.
- Chocolate Mint Brownies: Fudgy brownies with a cool mint layer.
- Grasshopper Pie: A retro no-bake classic with a vibrant mint flavor.

Chocolate Mint Cookies
IMPORTANT – There are often Frequently Asked Questions within the blog post that you may find helpful. Simply scroll back up to read them!
Print It
Rate It
Save ItSaved!
Ingredients
- 1 ½ cups all purpose flour
- ¾ cup unsweetened cocoa powder about 2.8 ounces
- ¼ teaspoon salt
- ¾ cup unsalted butter softened
- ¾ teaspoon peppermint extract
- ½ teaspoon vanilla extract
- 1 cup sugar
- 1 large egg
- 6 ounces bittersweet chocolate chopped
Things You’ll Need
-
Cookie scoop
-
Insulated baking sheets
-
Silicone baking mat
-
Wire cooling racks
Before You Begin
- Remember that softened butter doesn’t mean melted. Take your butter from the refrigerator 20 minutes before starting your recipe.
- For best results, take your eggs out at the same time as the butter.
- I prefer to use a higher quality chocolate like Ghirardelli for the drizzles as it melts better.
Instructions
-
Preheat to 350°F. Line 2 baking sheets with parchment paper.
-
Whisk flour, cocoa powder, and salt in medium bowl to blend. Using electric mixer, beat butter in large bowl until smooth. Beat in peppermint extract and vanilla extract. Beat in sugar gradually. Add egg and beat until blended. Add dry ingredients and beat just until blended.
-
Use a cookie scoop to get uniform balls of dough. Place rounds on prepared baking sheets, spacing 1 inch apart. They don’t expand much, so you can fit quite a few on one sheet.
-
Roll balls to smooth then flatten with a flat bottomed drinking glass dipped in water.
-
Bake cookies until tops and edges are dry to touch, about 13 minutes. Transfer baking sheets with cookies to racks; cool completely.
-
Scoot cookies together so they are all lined up and touching. Place a piece of waxed paper under the cooling rack to catch chocolate drips.
-
Line a jar or drinking glass with a zipper sandwich bag. Melt chocolate in the microwave and stir until smooth.
-
Add chocolate to bag then remove from jar. Squeeze out all the air and snip a corner of the bag off with scissors.
-
Use your piping bag to drizzle all the cookies back and forth in one direction, and then repeat in the other direction to get a criss-cross effect. Let chocolate harden. Place cookies in the refrigerator to speed this process.
Nutrition
The recipes on this blog are tested with a conventional gas oven and gas stovetop. It’s important to note that some ovens, especially as they age, can cook and bake inconsistently. Using an inexpensive oven thermometer can assure you that your oven is truly heating to the proper temperature. If you use a toaster oven or countertop oven, please keep in mind that they may not distribute heat the same as a conventional full sized oven and you may need to adjust your cooking/baking times. In the case of recipes made with a pressure cooker, air fryer, slow cooker, or other appliance, a link to the appliances we use is listed within each respective recipe. For baking recipes where measurements are given by weight, please note that results may not be the same if cups are used instead, and we can’t guarantee success with that method.
This post originally appeared here on Sep 12, 2011, and has been updated with enhanced tips and details for an even better baking experience.
