How to Make Perfect Stabilized Whipped Cream: Your Guide to Fluffy, Non-Melting Topping
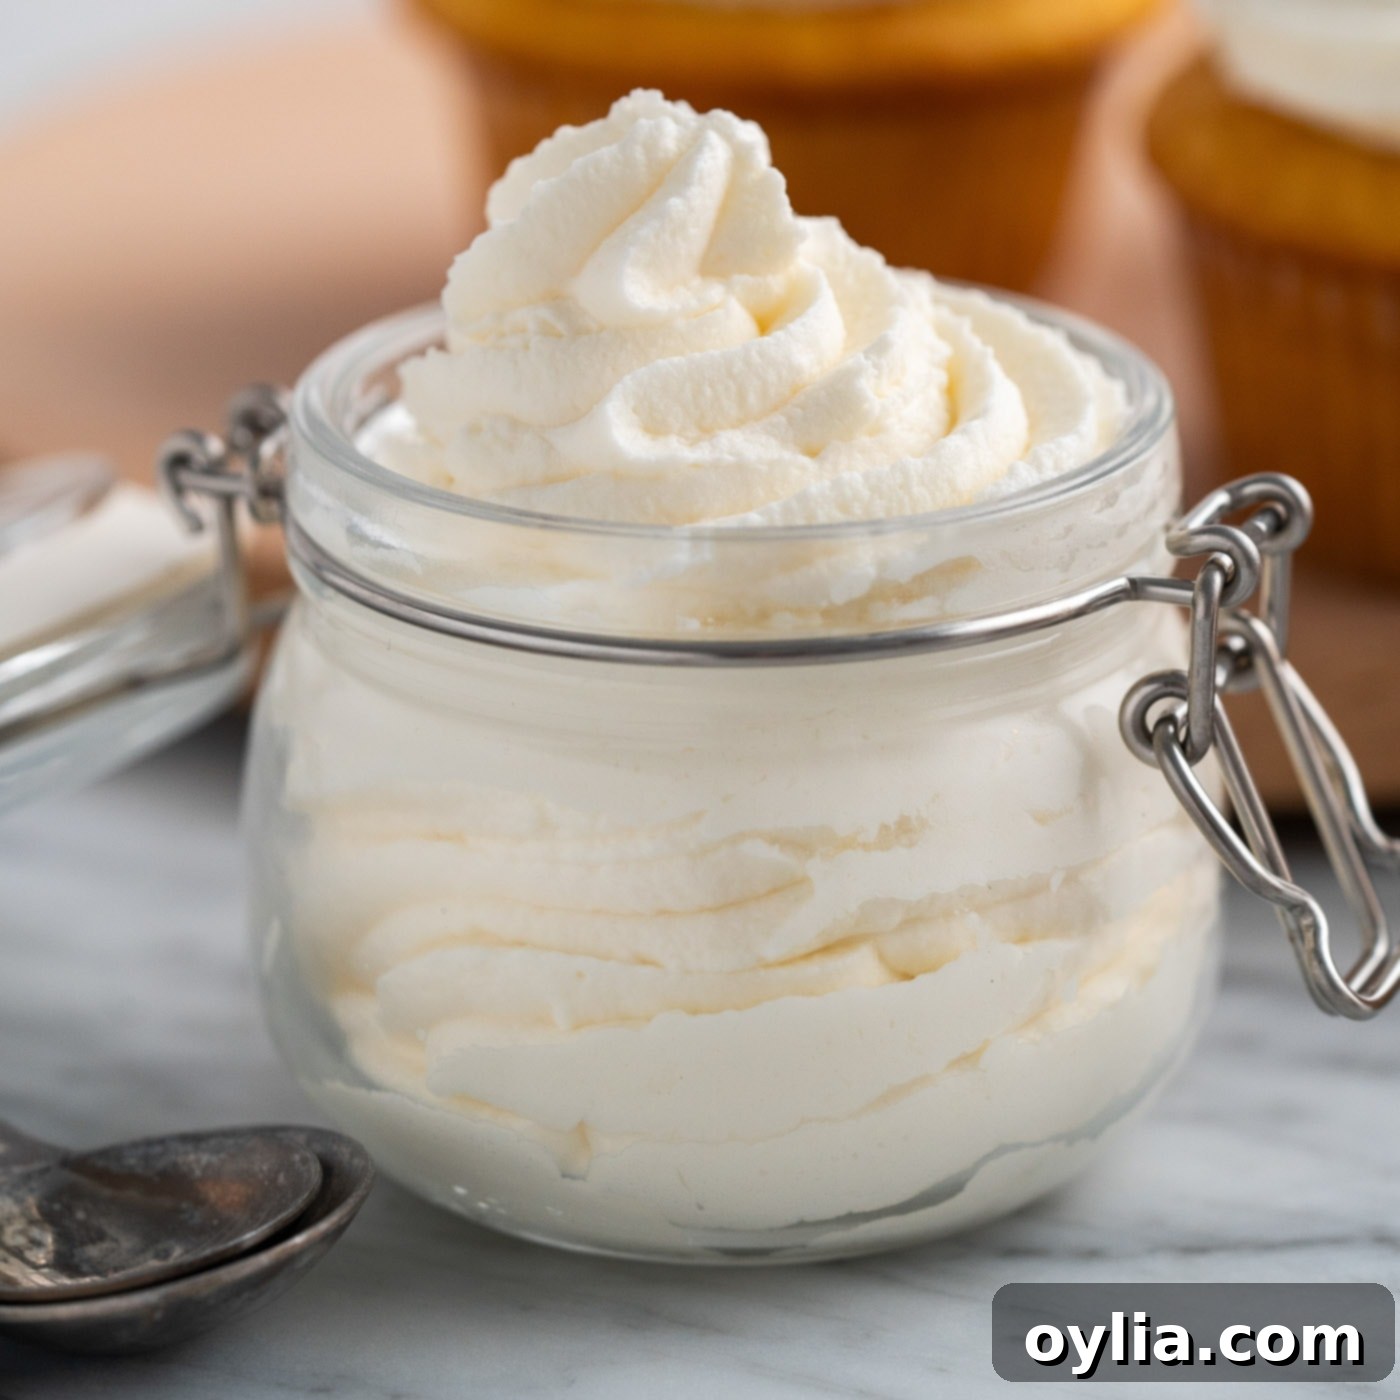
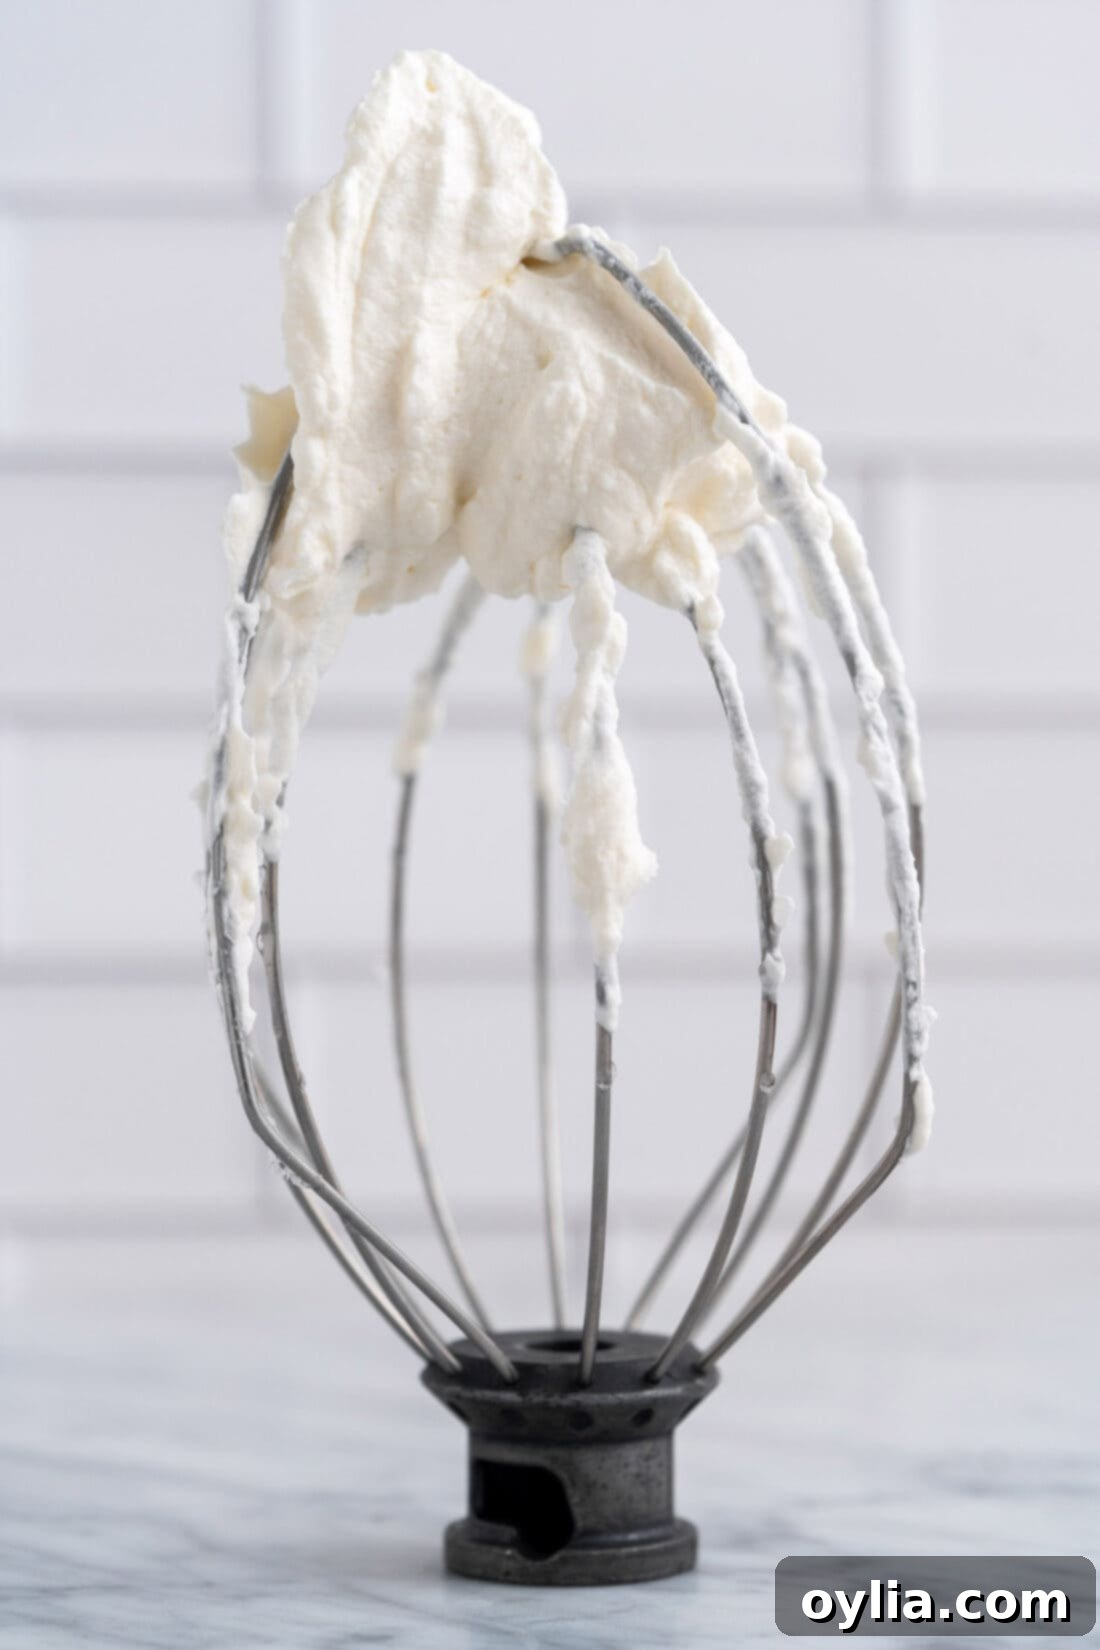
Tired of your beautiful whipped cream collapsing or weeping on your desserts? Discover the secret to making incredibly smooth, perfectly fluffy, and remarkably sturdy stabilized whipped cream in just 10 minutes. By incorporating one simple extra ingredient, you’ll achieve a professional-quality whipped topping that holds its shape for days, making it ideal for decorating cakes, filling pastries, and topping all your favorite treats without fear of it falling flat.
Why This Stabilized Whipped Cream Recipe Works (and Why You Need It!)
For many home bakers, the allure of homemade whipped cream often comes with a significant drawback: its fleeting nature. Traditional whipped cream, while delicious, is notoriously unstable. It tends to soften, weep, and lose its beautiful peaks within hours, especially in warmer environments. This makes it challenging for anything beyond immediate serving and almost impossible for elaborate cake decorating or pre-prepped desserts.
This recipe provides the ultimate solution by introducing a secret ingredient: gelatin. Gelatin acts as a powerful stabilizer, creating a delicate yet firm matrix within the cream that locks in its airiness and prevents it from deflating or separating. Unlike other stabilizers, gelatin provides a smooth, creamy texture without any noticeable change in flavor, allowing the rich taste of the cream and vanilla to shine through.
By using gelatin, your homemade whipped cream transforms from a delicate topping into a robust, versatile frosting. It will:
- Hold its shape for days: Perfect for make-ahead desserts and layered cakes.
- Resist melting: Ideal for outdoor events or warmer climates.
- Prevent weeping: Say goodbye to soggy bases and separated liquids.
- Be pipeable and spreadable: Achieve professional-looking swirls and smooth layers on any baked good, from elegant pound cake cupcakes to classic strawberry shortcakes.
- Offer enhanced versatility: Open up a world of new dessert possibilities, from intricate decorations to stable fillings.
With a few simple tips and the addition of this one extra ingredient, you’ll be making stabilized whipped cream that stands up like the pros, ensuring your desserts look and taste fantastic from the first bite to the last, even days later.
Key Ingredients You Will Need for Stabilized Whipped Cream
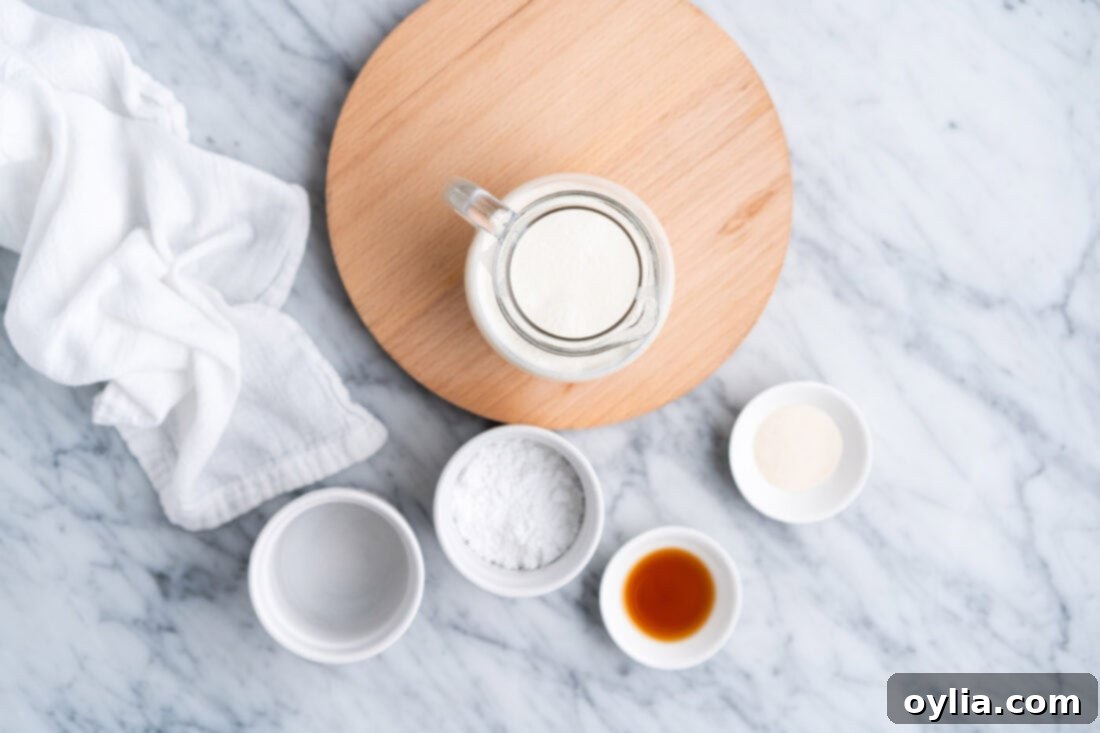
Creating this sturdy, delicious whipped cream requires only a handful of common ingredients. You’ll find all exact measurements and detailed instructions in the printable recipe card at the end of this post, but here’s a closer look at what you’ll need and why each component is important:
Ingredient Spotlight & Expert Tips
Each ingredient plays a crucial role in achieving the perfect stabilized whipped cream:
- Heavy Whipping Cream: This is the star of the show! Always use chilled heavy whipping cream, which contains at least 36% milk fat. The higher fat content is essential for whipping air into the cream and creating a stable emulsion. If your cream is not cold enough, it will struggle to whip properly and may not thicken to the desired consistency. For best results, consider chilling your mixing bowl and whisk attachment in the freezer for 15-20 minutes before you begin. This extra chill factor significantly helps the cream achieve maximum volume and stability.
- Unflavored Gelatin Powder: The magic behind stabilization! Gelatin, a protein derived from collagen, forms a clear, tasteless gel when mixed with liquid and allowed to set. In this recipe, it creates a subtle structural network within the whipped cream, preventing it from collapsing, weeping, or melting prematurely. It’s crucial to use unflavored gelatin to avoid altering the taste of your cream.
- Cold Water: Used to “bloom” the gelatin. Cold water allows the gelatin granules to absorb liquid slowly and evenly, ensuring a smooth dissolution when heated. Using warm or hot water initially can cause the gelatin to clump, making it difficult to fully dissolve.
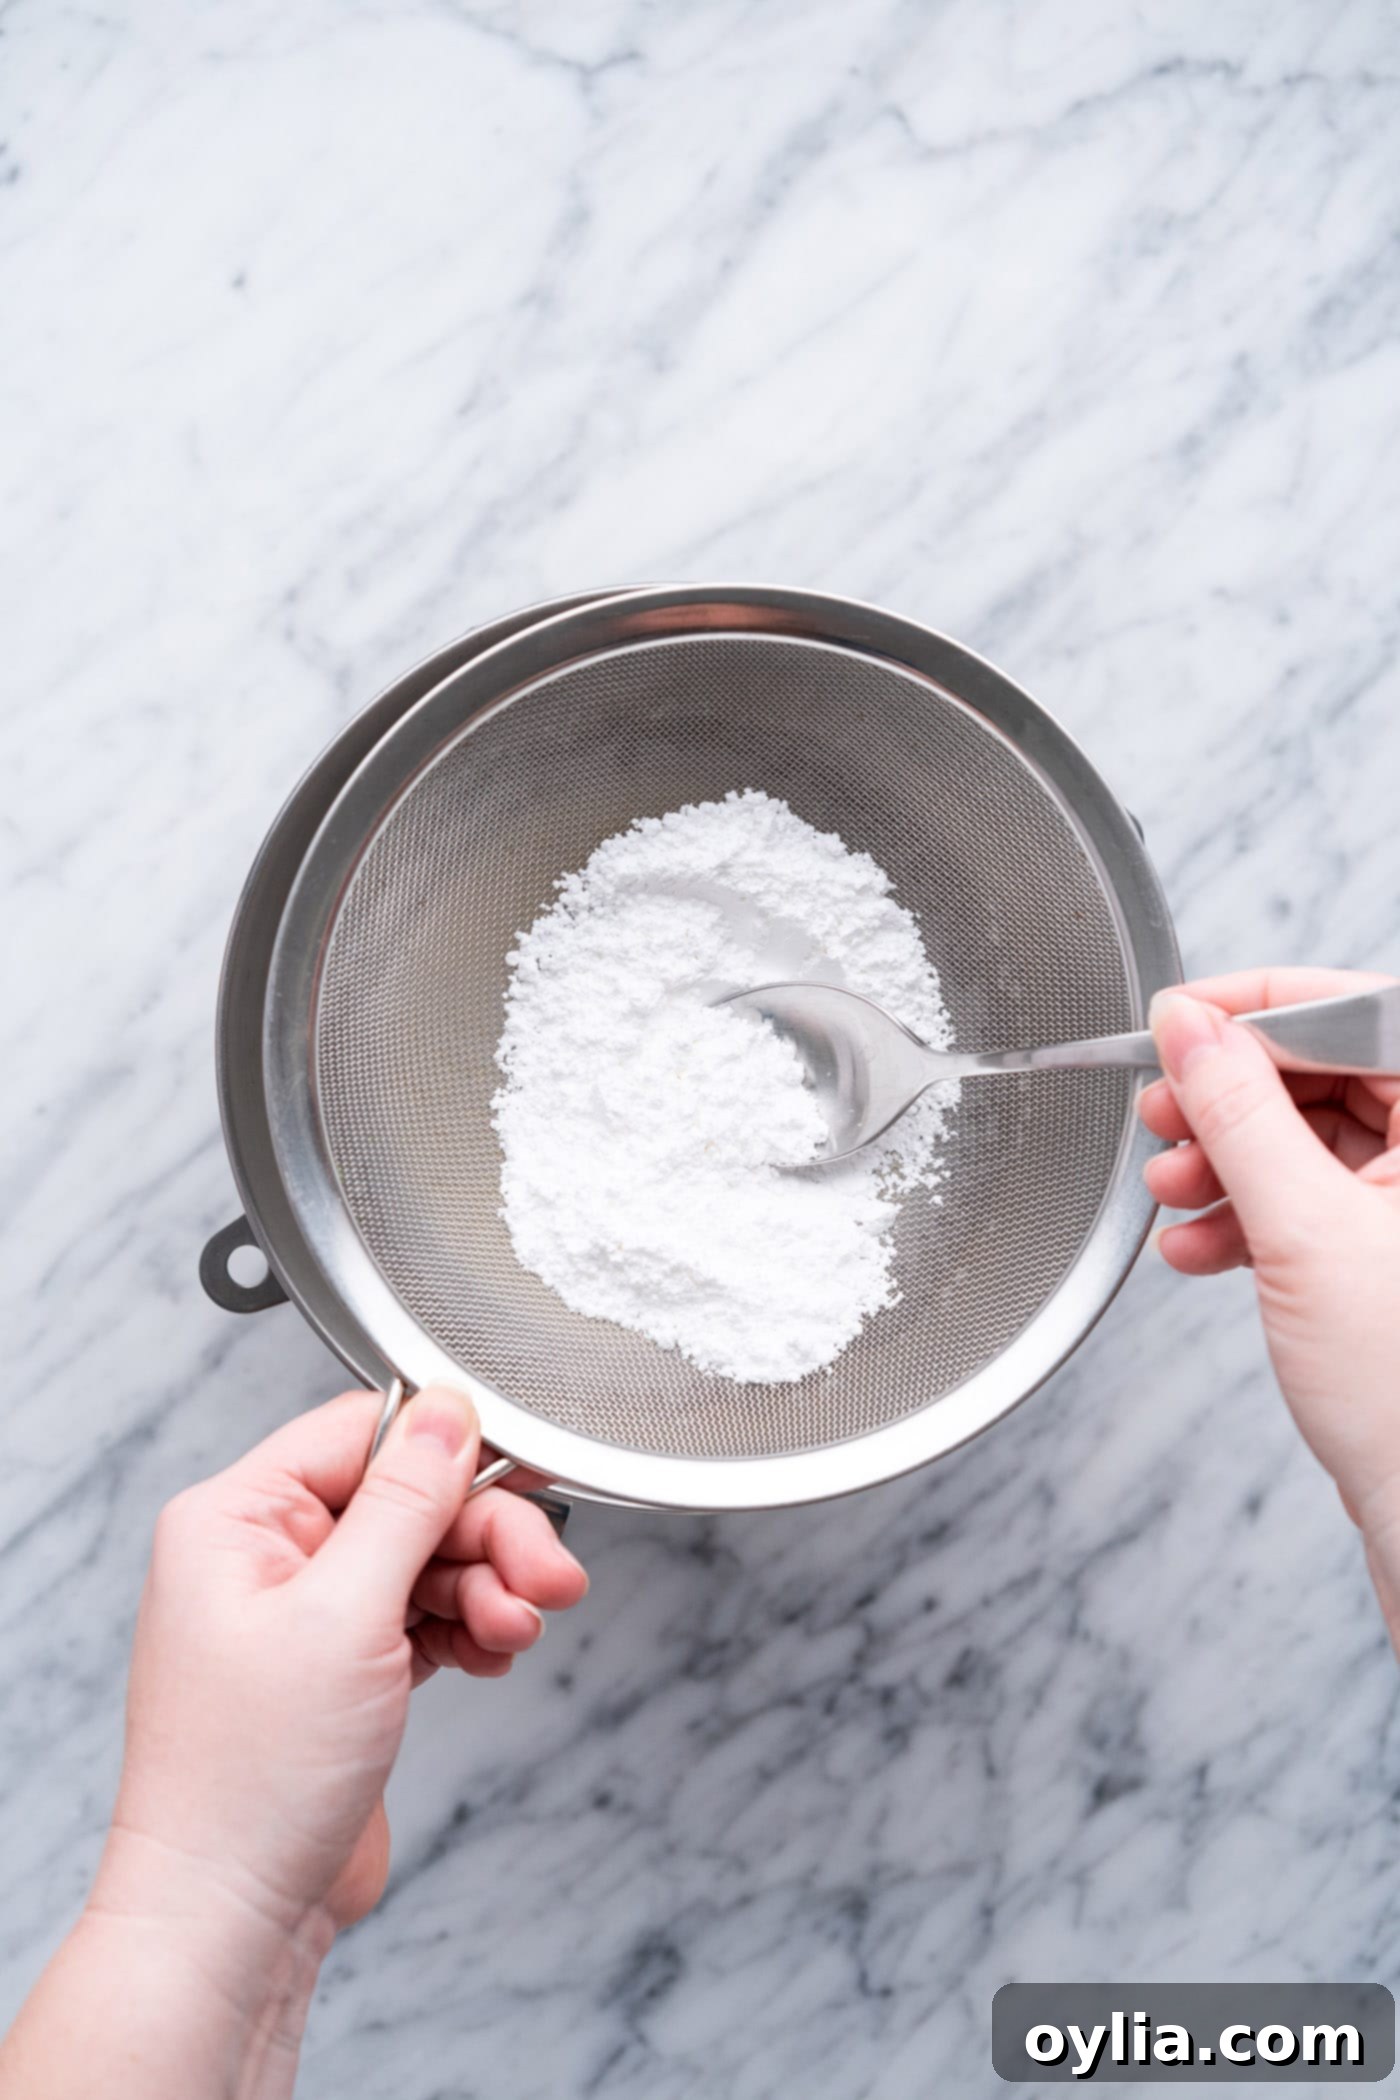
- Powdered Sugar (Confectioners’ Sugar): Also known as icing sugar, powdered sugar is preferred over granulated sugar for whipped cream because its fine texture dissolves instantly, preventing any gritty mouthfeel. Many brands of powdered sugar also contain a small amount of cornstarch, which subtly contributes to the whipped cream’s stability. For the smoothest possible finish, we recommend sifting your powdered sugar before adding it to the cream to remove any lumps.
- Pure Vanilla Extract: Provides that classic, comforting flavor. For the best taste, opt for pure vanilla extract. You can also experiment with other extracts like almond, coconut, peppermint, or even a touch of orange zest to complement your dessert.
How to Make Perfect Stabilized Whipped Cream: Step-by-Step
These step-by-step photos and instructions are here to help you visualize how to make this recipe successfully. You can Jump to Recipe to get the printable version of this recipe, complete with precise measurements and instructions at the bottom of the post.
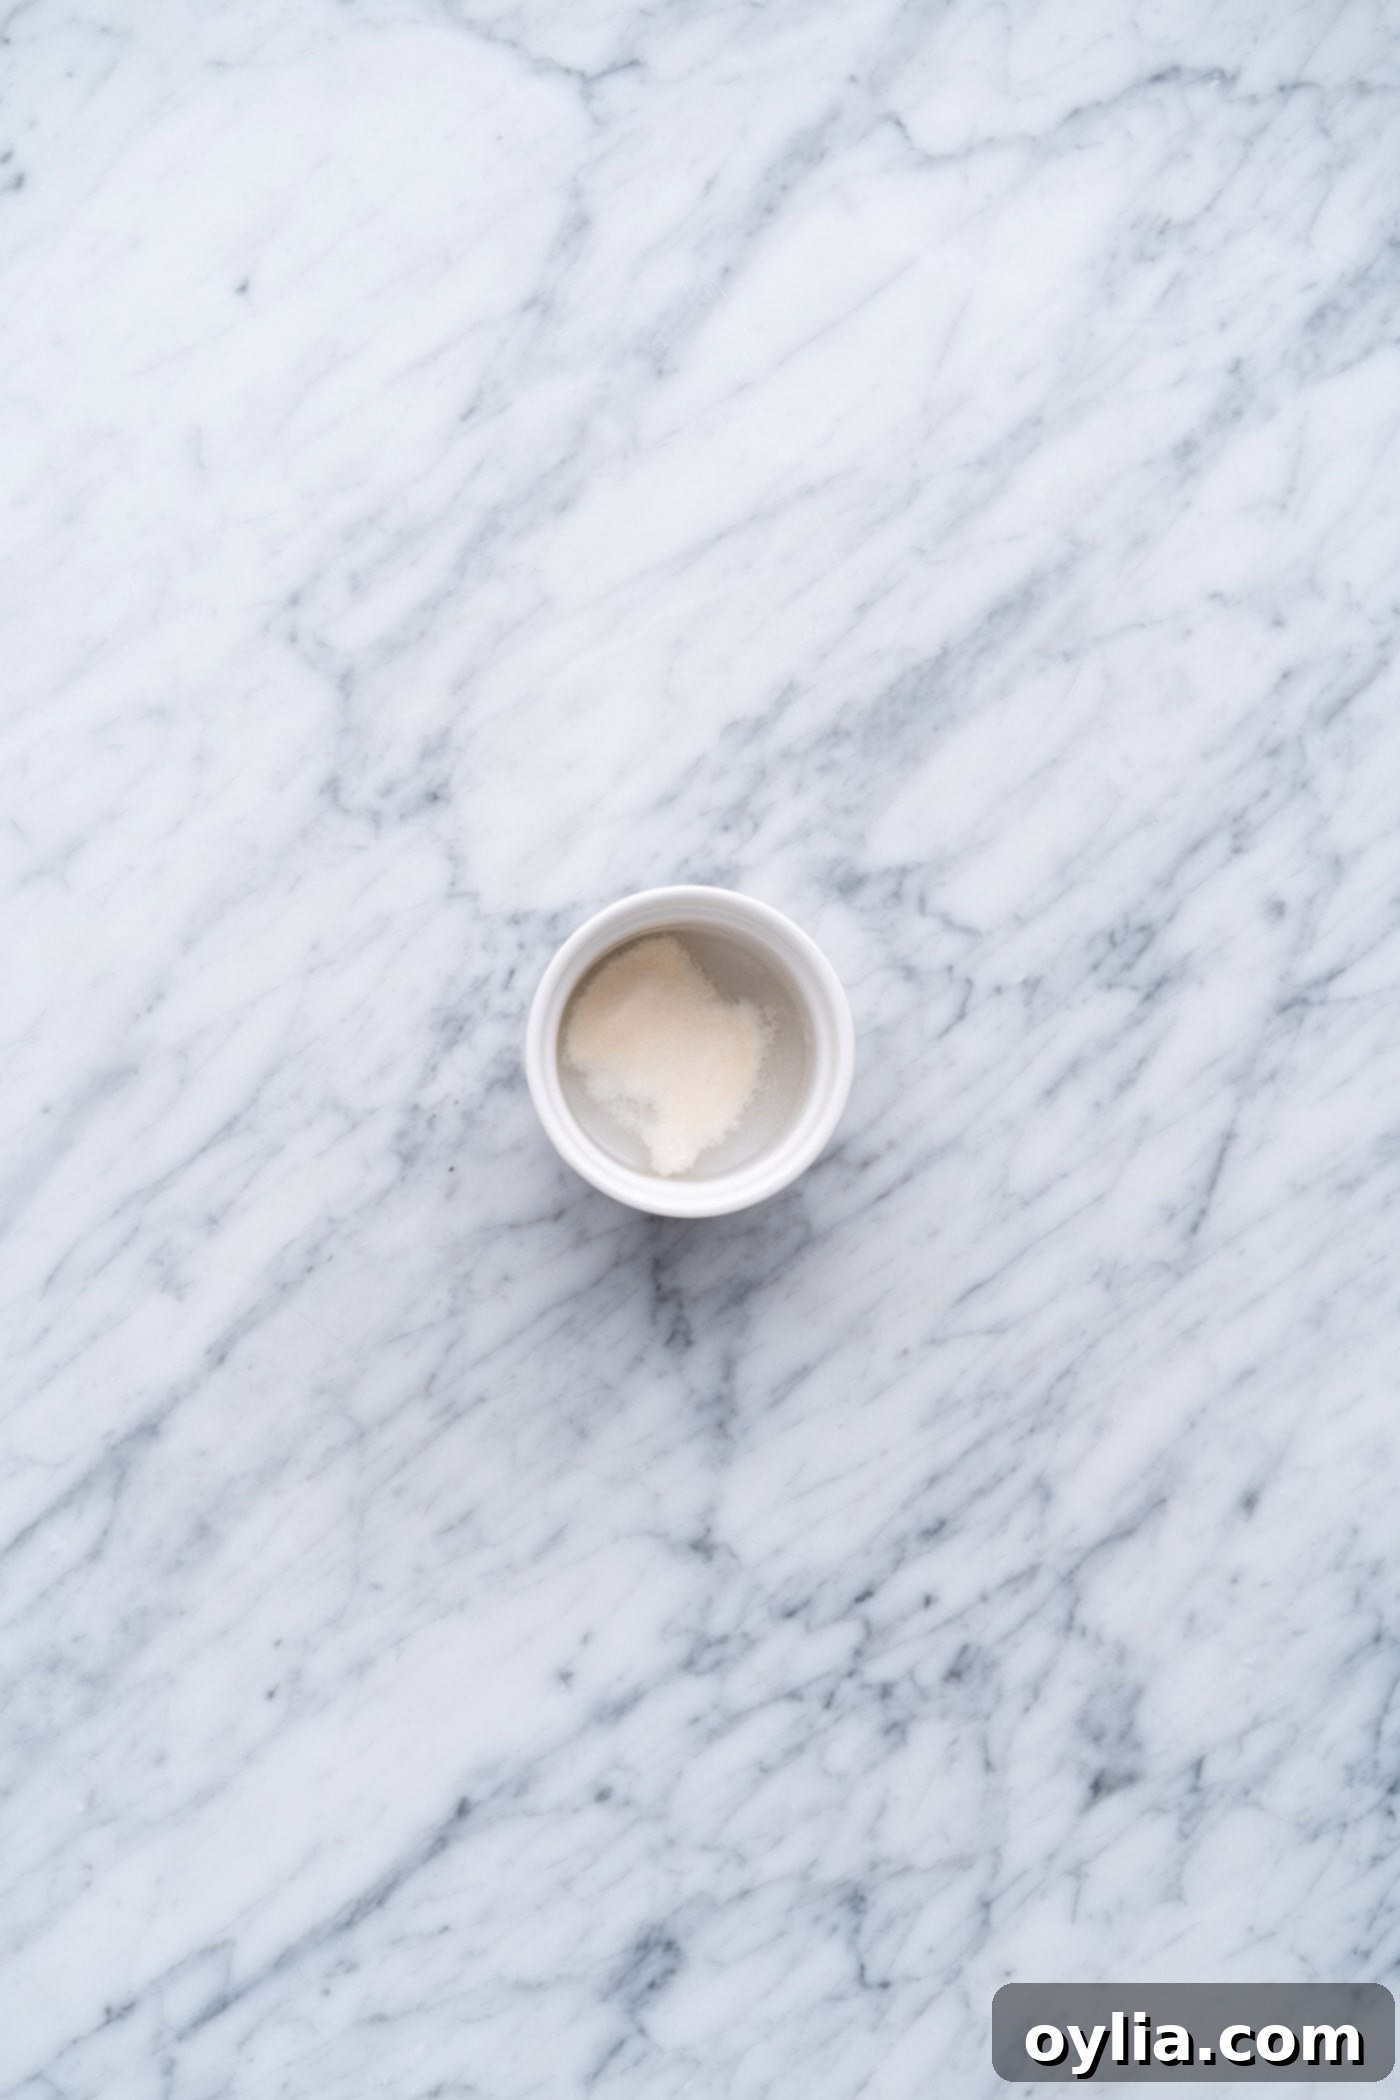
- Bloom the Gelatin: In a small, clean bowl, add the cold water. Evenly sprinkle the unflavored gelatin powder over the surface of the cold water. Do not stir it in immediately. Let it sit undisturbed for at least 5 minutes. During this time, the gelatin will absorb the water, swell, and become thick and translucent (this process is called “blooming”). This step is crucial for ensuring the gelatin dissolves smoothly without lumps later on.

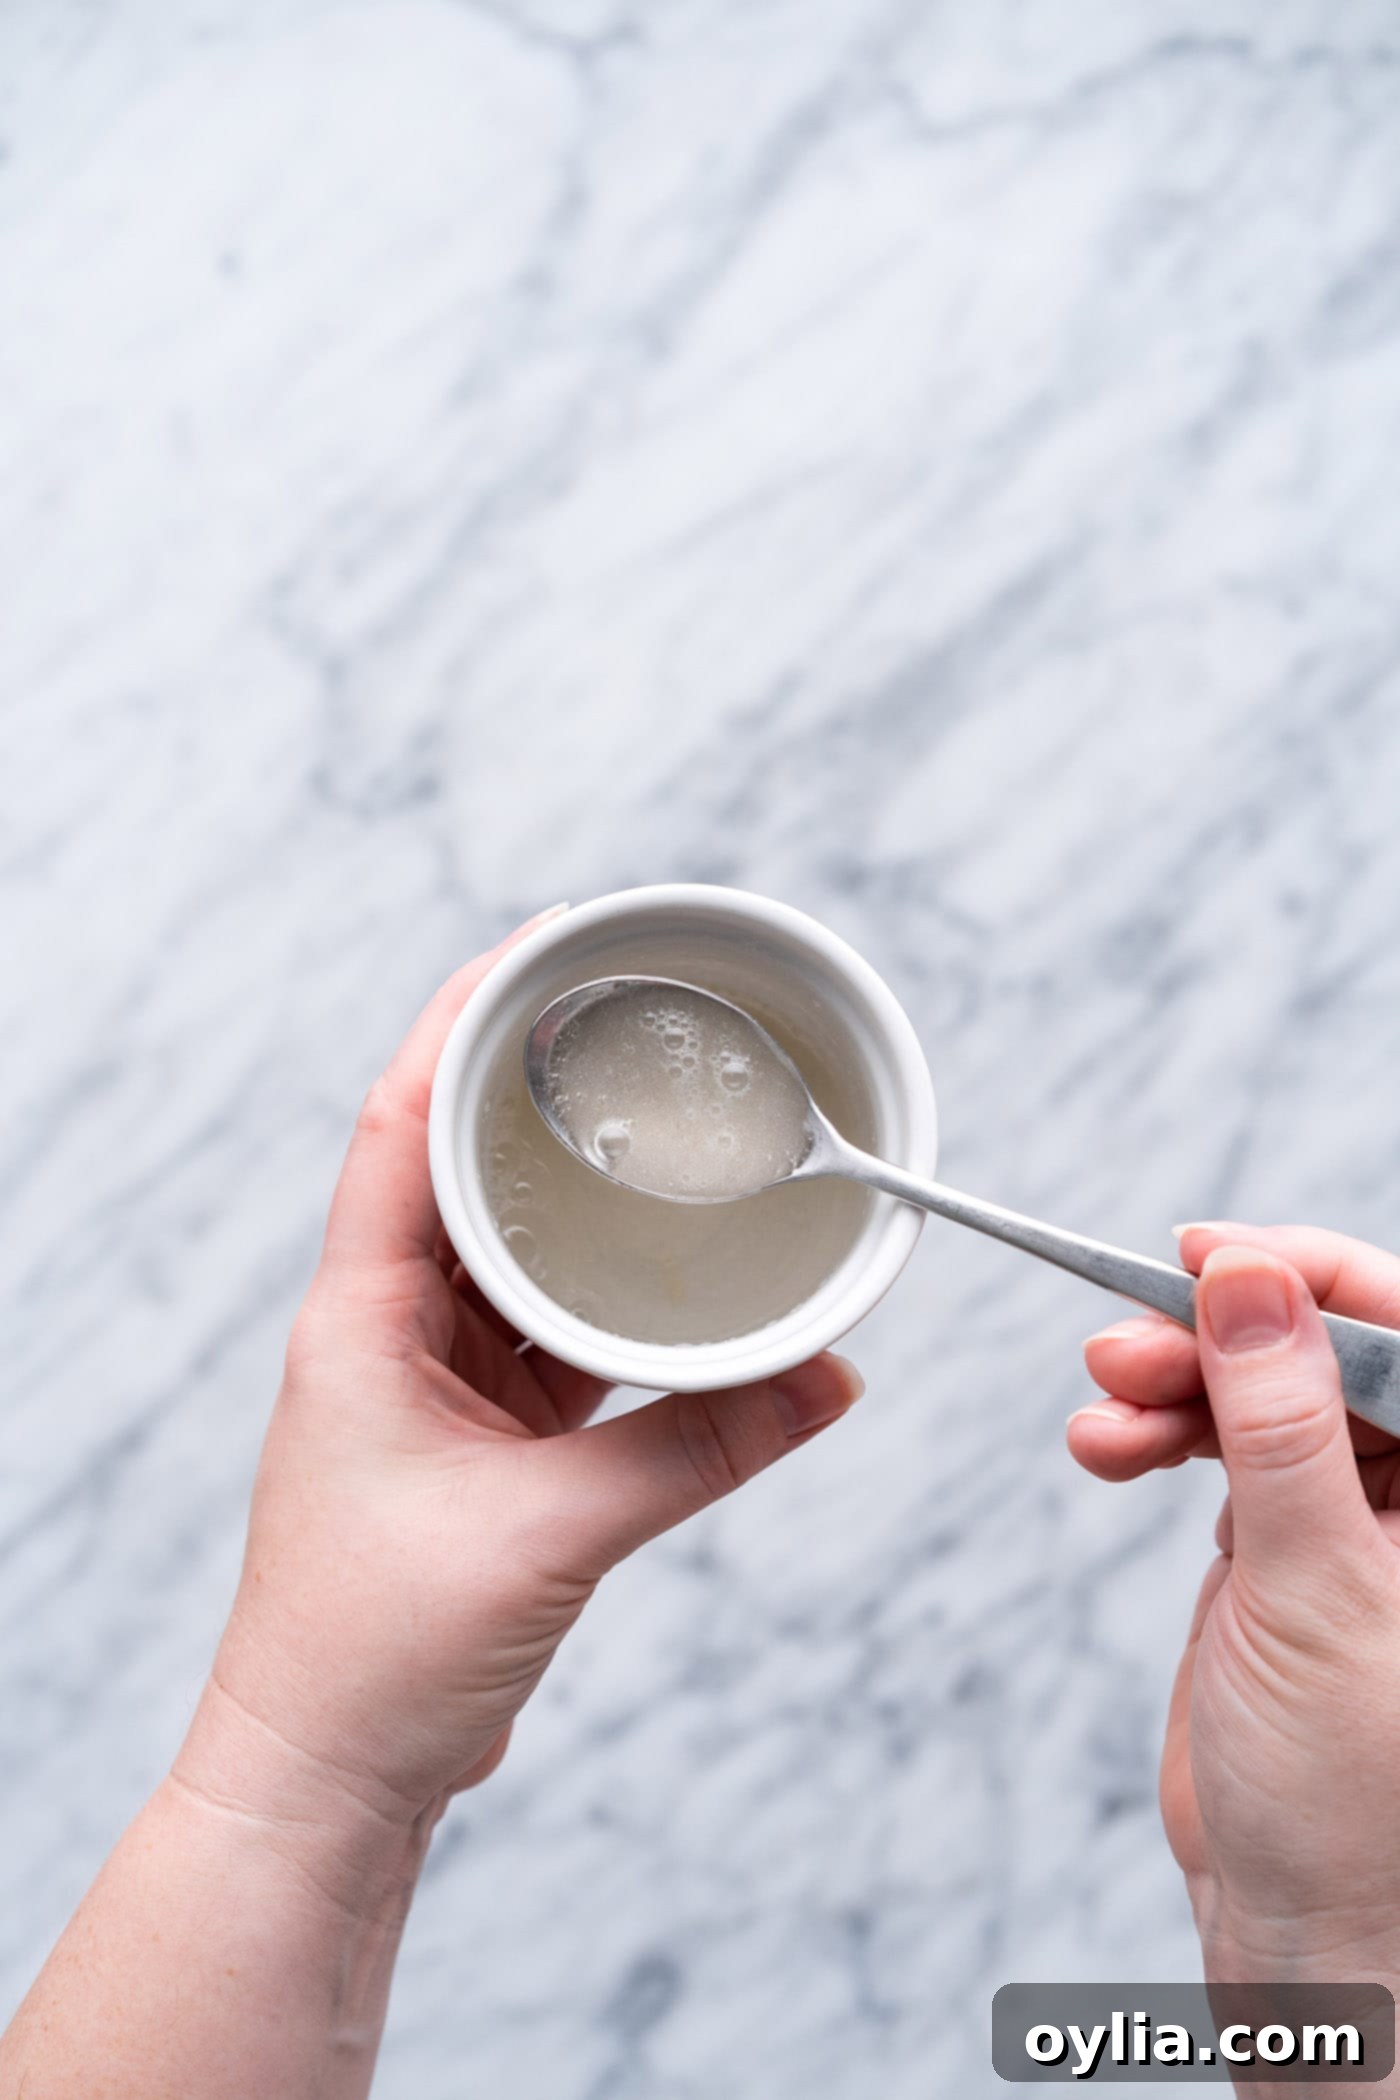
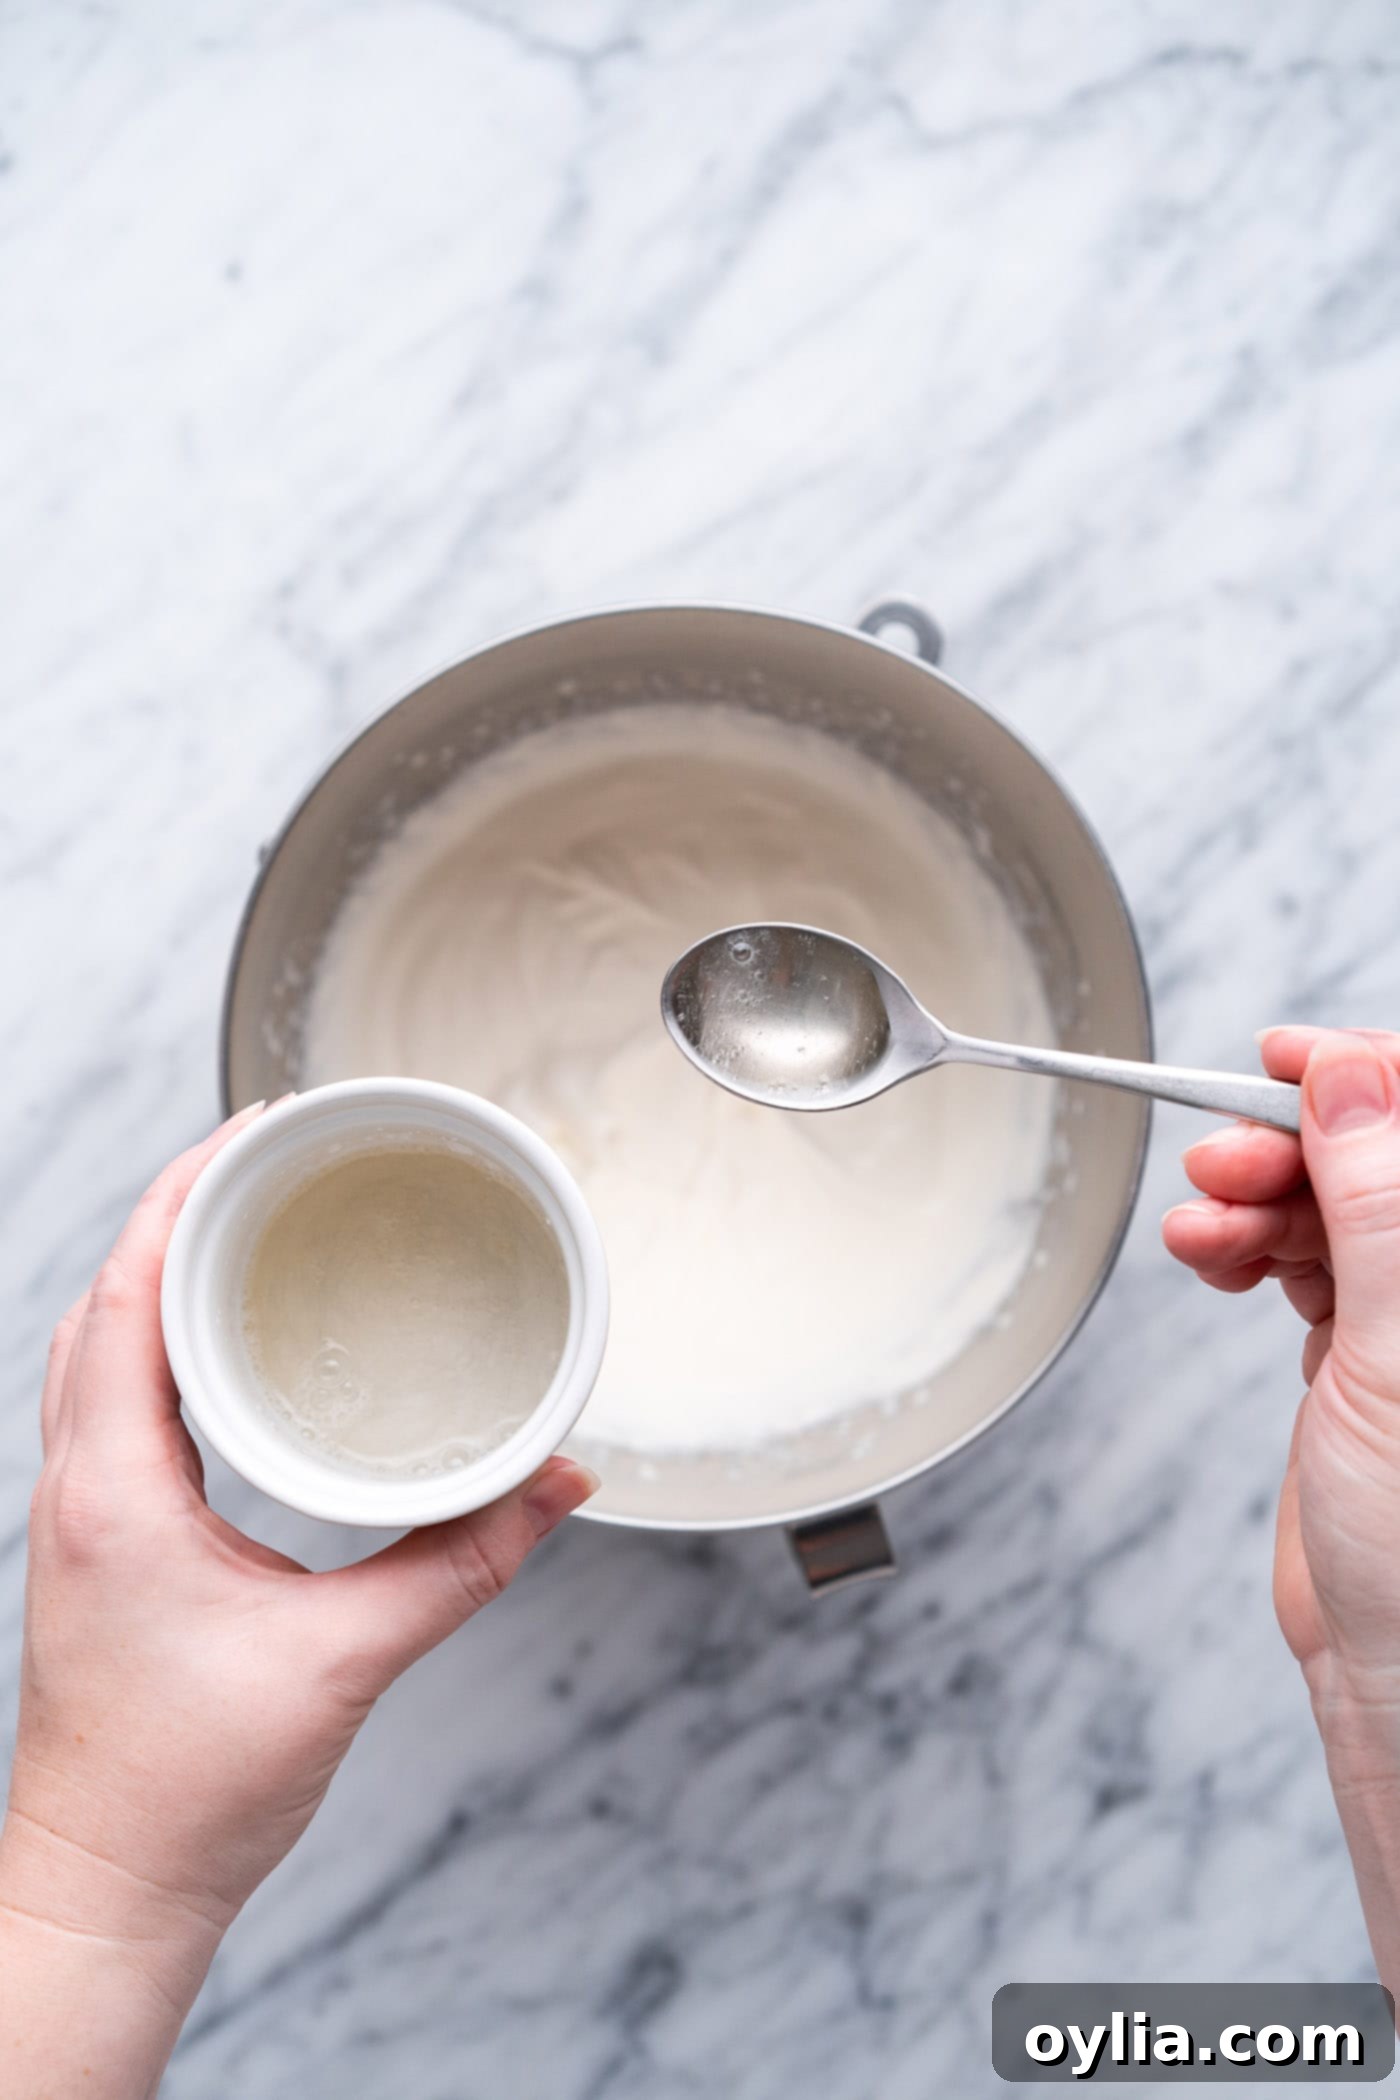
- Dissolve the Bloomed Gelatin: After 5 minutes, the gelatin mixture will be thick. Microwave the bowl for just 5 seconds. Stir it thoroughly. If you still see any undissolved lumps or granules, microwave for another 5 seconds and stir again. The goal is for the gelatin to be completely dissolved and liquid, but still warm to the touch, not hot. It should be clear and free of any solid bits. Let it cool slightly if it’s too hot to touch.

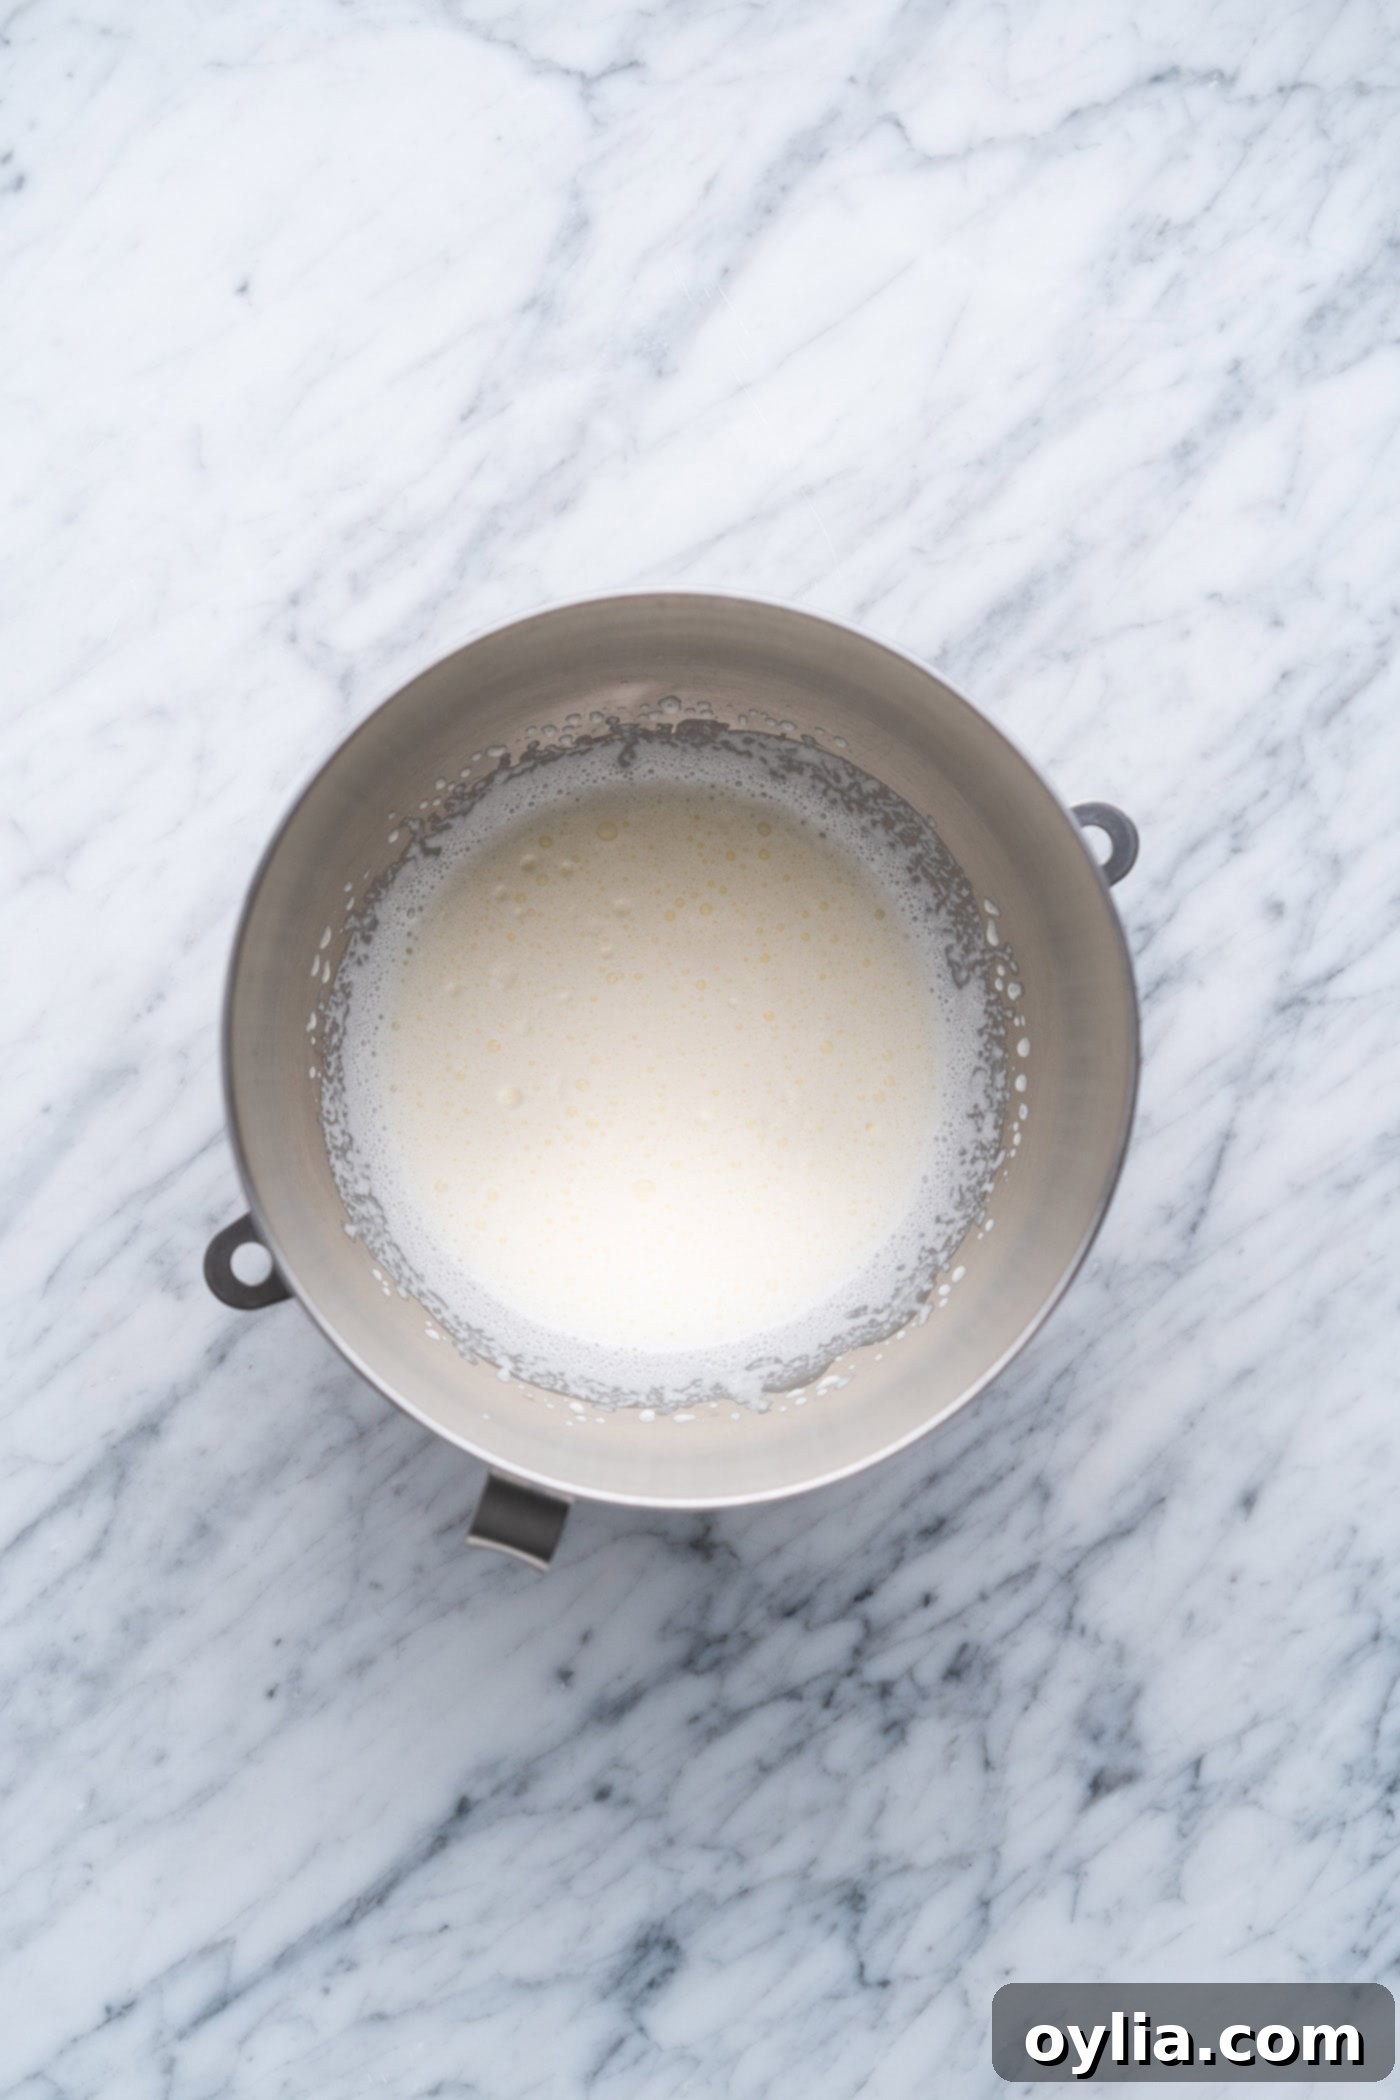
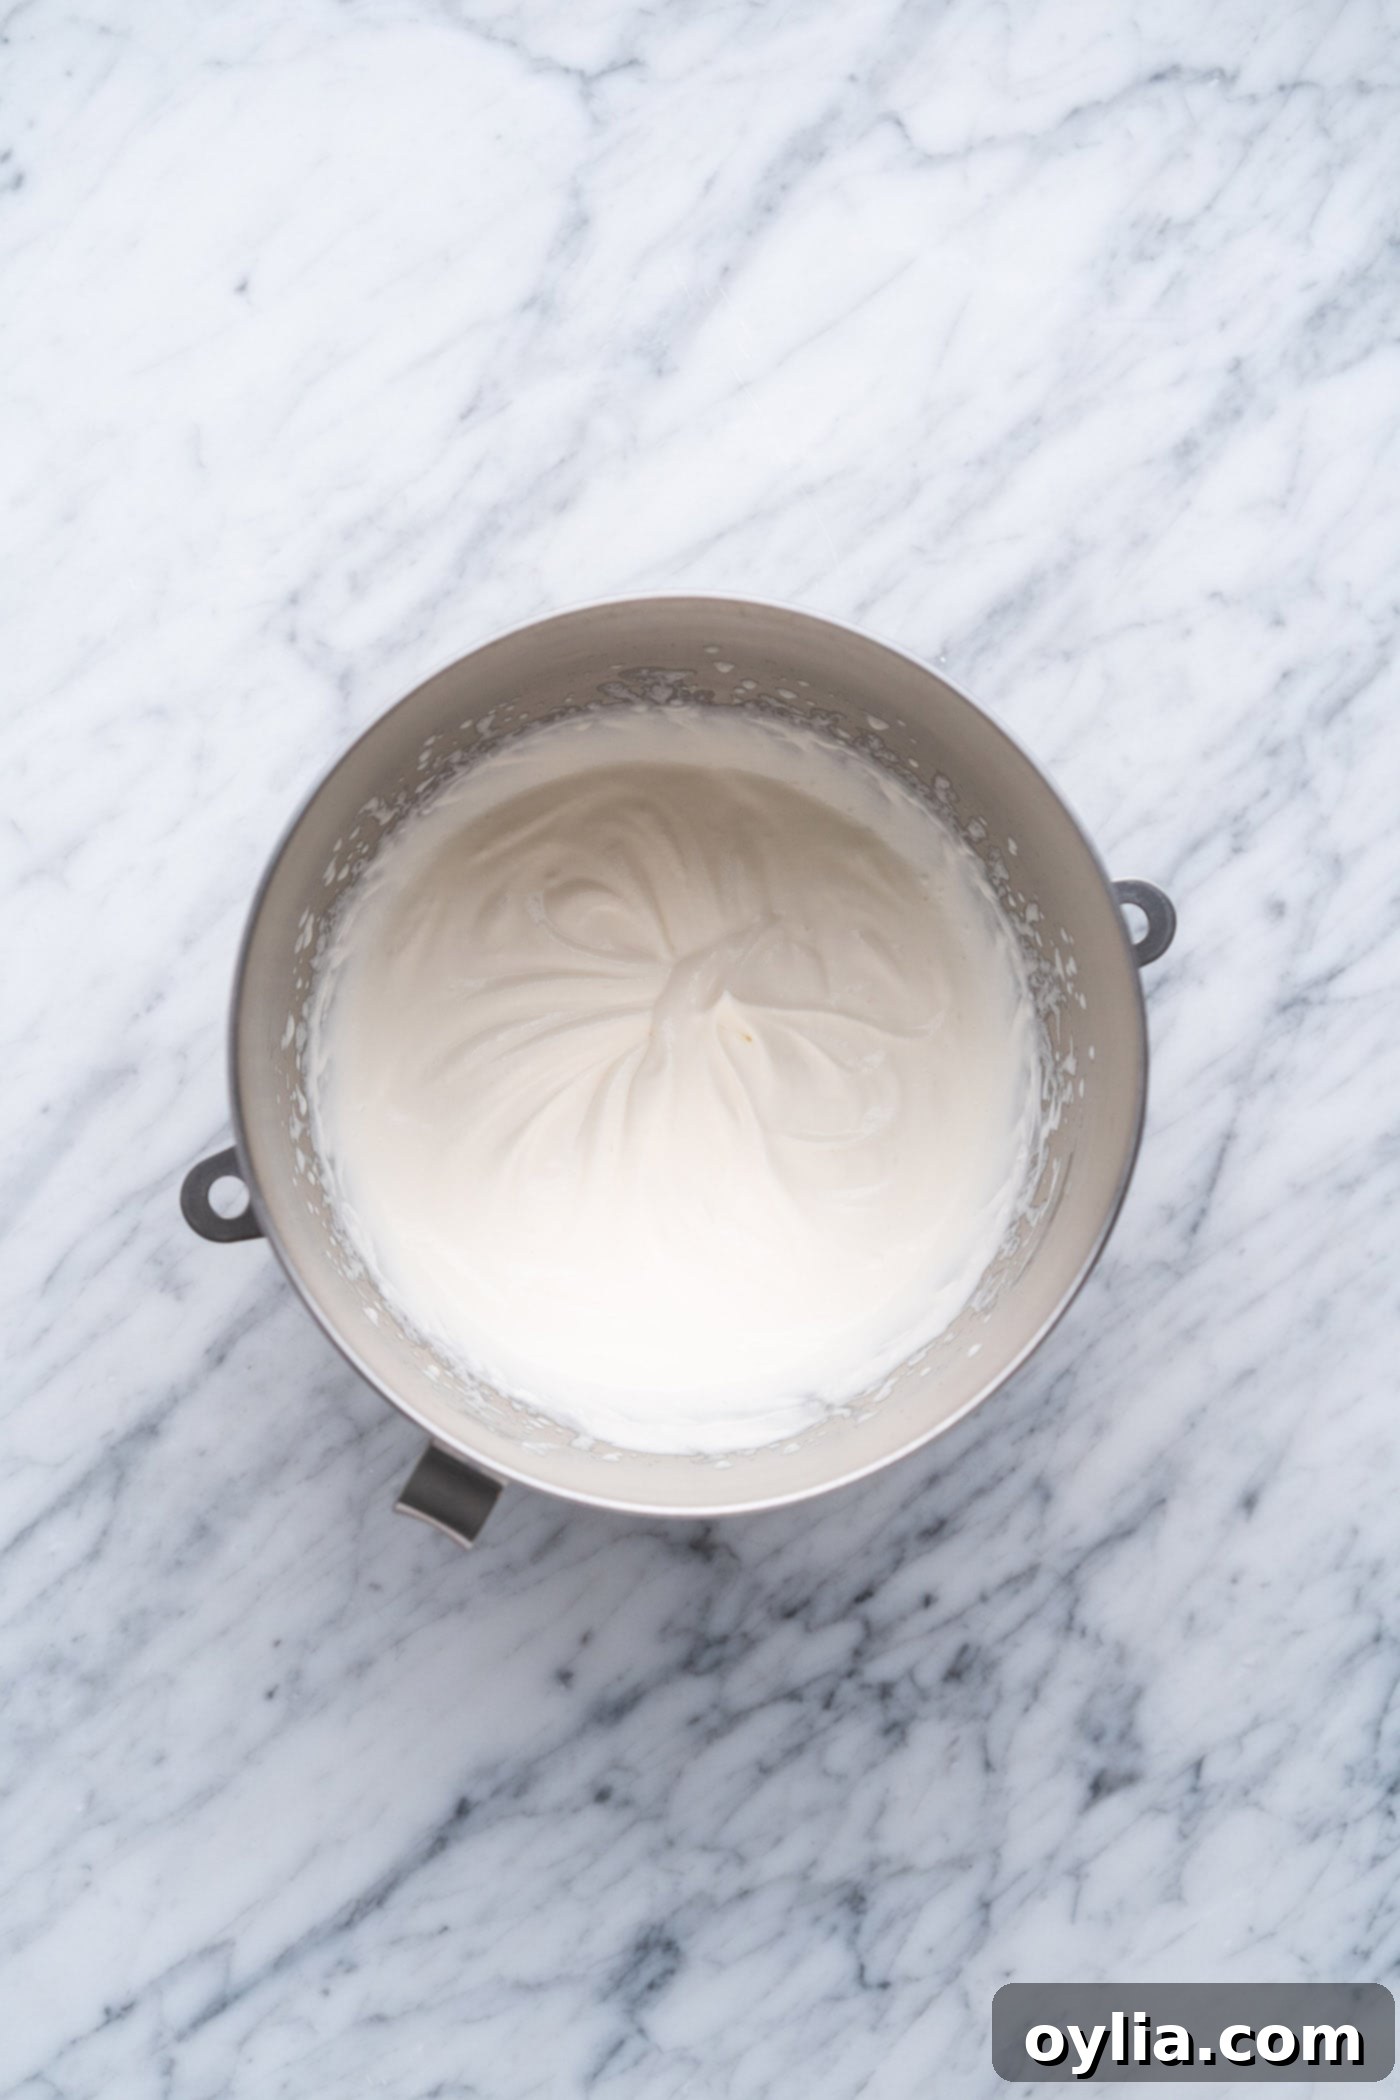
- Whip the Cream to Foamy Stage: Pour the chilled heavy whipping cream into the bowl of a stand mixer fitted with the whisk attachment (or use a hand mixer). Begin whisking on medium-high speed until the cream becomes noticeably foamy, with small bubbles forming throughout. This typically takes 1-2 minutes.

- Add Sweetener and Vanilla: With the mixer still running, gradually add the sifted powdered sugar and the pure vanilla extract. Continue whisking on medium-high speed until the cream forms soft peaks. Soft peaks hold their shape but curl slightly at the tip when the whisk is lifted.


- Incorporate the Gelatin: Reduce the mixer speed to low. Slowly and gradually drizzle the completely dissolved gelatin into the whipped cream mixture in a thin, steady stream. It’s important to add it slowly to ensure it’s evenly incorporated without seizing. Continue mixing until the gelatin is fully combined.

- Whip to Stiff Peaks (Do Not Overmix!): Increase the mixer speed back to medium-high and continue whipping just until the cream forms stiff peaks. Stiff peaks stand upright without flopping when the whisk is lifted. Be vigilant during this stage, as overmixing can quickly turn your beautiful whipped cream into a grainy, separated mess or even butter. Stop as soon as stiff peaks are achieved.
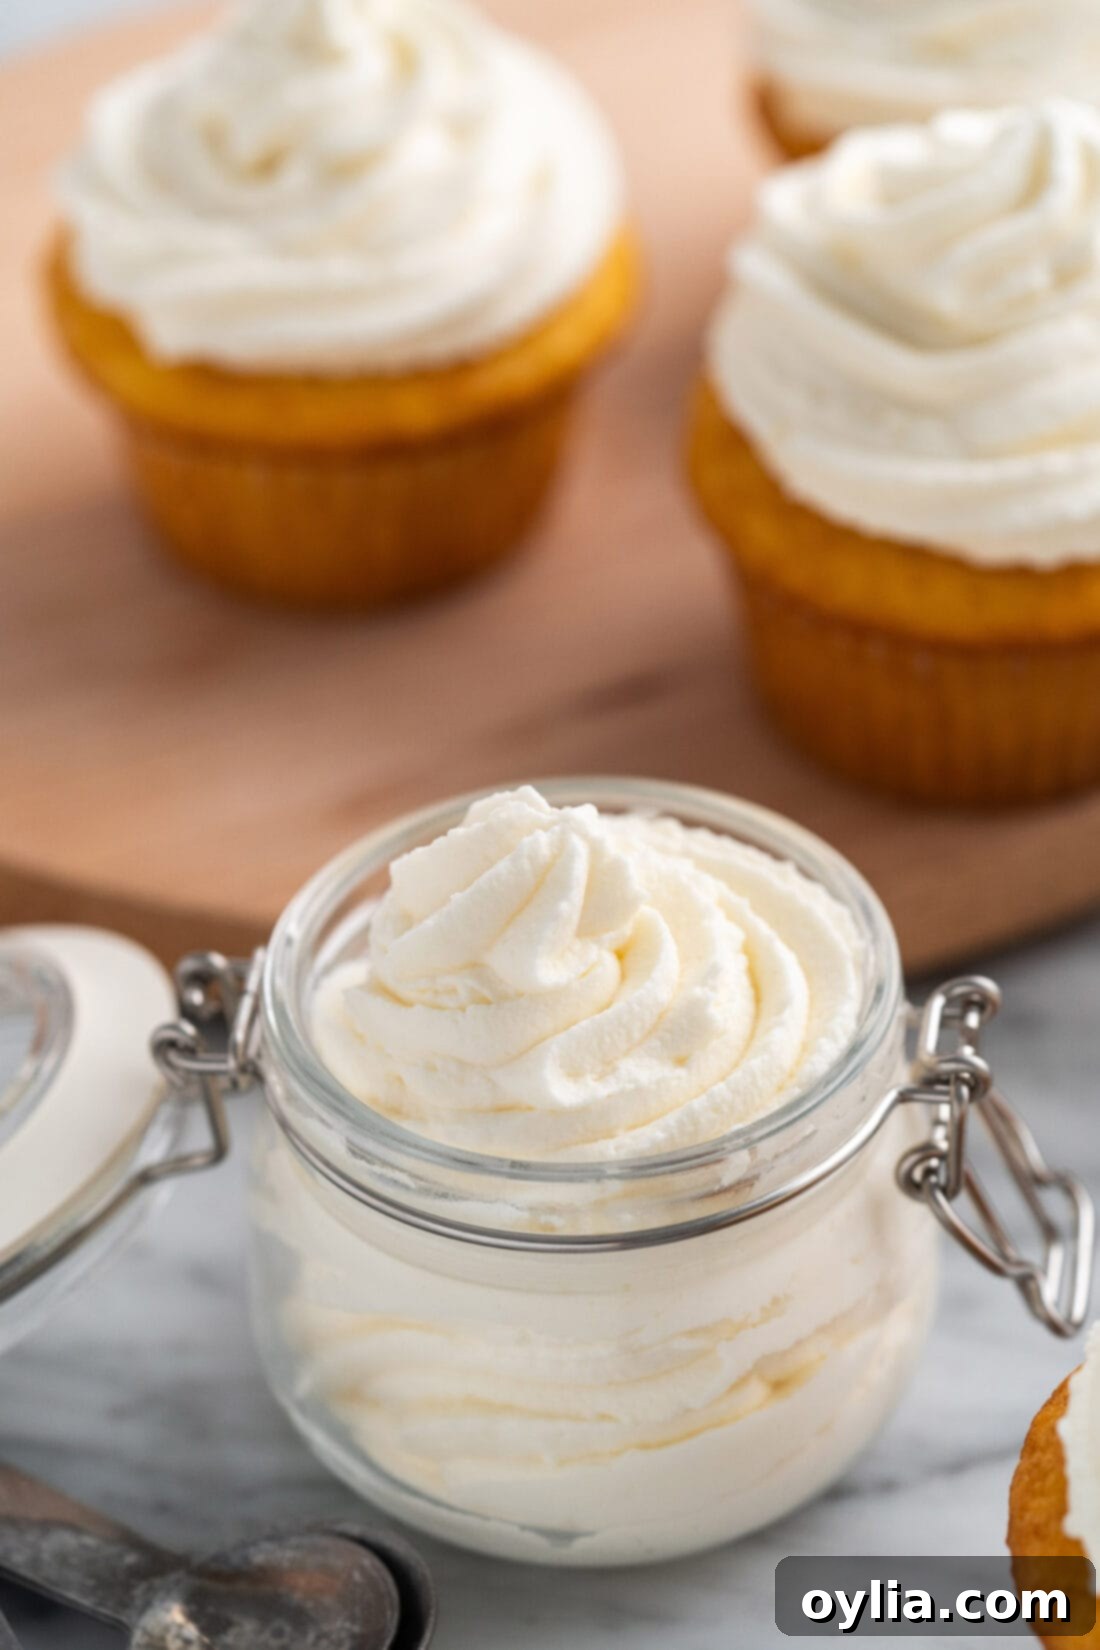
- Immediate Use and Storage: Your stabilized whipped cream is now ready! Due to the gelatin, it will begin to set fairly quickly. Use it immediately to frost a cake, pipe onto cupcakes, or fill pastries. If you plan to pipe, transfer it to a piping bag fitted with your desired tip right away. For any unused portion, transfer it to an airtight container and refrigerate.
Frequently Asked Questions & Expert Tips for Stabilized Whipped Cream
Homemade stabilized whipped cream will maintain its integrity and freshness for 3-4 days when stored properly. Keep it in an airtight container or a sealed zip-top bag in the refrigerator. Desserts like cakes or cupcakes that have been frosted with stabilized whipped cream can also be stored in the fridge for up to 3 days without the topping losing its shape or becoming watery, significantly longer than traditional whipped cream.
It is highly recommended to use stabilized whipped cream for piping or frosting cakes immediately after it reaches stiff peaks. The gelatin will start to set as it cools, making the cream stiffen. While you can technically store it, trying to pipe with it after it has fully set and chilled in the fridge can be challenging, as it will be much firmer and less pliable. If it does become too firm, you might try gently re-whisking it for a few seconds to soften it slightly, but avoid overmixing.
While gelatin is our preferred method for its superior texture and stability, other stabilizers exist. Cornstarch, cream of tartar, or even commercial whipped cream stabilizers can be used. However, cornstarch can sometimes give a slightly powdery mouthfeel, and cream of tartar offers less long-term stability than gelatin. Gelatin provides the smoothest, most reliable, and longest-lasting results, which is why we highly recommend it for stabilized whipped cream.
The most common culprits for whipped cream not thickening are:
- Cream wasn’t cold enough: Ensure your heavy whipping cream is thoroughly chilled, ideally straight from the refrigerator. Chilling your mixing bowl and whisk can also help.
- Low-fat cream: Only use heavy whipping cream with at least 36% milk fat. Lighter creams will not whip properly.
- Over-whipping: Ironically, over-whipping can cause separation and a breakdown of the cream’s structure, making it seem like it won’t thicken, but it’s actually past its peak. Stop as soon as stiff peaks form.
- Gelatin issues: Ensure your gelatin was properly bloomed and completely dissolved. If it was too hot when added, it might have melted some of the cream.
Absolutely! The amount of powdered sugar can be adjusted to your preference. Start with the recommended amount and add more gradually if you like it sweeter. For flavoring, vanilla extract is classic, but feel free to experiment with other extracts like almond, lemon, or even a touch of rum or bourbon. You can also fold in a tablespoon or two of cocoa powder for chocolate whipped cream, or a small amount of fruit puree (ensure it’s thick and not too watery) for a fruity variation.
Versatile Serving Suggestions for Stabilized Whipped Cream
The beauty of stabilized whipped cream lies in its incredible versatility. Because it holds its shape and doesn’t melt easily, it’s perfect for a wide array of applications, especially for recipes you want to prepare in advance or for desserts that will be displayed for a while. Think of it as a superior alternative to store-bought whipped toppings like Cool Whip, offering a fresh, rich flavor with professional stability.
Here are just a few ideas for how to use your freshly made stabilized whipped cream:
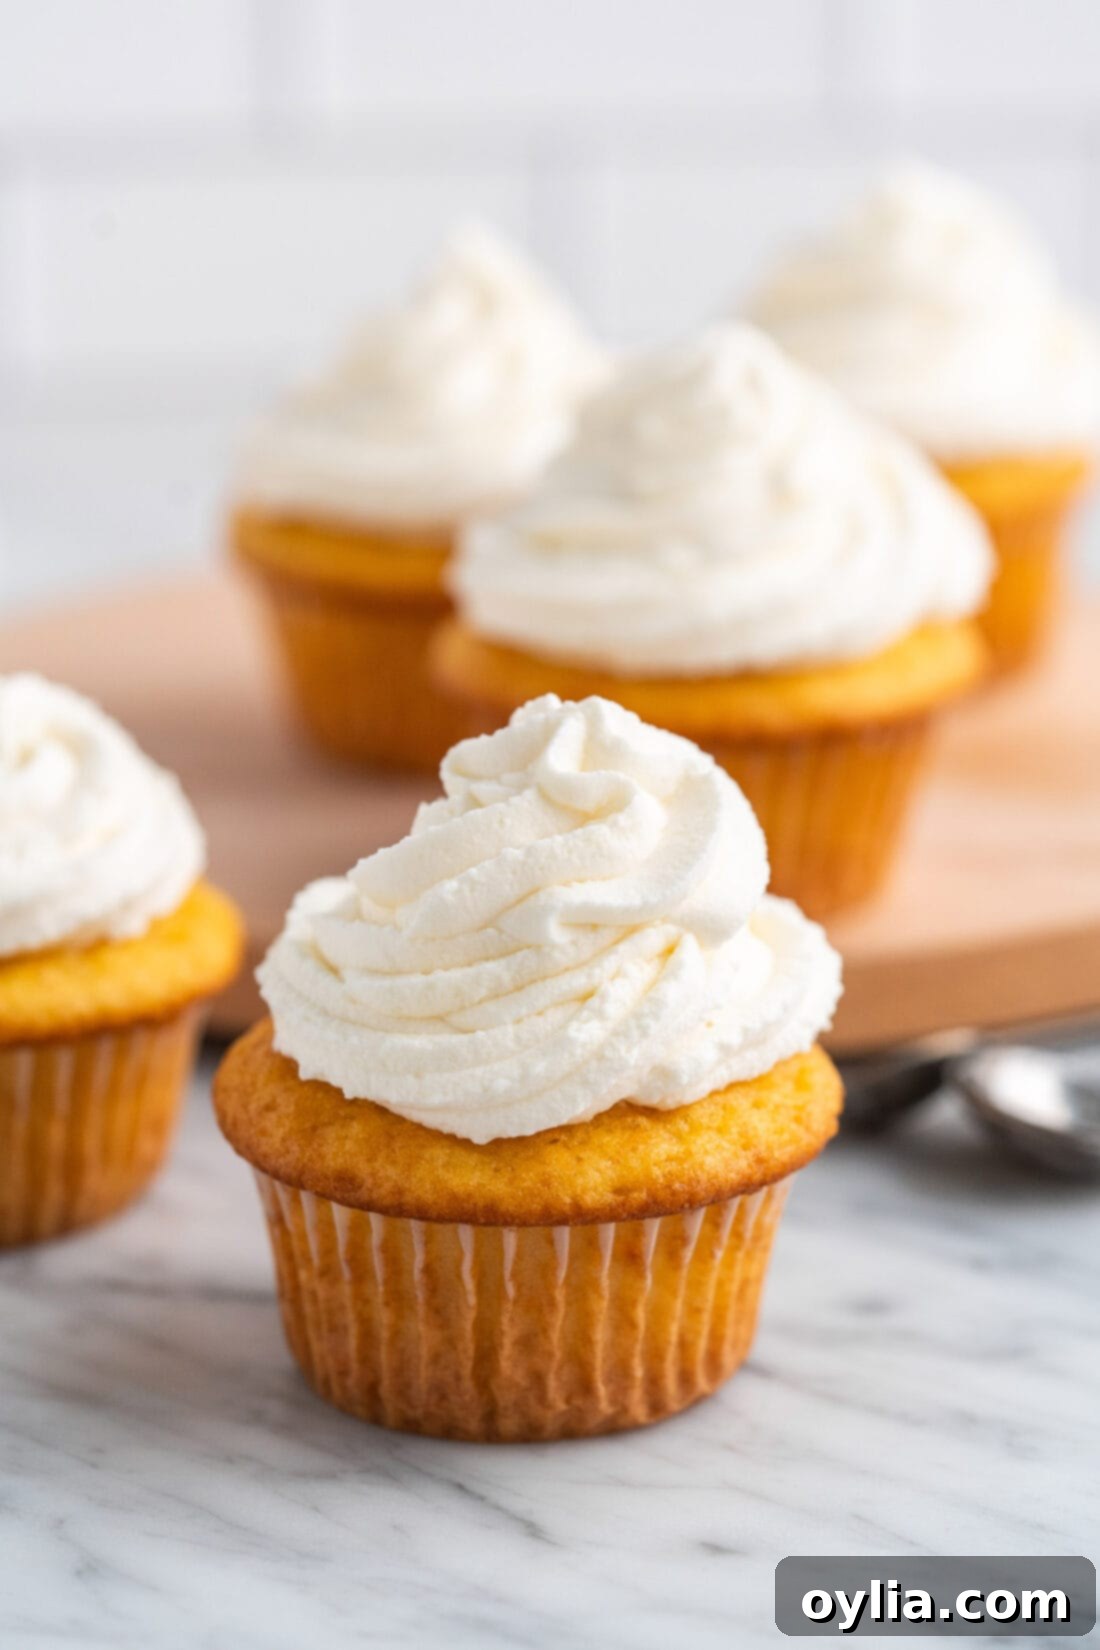
- Cakes and Cupcakes: Pipe or spread it lavishly on cakes, cupcakes, or even sheet cakes for a light, airy frosting that won’t sag. The Ateco 824 tip was used for the cupcakes in the photos, creating beautiful swirls.
- Pies and Tarts: A perfect topping for fruit pies, French Silk Pie, Pumpkin Pie, or any tart that needs a stable, elegant finish.
- Layered Desserts: Its sturdiness makes it ideal for layering in elaborate desserts such as Chocolate Lasagna, parfaits, and Strawberry Shortcake Trifles. It won’t compress or release liquid into other layers.
- Fruit Desserts: A dollop on fresh berries, fruit salads, or grilled fruit elevates any simple dessert.
- Fillings: Use it as a delightful filling for Cream Puffs, éclairs, or even crepes.
- Hot Beverages: While it’s best served chilled, a generous swirl on top of hot cocoa or coffee will last longer than regular whipped cream.
- Holiday Treats: From 4th of July Jello Shots to festive gingerbread houses, this whipped cream adds a touch of creamy perfection that lasts.
Always remember to serve stabilized whipped cream chilled for the best experience and to maintain its delightful texture.
Delicious Recipes to Use Stabilized Whipped Cream On
- Cream Puffs
- French Silk Pie
- Chocolate Lasagna
- Perfect Pumpkin Pie
- 4th of July Jello Shots
- Strawberry Shortcake Trifle
- 3 Ingredient Apple Pie Cupcakes
I am passionate about baking and cooking, and I love sharing my culinary adventures and tested recipes with all of you! To make sure you never miss a new recipe, I offer a convenient newsletter delivered right to your inbox every time a fresh post goes live. Simply subscribe today and start receiving your free daily recipes, tips, and inspiration!
Stabilized Whipped Cream Recipe
IMPORTANT – There are often Frequently Asked Questions within the blog post that you may find helpful. Simply scroll back up to read them!
Print It
Pin It
Rate It
Save It
Saved!
Ingredients
- 1 ½ tablespoons cold water
- 1 teaspoon unflavored gelatin powder
- 1 ¼ cups heavy whipping cream chilled
- 5 tablespoons powdered sugar sifted
- 1 ¼ teaspoon pure vanilla extract
Things You’ll Need
-
Stand mixer or hand mixer
Before You Begin
- For optimal whipping, always ensure your heavy whipping cream is thoroughly chilled. If it’s not cold enough, it won’t whip properly or achieve the desired thickness. A pro tip: chill your stand mixer’s bowl and whisk attachment in the freezer for 15-20 minutes before you start for even better results.
- While pure vanilla extract provides a classic flavor, feel free to get creative! You can substitute it with other extracts or flavorings you love, such as almond, coconut, lemon, or even a splash of liqueur to match your dessert.
- Once your stabilized whipped cream is ready, it’s best to work efficiently. The gelatin will begin to set as it cools, causing the cream to stiffen. Frost your cake or pipe onto cupcakes promptly to ensure easy spreading and piping.
- Finished cakes or cupcakes decorated with stabilized whipped cream can be confidently stored in the refrigerator for up to 3 days, maintaining their pristine appearance and delicious taste.
- The elegant swirls on the cupcakes pictured in this post were achieved using an Ateco 824 piping tip.
Instructions
-
Add the cold water to a small bowl and sprinkle the gelatin on top. Let it sit undisturbed for 5 minutes so the gelatin can properly bloom (this means the gelatin will absorb the water and thicken).
-
After blooming for 5 minutes, microwave the gelatin mixture for 5 seconds, then stir it until dissolved. If any lumps remain, microwave for another 5 seconds and stir again until completely smooth and clear.
-
Pour the chilled heavy whipping cream into the bowl of a stand mixer. Using the whisk attachment, whisk the cream on medium-high speed until it becomes light and foamy.
-
Add the sifted powdered sugar and pure vanilla extract to the foamy cream. Continue whisking until the mixture forms soft peaks.
-
With the mixer running on low speed, gradually drizzle in the dissolved gelatin in a thin, steady stream, ensuring it is fully incorporated into the cream.
-
Increase the mixer speed back to medium-high and continue whipping just until the cream forms stiff peaks. Be careful not to overmix, as it can quickly become grainy.
-
Use the stabilized whipped cream immediately to frost cakes, fill pastries, or transfer it to a piping bag fitted with your desired tip to pipe onto cupcakes or other desserts.
Nutrition
The recipes on this blog are tested with a conventional gas oven and gas stovetop. It’s important to note that some ovens, especially as they age, can cook and bake inconsistently. Using an inexpensive oven thermometer can assure you that your oven is truly heating to the proper temperature. If you use a toaster oven or countertop oven, please keep in mind that they may not distribute heat the same as a conventional full sized oven and you may need to adjust your cooking/baking times. In the case of recipes made with a pressure cooker, air fryer, slow cooker, or other appliance, a link to the appliances we use is listed within each respective recipe. For baking recipes where measurements are given by weight, please note that results may not be the same if cups are used instead, and we can’t guarantee success with that method.
