Homemade Valentine Cherry Hand Pies: Your Ultimate Guide to Flaky, Fruity Love Bites
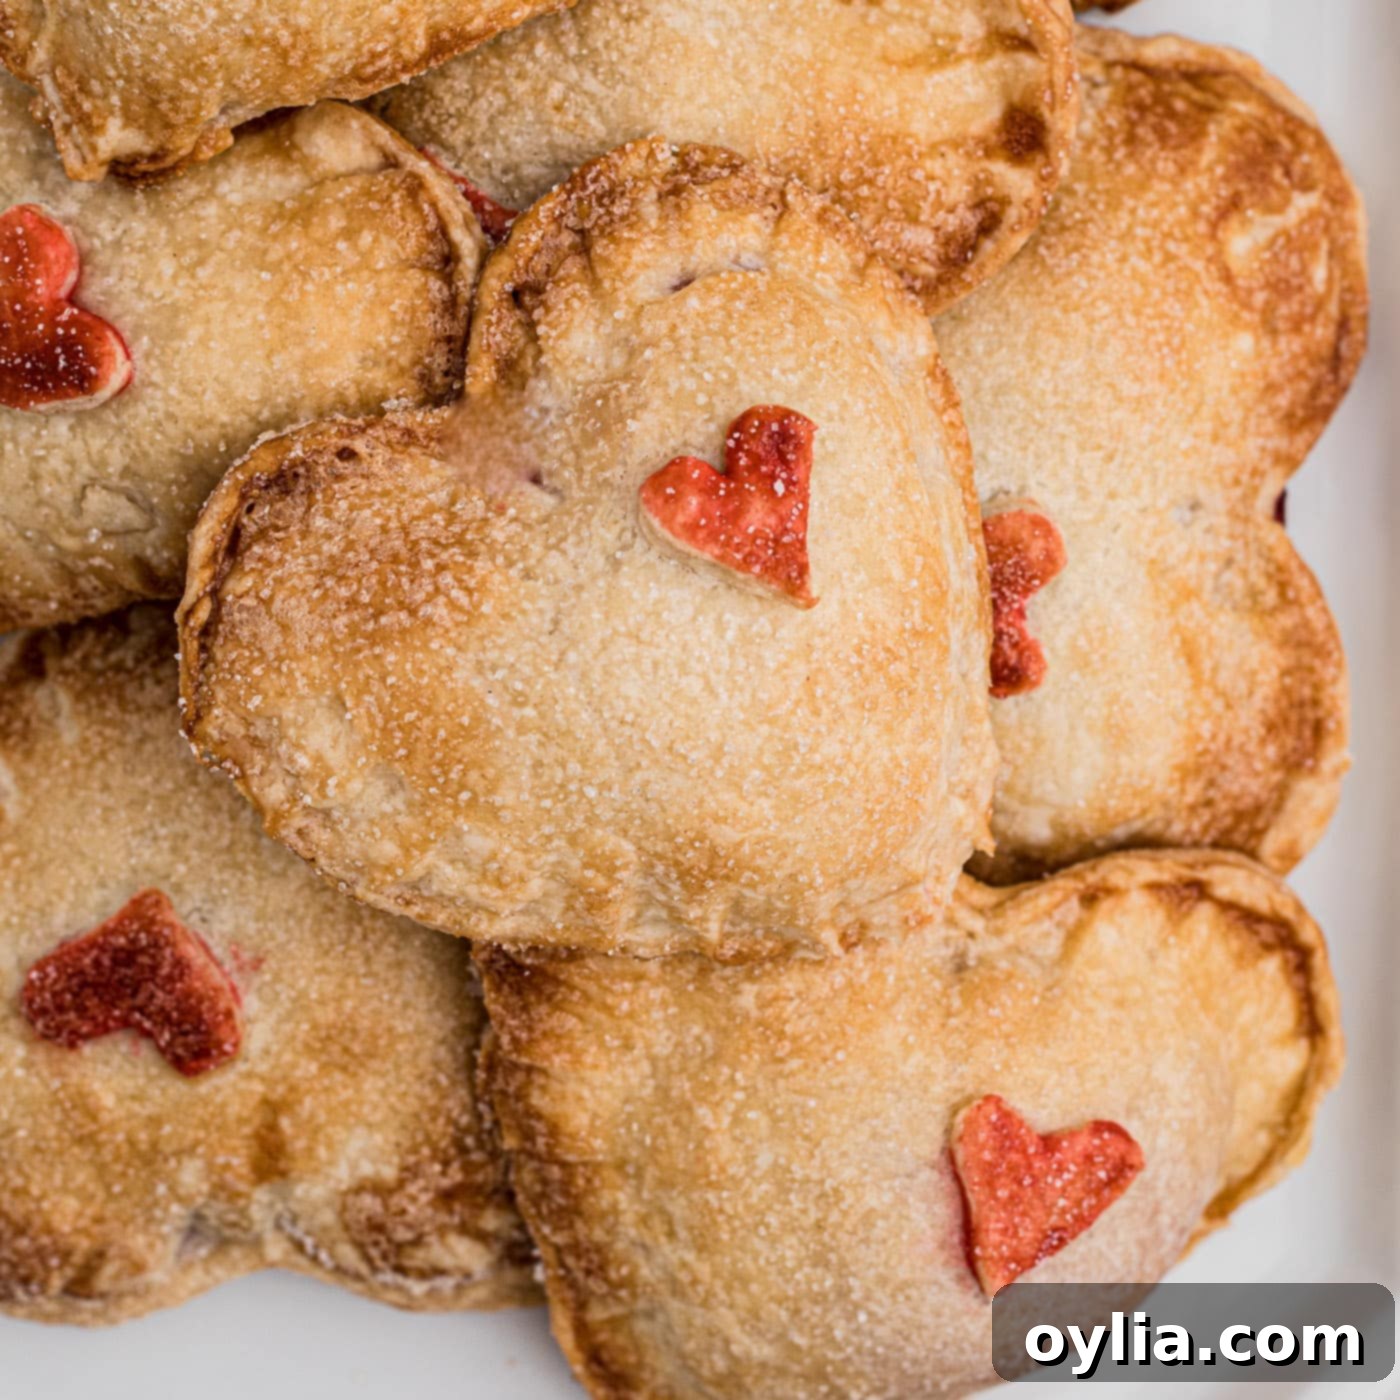
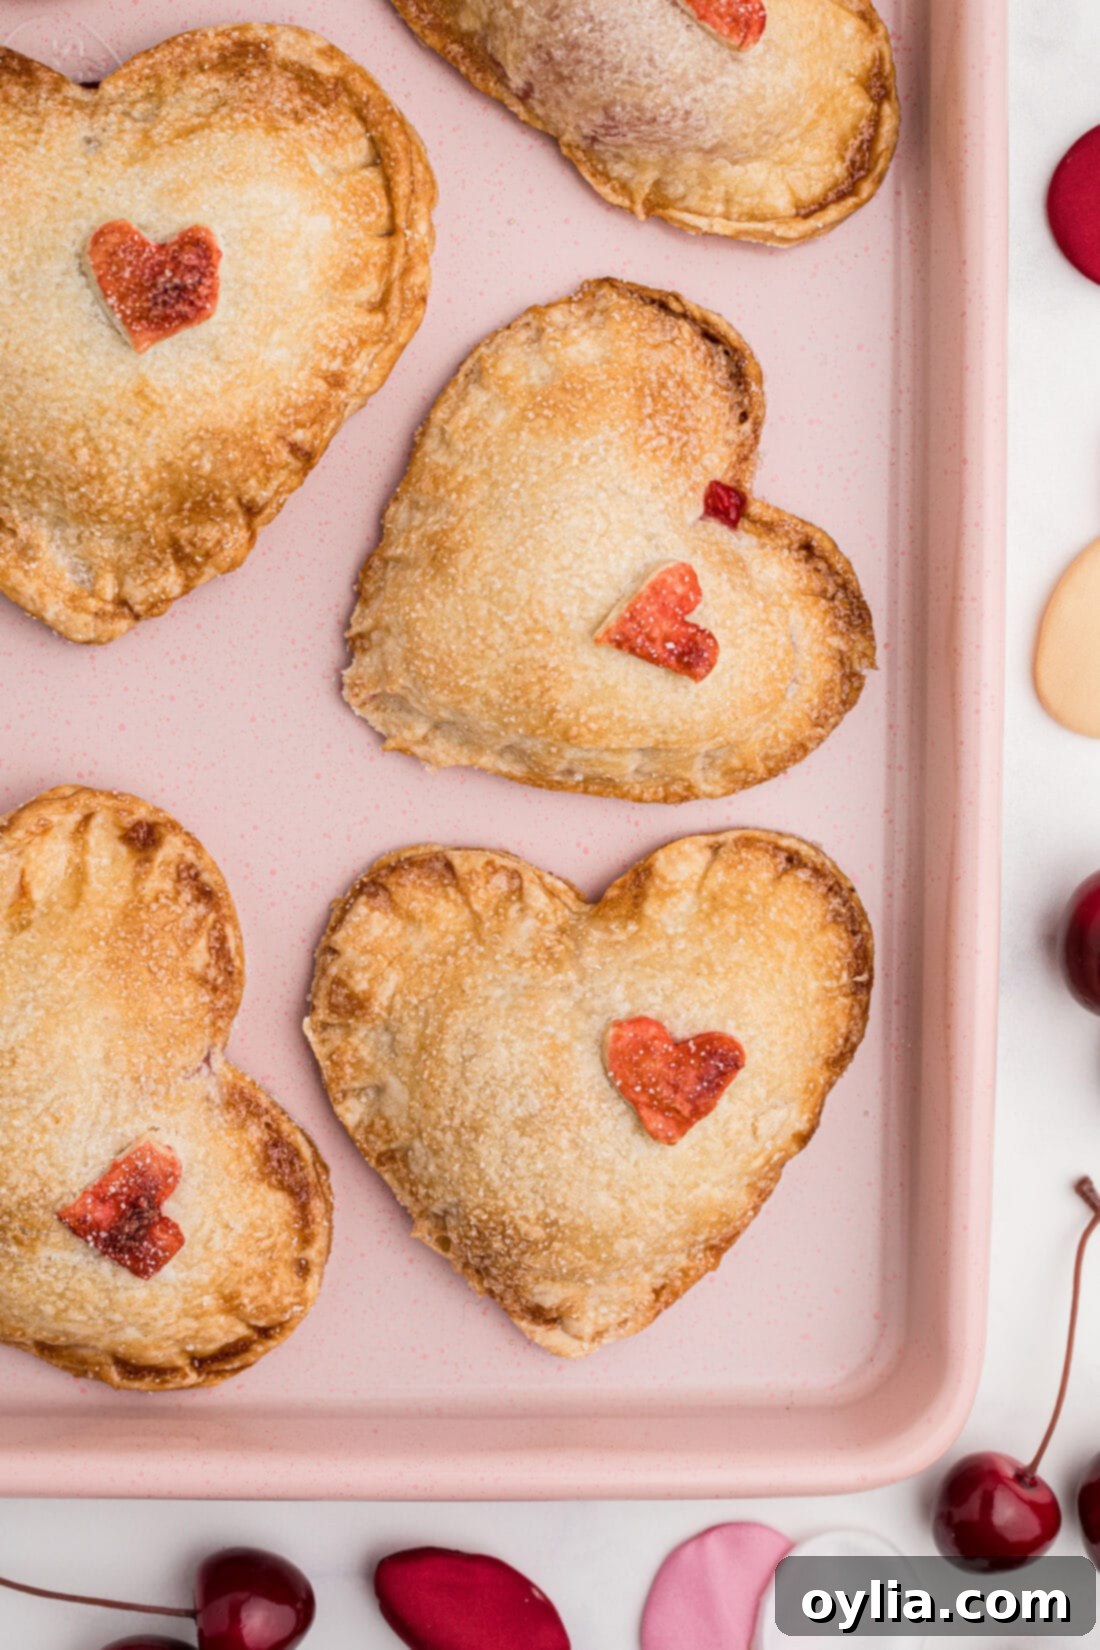
There’s no sweeter way to say “I love you” than with a homemade treat, and these **Valentine Cherry Hand Pies** are the quintessential edible declaration of affection. Imagine a luscious, sweet cherry pie filling nestled within a perfectly flaky, buttery homemade pie dough, all finished with a delicate sprinkle of sugar and a cute, vibrant red heart. These individual pies are not just desserts; they are little parcels of love, designed to be the perfect edible gift for your sweetheart or a delightful indulgence for yourself.
Why These Valentine Cherry Hand Pies Are a Must-Make
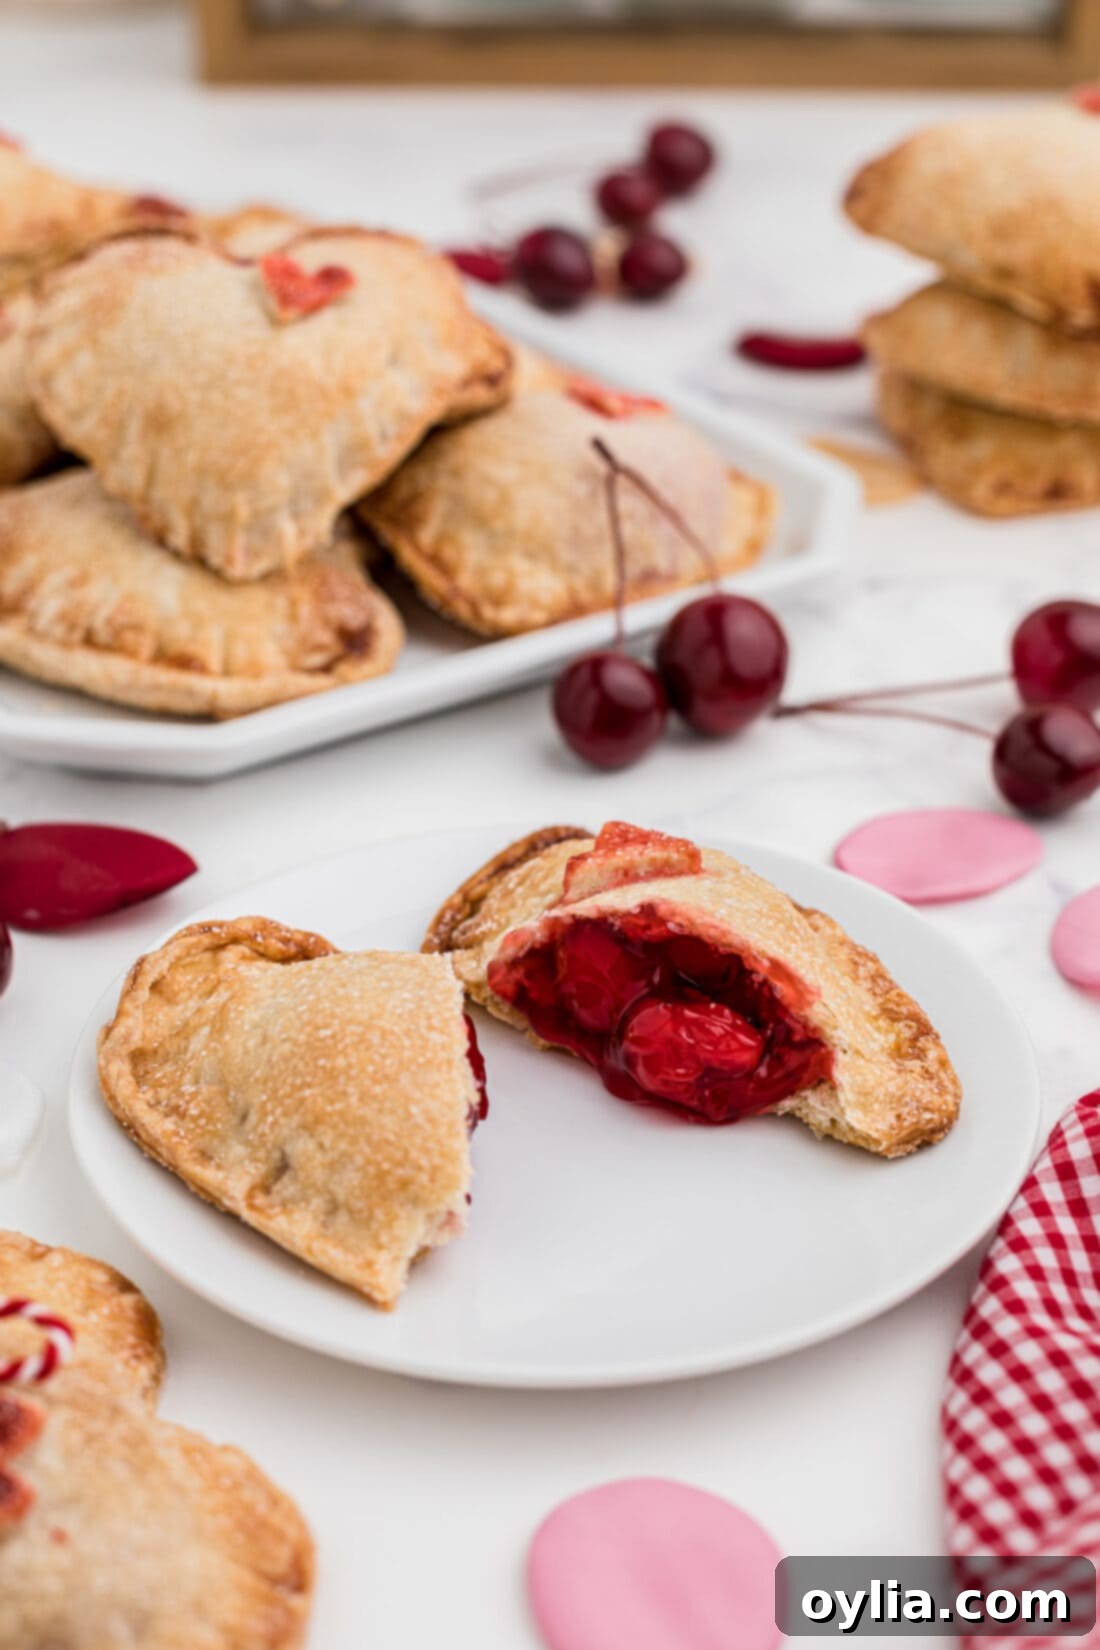
Showing affection through food is a time-honored tradition, and for Valentine’s Day, these cherry hand pies truly shine. They’re more than just a dessert; they are delightful, **handheld love bombs** that combine the nostalgic comfort of a classic pie with the charm of an individual serving. Each bite offers a burst of sweet cherry pie filling perfectly encased in a tender, buttery homemade pie dough, creating a truly irresistible treat.
What makes this recipe so effective? First, it simplifies the art of pie-making. While they resemble mini versions of traditional pies, their handheld format makes them incredibly adorable and surprisingly easy to manage. No need for slicing a large pie or worrying about messy plates; these individual portions are perfect for on-the-go enjoyment or as elegant party favors. We’ve explored many hand pie variations, from blueberry hand pies and apple hand pies to these festive heart-shaped cherry creations. Once you start making them, you’ll understand why we’re so hooked!
The beauty of a hand pie lies in its perfect crust-to-filling ratio. Every bite delivers a balance of the sweet, slightly tart cherry filling and the rich, flaky pastry. Using a homemade pie dough elevates these treats, providing a texture and flavor far superior to store-bought alternatives. The act of shaping them into hearts adds a personalized, romantic touch, making them ideal for Valentine’s Day celebrations or any occasion where a little extra love is desired.
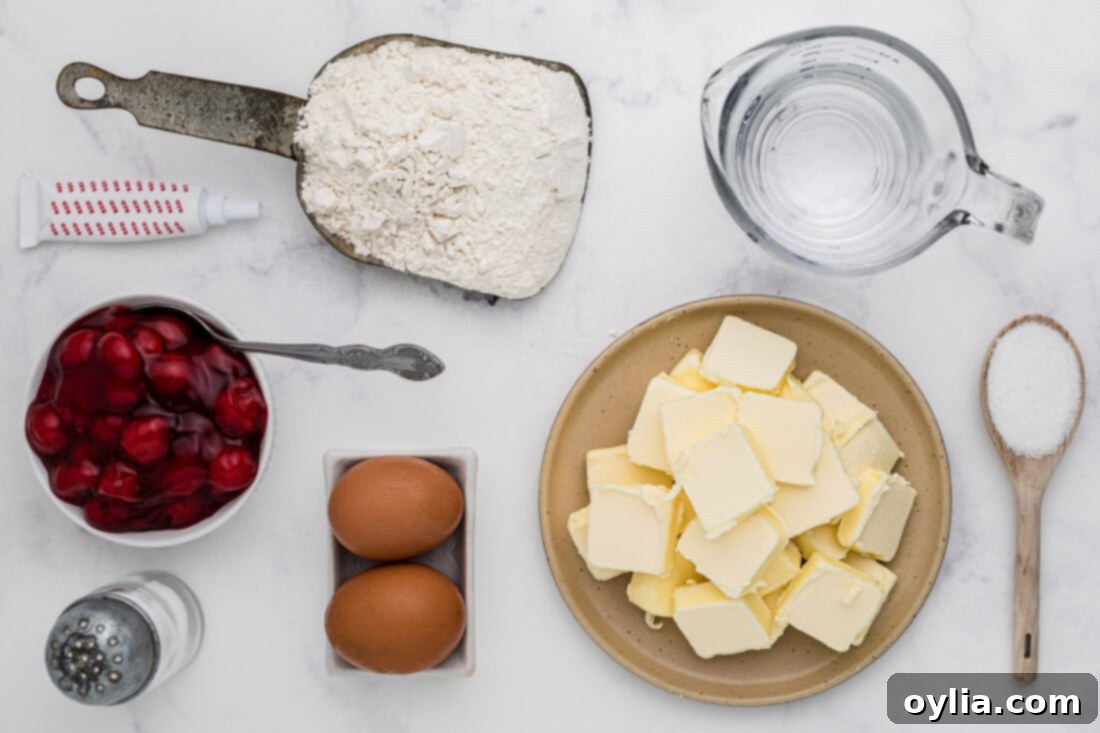
Essential Ingredients for Your Sweet Cherry Hand Pies
Below, you’ll find a detailed list of all the ingredients required for these delicious hand pies. For precise measurements and step-by-step instructions, please refer to the printable recipe card at the end of this post. Gather your ingredients to create these delightful Valentine’s Day treats!
Ingredient Insights and Creative Substitutions
Crafting the perfect hand pie involves understanding each component and knowing when to get creative with substitutions. Here’s a breakdown of the key ingredients and how you can adapt them to your taste and convenience:
DOUGH – Our recipe features an easy-to-make, homemade buttery, and incredibly flaky pie dough. This is the foundation of a truly exceptional hand pie, contributing significantly to its texture and flavor. The cold butter in the dough creates steam during baking, which separates the layers of flour, resulting in that desirable flakiness. However, if time is of the essence or you prefer a shortcut, a good quality store-bought refrigerated pie crust can be a convenient substitute. Look for brands known for their buttery taste and ability to crisp up nicely.
FILLING – While cherry pie filling is a classic and visually appealing choice for Valentine’s Day, the versatility of this recipe allows for endless flavor explorations. Feel free to use your favorite type of pie filling! Consider options like:
- Strawberry: For a vibrant, sweet-tart flavor that also suits the Valentine’s theme.
- Apple: A comforting, familiar choice, perhaps with a sprinkle of cinnamon.
- Blueberry: Bursting with juicy sweetness, these are always a crowd-pleaser.
- Blackberry or Raspberry: For a slightly more tart and robust berry flavor.
- Lemon Curd: A zesty and creamy alternative for those who love citrus.
- Chocolate Variation: Get creative with Nutella in the center for a rich, hazelnut-chocolate delight. For an extra special touch, combine a small amount of cherry pie filling with Nutella for a chocolate-covered cherry experience in a pie!
EGG WHITES & GRANULATED SUGAR (for wash) – The egg wash serves multiple purposes. The plain egg white wash gives the pastry a beautiful golden sheen and helps seal the pies. When combined with sugar, it creates a slightly caramelized, sparkling crust. The red-dyed egg white and sugar mixture is purely for decorative purposes, ensuring your little heart toppers have that unmistakable bright red hue, perfect for the holiday of love. Don’t skip the sugar in the wash, as it contributes to that irresistible crispy, sweet outer layer.
RED FOOD COLOR – This ingredient is specifically for coloring the small heart-shaped dough cutouts that adorn the top of your hand pies. It adds a festive pop of color that makes these treats instantly recognizable as a Valentine’s Day delight. If you prefer a more natural approach, you could try using a very small amount of beet juice, though the color may be less intense and require more drying time.
Crafting Your Valentine Cherry Hand Pies: A Step-by-Step Guide
These step-by-step photos and instructions are here to help you visualize how to make this recipe. You can Jump to Recipe to get the printable version of this recipe, complete with measurements and instructions at the bottom.
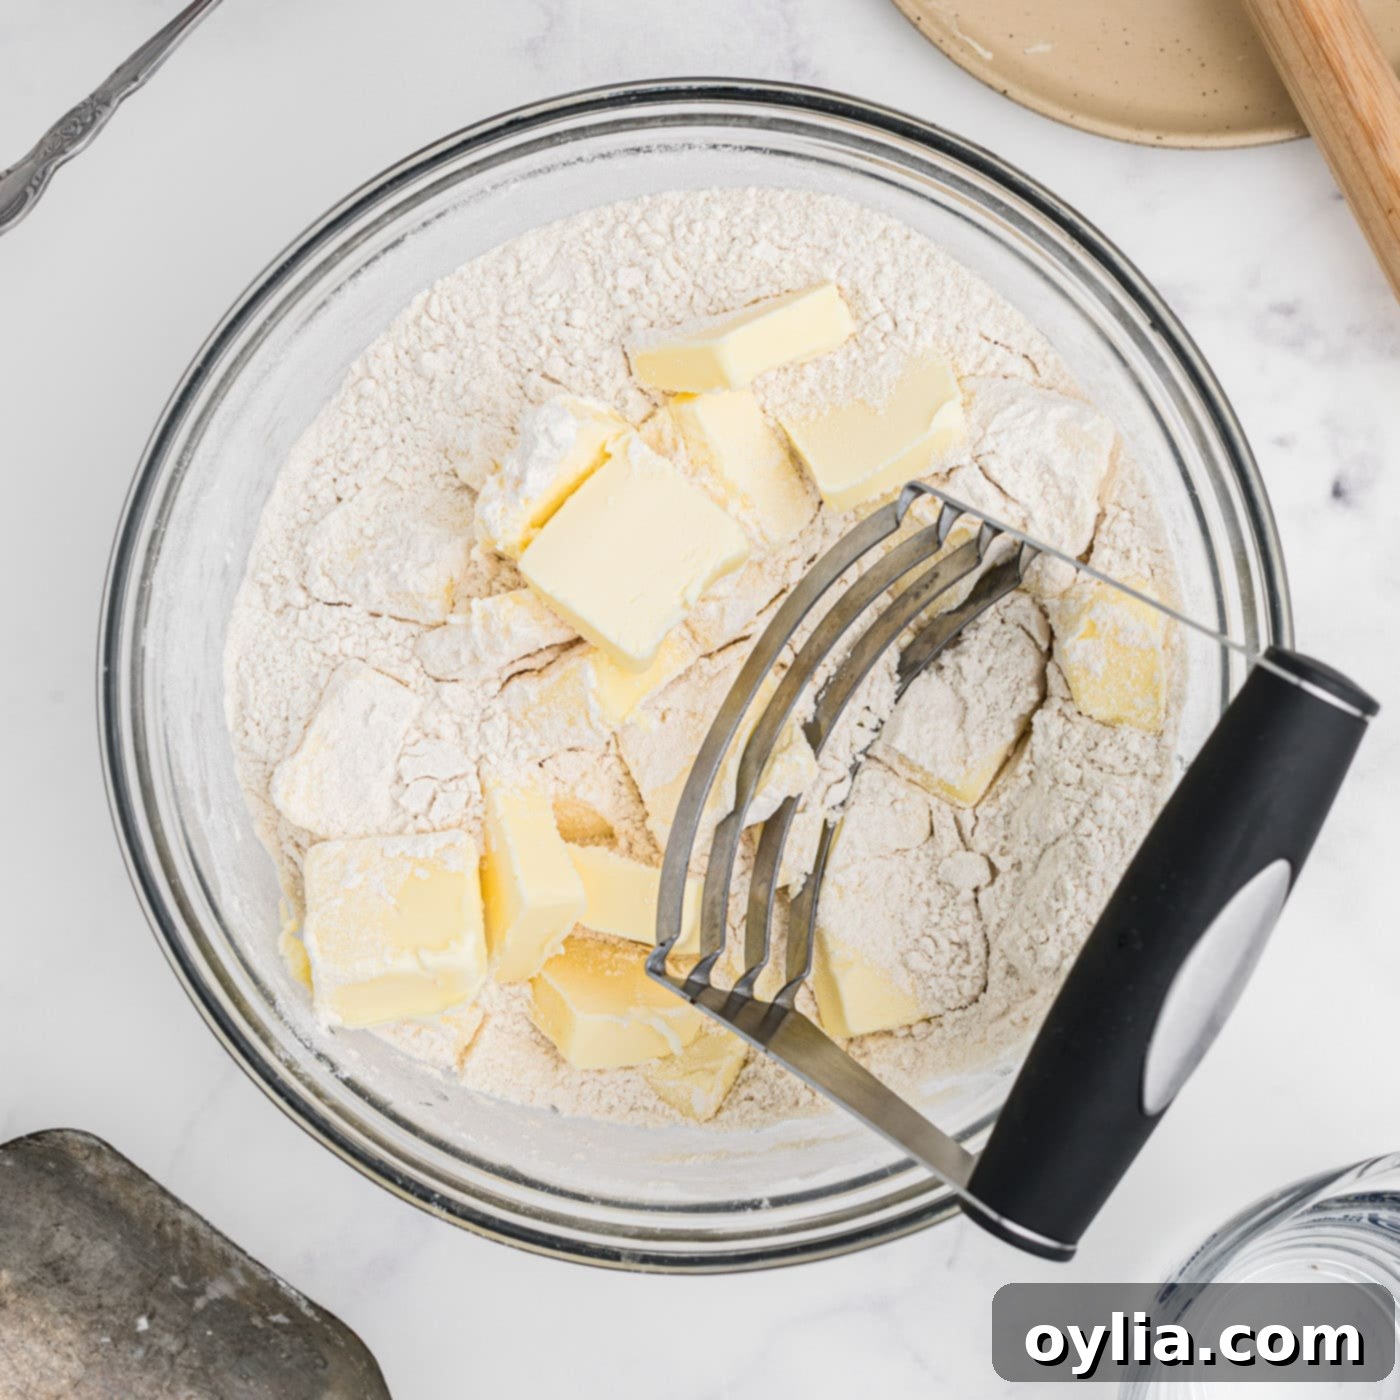
- Prepare the Dough Base: Begin by cutting your cold unsalted butter into small, uniform pats. In a large mixing bowl, combine the all-purpose flour and salt. Mix these dry ingredients thoroughly to ensure even distribution.
- Incorporate the Butter for Flakiness: Using a pastry cutter, gradually add the cold butter pats into the flour mixture. Work quickly, cutting the butter into the flour until you achieve small, pea-sized pieces. Alternatively, you can use your fingertips, rubbing the butter into the flour until the mixture resembles coarse breadcrumbs. The key here is to keep the butter as cold as possible to ensure a flaky crust, so avoid overworking it.
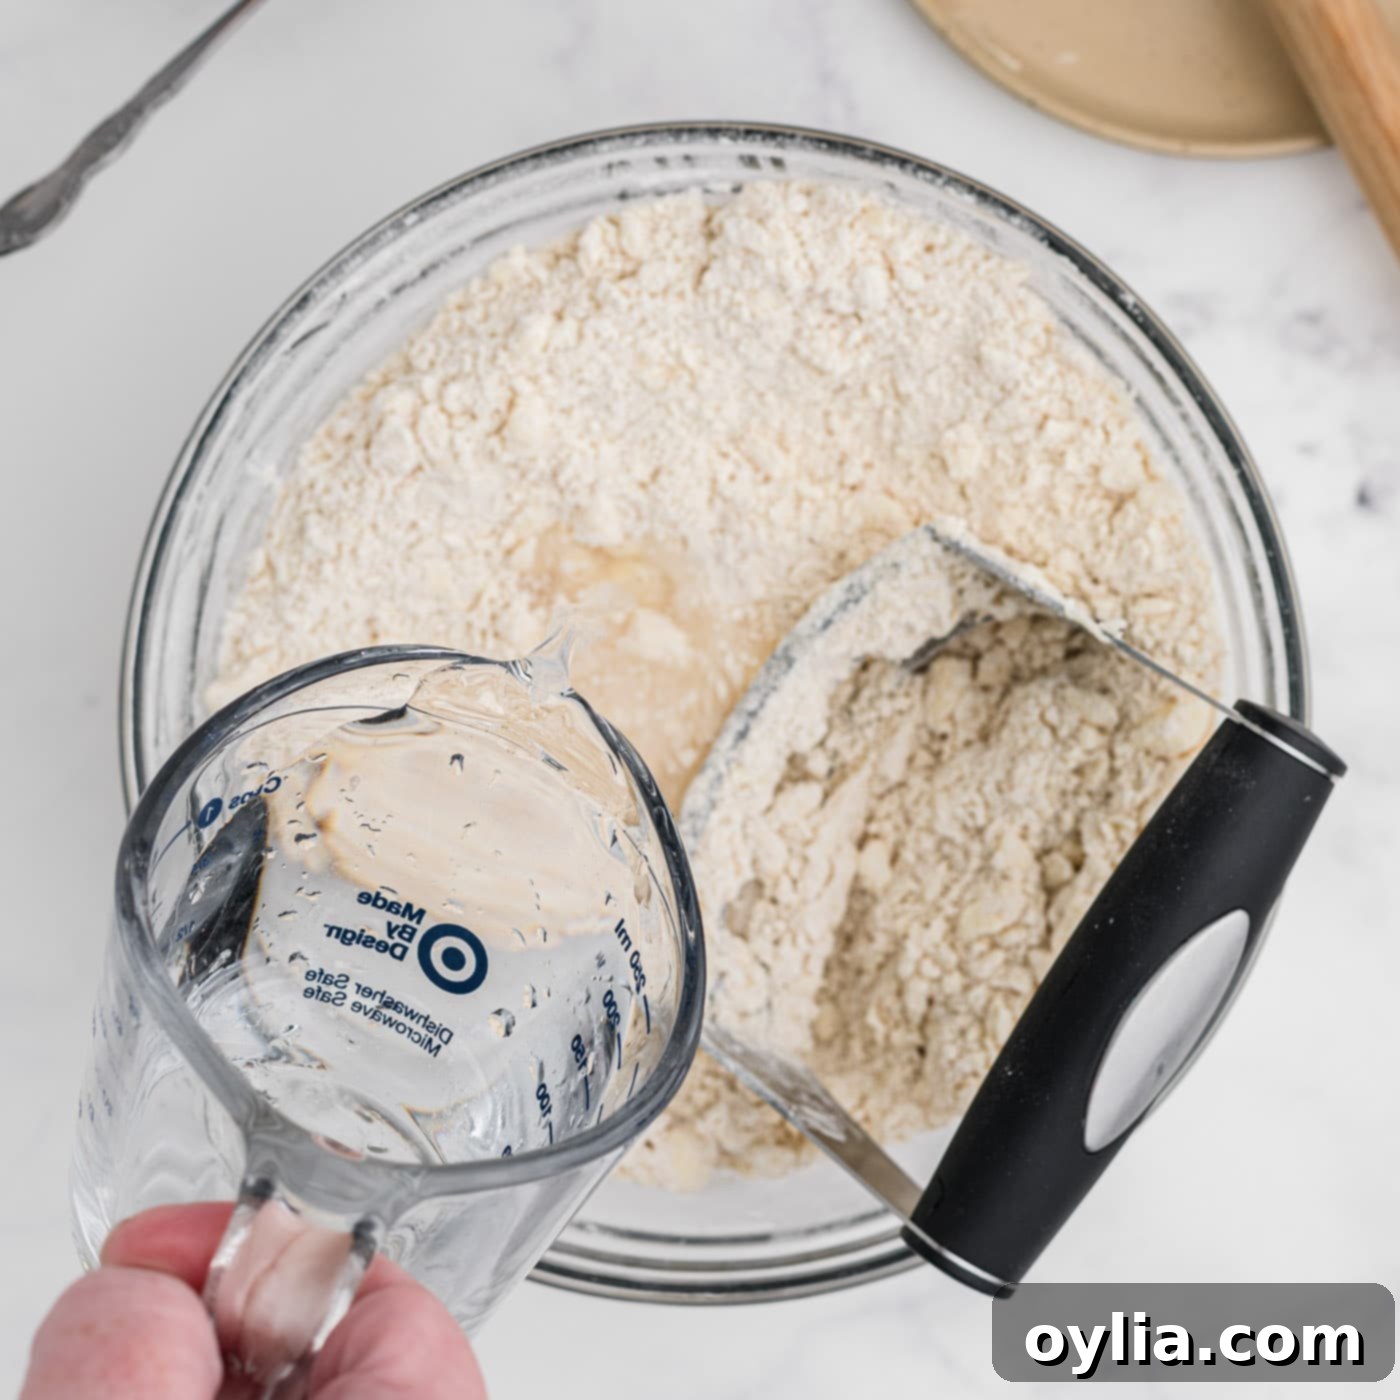
- Form the Dough: Gradually incorporate about half of the cold water into the flour and butter mixture, mixing gently until just combined. Then, spoon by spoon, add more cold water until the dough comes together and is workable. Be careful not to add too much water; the dough should be cohesive but not sticky.
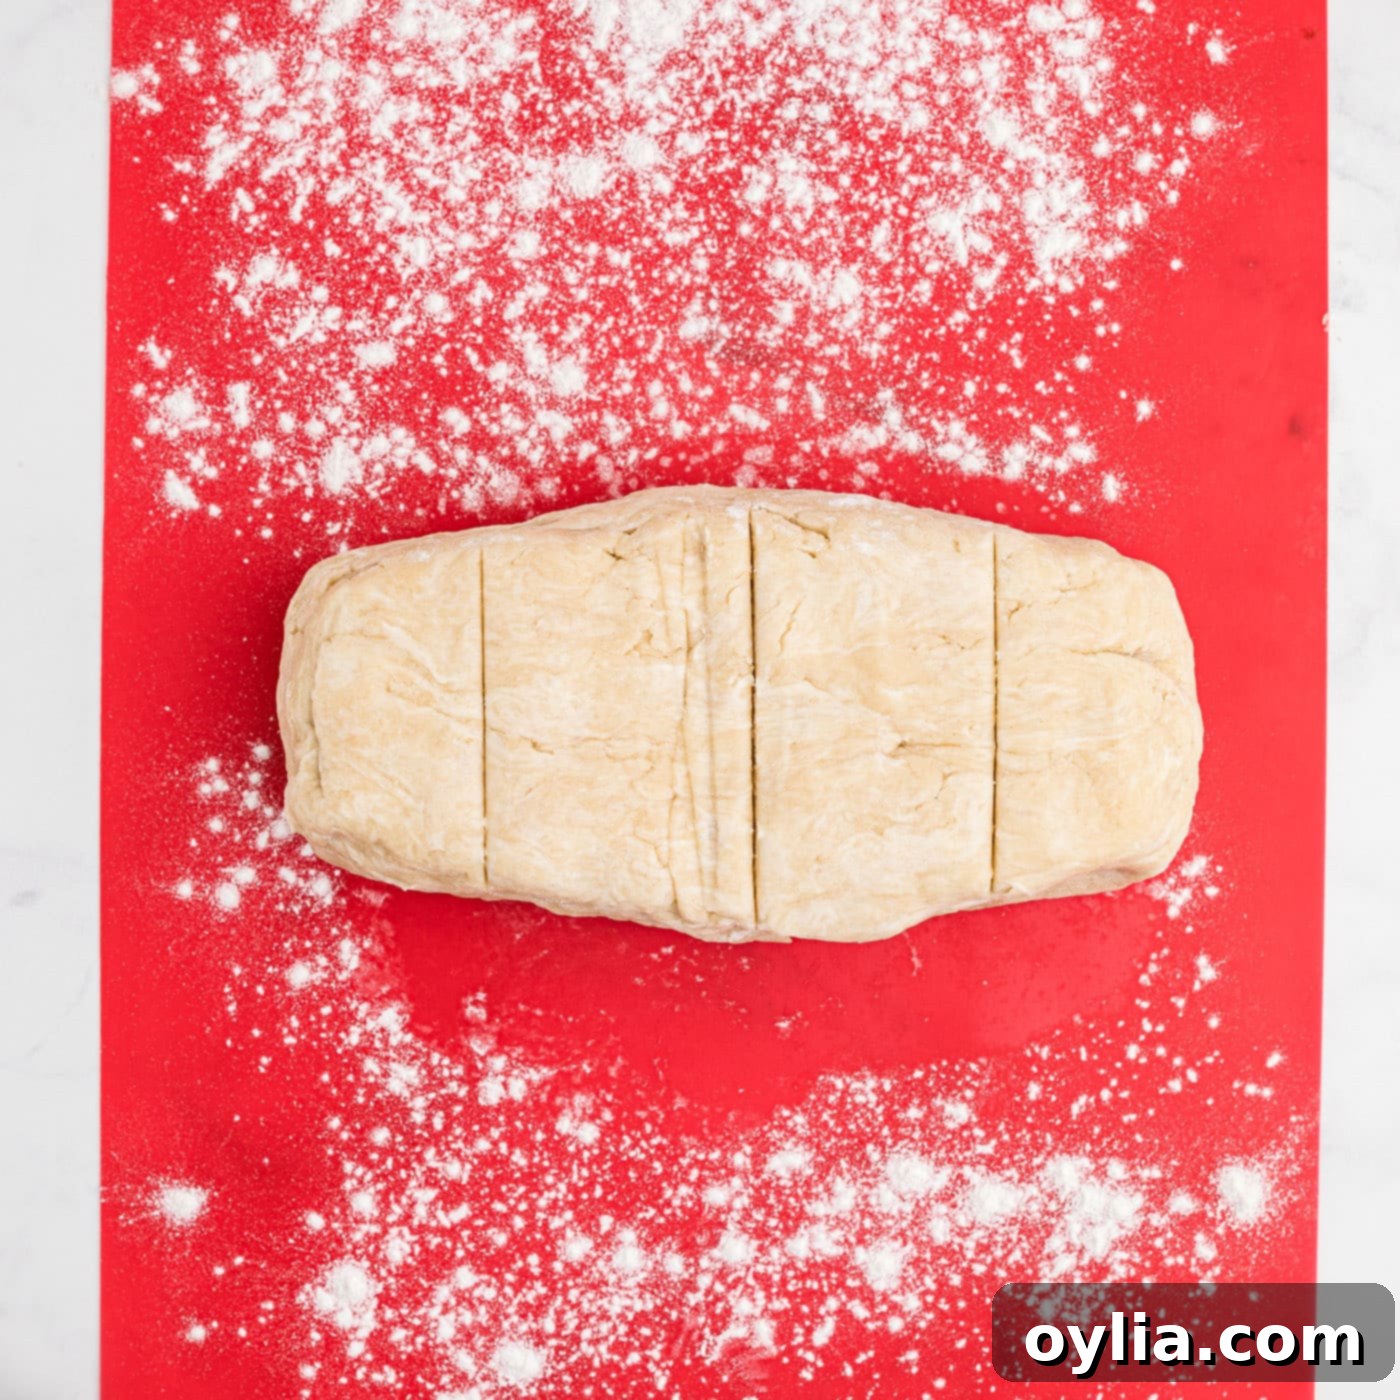
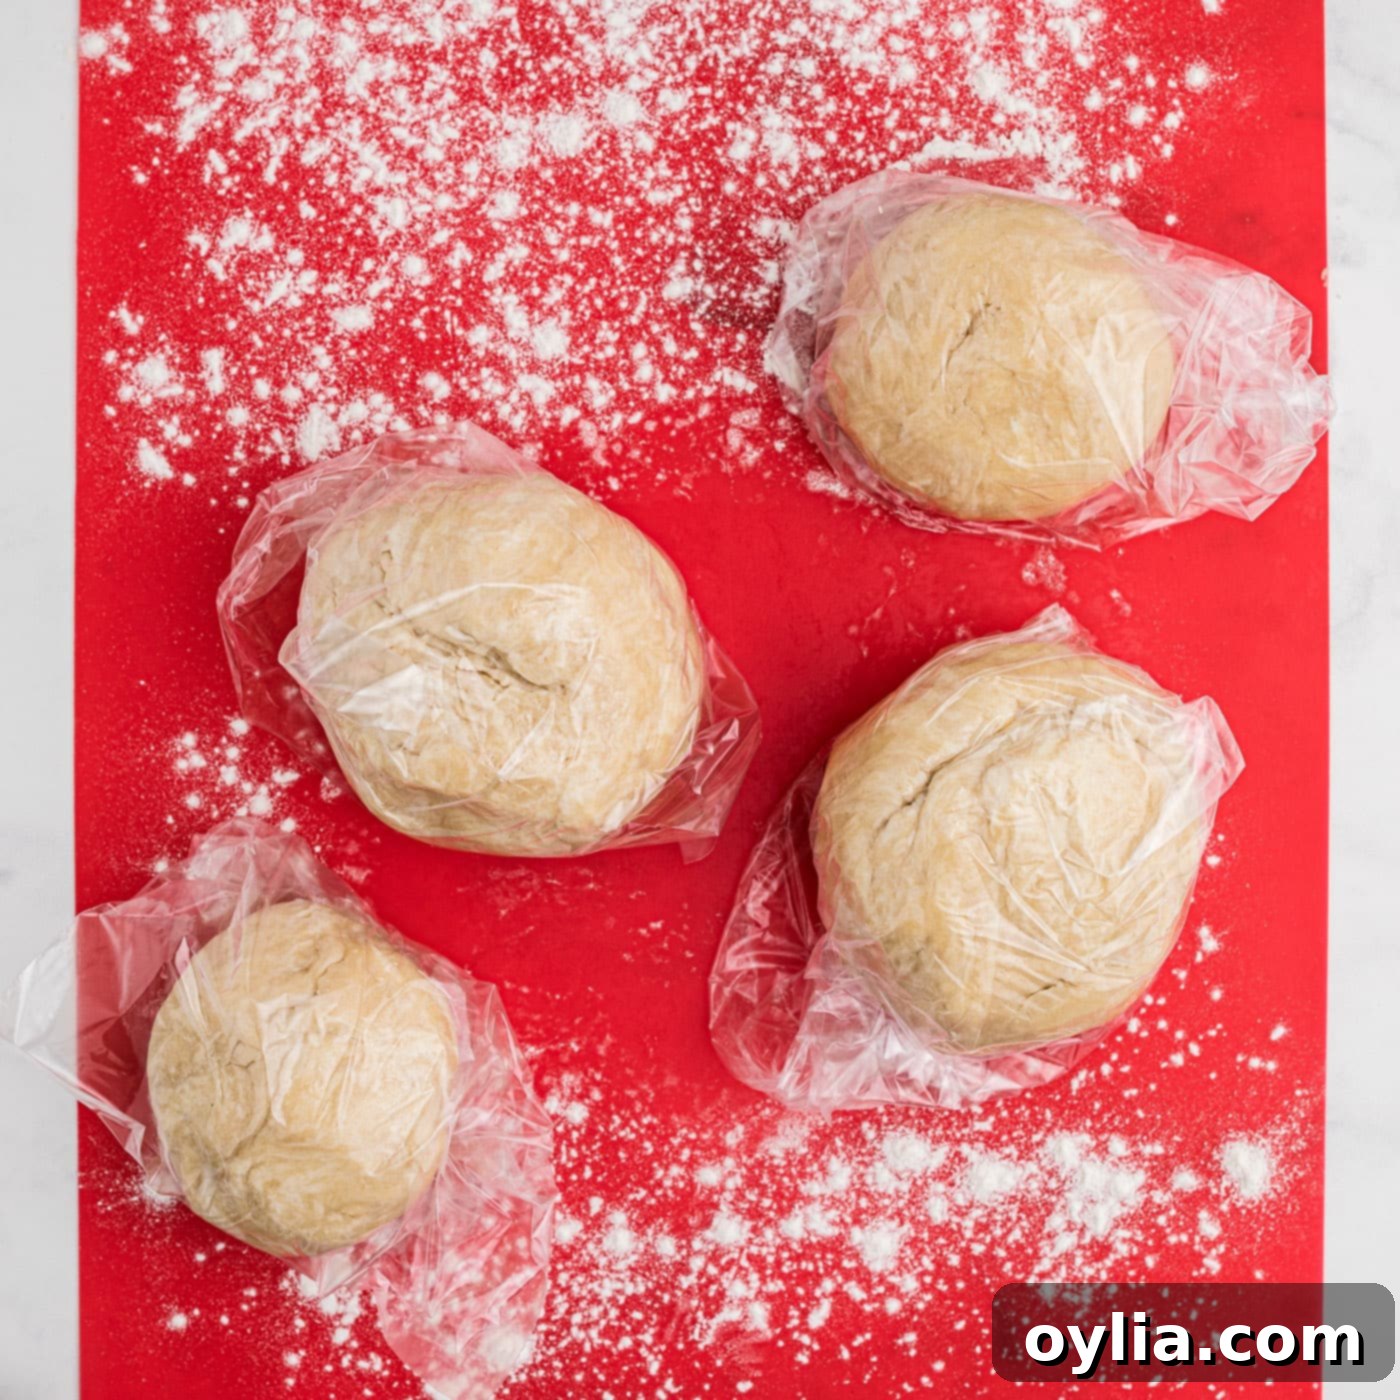
- Divide and Shape the Dough: Once your dough has formed, roll it into a neat ball. Gently work it into an even, log-like shape, then divide it into four equal sections. This ensures uniform hand pie sizes later on.
- Chill the Dough: Roll each of the four sections into a smaller ball and place them into a plastic bag. Refrigerate the dough balls for approximately 10 minutes. Chilling the dough is crucial as it allows the gluten to relax, makes the dough easier to roll, and helps maintain the flakiness of the crust during baking.


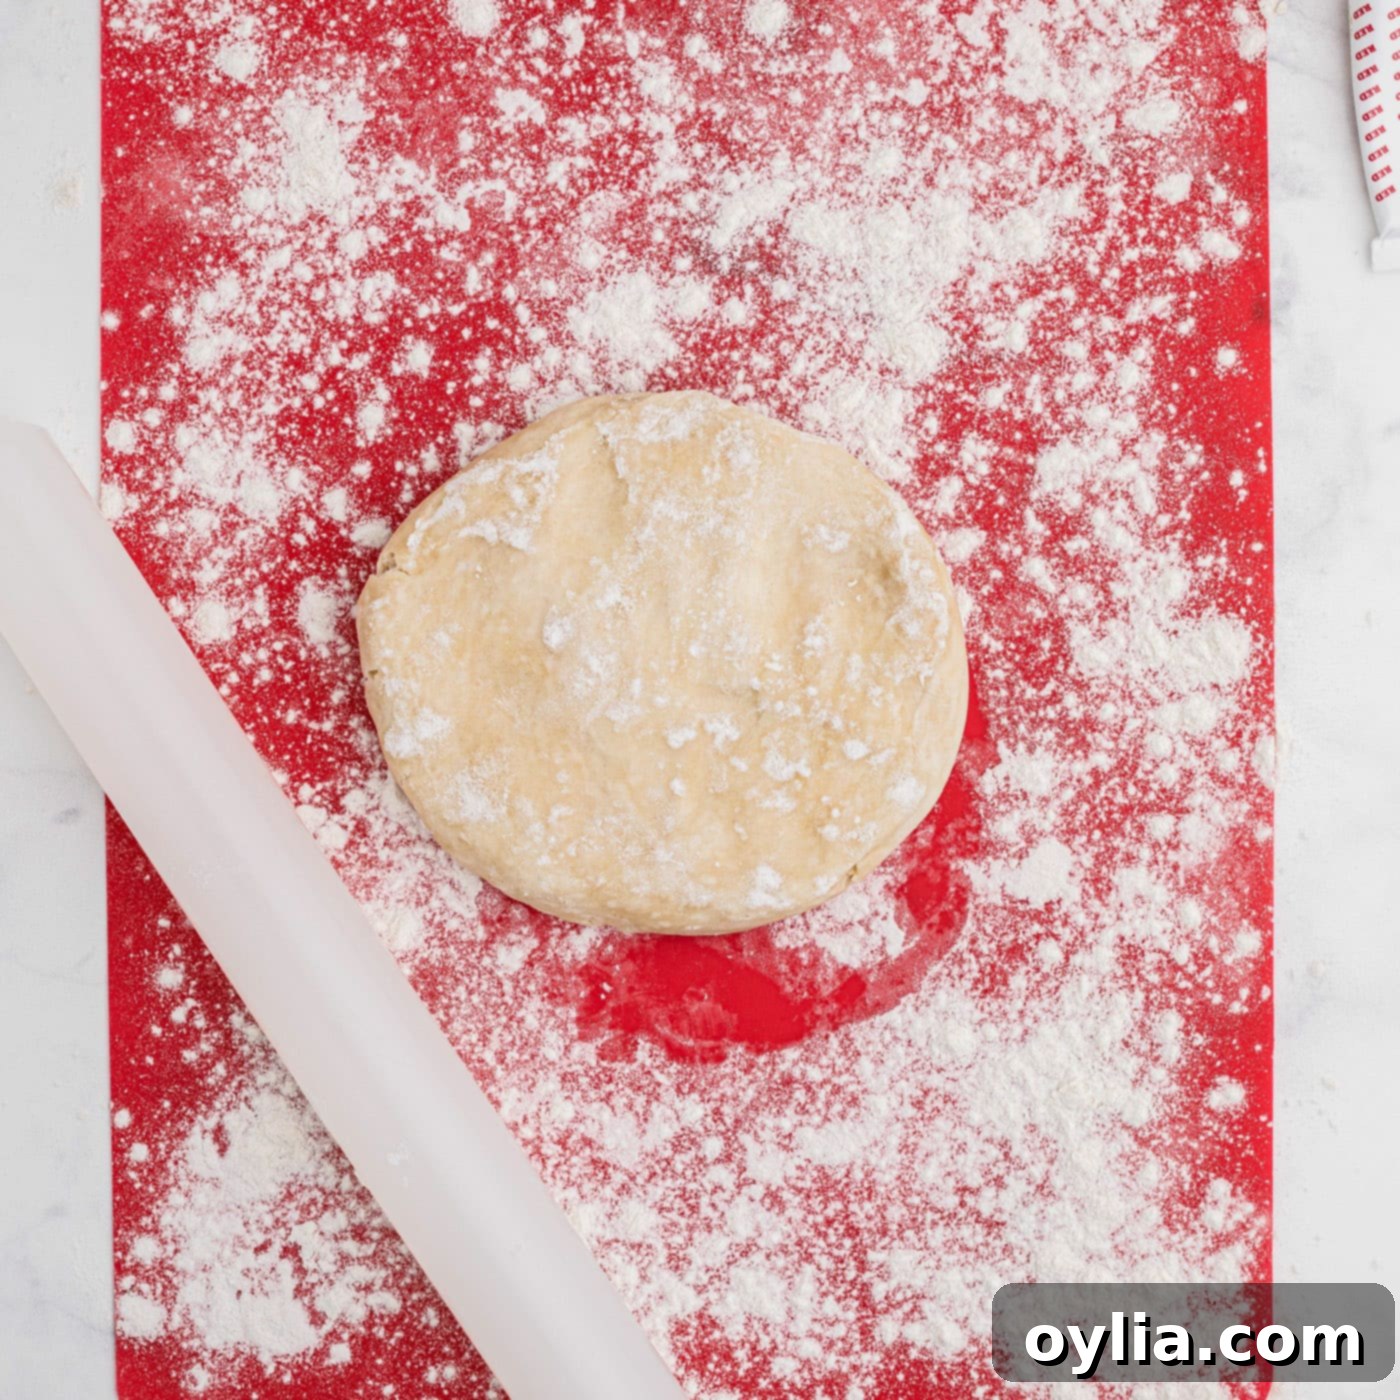
- Roll Out the Dough for Pie Cutouts: Take one chilled ball of dough and place it onto a lightly floured work surface. Using a rolling pin, roll the dough out evenly until it’s about 1/8 inch thick. Aim for an even thickness to ensure uniform baking.

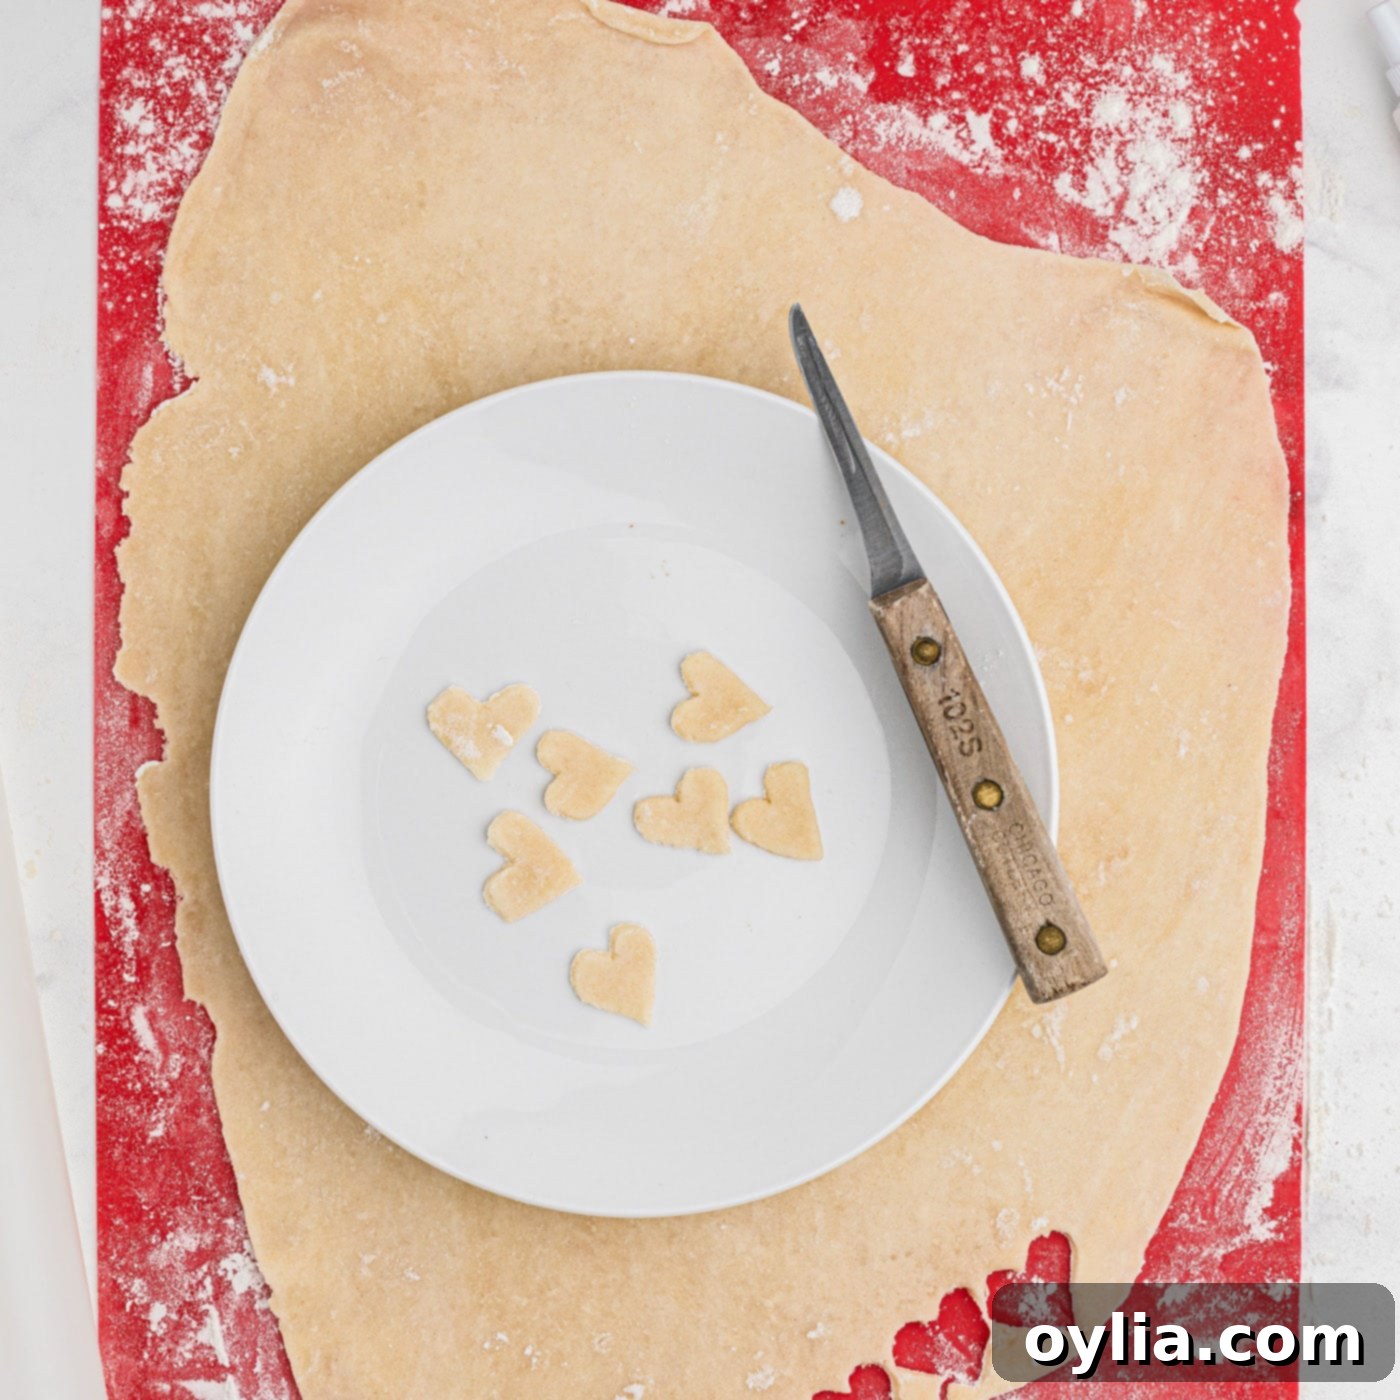
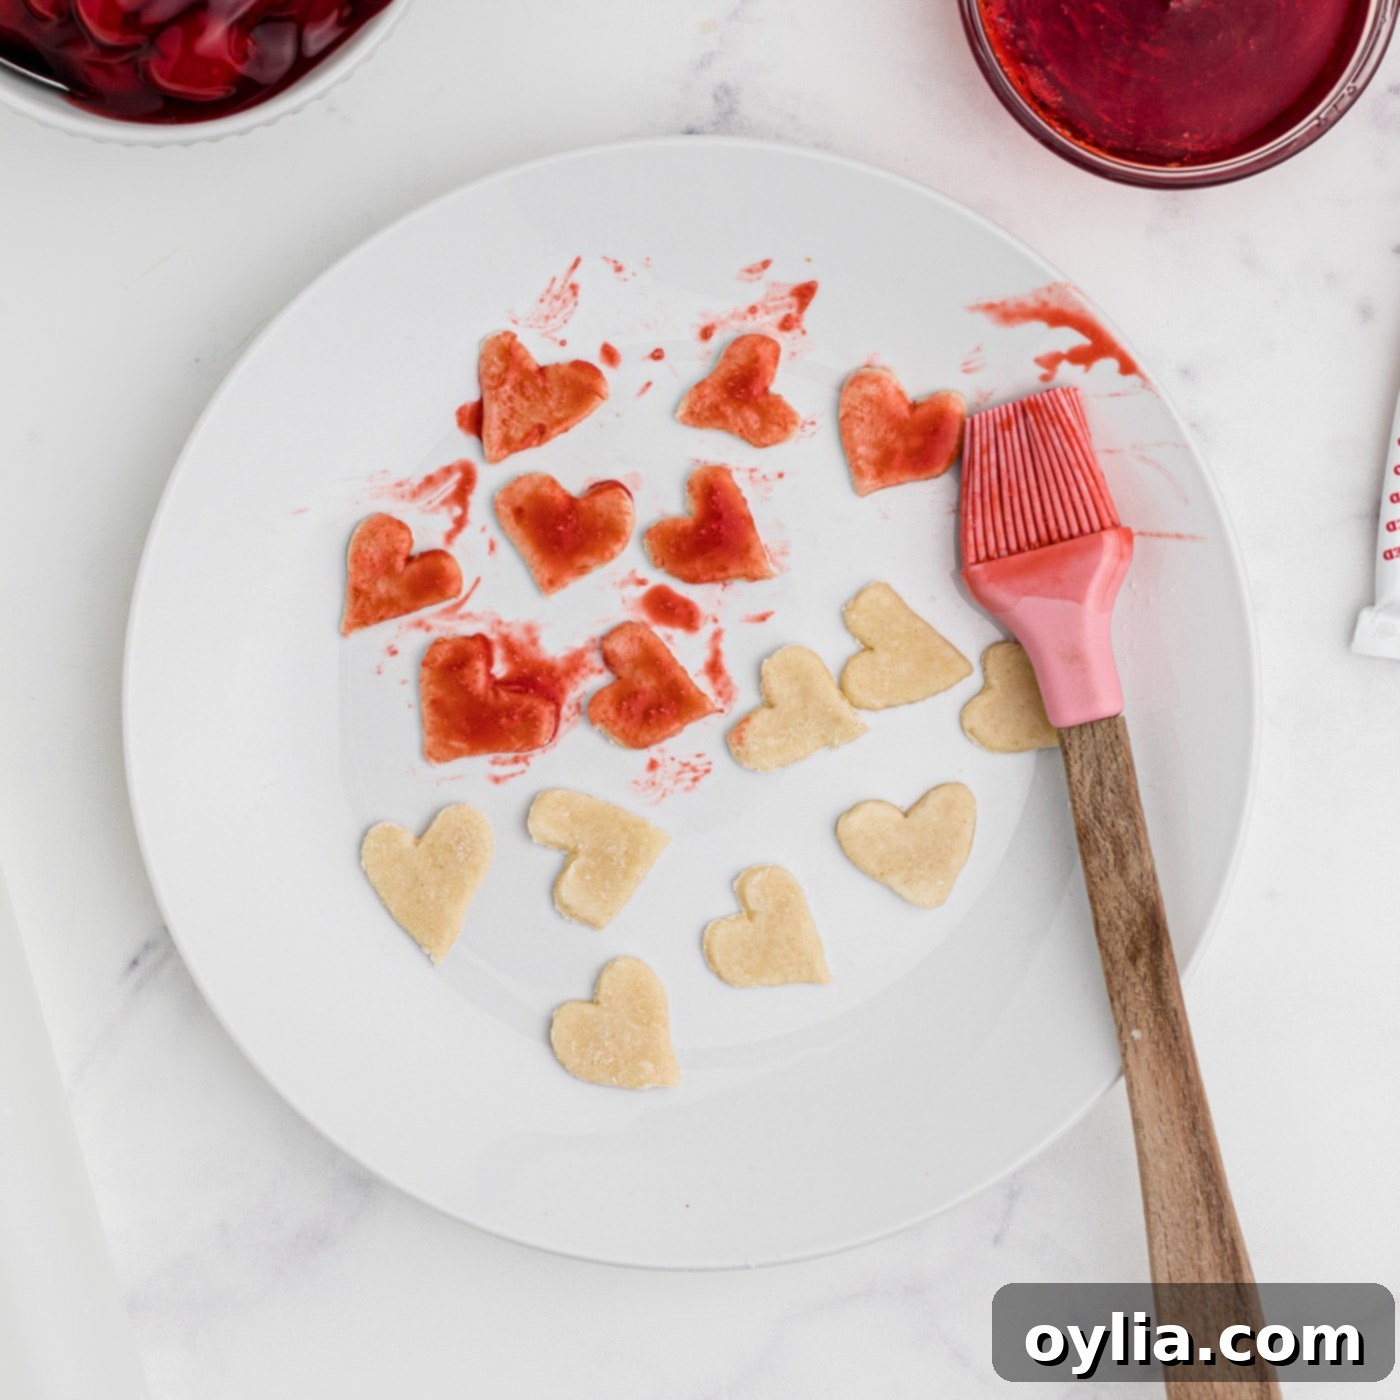
- Create Decorative Hearts: With a small, sharp knife, carefully cut out several small heart shapes (approximately ½ inch in size) from the rolled-out dough. Place these tiny hearts onto a plate. If you have a small heart-shaped cookie cutter, it will make this step much easier and more precise.

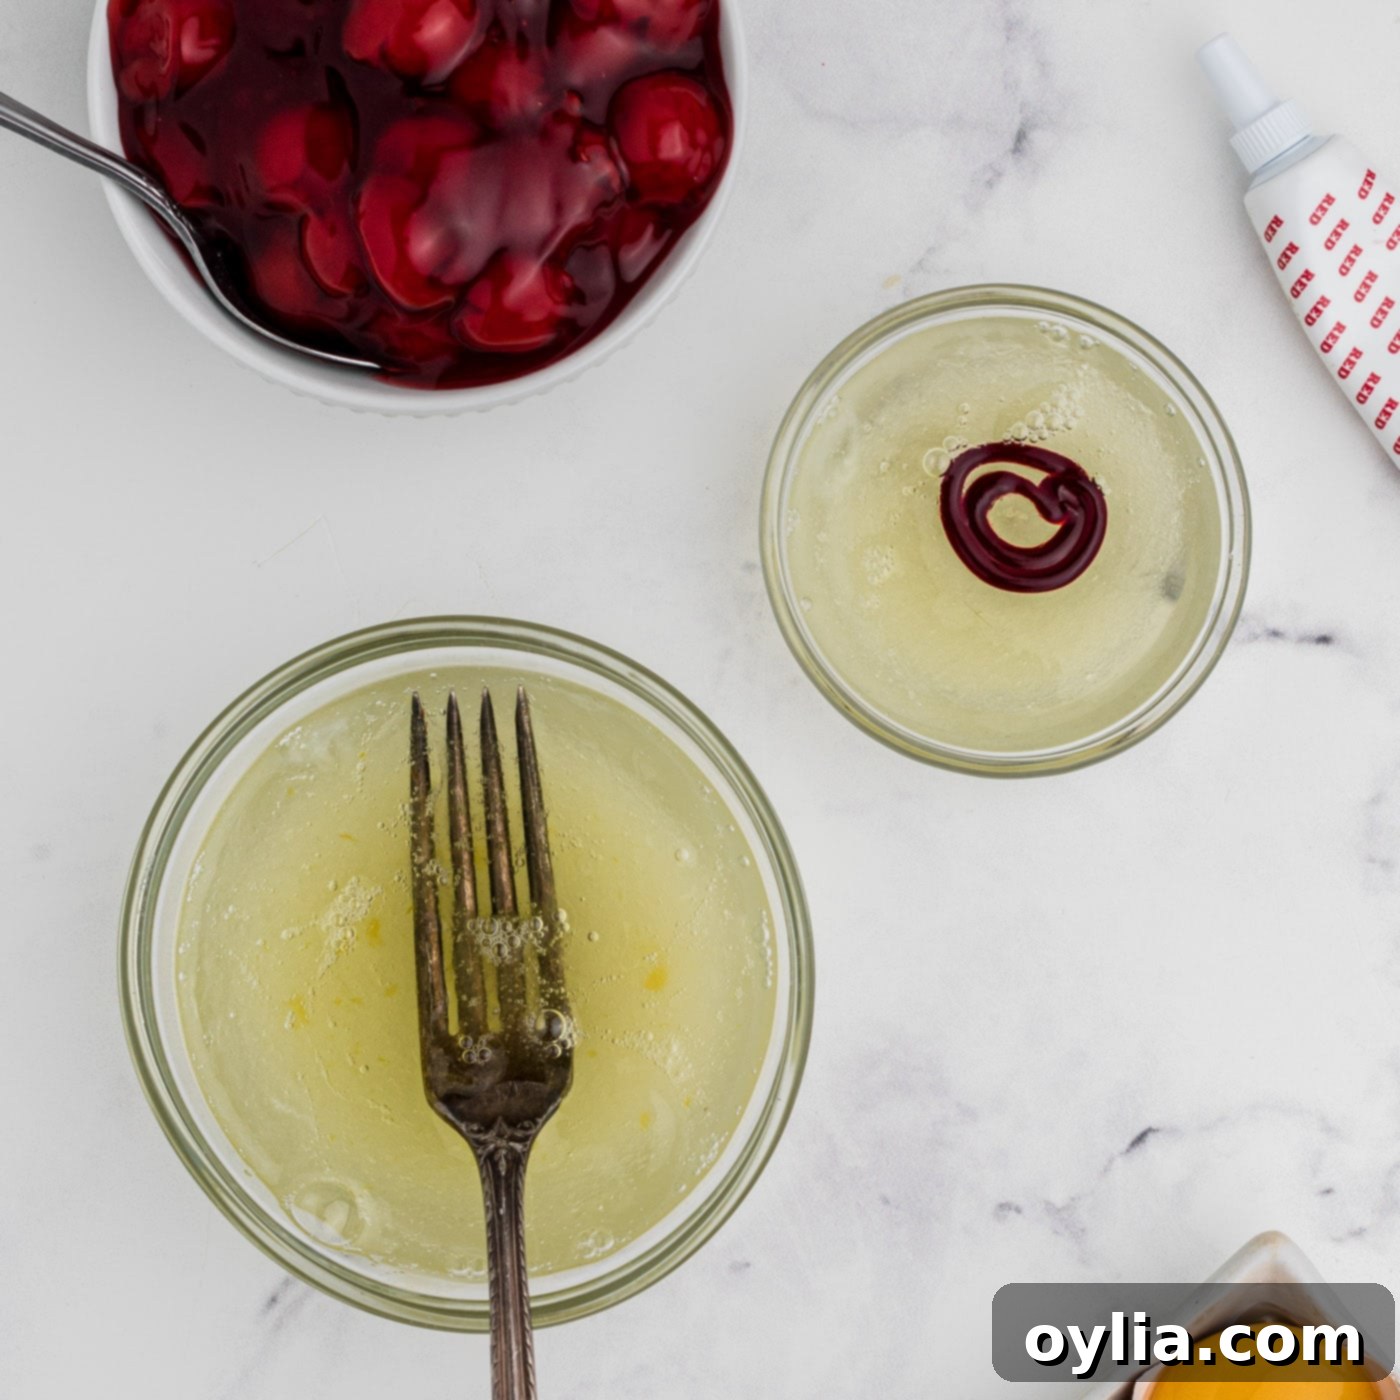
- Prepare the Egg Washes: In a small bowl, whisk one egg white with 1 tablespoon of granulated sugar and the red food coloring until thoroughly mixed. In a separate small bowl, combine the remaining two egg whites with 3 tablespoons of sugar. These will be used for different purposes.

- Color the Heart Toppers: Using a small pastry brush, generously coat the small heart-shaped dough pieces on the plate with the red-colored egg white mixture. Set these aside and allow them to dry completely. This crucial step prevents the red color from bleeding into your golden pie crust during baking.

- Preheat Oven: Preheat your oven to 350°F (175°C). Ensure your oven is fully preheated before placing the pies inside for even baking.
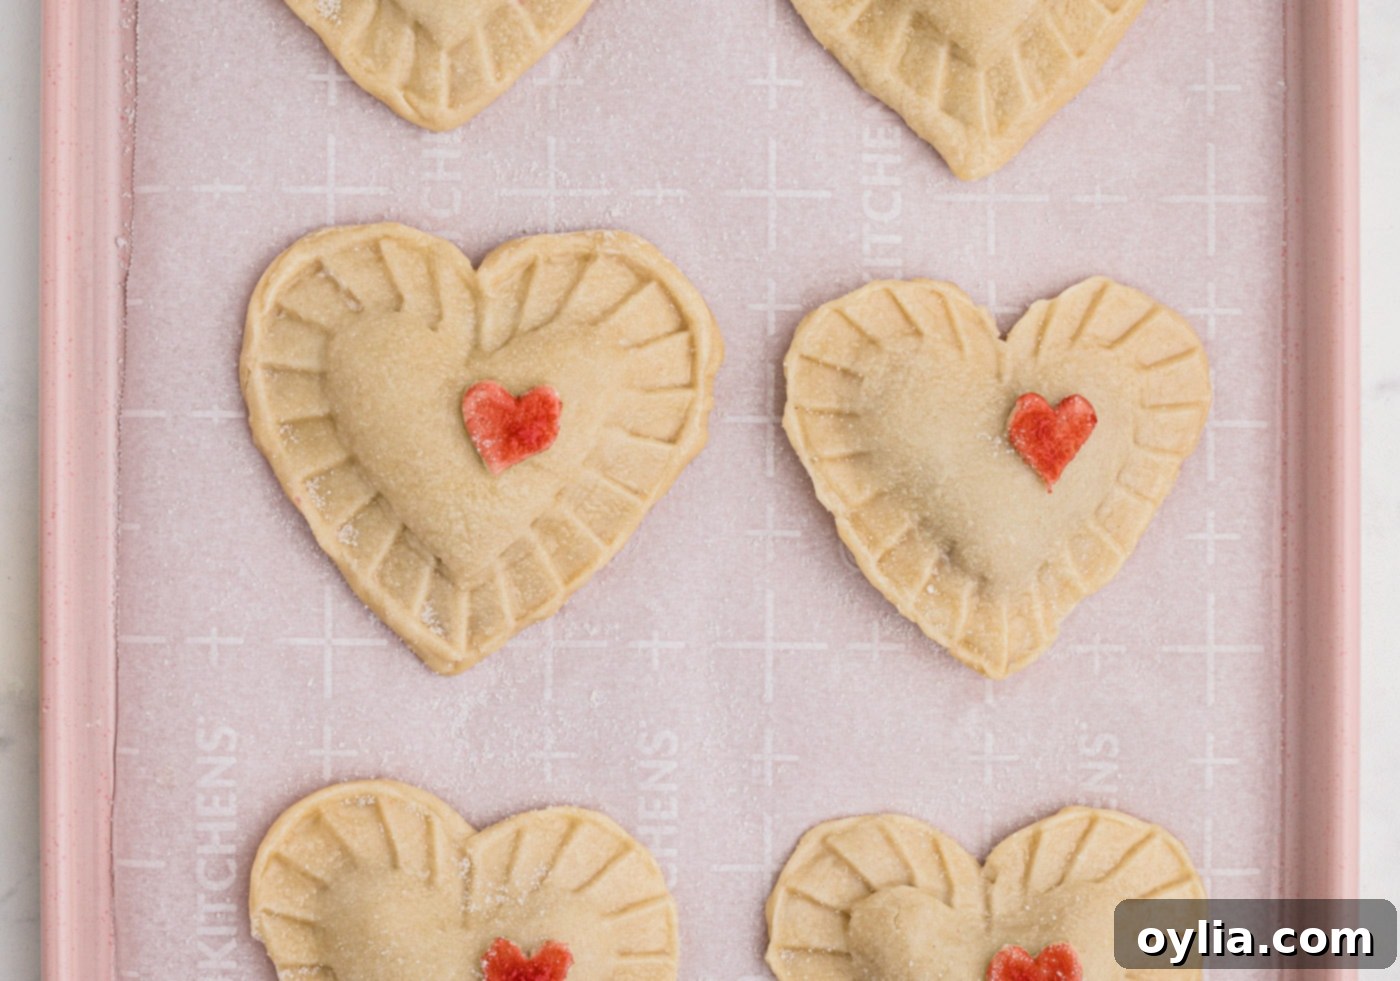
- Cut the Main Pie Shapes: Retrieve another ball of dough. Using a heart-shaped pie press or a large heart-shaped cookie cutter, cut out two heart shapes from the rolled dough. Repeat for all dough portions.

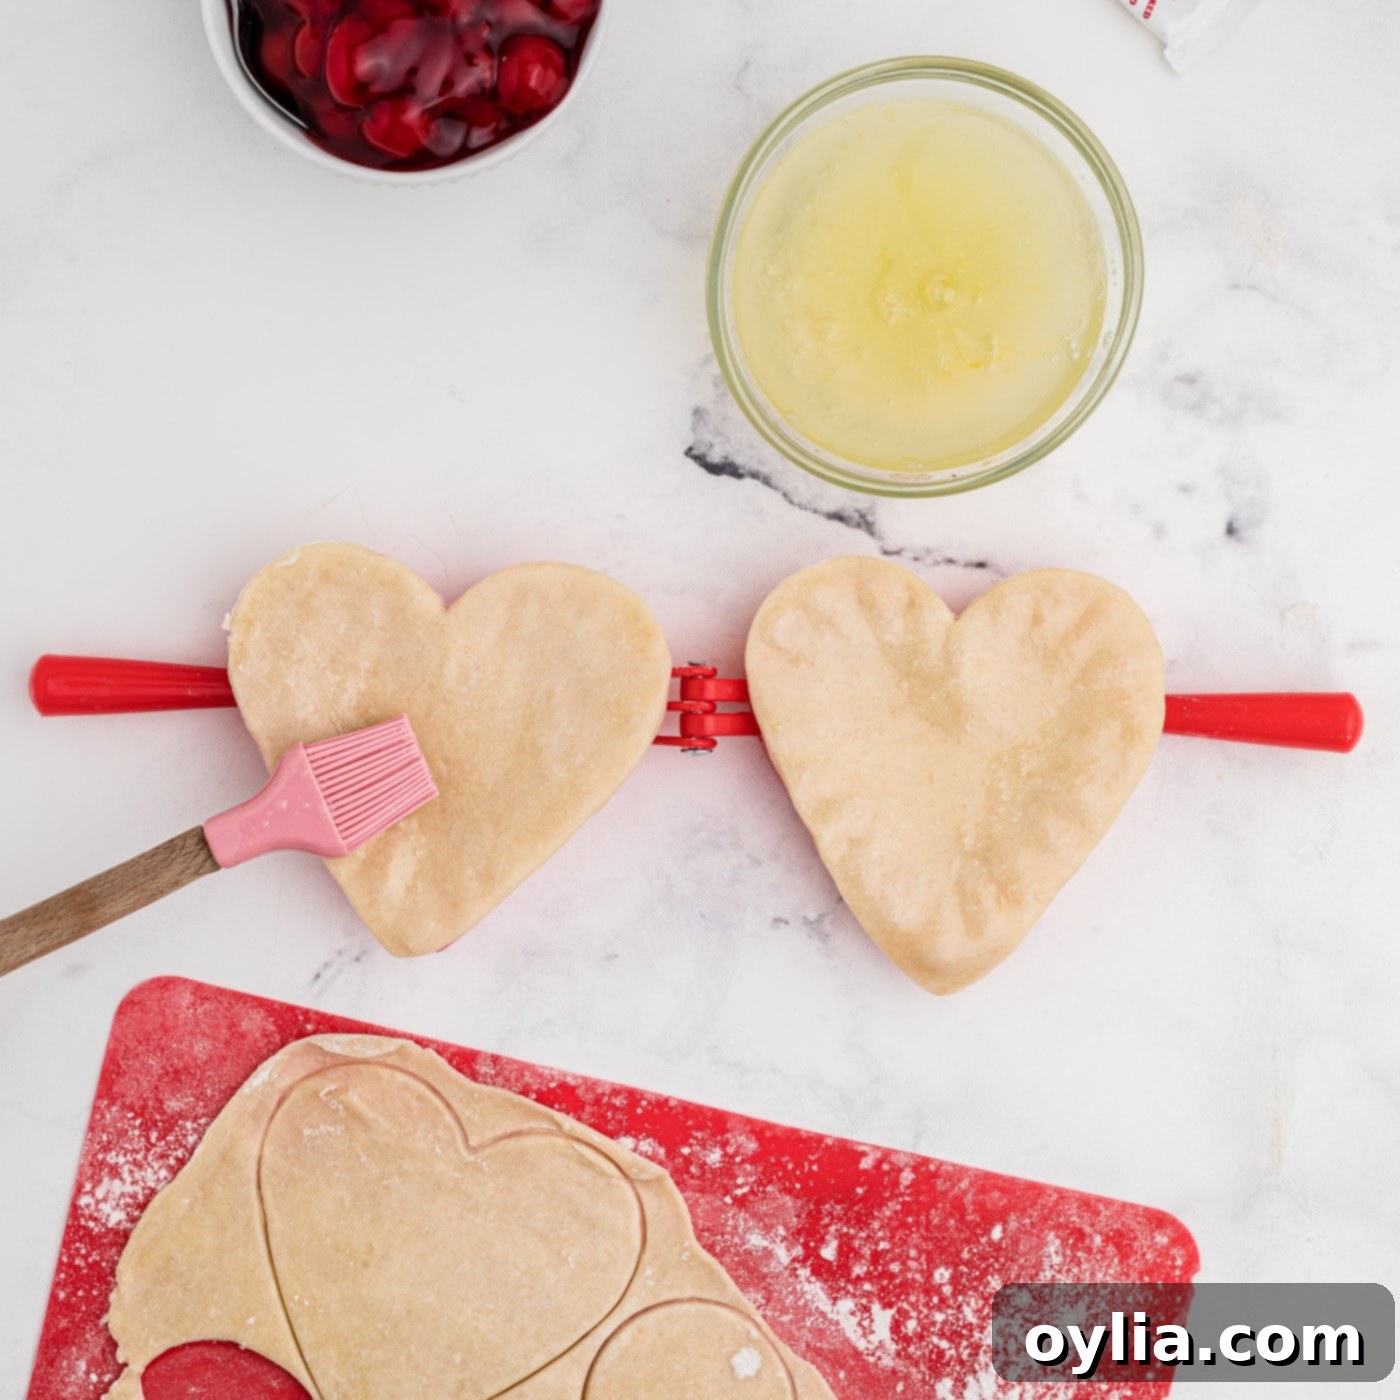
- Assemble the Hand Pies (using a pie press): Place one heart-shaped dough cutout on one side of the pie press. Gently press down on the edges to help it adhere to the press and stay in place. Repeat with the second heart-shaped dough cutout on the other side of the pie press.
- Apply Clear Egg Wash: Brush both dough halves (on the pie press) with the clear egg white mixture (the one without the red dye). This acts as a sealant and helps create that beautiful golden-brown crust.

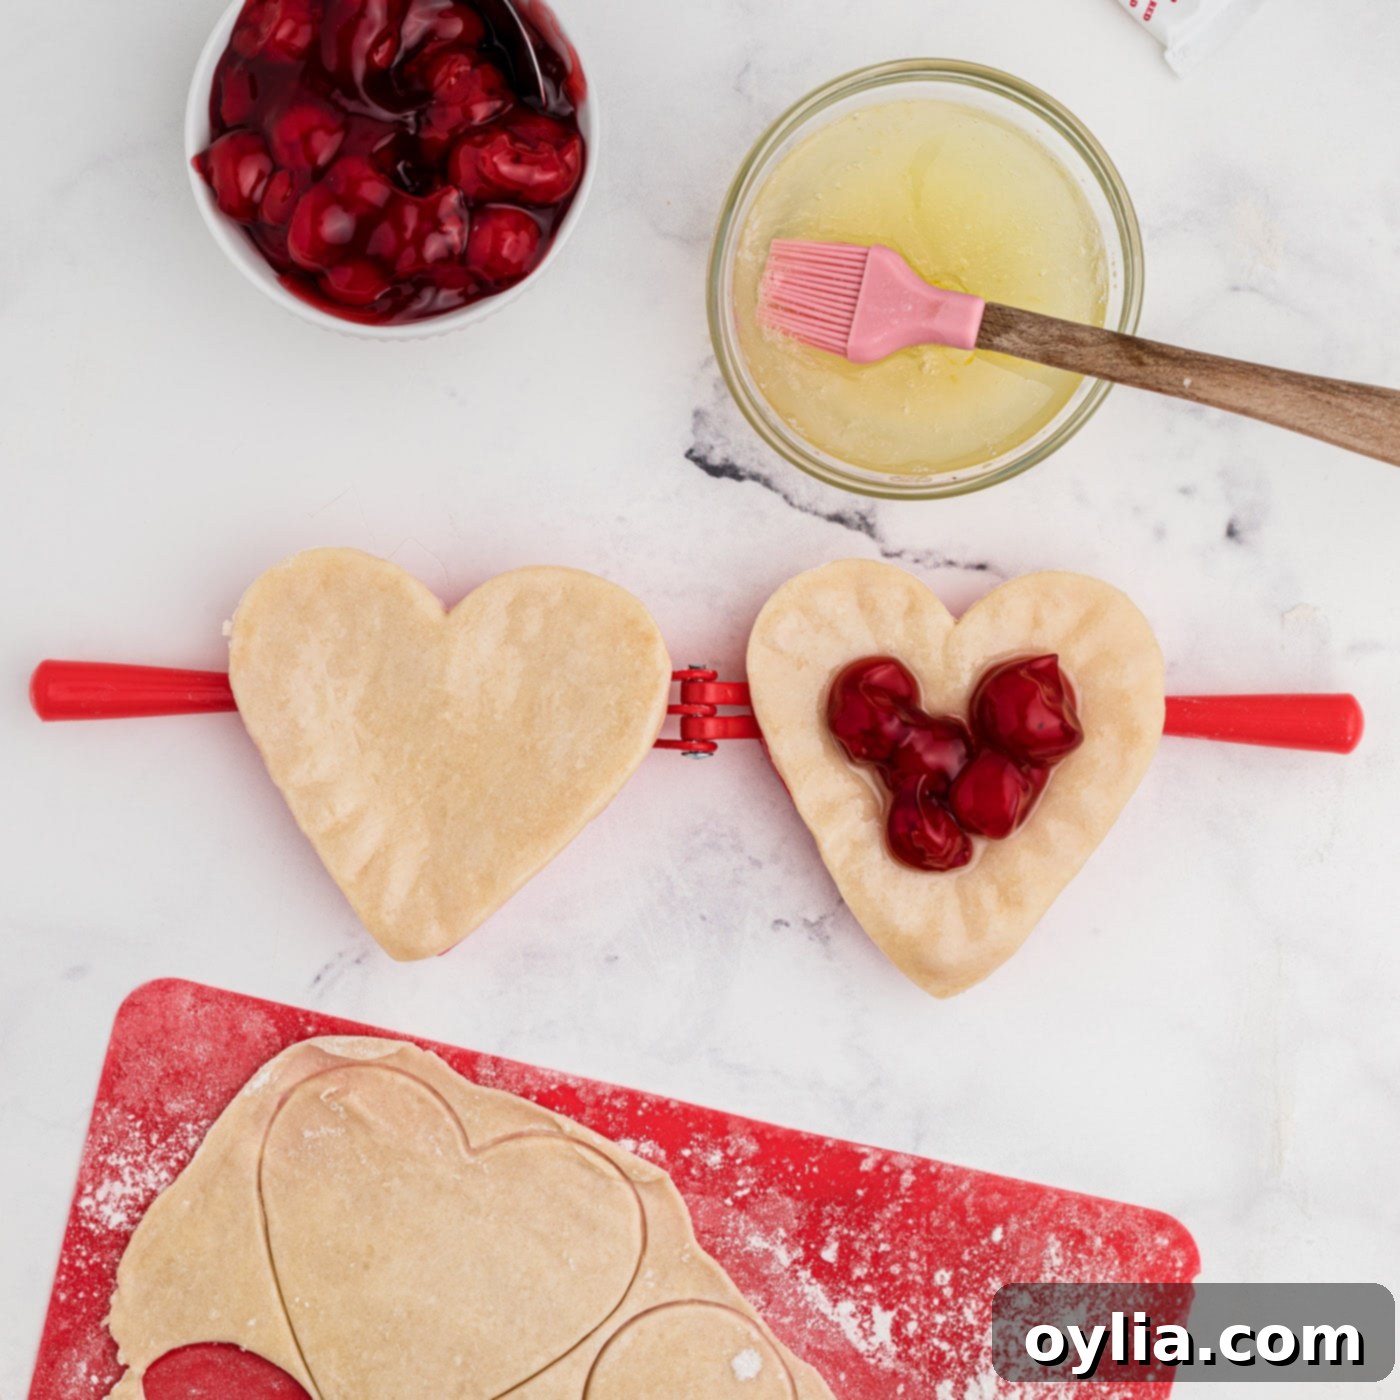
- Fill with Cherry Goodness: Spoon about 1 tablespoon of the cherry pie filling onto one side of the dough, ensuring you leave a clear border around the edges. This prevents the filling from oozing out during baking and sealing.

- Seal the Pies: Carefully close the pie press, ensuring it’s aligned, and press down tightly all around the outside edges. This will crimp and seal the edges, creating a beautiful heart-shaped hand pie. Open the press and gently transfer the formed pie onto a baking sheet lined with parchment paper.
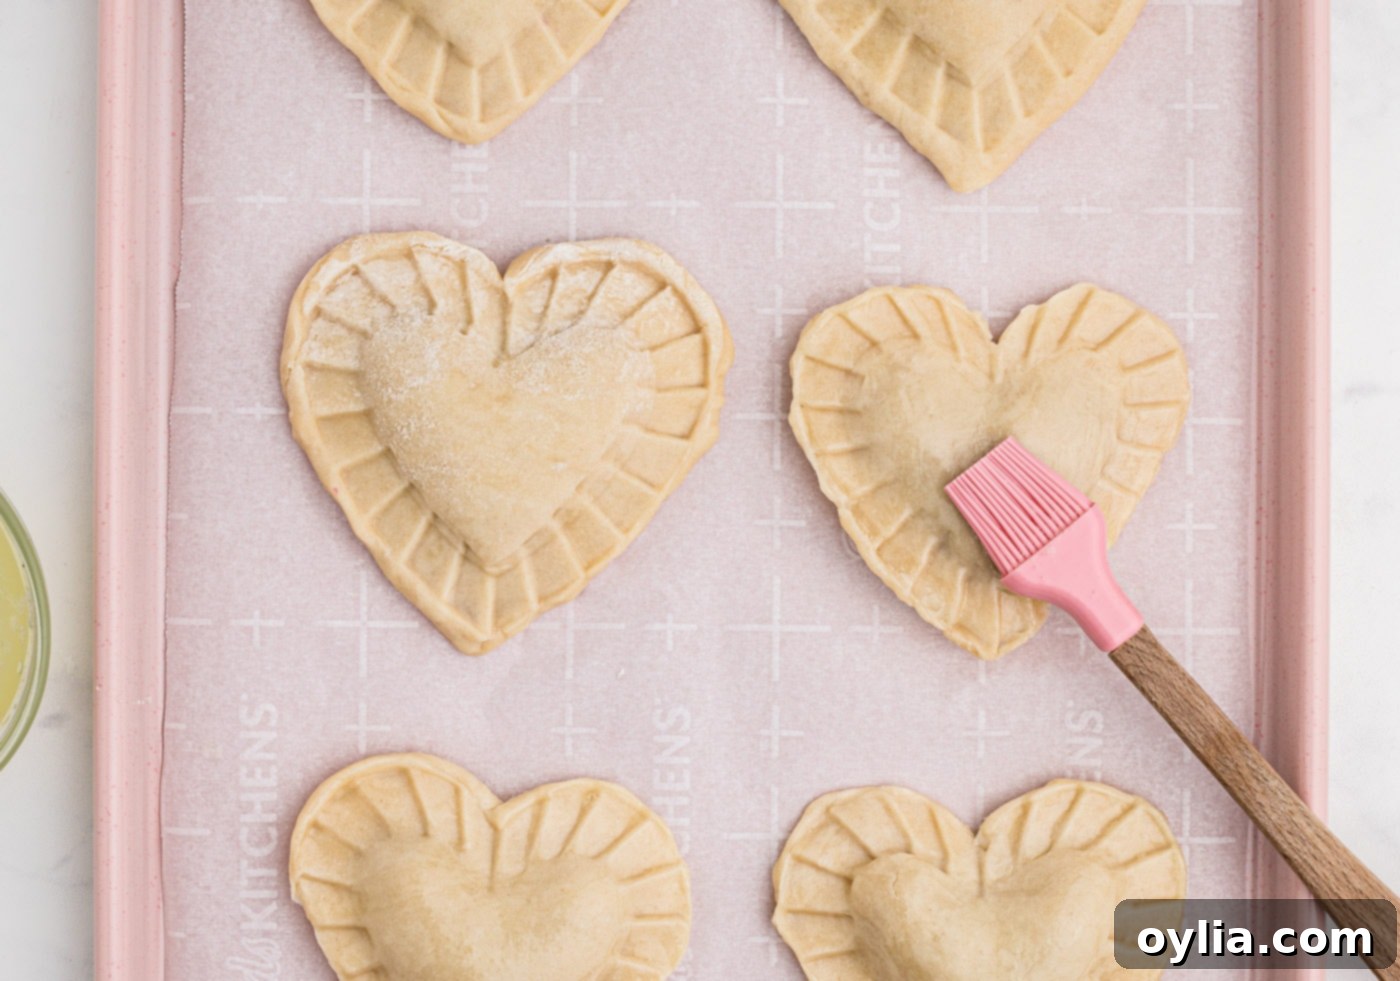
- Repeat and Decorate: Continue these steps for the remaining dough until all your cherry hand pies are assembled. Before baking, brush each hand pie with the clear egg wash again, then carefully affix one of the dried red heart toppers to each pie.


- Bake to Perfection: Liberally sprinkle each hand pie with granulated sugar for a beautiful sparkling finish. Bake for 28-30 minutes, or until the crust is golden brown and the filling is bubbling.
- Cool and Enjoy: Remove the baked hand pies from the oven and allow them to cool slightly on the baking sheet before transferring them to a wire rack to cool completely. They are delicious enjoyed warm or at room temperature.
Frequently Asked Questions & Expert Tips for Perfect Hand Pies
No need to worry if you don’t own a pie press! You can easily achieve a similar charming heart shape using a large heart-shaped cookie cutter. Simply cut out two identical heart shapes for each pie. Place a tablespoon of filling on one heart, making sure to leave a border, then top with the second heart. Use a fork to press and crimp the edges firmly together, creating a decorative seal. If you’re feeling confident with your freehand skills, you could even attempt to shape them with a knife, though a cookie cutter offers more uniformity.
Absolutely! Freezing pie dough is a fantastic way to prepare ahead and reduce prep time later. If you have leftover dough or wish to make these cherry hand pies in batches, simply wrap the excess pie dough tightly with plastic wrap. For added protection against freezer burn, place the wrapped dough inside a large ziptop freezer bag. Properly stored, your homemade pie dough can be kept in the freezer for up to 6 months. When you’re ready to use it, thaw the dough in the refrigerator overnight before rolling and shaping.
This typically happens if the small, red-dyed heart toppers aren’t allowed sufficient time to dry before being placed onto the hand pies and baked. The moisture from the food coloring can seep into the unbaked pie dough, causing the color to bleed. To prevent this, ensure you brush the red egg white mixture onto the hearts early in your preparation process. The time it takes to prepare the rest of the pies and assemble them is usually enough for the small hearts to dry adequately, creating a crisp, distinct red decoration.
These delicious cherry hand pies are best stored in an airtight container at room temperature. When stored correctly, they can maintain their freshness and delightful texture for up to 10 days. For longer storage, you can also refrigerate them, which might extend their shelf life slightly. If refrigerating, consider warming them gently in the oven or microwave before serving for the best taste and texture.
Yes, you absolutely can use fresh cherries! If using fresh, pitted cherries, you’ll need to prepare them into a pie filling. This typically involves cooking the cherries with sugar, cornstarch (or flour) to thicken, and a touch of lemon juice or almond extract for flavor, until the mixture is thick enough to hold its shape. Cool the homemade fresh cherry filling completely before adding it to your hand pies to prevent the dough from getting soggy.
Achieving a perfectly flaky crust relies on a few key principles: 1) **Keep ingredients cold:** Use very cold butter (or shortening) and ice water. Cold fat creates steam pockets, leading to flakiness. 2) **Don’t overmix:** Mix the dough only until it barely comes together. Overworking the dough develops gluten, which results in a tough crust. 3) **Chill the dough:** Chilling allows the butter to firm up and the gluten to relax, making the dough easier to handle and preventing shrinkage during baking. 4) **Roll evenly:** Roll the dough to an even thickness to ensure consistent baking and texture.
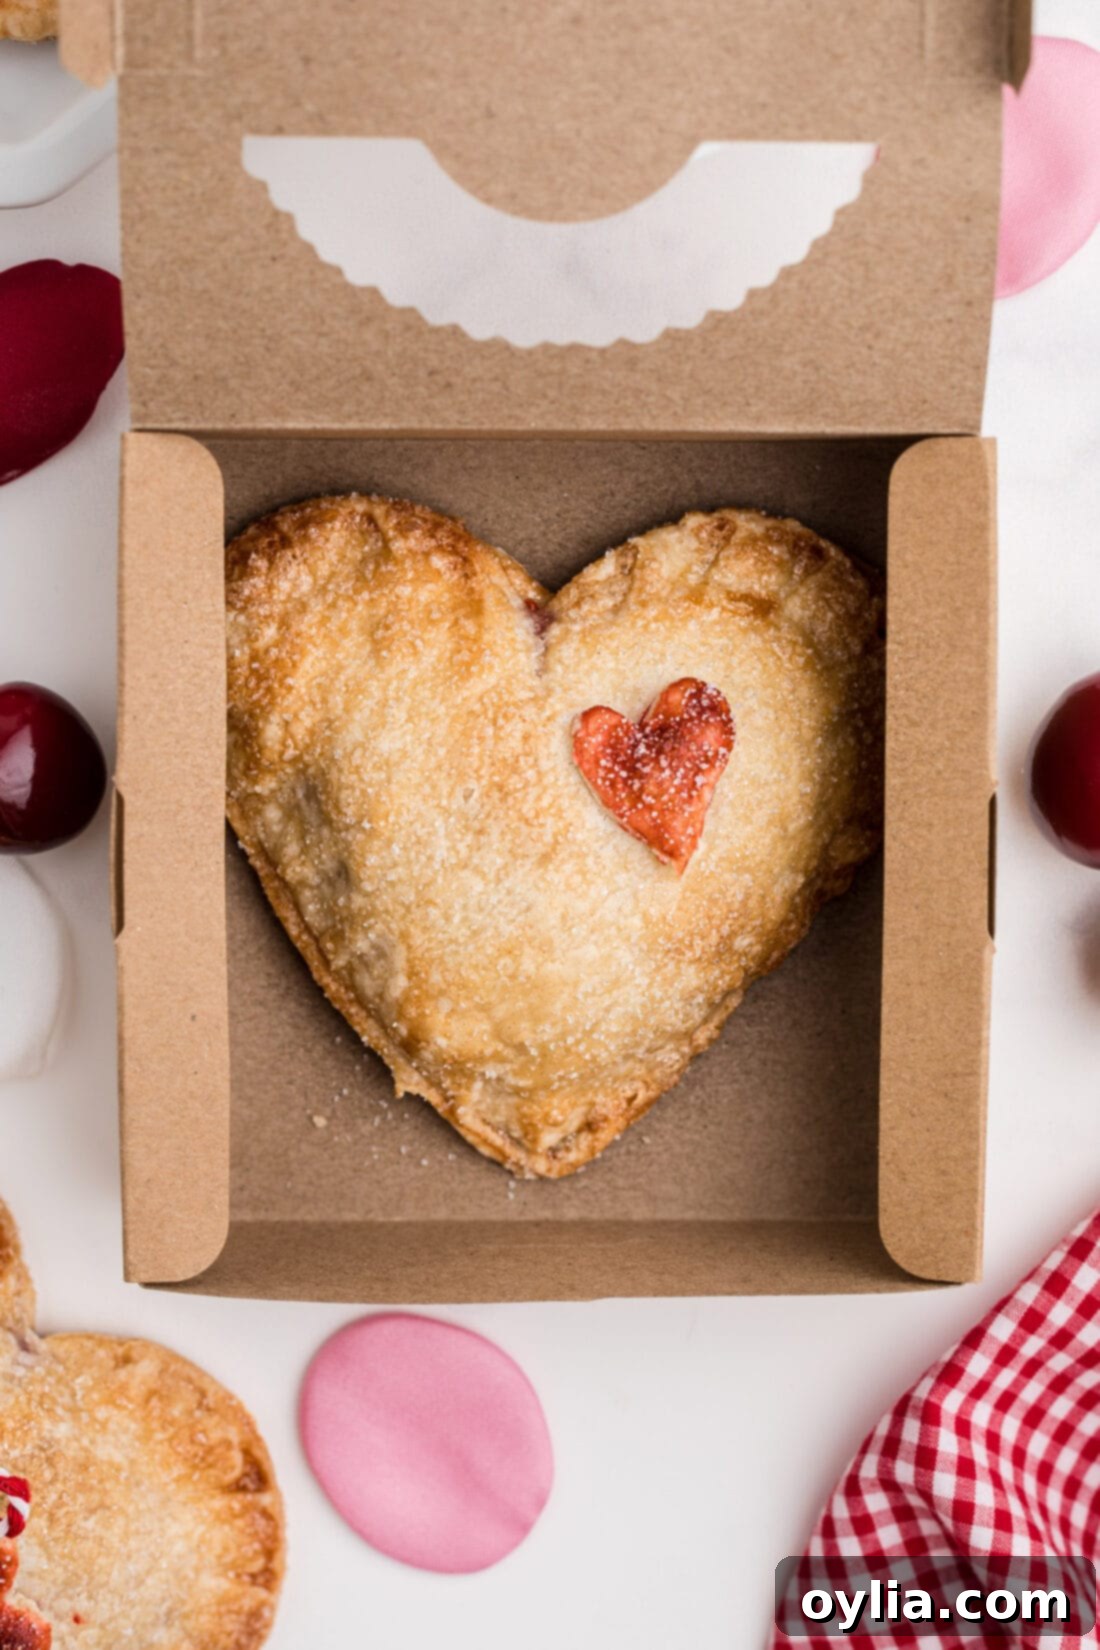
Creative Serving Ideas for Your Hand Pies
These Valentine cherry hand pies are delightful on their own, but a little extra flair can make them even more special. Pack your freshly baked hand pies into an adorable pastry box tied with a ribbon for a thoughtful and impressive gift-giving presentation. They are versatile and can be served warm, at room temperature, or even chilled, depending on your preference. For an added touch of sweetness, consider topping them with a simple powdered sugar glaze (made from powdered sugar and a touch of milk or lemon juice) or some festive Valentine-themed sprinkles.
Beyond Valentine’s Day, these hand pies can easily be customized for other holidays and occasions. Simply switch out the heart-shaped cookie cutter or pie press for a star for the Fourth of July, a pumpkin for Halloween, or a Christmas tree for the winter holidays. The possibilities are endless for creating charming, themed treats that everyone will love. Enjoy these sweet bites of joy!
More Delightful Valentine’s Day Recipes
If you’re looking to spread even more love through delicious food this Valentine’s Day, here are some other wonderful recipes to try:
- Pink Mudslide
- Red Velvet Fudge
- Heart Oreo Truffles
- Valentine Heart Cupcakes
- Chocolate Covered Fruit Truffles
- Valentine Play Dough Cookie Pops
- Valentine Muddy Buddies
- Conversation Heart Cookies
I love to bake and cook and share my kitchen experience with all of you! Remembering to come back each day can be tough, that’s why I offer a convenient newsletter every time a new recipe posts. Simply subscribe and start receiving your free daily recipes!

Valentine Cherry Hand Pies
IMPORTANT – There are often Frequently Asked Questions within the blog post that you may find helpful. Simply scroll back up to read them!
Print It
Pin It
Rate It
Save ItSaved!
Ingredients
- 4 cups all-purpose flour
- 2 tsp salt
- 1 ½ cups unsalted butter cold
- ¾ cup cold water
- 3 egg whites
- 4 Tbsp granulated sugar plus more for garnish
- 1 tsp red food color for heart shaped toppers
- 21 oz cherry pie filling 1 can
Things You’ll Need
-
Heart shaped cookie cutter OR heart shaped pie press
-
Rolling pin
-
Pastry cutter
Before You Begin
- Store at room temperature in an airtight container for up to 10 days.
- You can use a large heart shaped cookie cutter instead of a pie press if needed. Use a fork to press the edges. If you are good free-hand you could also try that!
- Make sure you allow the little red hearts to dry before placing them onto the hand pies, otherwise they may end up bleeding into the pie dough.
- If you do not roll out the dough enough, you will get less than 26 hand pies – and your crust will be thicker (which may also take longer to bake).
- You can certainly use store-bought refrigerated pie crust instead if preferred.
Instructions
-
Cut the butter into small pats. In a large mixing bowl, add the flour and salt and mix together.
-
Add the butter and cut into the flour mixture. Keep cutting it in until you have small pea size pieces. You can also use your fingers to work through the mixture, rubbing away at the pieces until it almost resembles breadcrumbs.
-
Gradually add about half of the water, mixing well. Then spoon by spoon add more until you have a workable dough.
-
Once the dough has come together you can roll it into a ball, work it out into an even log (ish) and cut into four sections.
-
Roll each section into a ball and place into a plastic bag. Place in the refrigerator for about 10 minutes to cool down.
-
Take one of the balls of dough and place it onto a floured work surface. Roll out until it’s about 1/8” thick.
-
With a small knife, carefully cut out some heart shapes that are about ½” big and place onto a plate. If you have a small heart shaped cookie cutter, even better, use that.
-
In a small bowl mix one of the egg whites with 1 Tablespoon of sugar and the red food color, mix well. In another small bowl mix the remaining egg whites with 3 tablespoons of sugar.
-
Using a small pastry brush, brush this red colored egg white all over the hearts on the plate. Set aside and allow to dry.
-
Preheat your oven to 350°F.
-
Using a heart shaped pie press, use it like you would a cookie cutter and cut out two hearts.
-
Take one of those hearts and place it on one side of the pie press. Press down on the edges so that it stays in place while you are putting the cherry pie together.
-
Take the other heart and do the same on the other side of the pie press.
-
Brush both sides with the egg white mix (without the red dye).
-
Add about 1 tablespoon of the cherry pie filling to one side, be sure to stay away from the edges of the pie.
-
Close the pie press together and press tightly, all around the outside. Open up the pie press and empty the pie out onto a baking sheet lined with parchment paper.
-
Repeat the above steps for the remaining dough that’s left.
-
Brush the cherry pies with the clear egg wash then affix a red heart to each one.
-
Liberally sprinkle with sugar and bake for 28-30 minutes.
-
Remove from the oven and allow to cool slightly before enjoying.
Nutrition
The recipes on this blog are tested with a conventional gas oven and gas stovetop. It’s important to note that some ovens, especially as they age, can cook and bake inconsistently. Using an inexpensive oven thermometer can assure you that your oven is truly heating to the proper temperature. If you use a toaster oven or countertop oven, please keep in mind that they may not distribute heat the same as a conventional full sized oven and you may need to adjust your cooking/baking times. In the case of recipes made with a pressure cooker, air fryer, slow cooker, or other appliance, a link to the appliances we use is listed within each respective recipe. For baking recipes where measurements are given by weight, please note that results may not be the same if cups are used instead, and we can’t guarantee success with that method.
