Easy 3-Ingredient Homemade Peanut Butter Cups: Your Go-To Recipe for a Classic Treat
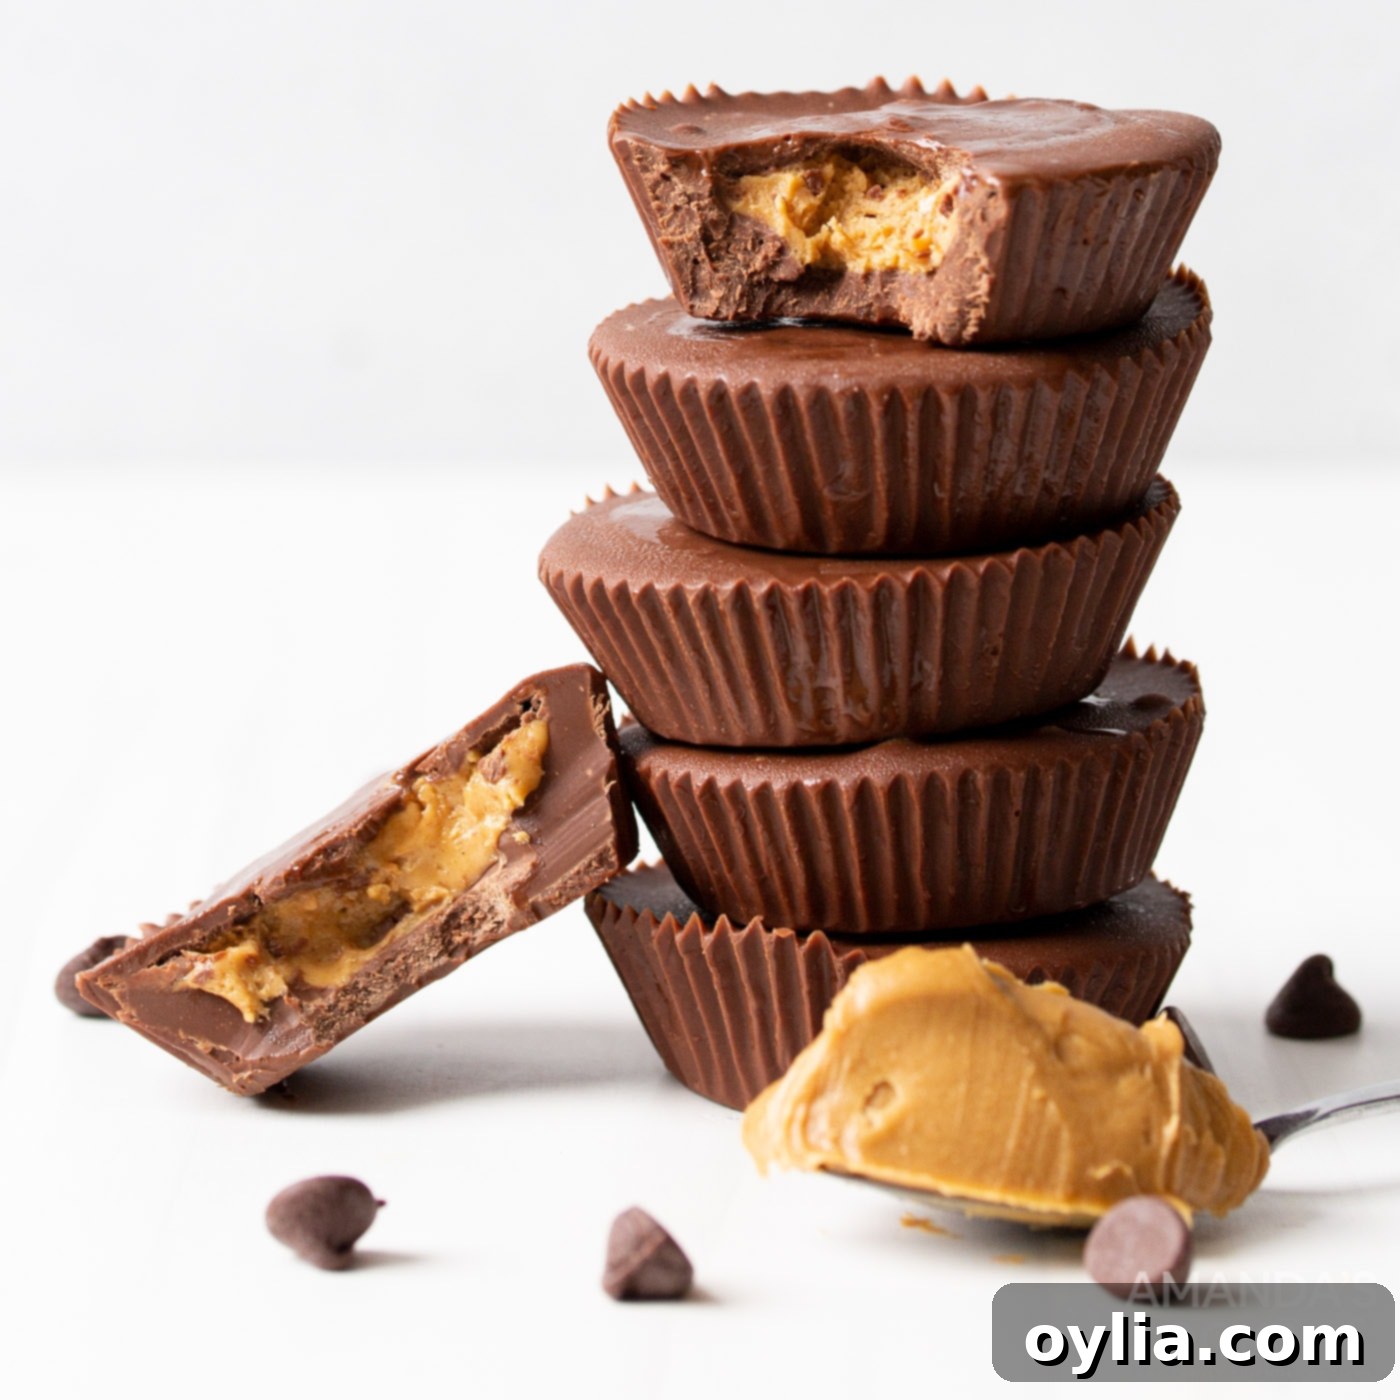
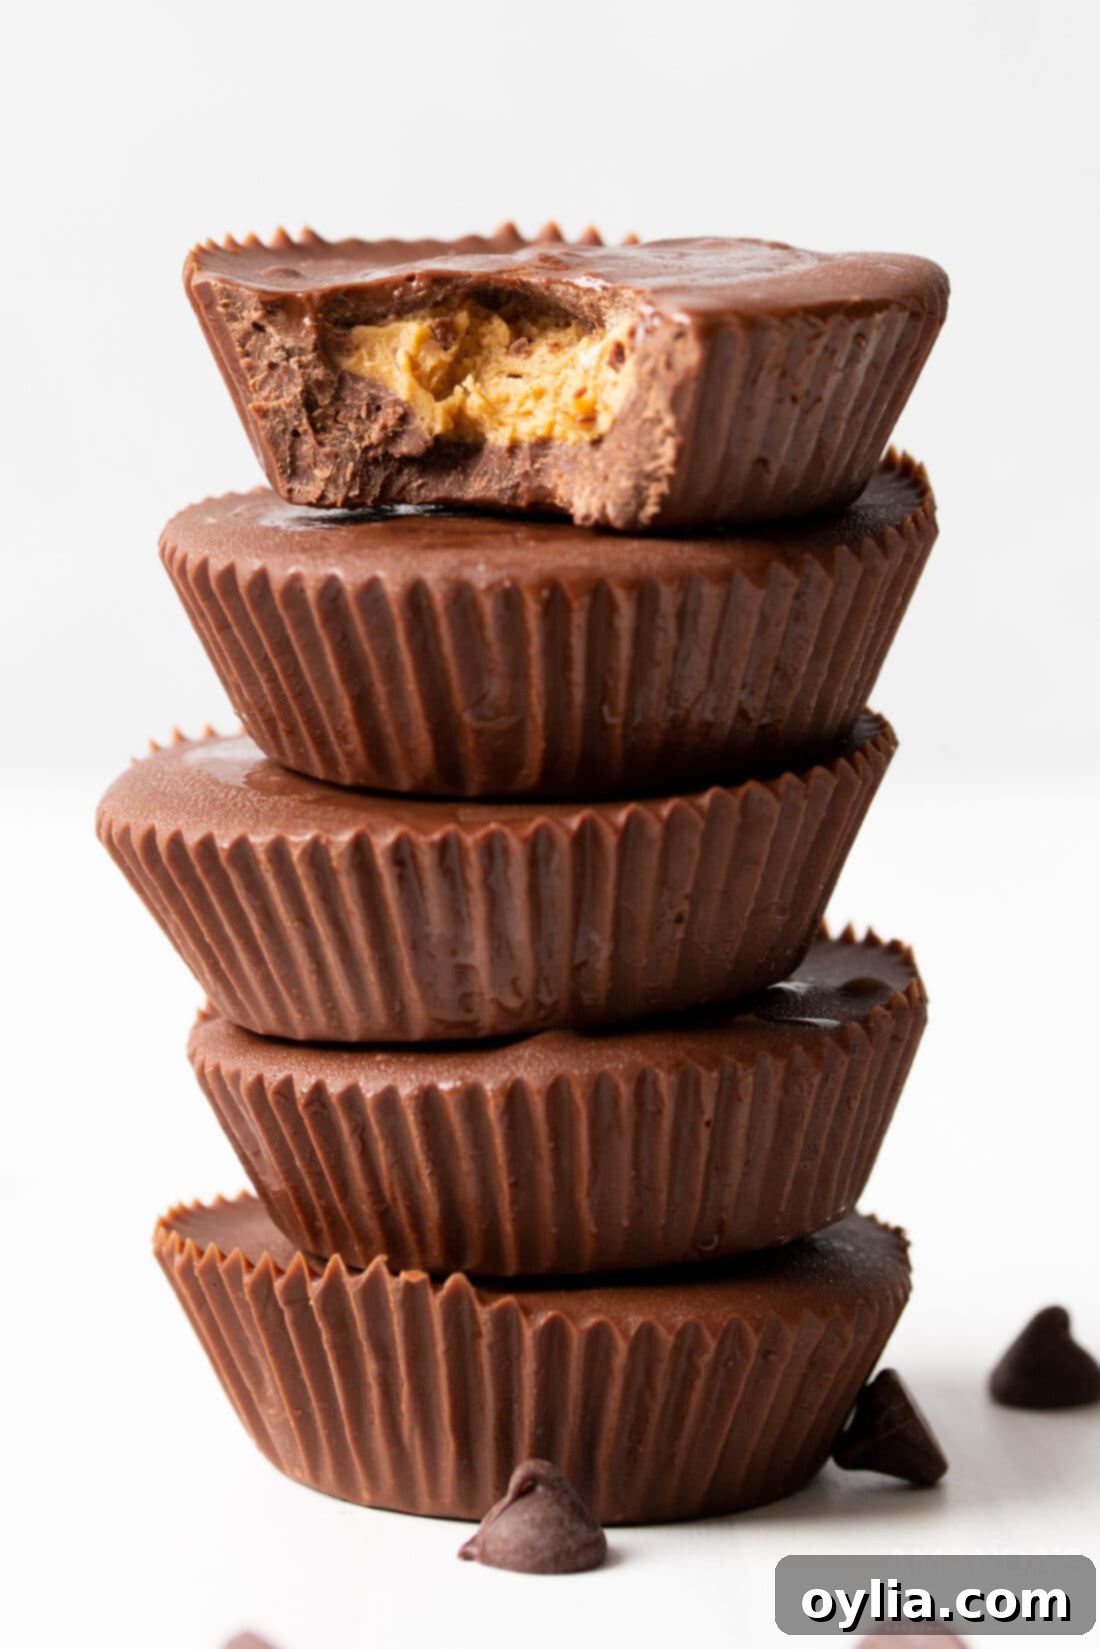
Craving that irresistible combination of rich chocolate and creamy peanut butter? Look no further! This delightful 3-ingredient peanut butter cups recipe allows you to recreate your favorite store-bought candy right in your own kitchen, with minimal effort and maximum flavor. Featuring a luscious milk chocolate shell perfectly encasing a velvety smooth peanut butter and powdered sugar filling, these homemade treats are incredibly easy to make and guaranteed to be a hit with everyone. Skip the store and embrace the joy of crafting your own perfect batch of this iconic sweet.
Why This Simple Peanut Butter Cup Recipe is a Winner
This 3-ingredient peanut butter cup recipe stands out for its incredible simplicity and deliciously satisfying results. Many people love the classic combination of chocolate and peanut butter, and this recipe delivers that nostalgic flavor with surprising ease. Unlike more complex dessert recipes, you won’t need a long list of ingredients or specialized baking skills. It’s a fantastic entry point into homemade candy making, perfect for beginners and seasoned bakers alike.
The beauty of this recipe lies in its efficiency. With only three core ingredients – milk chocolate, smooth peanut butter, and powdered sugar – you can whip up a batch of these delectable treats in no time. This makes it an ideal option for last-minute desserts, spontaneous sweet cravings, or even thoughtful edible gifts. While they share similarities with chocolate peanut butter balls in flavor profile, these cups are crafted in traditional cupcake liners, giving them that iconic, familiar shape. The process is straightforward: melt, mix, layer, and chill. The result? A perfectly formed peanut butter cup that rivals anything you’d buy, but with the undeniable freshness and pride of being homemade. Plus, knowing exactly what goes into your treats adds an extra layer of enjoyment.
Essential Ingredients for Your Homemade Peanut Butter Cups
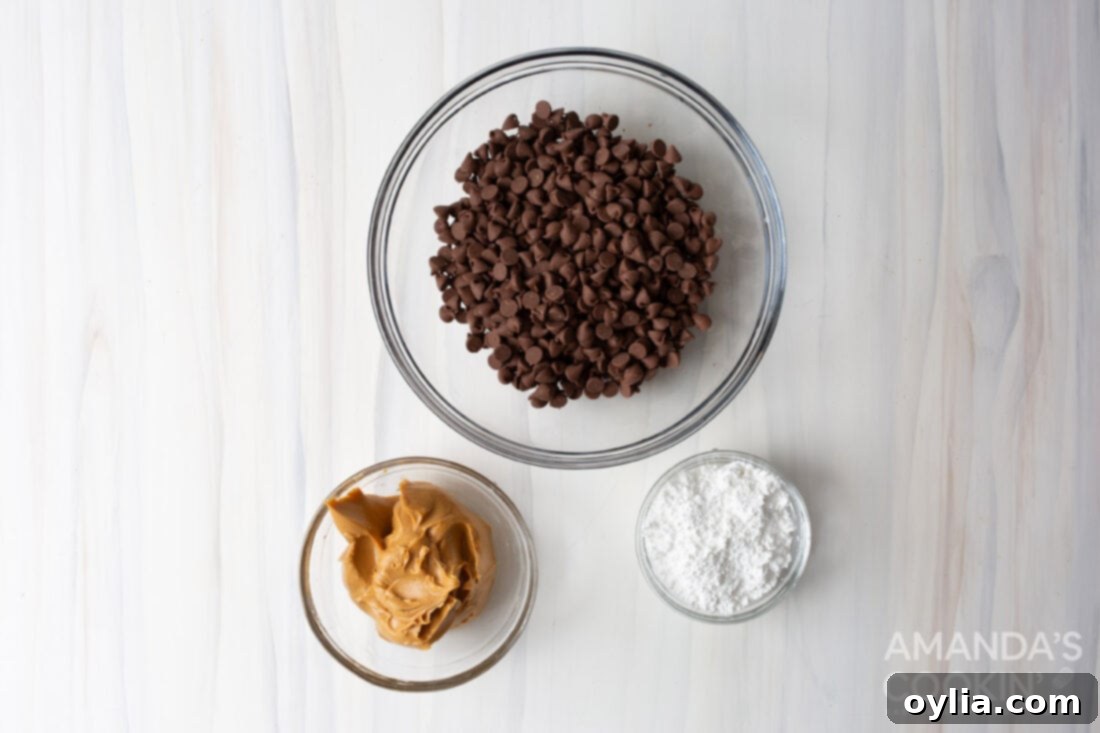
You’ll be amazed at how a mere three ingredients can transform into such a beloved confection. For precise measurements, detailed instructions, and a printable version of this recipe, be sure to scroll to the end of this post to find the full recipe card. But for now, here’s a quick overview of what you’ll need:
- Creamy Peanut Butter
- Confectioner’s Sugar (Powdered Sugar)
- Milk Chocolate Chips (or your preferred chocolate)
That’s it! These simple components come together to create a classic treat that’s rich, sweet, and utterly satisfying. The quality of your ingredients will directly impact the final taste, so choose your favorites for the best results.
Ingredient Insights and Smart Swaps
Understanding your ingredients is key to successful baking and cooking. Here’s a deeper dive into the components of your homemade peanut butter cups, along with some helpful substitution advice:
CHOCOLATE: While this recipe calls for milk chocolate, feel free to customize it to your preference. Dark chocolate or semi-sweet chocolate chips can be used for a less sweet, richer flavor profile. White chocolate can also be an interesting alternative, though it tends to be sweeter. If you don’t have chocolate chips, a high-quality chocolate bar (milk, dark, or semi-sweet) works perfectly. Simply chop it into small, uniform pieces to ensure even melting. When melting chocolate, always do so gently, either in a microwave in short bursts or over a double boiler, to prevent scorching and ensure a smooth, luscious coating for your peanut butter cups.
PEANUT BUTTER: For the best results and a perfect texture in your filling, we highly recommend using a regular, creamy peanut butter. Brands like Jif or Skippy are ideal because their consistent texture and oil content create a stable, delicious filling when combined with powdered sugar. Natural peanut butters, which often separate and have a runnier consistency, can be a bit too oily and difficult to work with for this specific recipe, leading to a filling that might not hold its shape as well. If you’re looking to experiment or have allergies, you could try using other nut butters such as cashew butter or almond butter. However, we haven’t personally tested these variations, so the consistency and flavor might differ. For those with nut allergies, sunflower seed butter (SunButter) could also be an option, but again, testing is recommended for optimal results.
POWDERED SUGAR (CONFECTIONER’S SUGAR): This ingredient is crucial for achieving the smooth, slightly firm, and perfectly sweet consistency of the peanut butter filling. It dissolves easily into the peanut butter, preventing a grainy texture that granulated sugar might produce. There isn’t a direct substitute for powdered sugar in this recipe that would yield the same results for the filling’s texture and sweetness.
Crafting Your Own Delicious Peanut Butter Cups: A Step-by-Step Guide
These step-by-step photos and detailed instructions are here to help you visualize how to make this recipe with ease. For the complete printable recipe, including exact measurements and a convenient list of all instructions, simply Jump to Recipe at the bottom of this post.
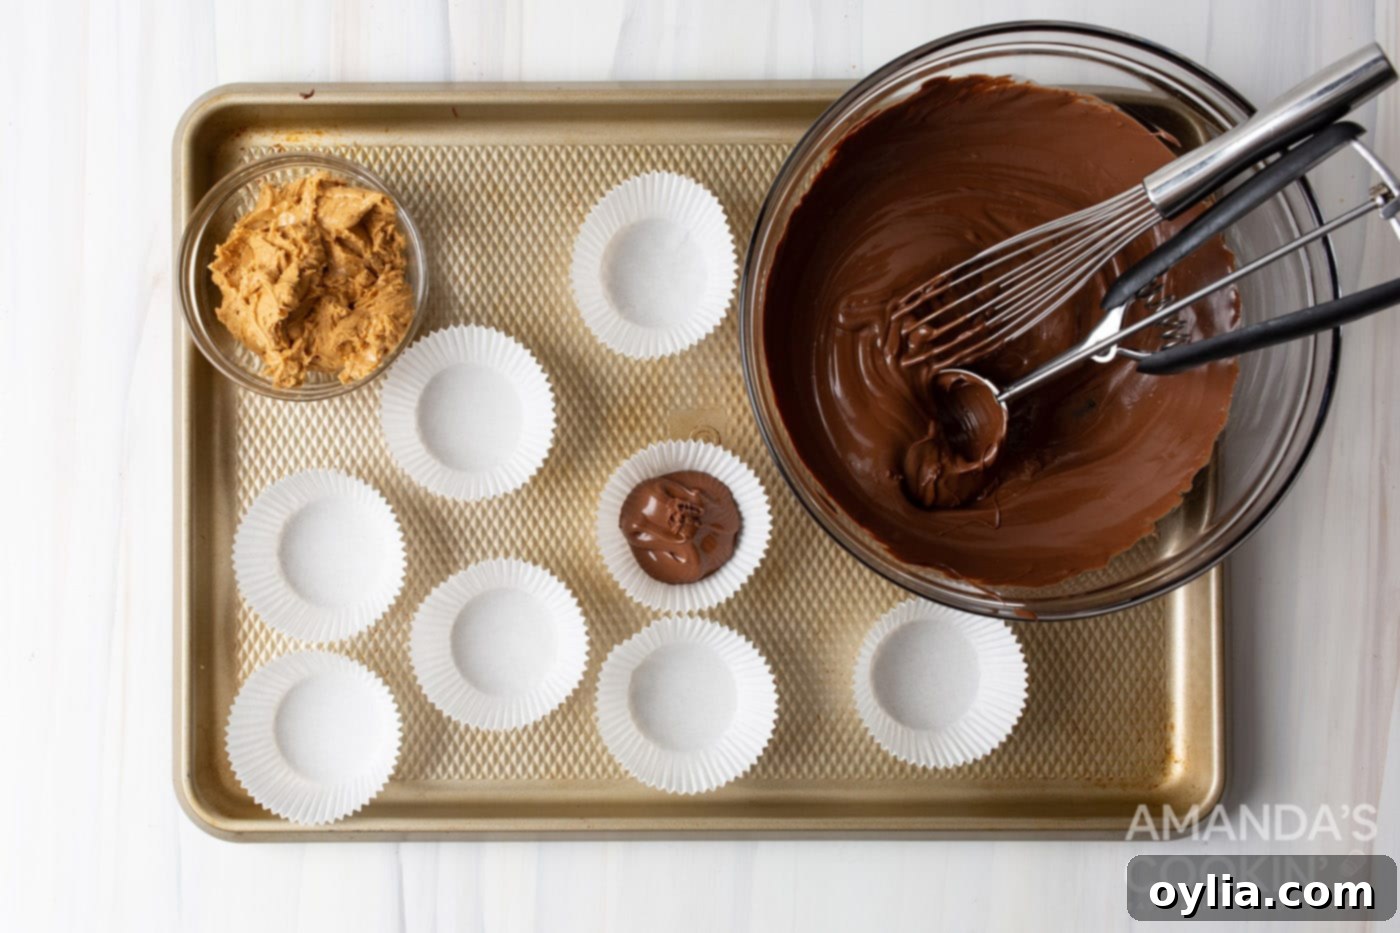
- Prepare the Peanut Butter Filling: In a medium mixing bowl, combine the creamy peanut butter and confectioner’s sugar. Use a handheld mixer (or a sturdy spoon for a good arm workout!) to thoroughly mix the ingredients until they are well combined and form a thick, cohesive “dough” or frosting. The mixture should be firm enough to scoop and hold its shape.
- Melt the Chocolate and Start Layering: Melt the chocolate chips in a microwave-safe bowl. Heat in 30-second intervals, stirring thoroughly with a whisk after each interval, until the chocolate is smooth and fully melted. Be careful not to overheat it, as this can cause the chocolate to seize. Once melted, spoon a small amount of chocolate into the bottom of each of 9 standard-sized cupcake liners, using a cookie scoop for even portions. Swirl or tap the liners gently to spread the chocolate evenly across the bottom.

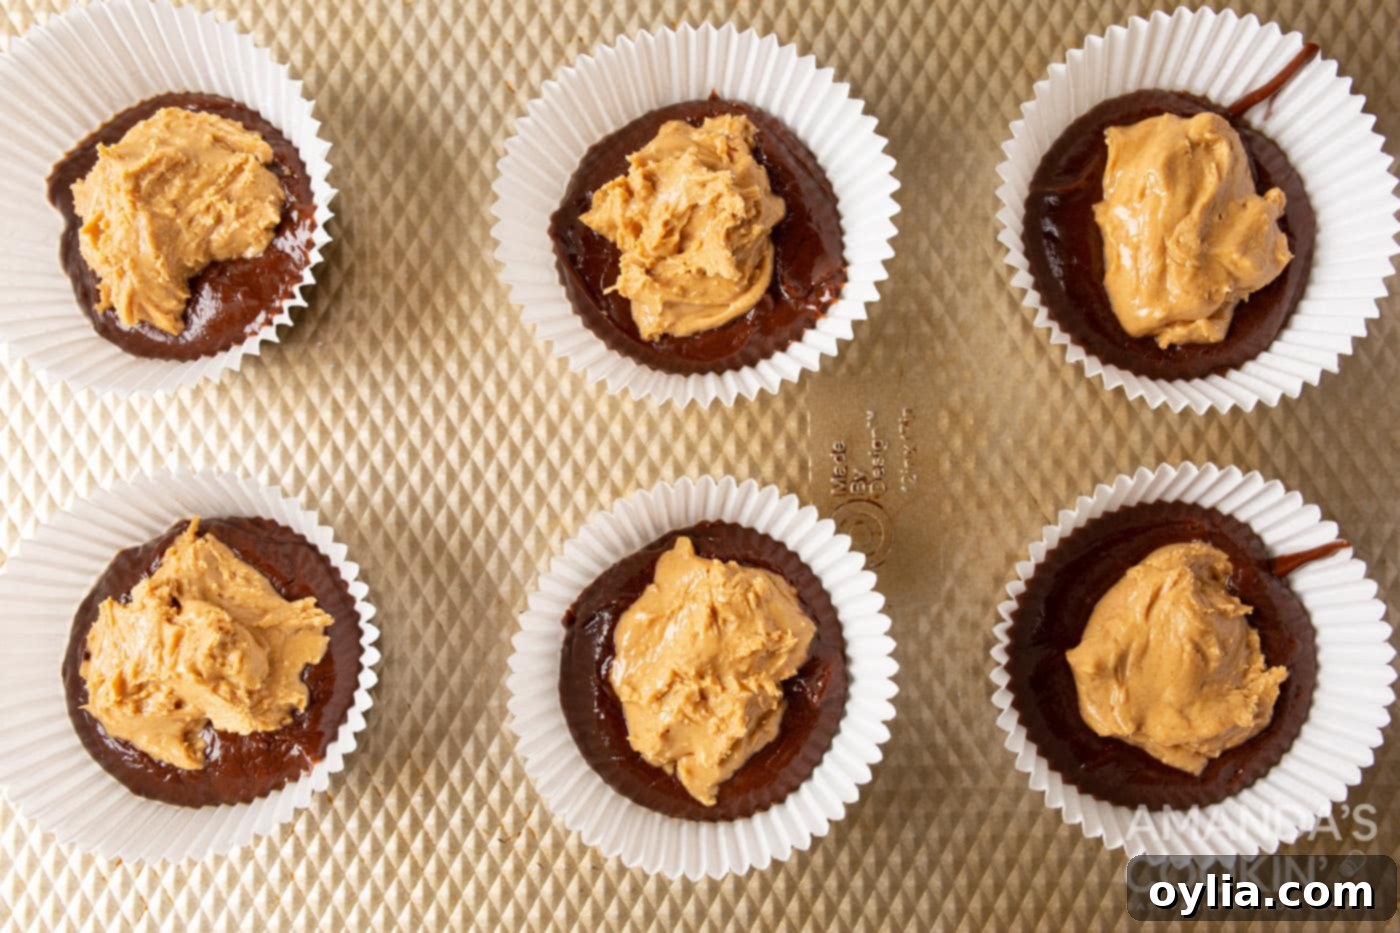
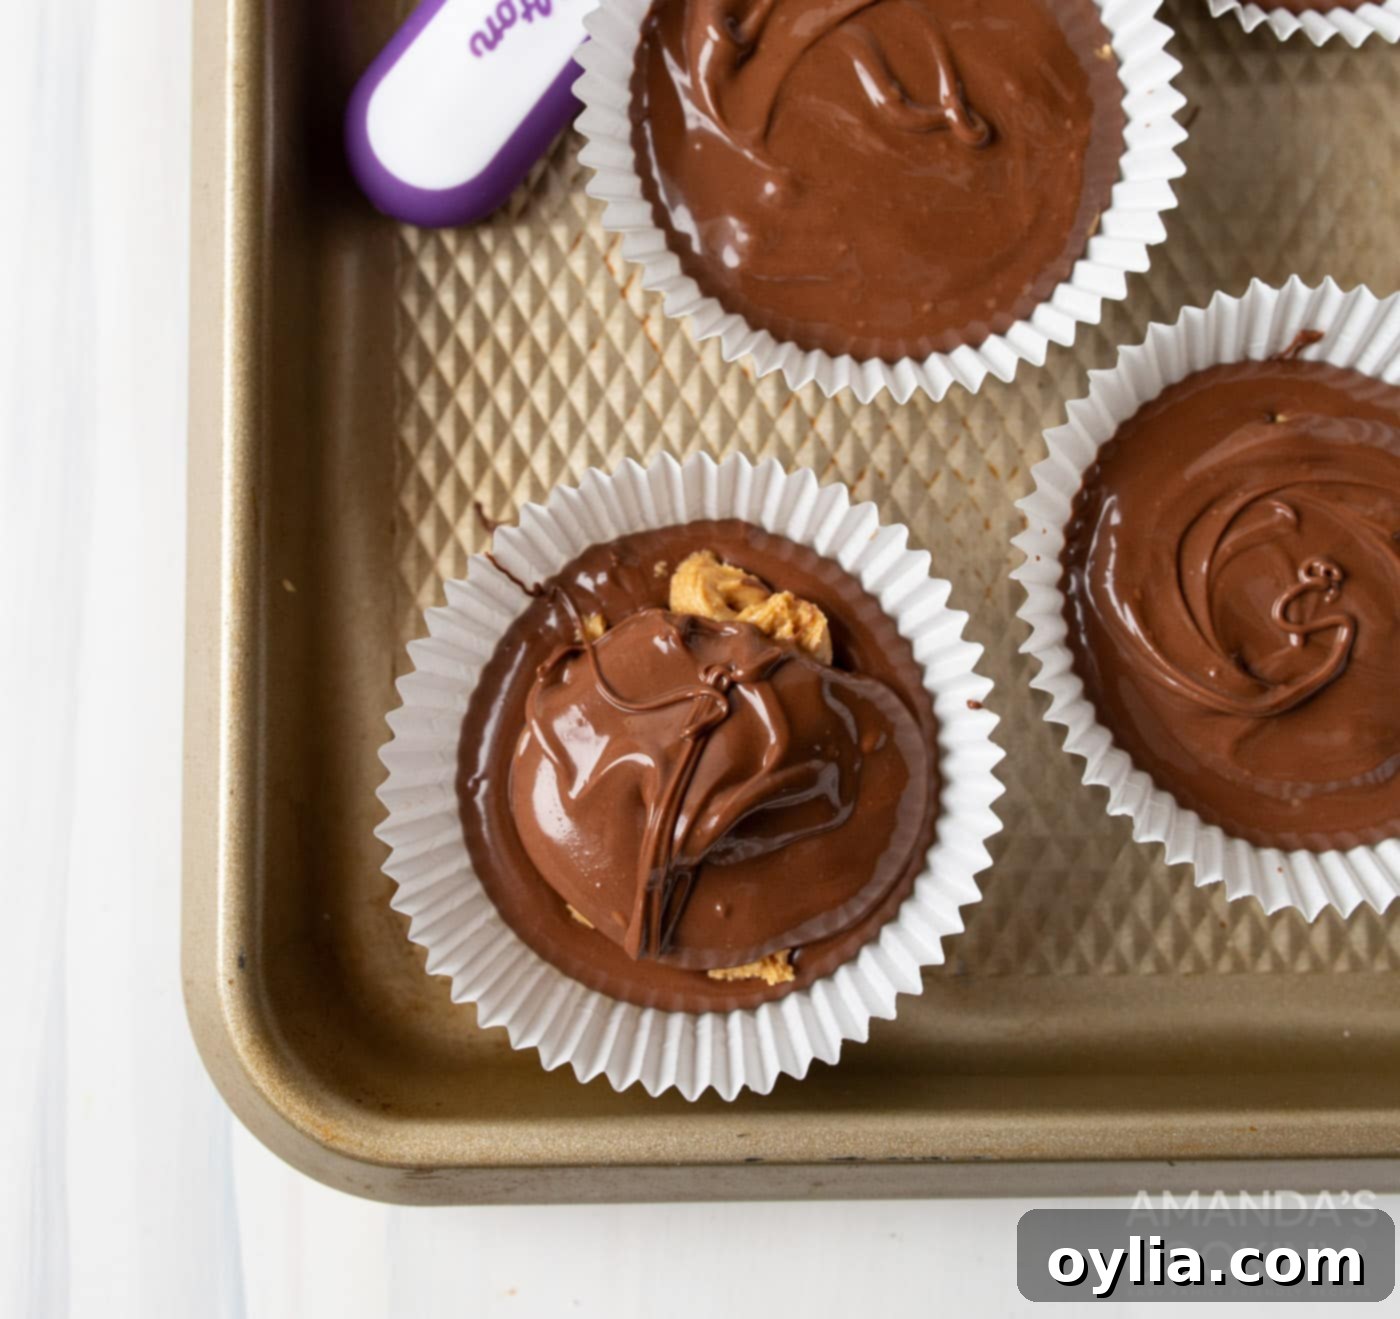
- Add the Peanut Butter Layer and Final Chocolate Coating: Take a 2-teaspoon scoop of the prepared peanut butter mixture and gently place it into the center of the melted chocolate base in each cupcake liner. Try to leave a small gap around the edges for the chocolate to flow. Then, cover the peanut butter filling completely with the remaining melted chocolate, using a frosting knife or the back of a spoon to gently smooth the top surface. A light spray of non-stick spray on your frosting knife can prevent sticking and create a perfectly smooth finish.


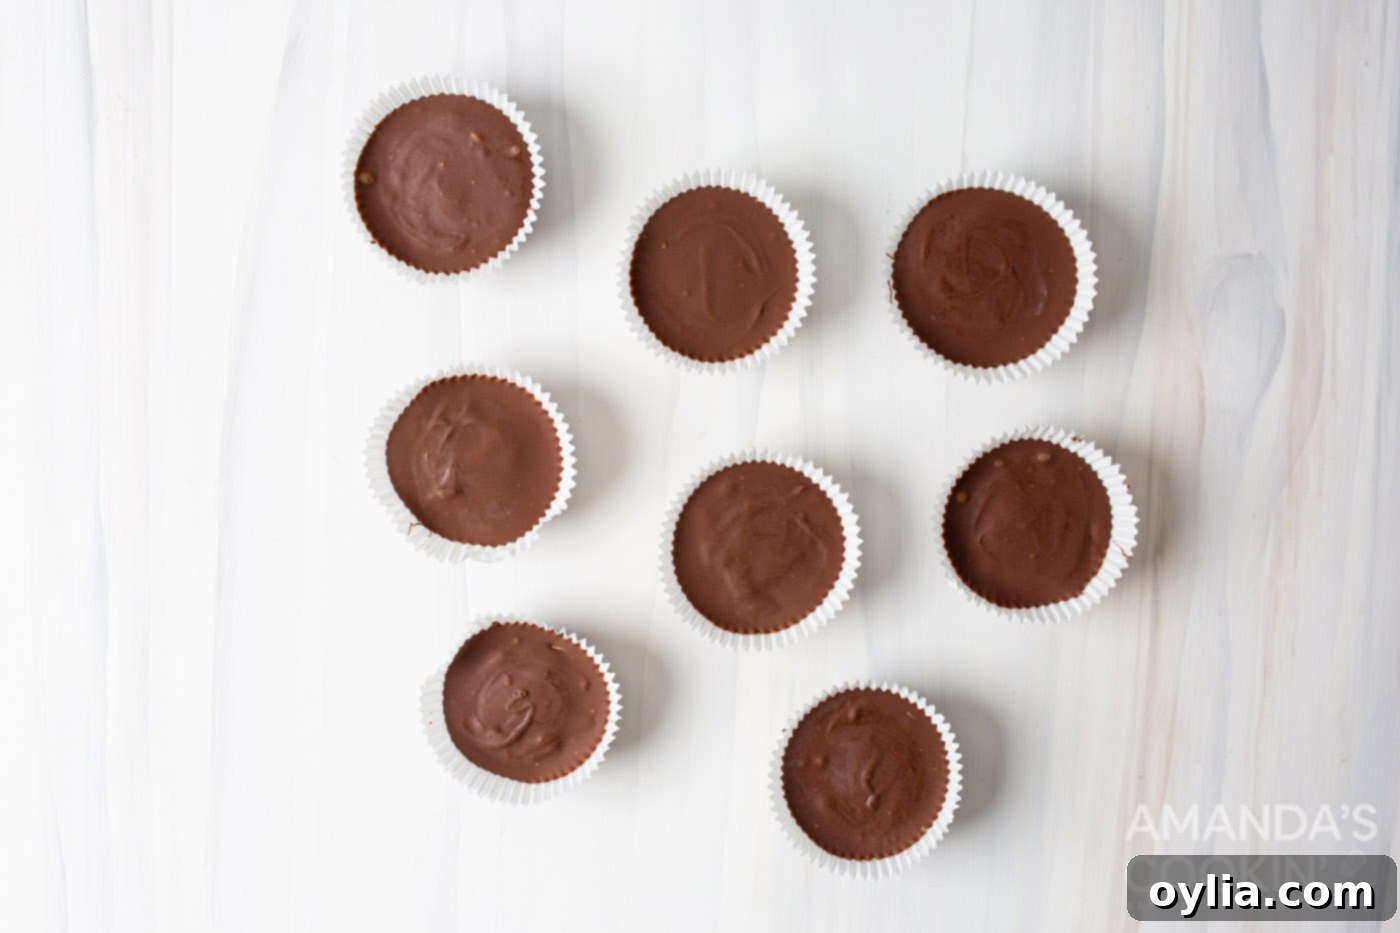
- Chill to Perfection: Once all the cups are assembled, transfer the cupcake liners (preferably in a muffin tin for stability) to the freezer. Chill for at least 2 hours, or until the chocolate is completely set and firm. This rapid chilling helps ensure a clean release from the liners and a satisfying snap when you bite into them.

Frequently Asked Questions & Expert Tips for Perfect Peanut Butter Cups
Even though this recipe is incredibly simple, a few common questions and expert tips can help ensure your homemade peanut butter cups turn out perfectly every time.
To maintain their shape and prevent the chocolate from melting, always store your homemade peanut butter cups in an airtight container. Keep them chilled in the refrigerator for up to 5 days. For longer storage, they can be frozen for up to 1 month. When freezing, it’s a good idea to separate layers with parchment paper to prevent them from sticking together. Thaw in the refrigerator or enjoy straight from the freezer for a firmer treat.
While natural peanut butter is a healthy choice, its typically runnier and oil-separated consistency can make it challenging for this recipe. Regular, creamy peanut butter (like Jif or Skippy) is recommended because it provides a firmer, more consistent texture for the filling when mixed with powdered sugar. If you insist on using natural peanut butter, you might need to add a bit more powdered sugar to achieve the desired firm consistency, or consider thoroughly draining off excess oil before use. Results may vary.
To prevent chocolate from seizing (becoming thick and clumpy), always melt it slowly and gently. If using a microwave, heat in short bursts (15-30 seconds), stirring well after each. Stop heating when there are still a few small lumps, and let the residual heat melt them as you stir. Alternatively, use a double boiler over simmering water, ensuring no water or steam gets into the chocolate, which is the primary cause of seizing. A tiny bit of coconut oil or vegetable shortening (about 1 teaspoon per cup of chocolate chips) can also help create a smoother, more workable consistency.
Absolutely! To make this recipe dairy-free, simply substitute the milk chocolate chips with a dairy-free chocolate alternative. Many brands offer delicious dairy-free dark or semi-sweet chocolate chips that melt beautifully and provide a fantastic flavor. The other two ingredients, peanut butter and powdered sugar, are typically dairy-free.
If your peanut butter mixture is too crumbly, it might be too dry. Try adding a very tiny amount (½ teaspoon at a time) of a neutral oil (like vegetable or coconut oil) or even a drop of milk (dairy or non-dairy) until it comes together. If it’s too soft or sticky, it likely needs more powdered sugar. Add a tablespoon at a time and mix until it reaches a firm, moldable consistency. The goal is a play-dough like texture that holds its shape.
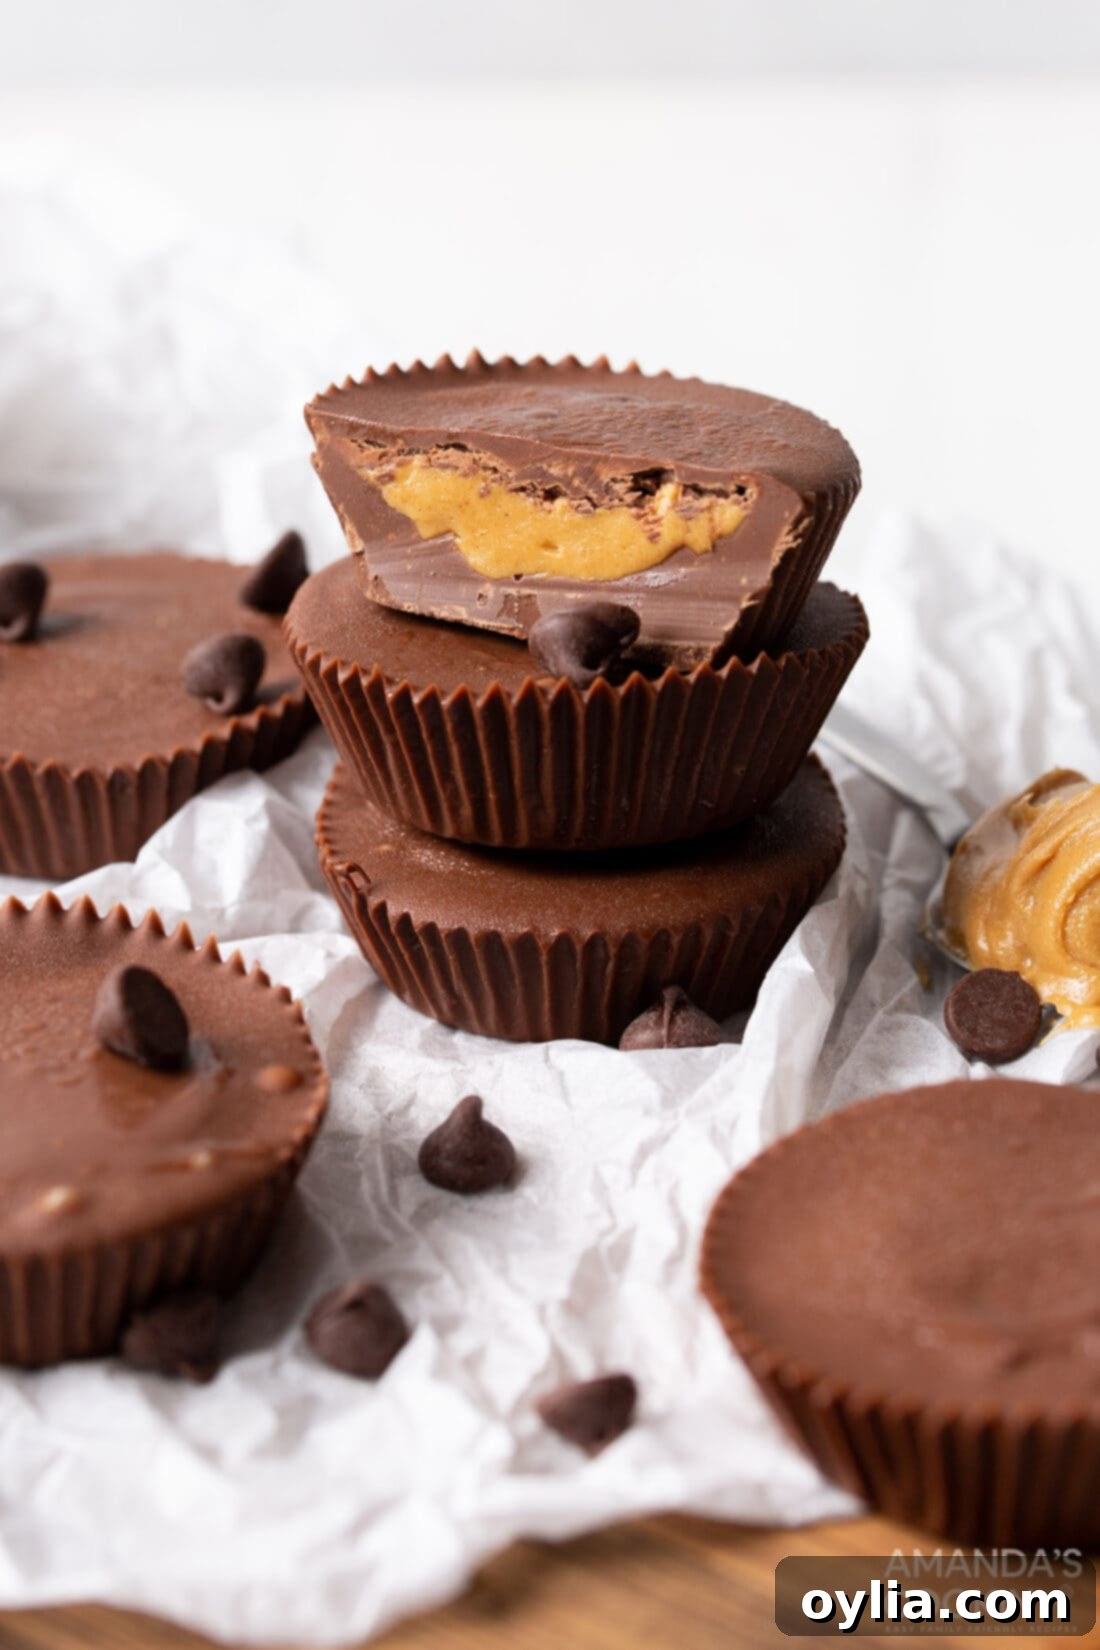
Creative Ways to Serve and Enjoy Your Homemade Peanut Butter Cups
Once your homemade peanut butter cups are perfectly chilled and ready, the possibilities for serving are endless! These delightful treats are versatile enough for any occasion. They make fantastic edible gifts, especially around the holidays. Simply wrap them individually in small cellophane bags, tie them with a festive ribbon, or arrange them beautifully in a decorative box with other homemade goodies. Your friends and family will surely appreciate the thoughtful, delicious gesture.
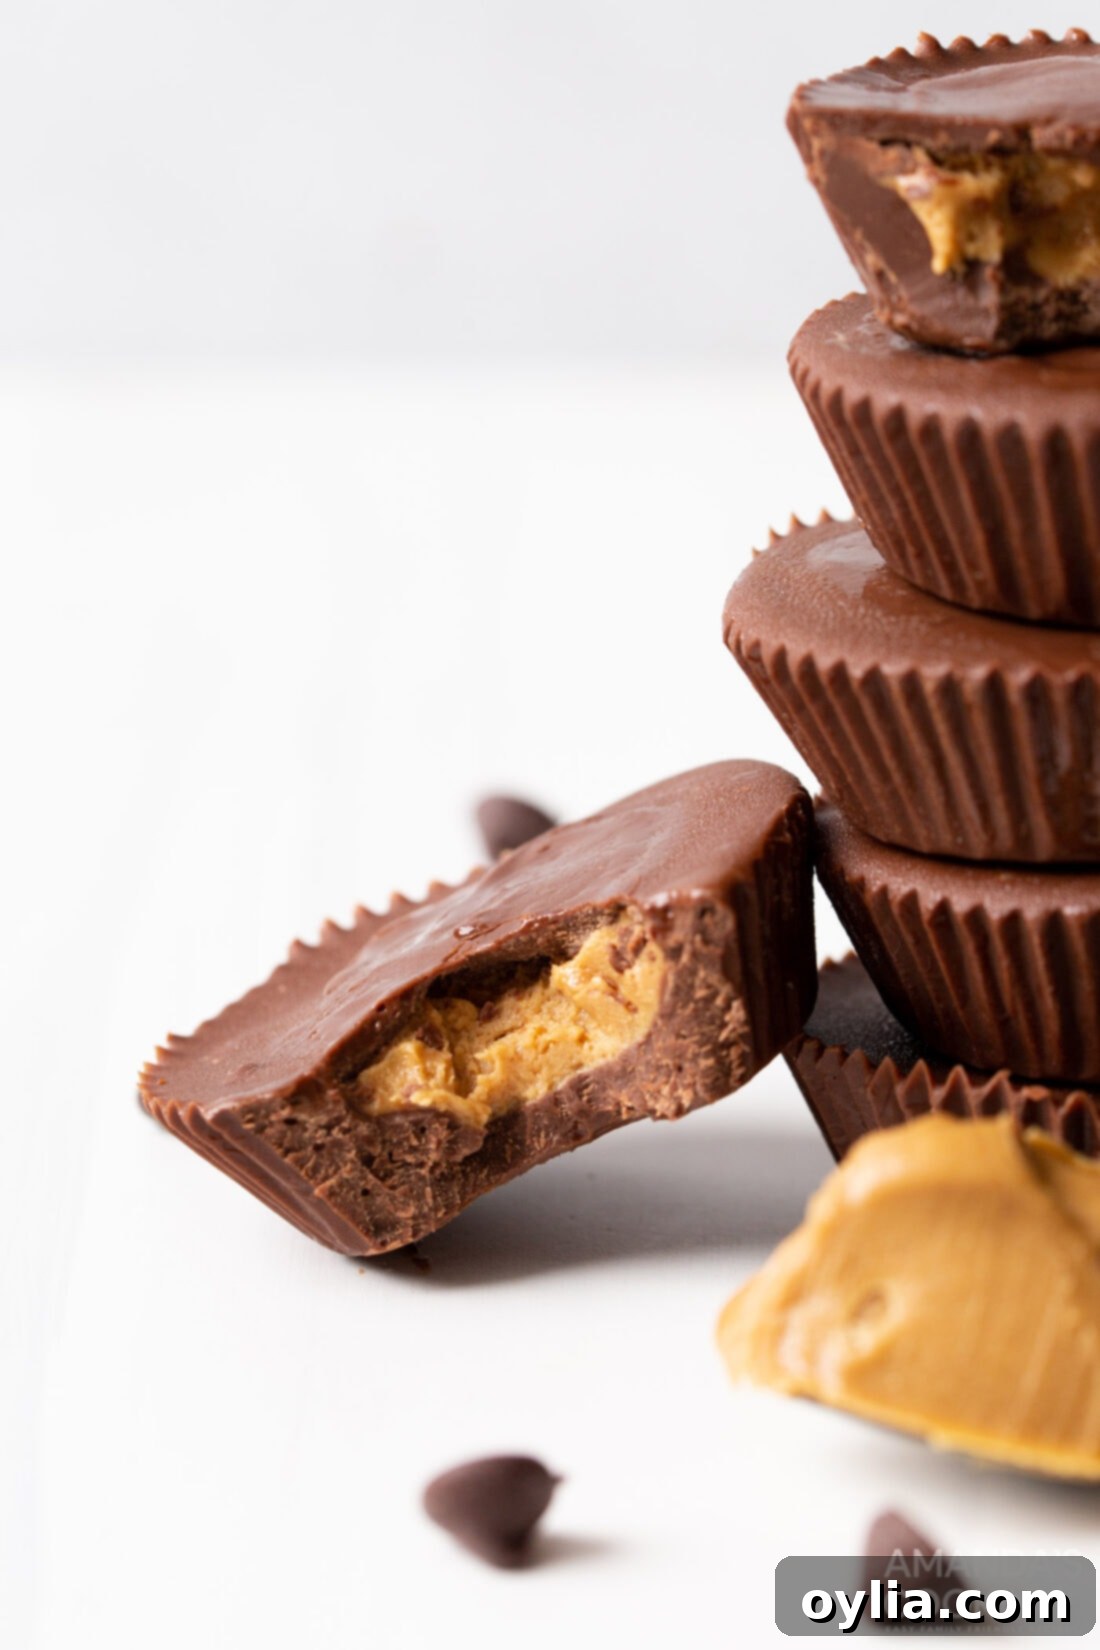
For an elevated presentation, consider sprinkling a pinch of flaky sea salt over the top of the chocolate before it fully sets – this enhances the flavors and adds a gourmet touch. You could also drizzle them with extra melted peanut butter, contrasting white chocolate, or even a different type of milk chocolate for an artistic flair. These cups are delicious served in various ways: enjoy them straight from the refrigerator for a firm, satisfying snap, slightly softened at room temperature for a creamier bite, or even frozen for a super-chilled, dense treat. Remember, however, that while they are enjoyable at room temperature, it’s best to keep them in the refrigerator to prevent the chocolate from melting, especially on warmer days or if they are going to be sitting out for an extended period.
More Irresistible Chocolate Peanut Butter Recipes to Explore
If you’re a fan of the classic chocolate and peanut butter pairing, you’re in for a treat! This dynamic duo is a star in many beloved desserts. Here are some more recipes to satisfy your cravings and expand your repertoire of sweet delights:
- Chocolate Peanut Butter Fudge
- Chocolate Peanut Butter Balls
- Chocolate Peanut Butter Lasagna
- Peanut Butter Chocolate Chunk Bars
- Chocolate Peanut Butter Cookies
- Chocolate Cake with Peanut Butter Frosting
- Chocolate Peanut Butter Cupcakes
- Reeses Pie
I absolutely adore spending time in the kitchen, experimenting with new recipes and sharing my culinary adventures with all of you! To make sure you never miss out on a delicious new creation, I offer a convenient newsletter delivered directly to your inbox every time a fresh recipe is posted. Simply subscribe here and start receiving your free daily recipes – it’s the easiest way to keep your recipe box full and your taste buds happy!
Peanut Butter Cups
IMPORTANT – There are often Frequently Asked Questions within the blog post that you may find helpful. Simply scroll back up to read them!
Print It
Pin It
Rate It
Save ItSaved!
Ingredients
- 1 cup creamy peanut butter
- ½ cup confectioners sugar
- 11.5 oz milk chocolate chips
Things You’ll Need
-
Hand mixer
-
Mixing bowl
-
Cookie scoop
-
Cupcake liners (standard size)
-
Muffin tin (for holding liners)
-
Frosting knife or small offset spatula
Before You Begin
- To keep the frosting knife from sticking to the chocolate, lightly spray it with non-stick cooking spray before smoothing the chocolate.
- Ensure your peanut butter is at room temperature for easier mixing with the confectioner’s sugar.
- For best results, use standard-sized cupcake liners. Mini liners will yield more cups, but require smaller portions of each ingredient layer.
Instructions
-
In a medium mixing bowl, combine the creamy peanut butter and confectioner’s sugar. Beat with a handheld mixer until thoroughly combined and the mixture forms a thick, moldable consistency.
-
Melt the milk chocolate chips in a microwave-safe bowl. Heat in 30-second intervals, stirring vigorously with a whisk after each, until smooth. Spoon about 1-2 tablespoons of melted chocolate into the bottom of each of 9 standard cupcake liners, spreading it to create an even base.
-
Take a 2-teaspoon scoop of the peanut butter filling and gently place it into the middle of the chocolate base in each liner. Carefully cover the peanut butter layer with the remaining melted chocolate and smooth the top surface using a frosting knife (lightly sprayed with non-stick spray for a clean finish).
-
Place the prepared peanut butter cups into the freezer for 2 hours, or until the chocolate has completely set and hardened. Once firm, peel off the cupcake liners and enjoy!
Nutrition
The recipes on this blog are tested with a conventional gas oven and gas stovetop. It’s important to note that some ovens, especially as they age, can cook and bake inconsistently. Using an inexpensive oven thermometer can assure you that your oven is truly heating to the proper temperature. If you use a toaster oven or countertop oven, please keep in mind that they may not distribute heat the same as a conventional full sized oven and you may need to adjust your cooking/baking times. In the case of recipes made with a pressure cooker, air fryer, slow cooker, or other appliance, a link to the appliances we use is listed within each respective recipe. For baking recipes where measurements are given by weight, please note that results may not be the same if cups are used instead, and we can’t guarantee success with that method.
These homemade peanut butter cups are a testament to the fact that sometimes, the simplest recipes yield the most satisfying results. Whether you’re a seasoned baker or just starting your culinary journey, this 3-ingredient wonder offers a quick, enjoyable, and utterly delicious experience. Dive in, create your own batch, and savor the rich, creamy, and undeniably perfect blend of chocolate and peanut butter. Happy candy making!
