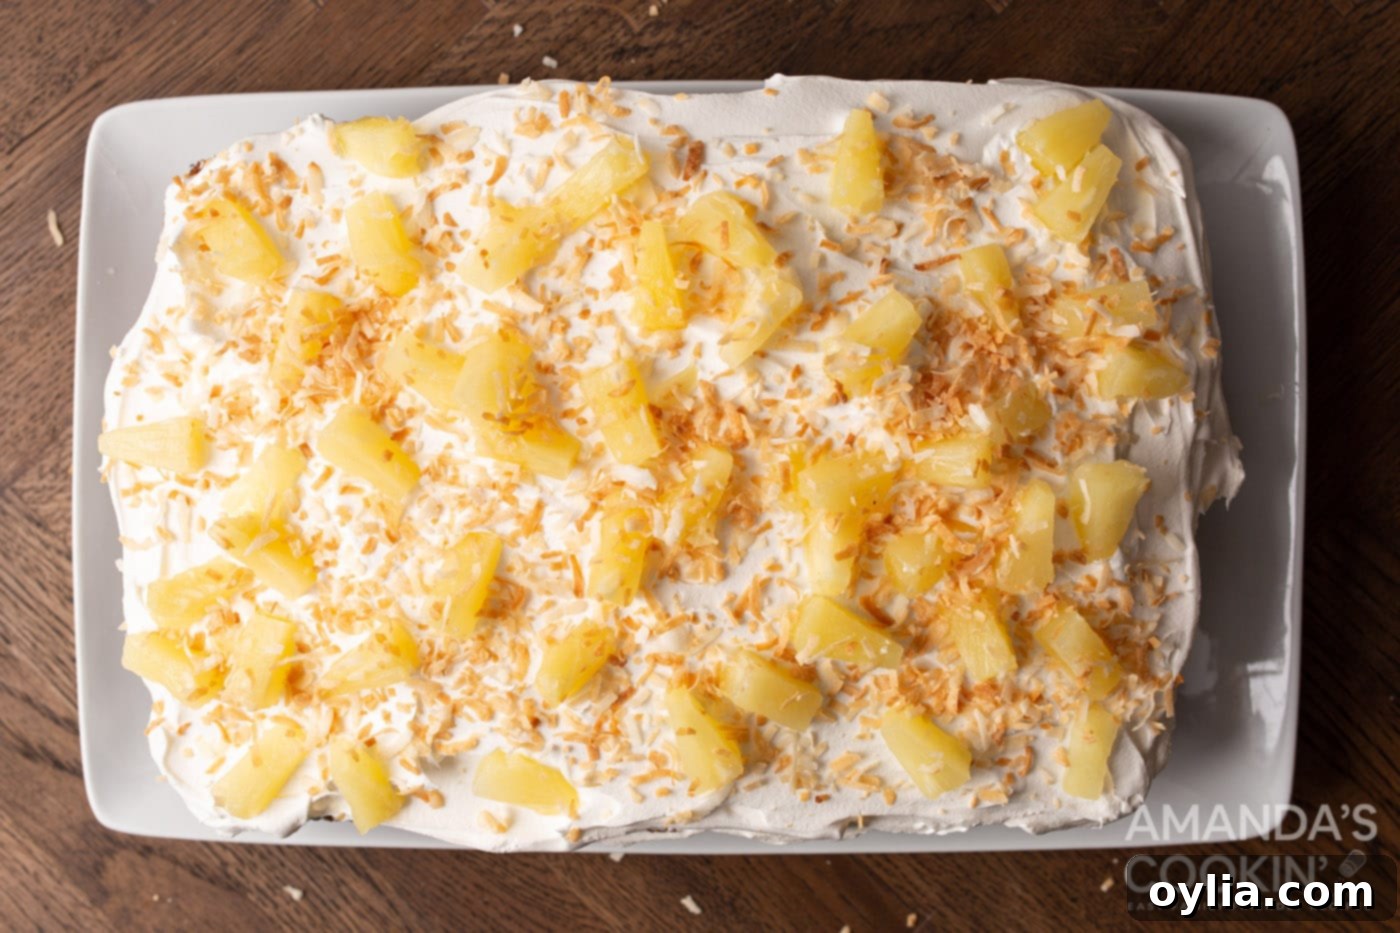
Easy & Refreshing Pineapple Poke Cake: Your Go-To Summer Dessert Recipe
Get ready to discover the ultimate summer dessert: a sweet, tangy, and incredibly refreshing Pineapple Poke Cake! This crowd-pleasing recipe is perfect for any occasion, from casual family dinners to festive backyard barbecues. Its delightful blend of moist cake, vibrant pineapple jello, and light, creamy topping makes it an instant favorite. Best of all, it’s surprisingly simple to make, requiring just a few staple ingredients like a box of cake mix, pineapple jello, Cool Whip, and some juicy pineapple chunks.
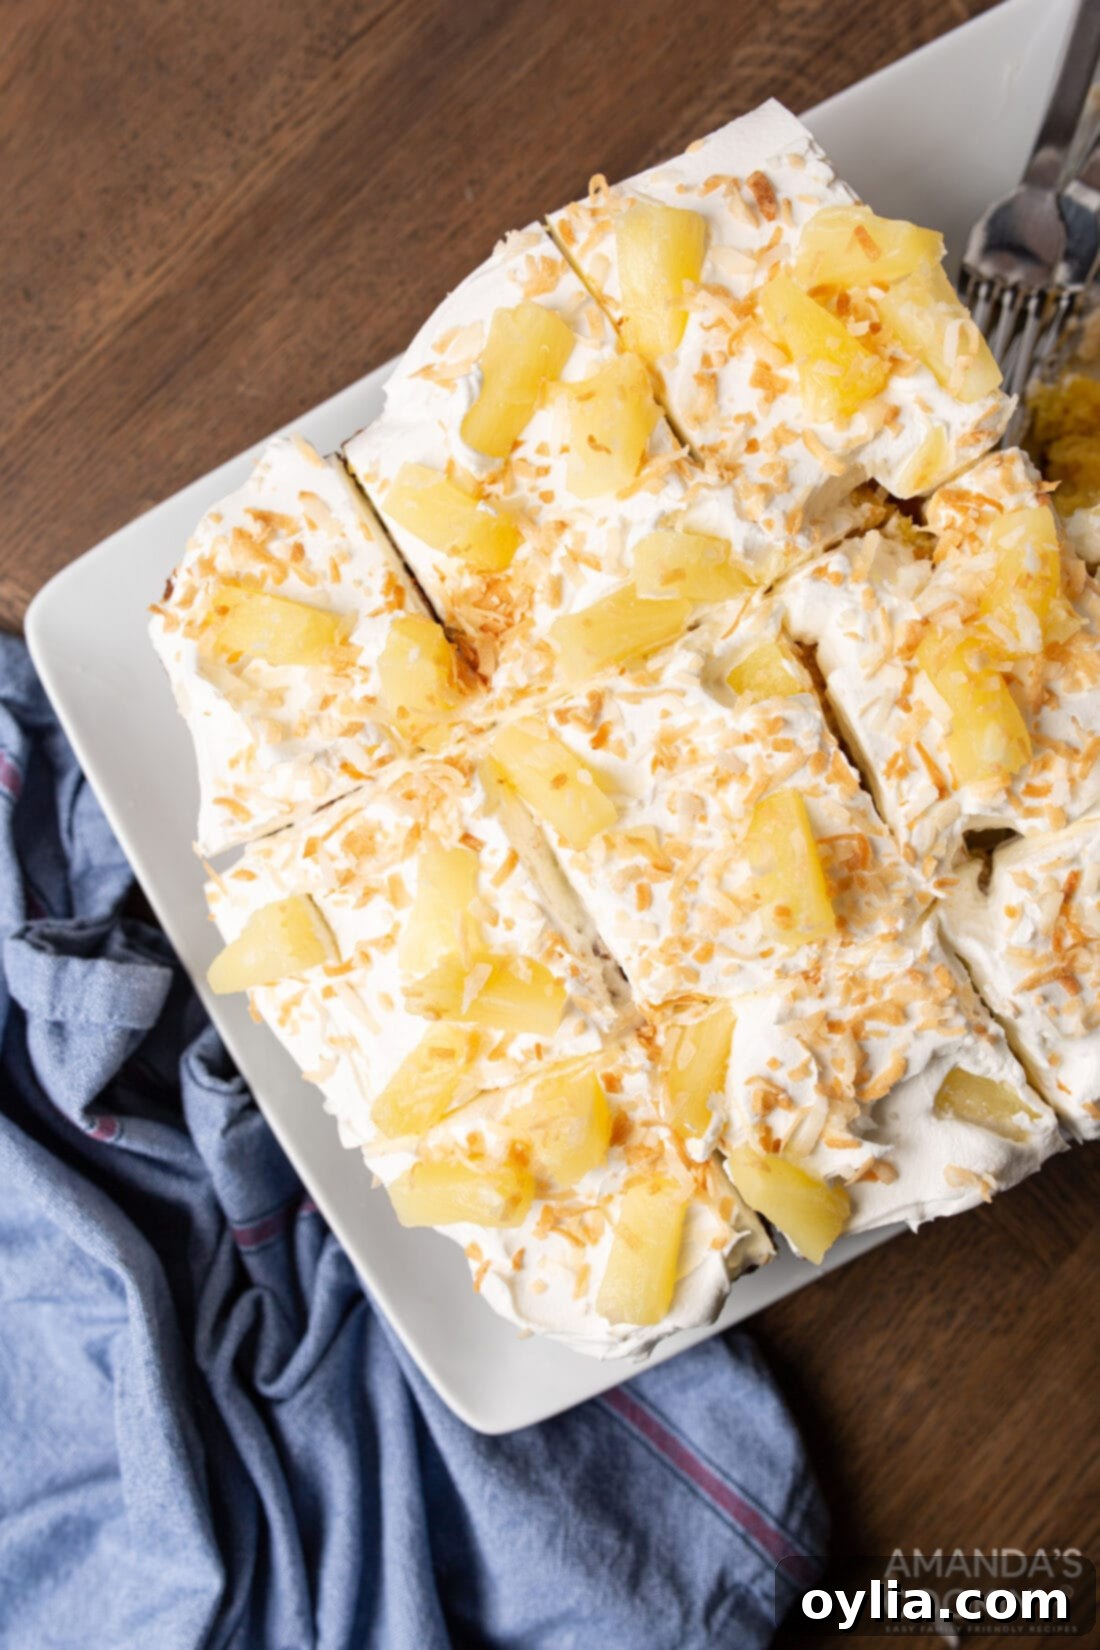
Why This Pineapple Poke Cake Recipe Works Wonders
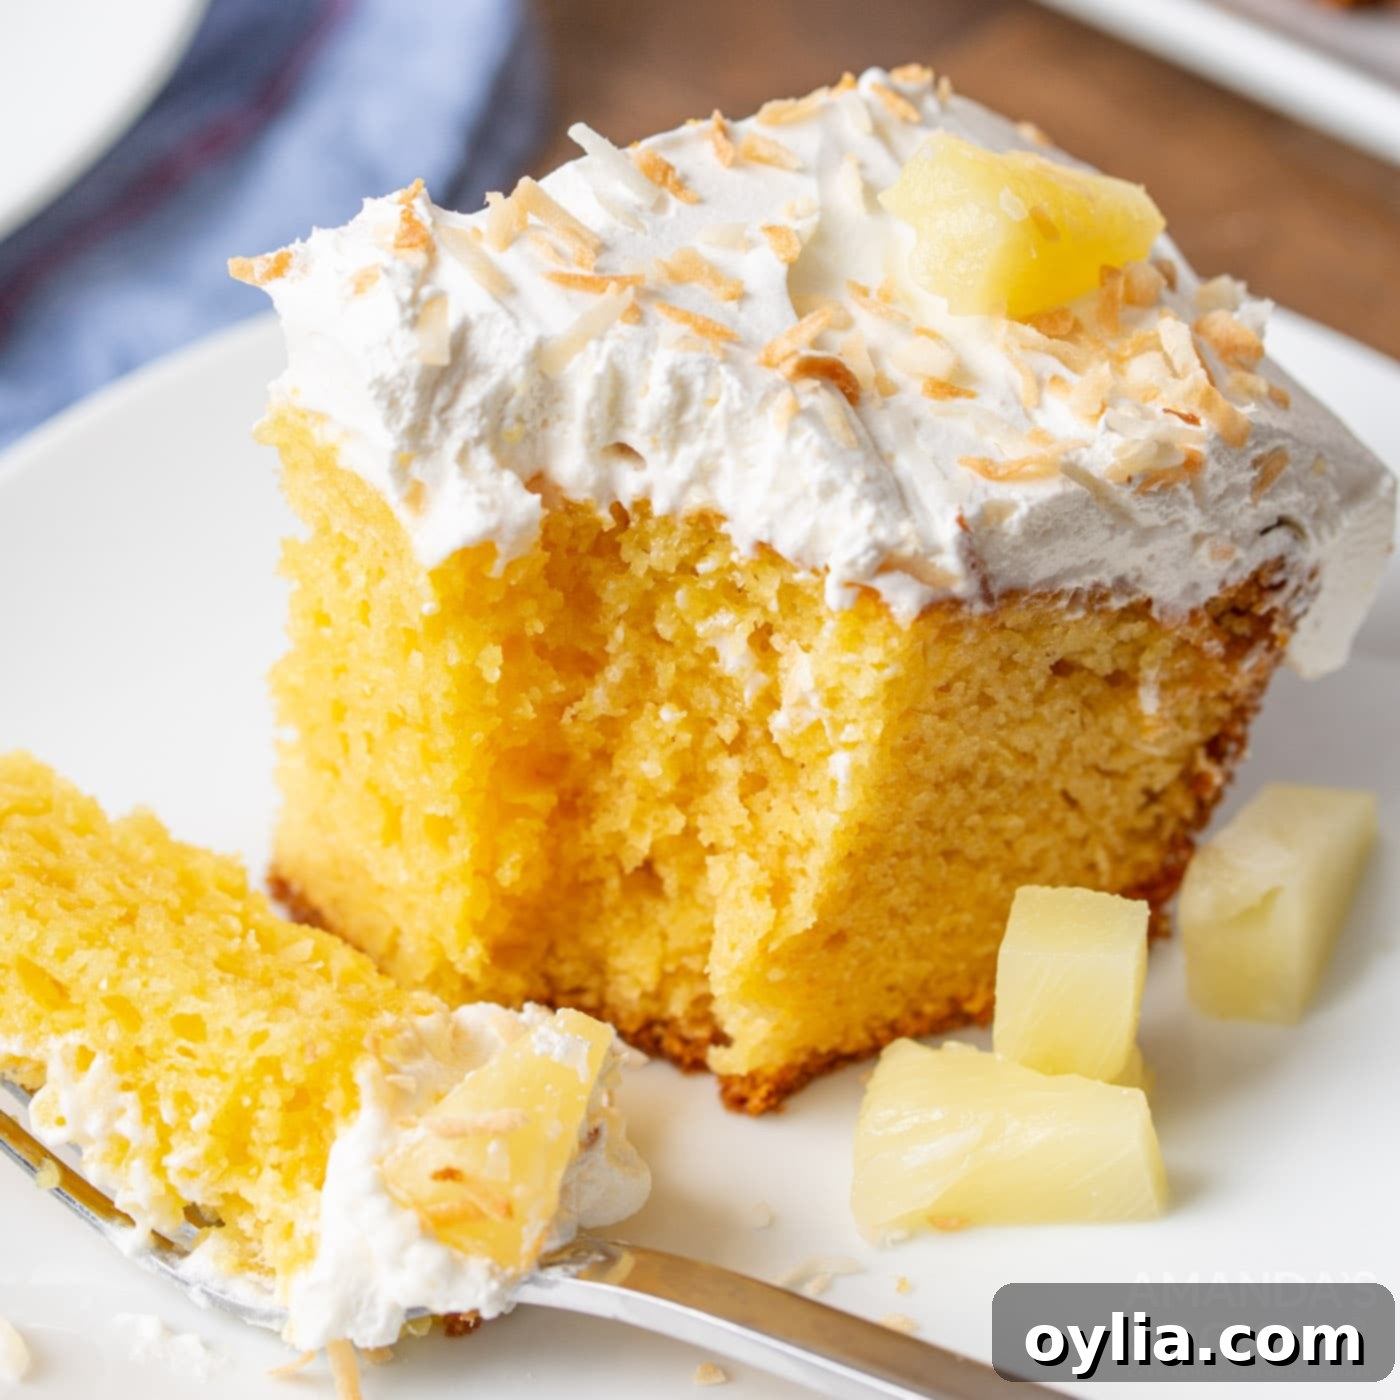
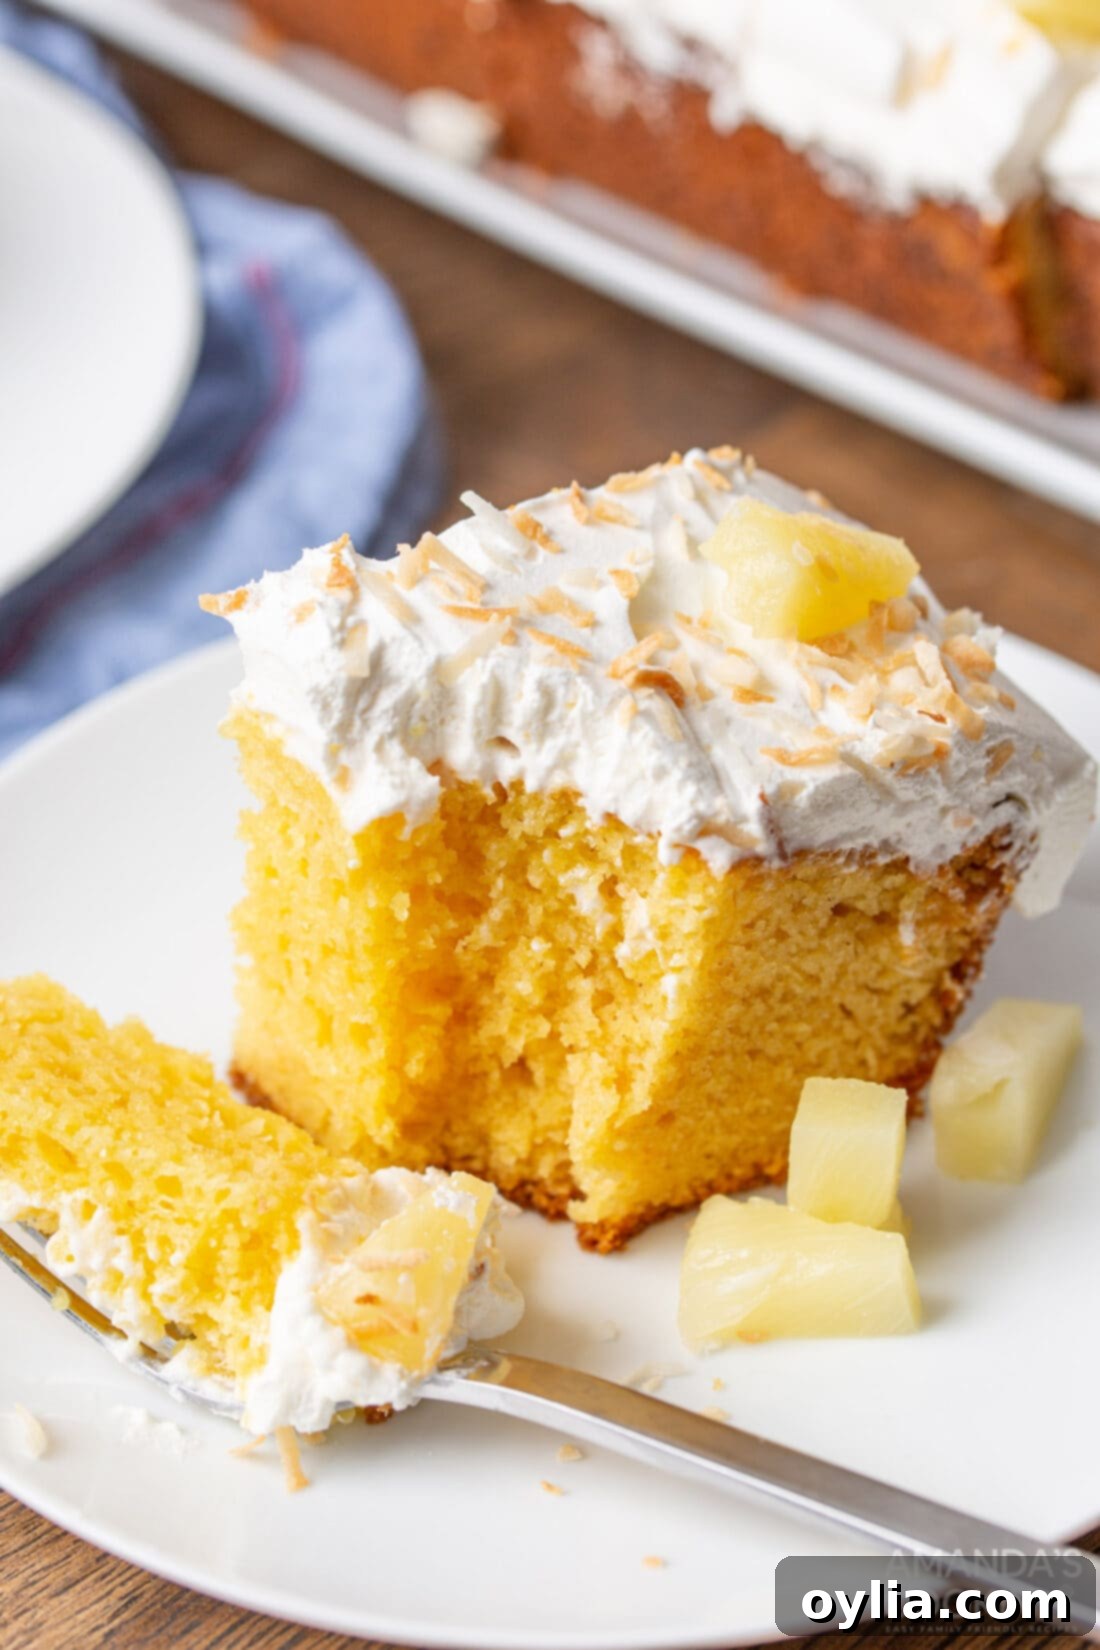
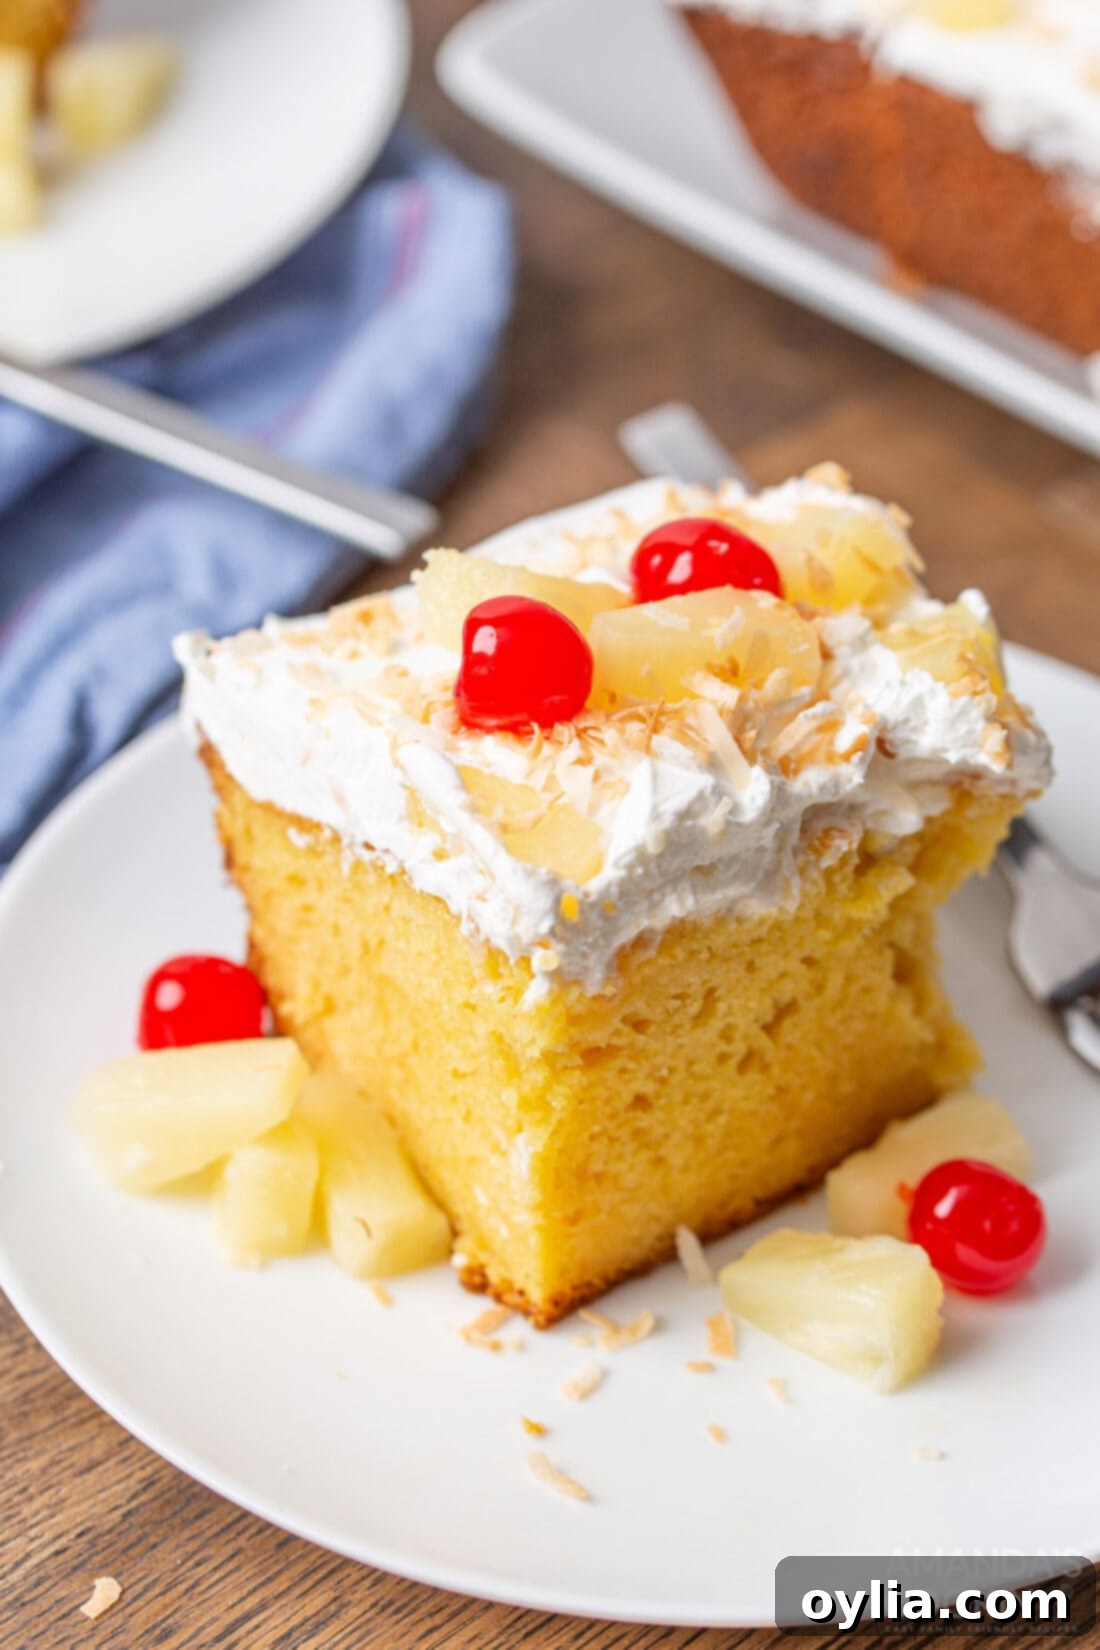
This Pineapple Poke Cake truly is a dream come true for dessert lovers, combining the beloved poke cake concept with the bright, tropical essence of a classic pineapple cake. What makes this recipe an absolute winner? It’s the perfect harmony of textures and flavors. The cake itself is incredibly moist thanks to the pineapple jello seeping into every crevice, while the sweet, creamy topping of Cool Whip, juicy pineapple, and fragrant toasted coconut creates an irresistible finish. It’s a light yet satisfying dessert that embodies the spirit of summer in every single bite.
RELATED: If you love tropical flavors and easy baking, you might also enjoy these delightful recipes: Mini Pineapple Upside Down Cakes or a vibrant Orange Pineapple Cake.
Key Ingredients for Your Pineapple Poke Cake
Gathering your ingredients for this easy pineapple poke cake is a breeze. You’ll find all precise measurements and detailed instructions in the printable recipe card located at the very end of this post. For now, let’s explore the essential components that make this dessert so special.
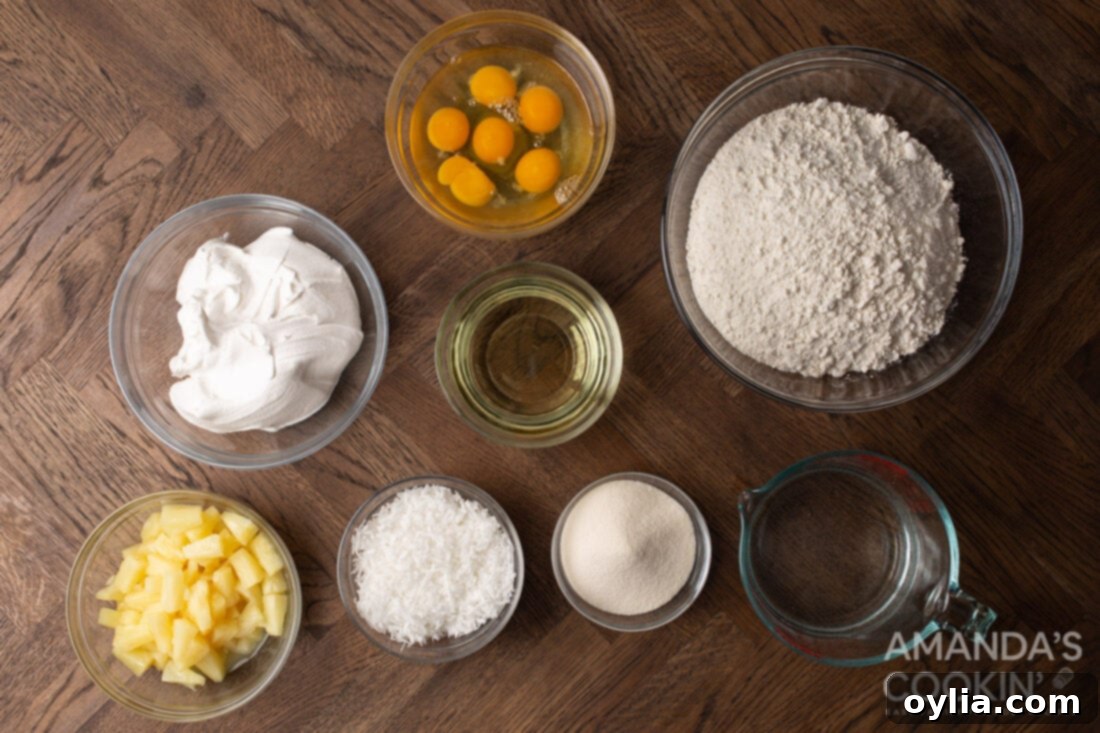
Ingredient Information & Helpful Substitutions
To ensure your pineapple poke cake turns out perfectly every time, here’s a closer look at the key ingredients and some smart substitution ideas:
THE CAKE BASE – Using a box cake mix is a fantastic shortcut that significantly reduces prep time, making this dessert incredibly accessible for busy home bakers. Both white or yellow cake mixes work beautifully here. If you prefer a more striking visual contrast against the golden jello, opt for a white cake mix. For those who enjoy baking from scratch, a homemade pineapple cake recipe can certainly be used as your base, just ensure it’s baked in a 13×9 inch pan and cooled before proceeding with the poke cake steps.
THE PINEAPPLE JELLO – This is the magic ingredient that gives the poke cake its signature moistness and burst of pineapple flavor. It soaks into all the tiny holes, infusing the cake with a refreshing, sweet, and slightly tangy taste. While pineapple jello is ideal, you could experiment with other tropical jello flavors like lime or orange for a different twist, though the classic pineapple truly shines.
THE TOPPING & GARNISHES – The generous layer of Cool Whip is essential for that light, airy, and creamy finish. It provides a wonderful contrast to the dense, jello-infused cake. If you prefer a homemade alternative, freshly whipped cream is an excellent substitute – just be sure to stabilize it slightly with a touch of powdered sugar and vanilla for better hold. For the ultimate visual appeal and flavor explosion, we highly recommend topping your cake with sweet pineapple chunks, crunchy toasted coconut, and vibrant maraschino cherries. These garnishes are optional, of course, and can be customized to your taste. Consider adding a sprinkle of chopped macadamia nuts for extra crunch or a zest of lime for an added citrusy zing!
How to Make This Irresistible Pineapple Poke Cake
These step-by-step photos and instructions are designed to help you visualize each stage of making this delightful pineapple poke cake. For a complete, printable version of this recipe, including all measurements and detailed instructions, simply Jump to Recipe at the bottom of this post.
Creating this tropical dessert is a straightforward process that yields impressive results. Here’s a detailed breakdown of the steps:
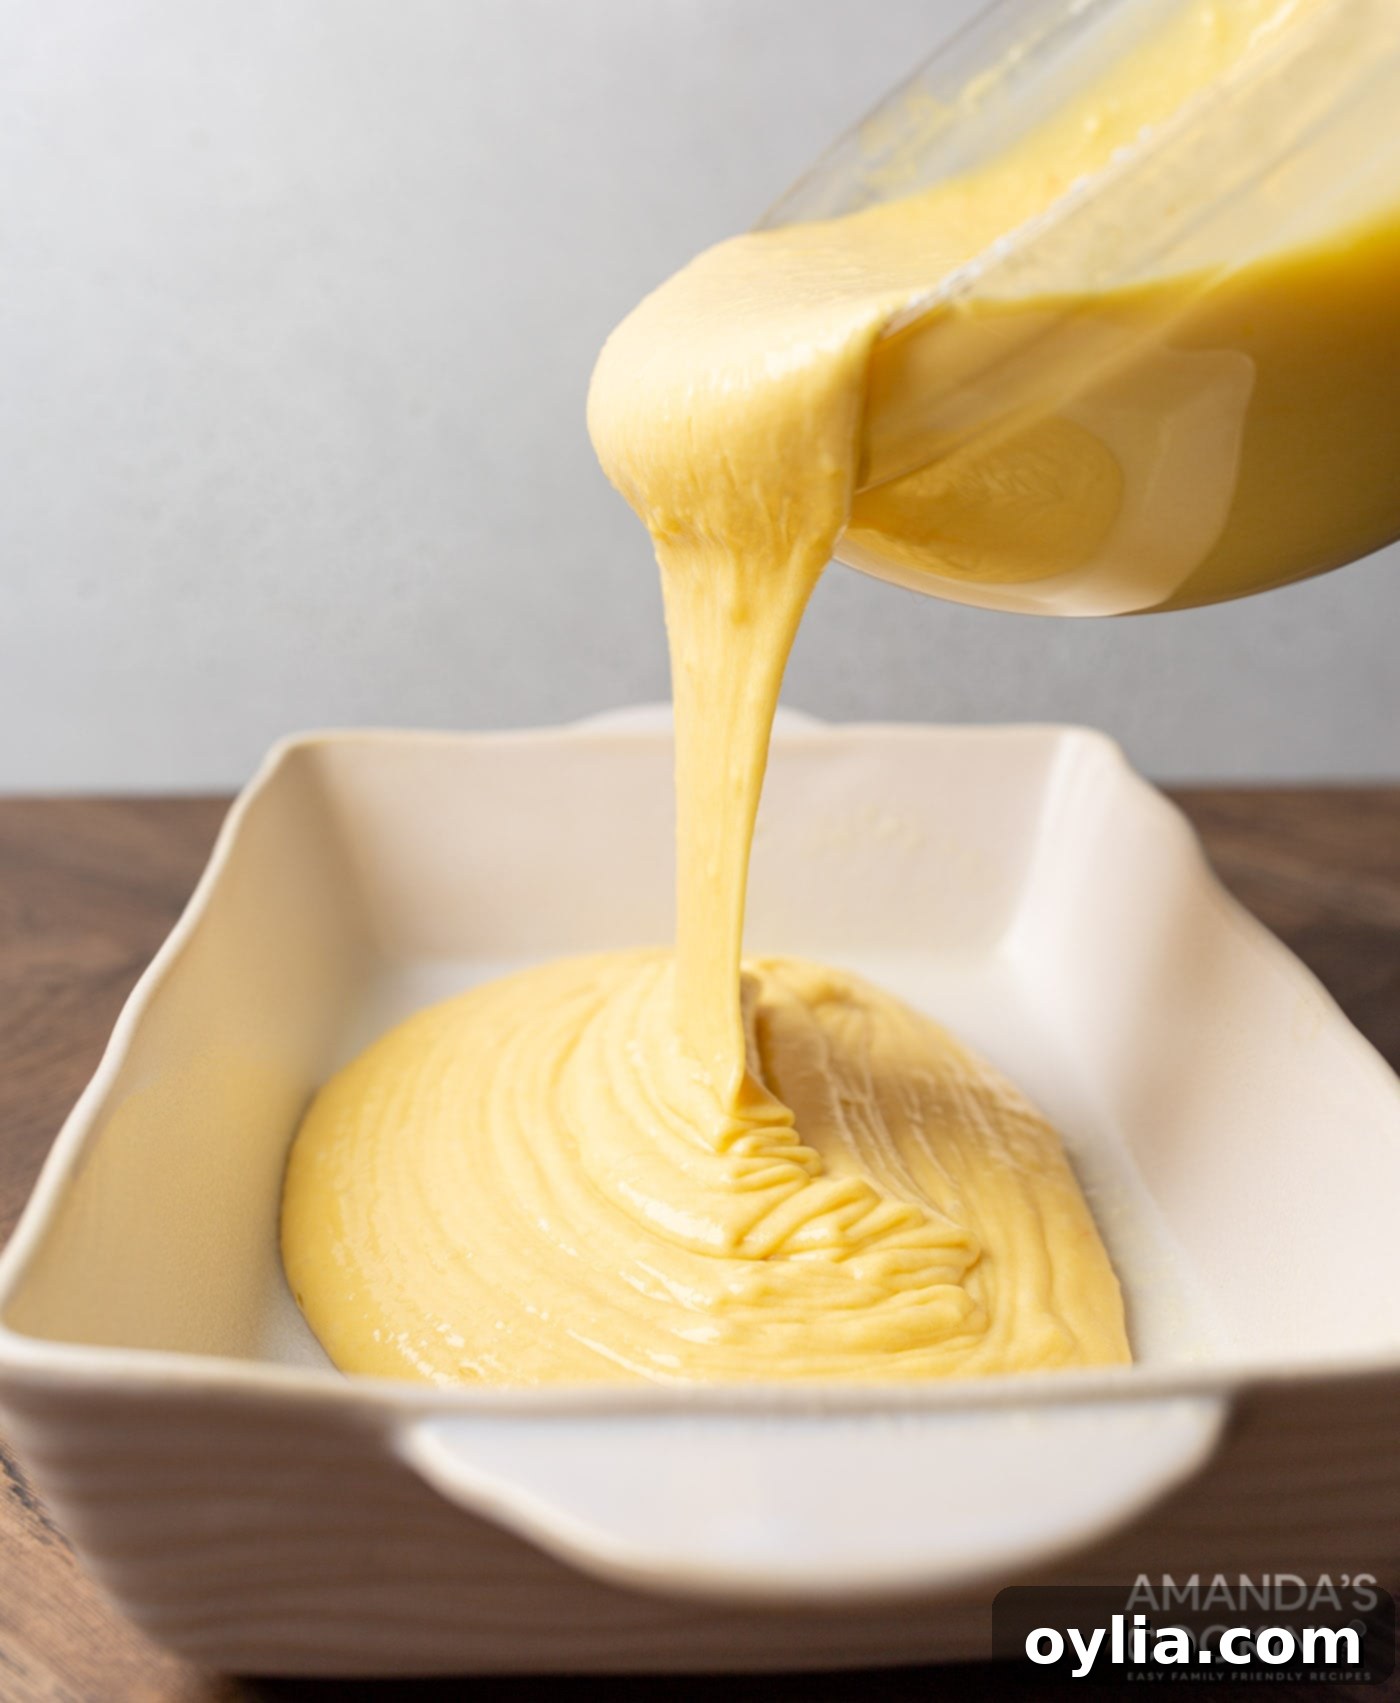
- **Bake the Cake Base:** Begin by preparing your chosen cake mix according to the package instructions. This usually involves combining the mix with eggs, oil, and water. Pour the smooth batter into a 13×9 inch baking pan, ensuring it’s evenly spread, then bake it until a toothpick inserted into the center comes out clean. Allow the cake to cool for about 10 minutes after baking.

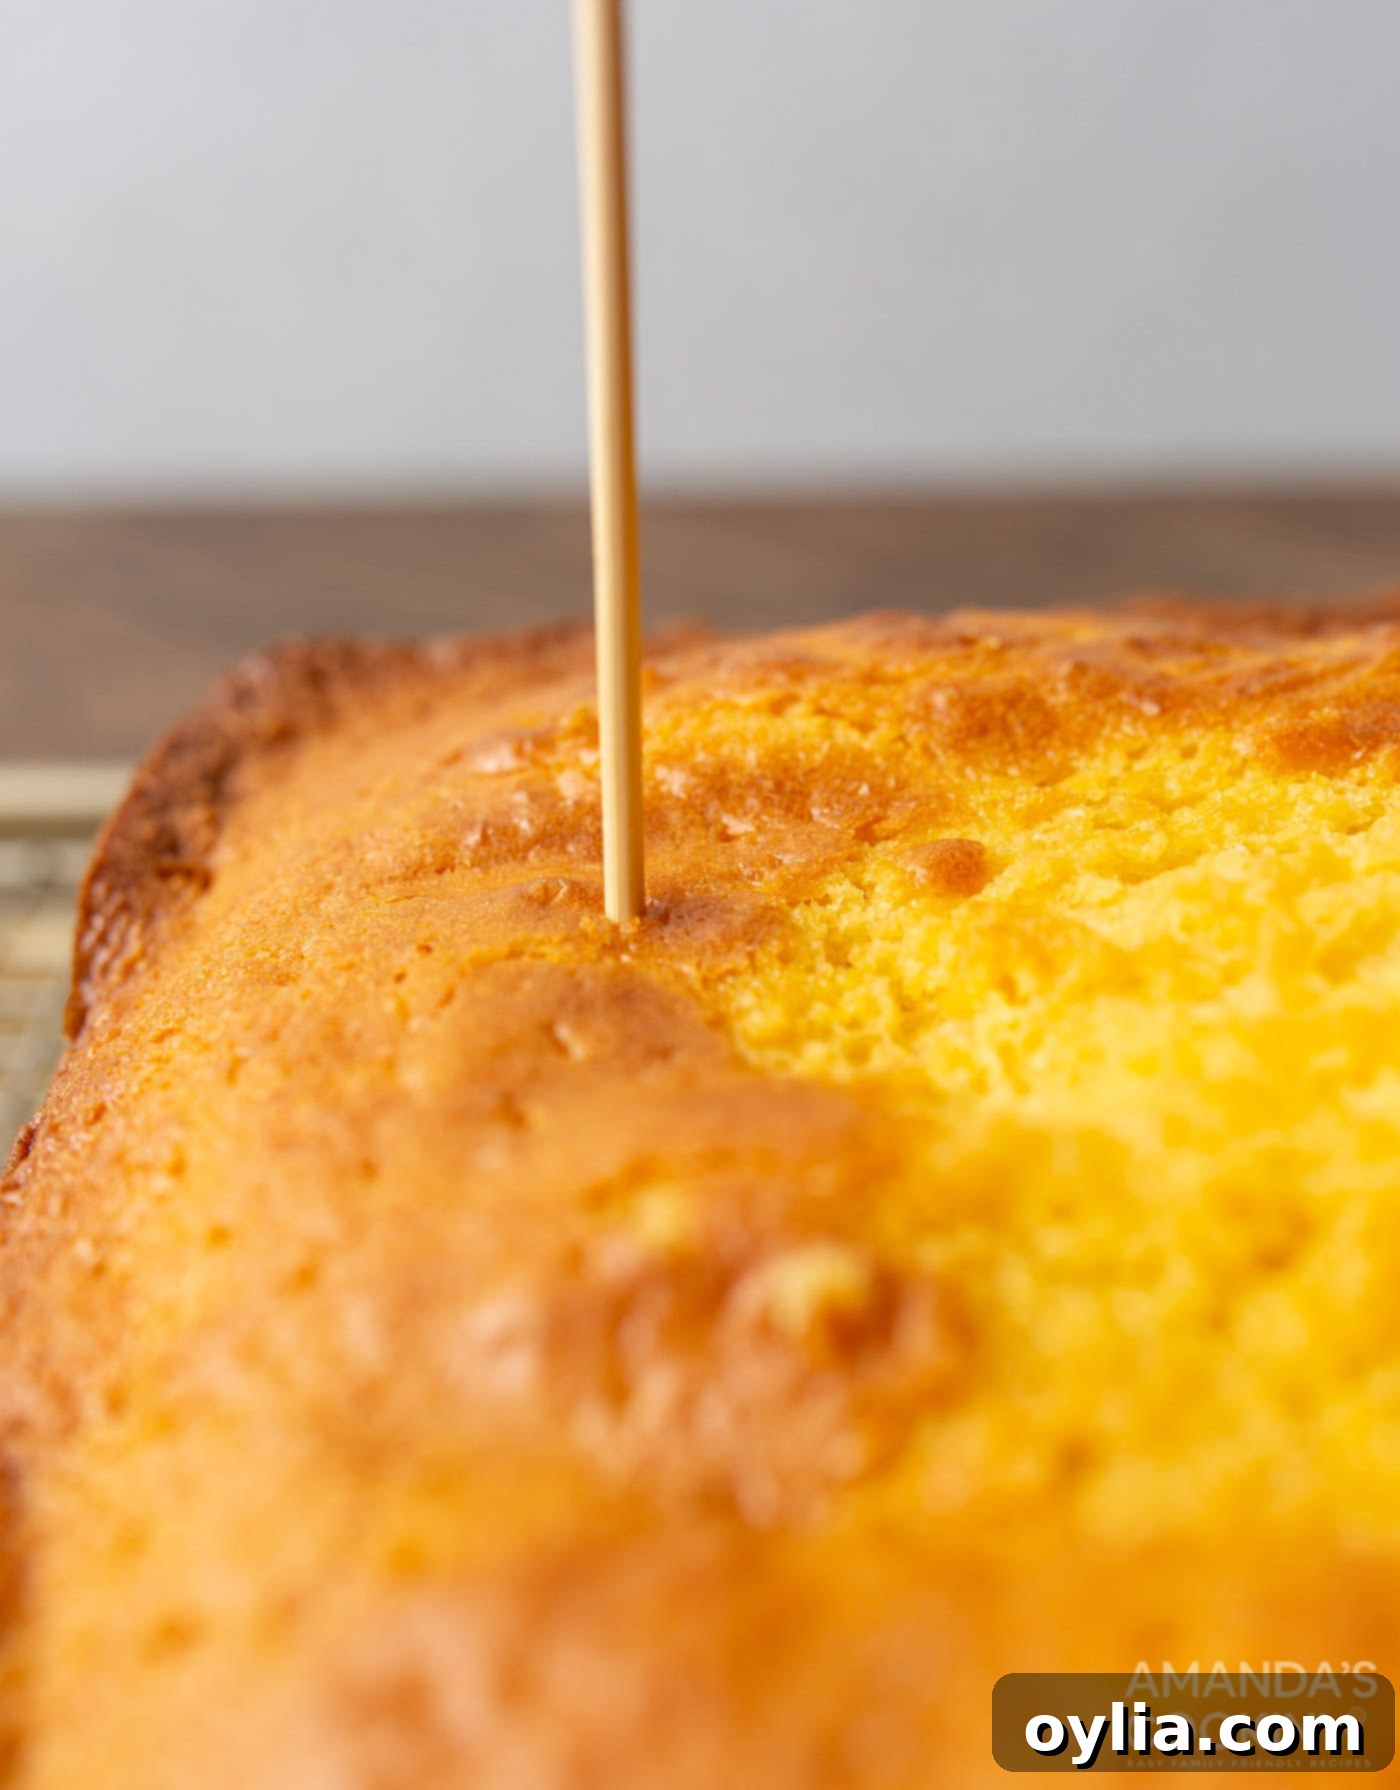
- **Poke the Holes:** This is the “poke” in poke cake! While the cake is still warm, use the handle of a wooden spoon, a dowel, or even a serving fork to carefully poke holes all over the surface. Aim for a pattern that allows the jello to saturate the cake evenly.

- **Prepare the Jello:** In a liquid measuring cup or bowl, combine the pineapple jello powder with 1 1/2 cups of boiling water. Whisk continuously until the jello is completely dissolved and no granules remain. It’s crucial that the jello is in liquid form and not yet chilled.
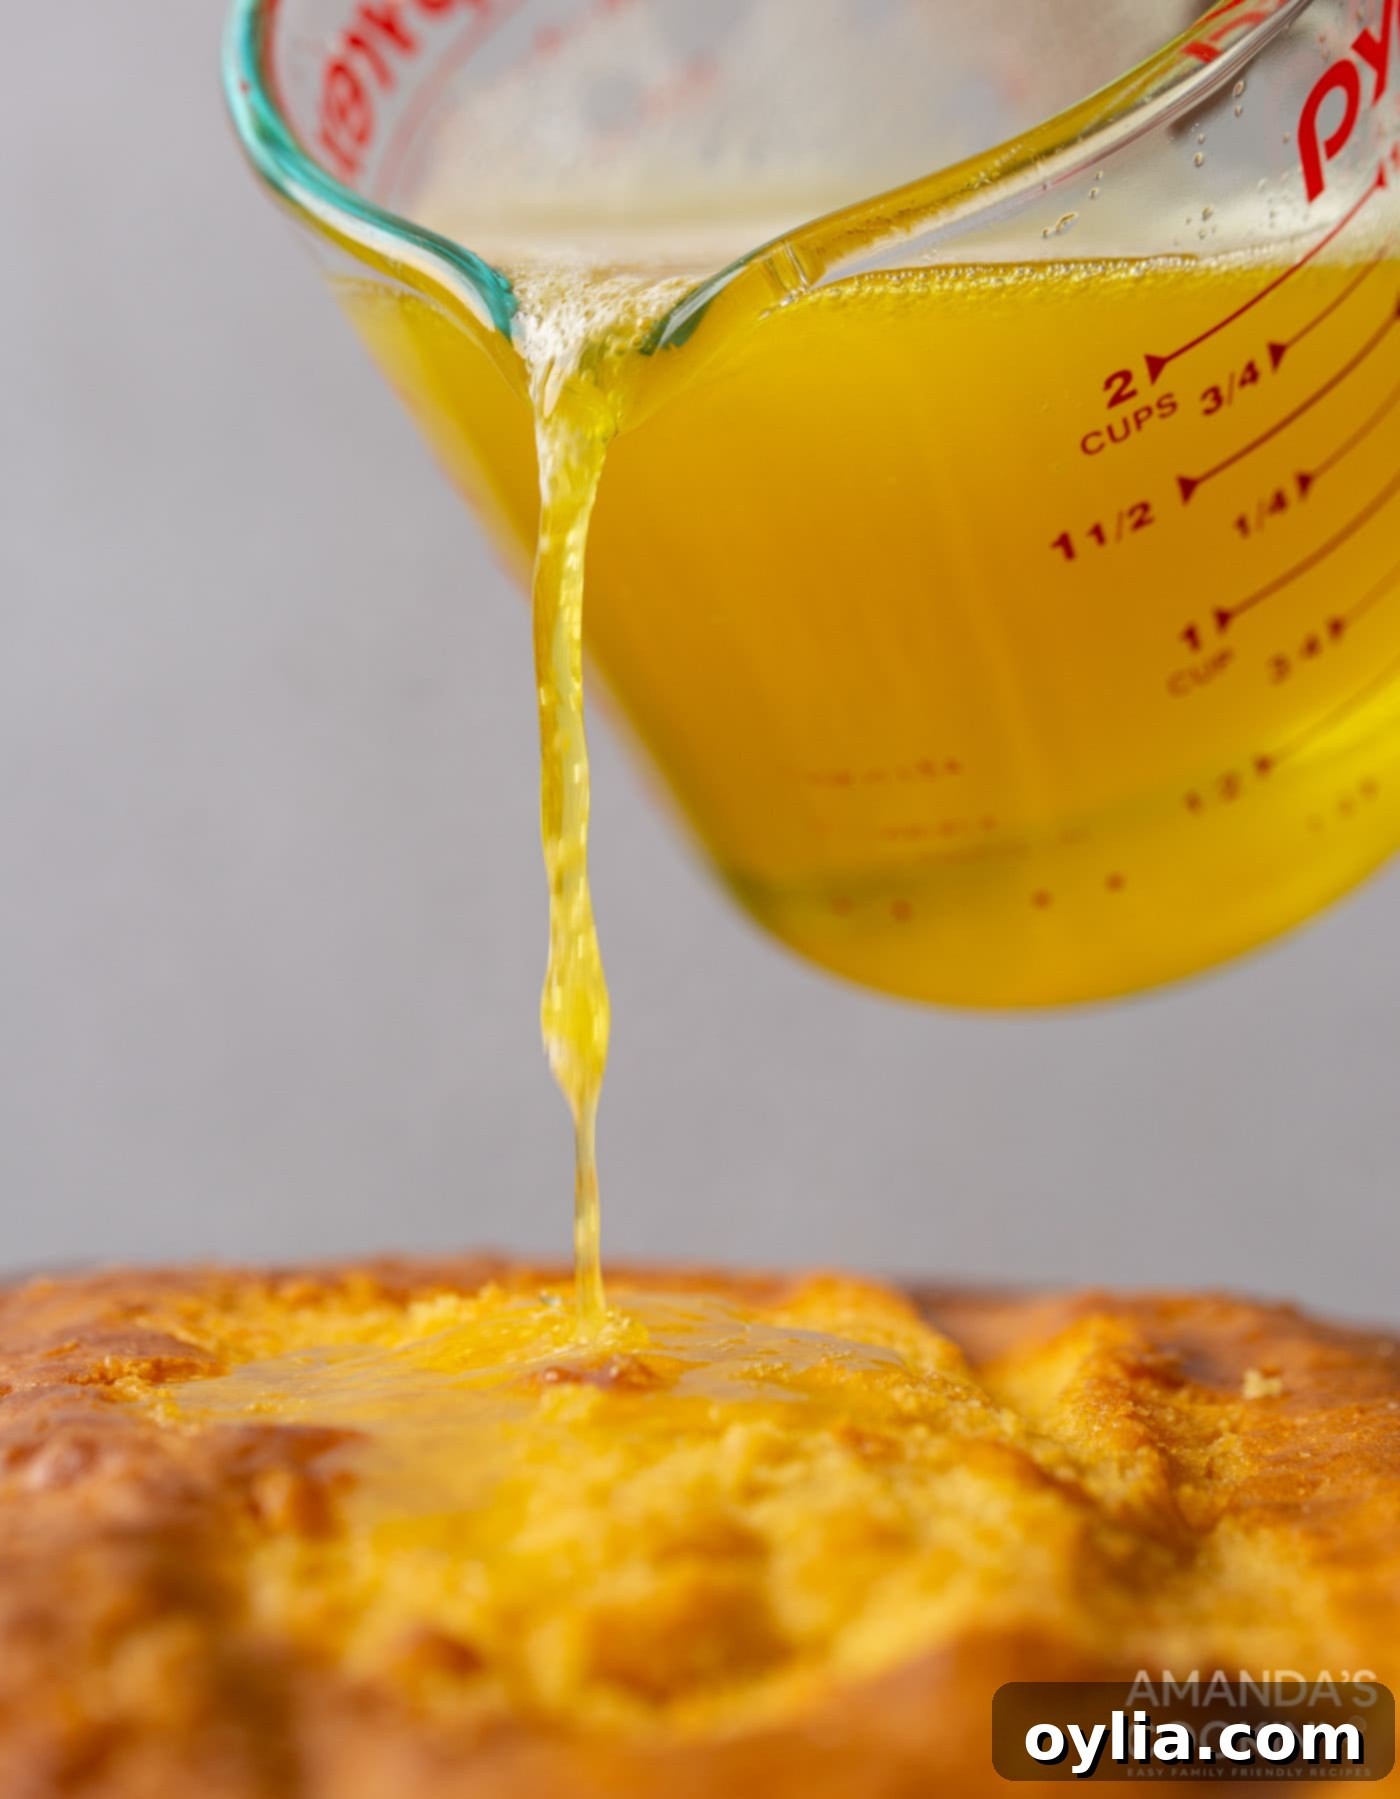
- **Infuse the Cake:** Slowly and carefully pour the liquid gelatin over the warm, poked cake. Make sure to distribute the jello evenly, aiming for each hole multiple times to ensure maximum absorption. This step is what makes the cake incredibly moist and flavorful.

- **Chill and Set:** Place the cake in the refrigerator for at least 45 minutes. This allows the jello to fully set within the cake, creating that signature moist, jiggly texture.
- **Frost and Garnish:** Once the cake is sufficiently chilled and the jello has set, remove it from the refrigerator. Evenly spread a generous layer of Cool Whip over the entire top surface. Then, get creative with your toppings! Arrange pineapple chunks, sprinkle toasted coconut, and dot with bright red maraschino cherries for a festive look.

- **Final Chill:** For the best possible taste and texture, refrigerate the frosted and garnished cake for another 1-2 hours before slicing and serving. This allows all the flavors to meld together beautifully and ensures the Cool Whip is perfectly chilled.
- **Toasting Coconut (Pro Tip):** To achieve perfectly golden and fragrant toasted coconut, spread shredded coconut evenly on a sheet pan. Bake in a 350°F (175°C) oven for just a few minutes. Watch it very closely, as coconut browns incredibly quickly and can burn in an instant! Stir once or twice for even toasting.
Frequently Asked Questions & Expert Tips for Pineapple Poke Cake
Have questions about making the perfect pineapple poke cake? Here are some common queries and expert tips to guide you:
Absolutely! This cake is an excellent make-ahead dessert, perfect for parties and gatherings. You can prepare it a day in advance without compromising its deliciousness. We recommend storing it in an airtight container (baking dishes with lids work wonderfully) in the refrigerator. To keep the toppings looking fresh and vibrant, add the maraschino cherries, pineapple chunks, and toasted coconut just before you plan to serve it.
Yes, absolutely! While canned pineapple chunks are convenient, fresh pineapple will work perfectly as a topping. For best results, after cutting your fresh pineapple, let the pieces sit on a few layers of paper towels for about 15-20 minutes to drain any excess liquid. This prevents the cake from becoming too watery. As with canned pineapple, add the fresh pineapple topping right before you’re about to serve for optimal freshness and appearance.
Store any leftover pineapple poke cake tightly covered with plastic wrap or in an airtight container in the refrigerator for 3-4 days. This keeps the cake moist and the topping fresh.
Freezing this cake is generally not recommended due to the Cool Whip topping and jello-infused cake texture. The Cool Whip can become watery and the cake’s texture might change upon thawing. It’s best enjoyed fresh and chilled within a few days of preparation.
While pineapple jello is classic for this recipe, you can certainly experiment with other flavors! Orange, lime, or even a tropical punch jello could create a delicious variation. Just ensure the flavor complements pineapple well.
Delicious Serving Suggestions
This pineapple poke cake is wonderfully versatile and perfectly suited for a myriad of occasions. Its light and refreshing nature makes it an ideal dessert to enjoy after any meal, from a hearty Sunday dinner to a light weeknight supper. It’s also a fantastic addition to potlucks, cookouts, and summer parties, always drawing rave reviews. You can serve it either at room temperature or chilled, depending on your preference and the weather – a cold slice is particularly delightful on a hot day! For typical gatherings, cutting the cake into 15 generous slices is standard, but you can easily cut smaller pieces for larger crowds or individual portions.
Feel free to customize your serving presentation: enjoy it simply topped with Cool Whip (or your homemade whipped cream), or go all out with a vibrant medley of pineapple chunks, bright red maraschino cherries, and golden toasted coconut. Each element adds a layer of flavor and texture that truly elevates this simple cake to something extraordinary.
Explore More Delicious Poke Cake Recipes
If you’ve fallen in love with the ease and deliciousness of this pineapple poke cake, you’re in for a treat! The world of poke cakes is vast and full of exciting flavors to explore. Here are some more fantastic poke cake recipes that are sure to become new favorites:
- Raspberry Poke Cake
- Pistachio Poke Cake
- Boston Cream Poke Cake
- Lemon Curd Poke Cake
- Banana Pudding Poke Cake
- Watermelon Poke Cupcakes
- Chocolate Poke Cake
I absolutely adore baking and cooking, and my greatest joy is sharing my kitchen adventures and delicious creations with all of you! It can be tricky to remember to check back every day for new recipes, which is why I offer a convenient newsletter. Simply subscribe here and start receiving free daily recipes directly to your inbox!
Pineapple Poke Cake
IMPORTANT – There are often Frequently Asked Questions within the blog post that you may find helpful. Simply scroll back up to read them!
Print It
Pin It
Rate It
Save It
Saved!
Course: Dessert
Cuisine: American
Ingredients
- 15 oz box yellow or white cake mix, prepared (you will need the ingredients on the back of the box)
- 6.8 oz pineapple jello prepared in liquid form, but not chilled (2 small boxes)
- 16 oz Cool Whip
- 20 oz canned pineapple chunks drained of liquid, or fresh pineapple
- ¾ cup shredded coconut
- maraschino cherries optional
Things You’ll Need
-
13×9 baking dish
-
Mixing bowls
Before You Begin
- To toast the coconut, add the shredded coconut to a sheet pan and spread evenly. Pop into a 350F oven for just a few minutes. Keep a close watch as the coconut will brown quickly.
- Store tightly covered with plastic wrap or an air tight lid in the refrigerator for 3-4 days.
Instructions
-
Prepare cake according to box directions. Bake in a 13×9 baking pan.
-
Remove from oven and cool for ten minutes.
-
Use a serving fork or dowel to poke holes all over the cake.
-
Into a liquid measuring cup, add the jello powder and 1 1/2 cups of boiling water. Whisk until jello is dissolved.
-
Slowly pour gelatin over the cake while still in liquid form, pouring over each hole multiple times.
-
Refrigerate cake for 45 minutes.
-
Remove cake from the refrigerator and frost with Cool Whip. Top Cool Whip with pineapple chunks, toasted coconut, and maraschino cherries as desired.
-
Refrigerate 1-2 hours before serving.
Nutrition
Tried this Recipe? Pin it for Later!Follow on Pinterest @AmandasCookin or tag #AmandasCookin!
The recipes on this blog are tested with a conventional gas oven and gas stovetop. It’s important to note that some ovens, especially as they age, can cook and bake inconsistently. Using an inexpensive oven thermometer can assure you that your oven is truly heating to the proper temperature. If you use a toaster oven or countertop oven, please keep in mind that they may not distribute heat the same as a conventional full sized oven and you may need to adjust your cooking/baking times. In the case of recipes made with a pressure cooker, air fryer, slow cooker, or other appliance, a link to the appliances we use is listed within each respective recipe. For baking recipes where measurements are given by weight, please note that results may not be the same if cups are used instead, and we can’t guarantee success with that method.
