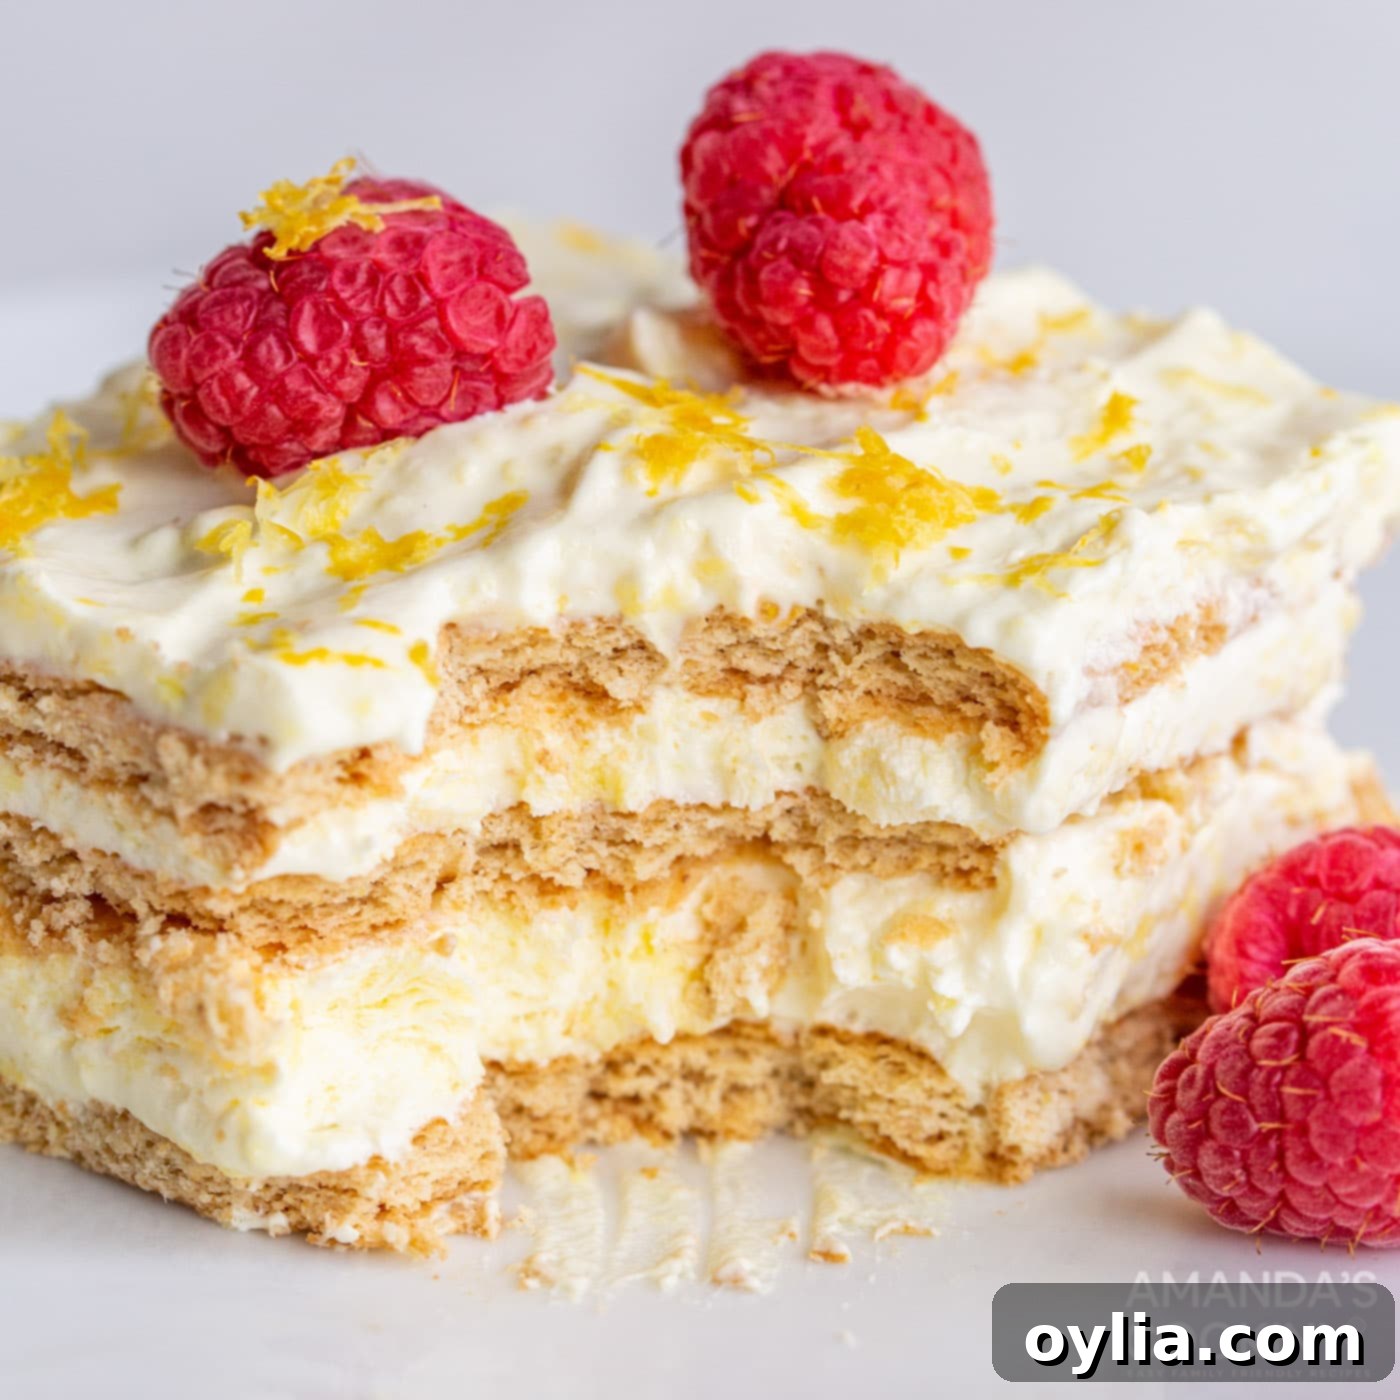
Easy No-Bake Lemon Icebox Cake: Your Refreshing Summer Dessert Staple
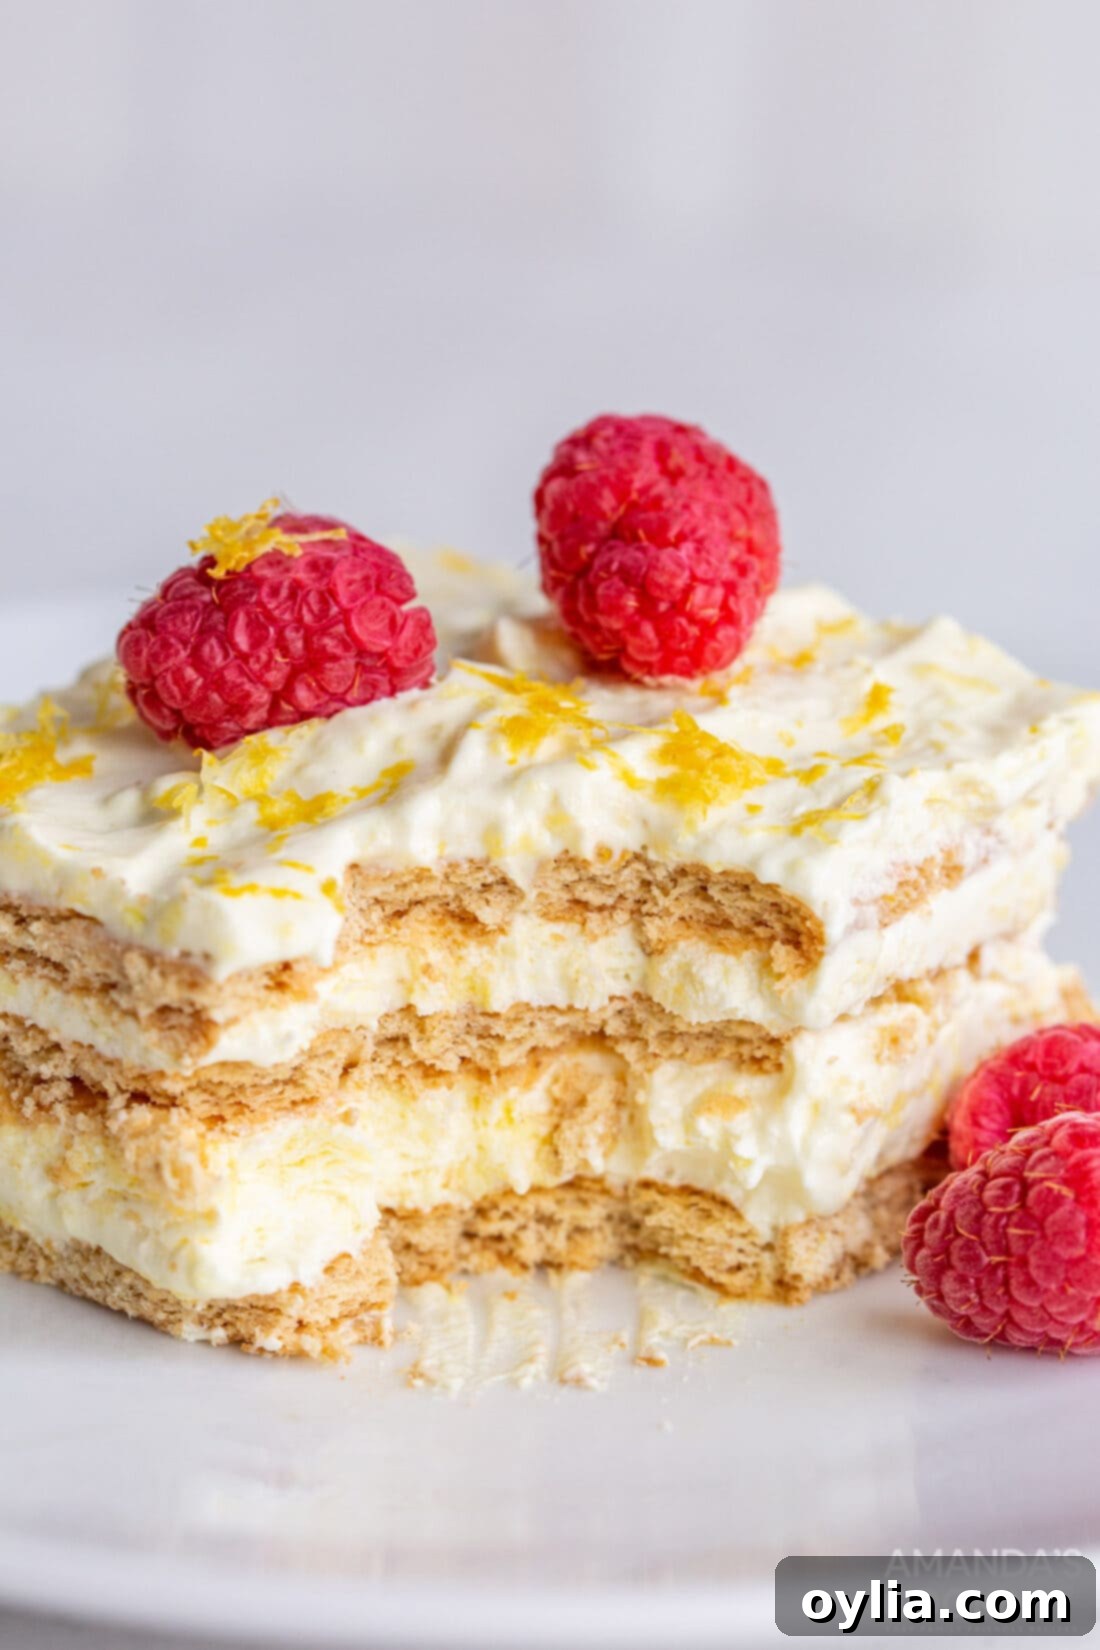
Imagine a dessert that requires absolutely no oven on a sweltering summer day, yet delivers an explosion of bright, tangy lemon flavor perfectly balanced with creamy sweetness and a delightful crunch. This is precisely what our No-Bake Lemon Icebox Cake offers. Boasting light, refreshing layers of velvety lemon pudding, fluffy cool whip, and crisp graham crackers, then beautifully finished with vibrant lemon zest and a scattering of optional fresh raspberries, this cake is the ultimate summer dessert sensation. It’s incredibly easy to make, promises a taste of pure sunshine, and is guaranteed to become your go-to treat for potlucks, BBQs, or simply a cooling indulgence at home.
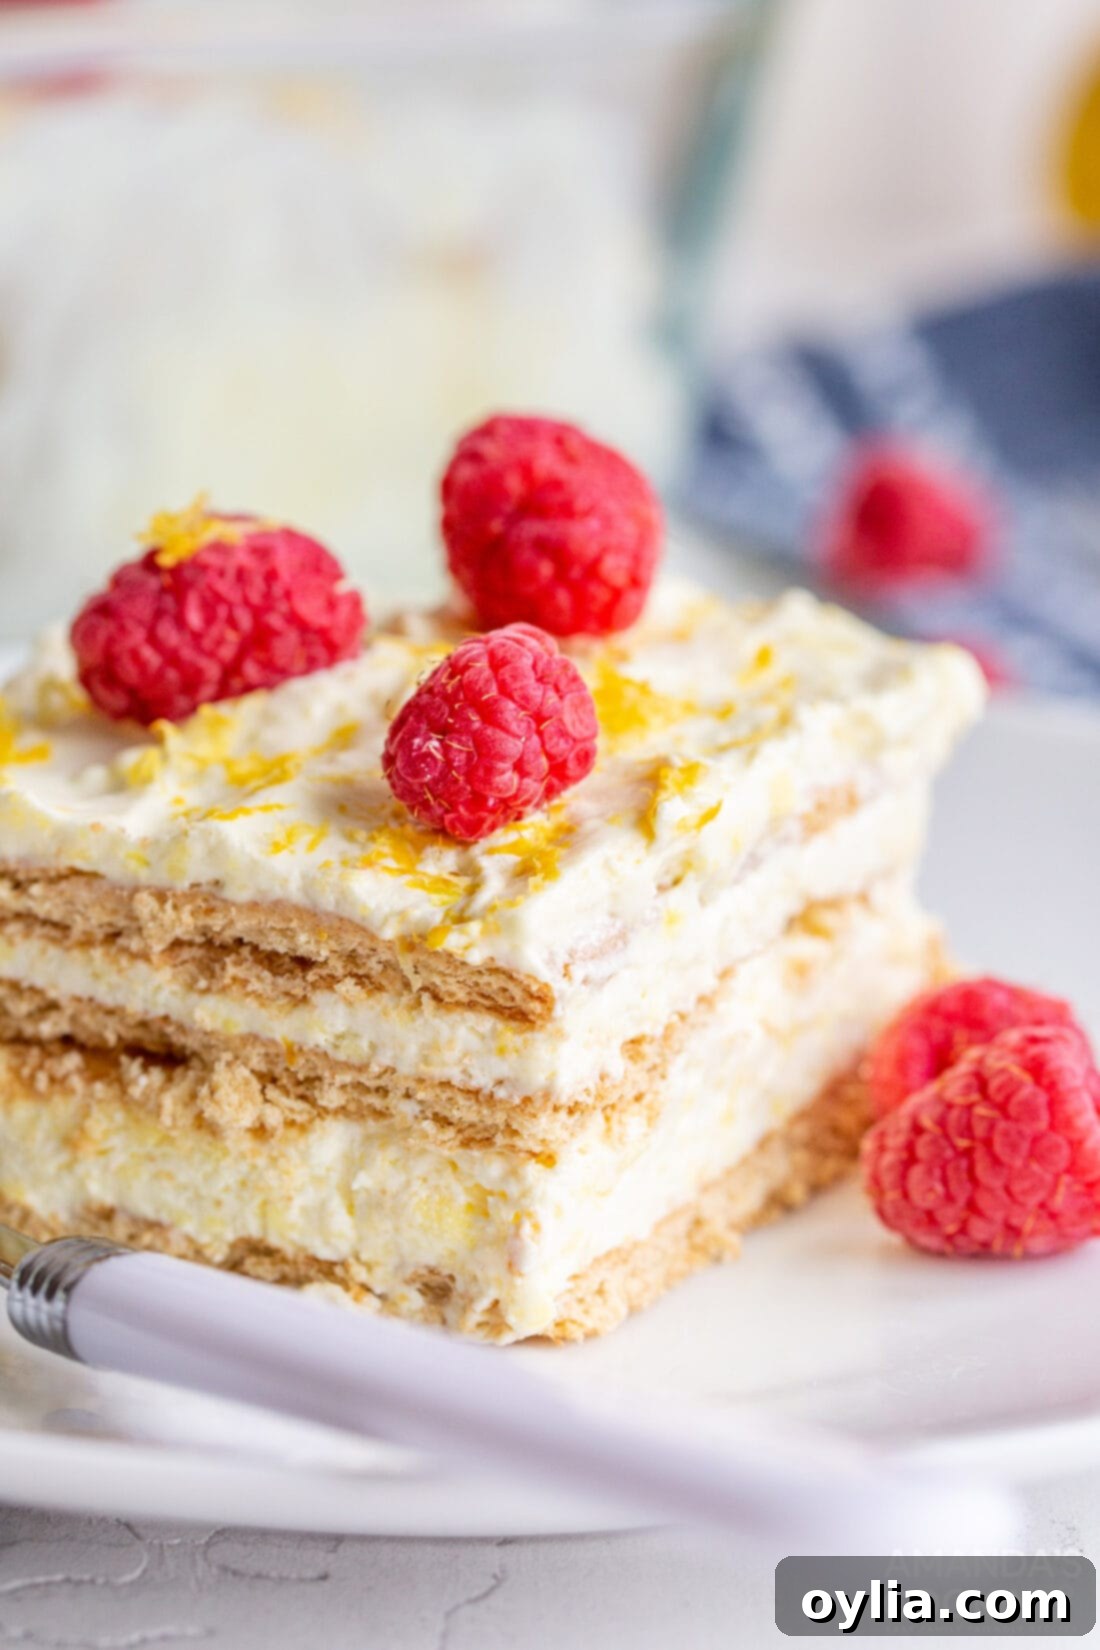
Why This Easy No-Bake Lemon Icebox Cake is a Summer Essential
There’s just something about lemon desserts that instantly evokes the feeling of summer. The bright, zesty aroma and the refreshing tang are simply perfect for warm weather. Our Lemon Icebox Cake takes this classic summer flavor and transforms it into a dessert that requires absolutely no baking, making it an ideal choice when turning on the oven is the last thing you want to do.
This recipe truly shines for several reasons:
- Effortless Preparation: Icebox cakes are renowned for their simplicity. With just a few staple ingredients and minimal hands-on time, you can create a show-stopping dessert that looks and tastes like it took hours. No complicated techniques or fancy equipment needed!
- Cool & Refreshing: The chilled layers of lemon pudding and whipped cream offer a wonderfully cooling sensation, making it the perfect antidote to a hot summer day. It’s light, airy, and won’t weigh you down.
- Irresistible Flavor Profile: The harmonious blend of sweet, tart, and creamy elements is simply divine. Fresh lemon juice and zest infuse the pudding with a vibrant, natural citrus flavor that artificial flavors can’t replicate, while the cream cheese and cool whip add a rich, smooth texture.
- Crowd-Pleaser Guaranteed: Whether you’re heading to a backyard BBQ, a family picnic, or a casual get-together with friends, this lemon icebox cake is always a hit. Its appealing layers and delightful taste make it universally loved, and its no-bake nature means less stress for you as the host or guest.
- Versatile and Adaptable: While we adore the classic lemon profile, icebox cakes are incredibly versatile. You can explore endless variations to suit any taste. For more inspiration, be sure to check out our other beloved recipes like Strawberry Icebox Cake, Oreo Icebox Cake, and S’mores Icebox Cake.
Craving More Lemon? You might also love our recipe for Lemon Meringue Pie Bars for another tangy treat!
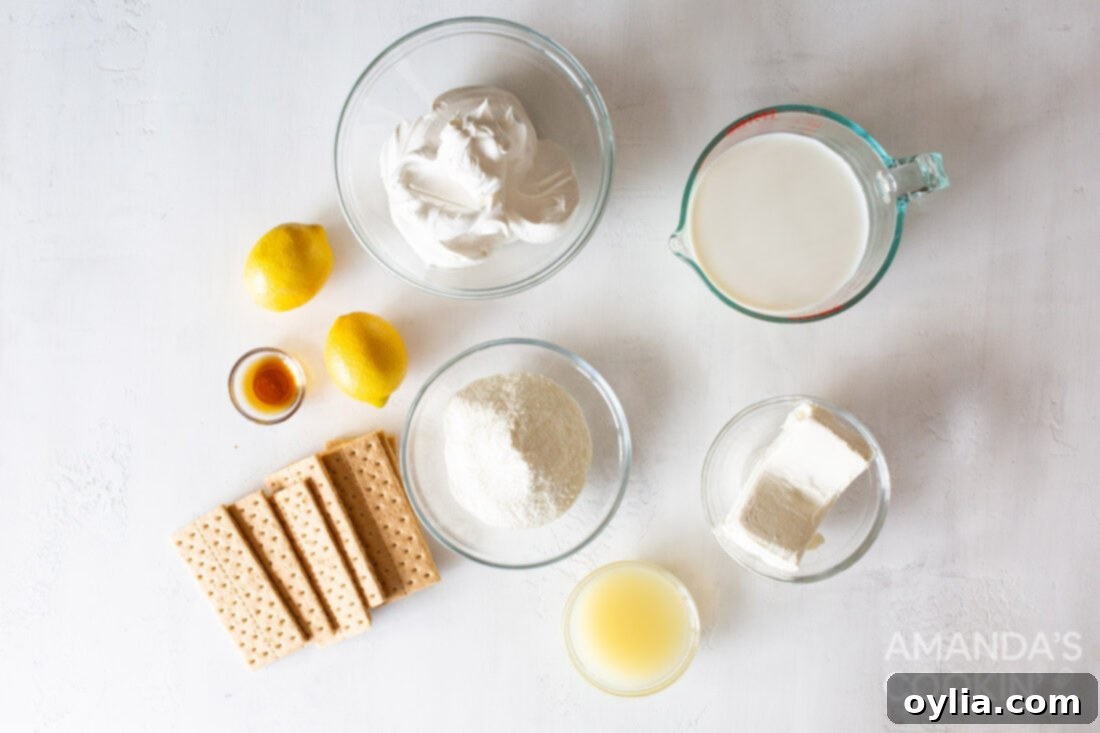
Gather Your Simple Ingredients for This Lemon Icebox Cake
One of the beauties of this no-bake lemon icebox cake is its reliance on readily available, straightforward ingredients. You’ll find everything you need at your local grocery store, making preparation even easier. While the full, precise measurements are in the printable recipe card at the end of this post, here’s an overview of the key components that come together to create this incredible dessert.
Ingredient Information & Tips for the Best Lemon Icebox Cake
Let’s dive a little deeper into the ingredients and discuss some key tips and potential substitutions to ensure your lemon icebox cake turns out perfect every time.
- Softened Cream Cheese: This is a crucial element for a smooth, lump-free pudding mixture. “Softened” means your cream cheese should be at room temperature, which typically takes about 30-60 minutes on the counter. A quick trick if you’re short on time is to slice the cream cheese into smaller cubes and spread them out on a plate; this helps the inner parts soften faster. Using softened cream cheese allows it to blend seamlessly with the other ingredients, creating that wonderfully uniform and creamy texture we’re after.
- Instant Lemon Pudding Mix: The pudding is undeniably the star of this dessert, providing the core lemon flavor and a significant portion of its structure. It’s vital to grab instant lemon pudding mix. Pay close attention to the box and remember that you will only need the powder itself. You will not need the additional ingredients (like milk amounts) listed on the back of the pudding box, as our recipe provides the precise liquid measurements and other components needed to create a perfectly thick and flavorful pudding base for this icebox cake.
- Fresh Lemons (Juice and Zest): For truly vibrant and authentic lemon flavor, fresh lemons are non-negotiable. We strongly recommend against using pre-bottled lemon juice, as it often lacks the brightness and complexity of freshly squeezed juice. Fresh lemon juice provides that essential tangy kick, while the finely grated lemon zest (the yellow outer skin, avoiding the bitter white pith) contains concentrated lemon oils that elevate the aroma and overall citrusy essence of this dessert. To get the most juice, roll the lemon firmly on a counter before cutting. For zest, a microplane grater works wonders.
- Cool Whip (or Homemade Whipped Cream): For convenience and consistent results, we’ve used a container of Cool Whip. Its light, airy texture and stability are ideal for icebox cakes. However, if you prefer a homemade touch, you can absolutely whip up your own fresh whipped cream. To do so, combine cold heavy whipping cream with a bit of powdered sugar (to taste) and a splash of vanilla extract. Beat on high speed until medium to stiff peaks form. Be careful not to overbeat, or you’ll end up with butter! Homemade whipped cream offers a richer flavor, while Cool Whip provides a reliable, lighter option.
- Milk: The milk helps to thin out and smooth the pudding mixture, achieving the perfect consistency for layering. Any type of milk (whole, 2%, skim) will work, but whole milk will result in a slightly richer, creamier texture.
- Graham Crackers: These form the structural layers of our icebox cake, soaking up the creamy pudding mixture and transforming into soft, cake-like layers after chilling. A standard 14.4 oz box is typically enough. If you don’t have graham crackers, alternatives like vanilla wafers, shortbread cookies, or even digestive biscuits can be used for a slightly different flavor and texture profile. You’ll want to break them as needed to fit your dish.
How to Assemble Your Delicious No-Bake Lemon Icebox Cake
These step-by-step photos and detailed instructions are here to guide you through making this incredible lemon icebox cake. For a quick jump to the printable version of this recipe, complete with precise measurements and full instructions, simply Jump to Recipe at the bottom of the page.
- Beat the Cream Cheese: In a large mixing bowl, use a handheld mixer to beat the softened cream cheese until it is light, airy, and fluffy. This usually takes about 2 minutes. Ensuring your cream cheese is properly softened will prevent any lumps in your final mixture.
- Combine Pudding Base: To the same bowl, add the instant lemon pudding powder (remember, just the powder!), vanilla extract, and freshly squeezed lemon juice. With your hand mixer, blend these ingredients together until the mixture is uniform in consistency and takes on a bright, appealing yellow color. Scrape down the sides of the bowl as needed to ensure everything is thoroughly combined.
- Incorporate Milk: Slowly and gradually pour in the milk while continuing to mix with your hand mixer. Mix until the pudding mixture is smooth and any minimal lumps from the cream cheese or pudding powder have disappeared. The consistency should be thick but pourable.
- Fold in Cool Whip: Gently add the Cool Whip to the lemon pudding mixture. Using a rubber spatula, carefully fold the Cool Whip into the pudding. The key here is to fold, not beat, to maintain the light and airy texture of the Cool Whip, which contributes to the cake’s overall lightness. Continue folding until no white streaks of Cool Whip remain and the mixture is uniformly blended.
- Start Layering the Base: Grab your 9×13 casserole dish. Spoon approximately 1/2 cup of the lemon pudding mixture onto the bottom of the dish and spread it evenly to create a thin base layer. This prevents the graham crackers from sticking and provides a moist foundation. Next, arrange a single layer of graham crackers over the pudding mixture. You’ll likely need to break some crackers into smaller pieces to fill any gaps and ensure the entire bottom is covered. Think of it like assembling a lasagna!
- Add First Pudding Layer: Pour about one-third of the remaining lemon pudding mixture evenly over the graham cracker layer. Gently spread it out with your spatula, ensuring it covers all the crackers.
- Repeat Layers: Continue the layering process: first, another layer of graham crackers, followed by another one-third of the pudding mixture. Then, add a final layer of graham crackers, topped with the last one-third of the pudding mixture. Smooth the top layer nicely.
- Chill to Perfection: Cover the casserole dish tightly with plastic wrap. For best results and for the cake to properly set and the flavors to meld, freeze the cake for at least 4 hours. Alternatively, you can refrigerate it overnight. Freezing will result in a firmer, more ice cream-like texture, while overnight refrigeration yields a softer, more cake-like consistency. Both are delicious!
- Garnish and Serve: Once chilled, remove the cake from the freezer (or refrigerator). If frozen, allow it to sit on the counter for 15-20 minutes to soften slightly before cutting into slices. This makes it easier to cut and enjoy. Before serving, generously sprinkle with fresh lemon zest for an aromatic finish, and add fresh raspberries (or your preferred garnish) for a beautiful presentation and an extra burst of flavor. Serve immediately and enjoy!
Frequently Asked Questions About Lemon Icebox Cake
When a recipe instructs you to use “softened cream cheese,” it means the cream cheese should be brought to room temperature before mixing. This is crucial for achieving a smooth, lump-free consistency in your dessert recipes. If cream cheese is cold, it will be firm and won’t blend evenly, resulting in small, undesirable lumps throughout your pudding mixture. A great trick to speed up the softening process is to slice the cream cheese into small cubes and spread them out on a plate; this allows the entire block to come to room temperature faster, usually within 20-30 minutes. Properly softened cream cheese ensures a silky, luxurious texture in your icebox cake.
No, you do not need to follow the instructions or use the additional ingredients (like specific amounts of milk) listed on the back of your instant pudding box for this particular recipe. Our Lemon Icebox Cake recipe is carefully formulated to achieve the perfect balance of flavor and texture. It includes the precise amount of milk needed, along with cream cheese, lemon juice, and vanilla, which all work together to create a rich, creamy, and stable pudding layer that’s ideal for layering in an icebox cake. Simply use the dry instant pudding powder as specified in our ingredient list.
Garnishing your Lemon Icebox Cake is a fantastic way to add visual appeal and an extra layer of flavor and texture. We love to suggest fresh lemon zest, which enhances the citrus aroma and adds a pop of color. Fresh raspberries are another excellent choice, providing a beautiful contrast in color and a delightful tart counterpoint to the sweet cake. Other wonderful options include: elegantly curled or wedged lemon slices, a scattering of crunchy graham cracker crumbs, a generous dollop of homemade whipped cream, or fresh blueberries for an additional fruity touch. Choose what you love most or mix and match for a stunning presentation!
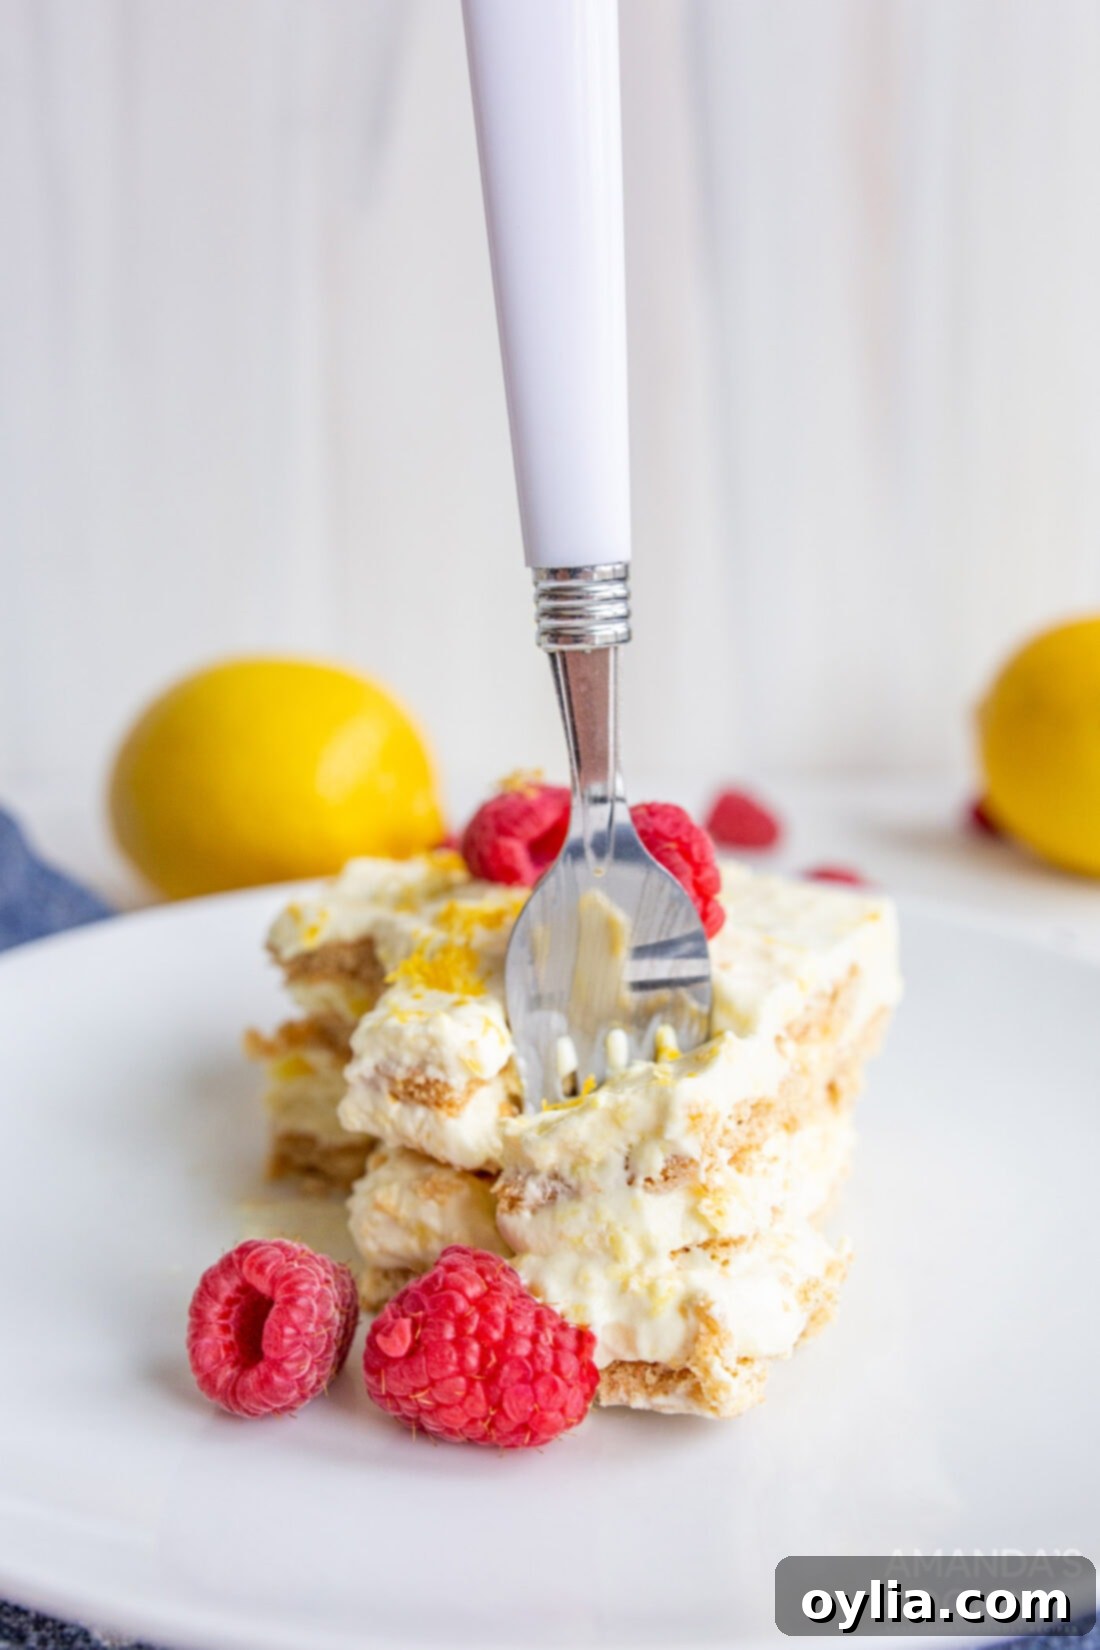
The delightful sweet-tart combination of this homemade lemon icebox cake truly makes it an irresistible, easy, no-bake summer dessert. It’s perfectly suited for taking along to potlucks, family gatherings, or simply enjoying as a refreshing treat on a lazy afternoon. With every forkful, you’ll sink your teeth into a cloud of pure lemon bliss – a dessert that promises to brighten any day and satisfy every sweet tooth. Get ready to experience the simple joy of summer in every single bite!
More Delightful No-Bake Dessert Recipes to Try
If you’ve fallen in love with the ease and deliciousness of this Lemon Icebox Cake, you’re in luck! There’s a whole world of no-bake desserts waiting to be explored. Here are some more fantastic recipes that require no oven and are perfect for keeping cool and satisfying your sweet cravings:
- English Trifle
- Lemon Blueberry Icebox Cake
- Ice Cream Sandwich Cake
- Donut Hole Cake Pops
- Chocolate No Bake Cookies
- Lemon Cream Cheese Pudding Dessert
- Mixed Berry Icebox Cake
I love to bake and cook and share my kitchen experience with all of you! Remembering to come back each day can be tough, that’s why I offer a convenient newsletter every time a new recipe posts. Simply subscribe and start receiving your free daily recipes!

Lemon Icebox Cake
IMPORTANT – There are often Frequently Asked Questions within the blog post that you may find helpful. Simply scroll back up to read them!
Print It
Pin It
Rate It
Save ItSaved!
Ingredients
- 8 oz cream cheese softened
- 6.8 oz instant lemon pudding mix 2 boxes of 3.4 oz instant pudding mix
- ½ cup freshly squeezed lemon juice about 3 large lemons, or 4 medium lemons
- 2 teaspoons vanilla extract
- 2 ½ cups milk
- 8 oz Cool Whip 1 container
- 1 box graham crackers 14.4 oz
Optional Topping Ideas
- lemon zest
- raspberries
- sliced lemons wedged or curled
- blueberries
- graham crackers crumbs
- dollop of whipped cream
Things You’ll Need
-
Hand mixer
-
13×9 baking dish
Before You Begin
- The pudding is the star of the show here. Be sure to grab instant lemon pudding mix. You will just need the powder and not the additional ingredients listed on the back of the box
Instructions
-
Using a hand mixer, beat the softened cream cheese in a large bowl until light and fluffy, about 2 minutes.
-
To the same bowl add instant lemon pudding powder, vanilla extract and lemon juice. Use a hand mixer again to blend until uniform in consistency and bright yellow.
-
Slowly pour in the milk and mix until minimal lumps are left.
-
Add the cool whip and fold in with a rubber spatula.
-
Using a 9×13 casserole dish, spread 1/2 cup of pudding mixture onto the bottom, similar to how you would lasagna. Layer the crackers as best you can, in one layer. You may need to break pieces of graham crackers to fit the shape and close in the spaces of your casserole dish.
-
Pour 1/3 of the remaining pudding mixture on top of the graham crackers and spread evenly.
-
Repeat: graham crackers, pudding mixture, graham crackers, pudding mixture.
-
Freeze for 4 hours or refrigerate overnight.
-
Remove from the freezer and allow to sit for 15-20 minutes on the counter to soften before cutting. Finish with lemon zest and fresh raspberries.
Nutrition
The recipes on this blog are tested with a conventional gas oven and gas stovetop. It’s important to note that some ovens, especially as they age, can cook and bake inconsistently. Using an inexpensive oven thermometer can assure you that your oven is truly heating to the proper temperature. If you use a toaster oven or countertop oven, please keep in mind that they may not distribute heat the same as a conventional full sized oven and you may need to adjust your cooking/baking times. In the case of recipes made with a pressure cooker, air fryer, slow cooker, or other appliance, a link to the appliances we use is listed within each respective recipe. For baking recipes where measurements are given by weight, please note that results may not be the same if cups are used instead, and we can’t guarantee success with that method.
This post was originally published here on April 18, 2021.
