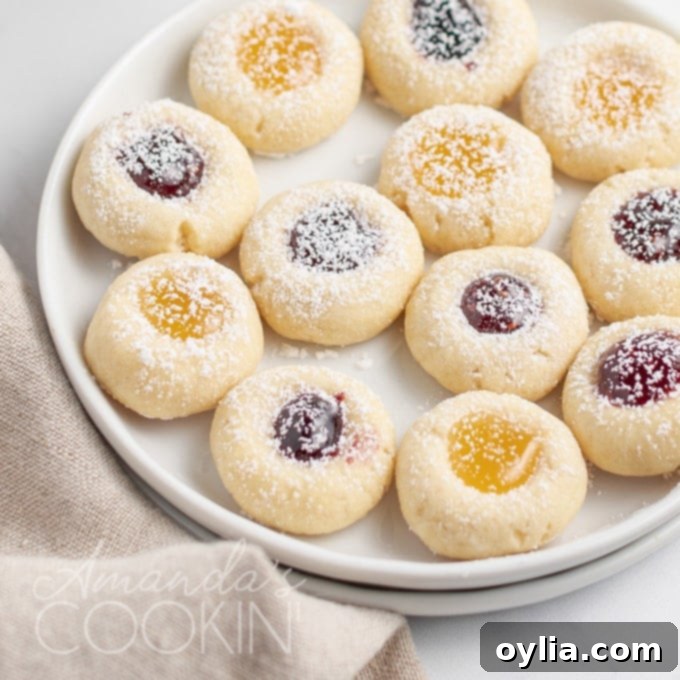
Classic Jam Thumbprint Cookies: Your Go-To Recipe for Easy & Festive Holiday Baking
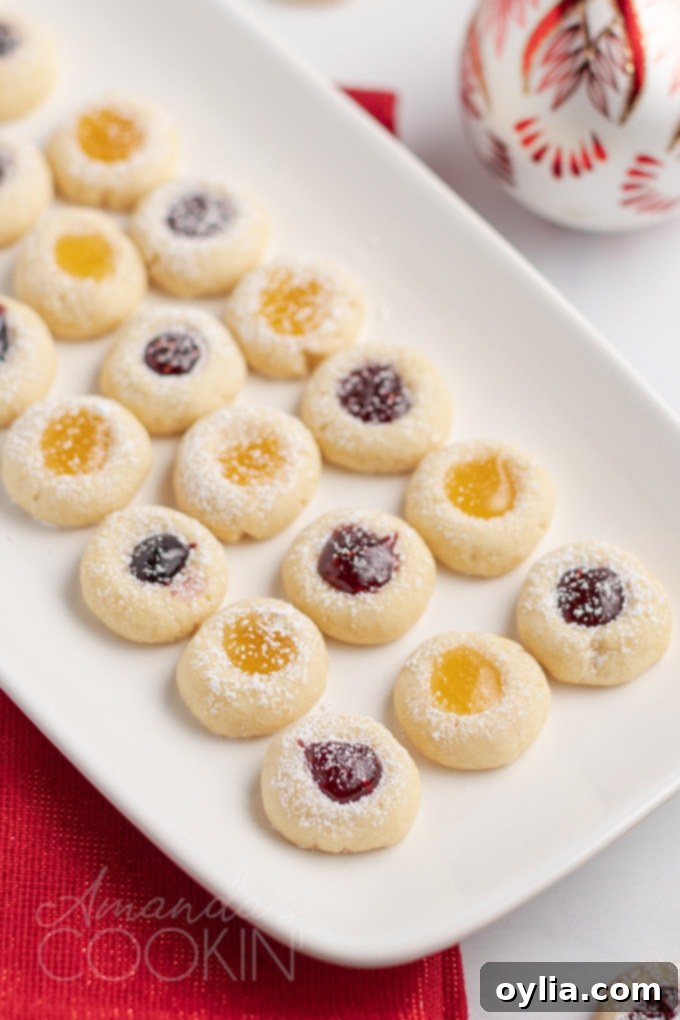
Step into the delightful world of traditional baking with our timeless Thumbprint Cookies recipe! These charming, jam-filled treats are more than just a cookie; they’re a symbol of warmth, comfort, and festive celebrations. Crafted from a simple, tender spritz-style dough, each cookie is rolled into a perfect ball, partially baked, then lovingly filled with your favorite sweet jam before being finished in the oven. The result? Deliciously bite-sized morsels that are as pretty to look at as they are delightful to eat, making them an essential addition to any holiday cookie plate or special occasion spread. Just imagine trays overflowing with these colorful gems, perhaps alongside other beloved classics like Italian Anisette Cookies, creating an irresistible display for friends and family.
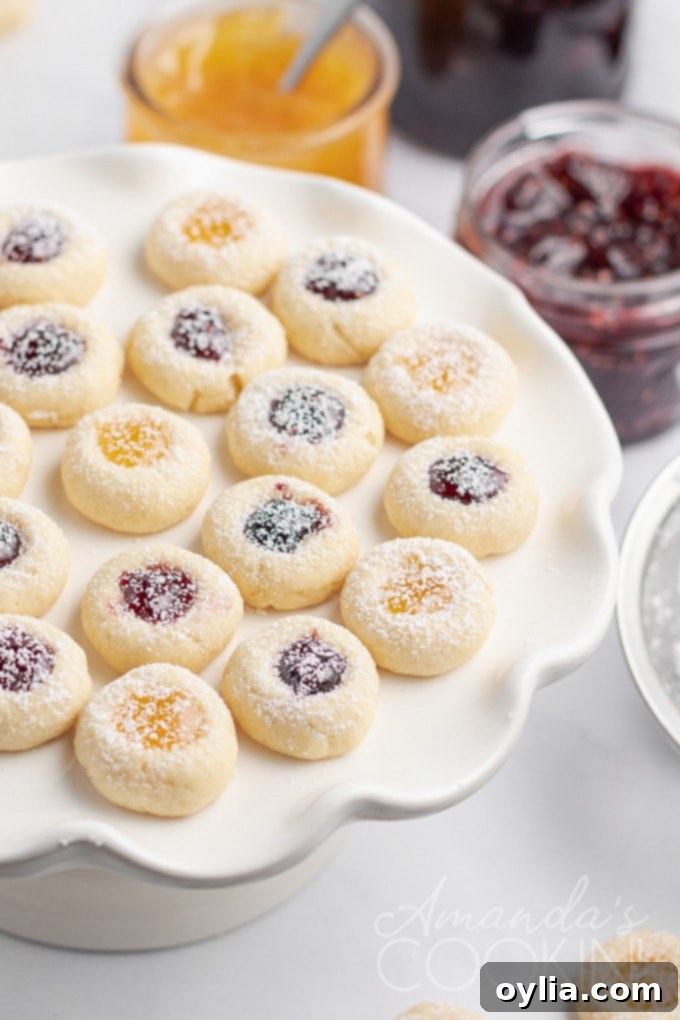
The Timeless Appeal of Our Thumbprint Cookie Recipe
This particular thumbprint cookie recipe holds a special place in my heart, and I’m confident it will quickly become a cherished favorite in your kitchen too. It’s truly one of the simplest, most rewarding cookie recipes I’ve ever encountered. For over two and a half decades, these very thumbprint cookies have graced my Christmas tables, year after year, with the same beloved recipe – no changes needed, save for the exciting variety of fillings. The consistency and ease of this recipe mean you can trust it to deliver perfect results every time, allowing you to focus on the joy of baking and sharing these delightful treats.
Thumbprint cookies, also known as Hallongrotta (Swedish for “raspberry cave”), are a globally loved confection, known for their buttery texture and sweet, fruity centers. While many variations exist, our recipe remains true to the classic, focusing on a delicate balance of flavors that highlight the quality of the ingredients. The soft yet firm texture of the cookie provides the perfect casing for the vibrant burst of jam, creating a sensory experience that evokes nostalgia and pure culinary delight. These cookies are not just for holidays; they are perfect for any gathering, a thoughtful homemade gift, or simply a sweet indulgence with a cup of tea or coffee.
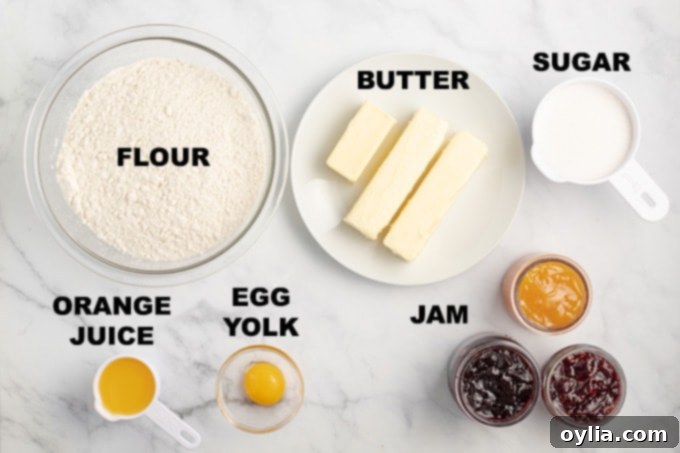
Simple Ingredients for Irresistible Thumbprint Cookies
One of the beauties of this recipe lies in its simplicity, requiring just a few staple ingredients to create something truly magical. The quality of these basic components is key to achieving that perfect thumbprint cookie texture and flavor.
- Dry Ingredients:
- All-purpose flour: The foundation of our cookie, providing structure and a tender crumb. Ensure it’s measured correctly for the best texture.
- Wet Ingredients:
- Unsalted butter: Softened (not melted!) butter is crucial for creaming properly with sugar, incorporating air for a light texture, and adding rich flavor. Unsalted gives you control over the overall saltiness.
- Granulated sugar: Sweetens the dough and contributes to its crisp-tender edges.
- Egg yolk: Adds richness, tenderness, and helps bind the dough without making the cookies too firm. It contributes to that desirable melt-in-your-mouth quality.
- Orange juice: A secret ingredient that provides a subtle, bright citrus note, elevating the overall flavor profile of the cookie without overpowering the jam. It adds a wonderful freshness.
- Filling:
- Jams, curds, and/or preserves: This is where you can get creative! Classic choices like raspberry and apricot are always popular, but don’t shy away from lemon curd, seedless blackberry, strawberry, or even a spiced apple butter for a unique twist. The tartness of some jams beautifully balances the sweetness of the cookie.
Helpful Baking Tools for Perfect Thumbprint Cookies:
Having the right tools can make all the difference in your baking experience, ensuring consistent results and making the process enjoyable. For these thumbprint cookies, consider these essentials:
- Stand mixer: A stand mixer with a paddle attachment is ideal for creaming butter and sugar efficiently, creating a light and airy dough texture.
- Measuring cups and spoons: Accurate measurements are vital in baking. A good set ensures precision for consistent results.
- Cookie scoop: A cookie scoop (especially a small one for teaspoon-sized dough) helps create uniform cookie balls, ensuring even baking and a professional look.
- Insulated baking sheets: These help prevent the bottoms of the cookies from browning too quickly, promoting even baking throughout.
- Silicone baking mat: A silicone mat, like a Silpat, provides a non-stick surface, prevents scorching, and promotes even heat distribution, making clean-up a breeze.
- Wire cooling racks: Essential for cooling cookies properly, allowing air circulation underneath to prevent sogginess and ensure a perfectly set cookie.
12 DAYS OF CHRISTMAS COOKIES
12 Christmas cookies you will love, PLUS bonus baking tips and TWO extra recipes you will not find on this blog! See ALL my cookbooks here!
Get the Christmas cookies cookbook! ONLY $9.97!!
Expert Baking Tips for Perfect Thumbprint Cookies
Achieving bakery-quality thumbprint cookies at home is easier than you think, especially with a few seasoned tips:
- Butter vs. Margarine: While I personally prefer and recommend unsalted butter for its rich flavor and superior texture, I’ve successfully made these thumbprint cookies with margarine in the past, and they turned out great. Butter tends to yield a more tender, flavorful cookie, while margarine might result in a slightly chewier texture. Whichever you choose, ensure it’s softened, not melted, for proper creaming.
- Creating the Indentations: For making the perfect “thumbprint” without sticking, you have a few options. Your actual thumb or pointing finger works perfectly! If you find the dough too sticky, a light dusting of flour on your finger can help. Alternatively, a mixing spoon with a round, flat end, or even the back of a small measuring spoon, can create beautifully uniform indents. For a truly professional look, you could also use a specialized tart tamper.
- Calorie Count Considerations: It’s important to note that the provided calorie count for the cookie dough does not include the jam filling. Jams and preserves vary greatly in sugar content and calories, so factor that in if you’re tracking your intake.
- Keeping Cookies Upright: When you press your thumb or finger into the center of the dough ball, it’s natural for the cookie to lean slightly to one side. To counteract this and ensure your cookies stand tall and proud, here’s a simple trick: after you’ve made all the initial indents on a baking sheet, gently turn the sheet around. Then, re-press each indent from the opposite side. This helps the cookies regain their upright, symmetrical shape before baking.
- Explore Jam Flavors: The beauty of thumbprint cookies lies in the endless possibilities for fillings. While I adore lemon curd for its bright, tangy zing and seedless blackberry preserves for its deep fruity notes (a very close second!), feel free to experiment. Consider apricot, strawberry, raspberry, cherry, or even exotic tropical fruit preserves. Chocolate ganache or a dollop of Nutella could also make a delightful variation for chocolate lovers!
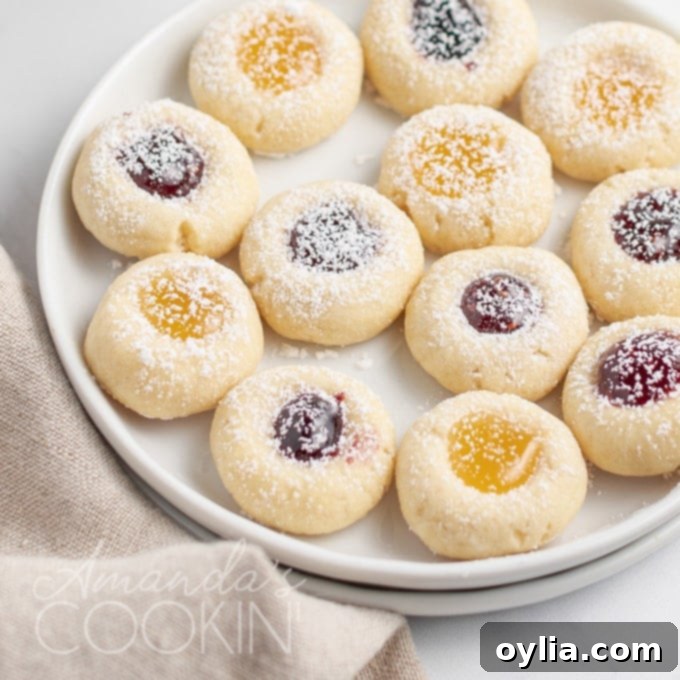
How to Make the Best Thumbprint Cookies: Step-by-Step Guide
Creating these beautiful cookies is a rewarding process, and following these steps will ensure a perfect batch every time. We won’t preheat the oven right away, as the dough benefits from a crucial chilling period of about an hour. While the dough chills, you can prepare your baking sheets by lining two of them with silicone baking mats or parchment paper, which prevents sticking and aids in even baking.
These are designed to be relatively small, delicate cookies. Using a level teaspoon to scoop the dough will yield approximately 145 charmingly petite cookies, perfect for a large gathering or a generous cookie exchange. If you prefer a larger, more substantial cookie, you can use a tablespoon or a regular-sized cookie scoop, which will produce about 45 cookies. Remember, consistency in size is key for even baking, so try to make each dough ball as uniform as possible.
- Creaming the wet ingredients: In the bowl of your stand mixer fitted with the paddle attachment, cream together the softened unsalted butter and granulated sugar until the mixture is light, fluffy, and pale in color. This step incorporates air, which is vital for the cookies’ tender texture. Next, beat in the single egg yolk until fully combined, ensuring everything is well-integrated. Finally, slowly add the orange juice, mixing until just combined. Be careful not to overmix at this stage.
- Adding the dry ingredients: Gradually add the all-purpose flour to the wet mixture, mixing on low speed until it is just combined. Overmixing flour can develop gluten, leading to tougher cookies, so stop as soon as no dry streaks remain. The dough will be soft but cohesive.
- Chilling the dough: Gently gather the dough into a ball, flatten it slightly, and wrap it tightly in plastic wrap. Refrigerate the dough for at least one hour. This chilling period is crucial as it allows the butter to firm up, making the dough easier to handle and preventing the cookies from spreading too much during baking, ensuring they hold their shape beautifully.

- Preheat and prepare: Once the dough has chilled sufficiently, preheat your oven to 375 degrees F (190 degrees C).
- Forming the cookies: Using a level teaspoon (or tablespoon for larger cookies), scoop out portions of the chilled dough. Roll each portion gently between your palms to form smooth, uniform balls. Place these dough balls about 1 inch apart on your prepared baking sheets.

- Making the indents and initial bake: Take your thumb or pointing finger and gently press into the center of each dough ball, creating a distinct indentation. As noted in our tips, if the cookie leans, simply turn the baking sheet and re-press from the other side to straighten them. Bake for 10 minutes, just enough for the cookies to set and slightly expand, but not brown significantly.
- Filling and final bake: Carefully remove the baking sheets from the oven. The indents might have slightly closed up, so you can gently re-press them if needed. Fill each indentation generously with your chosen preserves, lemon or lime curd, marmalade, or apple butter. Return the baking sheets to the oven and bake for an additional 5-6 minutes. Watch them closely – you want the cookies to be lightly golden at the edges and the jam to be bubbly and set, but do not let them get brown. Overbaking will result in dry cookies.
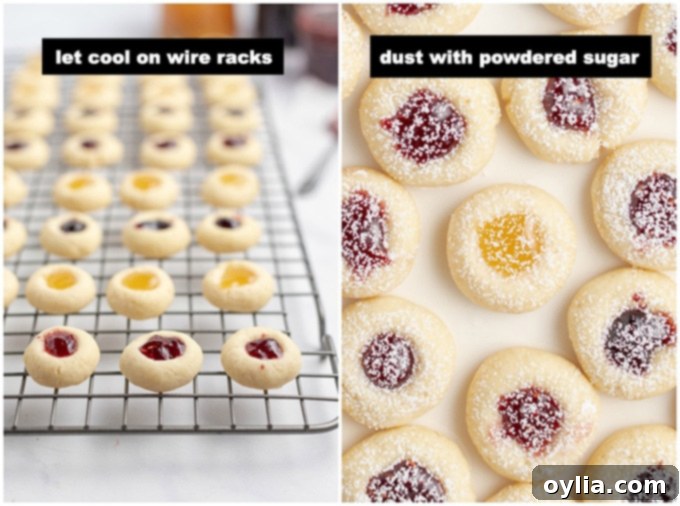
- Cooling and serving: Once baked, transfer the cookies from the baking sheets to wire cooling racks to cool completely. This allows air to circulate, preventing the bottoms from becoming soggy. If desired, lightly sprinkle the cooled cookies with powdered sugar for an elegant finish. Serve and enjoy!
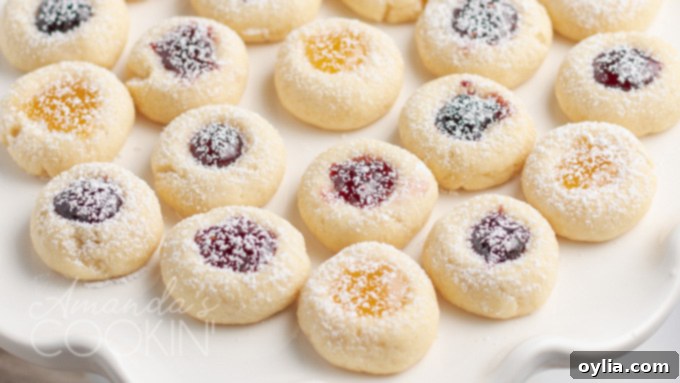
I often get asked if I’ve ever considered altering this recipe – perhaps adding vanilla or almond extract, experimenting with different spices, or even incorporating nuts or almond flour for a different texture. And while culinary exploration is always exciting, my answer for these thumbprint cookies is a resounding “why?” They are simply wonderful just the way they are. The recipe has been perfected over years, achieving a delightful balance of firm yet soft, buttery goodness that perfectly complements the sweet-tart burst of jam. I wouldn’t change a thing, and I encourage you to embrace the classic simplicity that makes them so beloved.
Storage and Make-Ahead Tips
Thumbprint cookies are fantastic for making ahead, which is a huge bonus during busy holiday seasons. Store cooled cookies in an airtight container at room temperature for up to 5-7 days. To keep them fresh longer, you can also freeze the baked, unfilled cookies in an airtight container for up to 3 months. Thaw them at room temperature and fill with jam just before serving or refreeze after filling if desired. The dough can also be made ahead and stored in the refrigerator for up to 2-3 days, or frozen for up to a month. Thaw frozen dough in the refrigerator before rolling and baking.
More Cookie Recipes to Inspire Your Baking
If you love baking and are looking for more delicious cookie ideas, explore some of my other favorite recipes:
- Butter Cookies
- Cranberry Orange Spiral Cookies
- Orange Crinkle Cookies
- Chocolate Thumbprint Cookies
- Cornflake Christmas Wreaths
- Neapolitan Cookies
- Cherry Pie Cookies
- Cherry Wink Cookies
- Oatmeal Raisin Cookies

Thumbprint Cookies
IMPORTANT – There are often Frequently Asked Questions within the blog post that you may find helpful. Simply scroll back up to read them!
Print It
Rate It
Save ItSaved!
Ingredients
- 3 ¾ cups all purpose flour
- 1 ⅓ cups unsalted butter softened (not melted)
- ¾ cup granulated sugar
- ¼ cup orange juice
- 1 large egg yolk
- Preserves flavors of your choice
Things You’ll Need
-
Stand mixer
-
Measuring cups and spoons
-
Cookie scoop
-
Insulated baking sheets
-
Silicone baking mat
-
Wire cooling racks
Before You Begin
- These cookies are SMALL – hence using a TEASPOON to make the dough ball. You can make them bigger by using a tablespoon or regular sized cookie scoop and you will get about 45 cookies.
- Use your thumb or pointing finger to gently press the center of the cookie, forming an indent. Pressing the cookie will cause it to lean to one side. After creating all the indents, I turn the cookie sheet around and repress each indent from the other side. This makes then stand back upright.
- I like to use several different flavors of jam or preserves. My favorites are filled with lemon curd, but seedless blackberry preserves runs a very close second.
Instructions
-
Cream the butter and sugar, add the egg yolk, then slowly add the orange juice.
-
Slowly add in the flour until combined.
-
Wrap in plastic wrap and refrigerate for at least one hour.
-
Preheat the oven to 375 degrees F.
-
Measure out dough in level teaspoons to ensure uniform sizing. Roll balls in your hands to smooth, place on cookie sheet.
-
Use your thumb or pointing finger to gently press the center of the cookie, forming an indent. Bake for 10 minutes.
-
Remove from oven, fill indents with preserves, lemon or lime curd, marmalade, or even apple butter. Return to oven and bake 5-6 minutes more, do not let them get brown.
-
Cool on wire racks. Sprinkle with powdered sugar if desired.
Expert Tips & FAQs
- I’ve made these thumbprint cookies with margarine and with butter and they come out great either way. Unsalted butter is my preference.
- If you have a mixing spoon with a round flat end that will work great for making the indentations.
- Calorie count does not include jam filling.
Nutrition
The recipes on this blog are tested with a conventional gas oven and gas stovetop. It’s important to note that some ovens, especially as they age, can cook and bake inconsistently. Using an inexpensive oven thermometer can assure you that your oven is truly heating to the proper temperature. If you use a toaster oven or countertop oven, please keep in mind that they may not distribute heat the same as a conventional full sized oven and you may need to adjust your cooking/baking times. In the case of recipes made with a pressure cooker, air fryer, slow cooker, or other appliance, a link to the appliances we use is listed within each respective recipe. For baking recipes where measurements are given by weight, please note that results may not be the same if cups are used instead, and we can’t guarantee success with that method.
This post originally appeared here on Dec 7, 2010, and has been updated and expanded for clarity and comprehensive baking guidance.
