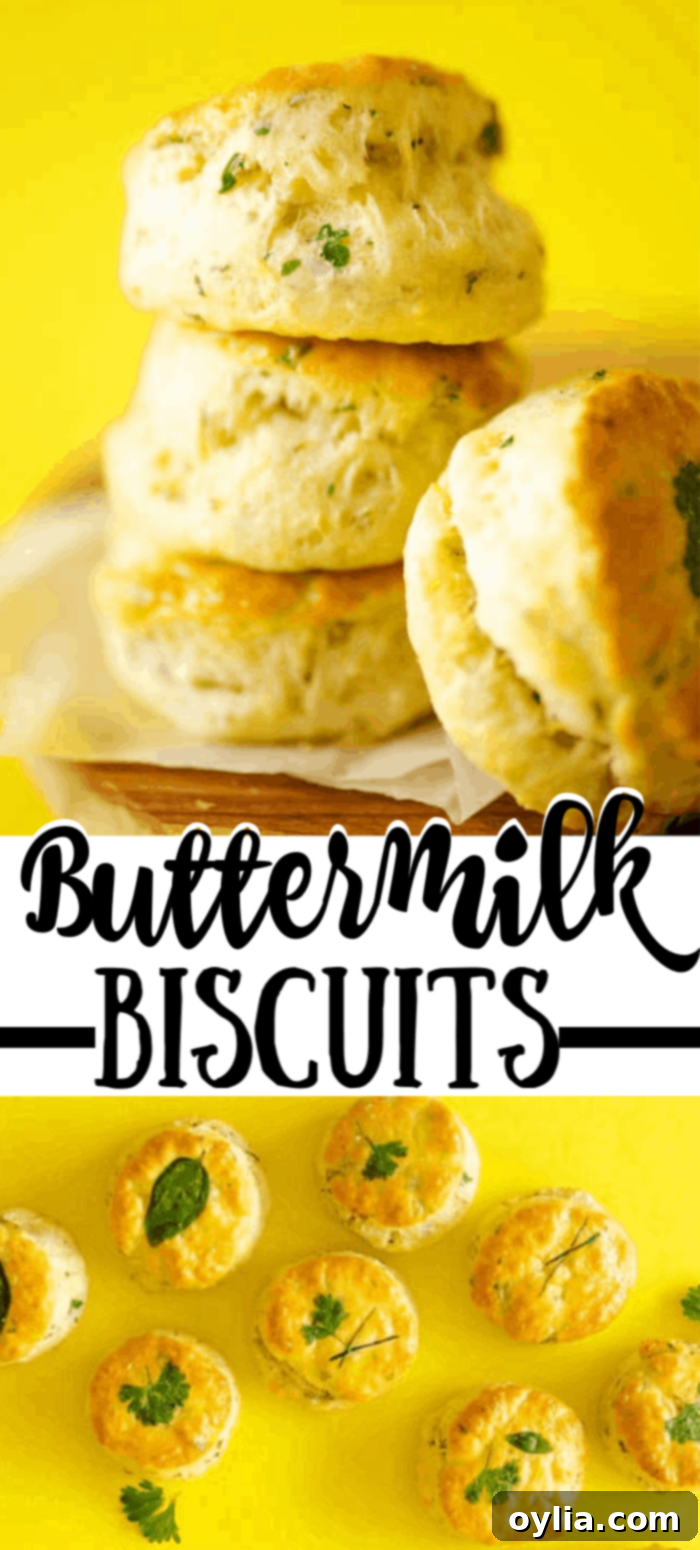
Flaky, Buttery, and Healthier: Homemade Herb Buttermilk Biscuits with Greek Yogurt
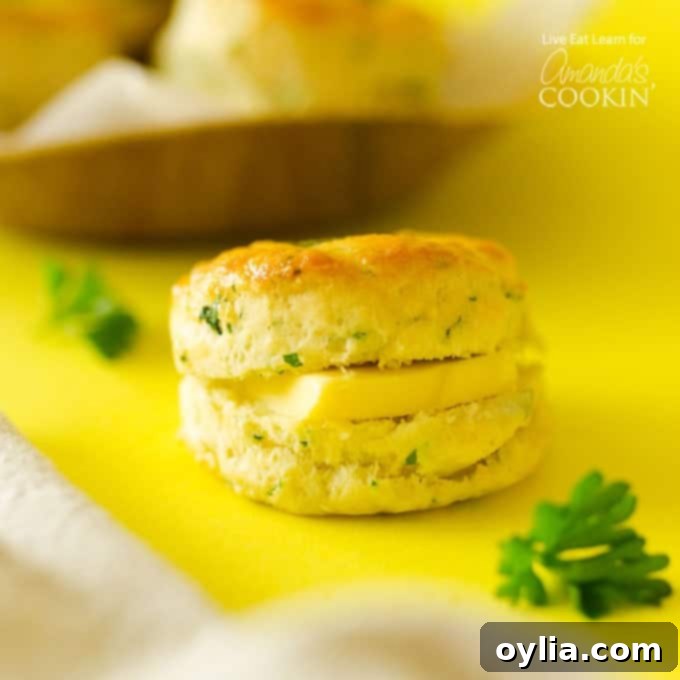
There’s nothing quite like a warm, freshly baked biscuit to bring comfort to the table. These **herb buttermilk biscuits** are everything you dream of: wonderfully **flaky**, incredibly **buttery**, and packed with distinct layers. What sets them apart is not just their irresistible texture and rich flavor, but also a clever addition of Greek yogurt, making them a **slightly healthier** option. With an **ultra-herbier** profile, these homemade biscuits elevate any meal. Imagine serving them alongside a hearty Crockpot Roast Beef – pure culinary bliss!
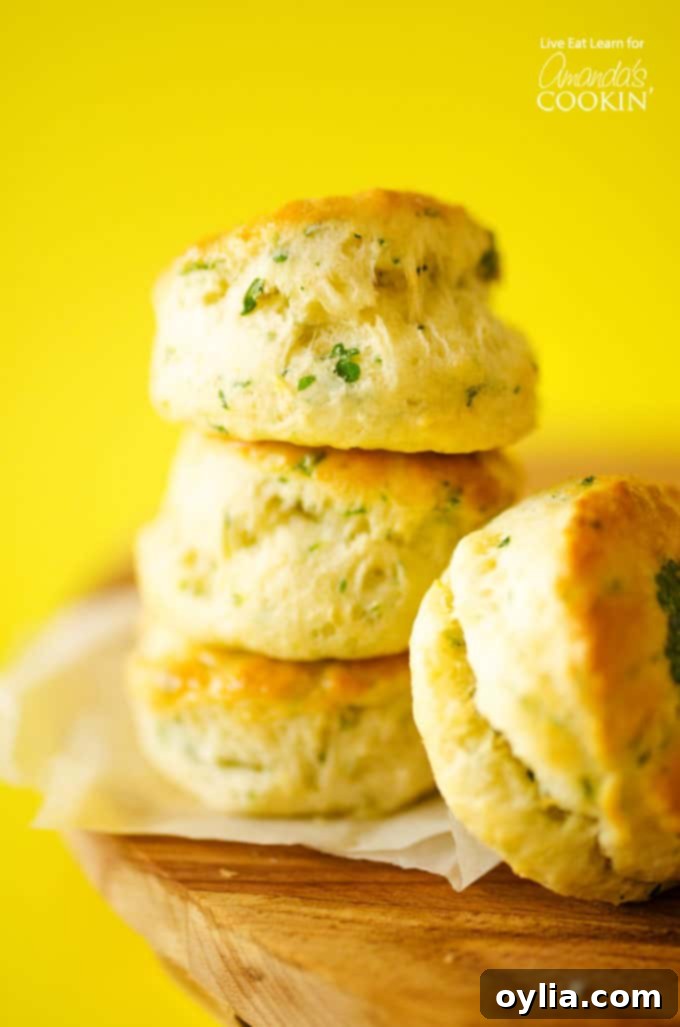
Recreating American Classics: The Joy of Homemade Buttermilk Biscuits
Living abroad, especially in places like the Netherlands, often sparks a longing for the culinary comforts of home. For many, that means diving into the art of making great American classics. Think about it: where else can you truly experience the towering layers of a mile-high apple pie, the airy lightness of fluffy pancakes, or the unparalleled flaky goodness of classic buttermilk biscuits? These aren’t just recipes; they’re an experience, a taste of tradition that’s hard to replicate elsewhere.
While many of these beloved classics aren’t exactly health-conscious, I believe in enjoying delicious food without unnecessary guilt. That’s why I’m thrilled to share my recipe for homemade **herb buttermilk biscuits**, ingeniously made **slightly healthier** by incorporating plain Greek yogurt. This simple swap allows you to savor every buttery, warm bite, complete with those sought-after flaky layers, knowing you’ve made a conscious choice for a lighter, yet equally satisfying, indulgence.
The Undeniable Secret to Achieving Flaky, Layered Biscuits
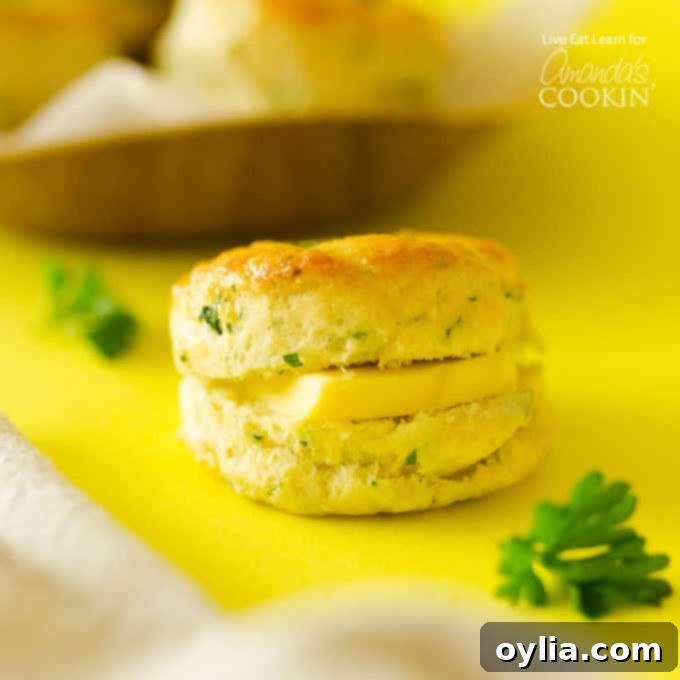
If you’ve ever wondered how to achieve those coveted, sky-high layers in your homemade biscuits, the secret is surprisingly simple: **keep everything really, really cold**. This isn’t just a suggestion; it’s the golden rule for flaky biscuits. When your butter is as cold as possible, it doesn’t immediately mix into the flour. Instead, as you gently work and flatten the dough, the tiny pieces of cold butter flatten out into countless thin layers.
Picture it: you flatten the dough, fold it in half, then flatten it out again. Each repetition creates more delicate strata. When these butter layers hit the heat of the oven, the water content in the butter rapidly turns to steam, creating pockets that separate the dough into those signature, airy, and **buttery, golden layers**. This process is known as lamination, and it’s what gives our biscuits their incredible texture.
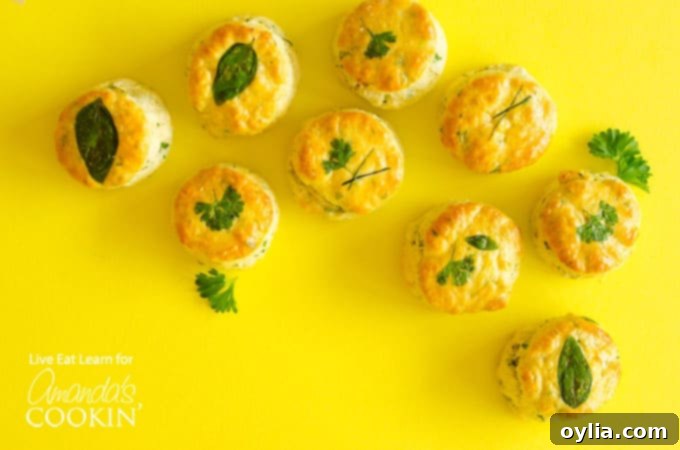
And speaking of gorgeous layers, have you considered the **herb laminating** technique? This step is entirely optional, but trust me, it adds an incredible visual appeal and an extra burst of fresh flavor that you won’t want to miss! We’ll briefly blanch some fresh herbs in boiling water for just 3 seconds, then plunge them into an ice bath to stop the cooking and preserve their vibrant color. Once patted dry, these beautiful herbs are gently pressed onto the top of each biscuit, brushed with egg wash, and then baked to perfection. The result is not just delicious but also stunningly beautiful.
Why Greek Yogurt Makes These Biscuits Healthier and Tastier
The inclusion of Greek yogurt in this buttermilk biscuit recipe is a game-changer, offering a **healthier** twist without compromising on the classic, rich flavor and texture. Greek yogurt is naturally lower in fat and higher in protein compared to traditional sour cream often used as a leavening agent or buttermilk substitute in some recipes. It provides a wonderful tang that complements the buttermilk beautifully, enhancing the overall depth of flavor.
- **Reduced Fat:** By replacing a portion of the butter with Greek yogurt, we subtly lower the saturated fat content, making these biscuits a more guilt-free indulgence.
- **Moisture and Tenderness:** Greek yogurt contributes significant moisture to the dough, resulting in exceptionally tender and soft biscuits. It also helps in keeping the dough hydrated, which is crucial for a great texture.
- **Added Protein:** The higher protein content in Greek yogurt gives these biscuits a little nutritional boost, making them a more substantial side or breakfast item.
- **Tangy Flavor Profile:** The natural acidity of Greek yogurt works synergistically with the buttermilk and baking soda, activating the leavening agents to create a light, fluffy crumb and adding a delightful, subtle tang that perfectly balances the rich butter and fresh herbs.
It’s a win-win: you get all the deliciousness of a classic biscuit, but with a slightly lighter, more wholesome feel.
Essential Ingredients for Your Herb Buttermilk Biscuits:
Gathering your ingredients is the first exciting step towards baking these delightful biscuits. For truly outstanding results, ensure your butter and buttermilk are as cold as possible – this is key for those amazing flaky layers!
- 2 cups all-purpose flour: The foundation of our biscuits, providing structure.
- 1 Tbsp baking powder: A primary leavening agent, crucial for rise.
- 1 tsp salt: Enhances all the flavors in the biscuit.
- ¼ tsp baking soda: Reacts with the acidity in buttermilk and Greek yogurt for extra lift.
- 6 Tbsp cold unsalted butter, cut into cubes: The star for flakiness! Keep it very cold.
- ½ cup buttermilk: Adds a tender crumb and distinct tangy flavor.
- ½ cup plain Greek yogurt: Our secret ingredient for a healthier, moister biscuit with a great tang.
- ¼ cup chopped fresh herbs (like parsley, basil, and chives) + more for topping: The “herb” in herb buttermilk biscuits! Use your favorites, or a delightful mix.
- 1 large egg, whisked: For an optional egg wash, giving a golden brown finish and helping the laminated herbs adhere.
Handy Kitchen Tools You’ll Find Useful:
Having the right tools can make the biscuit-making process even more enjoyable and efficient. While not all are strictly necessary, they certainly help achieve professional-looking results.
- Biscuit cutter: Essential for perfectly round, evenly sized biscuits. A sharp edge is best for clean cuts.
- Mixing bowls: For combining dry and wet ingredients separately before bringing them together.
- Pastry cutter (or two forks): Ideal for cutting cold butter into the flour mixture without warming it up with your hands.
- Medium saucepan: For the optional herb blanching step.
- Baking sheet: To bake your beautiful biscuits.
- Parchment paper: For easy cleanup and to prevent sticking.
How to Make Your Flaky Herb Buttermilk Biscuits: A Step-by-Step Guide
Ready to bake the best biscuits you’ve ever tasted? Follow these detailed instructions to create perfectly flaky, herbaceous, and tender buttermilk biscuits that will impress everyone at your table. Remember the key: keep that butter cold!
Buttermilk Biscuits
IMPORTANT – There are often Frequently Asked Questions within the blog post that you may find helpful. Simply scroll back up to read them!
Print It
Pin It
Rate It
Save It
Saved!
Prevent your screen from going dark
Course:
Breads
Cuisine:
American
12
27
minutes
144
Amanda Davis
Ingredients
-
2
cups
all-purpose flour -
1
Tbsp
baking powder -
1
tsp
salt -
¼
tsp
baking soda -
6
Tbsp
cold unsalted butter
cut into cubes -
½
cup
buttermilk -
½
cup
plain Greek yogurt -
¼
cup
chopped fresh herbs
like parsley, basil, and chives + more for topping -
1
large
egg
whisked
Before You Begin
Instructions
-
1. Prepare Dry Ingredients: In a large mixing bowl, thoroughly whisk together the all-purpose flour, baking powder, salt, and baking soda. This ensures all the leavening agents and seasoning are evenly distributed throughout the dry mixture, which is critical for consistent rise and flavor.
-
2. Cut in Cold Butter: Add the cubed, very cold unsalted butter to the flour mixture. Using a pastry cutter, or two forks if you don’t have one, cut the butter into the flour until the mixture resembles coarse crumbs with some pea-sized pieces of butter still visible. The key here is to work quickly to prevent the butter from warming up. These distinct pieces of cold butter are what create those beautiful flaky layers as they melt and release steam during baking.
-
3. Combine Wet Ingredients: In a separate, smaller bowl, gently stir to combine the cold buttermilk, plain Greek yogurt, and the ¼ cup of chopped fresh herbs. Once combined, add this wet mixture to the flour and butter mixture. Stir *just* until the ingredients are combined and a shaggy dough forms. Be careful not to overmix, as overworking the dough can lead to tough biscuits. A few dry spots are perfectly fine – they will hydrate during the folding process.
-
4. Laminate the Dough for Layers: Transfer the dough onto a generously floured surface. Using your hands, gently pat (do *not* roll with a rolling pin) the dough out to about an inch thick. Once flattened, carefully fold the dough in half or into thirds, like a letter. Rotate the dough 90 degrees and repeat this patting out and folding process 3 to 4 more times. This folding technique builds those numerous flaky layers. Lightly flour your surface and hands as needed to prevent sticking, but avoid adding excessive flour. Each fold creates more buttery pockets, ensuring a light and airy texture.
-
5. Cut and Chill Biscuits: After the final fold, pat the dough out to an even thickness of about ½ to ¾ inches. Use a biscuit cutter (or a sharp, floured glass rim) to cut out approximately 12 biscuits. Press straight down with the cutter and avoid twisting, as twisting can seal the edges and inhibit rise. Gather any remaining dough scraps, gently reshape them, pat them out, and cut a few more biscuits. Arrange the cut biscuits on a parchment paper-lined baking sheet. For biscuits with crispy sides, place them far apart; for softer sides that kiss each other, place them closer together. Place the baking sheet with the biscuits in the refrigerator to chill for at least 15-20 minutes while you prepare the optional herb laminate. Chilling them again helps keep the butter cold, which is crucial for maximum flakiness. (If skipping the herb laminate, you can proceed directly to baking after chilling).
-
6. Prepare Herb Laminate (Optional, but Recommended!): Bring a small pot of water to a rolling boil and prepare a small bowl of ice water nearby. Select several large, attractive leaves of your chosen fresh herbs (e.g., parsley, basil), gently removing them from their stems. One at a time, carefully drop the herb leaves into the boiling water for precisely 3 seconds. Immediately transfer them to the ice water to shock them and preserve their vibrant green color.
-
7. Dry and Flatten Herbs: Carefully remove the blanched herbs from the ice water and lay them flat on a few layers of paper towels. Gently cover them with a few more paper towels and place a heavy pan or book on top to press and flatten them. Let them dry and flatten for about 5 minutes. This step helps them adhere beautifully to the biscuits. *Pro Tip: Flattening the herb onto your finger in the ice water before transferring it to the paper towel can make handling much easier!*
-
8. Apply Egg Wash and Herbs: Retrieve the chilled biscuits from the refrigerator. Lightly brush the tops of each biscuit with the whisked egg wash. Carefully place one blanched and flattened herb leaf onto the center of each biscuit. Gently brush a bit more egg wash over the herb leaf to help it stick and create a lovely sheen.
-
9. Bake to Golden Perfection: Preheat your oven to 450 degrees F (232 degrees C). Once preheated, place the baking sheet with the biscuits into the oven. Bake for 10 to 12 minutes, or until the tops are golden brown and the biscuits have risen significantly. The high temperature creates a rapid rise, contributing to the flakiness. Keep a close eye on them towards the end of the baking time to prevent over-browning.
Nutrition
Serving:
1
biscuit
|
Calories:
144
cal
|
Carbohydrates:
17
g
|
Protein:
3
g
|
Fat:
6
g
|
Saturated Fat:
4
g
|
Cholesterol:
32
mg
|
Sodium:
241
mg
|
Potassium:
154
mg
|
Vitamin A:
245
IU
|
Vitamin C:
0.1
mg
|
Calcium:
72
mg
|
Iron:
1.1
mg
Tried this Recipe? Pin it for Later!Follow on Pinterest @AmandasCookin or tag #AmandasCookin!
The recipes on this blog are tested with a conventional gas oven and gas stovetop. It’s important to note that some ovens, especially as they age, can cook and bake inconsistently. Using an inexpensive oven thermometer can assure you that your oven is truly heating to the proper temperature. If you use a toaster oven or countertop oven, please keep in mind that they may not distribute heat the same as a conventional full sized oven and you may need to adjust your cooking/baking times. In the case of recipes made with a pressure cooker, air fryer, slow cooker, or other appliance, a link to the appliances we use is listed within each respective recipe. For baking recipes where measurements are given by weight, please note that results may not be the same if cups are used instead, and we can’t guarantee success with that method.
Perfect Pairings: What to Serve with Your Herb Buttermilk Biscuits
These versatile and flavorful herb buttermilk biscuits are far more than just a simple side dish. Their flaky texture and savory herb notes make them an ideal accompaniment to a wide variety of meals, from comforting Sunday dinners to elegant holiday spreads. Here are some fantastic serving suggestions to make your meal truly unforgettable:
- Crockpot Roast Beef: The tender, slow-cooked beef with its rich gravy is a match made in heaven for these biscuits. Use them to soak up every last drop of the delicious pan juices!
- Roasted Turkey: Whether it’s for a festive holiday feast or a cozy Sunday dinner, a platter of succulent roasted turkey finds its perfect companion in these herbaceous biscuits. They add a fresh, bright counterpoint to the rich meat.
- Mississippi Pot Roast: This classic slow cooker recipe, known for its incredible depth of flavor from pepperoncinis, is beautifully complemented by the subtle tang and herbal notes of the biscuits. They’re perfect for dipping!
- Roasted Chicken: Much like their turkey counterpart, juicy roasted chicken, whether it’s a whole bird or individual pieces, tastes even better with these biscuits by its side. A truly satisfying weeknight dinner.
- Complementary Side Dishes: Don’t forget to round out your meal with some delightful vegetable sides. Consider serving them with:
- Crockpot Mashed Potatoes: Creamy, smooth mashed potatoes are always a classic pairing, perfect for a comforting meal.
- Roasted Asparagus: For a lighter, fresher touch, the crispness and earthy flavor of roasted asparagus provide a lovely contrast.
- Crockpot Balsamic Carrots: Sweet and tangy balsamic carrots add a wonderful layer of flavor and color to your plate.
Frequently Asked Questions About Homemade Biscuits
We’ve gathered some common questions about making biscuits to help you achieve perfect results every time. Don’t hesitate to refer to these tips if you encounter any challenges or simply want to learn more!
- Q: What if I don’t have buttermilk? Can I make a substitute?
- A: Absolutely! To make a homemade buttermilk substitute, measure 1 tablespoon of lemon juice or white vinegar into a liquid measuring cup, then fill the rest of the way to ½ cup with regular milk (dairy or non-dairy). Stir it gently and let it sit for 5-10 minutes until it looks slightly curdled. This acidic mixture will work just like buttermilk in this recipe.
- Q: Can I use frozen butter?
- A: Yes, in fact, some bakers swear by it! Grating frozen butter into the flour mixture can make it even easier to incorporate without warming it with your hands, enhancing the flakiness. Just be sure to work quickly once it’s grated.
- Q: My biscuits aren’t very flaky. What went wrong?
- A: The most common culprit is warm butter. If the butter melts into the dough too much before baking, you won’t get those distinct layers. Ensure all ingredients, especially the butter, are very cold. Also, avoid overworking the dough, which can develop the gluten too much, leading to tough rather than flaky biscuits. The gentle patting and folding method is key.
- Q: Can I prepare the biscuit dough ahead of time?
- A: Yes! You can prepare the dough up to the point of cutting out the biscuits (step 4). Place the cut biscuits on a parchment-lined baking sheet, cover them loosely with plastic wrap, and refrigerate for up to 24 hours. You can also freeze raw biscuits for up to 3 months. Bake from frozen, adding a few extra minutes to the baking time.
- Q: What kind of fresh herbs are best?
- A: A blend of tender, bright herbs works wonderfully! Parsley, basil, chives, and dill are excellent choices. You can also experiment with a touch of rosemary or thyme, but use them sparingly as their flavors are stronger. Feel free to use your favorite combination!
- Q: How can I tell when the biscuits are done baking?
- A: Biscuits are ready when they have risen significantly, are golden brown on top, and the bottoms are also lightly browned. If you tap on the top, they should sound hollow. An internal temperature of around 200-210°F (93-99°C) is also a good indicator, though not typically necessary for biscuits.
Enjoy Your Homemade Herb Buttermilk Biscuits!
There you have it – a recipe for irresistibly **flaky, buttery, and healthier herb buttermilk biscuits**. This recipe proves that you don’t have to compromise on flavor or texture to enjoy a slightly lighter version of a beloved classic. Go ahead, treat yourself and your loved ones to these golden, herbaceous delights. They’re perfect for breakfast, brunch, or as an unforgettable side to your favorite savory meals.
Please note that all recipes on this blog are tested using a conventional gas oven and gas stovetop. Oven performance can vary, especially with older models, so using an inexpensive oven thermometer is recommended to ensure accurate temperatures. If using a toaster oven or countertop oven, cooking/baking times may need adjustment due to different heat distribution. For recipes specifying measurements by weight, using cups instead may alter results, and success cannot be guaranteed with that method.
This post was originally published on this blog on Jun 9, 2017, and has been updated and expanded to provide even more detail and value to our readers.
