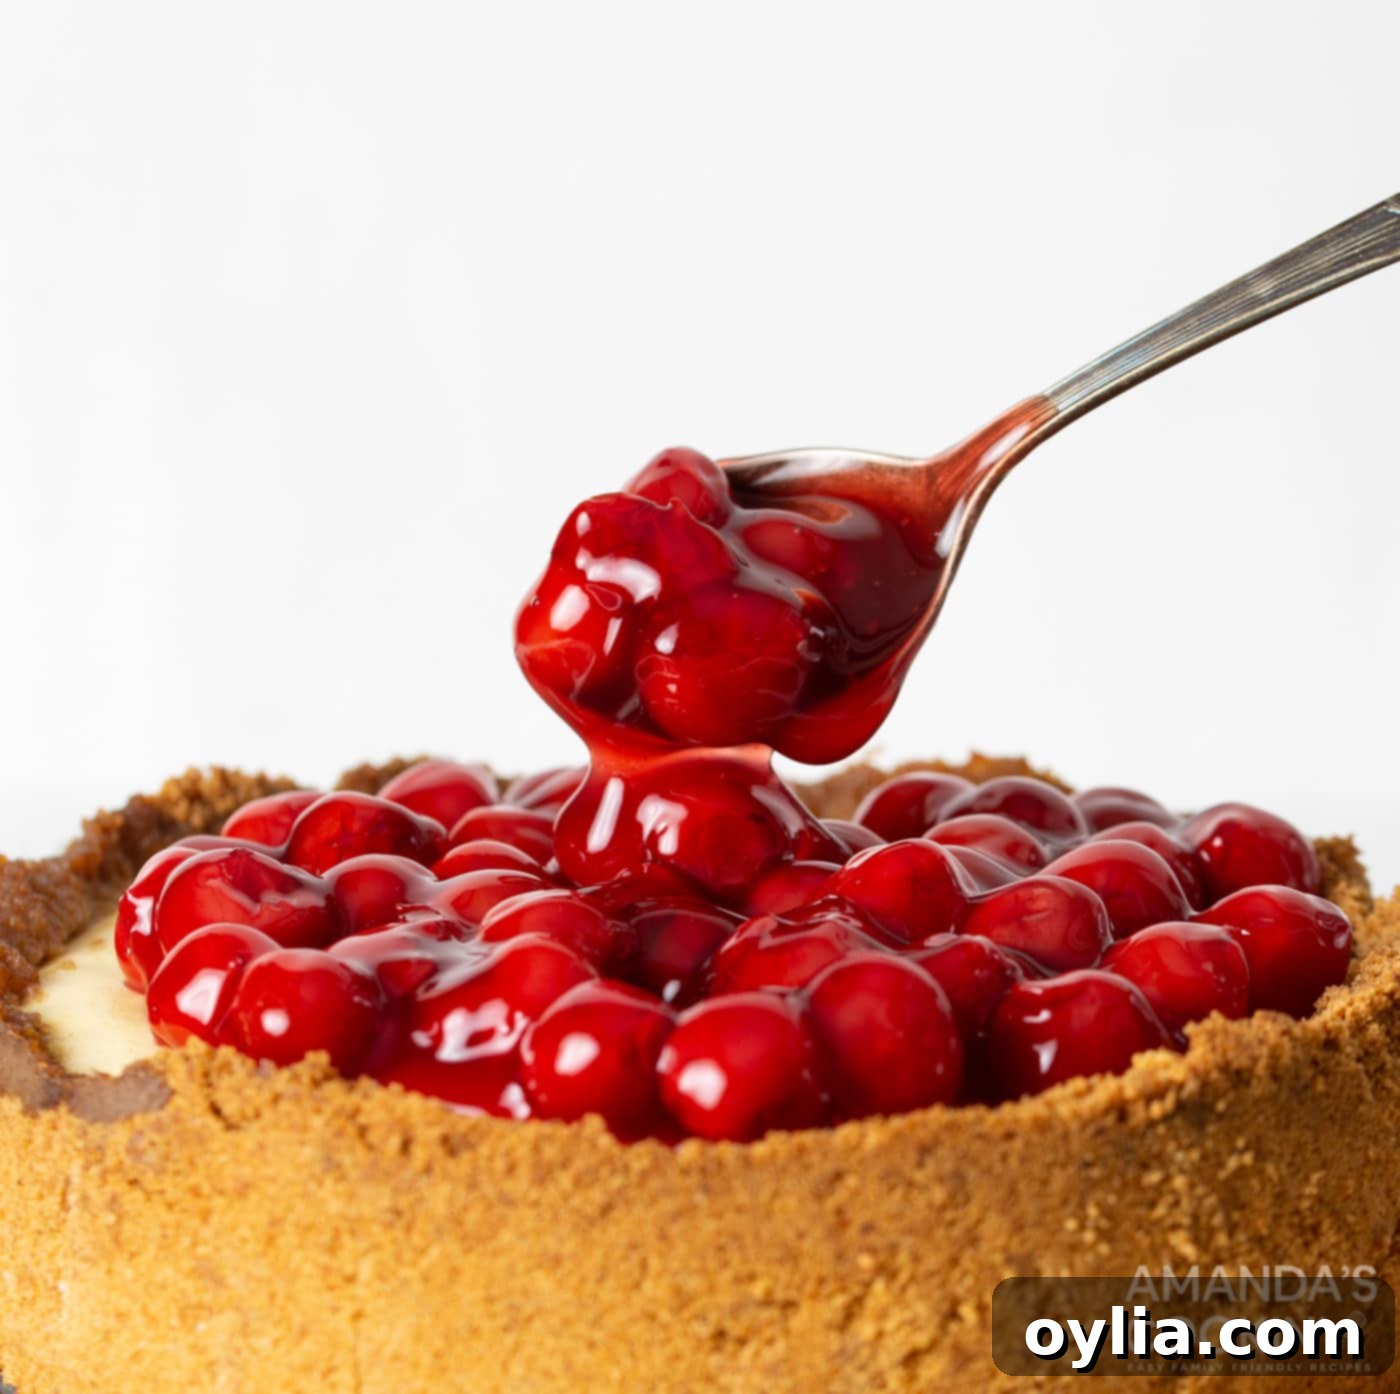
Decadent Instant Pot Cherry Cheesecake: Your Easiest Recipe for Creamy Perfection
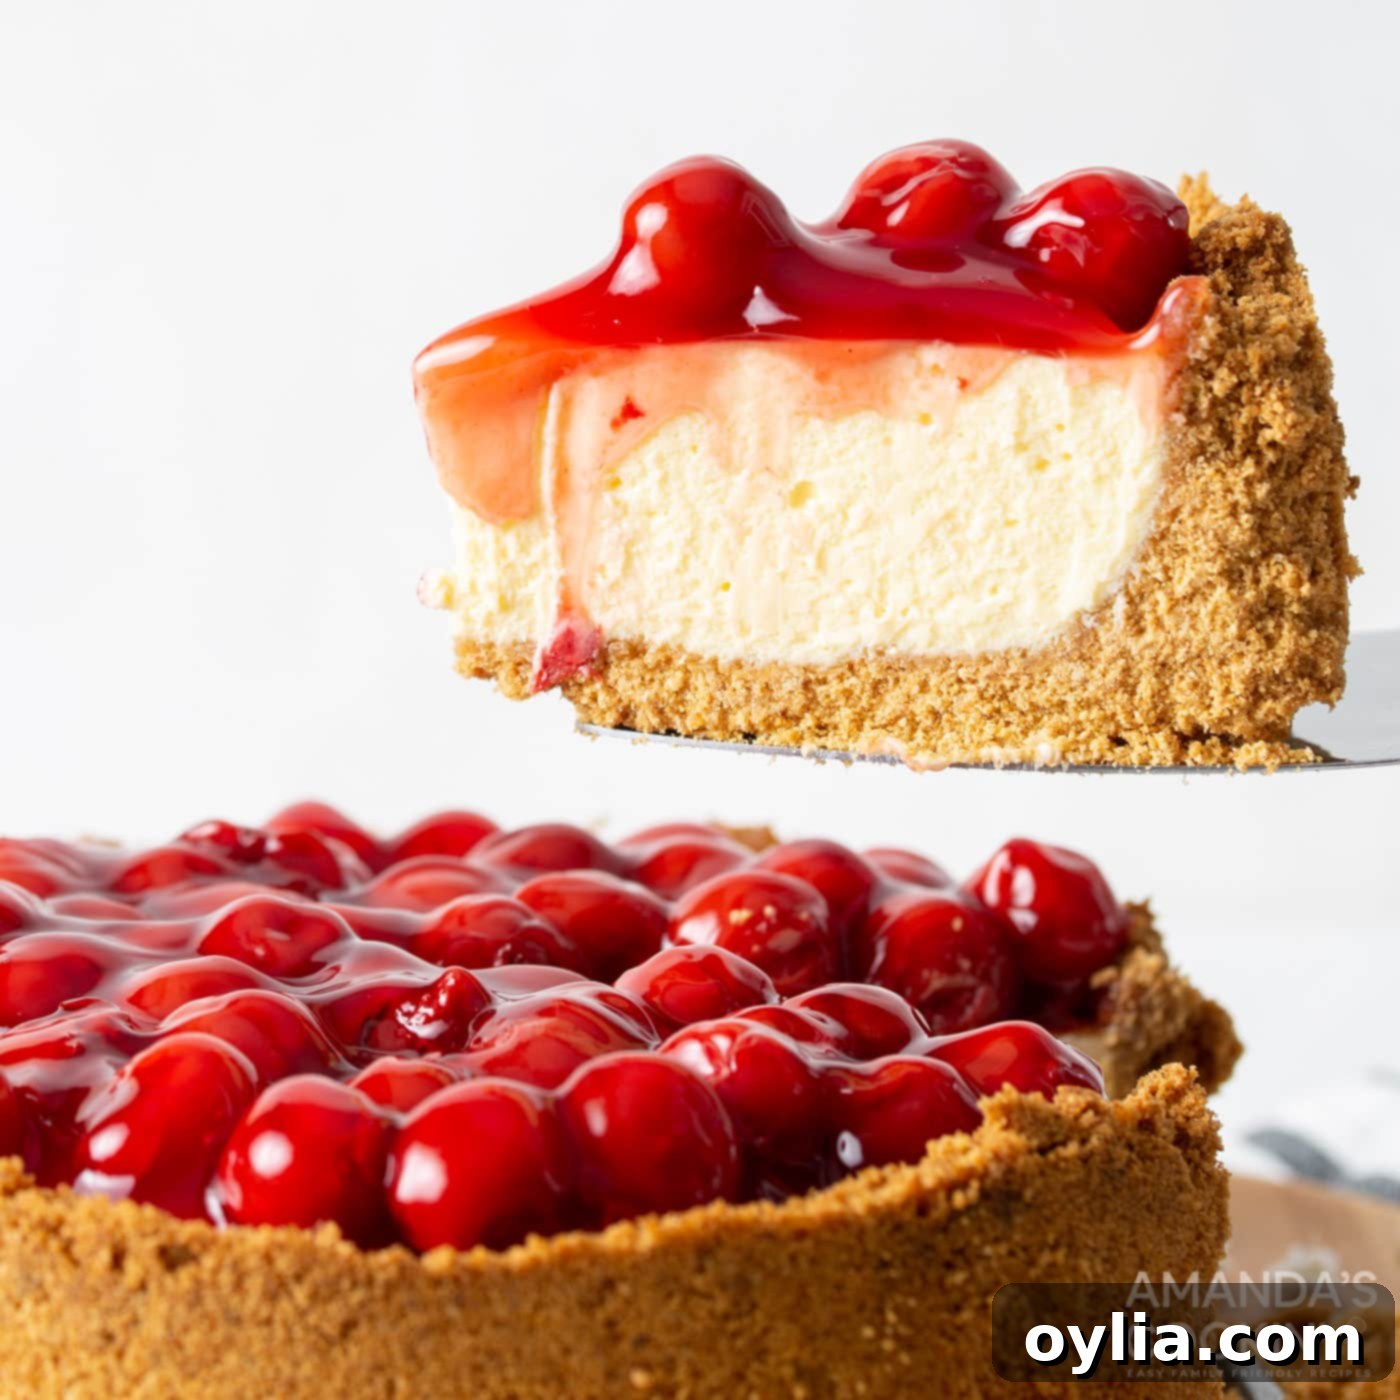
Prepare to become the star of any gathering with this incredibly smooth, rich, and utterly irresistible Instant Pot Cherry Cheesecake! This creamy, dreamy dessert features a classic buttery graham cracker crust, crowned with a luscious layer of sweet cherry pie filling. Forget complicated water baths and long oven times; your Instant Pot makes creating a perfectly set, deliciously decadent cheesecake a breeze.
Whether you’re looking for a show-stopping dessert for a special occasion or simply craving a comforting treat, this pressure cooker cheesecake delivers exceptional results with minimal effort. Get ready to impress with every velvety bite!
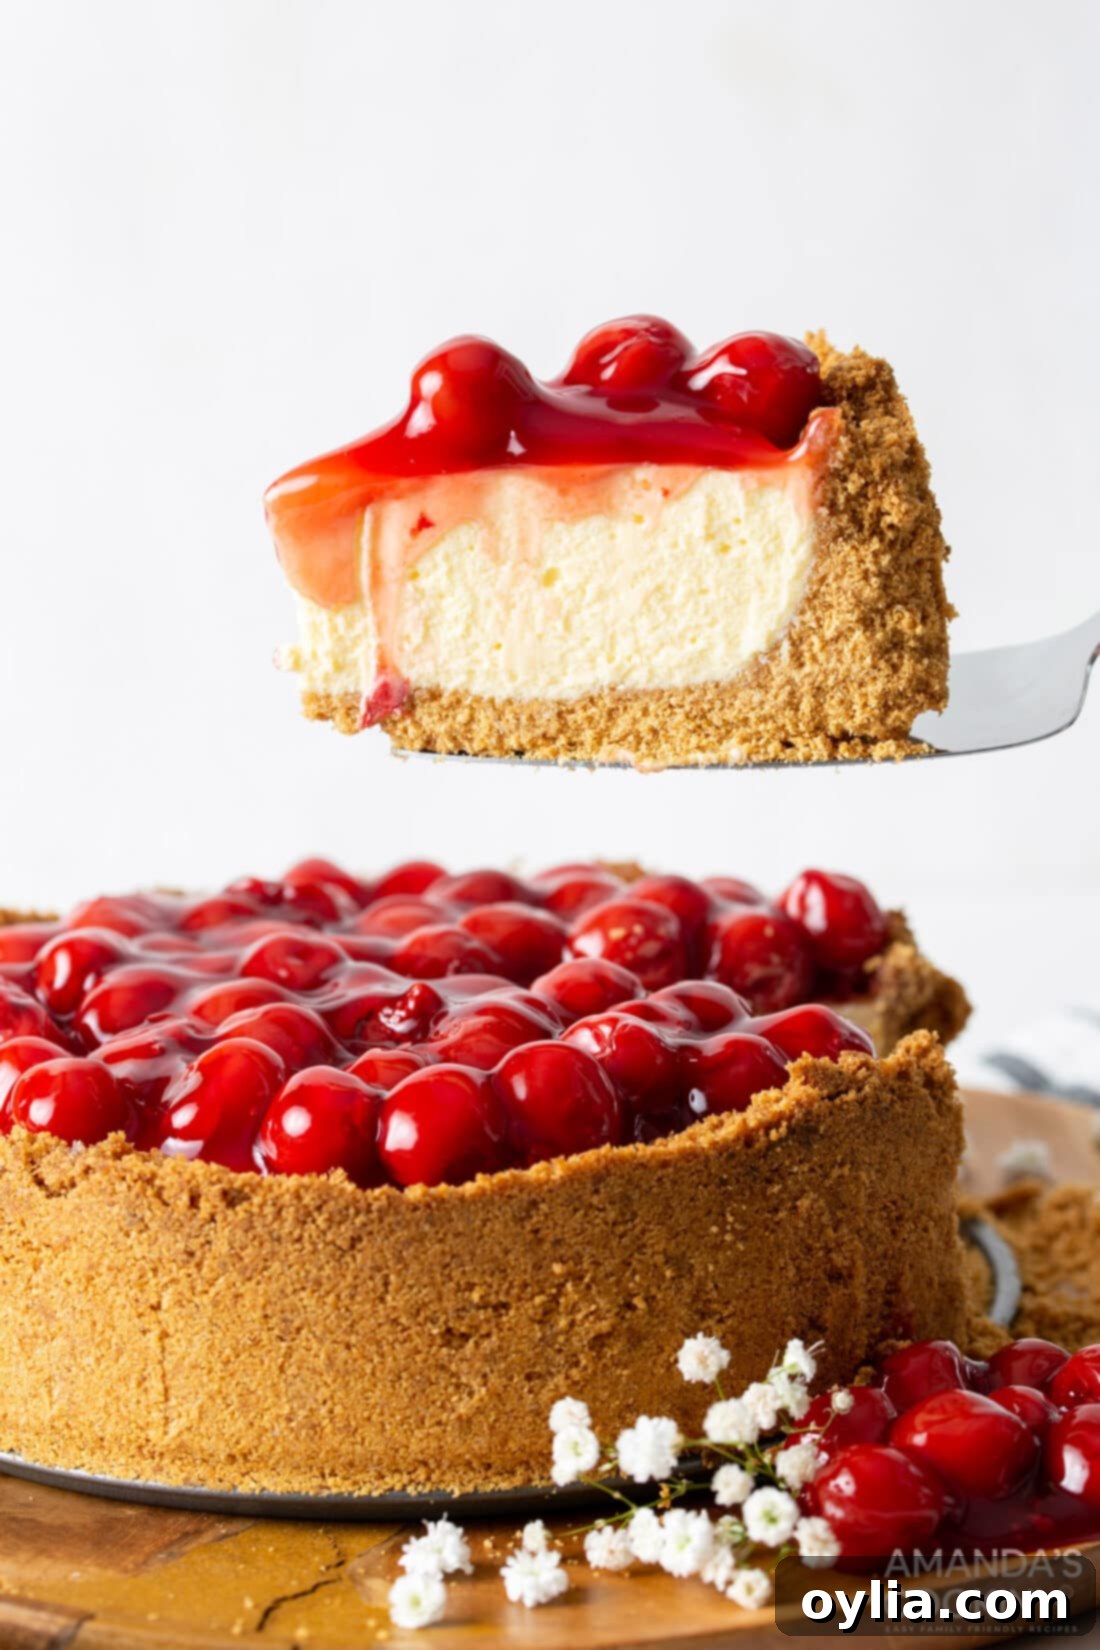
Why This Instant Pot Cheesecake Recipe is a Game-Changer
If you’ve ever shied away from making cheesecake because of the perceived difficulty, fiddly water baths, or fear of cracks, this Instant Pot Cherry Cheesecake recipe is about to change your perspective. Making a cheesecake in the Instant Pot is not only surprisingly simple but also incredibly efficient, taking only 35 minutes of active pressure cooking time. The magic of the pressure cooker creates a perfectly moist, even cooking environment, which is key to achieving that signature smooth, creamy cheesecake texture without any fuss.
The sealed environment of the Instant Pot prevents the steam from escaping, essentially creating its own water bath. This consistent, moist heat ensures your cheesecake bakes beautifully, resulting in a perfectly set center and a delightful, extra-decadent texture. Topped with a generous layer of sweet cherry pie filling, this dessert is not just easy; it’s a show-stopper. We adore our pressure cooker for quick meals like Mississippi pot roast and mac and cheese, but it truly shines when it comes to creating flawless desserts like this cheesecake!
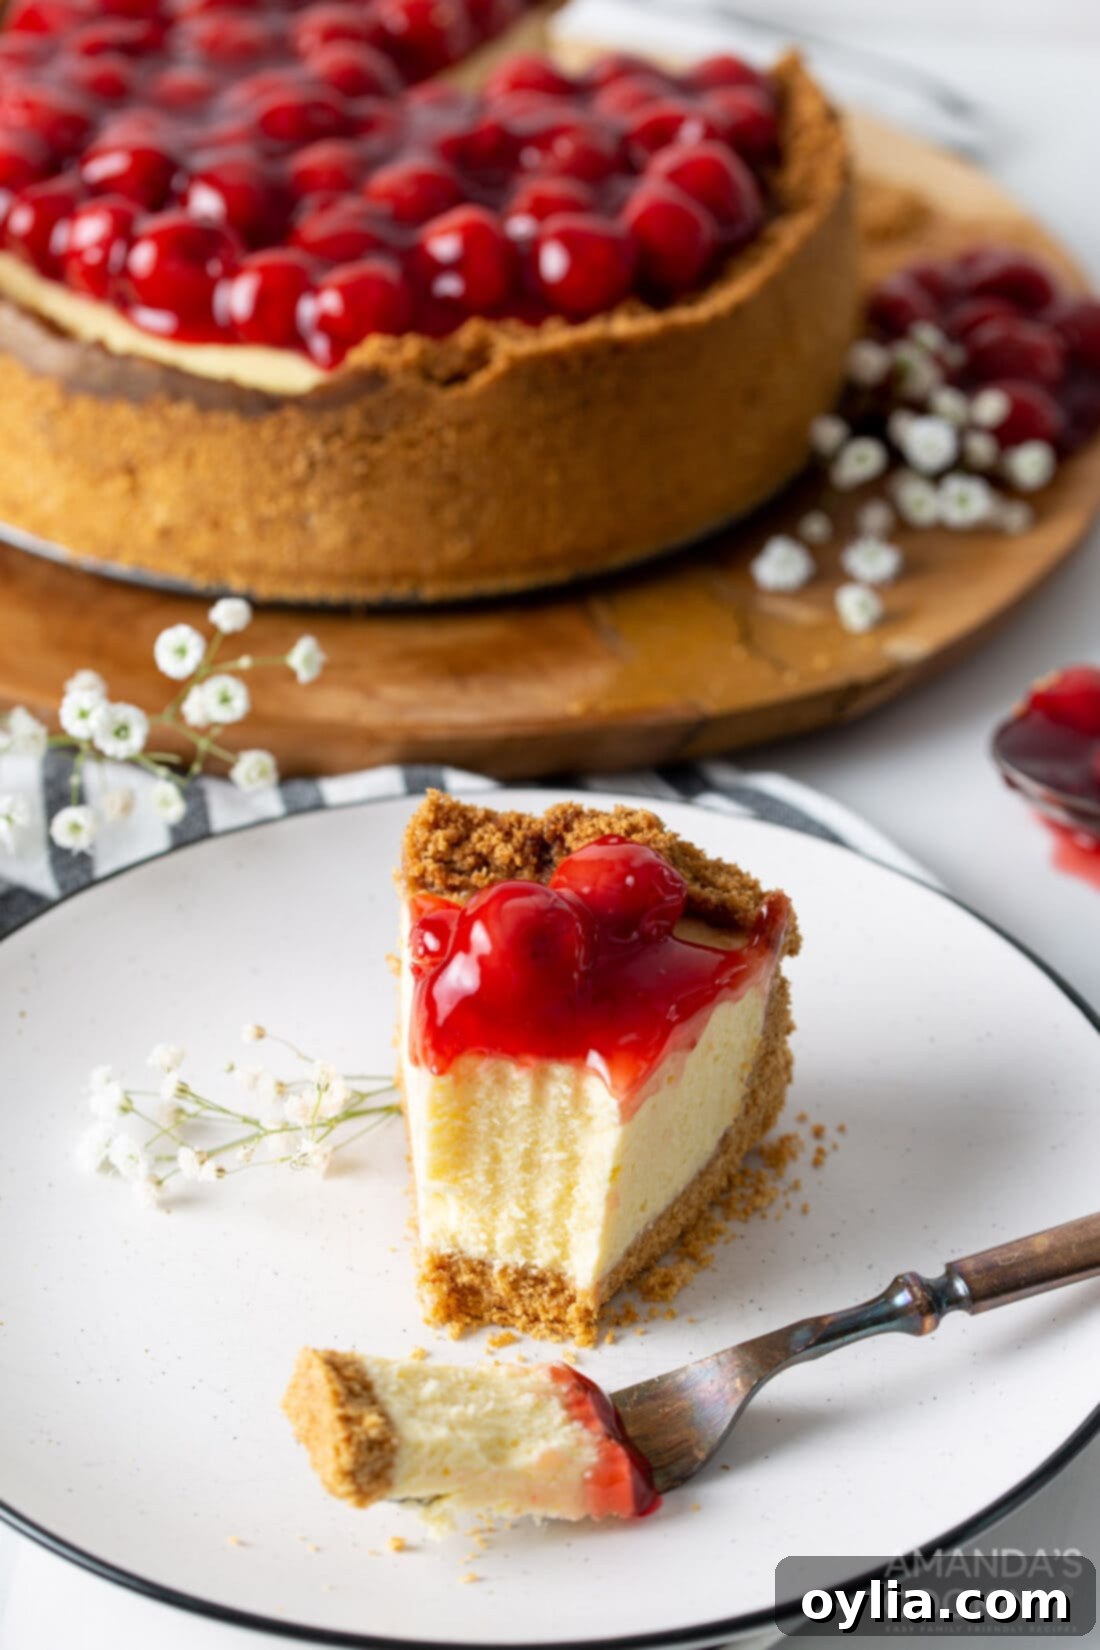
Essential Ingredients for Your Perfect Instant Pot Cheesecake
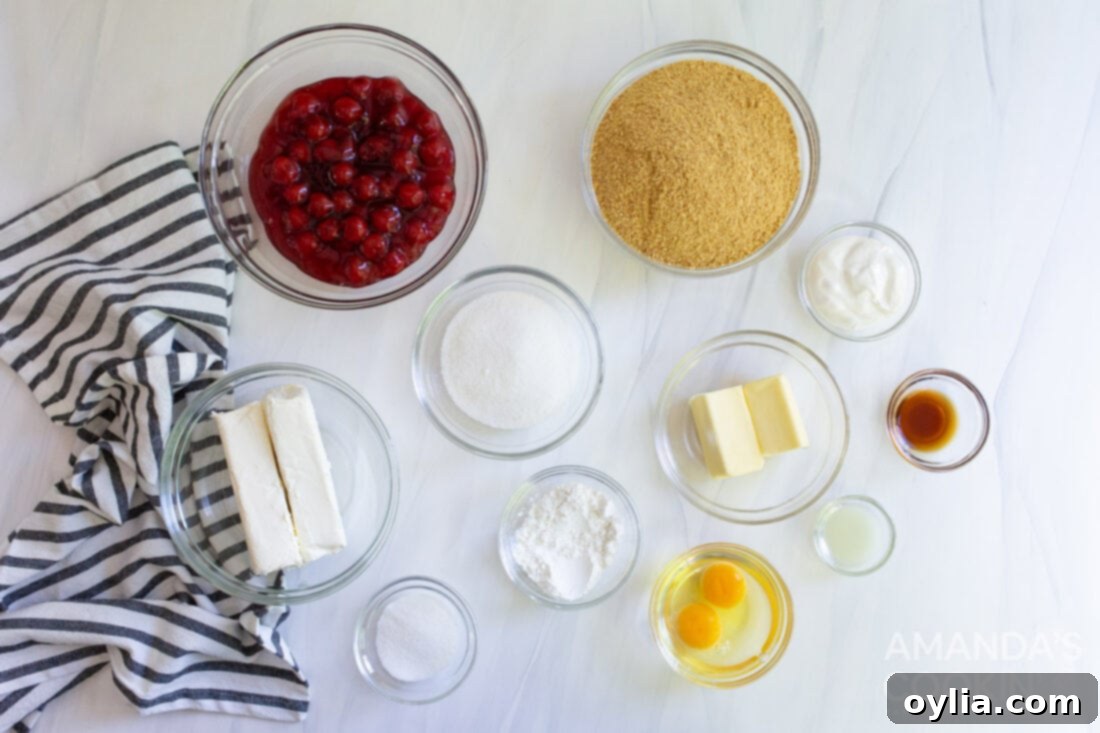
Crafting this delightful cheesecake requires a few key ingredients, each playing a crucial role in its texture and flavor. Below, you’ll find a detailed breakdown of what you’ll need and some helpful tips for substitutions and preparation. Remember, precise measurements and instructions can be found in the printable recipe card at the end of this post.
Topping Variations
For this specific Instant Pot Cherry Cheesecake, we’re using a classic, ready-made cherry pie filling, which offers a delightful balance of sweetness and tartness that perfectly complements the rich cheesecake base. However, the beauty of this recipe lies in its versatility! You can easily customize the topping to suit your preferences. Feel free to use any type of pie filling you adore—whether it’s a luscious homemade cherry pie filling, or store-bought blueberry, blackberry, or strawberry options. For a truly unique twist, a dollop of homemade strawberry jam would also be incredibly delicious. And if you prefer the pure, unadorned flavor of the creamy cheesecake, you can absolutely leave it plain for a simple, elegant dessert.
The Perfect Crust
The foundation of any great cheesecake is a flavorful, sturdy crust. Our recipe calls for a simple yet delicious combination of crushed graham crackers, rich melted butter, and a touch of granulated sugar. This mixture creates a firm, buttery base that holds up beautifully to the creamy filling. For a different flavor profile, consider using chocolate graham crackers, which add a delightful cocoa note. If graham crackers aren’t readily available in your region, don’t worry! Vanilla wafers, digestive biscuits (popular in the UK and Australia), or even crumbled shortbread cookies make excellent replacements, each offering a slightly different, but equally delicious, texture and taste. Pressing the crumbs firmly into your springform pan is key to a stable crust.
Creamy Cheesecake Filling Secrets
Achieving that signature smooth and lump-free cheesecake texture requires attention to detail, especially when it comes to your ingredients. It’s crucial to use **room temperature ingredients** for the cream cheese, eggs, and sour cream. Cold cream cheese will result in a lumpy batter, no matter how much you mix it. To quickly bring cream cheese to room temperature, unwrap it, cut it into cubes, spread the cubes on a plate, and let them sit for about 30 minutes. This simple step makes a significant difference in the final consistency.
Additionally, don’t be tempted to omit or substitute the all-purpose flour. A small amount of flour is vital for helping to firm up the cheesecake and prevent it from cracking as it cools. The eggs act as your primary bonding agent, providing structure and richness. Always opt for **large eggs**, not jumbo, as the precise protein and liquid content in large eggs is integral to the recipe’s chemistry. Deviating to jumbo eggs can introduce too much moisture, altering the delicate balance and potentially affecting the set of your cheesecake. This careful selection ensures a perfectly baked, incredibly creamy filling every time.
How to Make Instant Pot Cherry Cheesecake: Step-by-Step Guide
These step-by-step photos and instructions are here to help you visualize how to make this delightful recipe. For the complete printable version, including precise measurements and full instructions, you can Jump to Recipe at the bottom of this post.
-
Prepare the Graham Cracker Crust
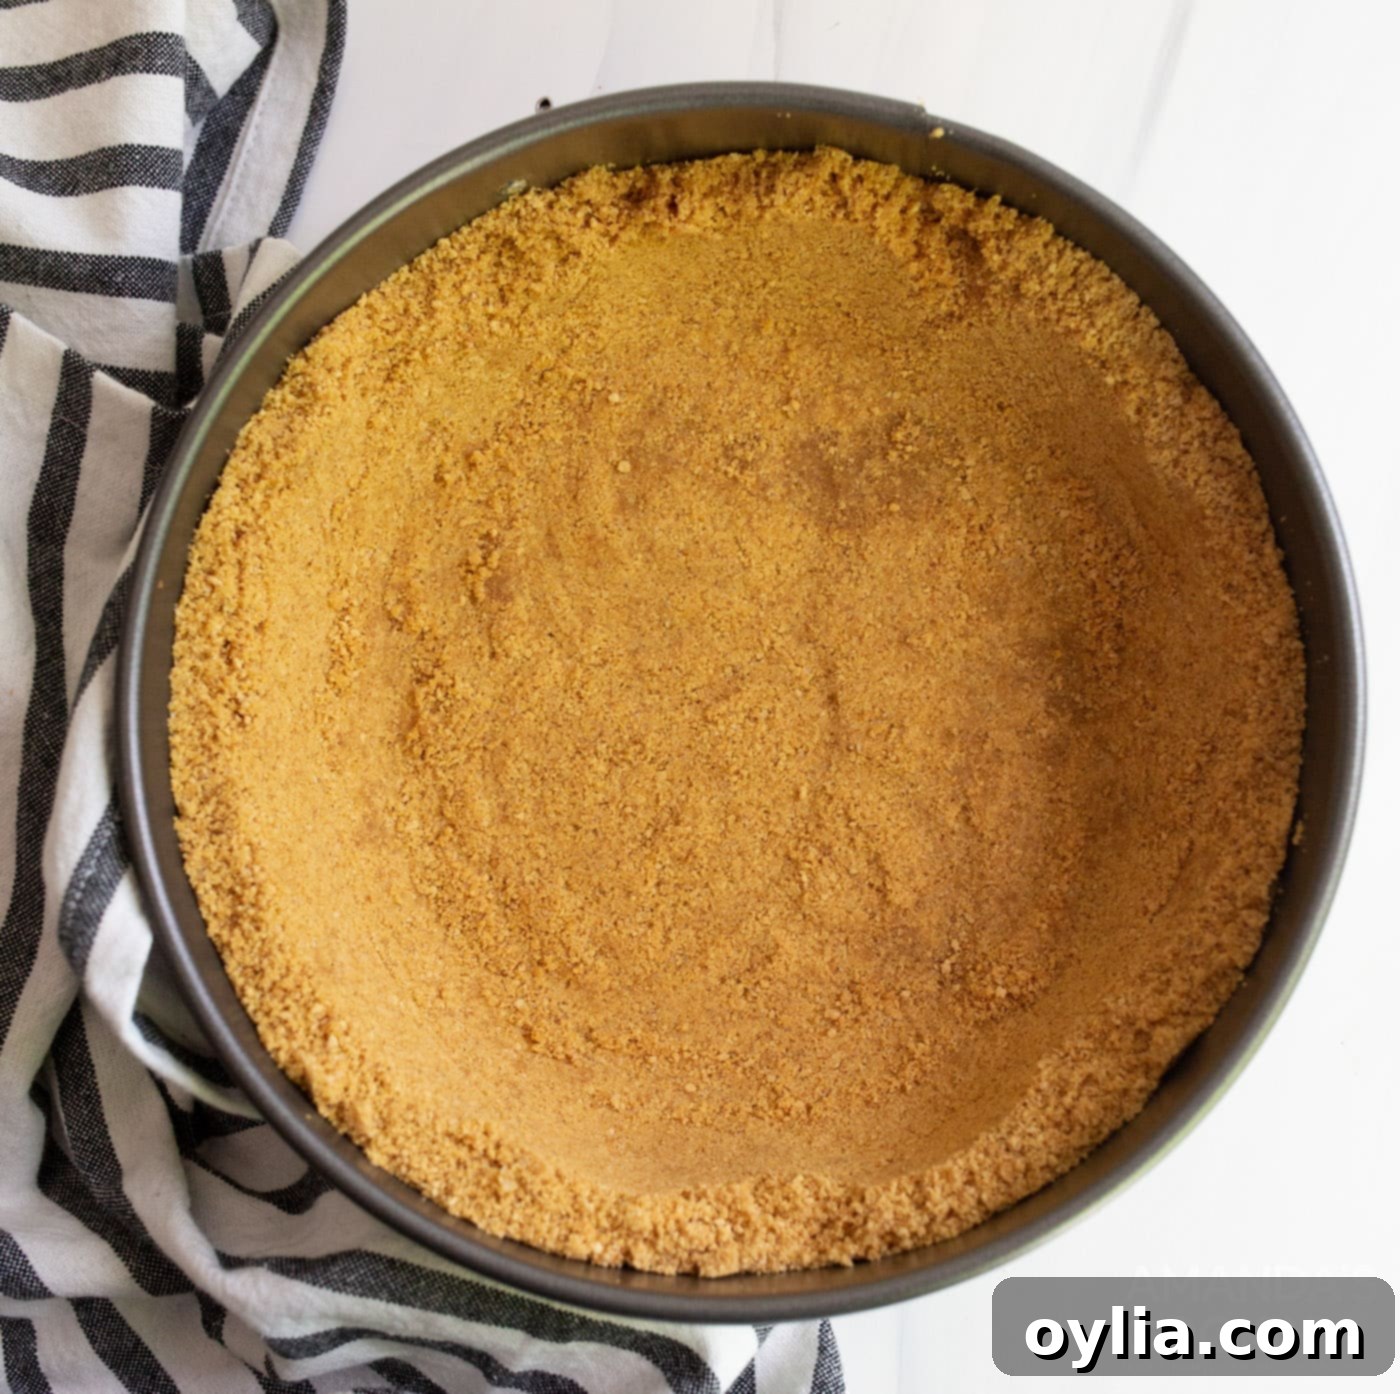
In a large bowl, combine the crushed graham crackers, granulated sugar, and melted unsalted butter. Mix thoroughly until the crumbs are evenly moistened. Press this mixture firmly into the bottom and slightly up the sides of an 8-inch springform pan. Use the bottom of a glass or a flat measuring cup to achieve an even and compact layer. A well-pressed crust is crucial for stability. Once formed, place the springform pan with the crust into the freezer for at least 15-20 minutes while you prepare the filling. This helps the crust set and prevents it from crumbling during baking.

-
Mix the Cream Cheese Base
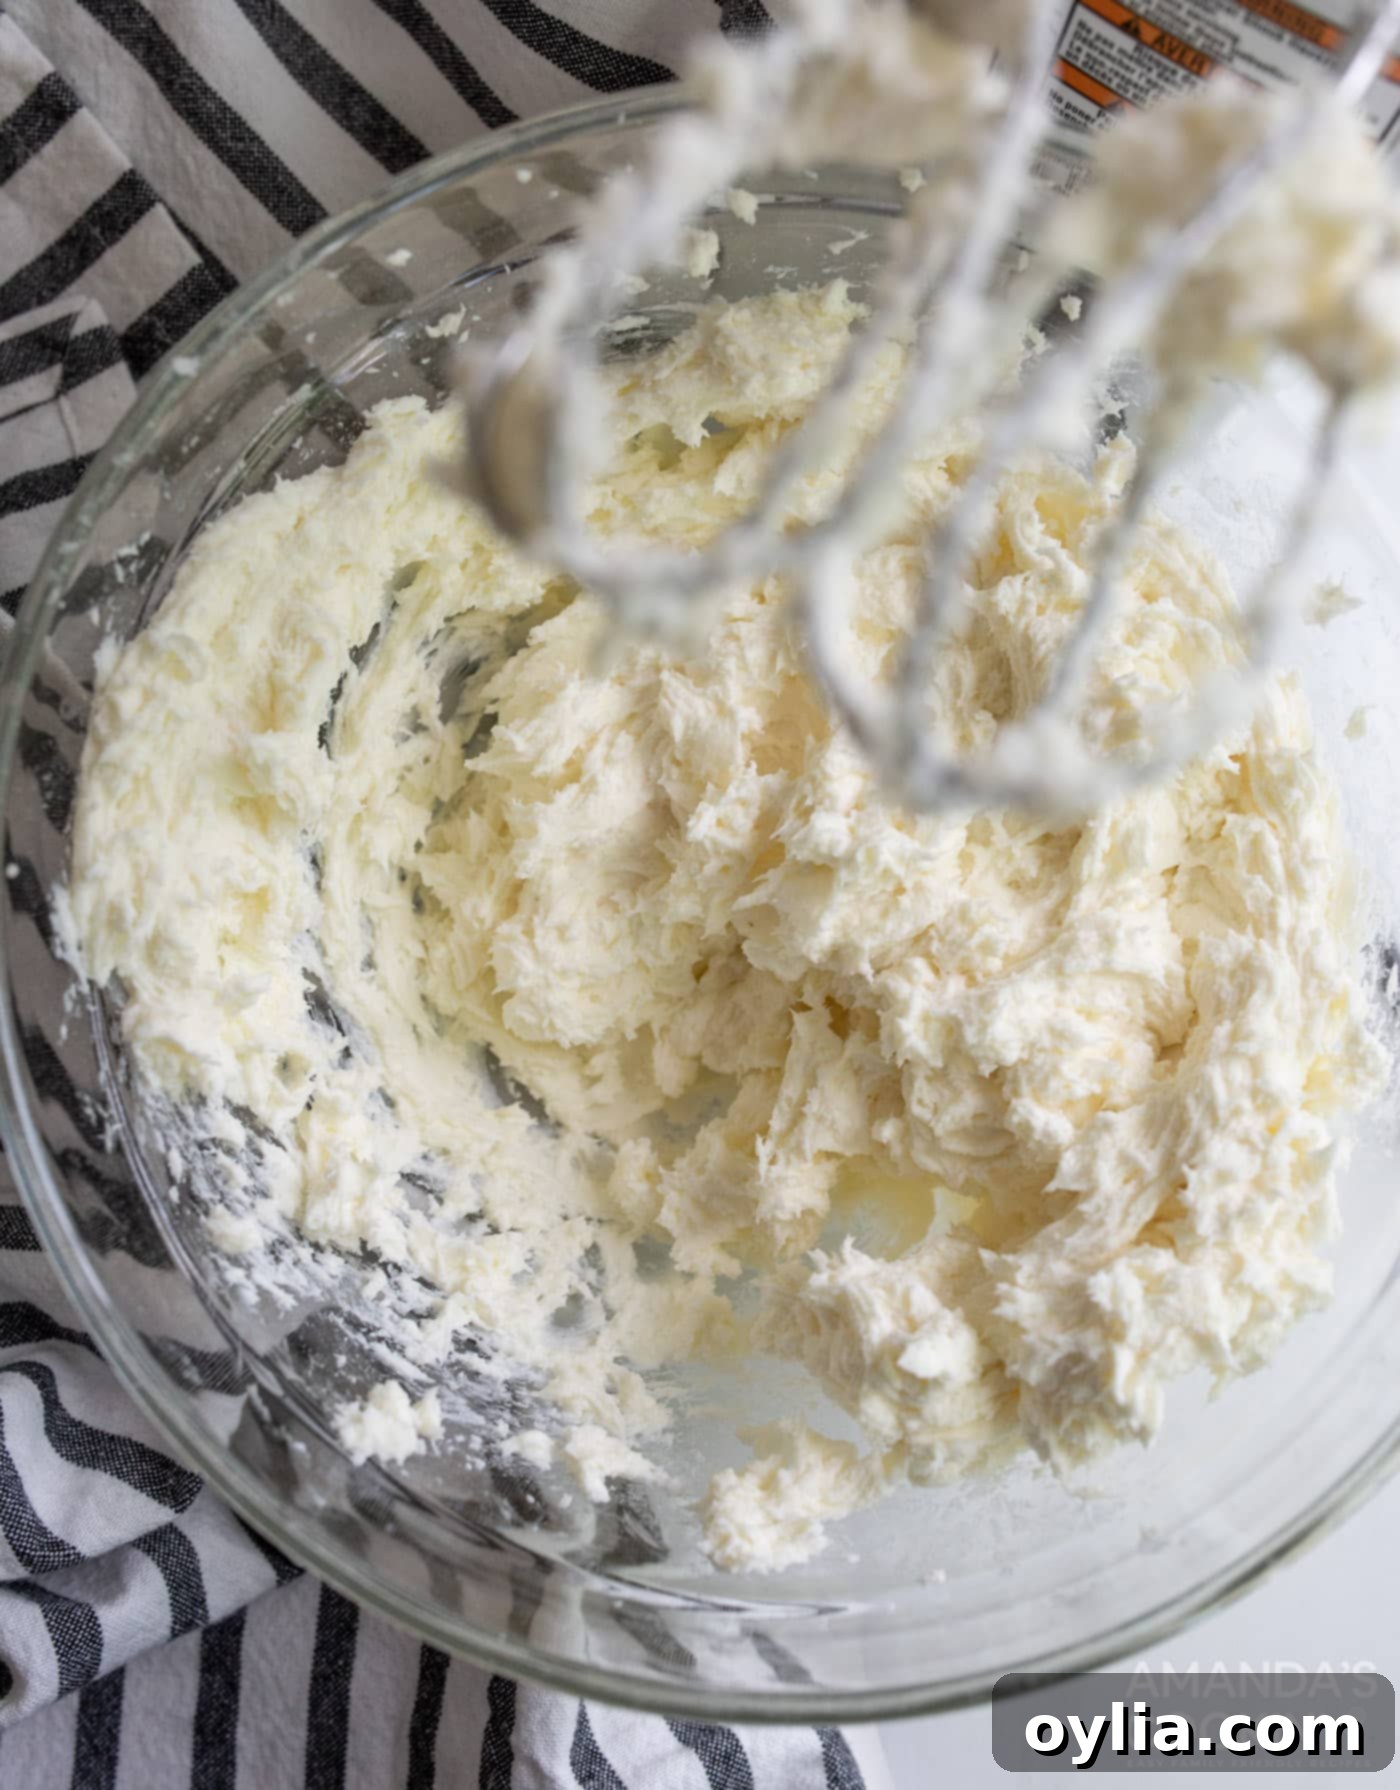
In a separate large mixing bowl, using a hand mixer (or a stand mixer), beat the room temperature cream cheese, granulated sugar, and all-purpose flour together. Start on low speed and gradually increase to medium until the mixture is light, fluffy, and completely smooth. Be careful not to overmix at this stage, as excessive air can lead to cracks later.

-
Incorporate Remaining Wet Ingredients
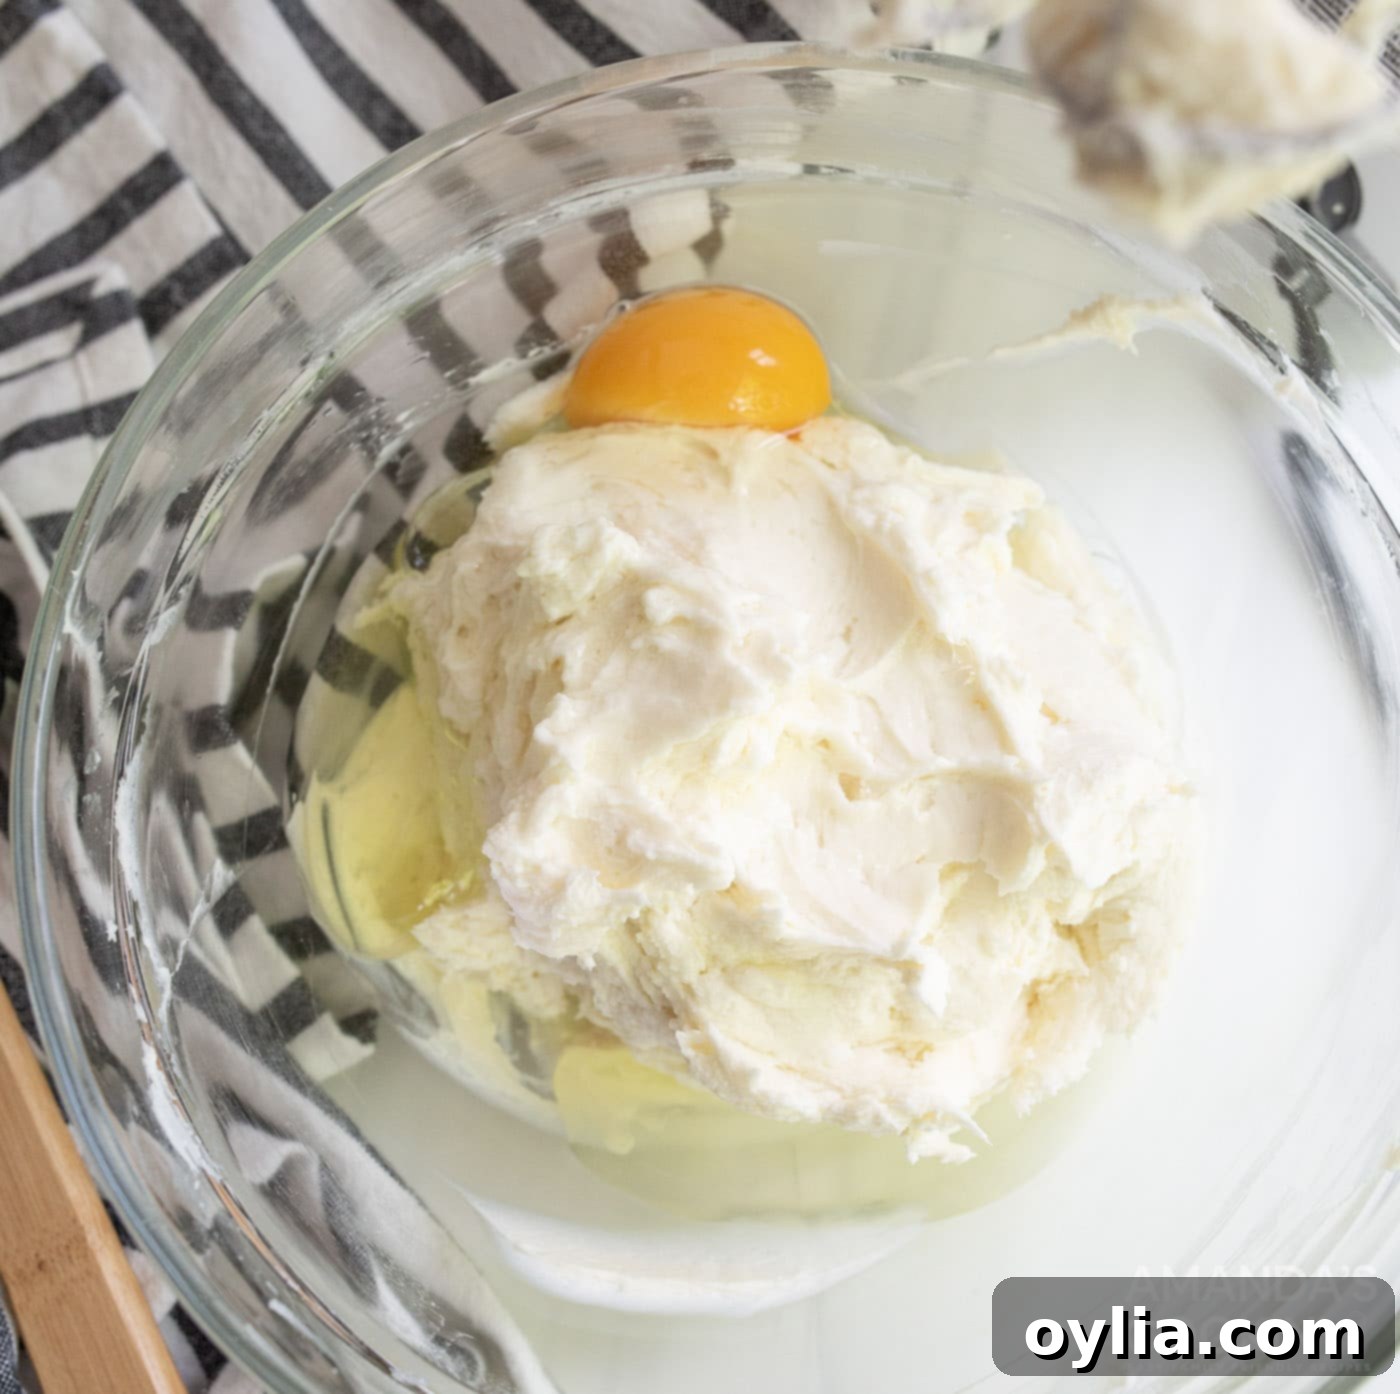
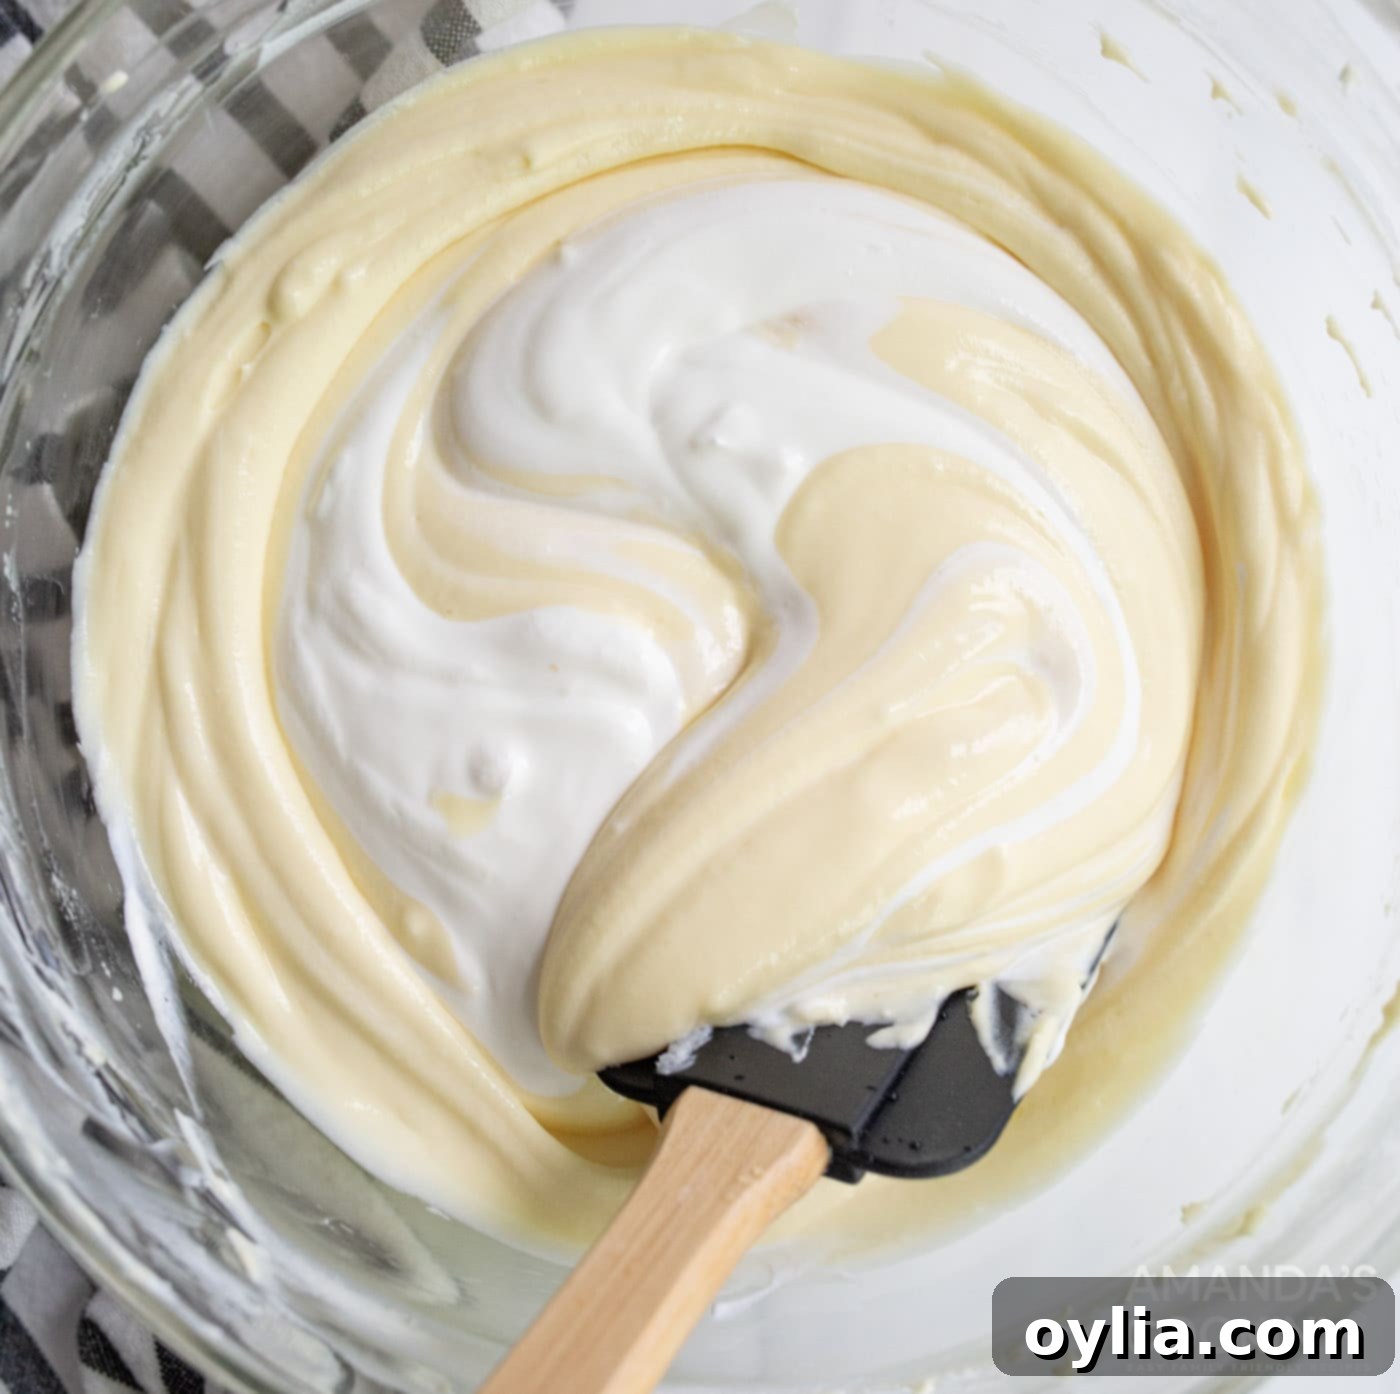
Next, add the lemon juice and vanilla extract to the cream cheese mixture. Continue mixing on medium speed, adding one large egg at a time. Beat until just combined after each addition. The key here is to mix until barely incorporated; overmixing the eggs can also introduce too much air, which can lead to a less dense texture and potential cracking. Finally, gently fold in the sour cream by hand using a spatula until it is just combined into the mixture. Sour cream adds a lovely tang and extra creaminess.


-
Pour into the Springform Pan
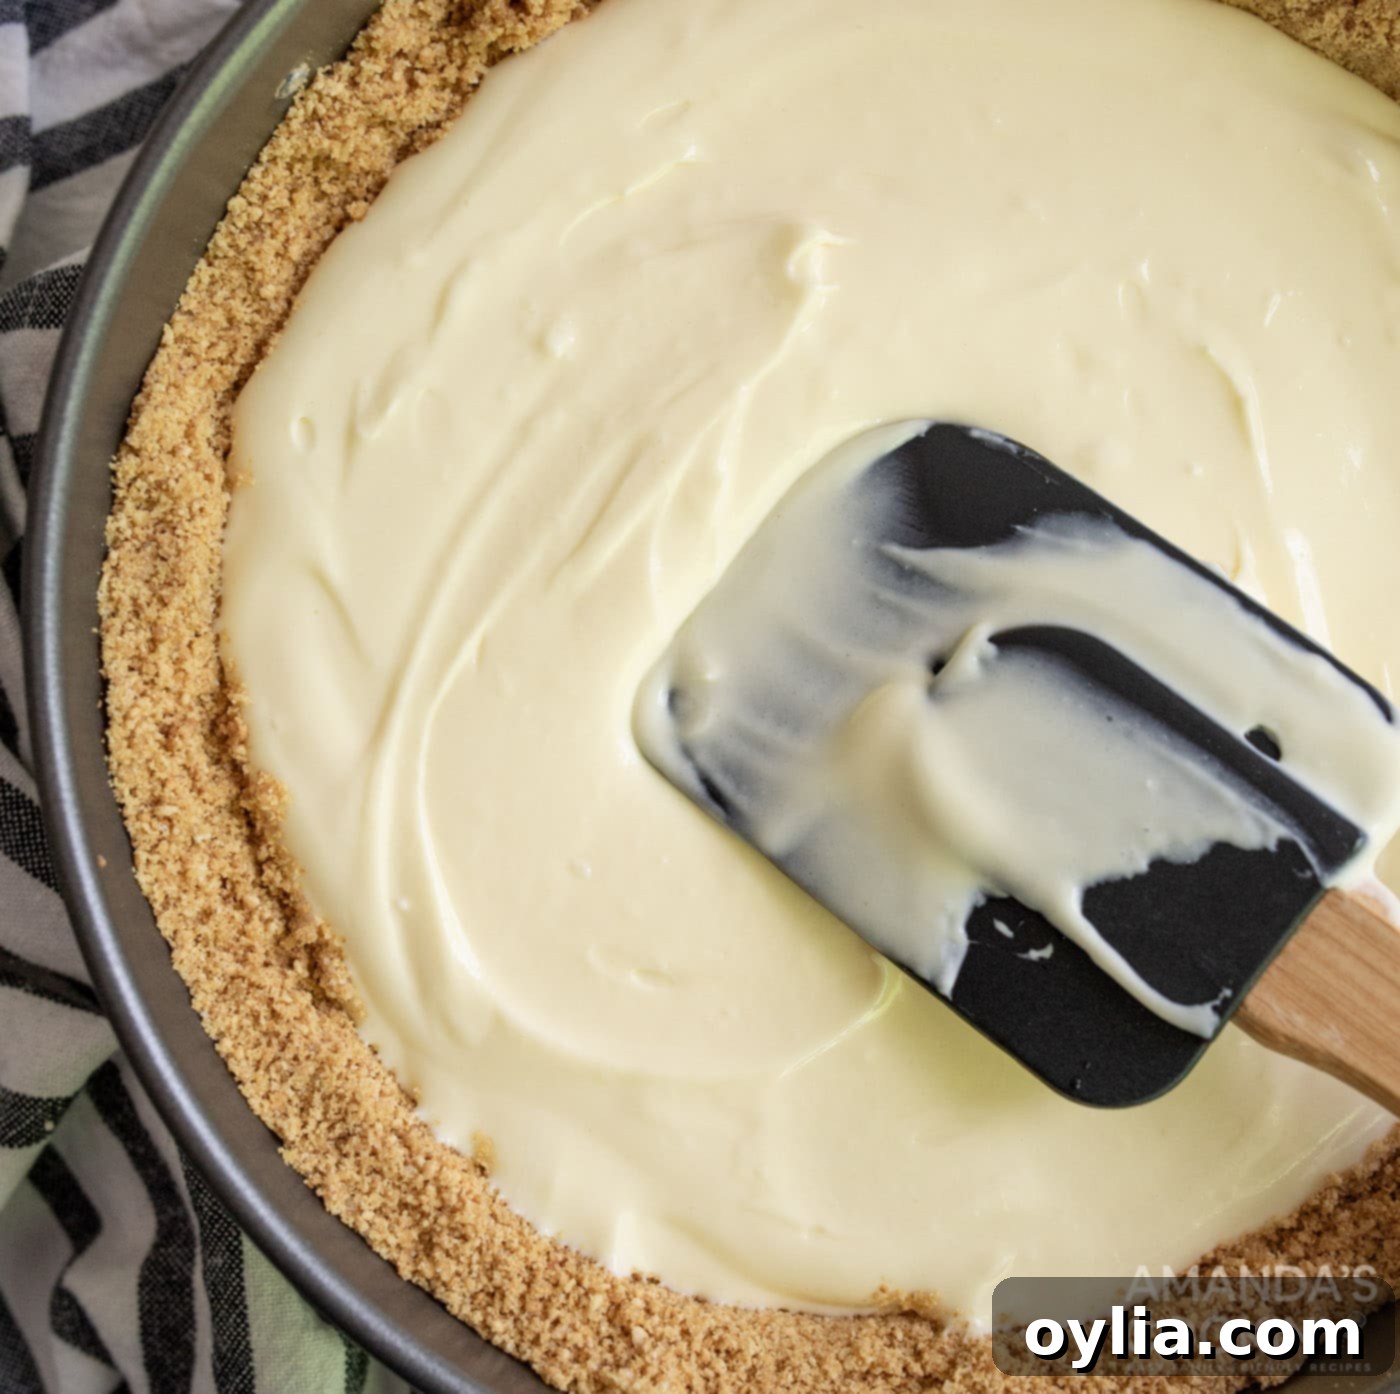
Carefully pour the creamy cheesecake mixture over the chilled graham cracker crust in the springform pan. Gently tap the pan on the counter a few times to release any trapped air bubbles and ensure the top is as smooth as possible. You can also use a rubber spatula to lightly smooth the surface.

-
Set Up Your Instant Pot
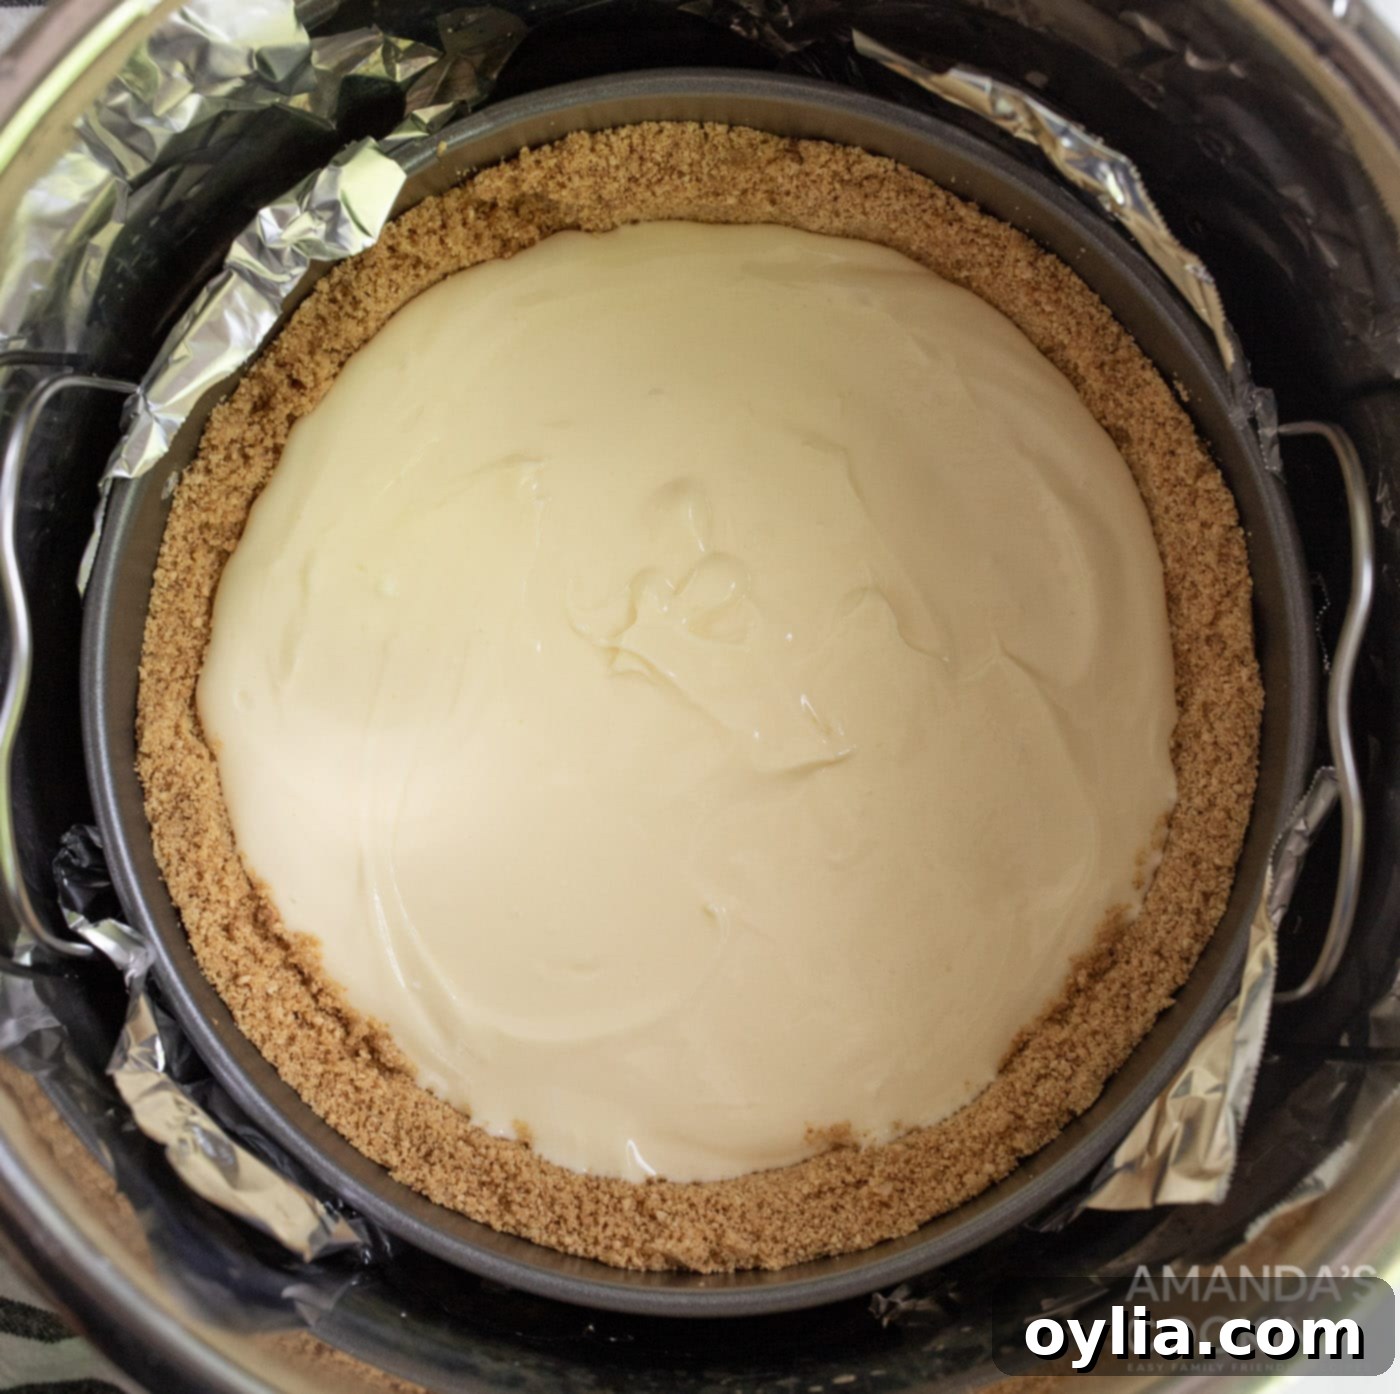
Pour 1.5 cups of water into the bottom of your Instant Pot insert. Place the trivet (the metal rack that usually comes with your Instant Pot) into the pot. Carefully place the springform pan containing the cheesecake mixture onto the trivet. It’s a good idea to cover the bottom edge of the springform pan with a piece of aluminum foil to prevent any water from seeping in, although a properly sealed springform pan should be fine. You can also loosely cover the top of the cheesecake with foil to minimize condensation if desired.

-
Pressure Cook to Perfection
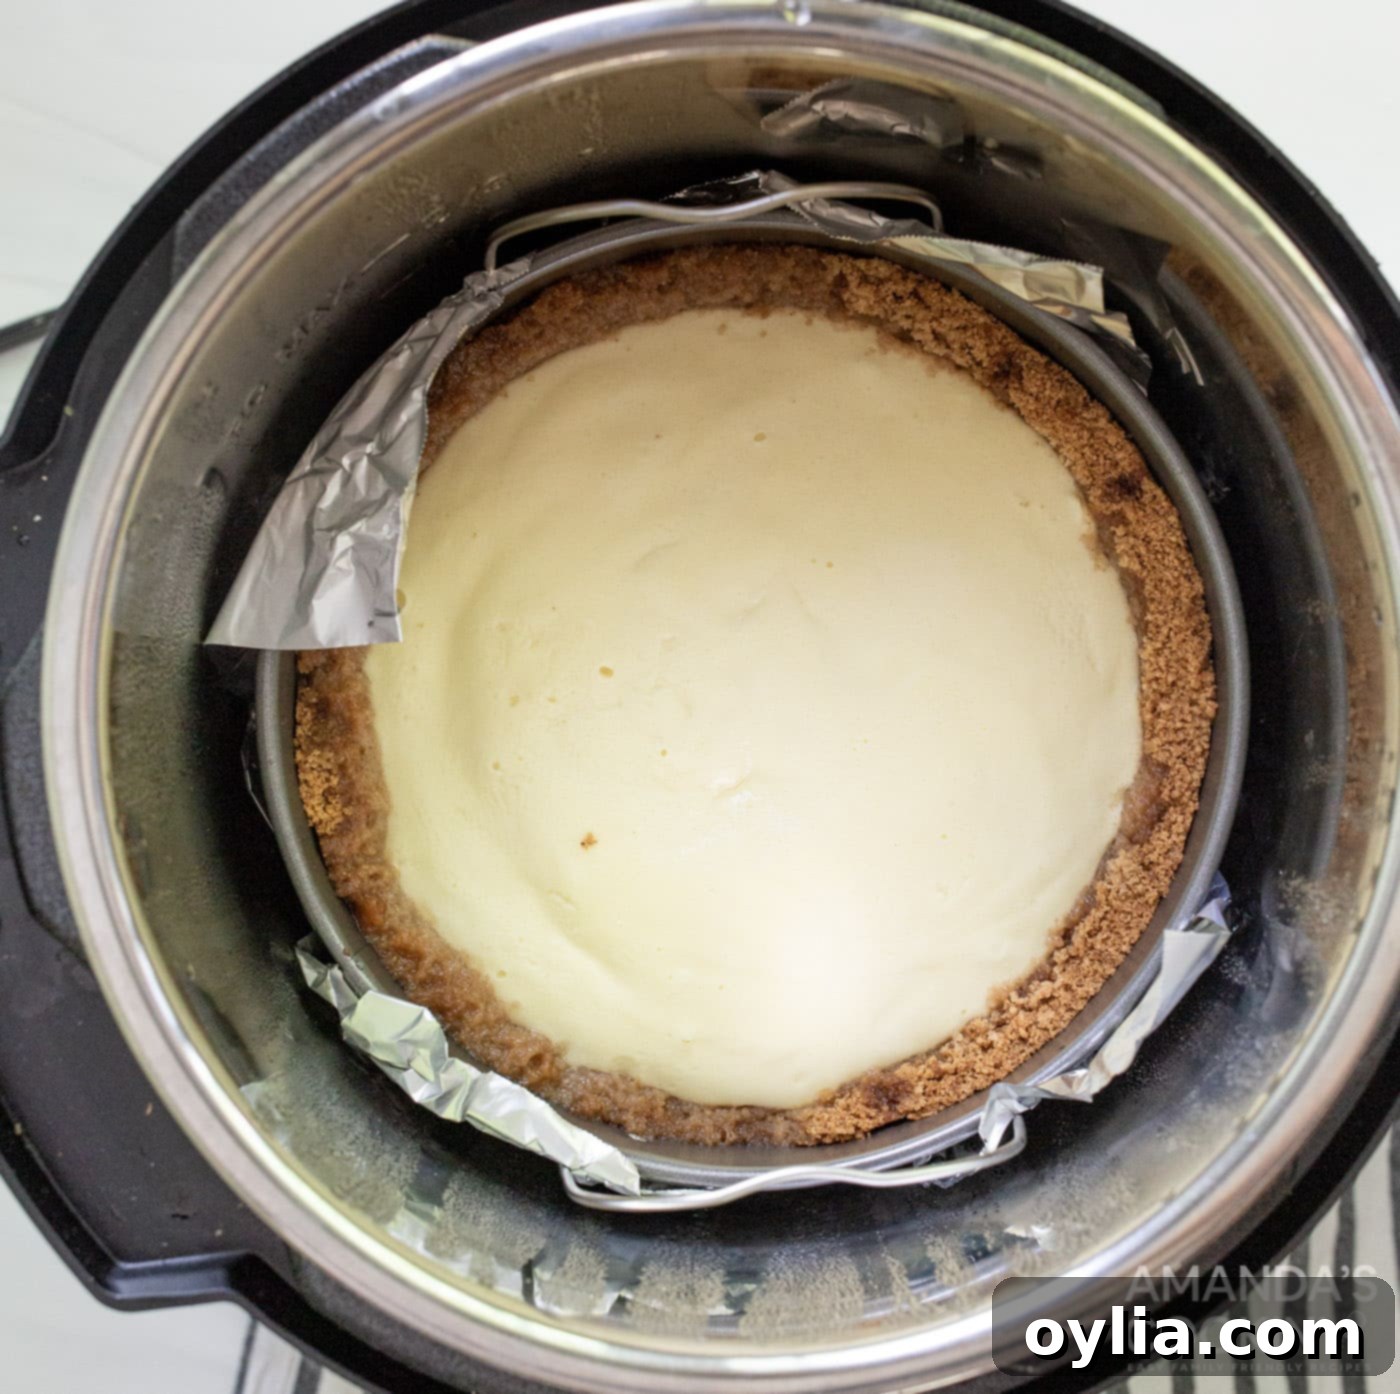
Secure the lid on your Instant Pot and set the vent to the “Sealing” position. Select the “Manual” or “Pressure Cook” setting (depending on your Instant Pot model) and set the time to High Pressure for 35 minutes. Once the cooking cycle is complete, allow a natural pressure release (NPR) for 10 minutes. This slow release is important for preventing cracks. After 10 minutes, carefully switch the vent to “Venting” for a quick release (QR) of any remaining pressure. Once the pin drops, you can safely open the lid.

-
Cool and Chill
Carefully remove the springform pan from the Instant Pot using the trivet handles. The cheesecake may still look a little jiggly in the center, which is normal. Let it cool on a wire rack at room temperature for about an hour. Once cooled, transfer the cheesecake (still in the springform pan) to the refrigerator and chill for a minimum of 4 hours, or ideally, overnight. Chilling is essential for the cheesecake to fully set and achieve its perfect dense, creamy texture.
-
Serve with Cherry Topping
Just before you’re ready to serve, carefully remove the sides of the springform pan. Spoon the prepared cherry pie filling generously over the top of the chilled cheesecake. Slice, serve, and enjoy the praise!

Frequently Asked Questions & Expert Tips for Instant Pot Cheesecake
Absolutely! If you prefer a thinner crust or just a simple base without extending up the sides of the pan, you can adjust the quantities. For a base-only crust, use approximately 1 cup of graham cracker crumbs, 1 tablespoon of granulated sugar, and 4 tablespoons of melted butter. Press this mixture firmly into the bottom of the springform pan as directed in the recipe, then chill as usual. This creates a more subtle foundation for your creamy cheesecake.
It’s common to see some condensation on top of your Instant Pot cheesecake, and it’s nothing to worry about! This is a natural occurrence due to the pressure cooker’s steamy environment. To minimize this, you can loosely place a piece of aluminum foil over the top of your cheesecake before placing it in the Instant Pot. Alternatively, once the cheesecake is removed from the Instant Pot, simply and gently blot any excess moisture with a clean paper towel. This won’t affect the taste or texture of your delicious dessert.
Yes, absolutely! In fact, making cheesecake ahead of time is highly recommended for the best results. An Instant Pot cheesecake needs to cool completely at room temperature before being transferred to the refrigerator for chilling. Allow a minimum of 4 hours for chilling, but preferably leave it overnight. This extended chilling time is crucial for the cheesecake to fully set, firm up, and develop its optimal creamy texture and rich flavor. Preparing it a day in advance makes serving much easier and ensures a perfect dessert.
Yes, this Instant Pot cheesecake freezes beautifully! If you plan to freeze your cheesecake, we highly recommend doing so before adding the cherry pie filling. To freeze, allow the cheesecake to cool completely after baking and chilling. Then, wrap the entire cheesecake (or individual slices) tightly in plastic wrap, followed by a layer of aluminum foil or freezer paper to prevent freezer burn. It can be stored in the freezer for approximately 4-5 months. When you’re ready to enjoy it, thaw the cheesecake completely in the refrigerator, and then add your cherry pie filling or any desired topping just before serving.
To keep your delicious cherry cheesecake fresh, store any leftovers in an airtight container in the refrigerator. If you don’t have an airtight container large enough, you can cover the cheesecake tightly with plastic wrap. Properly stored, it will maintain its quality and flavor for 3-4 days. Ensure it’s always kept refrigerated to preserve its creamy texture and prevent spoilage.
For this recipe, an 8-inch springform pan is ideal. This size fits perfectly into most standard 6-quart or 8-quart Instant Pot models. If you use a different size, you may need to adjust the cooking time slightly – a smaller pan might require a little less time, while a larger, flatter cheesecake could need more.
Cracks in cheesecake are a common concern, but with the Instant Pot, they are far less likely! The moist environment of the pressure cooker helps significantly. Key tips to prevent cracks include:
- **Room Temperature Ingredients:** As mentioned, cold ingredients lead to a lumpy batter and can affect the final texture.
- **Don’t Overmix:** Overmixing, especially after adding eggs, incorporates too much air. Air bubbles expanding and contracting can cause cracks. Mix just until combined.
- **Natural Pressure Release (NPR):** Allowing the Instant Pot to naturally release pressure for at least 10 minutes prevents a sudden drop in temperature, which is a major culprit for cracks.
- **Gradual Cooling:** Let the cheesecake cool at room temperature before transferring to the refrigerator. Sudden temperature changes can also cause cracks.
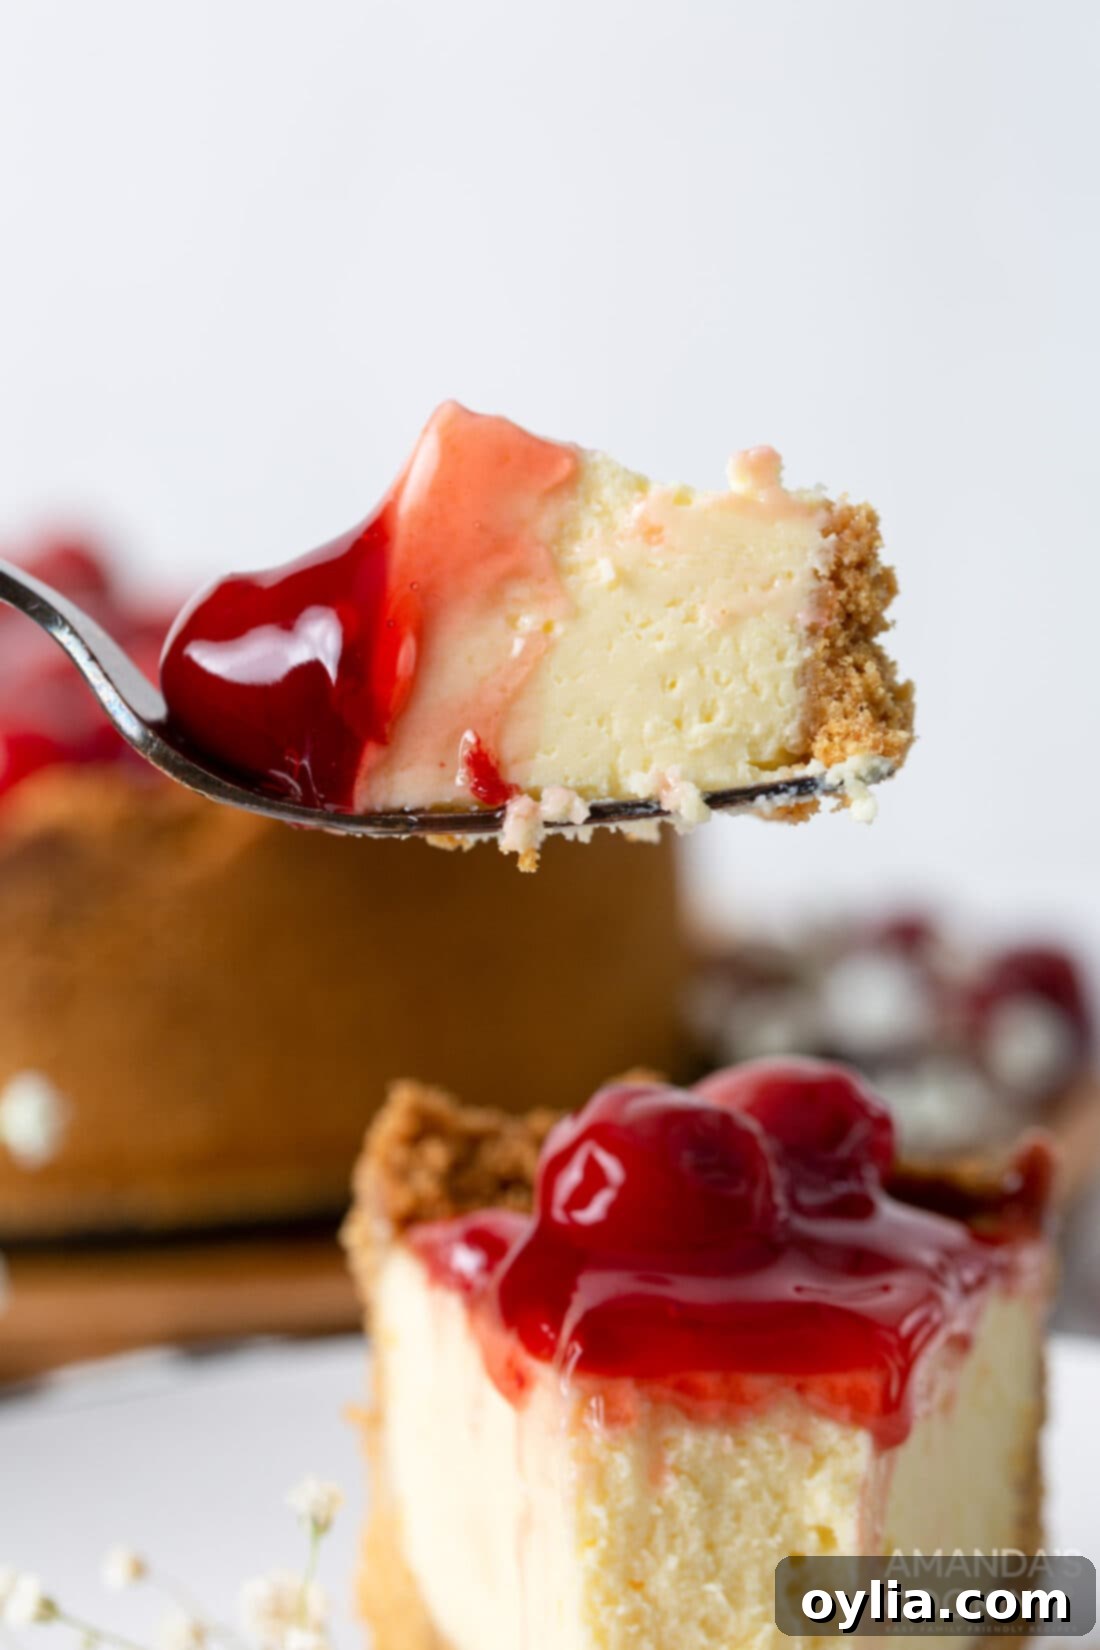
Delightful Serving Suggestions for Your Cherry Cheesecake
This luscious Instant Pot Cherry Cheesecake is a rich and satisfying dessert that can stand on its own, but a few thoughtful additions can elevate the experience even further. While it makes a decadent finale to any meal, remember that cheesecake is quite filling. It pairs beautifully after a lighter dinner of chicken or grilled meats, accompanied by fresh, crisp sides.
Beyond the classic cherry pie filling, the possibilities for toppings are endless! Get creative with other fruit pie fillings like vibrant blueberry, sweet blackberry, tangy raspberry, or classic strawberry. For those who love a chocolatey twist, a drizzle of warm chocolate ganache or a sprinkle of chocolate shavings would be divine. Caramel sauce, chopped nuts, or even a dollop of freshly whipped cream can add extra layers of flavor and texture. Don’t limit yourself – a plain cheesecake is a blank canvas for your culinary imagination!
Explore More Irresistible Cheesecake Recipes
If you’ve fallen in love with making cheesecake, especially in your Instant Pot, you’re in luck! There’s a whole world of creamy, dreamy cheesecake variations to explore. From no-bake wonders to different flavor profiles, here are some other fantastic cheesecake recipes you might enjoy:
- No Bake Mini Cheesecakes
- Instant Pot Strawberry Cheesecake
- Classic Cherry Cheesecake
- Tiramisu Cheesecake
- Strawberry Swirl Cheesecake
- Chocolate Cheesecake Brownies
- No Bake Blueberry Cheesecake
- No Bake Pumpkin Cheesecake
- No Bake Strawberry Cheesecake Bars
- No Bake Cheesecake Bars
- Oreo Cheesecake
- Instant Pot Lemon Curd Cheesecake
- Instant Pot Oreo Cheesecake
- Salted Caramel Cheesecake
I love to bake and cook and share my kitchen experience with all of you! Remembering to come back each day can be tough, that’s why I offer a convenient newsletter every time a new recipe posts. Simply subscribe and start receiving your free daily recipes!
Instant Pot Cherry Cheesecake
IMPORTANT – There are often Frequently Asked Questions within the blog post that you may find helpful. Simply scroll back up to read them!
Print It
Pin It
Rate It
Save ItSaved!
Ingredients
Crust
- 2 cups graham cracker crumbs (about 13.5 ounces or 20 sheets of graham crackers, finely crushed)
- 2 Tbsp granulated sugar
- ½ cup unsalted butter melted
FILLING
- 16 oz cream cheese (2 blocks, full-fat, at room temperature)
- ½ cup granulated sugar
- 2 large eggs (room temperature)
- 3 Tbsp all purpose flour
- ½ cup sour cream (full-fat, room temperature)
- 2 tsp vanilla extract
- 1 tsp fresh lemon juice
Topping
- 20 oz Cherry pie filling (1 standard can)
Things You’ll Need
-
Instant Pot
-
8-inch springform pan
-
Hand mixer or stand mixer
Before You Begin & Expert Tips
- For a thinner or base-only crust, you can use 1 cup graham cracker crumbs, 1 Tablespoon sugar, and 4 Tablespoons butter. Press firmly into the bottom of the pan only.
- To minimize condensation on top of your cheesecake during baking, you can loosely cover the top of the springform pan with aluminum foil. After baking, any remaining moisture can be gently blotted dry with a paper towel.
- Using room temperature ingredients for the cheesecake filling is absolutely critical for achieving the best creamy texture and avoiding lumps. To help your cream cheese reach room temperature faster, remove it from its packaging, cut it into 1-inch cubes, spread them out on a plate, and let them sit at room temperature for about 30 minutes.
- Do not skip or substitute the all-purpose flour in the filling. It’s a small but essential ingredient that helps to firm up the cheesecake and contributes to its smooth, crack-free surface.
- Eggs act as your primary bonding agent and provide structure. Always use large eggs, not jumbo, as the precise balance of ingredients is important for the recipe’s success. Overmixing after adding the eggs can incorporate too much air, which may cause cracks.
- Allowing for a 10-minute natural pressure release (NPR) in the Instant Pot after cooking is key to preventing sudden temperature changes that can lead to cheesecake cracks.
- Chilling the cheesecake for at least 4 hours, or preferably overnight, is crucial for it to fully set and achieve its perfect dense, creamy consistency.
Instructions
-
In a large bowl, combine the graham cracker crumbs, granulated sugar, and melted butter. Mix well until everything is evenly moistened. Press the crumb mixture firmly into the bottom and slightly up the sides of an 8-inch springform pan. Use the back of a spoon or a flat-bottomed glass to compact the crust. Place the pan in the freezer to chill while you prepare the filling.
-
In a large mixing bowl, using a hand mixer or stand mixer, beat the room temperature cream cheese, granulated sugar, and all-purpose flour on medium speed until the mixture is completely smooth and creamy, with no lumps. Scrape down the sides of the bowl as needed.
-
Add the lemon juice and vanilla extract to the cream cheese mixture. Continue mixing on medium speed, adding one large egg at a time, beating just until each egg is incorporated before adding the next. Be careful not to overmix. Once the eggs are mixed in, gently fold in the room temperature sour cream by hand with a spatula until just combined.
-
Pour the smooth cream cheese mixture into the chilled springform pan over the graham cracker crust. Gently tap the pan a few times on the counter to release any air bubbles.
-
Add 1.5 cups of water to the inner pot of your Instant Pot. Place the trivet inside the pot. Carefully place the springform pan onto the trivet. For extra protection, you can wrap the bottom edge of the springform pan in aluminum foil. You may also loosely cover the top of the cheesecake with foil to reduce condensation.
-
Secure the Instant Pot lid and set the valve to “Sealing.” Select the “Manual” or “Pressure Cook” setting and set the cooking time to High Pressure for 35 minutes. Once cooking is complete, allow a natural pressure release (NPR) for 10 minutes. After 10 minutes, manually release any remaining pressure by carefully moving the valve to “Venting.” Once the float valve drops, open the lid.
-
Carefully remove the cheesecake from the Instant Pot using the trivet handles. Let it cool on a wire rack at room temperature for about 1 hour. Once cooled, transfer the springform pan to the refrigerator and chill for a minimum of 4 hours, or ideally, overnight, until fully set.
-
Just before serving, carefully remove the sides of the springform pan. Spoon the cherry pie filling evenly over the top of the chilled cheesecake. Slice, serve, and enjoy your perfectly creamy Instant Pot Cherry Cheesecake!
Nutrition Information
The recipes on this blog are tested with a conventional gas oven and gas stovetop. It’s important to note that some ovens, especially as they age, can cook and bake inconsistently. Using an inexpensive oven thermometer can assure you that your oven is truly heating to the proper temperature. If you use a toaster oven or countertop oven, please keep in mind that they may not distribute heat the same as a conventional full sized oven and you may need to adjust your cooking/baking times. In the case of recipes made with a pressure cooker, air fryer, slow cooker, or other appliance, a link to the appliances we use is listed within each respective recipe. For baking recipes where measurements are given by weight, please note that results may not be the same if cups are used instead, and we can’t guarantee success with that method.
