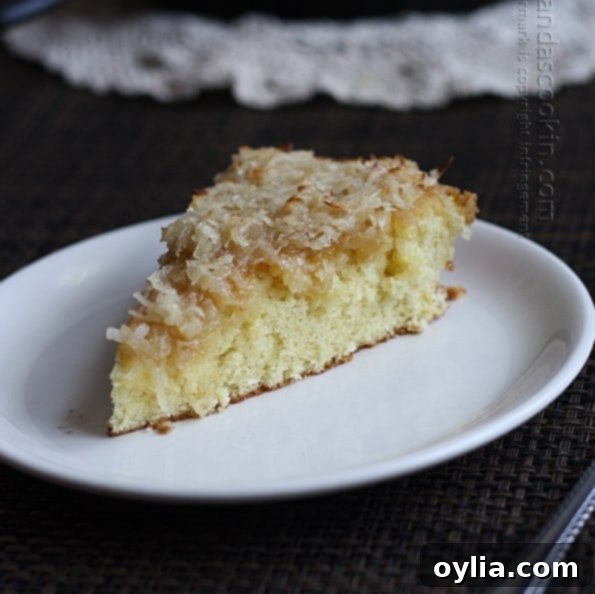
Classic Lazy Daisy Cake: An Easy Vintage Recipe with Irresistible Caramelized Coconut Topping
There’s a certain charm that comes with vintage recipes, and the Lazy Daisy Cake is no exception. This delightful dessert holds a special place in culinary history, particularly known for its simplicity and the heartwarming comfort it brings. The exact origin of its intriguing name remains a subject of gentle debate among baking enthusiasts. Some people say it was because this cake was perfect for those leisurely days when you craved a homemade treat without the fuss of elaborate preparations. The idea is that this cake is so straightforward, it’s ideal for a “lazy” baker – someone who wants a delicious outcome with minimal effort. Others suggest the “lazy” refers to its unfussy appearance, lacking the intricate frostings or complex decorations often associated with celebratory cakes. Instead, it boasts a rustic elegance, making it a truly no-fuss option for any occasion.
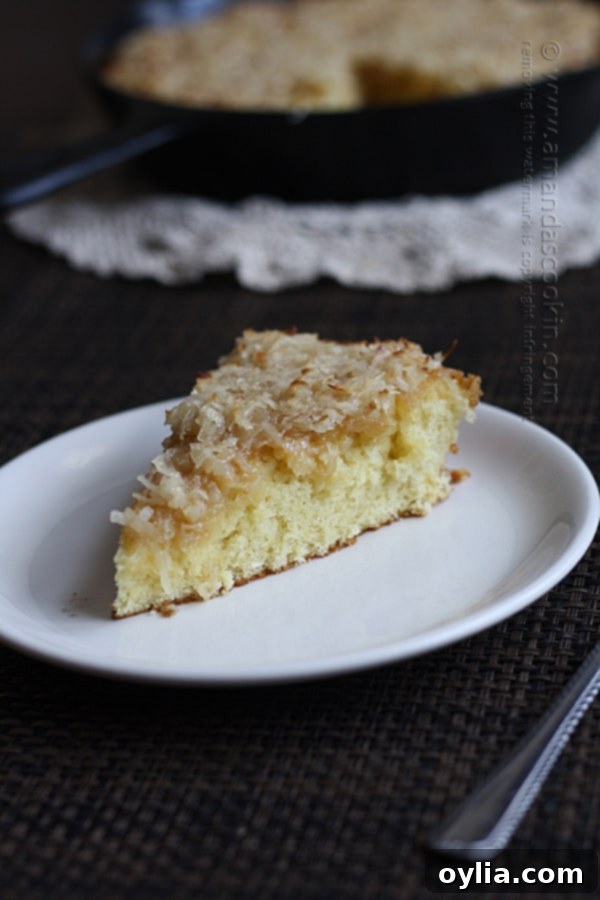
The Enduring Appeal of This Simple Dessert
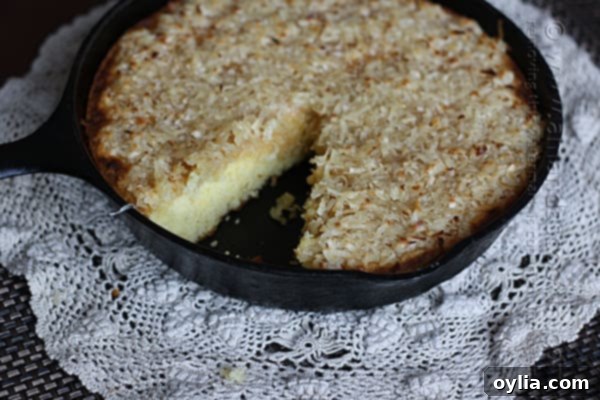
The beauty of the Lazy Daisy Cake lies in its humble yet utterly delicious nature. Unlike multi-layered confections requiring advanced decorating skills, this cake is typically baked in a single pan, making the entire process wonderfully streamlined. In my kitchen, a sturdy cast iron skillet often serves as the perfect vessel, imparting a lovely, even bake and a charming, rustic presentation. This single-layer approach eliminates the need for stacking, leveling, and meticulous frosting application, truly living up to its “lazy” moniker. It’s a testament to the fact that some of the most satisfying desserts are those that embrace simplicity.
Historical accounts suggest that the Lazy Daisy Cake gained significant popularity in the 1940s, a period when home baking was a staple, and efficiency in the kitchen was highly valued. While some details about its exact inception might be hazy, its place in American culinary tradition is firmly established. It was the kind of cake families would whip up quickly for an unexpected guest, a comforting dessert after a hearty dinner, or a simple treat to brighten an ordinary day. It evokes a sense of nostalgia, reminding many of simpler times and the beloved recipes passed down through generations. This makes it a perfect example of a truly classic vintage cake that continues to delight.
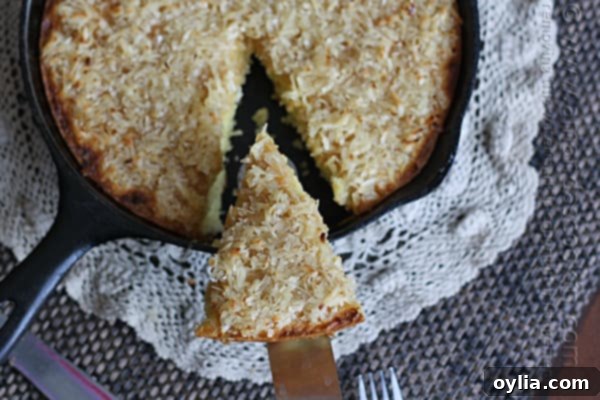
The Irresistible Caramelized Coconut Topping
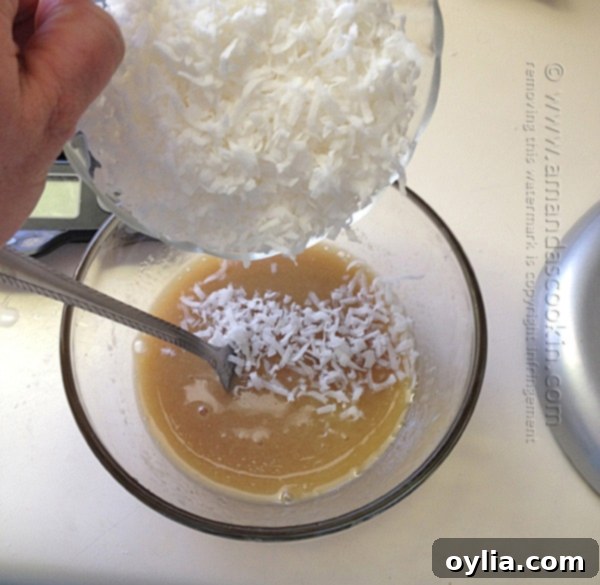
What truly sets the Lazy Daisy Cake apart and elevates it from a simple sponge cake to an extraordinary dessert is its iconic coconut topping. This isn’t just any coconut topping; it’s a luscious blend of brown sugar, melted butter, milk, and flaked sweetened coconut, which, after a brief stint under the broiler, transforms into a glistening, golden-brown masterpiece. The magic happens as the sugars caramelize, creating a rich, toasty flavor profile that is absolutely divine. This caramelization process imbues the coconut with a depth of flavor that even those who typically shy away from coconut find themselves adoring. It adds a delightful textural contrast – a slightly crispy, chewy layer over the tender, moist cake base, making every bite a memorable experience.
The process of achieving this perfect topping is straightforward but requires a watchful eye. Once the cake is baked and warm, the prepared coconut mixture is spread evenly over the top. Then, it’s briefly placed under a preheated broiler. This step is crucial for developing that unique caramelized flavor and beautiful golden hue. However, it’s also where a critical safety note comes into play, which we will discuss next.
Essential Baking Tips and Pan Choice for Your Lazy Daisy Cake
While this recipe is designed for ease, a few key considerations will ensure your Lazy Daisy Cake turns out perfectly every time. First, the choice of baking vessel is important. My preferred method is using a 9-inch cast iron skillet. Cast iron excels at retaining and distributing heat evenly, which contributes to a beautifully baked cake with a wonderfully crisp edge. It also goes seamlessly from oven to broiler, which is a major convenience for this recipe.
If you don’t have a cast iron skillet, a standard 9-inch round metal cake pan will work equally well for the baking process. However, there’s a vital caution that cannot be stressed enough: DO NOT use a glass baking dish when broiling! Glass bakeware is susceptible to thermal shock, meaning rapid changes in temperature (like going from a warm oven to the intense, direct heat of a broiler) can cause it to shatter. For your safety and to prevent a kitchen disaster, always stick to metal pans for this recipe, especially when it comes to the crucial broiling step to caramelize the topping.
Beyond the pan, ensuring your ingredients are at room temperature, particularly the eggs and milk, will help them emulsify better, resulting in a smoother, more uniform batter and a lighter, more tender cake crumb. When mixing the batter, avoid over-mixing once the flour is added, as this can develop the gluten too much, leading to a tough cake. Mix just until combined. And finally, when broiling the topping, keep a very close eye on it. The transition from a beautiful golden to burnt can happen in a matter of seconds, so stand by your oven and remove the cake as soon as the topping reaches your desired level of caramelization. It typically takes only 3-4 minutes, so vigilance is key!
A Sweet Slice of Nostalgia
Serving a slice of Lazy Daisy Cake is like stepping back in time. It’s the perfect accompaniment to an afternoon cup of coffee or tea, a delightful finish to a family meal, or a simple yet impressive offering for guests. Its comforting flavors and straightforward charm make it universally appealing. Whether you’re a seasoned baker looking for a quick and satisfying recipe or a novice eager to try a classic, this Lazy Daisy Cake promises delicious results without any undue stress. It’s truly a celebration of home baking and the joy of simple pleasures.
This vintage cake recipe is famous for its unique coconut topping. Even “anti-coconut” folks often find themselves won over, as the caramelization process transforms the flavor, giving it an irresistibly toasty and sweet dimension that’s distinct from raw coconut. It’s a testament to how a few simple ingredients, prepared with care, can create something truly special and memorable.
More Vintage Recipes to Explore
If you’re like me and have a deep appreciation for the culinary treasures of the past, you’ll find a wealth of vintage recipes to explore on this blog. There’s something truly special about recreating dishes that have stood the test of time, offering a taste of history with every bite. You can easily find more by using the search function for “vintage,” or simply browse some of my hand-picked favorites listed below. Each one tells a story and brings a unique flavor to your modern kitchen, proving that good food truly is timeless.
- 1963 Homemade White Bread
- Ambrosia Salad
- Wacky Cake
- Oven Swiss Steak
Lazy Daisy Cake
IMPORTANT – There are often Frequently Asked Questions within the blog post that you may find helpful. Simply scroll back up to read them!
Print It
Pin It
Rate It
Save ItSaved!
Ingredients
Cake:
- 2 large eggs
- 1 cup sugar
- 1 teaspoon vanilla extract
- 1 cup all-purpose flour
- 1 teaspoon baking powder
- ¼ teaspoon salt
- 1 cup whole milk
- 2 tablespoons unsalted butter cubed
Topping:
- ¼ cup packed brown sugar
- 3 tablespoons unsalted butter melted
- 3 tablespoons whole milk
- 3 ounces 3/4 cup flaked sweetened coconut
Before You Begin
Instructions
-
Preheat oven to 350 F.
-
In a large bowl, beat the eggs, sugar and vanilla until thick and pale yellow, about 4 minutes.
-
Combine the flour, baking powder and salt; add to egg mixture and beat just until combined.
-
In a saucepan, bring milk and butter to a boil, stirring constantly. Add to batter and beat until combined. Pour into a greased 9-inch cast iron skillet.
-
Bake for 30-35 minutes or until a toothpick inserted near the center comes out clean. Remove cake from oven and turn the temperature up to broil.
-
Combine topping ingredients and spread over warm cake. Broil 4 inches from heat until lightly browned, about 3-4 minutes.
Nutrition
The recipes on this blog are tested with a conventional gas oven and gas stovetop. It’s important to note that some ovens, especially as they age, can cook and bake inconsistently. Using an inexpensive oven thermometer can assure you that your oven is truly heating to the proper temperature. If you use a toaster oven or countertop oven, please keep in mind that they may not distribute heat the same as a conventional full sized oven and you may need to adjust your cooking/baking times. In the case of recipes made with a pressure cooker, air fryer, slow cooker, or other appliance, a link to the appliances we use is listed within each respective recipe. For baking recipes where measurements are given by weight, please note that results may not be the same if cups are used instead, and we can’t guarantee success with that method.
I originally created this recipe for Recipe Lion.
