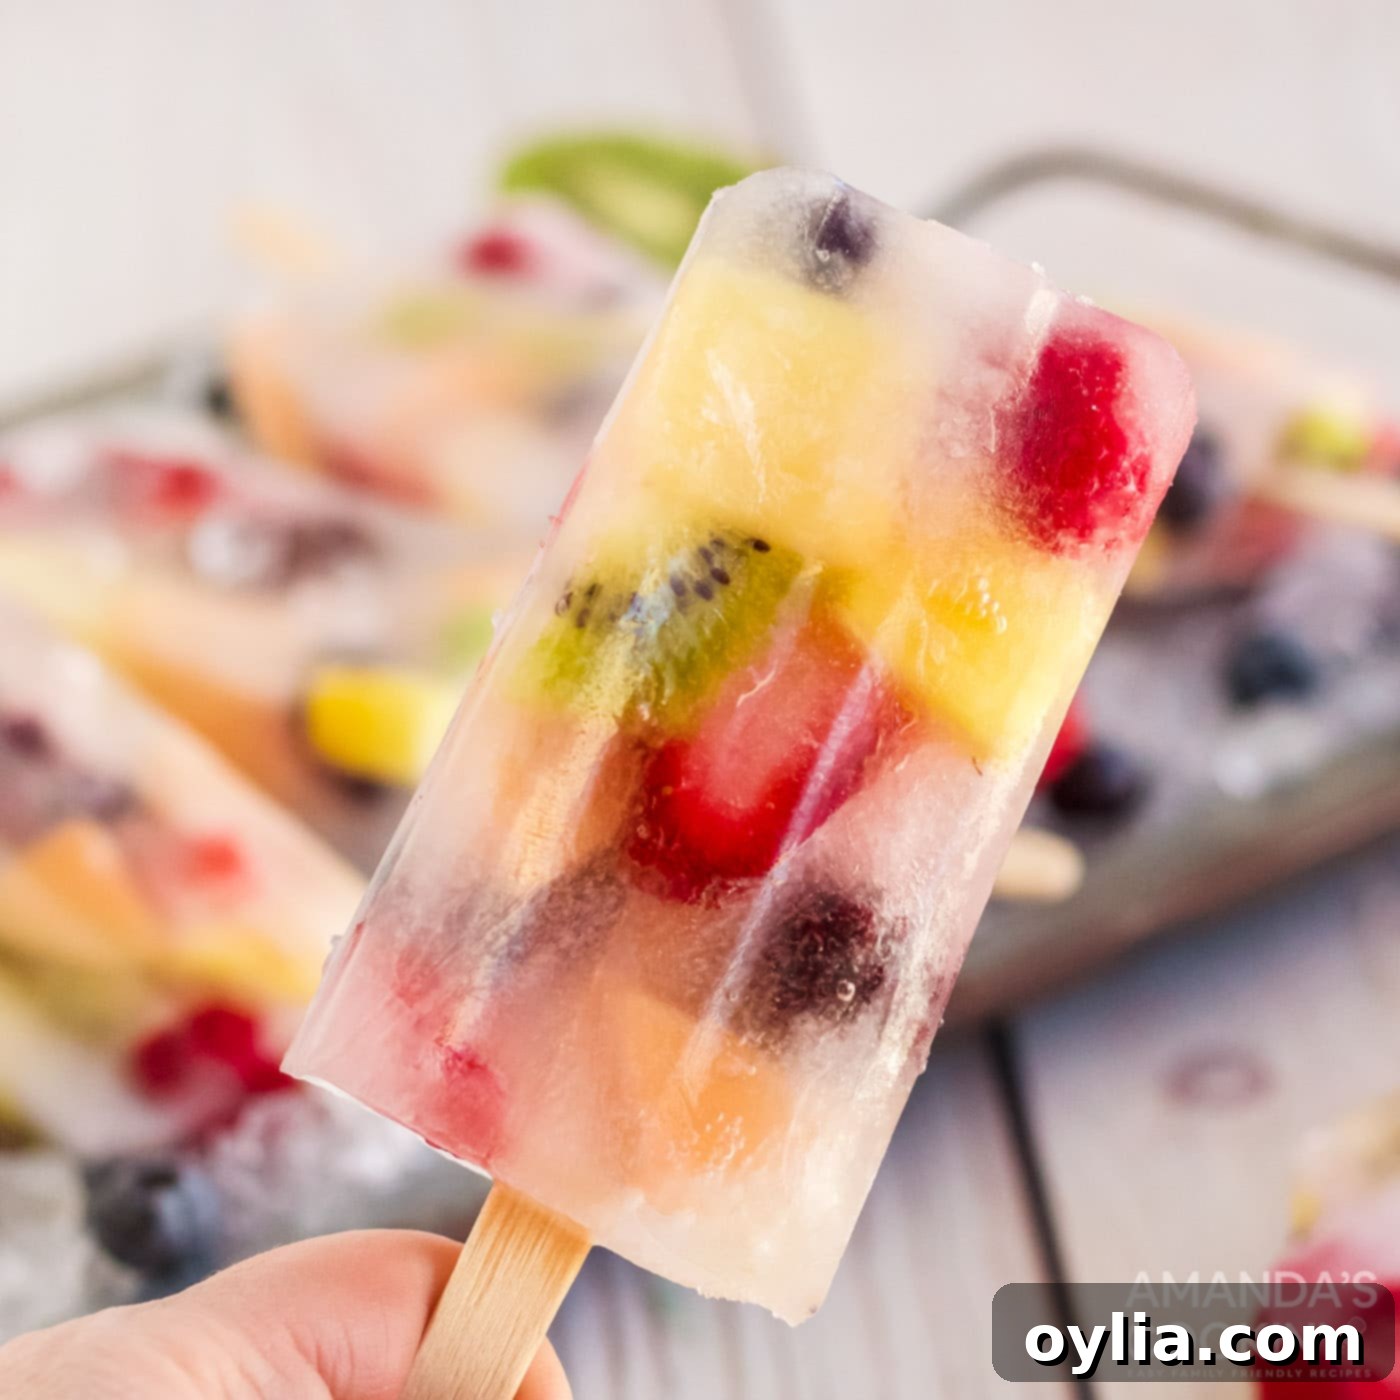
Homemade Fruit Popsicles: Your Ultimate Guide to Easy, Healthy & Refreshing Summer Treats
Embrace the vibrant flavors of summer with delicious homemade fruit popsicles! These sweet, yet surprisingly healthy, treats are bursting with fresh fruit and incredibly simple to make right in your own kitchen. Forget store-bought options loaded with artificial flavors and sugars – our recipe guides you through creating refreshing ice pops with just a handful of natural ingredients. Perfect for kids and adults alike, these colorful frozen delights are the ultimate way to cool down and enjoy the bounty of the season.
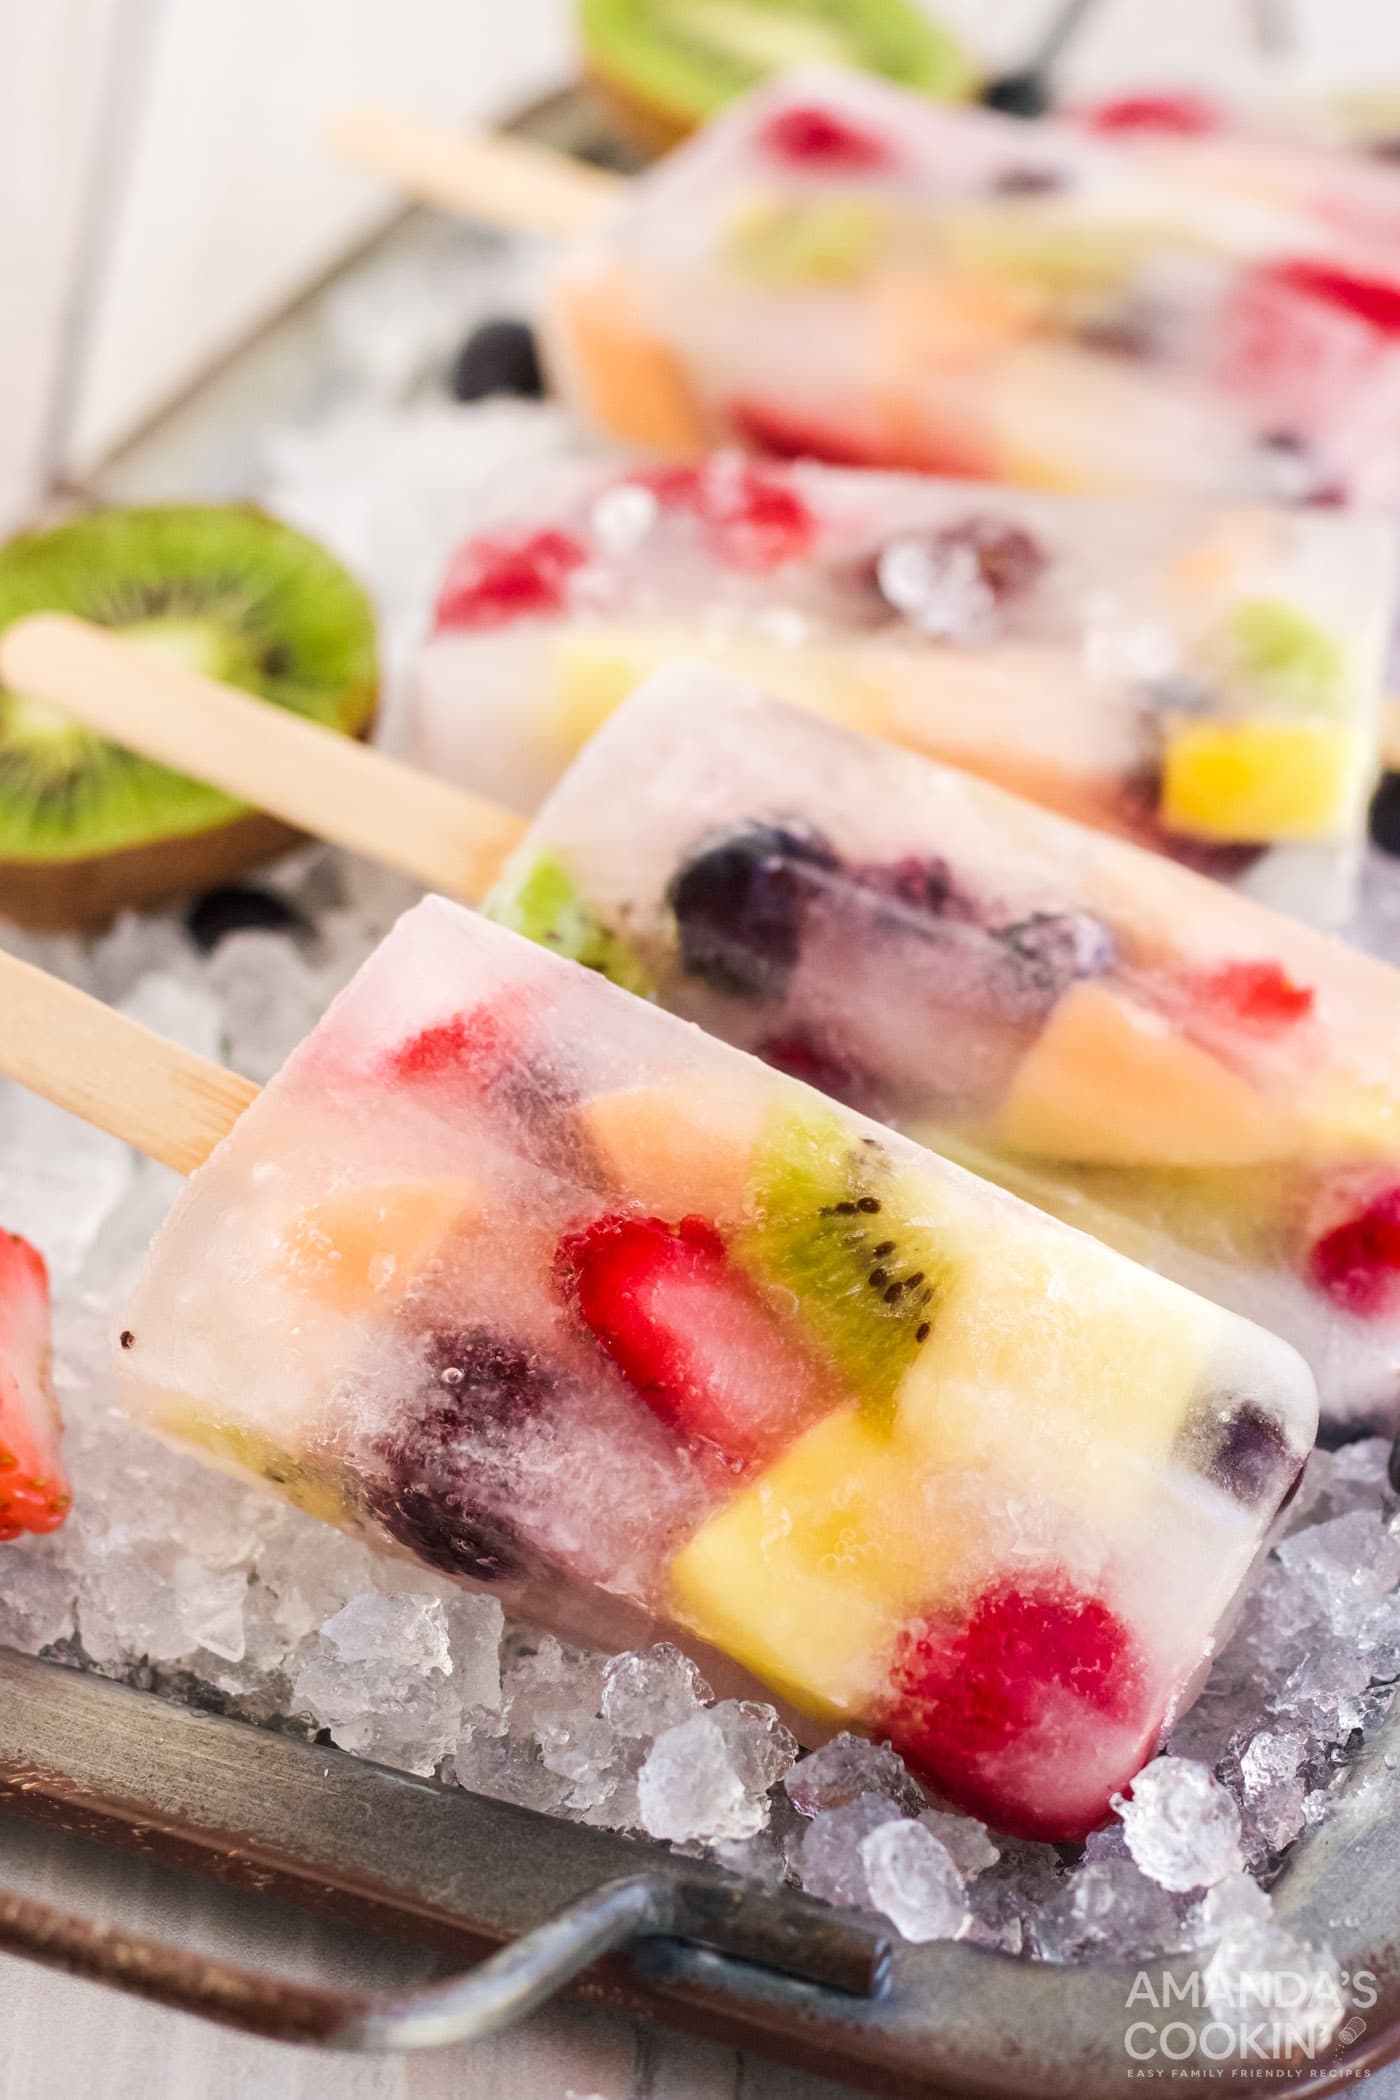
Why These Homemade Fruit Popsicles Are a Summer Essential
The true magic of this colorful fruit popsicle recipe lies in its incredible versatility and ease. You have complete freedom to mix and match any fruit and juice combination your heart desires, making each batch a unique and delightful experience. These refreshing summer ice pops come together in under 10 minutes of active prep time, then simply chill in the freezer until solid. It’s a quick, easy, and genuinely healthy alternative to sugary store-bought options, offering a guilt-free way to satisfy your sweet cravings.
Summer’s arrival heralds a glorious rainbow of seasonal fruits, and we believe it’s one of the best features of the warmer months. From vibrant berries to juicy melons, nature provides an abundance of sweet treats. We frequently whip up classic fruit salads, festive fruit pizzas, and creamy fruit dips to complement gatherings. These homemade fruit popsicles fit right into that tradition, providing a fun and appealing dessert perfect for backyard parties, BBQs, or simply cooling off after a long, sunny day. They’re a fantastic way to use up ripe fruit and ensure your family enjoys wholesome, hydrating snacks.
RELATED: For another refreshing fruit-based treat, you might also like this recipe – Watermelon Pizza.
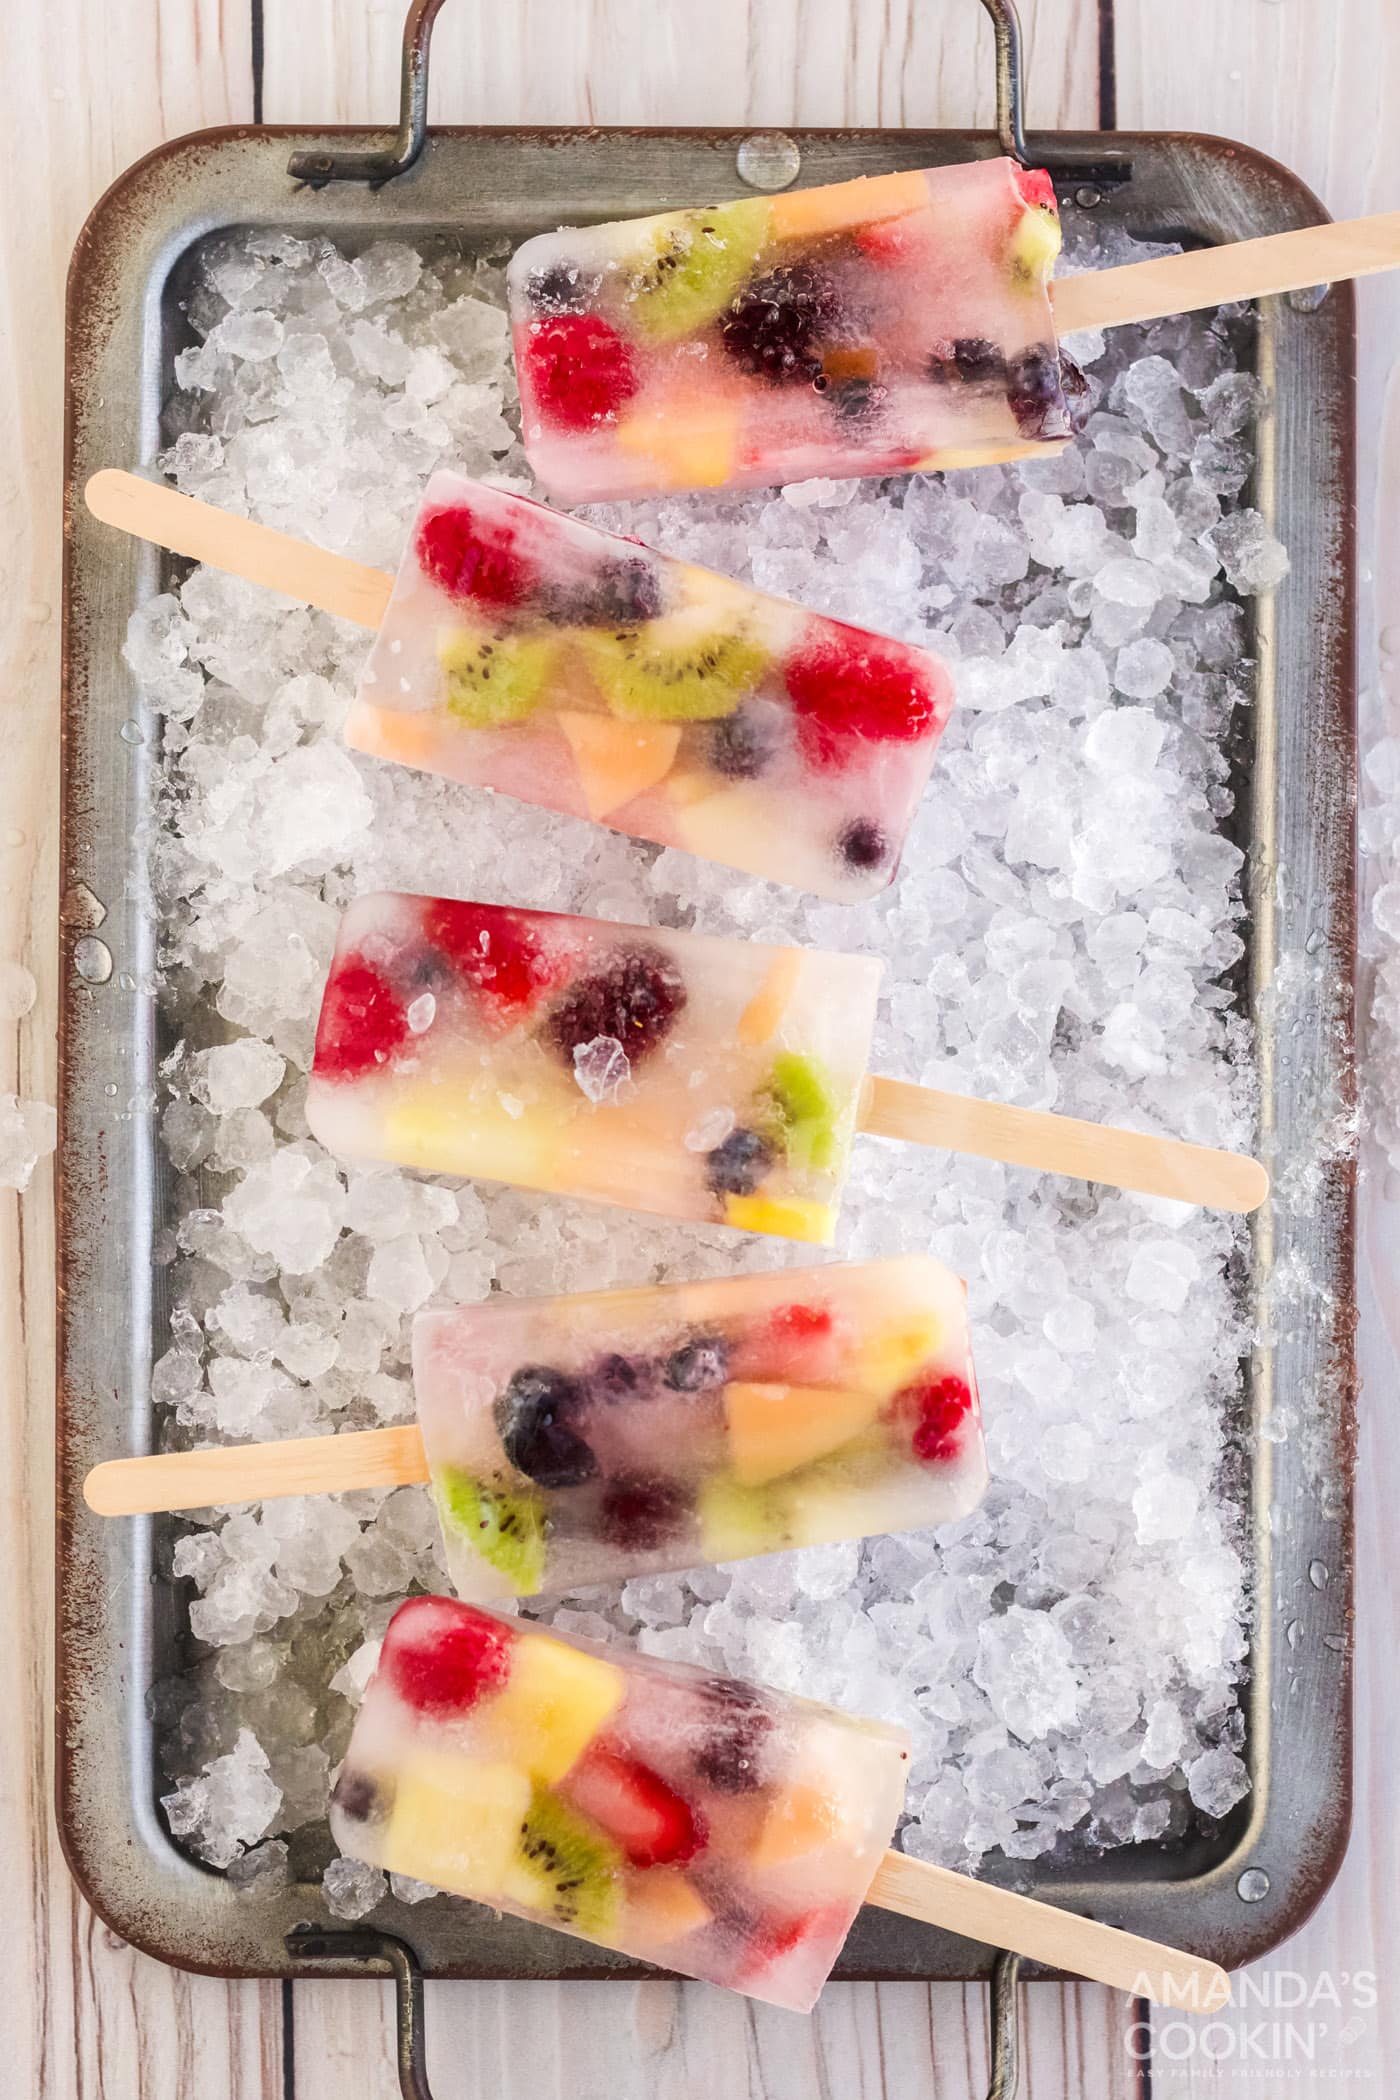
Simple Ingredients for Delicious Fruit Popsicles
This recipe thrives on simplicity, requiring just a few core ingredients. You’ll find the complete list of measurements, ingredients, and detailed instructions in the printable version at the end of this post. Here’s a closer look at what you’ll need to create your vibrant frozen treats:
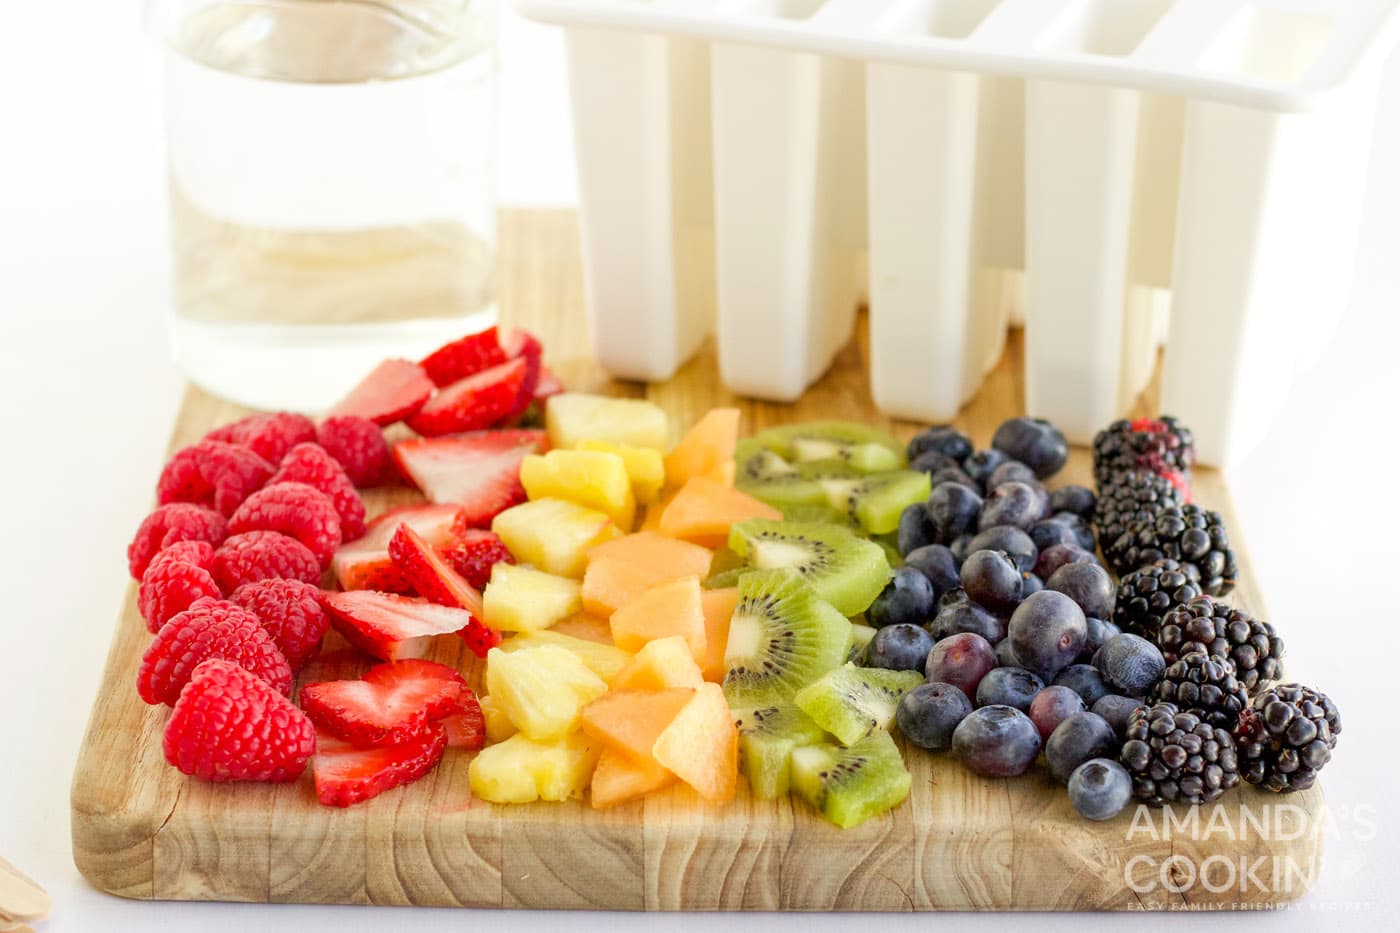
FRUIT – The heart of your popsicles! Fresh raspberries, strawberries, pineapple, melon (like cantaloupe or honeydew), kiwi, blueberries, and blackberries are all fantastic choices. The beauty of this recipe is its adaptability – you can truly use any fruit combination you desire. Feel free to use what’s in season, what you have on hand, or mimic our approach and throw in a medley of all your favorites for a rainbow effect! Don’t limit yourself to fresh fruit; frozen fruit also works wonderfully and can even make the popsicles slightly thicker if blended beforehand. Consider factors like color, texture, and sweetness when choosing your fruits. For instance, soft berries will blend seamlessly, while chunks of pineapple or kiwi will provide a delightful bite.
JUICE – Your liquid base helps bind the fruit and creates the icy texture. For the most visually stunning popsicles that showcase your colorful fruit, we recommend sticking with a clear juice such as white grapefruit, apple, white grape, or even lemonade. These translucent liquids allow the vibrant fruit to shine through the frozen treat. However, don’t hesitate to use darker juices like cranberry or grape if you prefer their flavor profile; they’ll still be delicious, just less transparent. For a different twist, you could also use a clear soda (like lemon-lime soda for an extra fizzy kick), refreshing coconut water (great for a subtle tropical flavor and natural electrolytes), or sparkling water (for a lighter, less sweet option). When choosing juice, consider its sugar content and adjust any added sweeteners accordingly if you’re aiming for a low-sugar option.
How to Make Homemade Fruit Popsicles: Step-by-Step Instructions
These step-by-step photos and detailed instructions are here to help you visualize how to make this delightful recipe. For a quick overview and the printable version, complete with precise measurements and full instructions, you can Jump to Recipe at the bottom of this page.
- Carefully place your fresh, prepared fruit inside your popsicle mold. For the most attractive popsicles, make sure to arrange some fruit pieces directly against the sides of the mold. This creates those beautiful, visible fruit layers. Avoid overpacking the fruit, as you need space for the juice to penetrate and freeze evenly.
- Once your fruit is artfully arranged, pour your chosen clear juice over the fruit, filling each mold to just below the top. Insert your popsicle sticks according to your mold’s specific directions. Some molds have built-in stick holders, while others may require you to add the sticks after a partial freeze.
- Transfer the filled popsicle molds to the freezer and allow them to solidify for at least 5 hours, or ideally, overnight. Freezing them overnight ensures they are fully set and won’t melt too quickly upon removal.
- When ready to serve, carefully remove the popsicles from their molds. If they are difficult to release, run the molds under warm water for 10-20 seconds – this will help loosen them without melting the popsicle significantly. Serve immediately and enjoy your refreshing homemade treat!
Expert Tips for Crafting Perfect Fruit Popsicles
- Choose Ripe, Sweet Fruit: The riper your fruit, the sweeter and more flavorful your popsicles will be naturally, reducing the need for added sweeteners. Taste your fruit before adding it!
- Cut Fruit Appropriately: For chunky popsicles, cut fruit into small, bite-sized pieces that fit well within your molds. For smoother popsicles, you can lightly mash or even blend a portion of the fruit with the juice before pouring.
- Prevent Fruit from Sinking: If you find your fruit sinks to the bottom, try freezing the popsicles for about 30-60 minutes until they are semi-solid, then stir gently before inserting sticks and allowing them to fully freeze. Alternatively, blend some of the fruit into a puree and layer it with whole fruit.
- Layering for Visual Appeal: Create stunning layered popsicles by pouring one type of juice or pureed fruit, freezing it partially, then adding another layer, and repeating until the mold is full.
- Adjust Sweetness: While ripe fruit and juice provide natural sweetness, you can add a touch of honey, maple syrup, or agave nectar to the juice before pouring if you prefer a sweeter popsicle. Taste the juice mixture before freezing to ensure it’s to your liking.
- Use Good Quality Molds: A good silicone or plastic popsicle mold with a secure lid or stick holders will make the process much easier, especially during removal.
- Don’t Overfill: Leave a little space at the top of the mold for the liquid to expand as it freezes.
Frequently Asked Questions About Fruit Popsicles
Almost any fruit works wonderfully for popsicles! Excellent choices include blueberries, blackberries, raspberries, watermelon, kiwi, cantaloupe, strawberries, pineapple, peaches, mango, and honeydew. Don’t be afraid to experiment with combinations like tropical (mango, pineapple, coconut), berry medley (strawberries, blueberries, raspberries), or citrus burst (orange, lemon, lime). You can use fresh or frozen fruit.
Once fully frozen, fruit popsicles can be stored in the freezer for extended periods. For best results and to prevent freezer burn, you can keep them in their molds, or once solid, carefully remove them and wrap each popsicle individually in plastic wrap or place them in individual Ziploc storage bags. Store them in an airtight container or a large freezer bag. They will stay fresh and delicious for up to 6 months.
No popsicle mold? No problem! You can easily make homemade popsicles using small disposable paper or plastic cups (like Dixie cups) or even an ice cube tray. Simply fill the cups with your fruit and juice mixture, cover the top with plastic wrap or aluminum foil, and cut a small slit in the center of the cover. Insert your popsicle stick through the slit, ensuring it stands upright in the middle. Freeze as usual, then tear away the cup to enjoy your homemade ice pop.
For popsicles where you want the fruit to be clearly visible and vibrant, clear juices are best. Options like white cranberry, white grapefruit, white grape, lemonade, and clear apple juice work exceptionally well. However, don’t shy away from colored juices if you prefer their flavor; pineapple juice, orange juice, cranberry juice, or even pink lemonade will make delicious popsicles, just with a more uniform color. For a lighter, lower-sugar option, consider using unsweetened coconut water or sparkling water. You can also use a clear soda for a fizzy kick!
Absolutely! While ripe fruit and naturally sweet juices often provide enough flavor, you can enhance the sweetness if desired. Stir in a tablespoon or two of honey, maple syrup, agave nectar, or a sugar substitute to your juice mixture before pouring it into the molds. Taste and adjust to your preference. Remember that very sweet mixtures may take slightly longer to freeze solid.
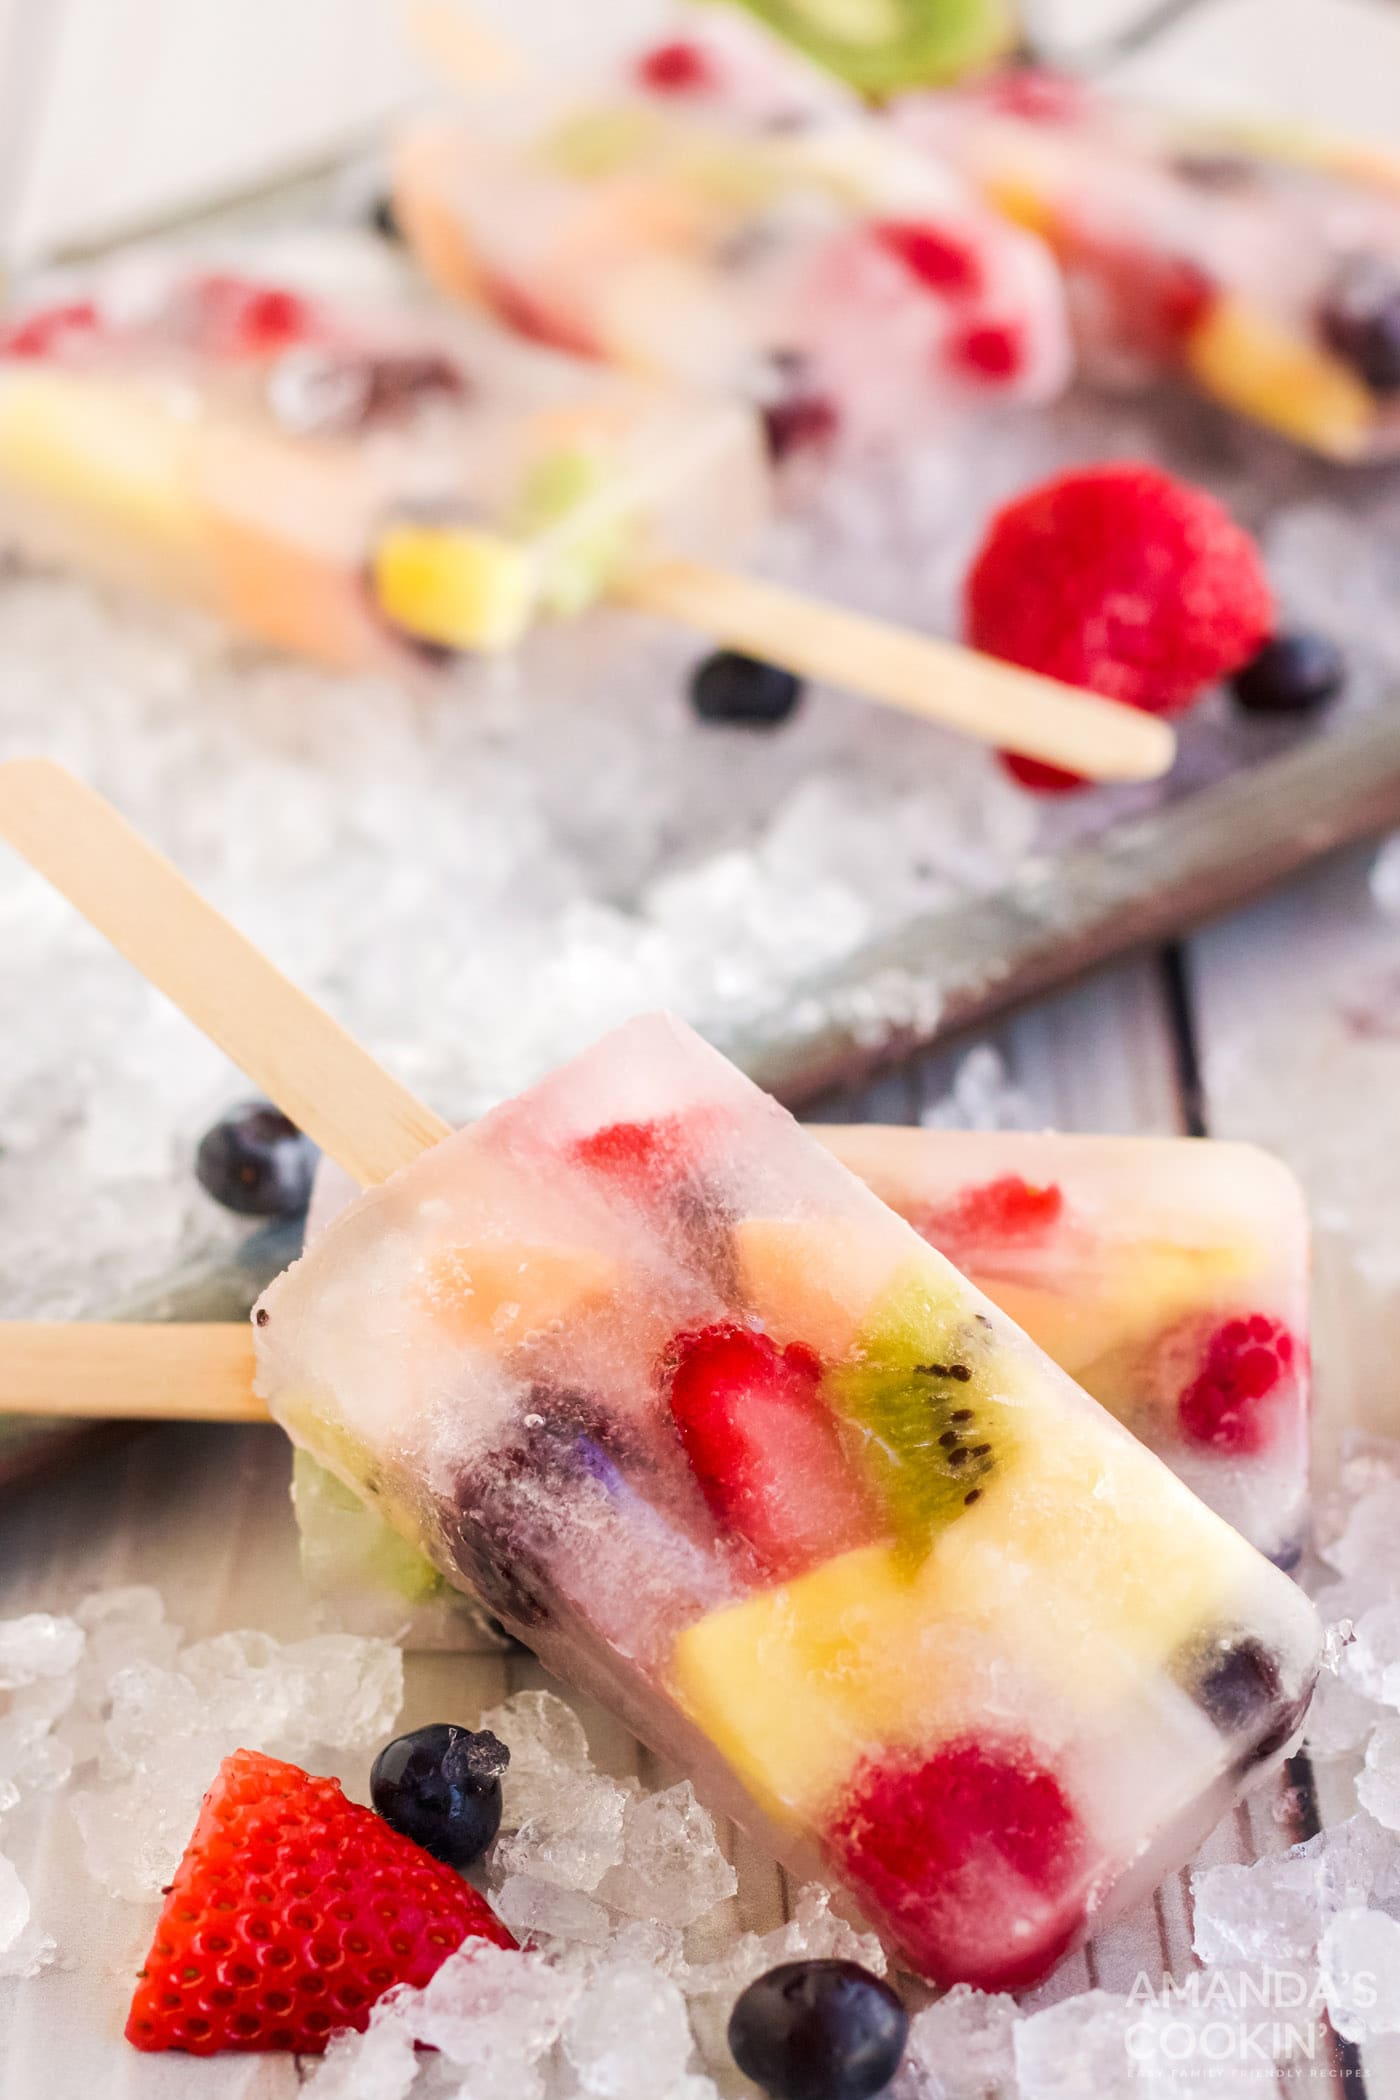
Crafted with a delightful assortment of seasonal fruit and your preferred juice, these fresh homemade fruit popsicles are the perfect remedy for a scorching summer day. They’re not just a treat; they’re an experience, offering a burst of natural flavor and a satisfying chill with every lick. Get creative with your combinations and enjoy the endless possibilities!
Explore More Delicious Popsicle Recipes
- Creamsicle Popsicles
- Cherry Yogurt Popsicles
- Green Smoothie Popsicles
- Mint Chocolate Popsicles
- Mango Yogurt Popsicles
- Raspberry Mango Popsicles
- Strawberry Banana Popsicles
- Blueberry Cheesecake Popsicles
I love to bake and cook and share my kitchen experience with all of you! Remembering to come back each day can be tough, that’s why I offer a convenient newsletter every time a new recipe posts. Simply subscribe and start receiving your free daily recipes!
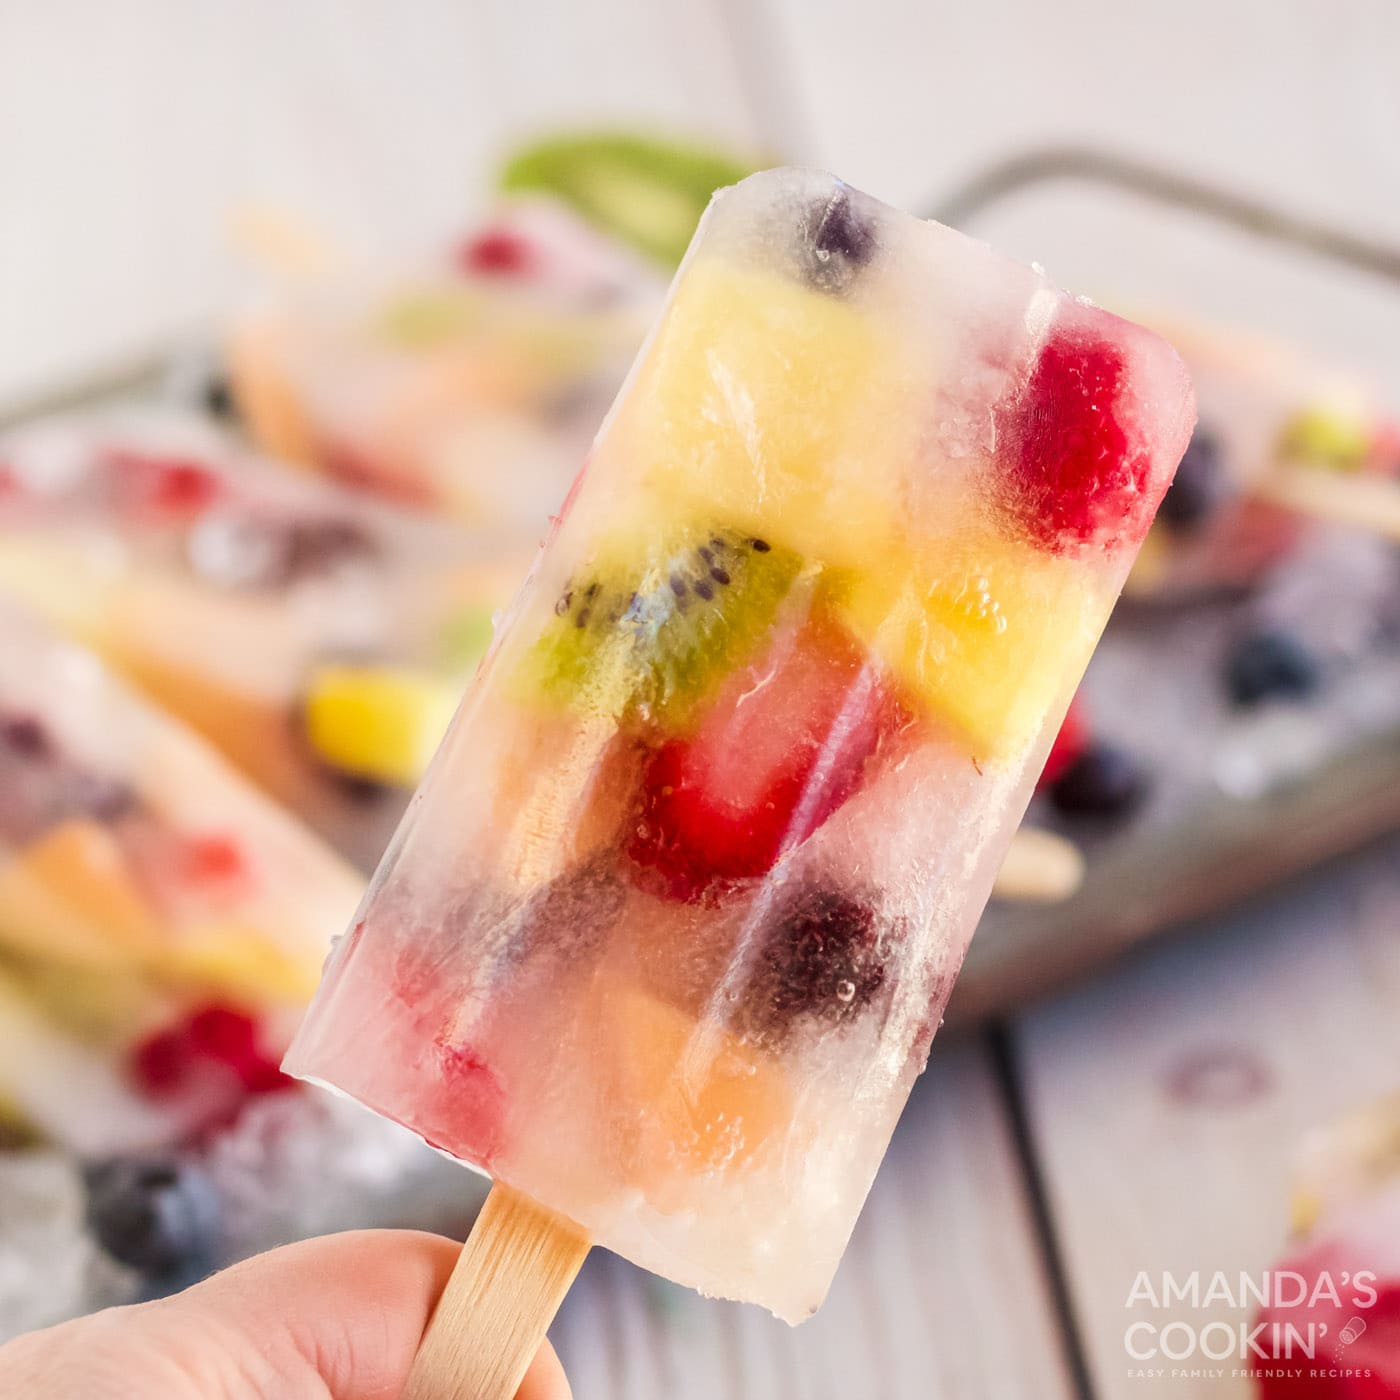
Fruit Popsicles
IMPORTANT – There are often Frequently Asked Questions within the blog post that you may find helpful. Simply scroll back up to read them!
Print It
Pin It
Rate It
Save It
Saved!
Ingredients
- 3 cups white grape juice you can also use white grapefruit juice, apple juice, lemonade, or clear soda for clarity
- 2 cups fresh fruit about 1/4 cup each of strawberries, blueberries, pineapple, melon, kiwi, raspberries, and blackberries, or your favorite mix.
Things You’ll Need
-
Popsicle mold
-
Popsicle sticks
Before You Begin
- This recipe typically yields 10-12 popsicles, but the exact number will depend on the size and capacity of your popsicle mold.
- For optimal freshness and to prevent freezer burn, store your homemade popsicles either in their original mold or individually wrapped in Ziploc bags in the freezer for up to 6 months.
- Our nutrition calculation is an estimate based on a mix of common fruits and white grape juice. Please note that the exact calorie count and nutritional values will vary depending on the specific types and quantities of fruit and juice you choose.
Instructions
-
Carefully place your desired fresh fruit inside the popsicle mold. For a visually appealing treat, arrange some fruit pieces directly against the inner sides of the mold. Remember not to overpack, allowing space for the liquid.
-
Pour your chosen clear juice over the fruit until the mold is sufficiently filled. Then, insert your popsicle sticks according to the specific design and recommendations of your mold.
-
Place the filled molds into the freezer for at least 5 hours. For best results and a thoroughly solid popsicle, freezing them overnight is highly recommended.
-
Once completely frozen, carefully remove the popsicles from their molds. If they stick, a quick rinse under warm water for 10-20 seconds usually helps. Serve immediately and enjoy your homemade fruity ice pops!
Nutrition
The recipes on this blog are tested with a conventional gas oven and gas stovetop. It’s important to note that some ovens, especially as they age, can cook and bake inconsistently. Using an inexpensive oven thermometer can assure you that your oven is truly heating to the proper temperature. If you use a toaster oven or countertop oven, please keep in mind that they may not distribute heat the same as a conventional full sized oven and you may need to adjust your cooking/baking times. In the case of recipes made with a pressure cooker, air fryer, slow cooker, or other appliance, a link to the appliances we use is listed within each respective recipe. For baking recipes where measurements are given by weight, please note that results may not be the same if cups are used instead, and we can’t guarantee success with that method.
