Easy Dutch Oven Bread Recipe: Bake Perfect Artisan Loaves at Home
Discover the secret to baking truly exceptional artisan bread at home with our incredibly easy Dutch oven recipe. Using just four basic ingredients – flour, salt, yeast, and water – you’ll create a stunning loaf featuring a perfectly golden-brown, crackly crust and a wonderfully delicate, airy crumb. This method simplifies the art of bread-making, delivering bakery-quality results right from your own kitchen in just about four hours from start to finish. Get ready to impress yourself and your family with this rustic, flavorful homemade bread.
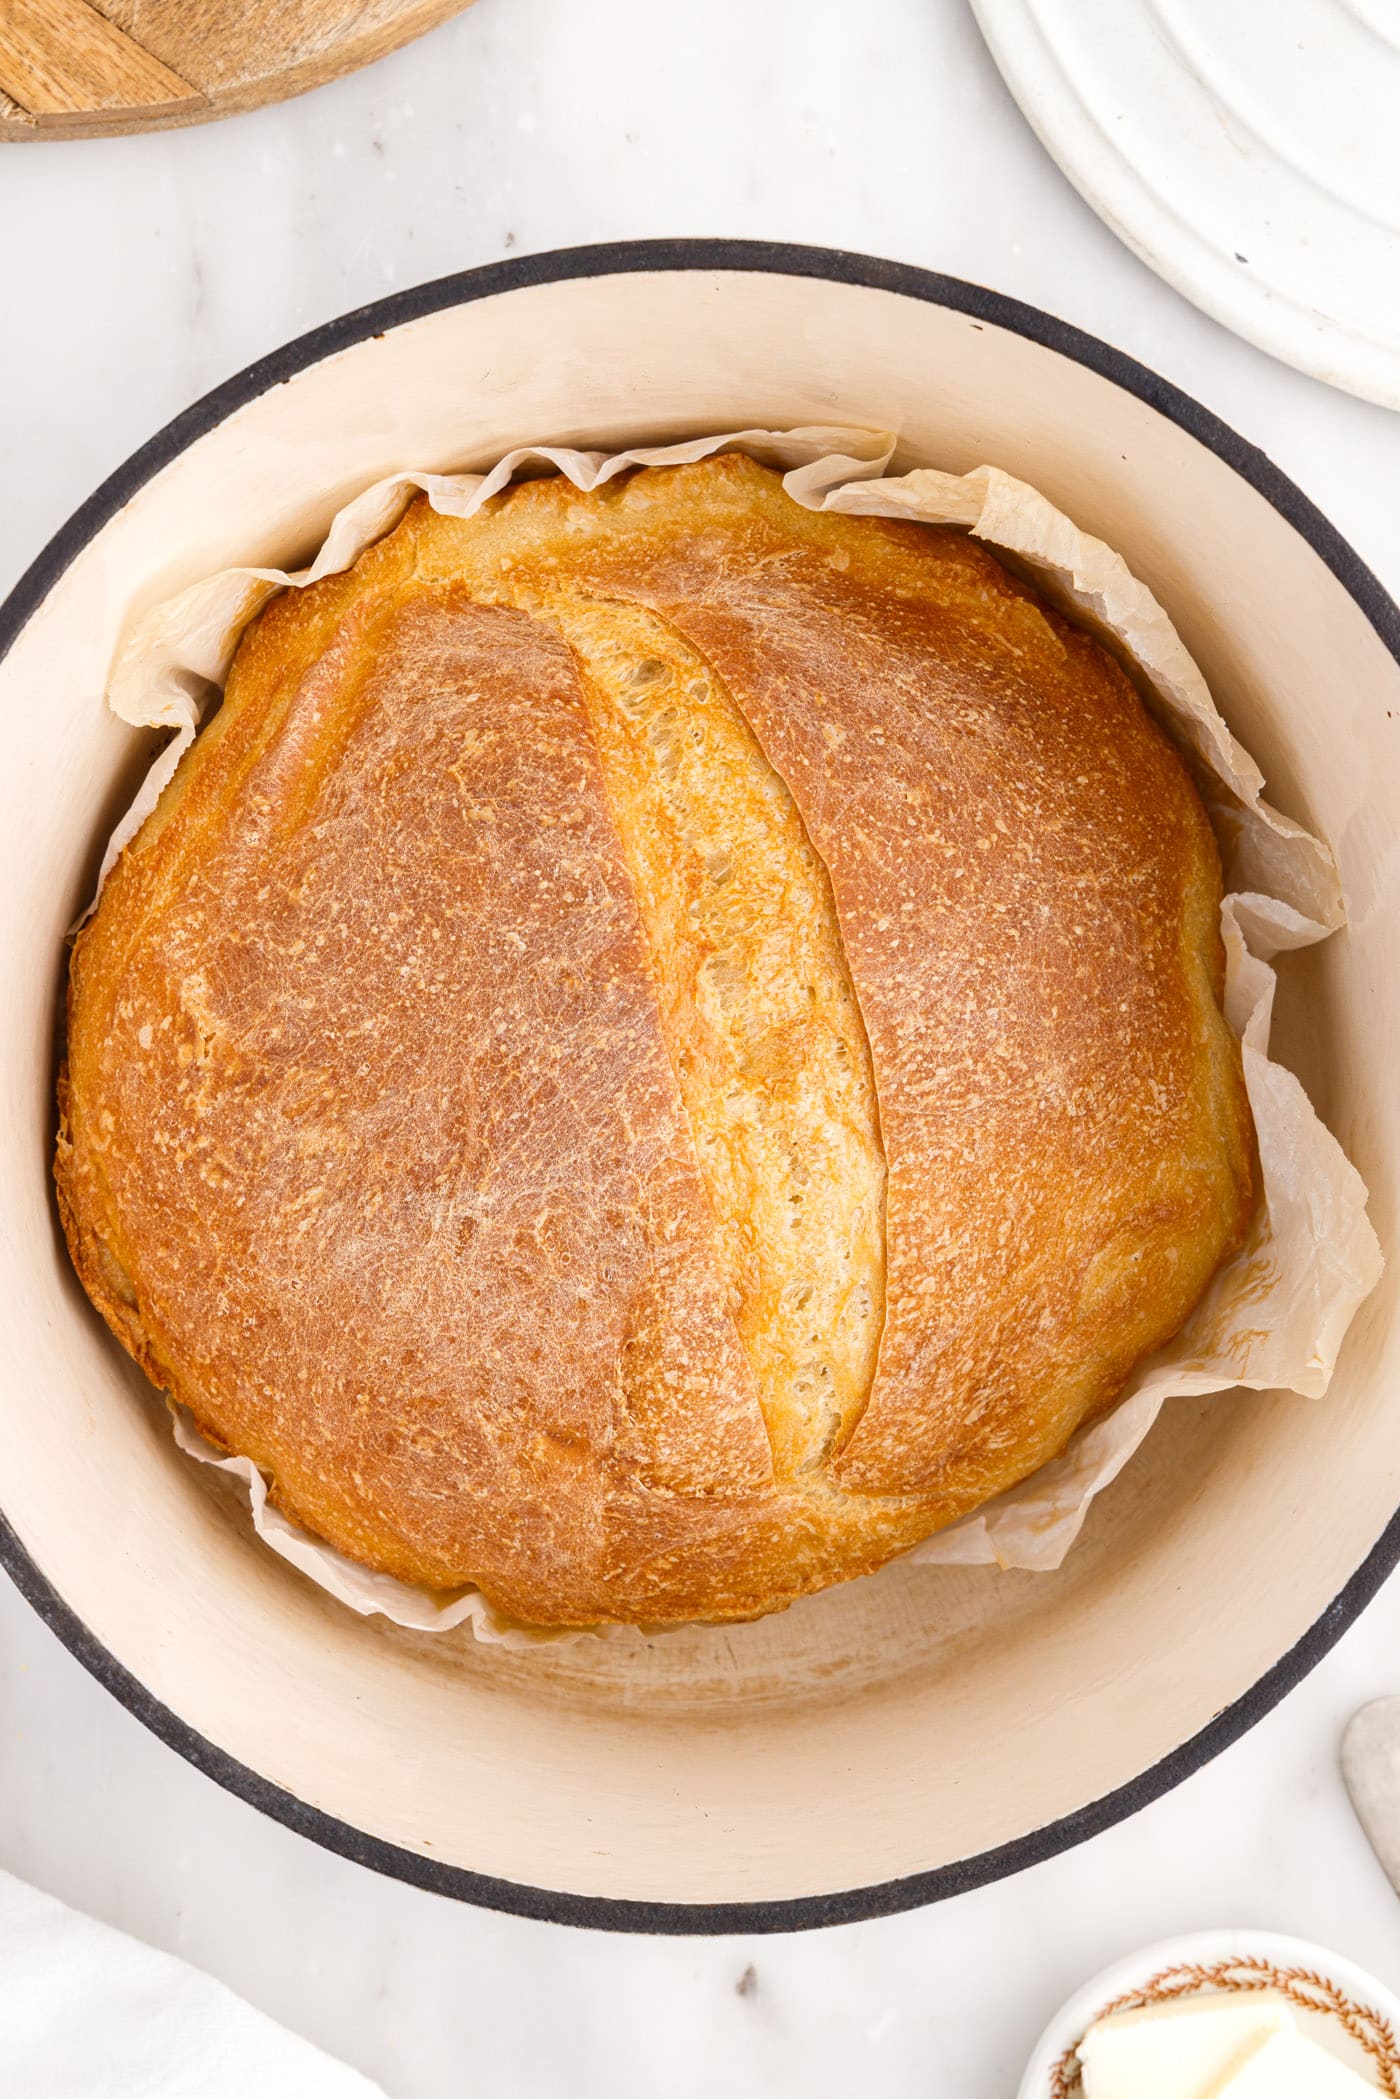
Why Bake Bread in a Dutch Oven? The Secret to Artisan Results
If you’ve ever wondered how professional bakeries achieve that perfect balance of a soft, airy interior and a deeply crackly, golden crust, the answer often lies in steam. Baking bread in a Dutch oven effectively creates a miniature, steamy oven environment right inside your larger oven. This unique method is a game-changer for home bakers, transforming a simple loaf into an artisan masterpiece.
A Dutch oven excels as an incredible heat conductor. When preheated to a high temperature, it distributes heat evenly around your dough. More importantly, it traps the moisture released by the dough during the initial baking phase, turning it into steam. This steam is crucial for several reasons:
- Achieving a Perfect Crust: The high humidity prevents the crust from forming too quickly, allowing the dough to expand to its maximum potential before solidifying. This results in a thinner, more tender crust that eventually crisps up beautifully once the lid is removed. Without this steam, the crust would harden prematurely, restricting the loaf’s rise and leading to a denser texture.
- Promoting a Superior Rise: The moist environment encourages the yeast to stay active longer, contributing to a more significant “oven spring” – the final burst of rising that happens when the dough hits the hot oven. This leads to a higher, more voluminous loaf with a wonderful open crumb structure.
- Developing a Delicate Crumb: The steam also impacts the interior of the bread, contributing to a softer, more delicate crumb. This contrasts with breads baked on an open pan, like our homemade Italian bread, which often have a chewier, less airy texture due to direct heat exposure from the start.
In essence, using a Dutch oven allows you to replicate conditions found in professional bread ovens, making it an indispensable tool for anyone serious about baking truly artisan-quality bread at home. It’s a simple technique that yields profoundly delicious results, making this recipe a staple for any bread lover.
The Simplicity of 4 Ingredients: What You’ll Need
One of the most appealing aspects of this Dutch oven bread recipe is its minimal ingredient list. You don’t need fancy additives or a pantry full of specialty flours. Just four fundamental items combine to create something truly spectacular. You’ll find all precise measurements, ingredients, and detailed instructions in the printable recipe card at the end of this post.
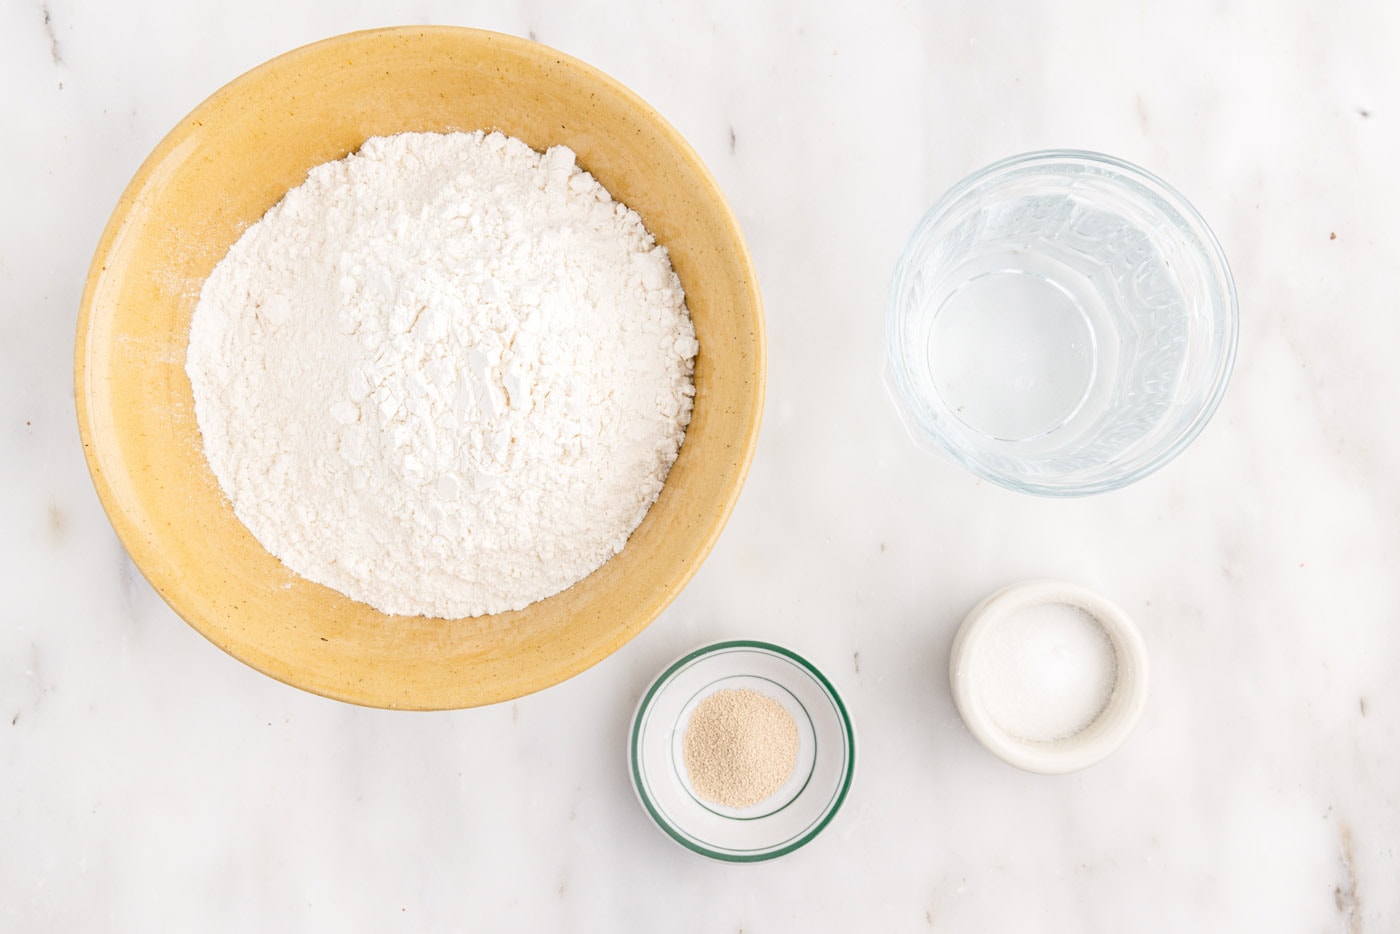
Ingredient Breakdown & Substitution Tips
Understanding the role of each ingredient will help you achieve the best results and even experiment with confidence:
- ALL-PURPOSE FLOUR: This is the foundation of our bread, providing structure. While all-purpose flour works wonderfully for a light and airy crumb, you can experiment with bread flour for a chewier texture due to its higher protein content. Whole wheat flour can be used for a portion (up to 25-50%) for added nutrition and a denser loaf, but be prepared to adjust water slightly as whole wheat absorbs more liquid.
- WATER: Water hydrates the flour, activating the gluten and yeast. The temperature is critical: aim for around 100°F (38°C), which feels lukewarm to the touch. Water that is too hot will kill the yeast, preventing your dough from rising. Water that is too cold will significantly delay the yeast’s activity, slowing down the rising process. Using a kitchen thermometer is recommended for accuracy.
- SEA SALT: Beyond just seasoning, salt plays a vital role in bread making. It enhances the flavor, balances the sweetness produced by yeast, and strengthens the gluten structure. It also helps to regulate yeast activity, preventing the dough from over-proofing too quickly. Without enough salt, your bread will taste bland and might have a weaker structure.
- ACTIVE DRY YEAST: This living organism is responsible for fermenting the sugars in the flour, producing carbon dioxide that makes the bread rise and gives it its characteristic airy texture and flavor. Active dry yeast typically needs to be “activated” in warm water (as we’ll do here), though many recipes treat it like instant yeast and mix it directly with dry ingredients. Ensure your yeast is fresh; old yeast may not activate, leading to a flat loaf.
Mastering Dutch Oven Bread: A Step-by-Step Guide
These step by step photos and instructions are here to help you visualize how to make this recipe. You can Jump to Recipe to get the printable version of this recipe, complete with measurements and instructions at the bottom.
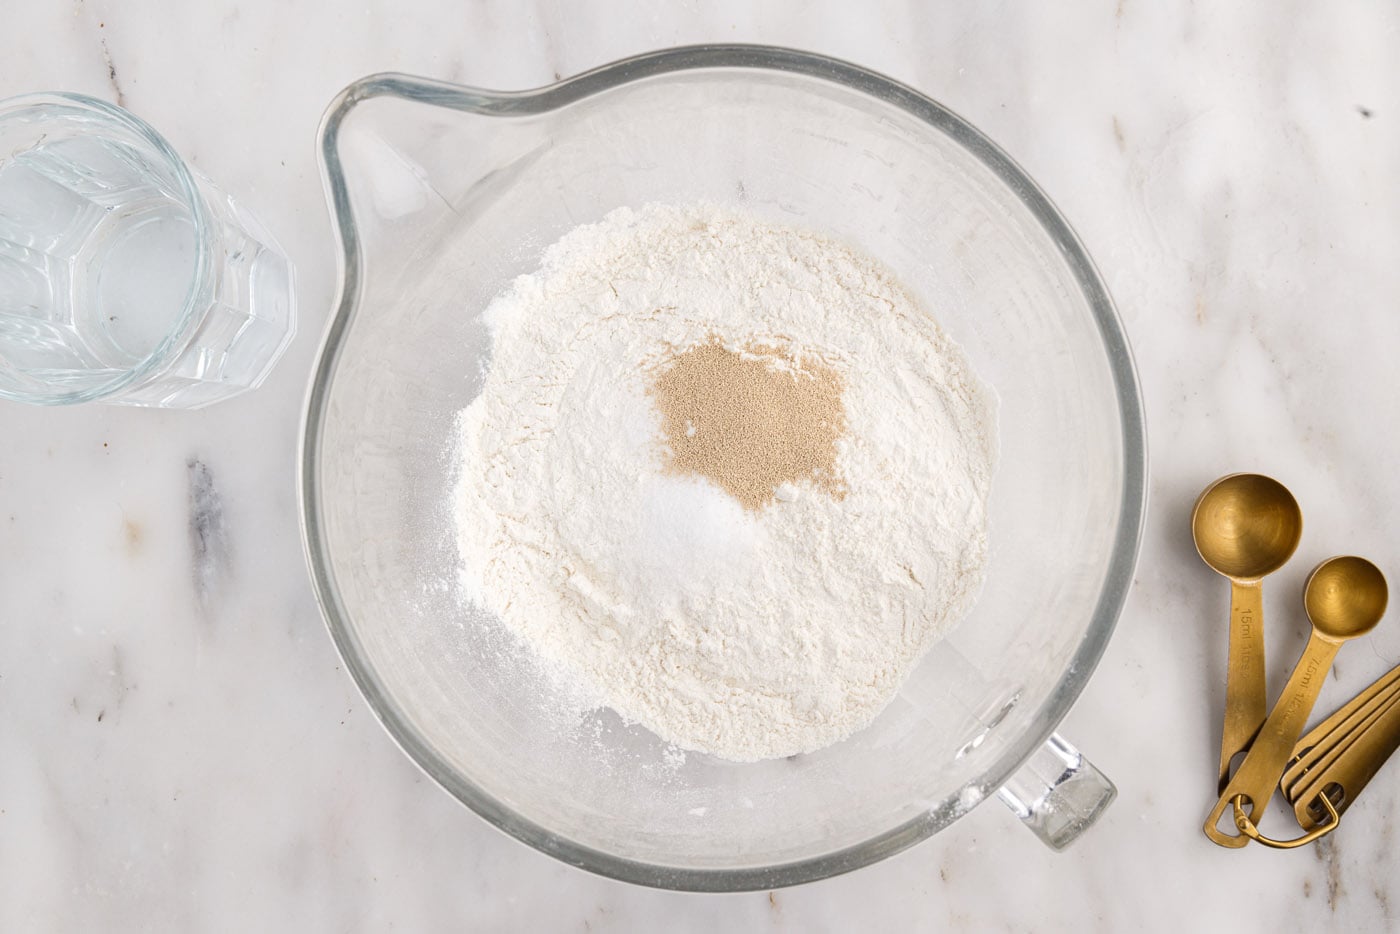
- In the bowl of a standing mixer, combine the flour, salt, and yeast. Whisk them together thoroughly until all dry ingredients are evenly distributed. This ensures consistent flavor and proper yeast activation throughout the dough.

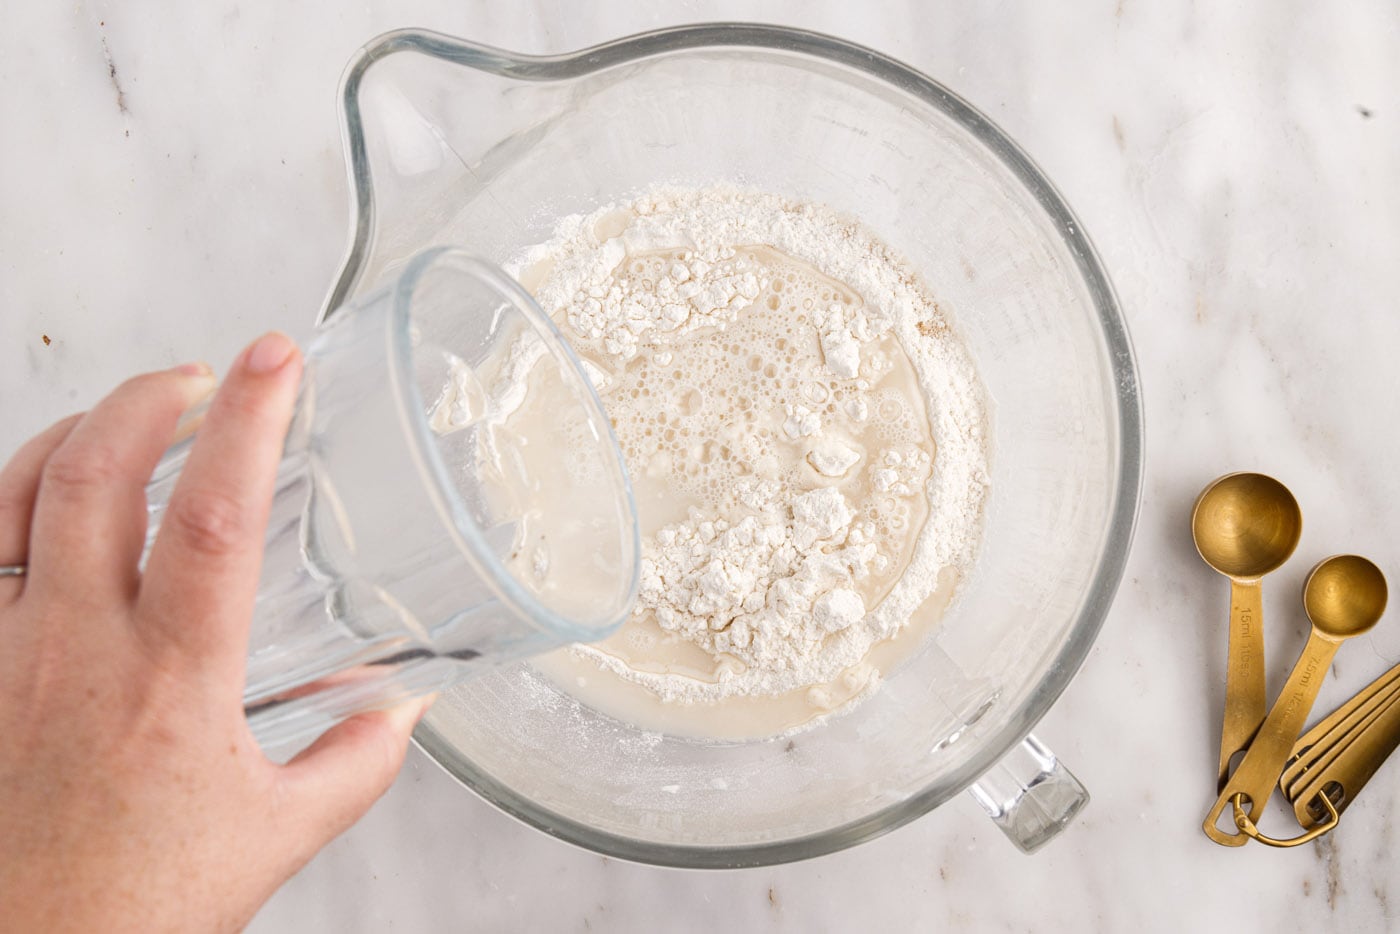
- Pour the warm water into the flour mixture. Attach the dough hook to your mixer and beat on medium-high speed for 3-4 minutes. The dough will become elastic and cohesive, eventually gathering into a ball around the hook. This kneading process is vital for developing gluten, which gives the bread its structure and chewiness.


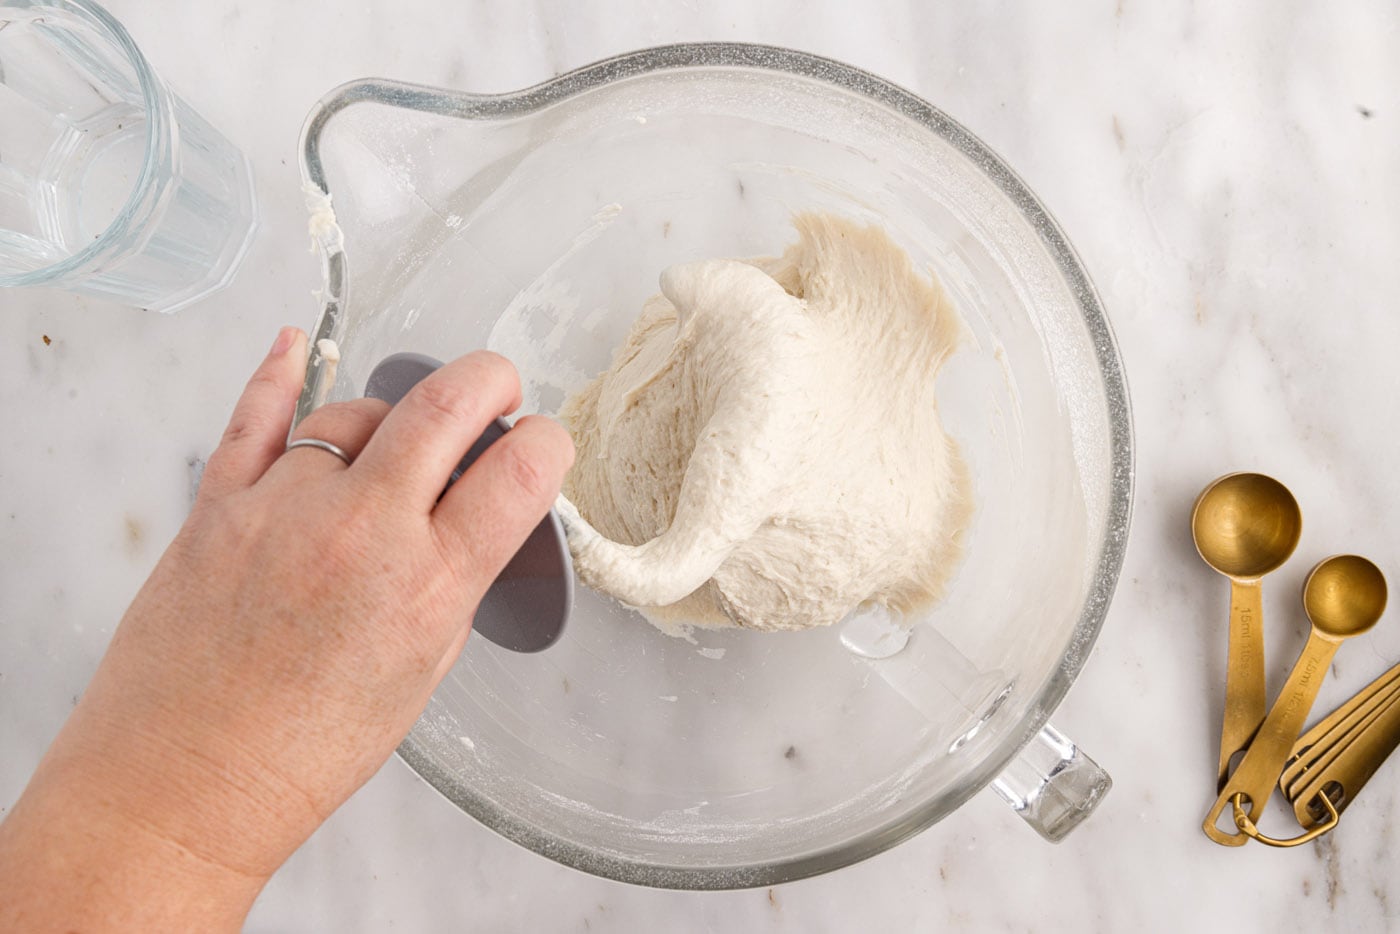
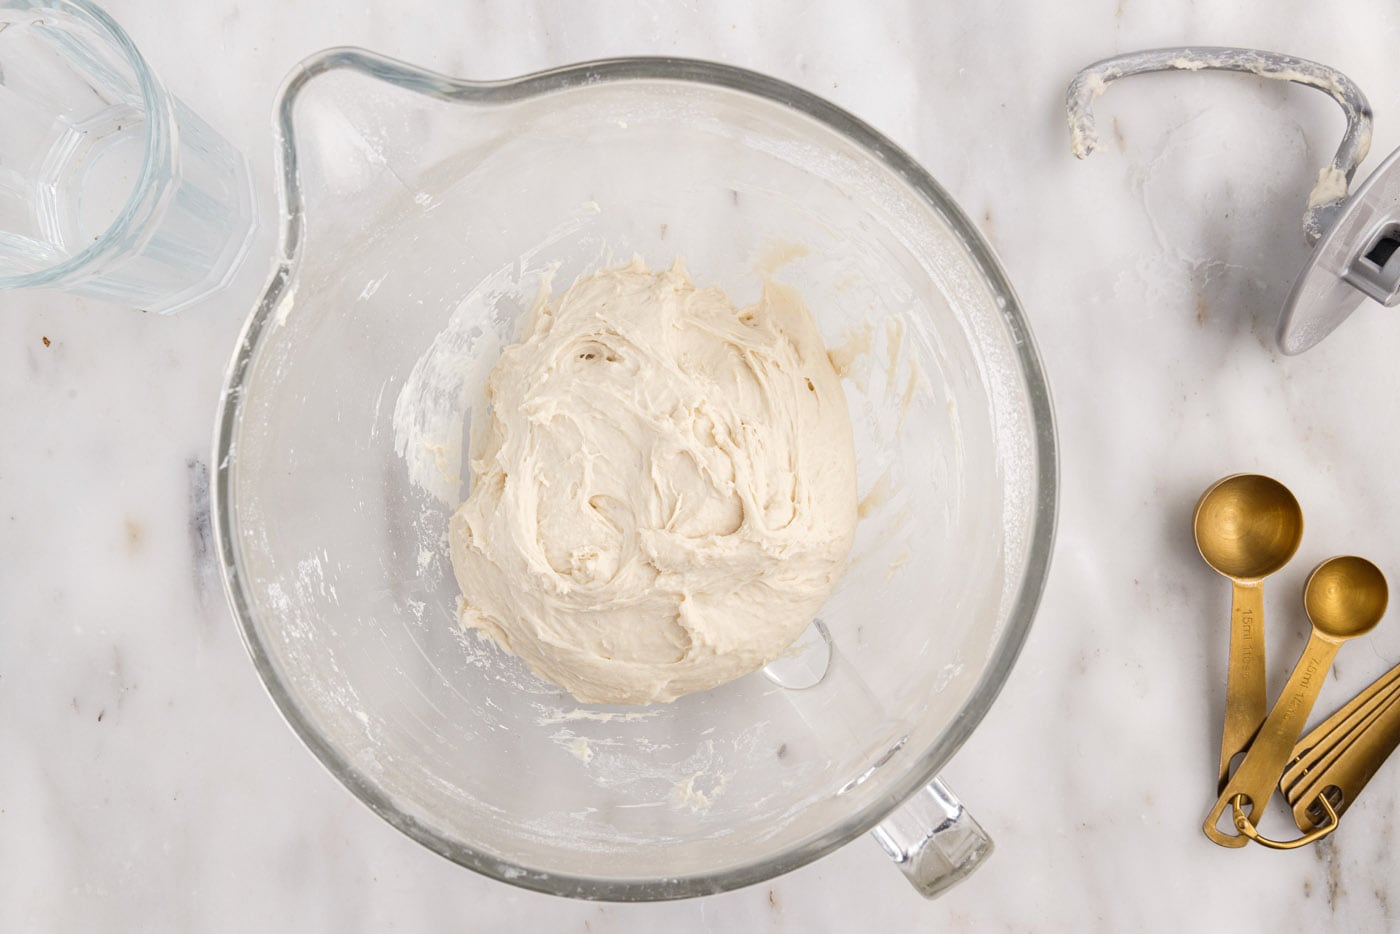
- Once kneaded, scrape the dough from the hook and use a spatula or lightly floured hands to gently form the dough into a smooth ball. This initial shaping helps create an even rise.

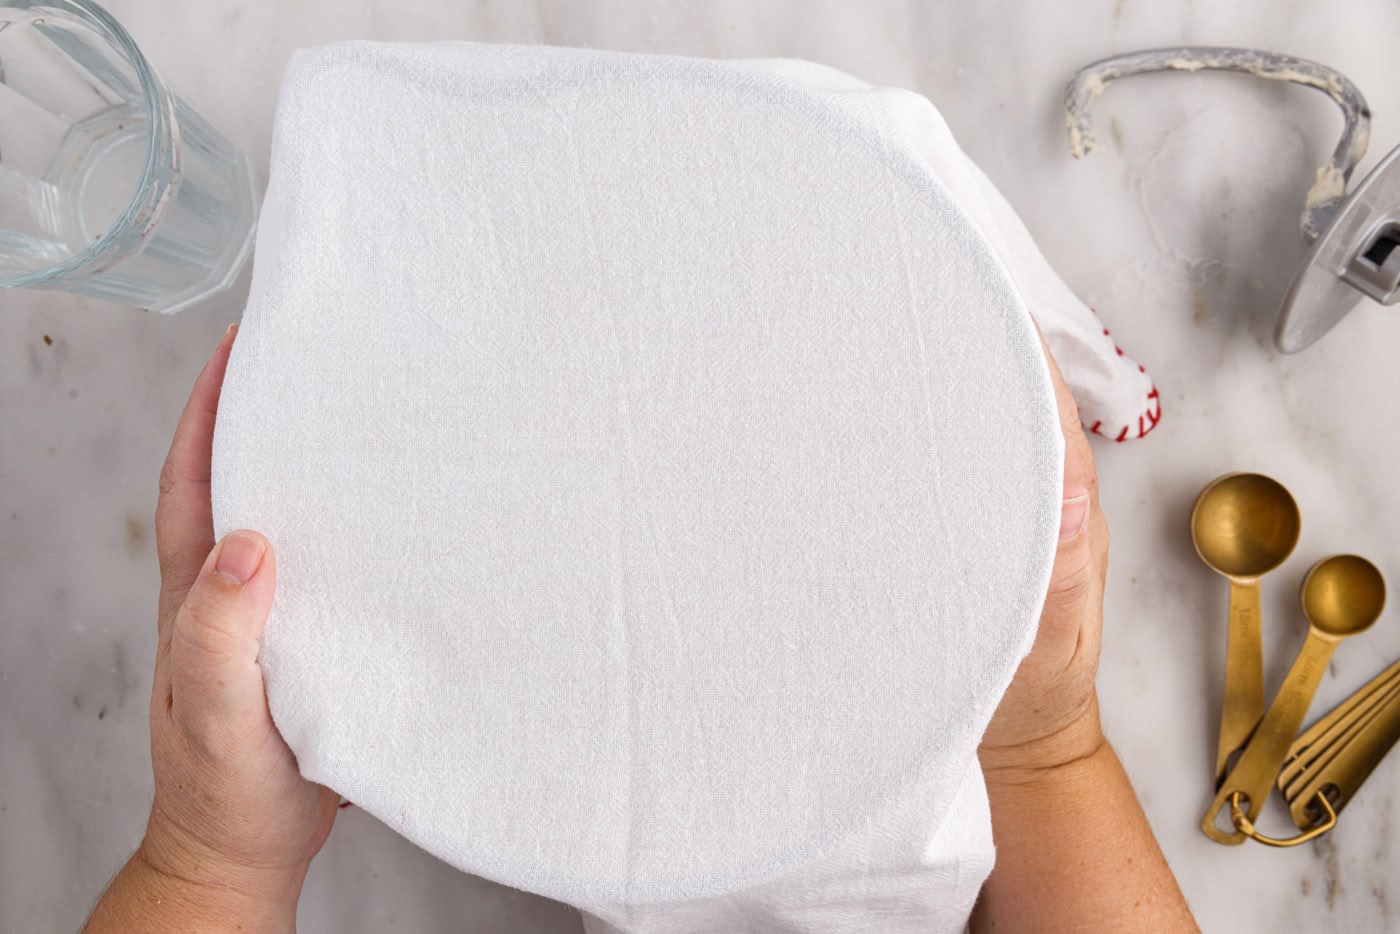
- Place the dough ball back into the bottom of the mixer bowl (or another lightly oiled bowl). Cover the bowl with a light kitchen towel or plastic wrap to prevent drying. Set it in a warm, draft-free location to rise for approximately 2 hours, or until it has visibly doubled in size. A slightly warm oven (turned off) or a sunny spot on your counter works well.

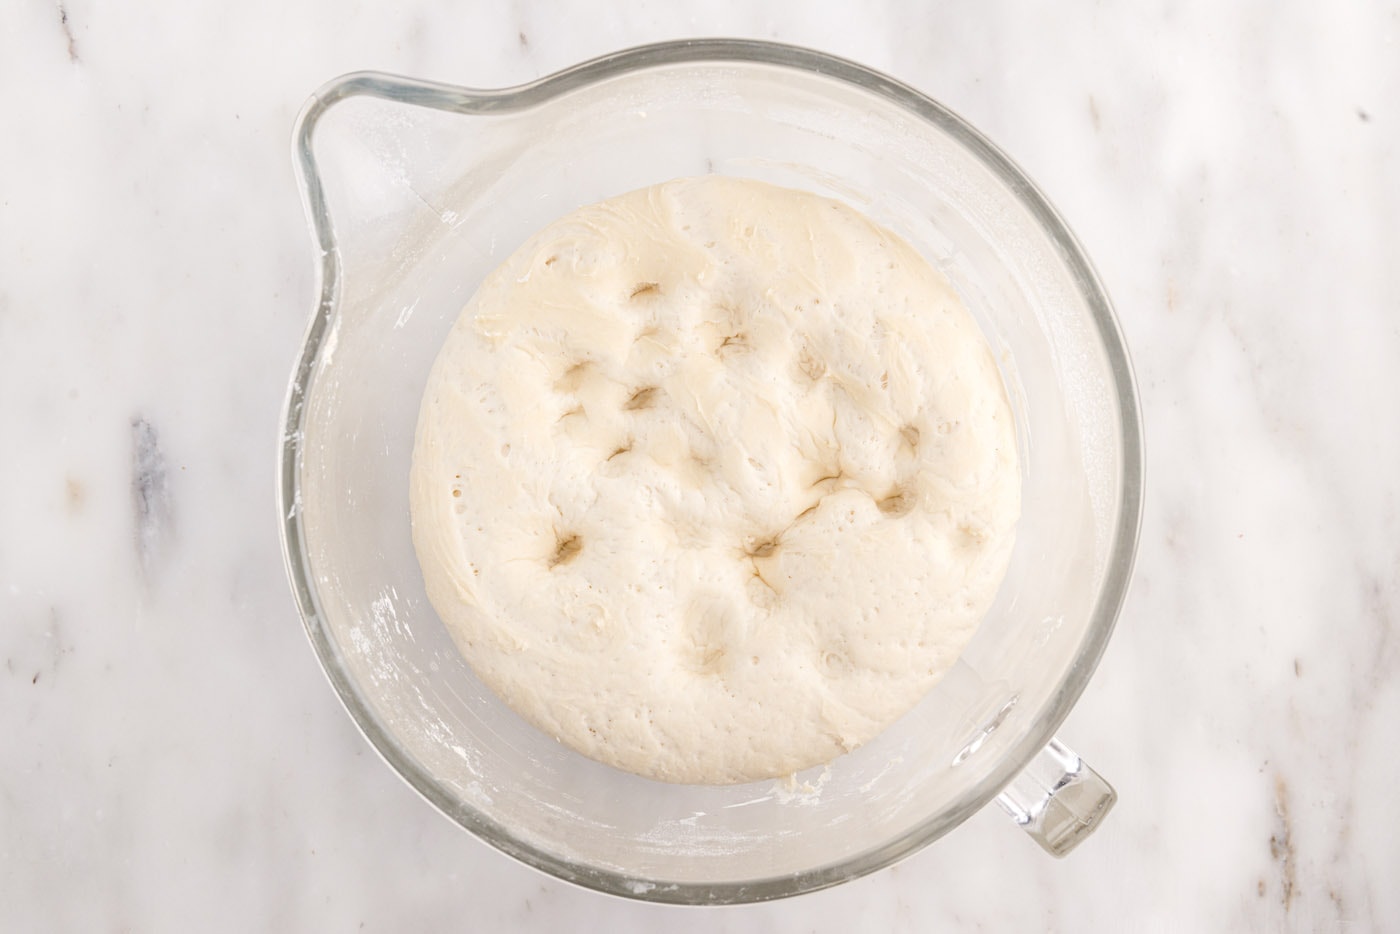
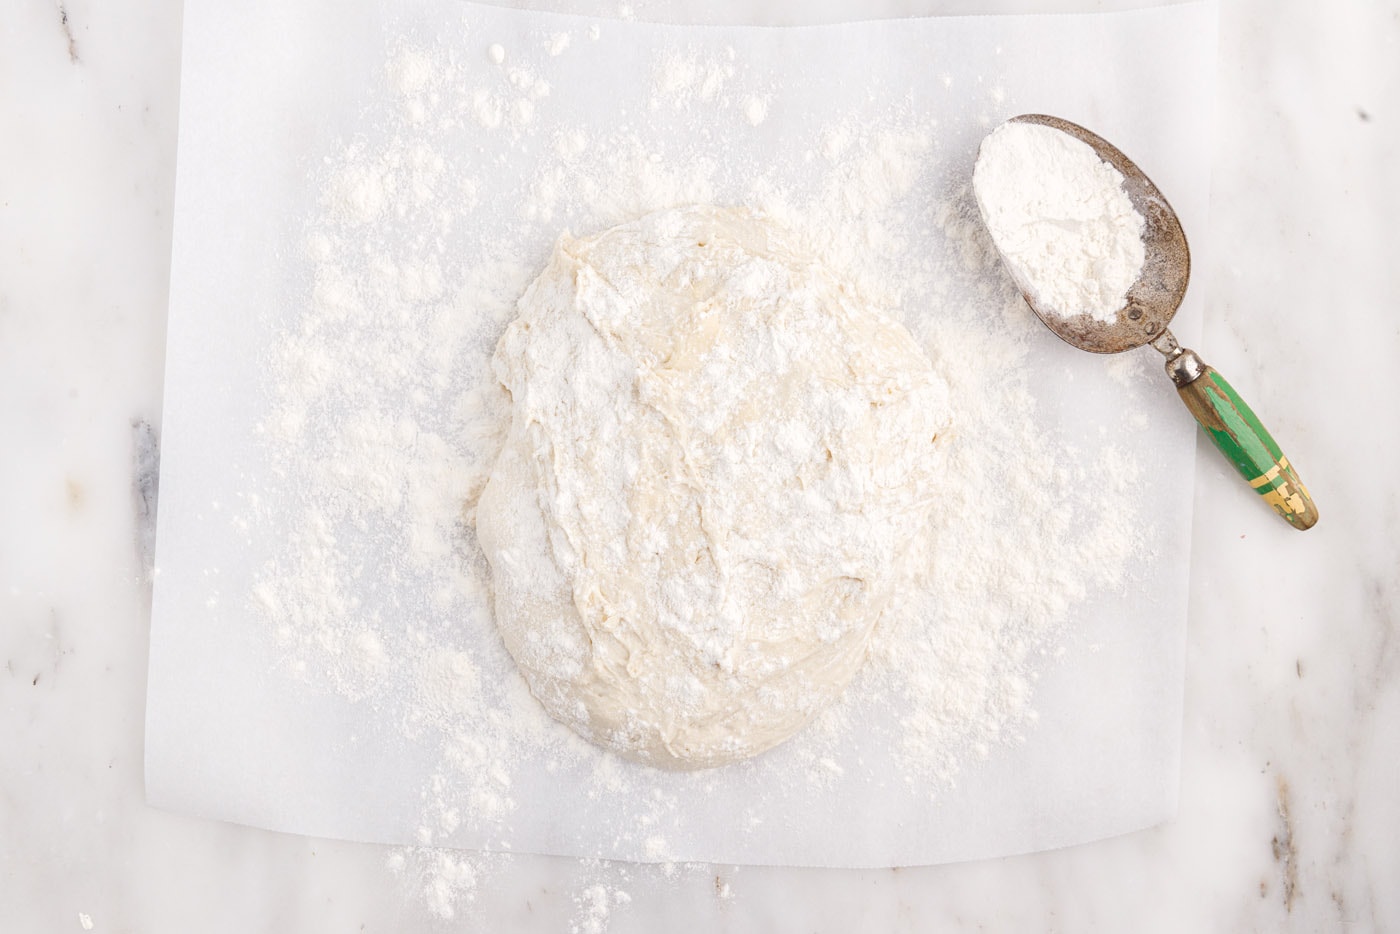
- After the first rise (about 2 hours), gently poke your fingers into the bread to deflate it. This releases excess gas and helps create a finer crumb. Turn the dough out onto a lightly floured board or surface.


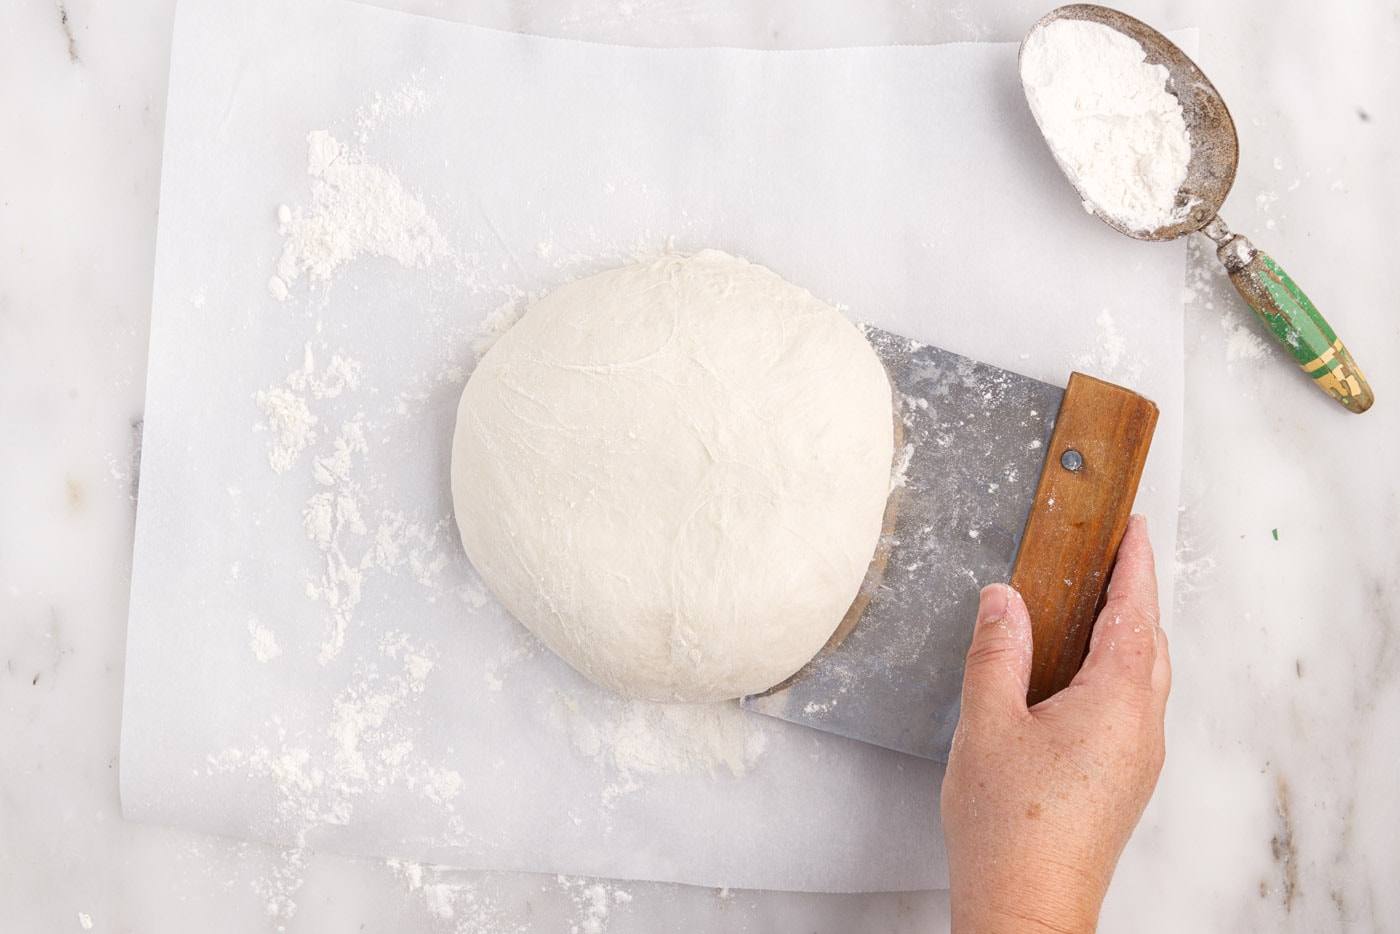
- Using a bench scraper (or your hands, using gentle folding motions), reform the dough into a tight, sturdy round. This process, called preshaping, helps build tension on the surface of the dough, which contributes to a better structure and a beautiful, rustic appearance.

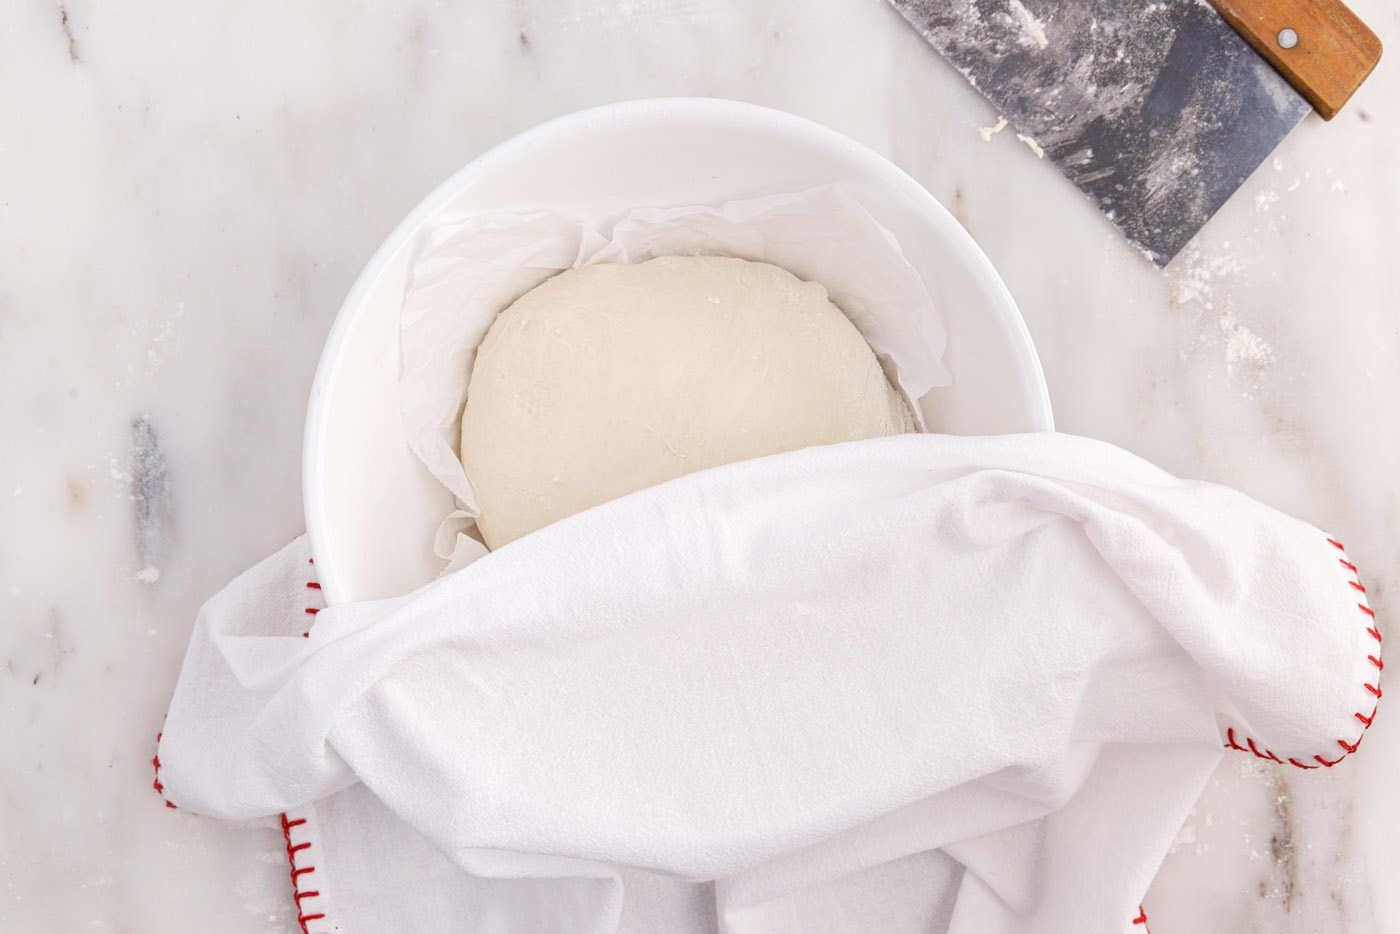
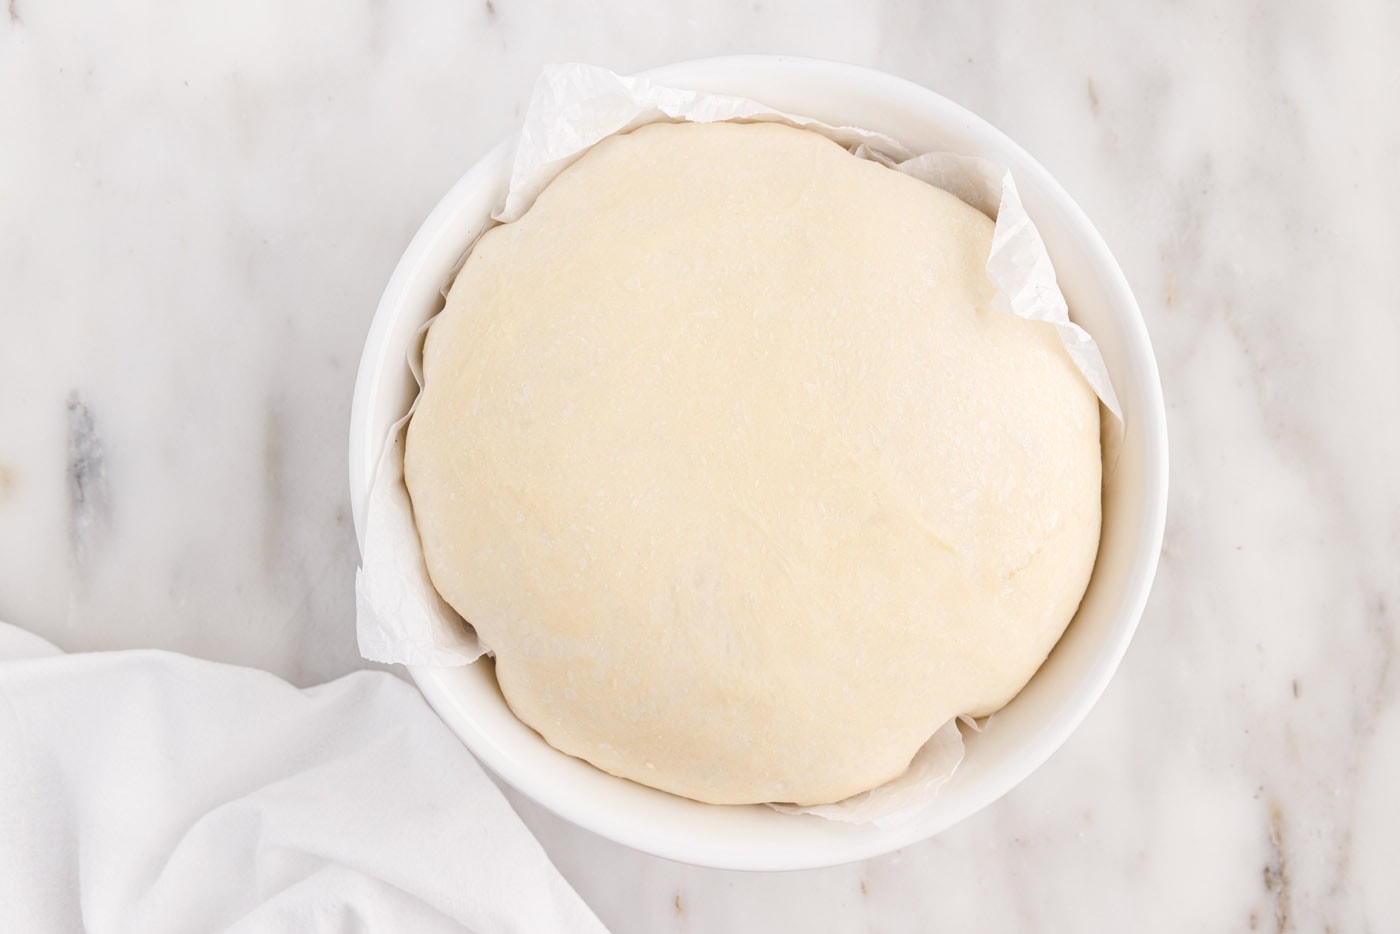
- Carefully transfer the shaped dough onto a sheet of parchment paper and then place it into a bowl or a proofing basket. Cover it again and allow it to rise for a second time, typically 1-2 hours. To check if it’s ready to bake, gently press your finger into the dough; if the indentation does not spring back immediately, it’s perfectly proofed and ready for the oven.


- Approximately 30 minutes to 1 hour before your dough is ready for baking, place your Dutch oven (with its lid on) into the oven and preheat to a high temperature of 450°F (232°C). Allowing both the oven and the Dutch oven to heat thoroughly for at least 30 minutes (preferably an hour) is crucial for achieving that signature crispy crust and excellent oven spring.
- Once preheated, carefully remove the intensely hot Dutch oven from the oven. Using the parchment paper as a sling, gently lift the proofed dough loaf and transfer it into the hot Dutch oven. Be swift yet careful to retain as much heat as possible.
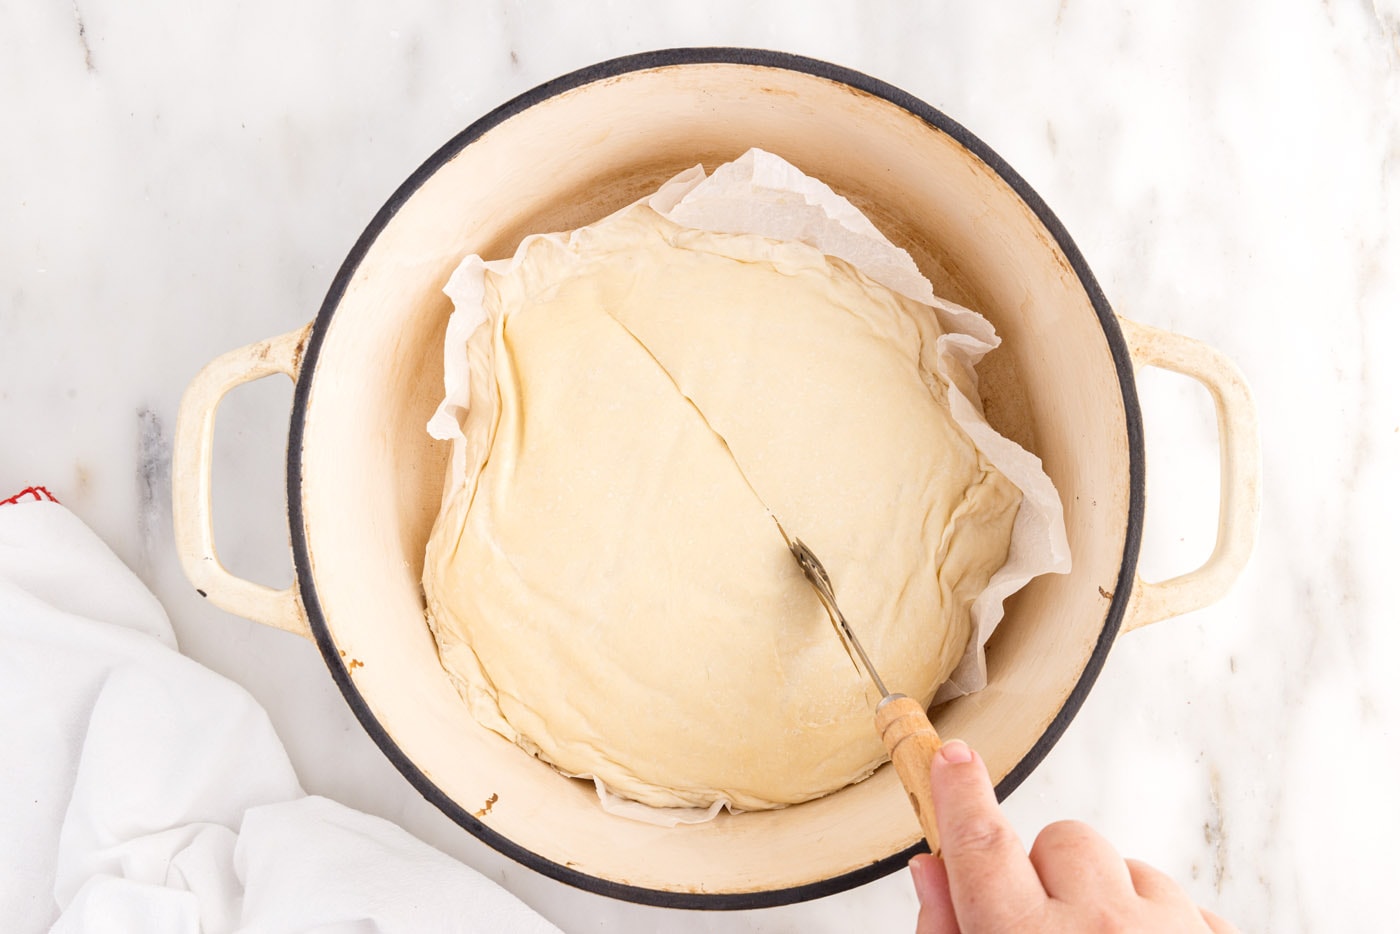
- Score the top of the loaf with a lame or a very sharp serrated knife. This crucial step provides a controlled area for steam to escape and allows the bread to expand beautifully during baking, preventing uncontrolled cracks. A single straight line or a simple “X” cut works perfectly.

- Quickly place the lid back onto the Dutch oven and return it to the preheated oven. Bake for 30 minutes at 450°F (232°C). This covered baking period is where the magic of steam does its work, creating a moist environment for maximum rise and crust development.
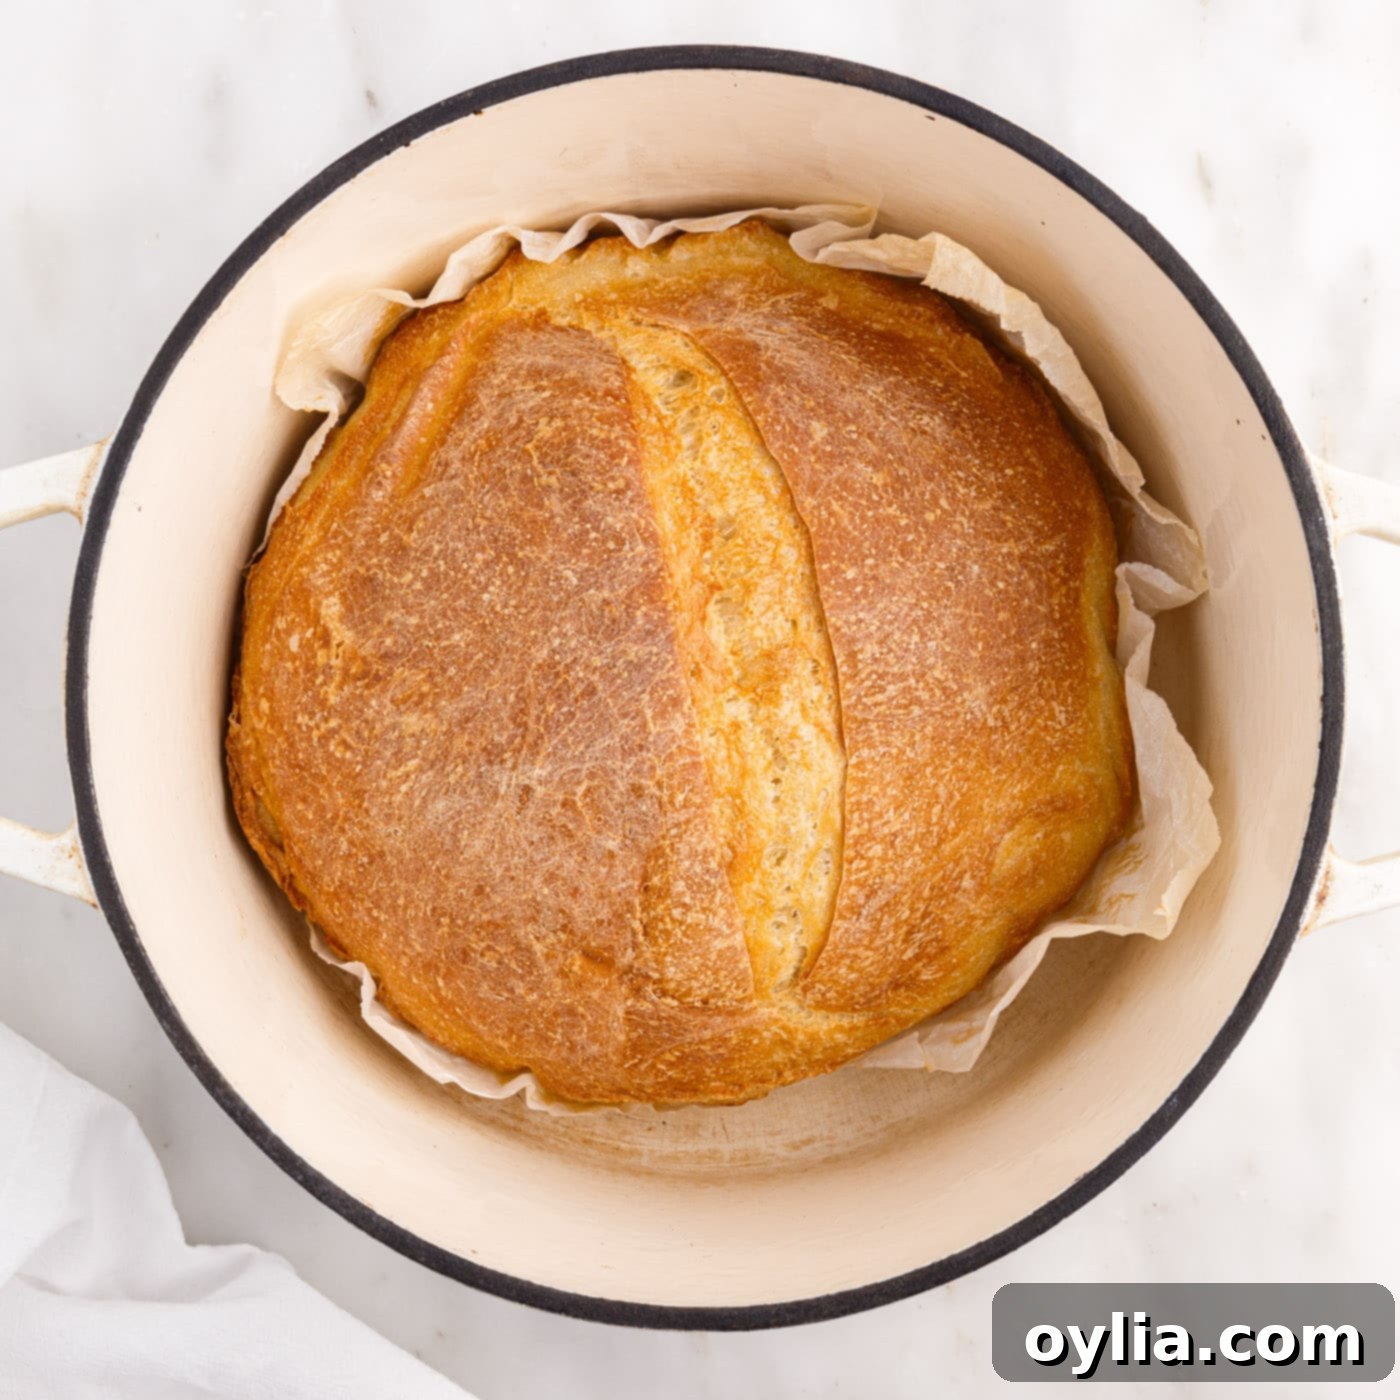
- After 30 minutes, carefully remove the lid. Remember to turn the lid away from you as you lift it to allow the burst of hot steam to escape safely, preventing burns. Continue baking the uncovered loaf for another 5-10 minutes, or until the crust achieves a deep, rich golden brown color and sounds hollow when tapped on the bottom.
- Once baked to perfection, remove the Dutch oven from the oven. Carefully transfer the hot loaf to a cooling rack. It’s essential to let the bread cool completely on the rack to allow the internal structure to set and prevent it from becoming gummy. Resist the urge to slice into it too soon!
Frequently Asked Questions & Expert Baking Tips
The primary difference between a “knead” recipe, like this one, and a “no-knead” recipe lies in the development of gluten and the time required. When you knead the dough, either by hand or with a stand mixer’s dough hook, you physically work the gluten strands, which are protein networks that give bread its structure and elasticity. This speeds up gluten development significantly. In this recipe, a few minutes of mixer kneading results in a beautifully structured dough ready for its first rise in about 2-3 hours. No-knead recipes, on the other hand, rely on a much longer fermentation period (often 7-8 hours or overnight) to allow the gluten to develop naturally without mechanical intervention. Both methods yield delicious bread, but the “knead” approach offers a quicker path to a well-structured loaf.
Once your Dutch oven bread has completely cooled and you’ve sliced into it, store any leftovers in an airtight container or a large resealable bag at room temperature. For optimal freshness, a bread box works wonders. While this bread is undeniably best enjoyed on the day it’s baked, its quality holds up remarkably well for 5-6 days. You can also freeze slices for longer storage; just wrap them tightly in plastic wrap and then foil, and thaw at room temperature or toast directly from frozen.
Absolutely, preheating the Dutch oven is a non-negotiable step for this recipe. It’s vital for achieving the correct baking conditions. Placing the dough into a preheated, scorching hot Dutch oven delivers an immediate burst of heat to the dough, maximizing “oven spring” and creating that desirable crispy crust. Skipping this step would result in a less impressive rise and a softer, less appealing crust. Think of it as creating a professional bakery environment at home.
Yes, absolutely! Once your dough has gone through its first rise and you’re ready to shape it for the second rise, you can gently fold in various mix-ins. Popular choices include sunflower seeds, pumpkin seeds, sesame seeds, chopped olives, sun-dried tomatoes, or even cheese. Aim for about 1/2 to 1 cup of additions, ensuring they are evenly distributed without overworking the dough. For best results, sprinkle some seeds on top of the loaf just before scoring for an extra rustic touch.
Dough consistency can vary slightly depending on factors like flour type, humidity, and even how accurately you measure. If your dough is too sticky to handle, try adding a tablespoon of flour at a time until it reaches a manageable, slightly tacky consistency. If it’s too dry and stiff, add a teaspoon of warm water at a time until it’s more pliable. Remember, a slightly sticky dough is often ideal for a good crumb structure, so avoid adding too much extra flour.
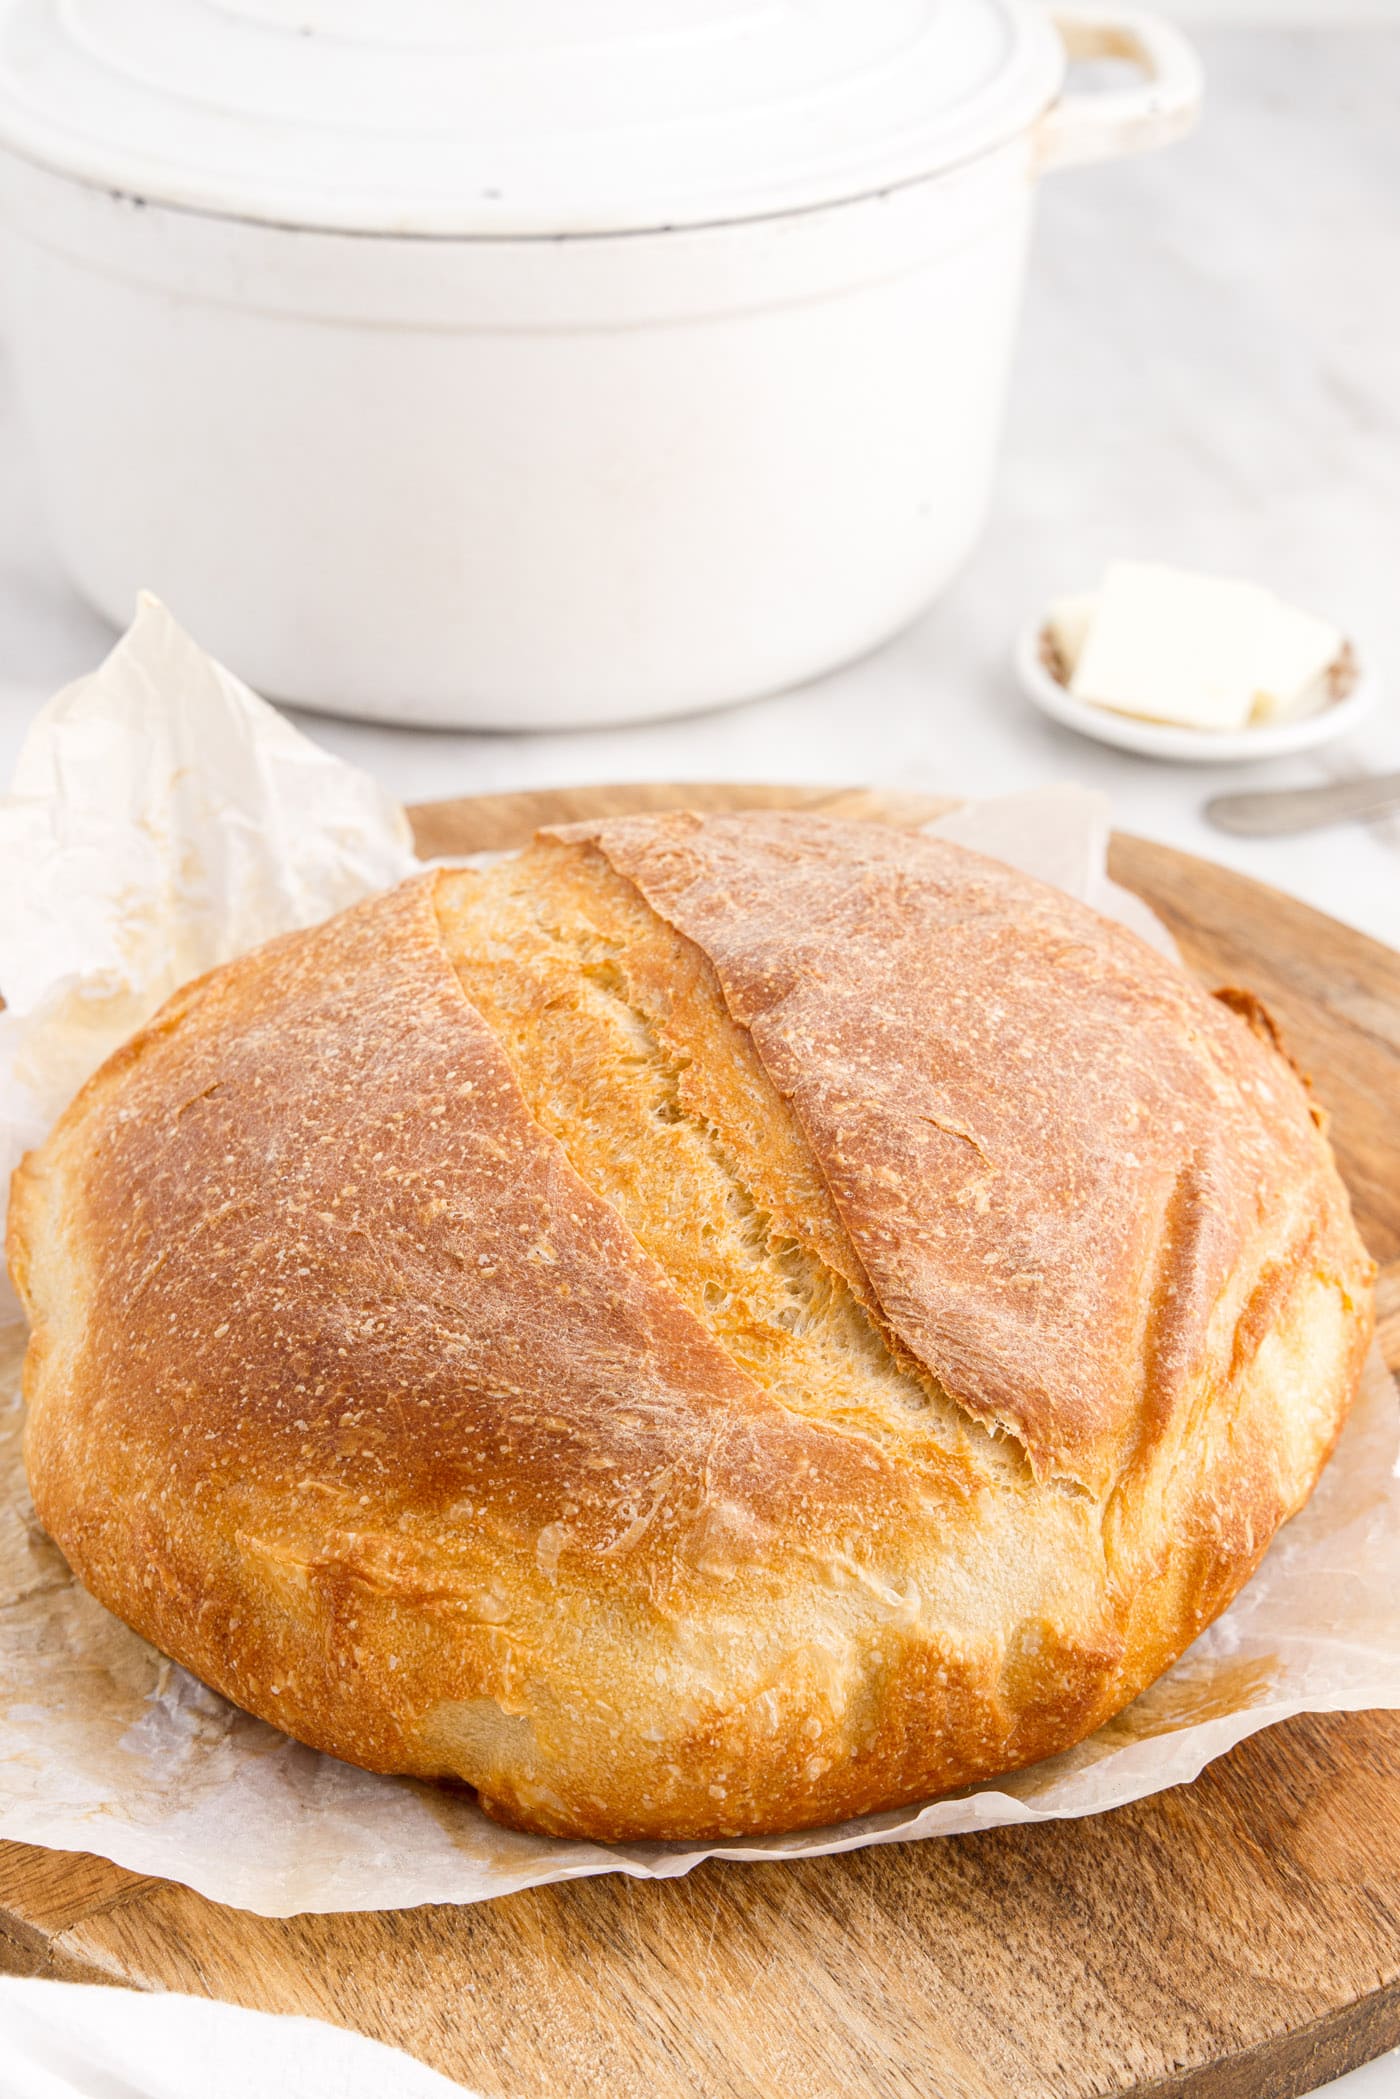
Serving Suggestions for Your Homemade Loaf
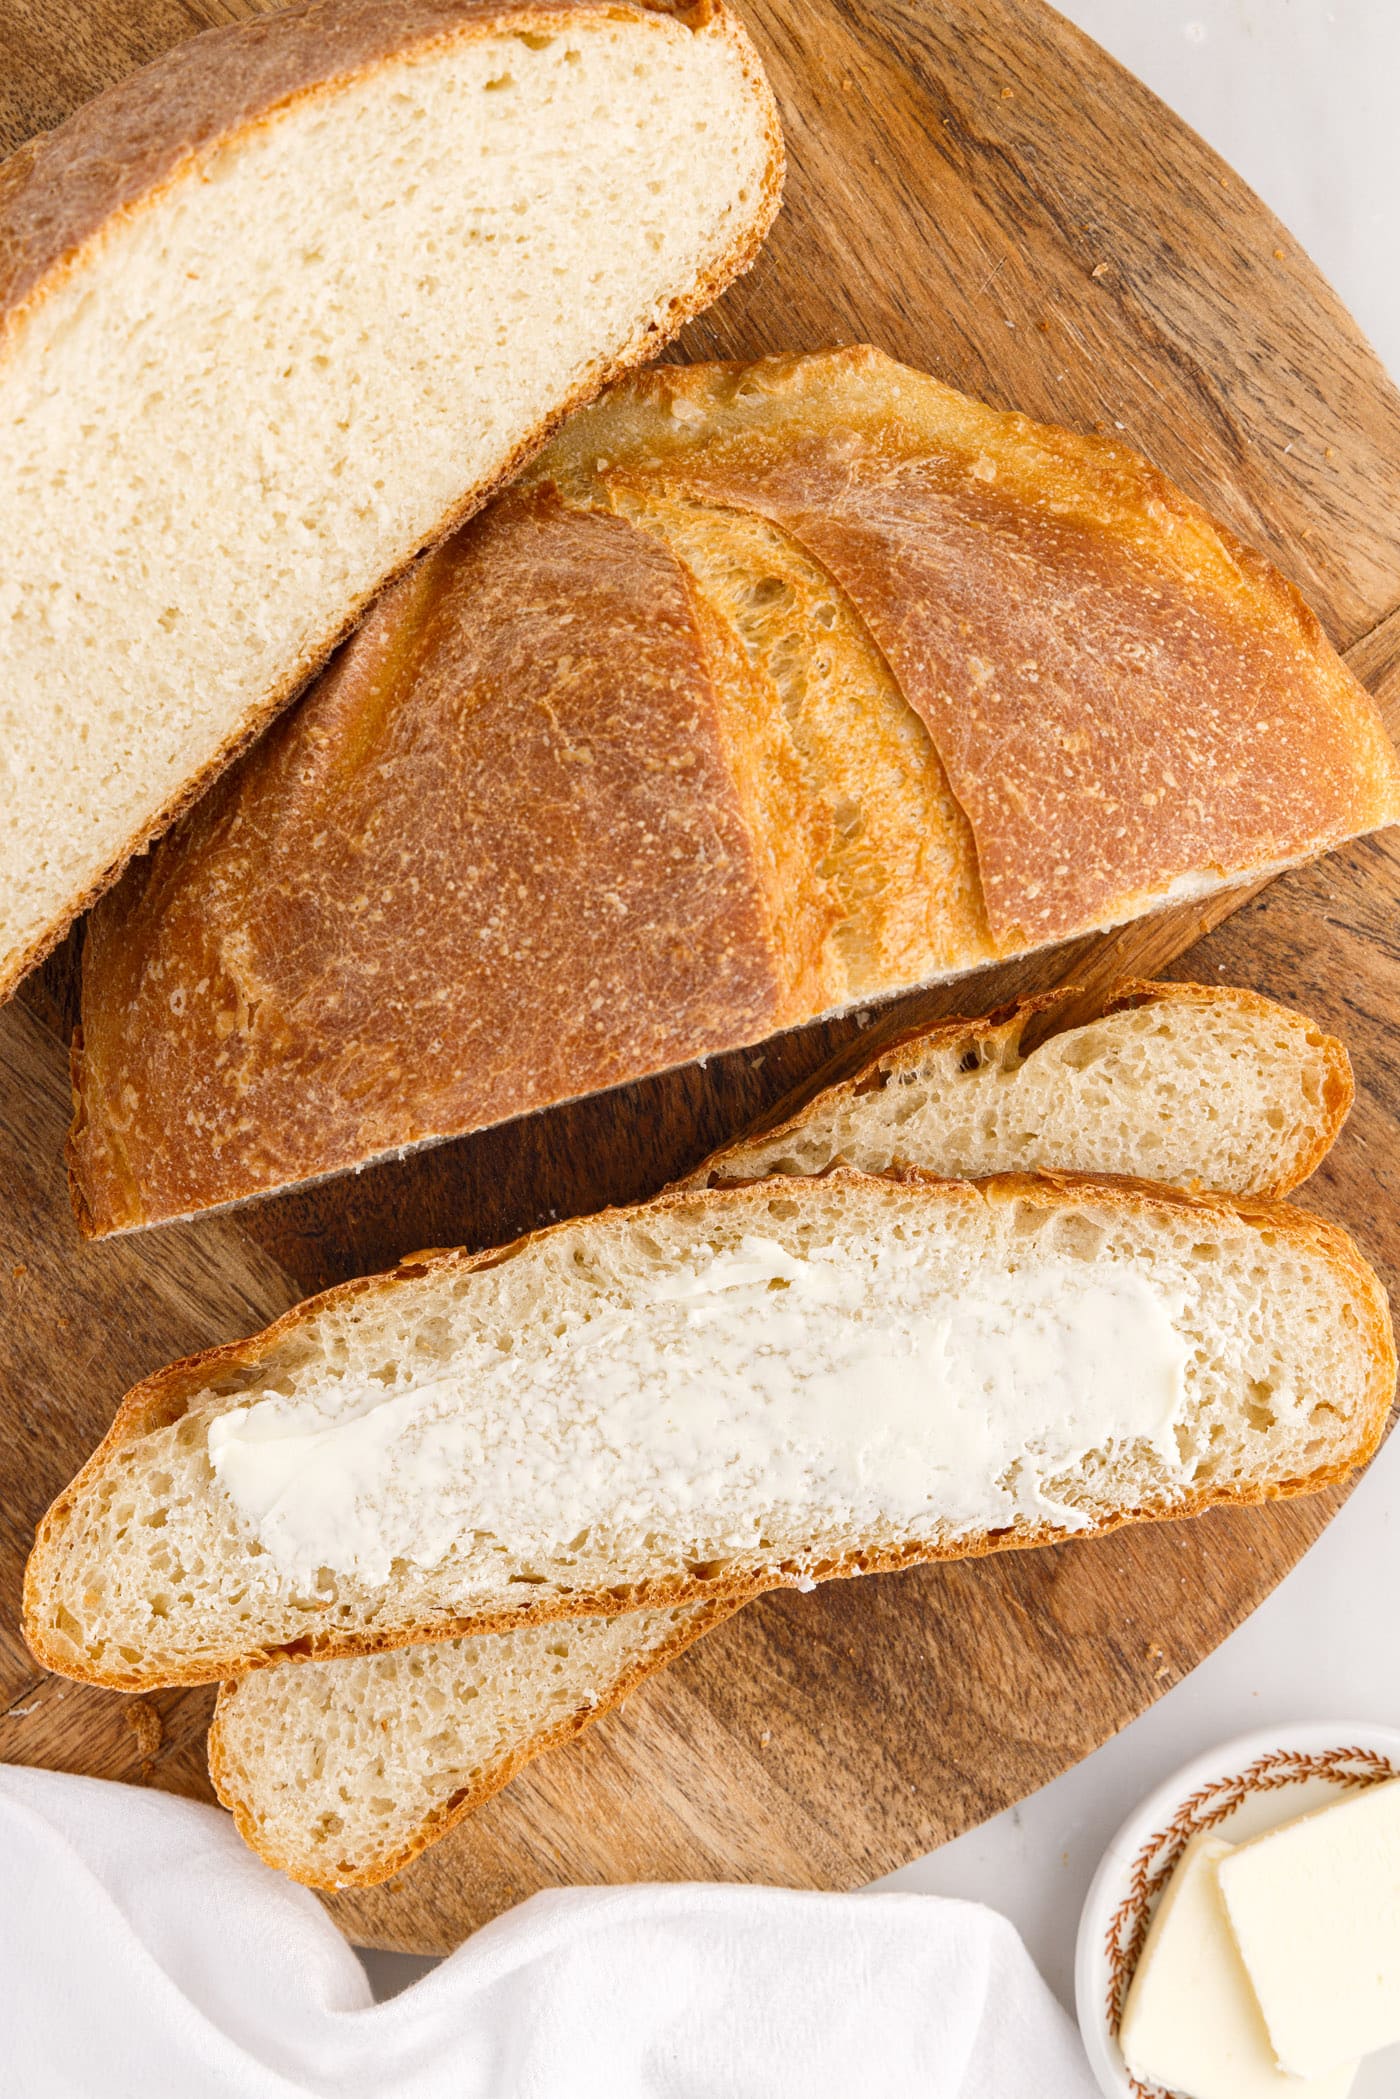
The beauty of homemade Dutch oven bread lies in its versatility. Once cooled, this rustic loaf becomes the star of countless meals. Slice it thick and generously smear with creamy butter, a dollop of your favorite fruit jam, or a spoonful of our irresistible cinnamon honey butter. It’s the perfect companion for soaking up the rich flavors of a hearty soup, a slow-cooked stew, or a comforting casserole. Imagine dunking a warm slice into a bowl of creamy tomato soup on a chilly evening! This robust bread also makes an excellent foundation for gourmet sandwiches, turning even a simple lunch into a special occasion. Don’t hesitate to serve it alongside a fresh salad or as an appetizer with olive oil and balsamic vinegar for dipping. No matter how you enjoy it, this bread is sure to be a crowd-pleaser.
More Irresistible Bread Recipes to Try
- Irish Soda Bread
- Amish White Bread
- Homemade Italian Bread
- Homemade Multigrain Bread
- 1963 Homemade White Bread
I love to bake and cook and share my kitchen experience with all of you! Remembering to come back each day can be tough, that’s why I offer a convenient newsletter every time a new recipe posts. Simply subscribe and start receiving your free daily recipes!
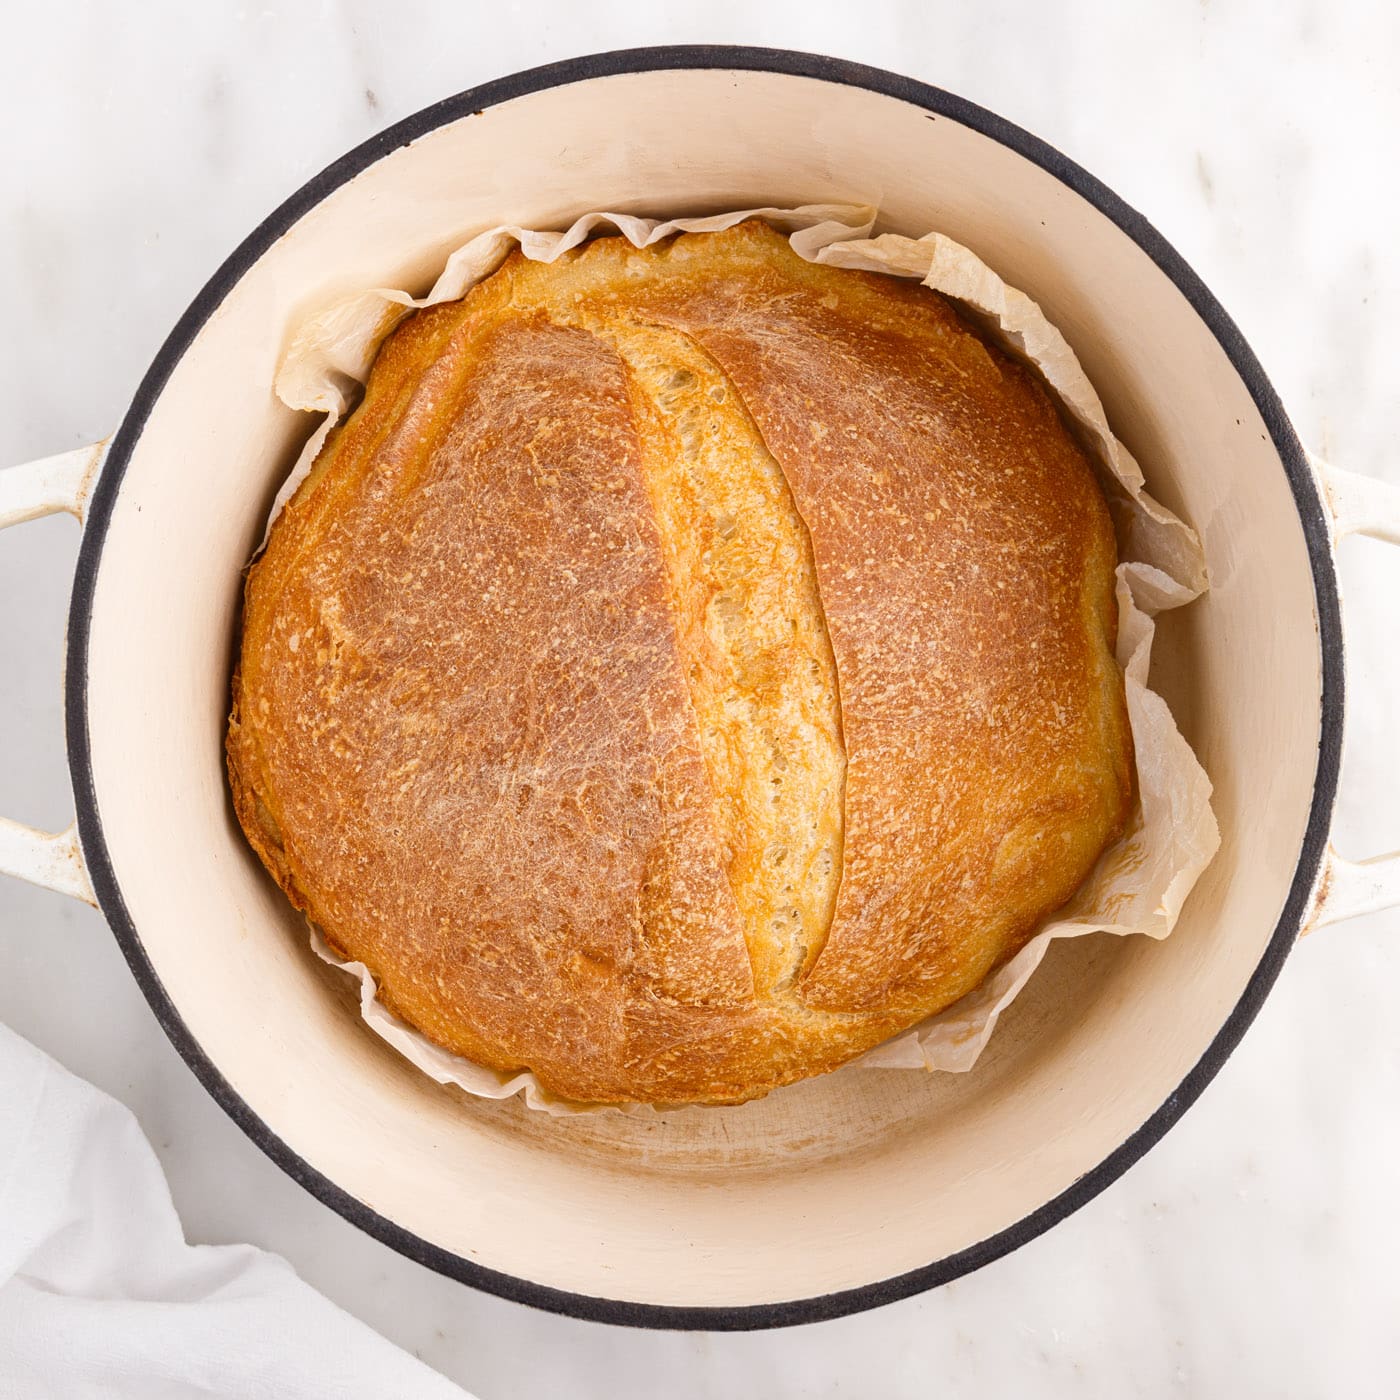
Dutch Oven Bread
IMPORTANT – There are often Frequently Asked Questions within the blog post that you may find helpful. Simply scroll back up to read them!
Print It
Pin It
Rate It
Save It
Saved!
Prevent your screen from going dark
Course:
Breads
Cuisine:
American
12
servings
3 hours
55 minutes
155
Amanda Davis
Ingredients
-
4
cups
all-purpose flour -
½
Tablespoon
sea salt -
1
teaspoon
active dry yeast -
1 ½
cups
warm water
not warmer than 100F
Things You’ll Need
-
Stand mixer
with dough hook -
Dutch oven
4-6 quart -
Bench scraper -
Lame
Before You Begin
- If the water is too hot (above 100°F/38°C), it will kill the yeast and the dough will not rise. Lukewarm is ideal.
- The salt is important not just for seasoning but also for strengthening gluten and regulating yeast activity – your bread will taste a bit flat and lack structure if you don’t add enough salt to the dough.
- Do not skip the critical step of preheating the Dutch oven. Preheating it to the correct temperature is vital for achieving optimal oven spring and a crisp crust.
- If you’d like to add a bit of oil to the bowl or to lightly coat the dough while it’s rising, this can help prevent a dry skin from forming on the dough, especially in drier environments.
- The difference between “no-knead” recipes and “knead” recipes (like this one, using a stand mixer) primarily involves the time it takes to develop gluten. Kneading actively works the gluten, significantly reducing the first rise time to 2-3 hours. Without kneading, the process relies on longer fermentation (7-8 hours or more) for natural gluten development.
- To store, allow the Dutch oven bread to cool completely. Once cut, keep it in an airtight container or bread bag at room temperature. It’s best on the first day but remains delicious for 5-6 days.
Instructions
-
In the bowl of a standing mixer, whisk together the flour, salt, and yeast until combined.
-
Add the water to the flour mixture and beat to combine. Use the bread hook attachment on the mixer to mix dough on medium-high speed for 3-4 minutes, until the dough becomes elasticized and wraps into a ball around the hook.
-
Scrape the dough from the hook and use a spatula or floured hands to form the dough into a ball.
-
Place in the bottom of the bowl, cover with a light kitchen towel and set in a warm, draft-free location to rise for about 2 hours.
-
After 2 hours, poke your fingers into the bread to deflate it and then turn it out onto a lightly floured board.
-
Use a bench scraper (or your hands) to reform the dough back into a nice sturdy round of dough.
-
Transfer the dough to a bowl on top of a sheet of parchment paper. Cover and allow to rise a second time (1-2 hours). If you gently press your finger in the dough and it does not bounce right back, it is ready to bake.
-
30 minutes to 1 hour before the bread is ready to bake, place the Dutch oven (with lid on) into the oven and preheat to 450°F. Allow the oven and Dutch oven to heat at this temperature for at least 30 minutes (I try to do 1 hour).
-
Carefully take the hot Dutch oven out of the oven. Lift the dough loaf by the parchment paper into the hot Dutch oven.
-
Score the loaf with the lame or a sharp serrated knife. This gives the bread an area for steam to escape and the loaf to puff during baking. A straight line or an x will work fine.
-
Quickly place the lid onto the Dutch oven and return it to the oven. Bake for 30 minutes at 450°F.
-
Remove the lid – turning the lid away from you so that the steam rises away and doesn’t burn you – and continue baking 5-10 minutes longer until the crust is deep golden brown.
-
Remove from the oven and transfer the loaf to a cooling rack to cool completely.
Nutrition
Serving:
1
serving (1 slice)
|
Calories:
155
cal
|
Carbohydrates:
32
g
|
Protein:
5
g
|
Fat:
0.5
g
|
Saturated Fat:
0.1
g
|
Polyunsaturated Fat:
0.2
g
|
Monounsaturated Fat:
0.1
g
|
Sodium:
294
mg
|
Potassium:
54
mg
|
Fiber:
1
g
|
Sugar:
0.1
g
|
Vitamin C:
0.003
mg
|
Calcium:
8
mg
|
Iron:
2
mg
Tried this Recipe? Pin it for Later!
Follow on Pinterest @AmandasCookin or tag #AmandasCookin!
The recipes on this blog are tested with a conventional gas oven and gas stovetop. It’s important to note that some ovens, especially as they age, can cook and bake inconsistently. Using an inexpensive oven thermometer can assure you that your oven is truly heating to the proper temperature. If you use a toaster oven or countertop oven, please keep in mind that they may not distribute heat the same as a conventional full sized oven and you may need to adjust your cooking/baking times. In the case of recipes made with a pressure cooker, air fryer, slow cooker, or other appliance, a link to the appliances we use is listed within each respective recipe. For baking recipes where measurements are given by weight, please note that results may not be the same if cups are used instead, and we can’t guarantee success with that method.
