Easy & Fudgy Cake Mix Brownies: A 5-Ingredient Dessert Sensation
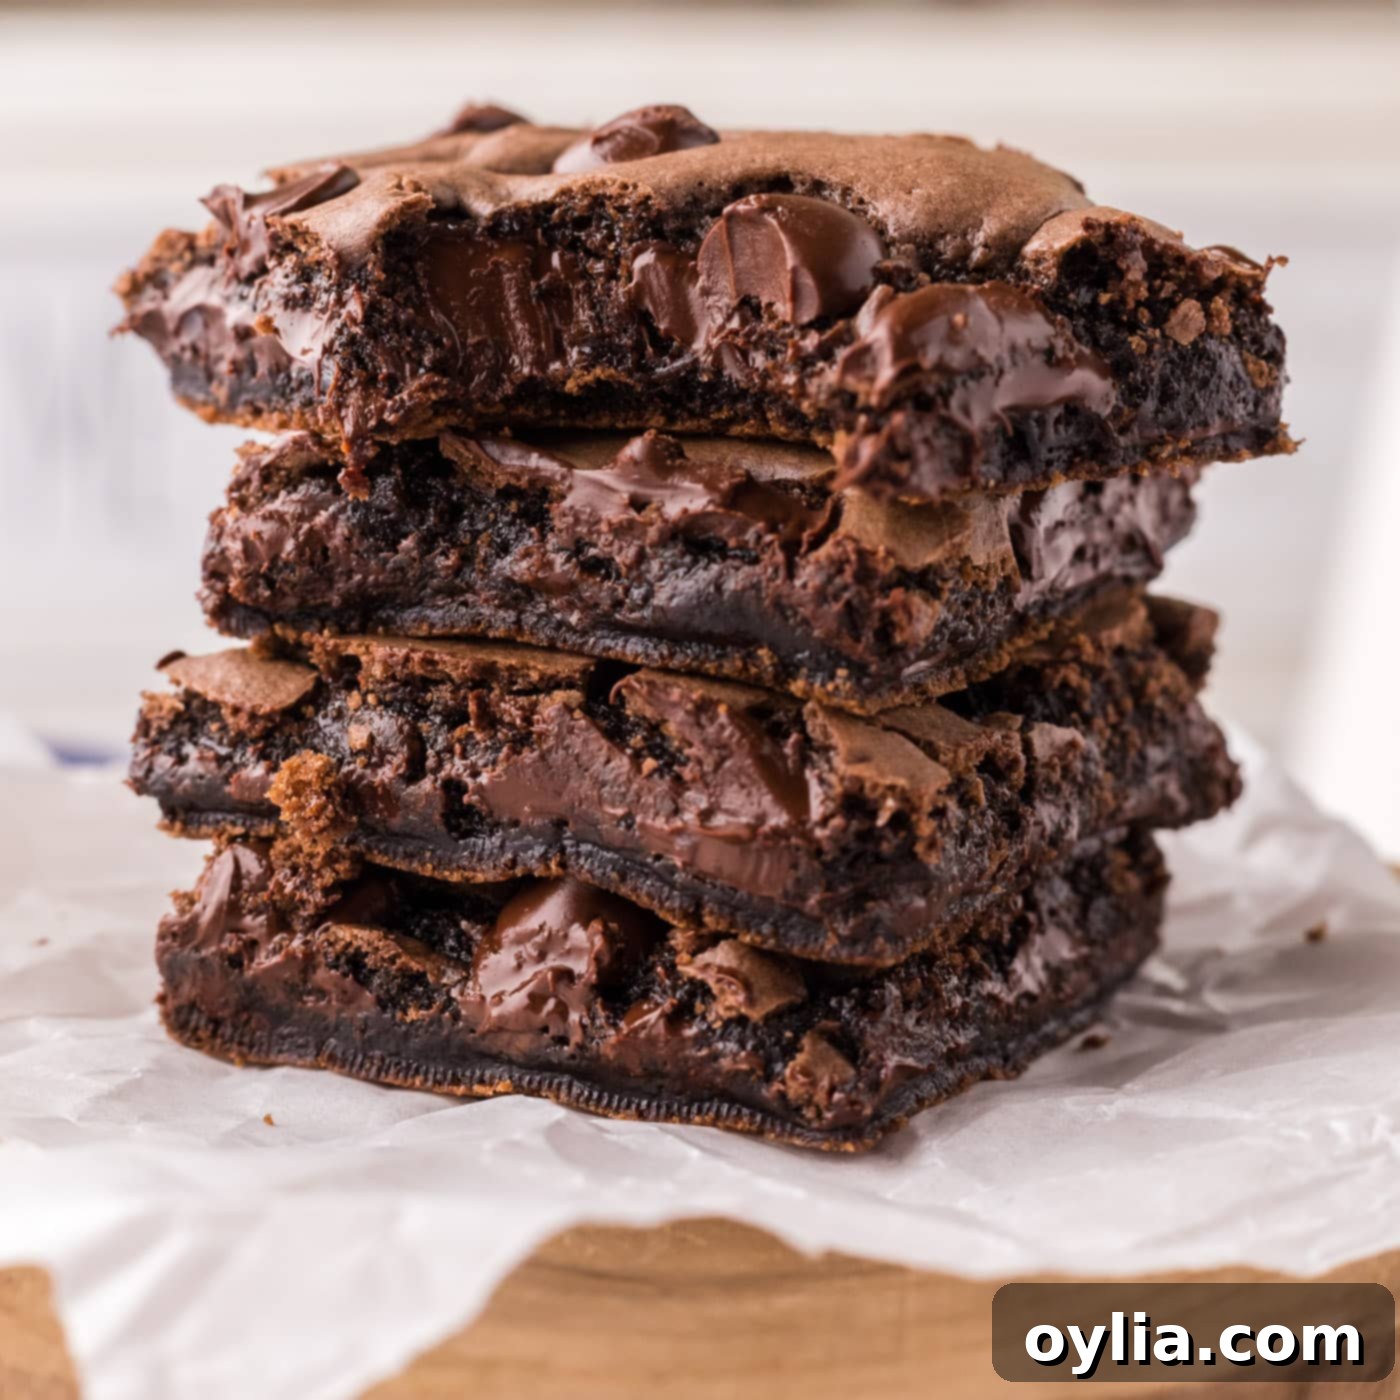
Craving a rich, fudgy brownie but short on time? Look no further than these incredibly simple **Cake Mix Brownies**! Requiring only 5 basic ingredients and a quick stir, they are the ultimate solution for a lightning-fast dessert fix. Not only do they deliver on taste and texture, but they also offer a brilliant way to transform that forgotten box of cake mix in your pantry into something truly special.
Why These Cake Mix Brownies Are a Must-Try
While a classic fudge brownie recipe from scratch holds a special place in our hearts, sometimes the thought of measuring out flour, cocoa powder, and sugar can feel like a chore when all you truly desire is a warm, gooey brownie. That’s precisely where these ingenious **cake mix brownies** step in to save the day!
You might wonder why bother with a cake mix when a box of brownie mix exists. The beauty of this recipe lies in its sheer convenience and resourcefulness. It’s perfect for those moments when you have a cake mix (perhaps an impulse buy or a leftover from another project) that’s taking up valuable space in your pantry. With just a standard box of chocolate cake mix, a couple of eggs, a touch of oil, a splash of vanilla, and a handful of dark chocolate chips, you can whip up a batch of decadent, fudgy brownies that taste anything but “shortcut.” They offer that desired chewy edge and soft, rich center without all the fuss, making them an ideal treat for busy weeknights or unexpected guests.
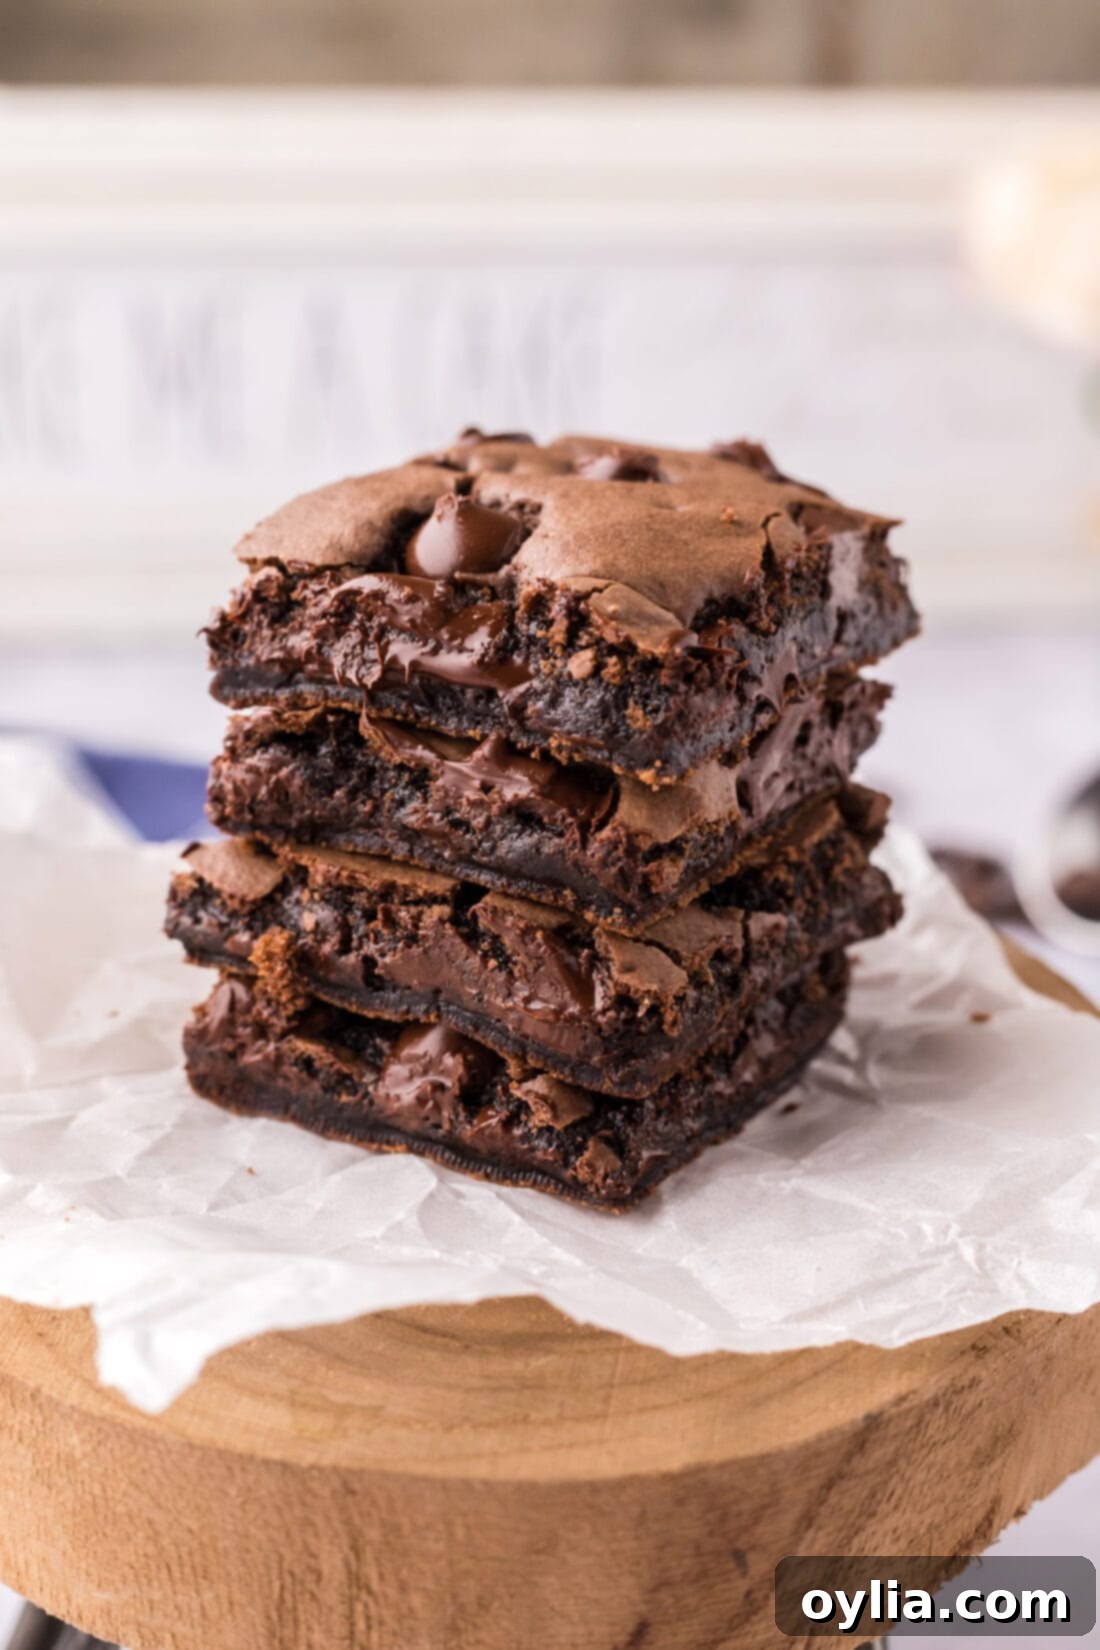
Simple Ingredients for Decadent Brownies
One of the best features of this recipe is its minimal ingredient list. You’ll likely have most of these items on hand, making a spontaneous batch of fudgy brownies an easy reality. Find all exact measurements, ingredients, and detailed instructions in the printable recipe card at the end of this post.
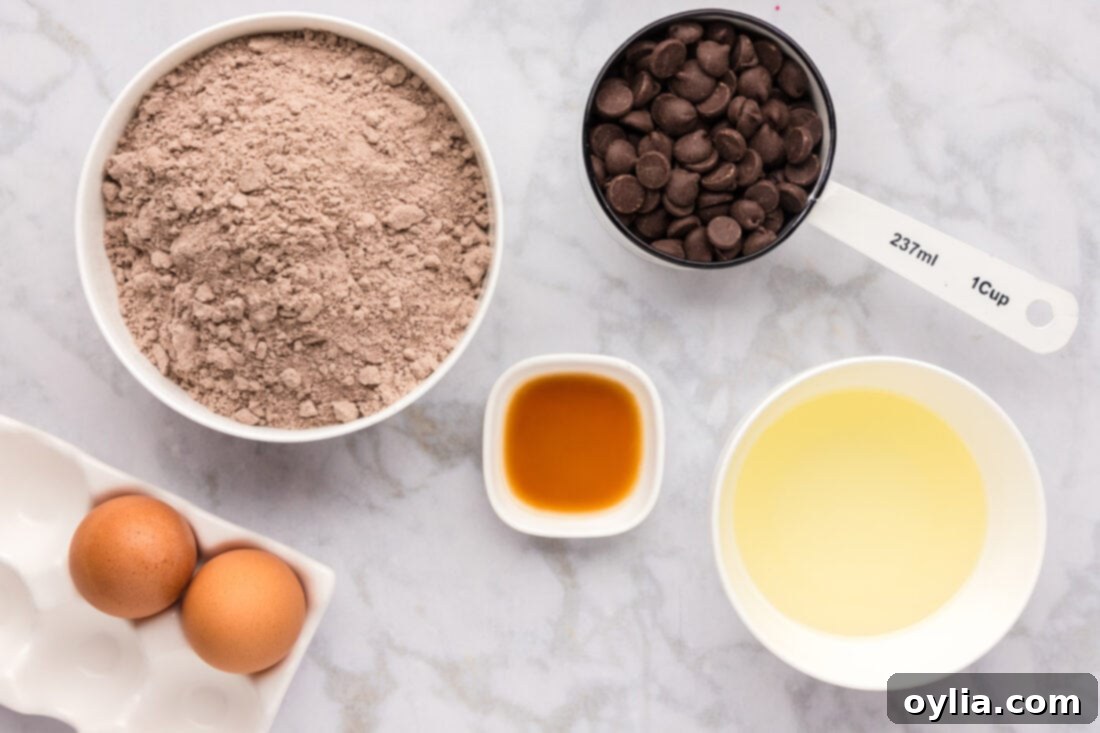
Ingredient Spotlight & Smart Substitutions
Let’s dive a little deeper into the ingredients and how you can customize these delicious brownies:
- CAKE MIX – We achieved fantastic results with a standard-size (15.25 ounce) chocolate fudge cake mix. For the ultimate fudgy texture, we highly recommend choosing cake mixes that call for oil rather than butter in their original cake instructions. Oil contributes to a moister, denser, and richer brownie, whereas butter can sometimes lead to a cakier result. While chocolate fudge is a classic, don’t hesitate to experiment with other chocolate varieties like Devil’s Food or dark chocolate cake mix. You could even try a yellow or vanilla cake mix and add a few tablespoons of unsweetened cocoa powder to achieve a chocolate flavor!
- EGGS – Large eggs are key here. They act as a binding agent, helping to hold the brownies together and contributing to their structure and chewiness.
- VEGETABLE OIL – As mentioned, oil is crucial for that desirable fudgy consistency. Vegetable oil is our go-to, but canola oil or another neutral-flavored oil would work equally well. Avoid using oils with strong flavors, like olive oil, unless you specifically want that taste in your brownies.
- PURE VANILLA EXTRACT – A touch of vanilla goes a long way in enhancing the chocolate flavor, adding depth and warmth to your brownies. Don’t skip it!
- CHOCOLATE CHIPS – We absolutely love the intense richness that dark chocolate chips bring to these brownies. They provide a delightful contrast to the sweetness of the cake mix. However, feel free to get creative! You can easily substitute them with semi-sweet chocolate chips, milk chocolate chips, white chocolate chips, or even peanut butter chips for a different flavor profile. For an extra special touch, sprinkle some coarse sea salt on top before baking to cut through the sweetness and highlight the chocolate.
How to Master These Cake Mix Brownies (Step-by-Step)
These step-by-step photos and instructions are designed to help you visualize the process of making this incredibly simple recipe. You can Jump to Recipe to get the printable version of this recipe, complete with precise measurements and instructions at the bottom of the page.
- Preheat your oven to 350°F (175°C). Prepare an 8×8 inch baking pan by lining it with parchment paper. Make sure to leave some excess parchment hanging over the sides; these will serve as convenient “handles” to easily lift your brownies out of the pan once they’re cooled.
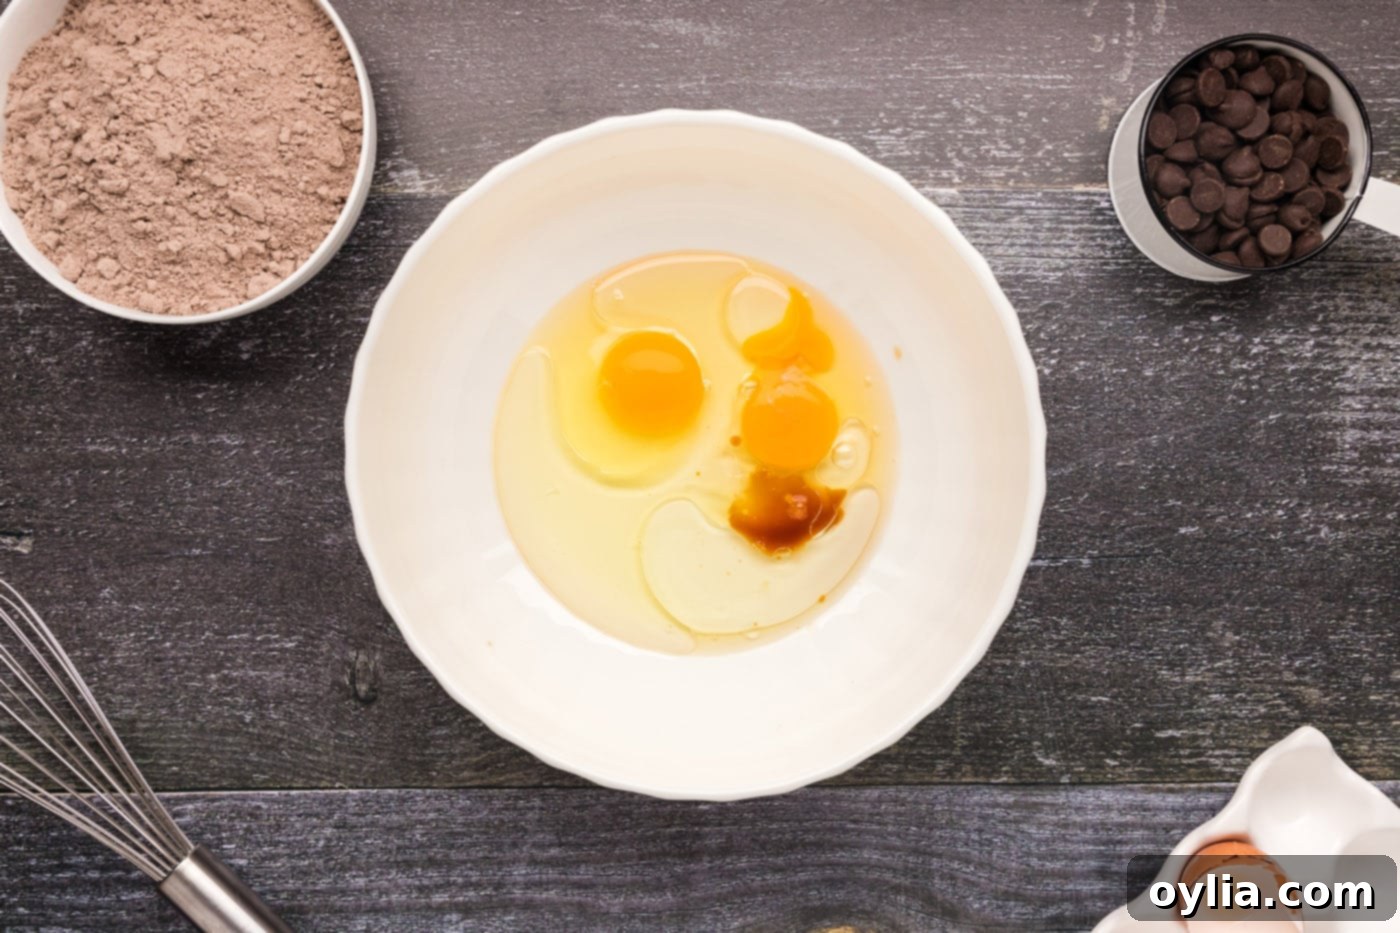
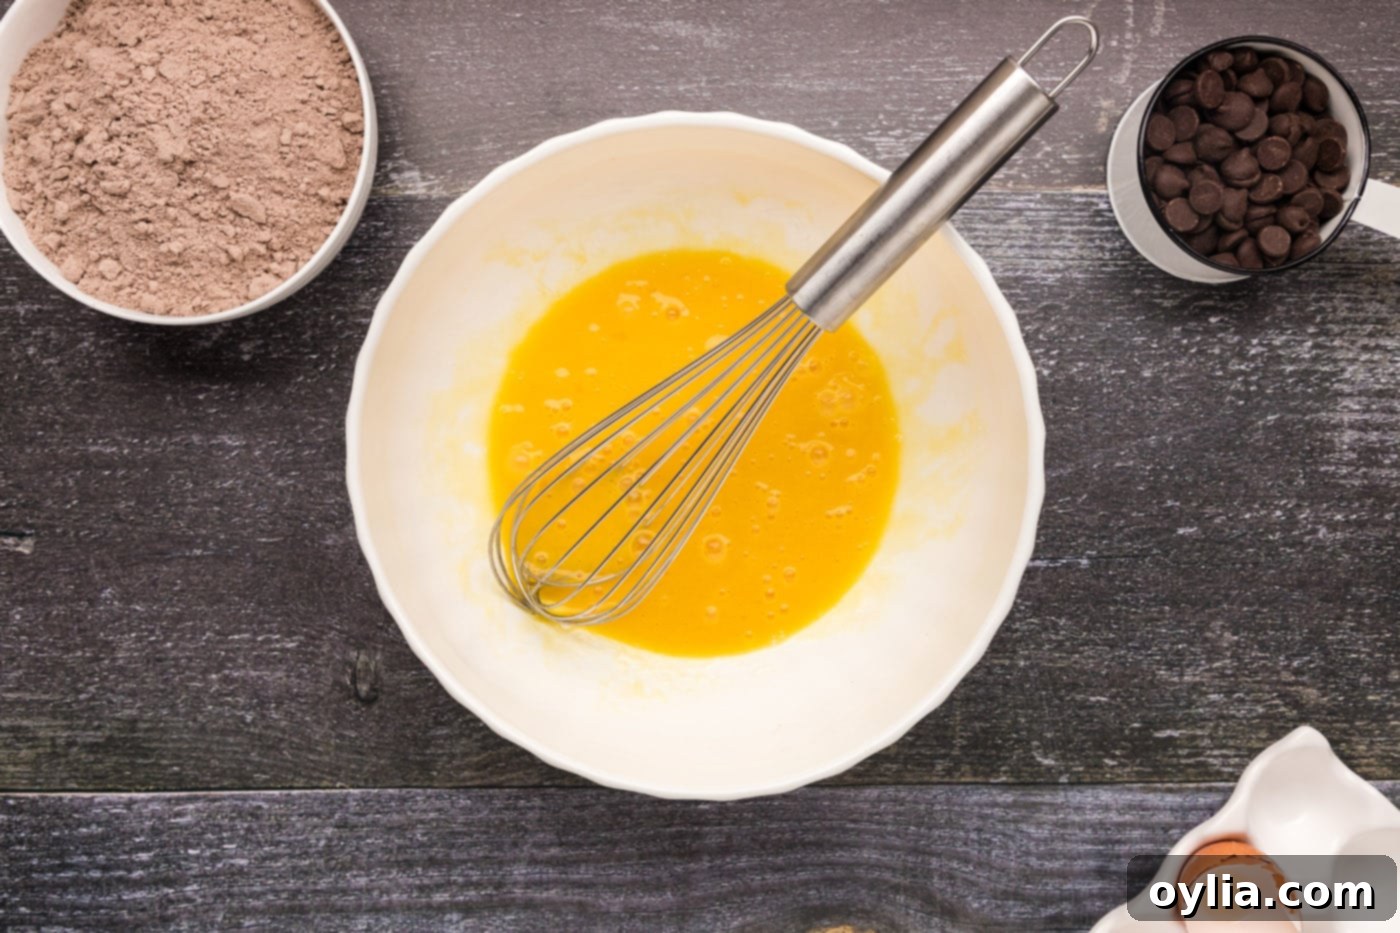
- In a large mixing bowl, combine the two large eggs, ⅓ cup of vegetable oil, and 1 teaspoon of pure vanilla extract. Whisk these wet ingredients together thoroughly until they are well combined and slightly frothy.


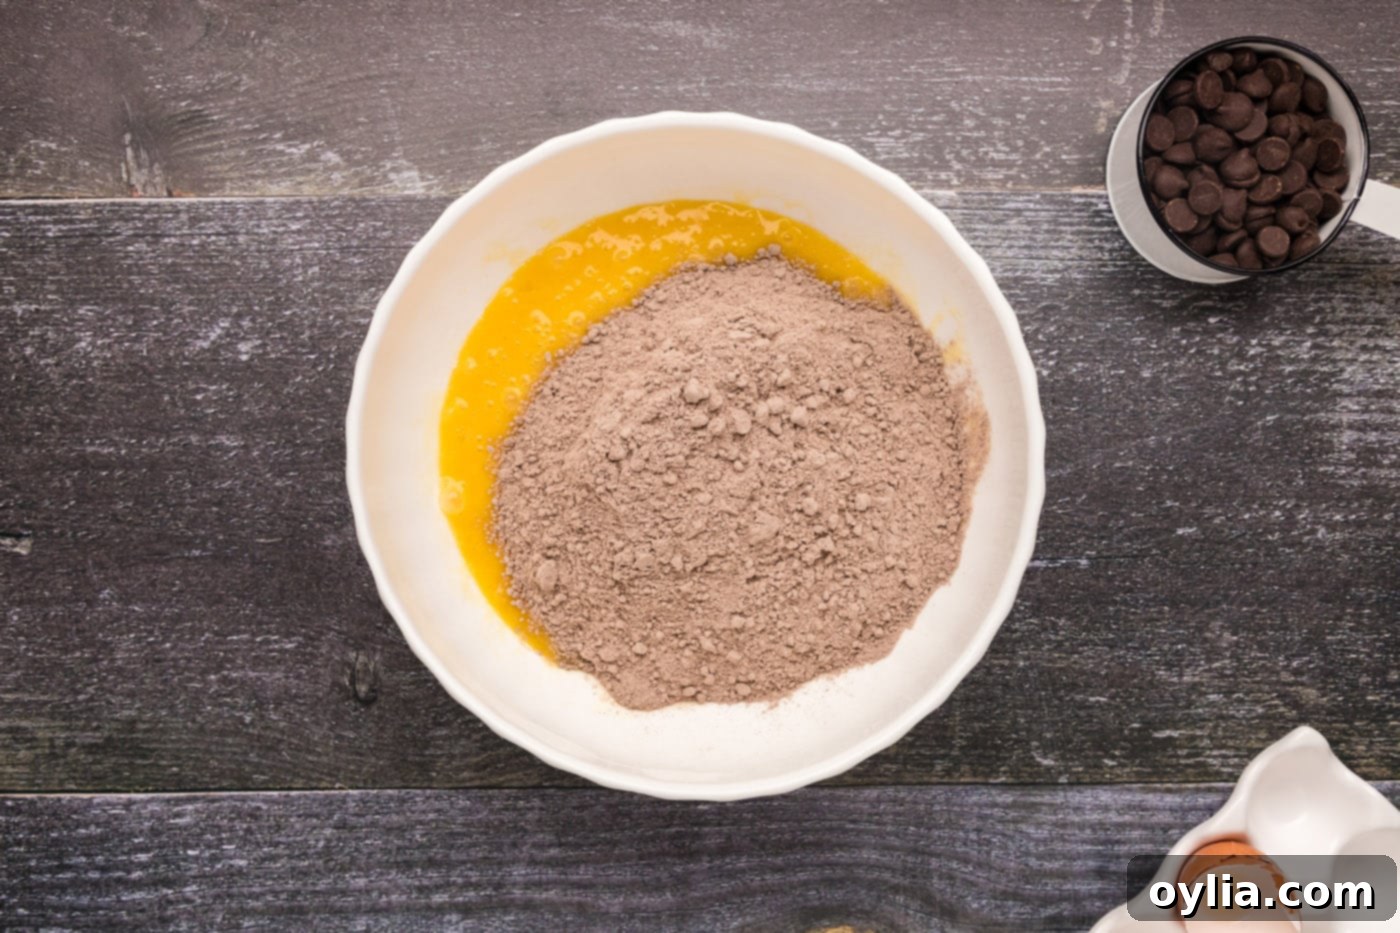
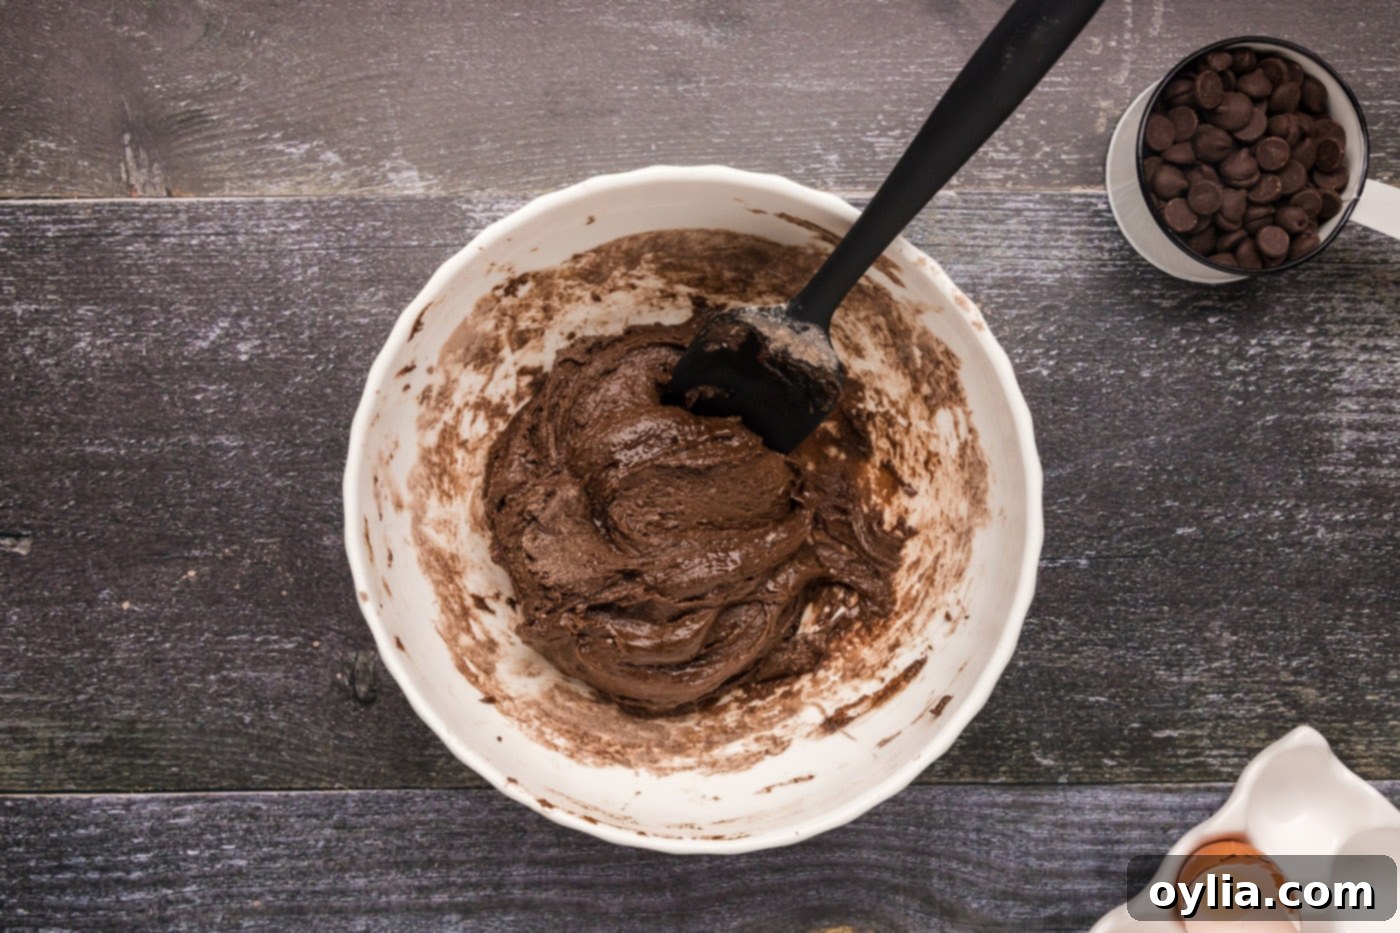
- Gradually add the entire box of dry chocolate cake mix to the wet ingredients. Using a sturdy rubber spatula or a wooden spoon, stir until just combined. The mixture will be exceptionally thick and may require a bit of effort to combine – this is perfectly normal for a fudgy brownie batter! Be careful not to overmix, as this can lead to a tougher brownie.
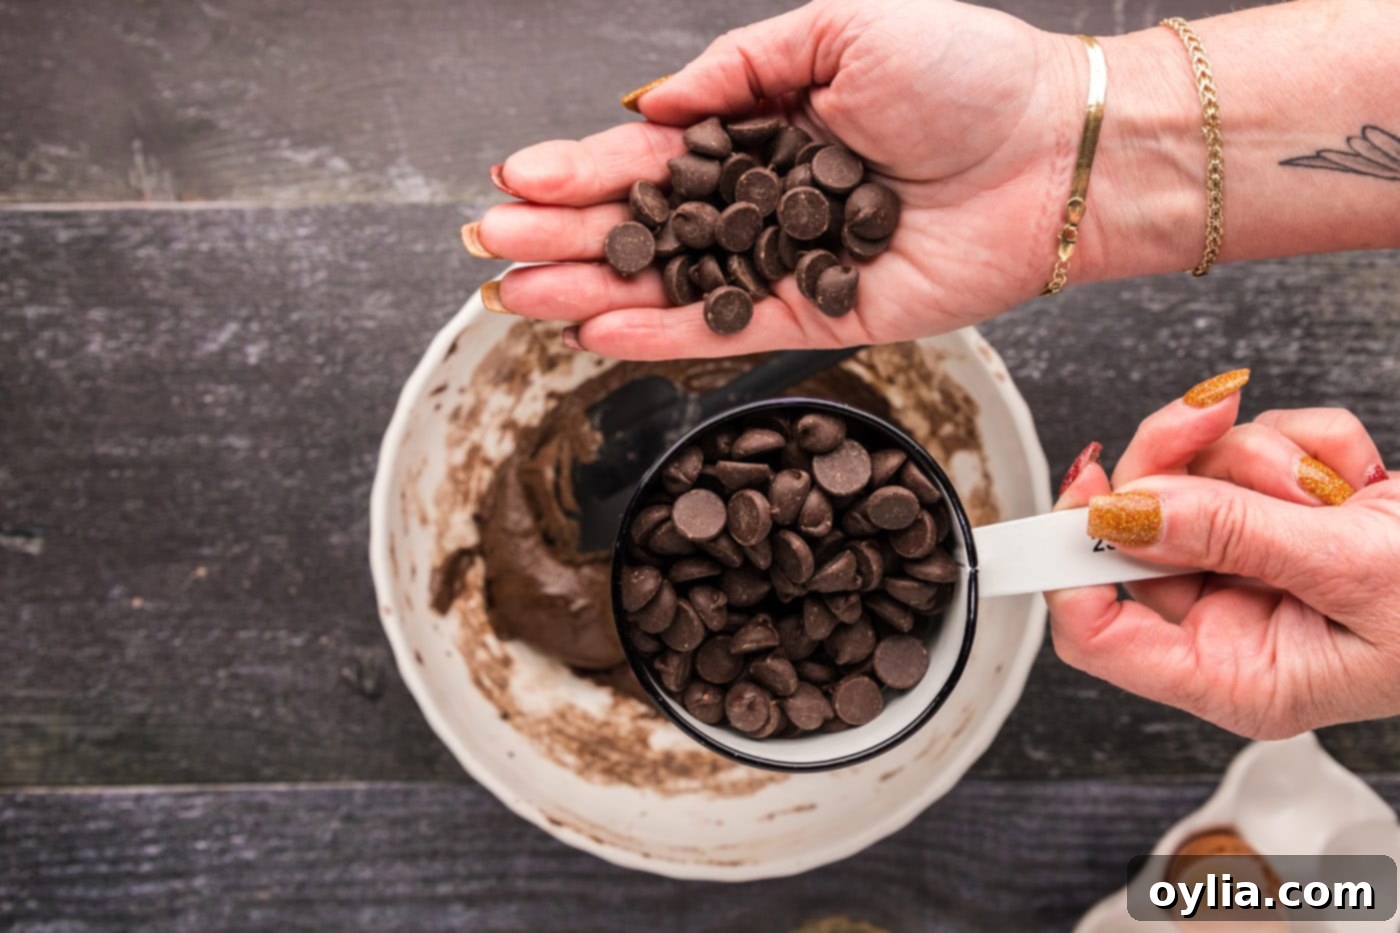
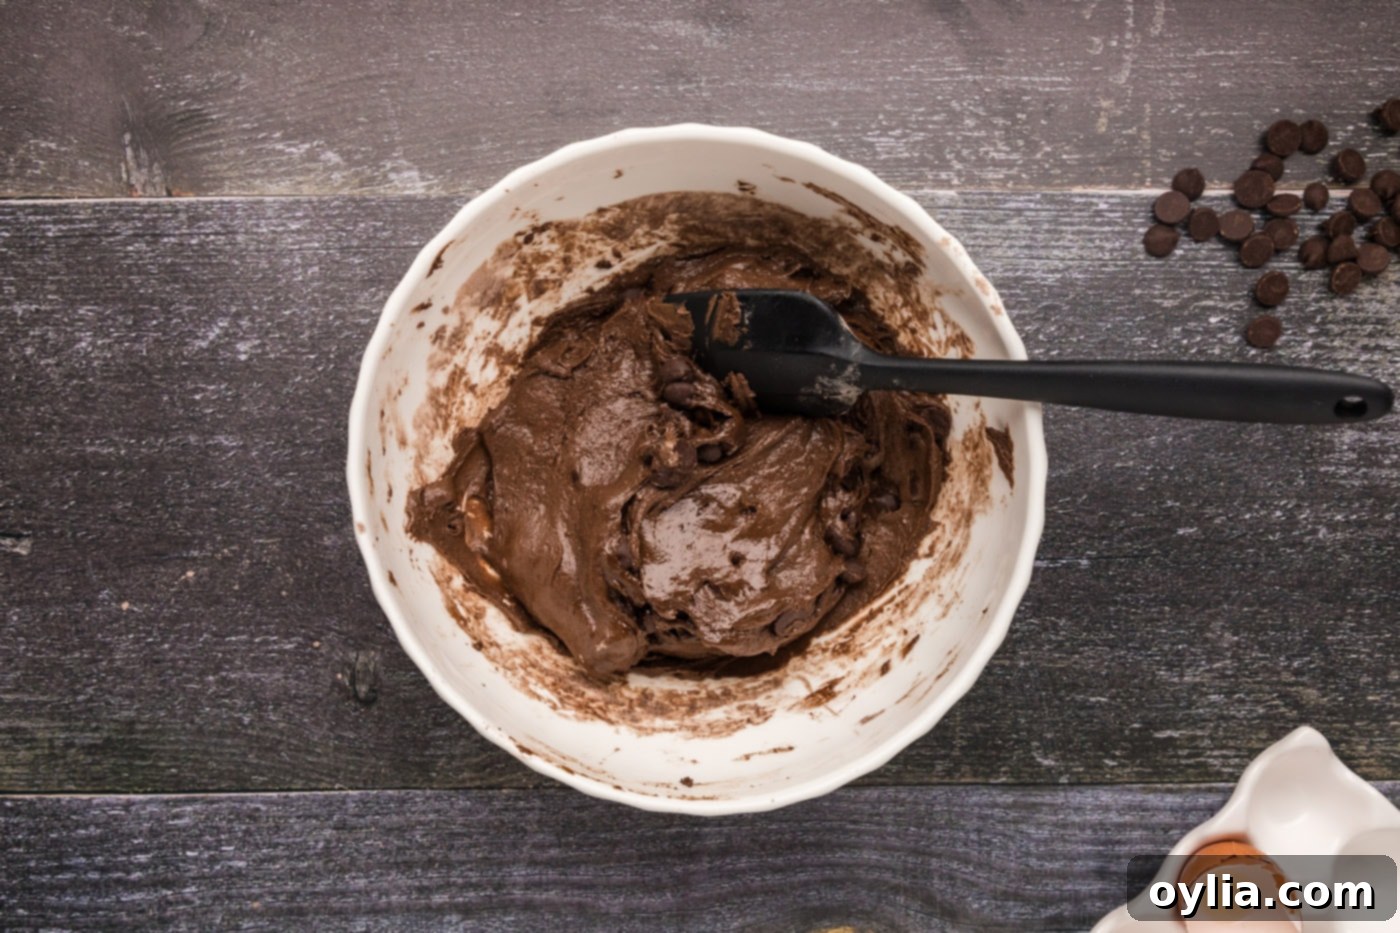
- Before adding all the chocolate chips, set aside about a handful to sprinkle on top of the batter later. This ensures a beautiful, chocolatey presentation. Stir the remaining chocolate chips into the thick brownie batter until they are evenly distributed throughout.


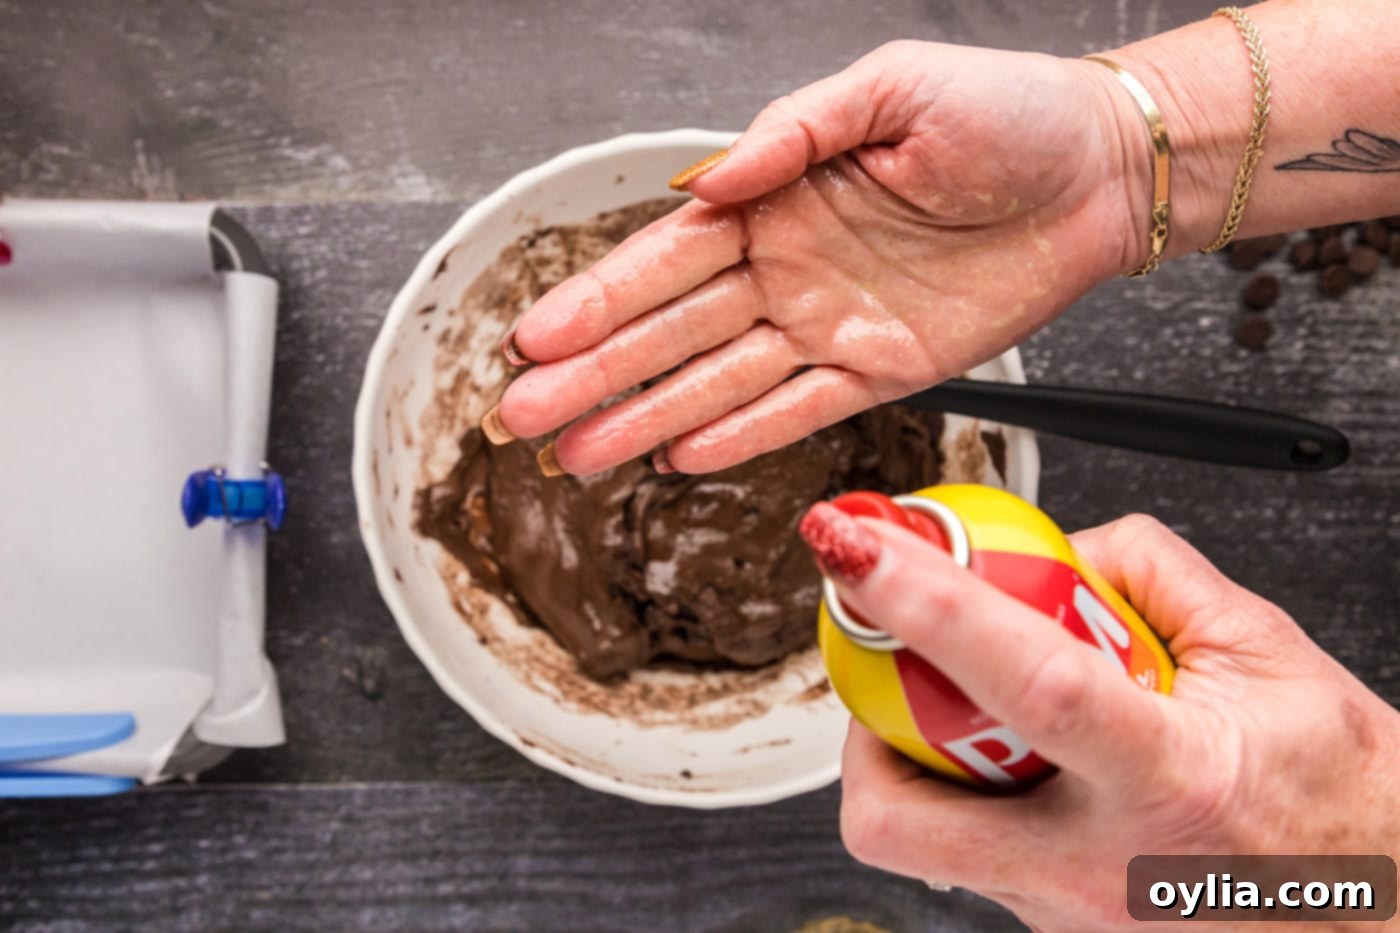
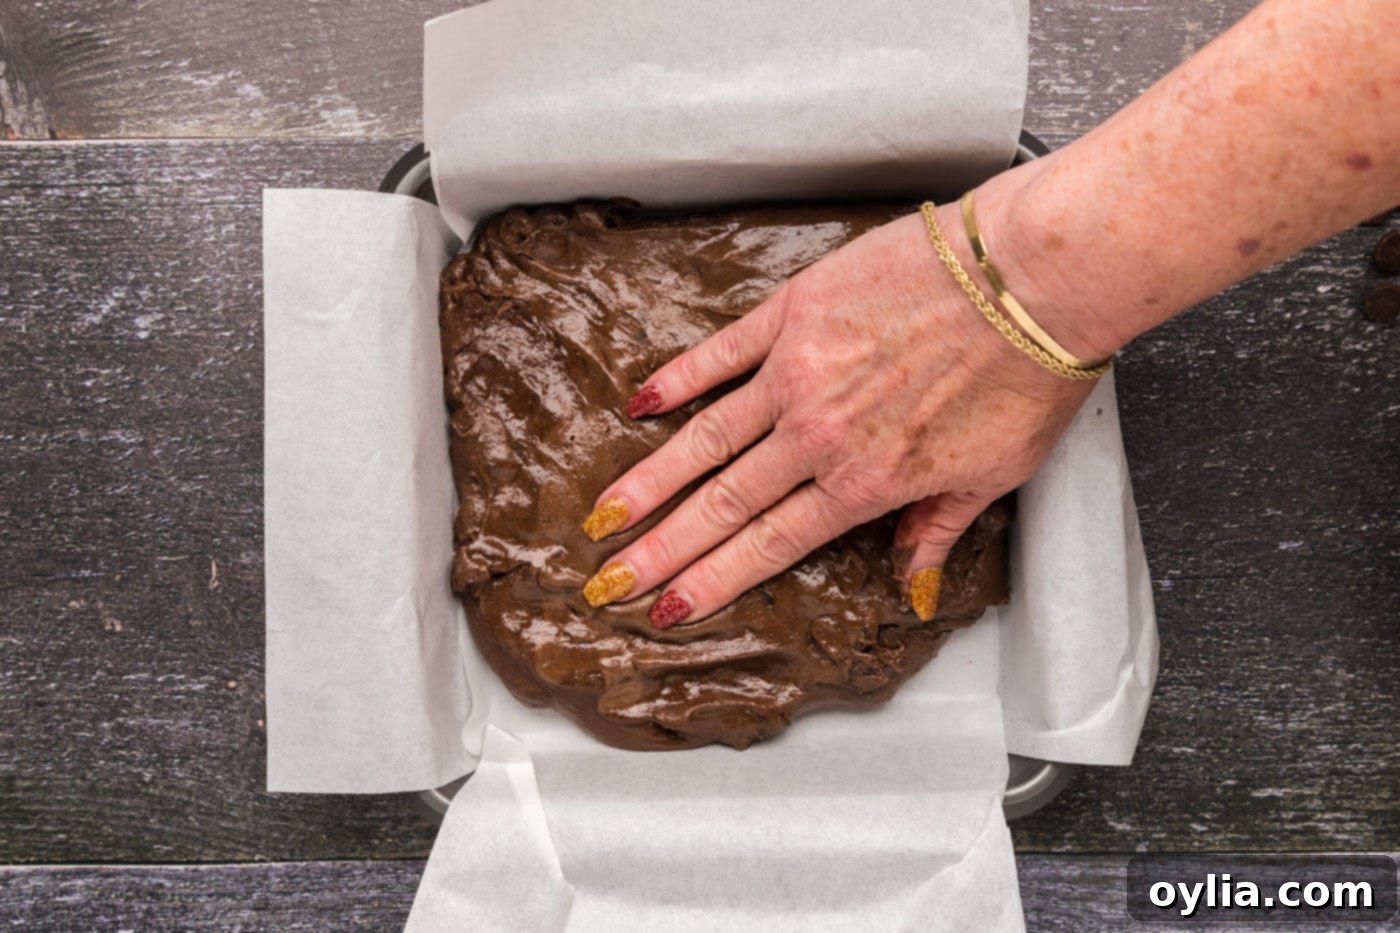
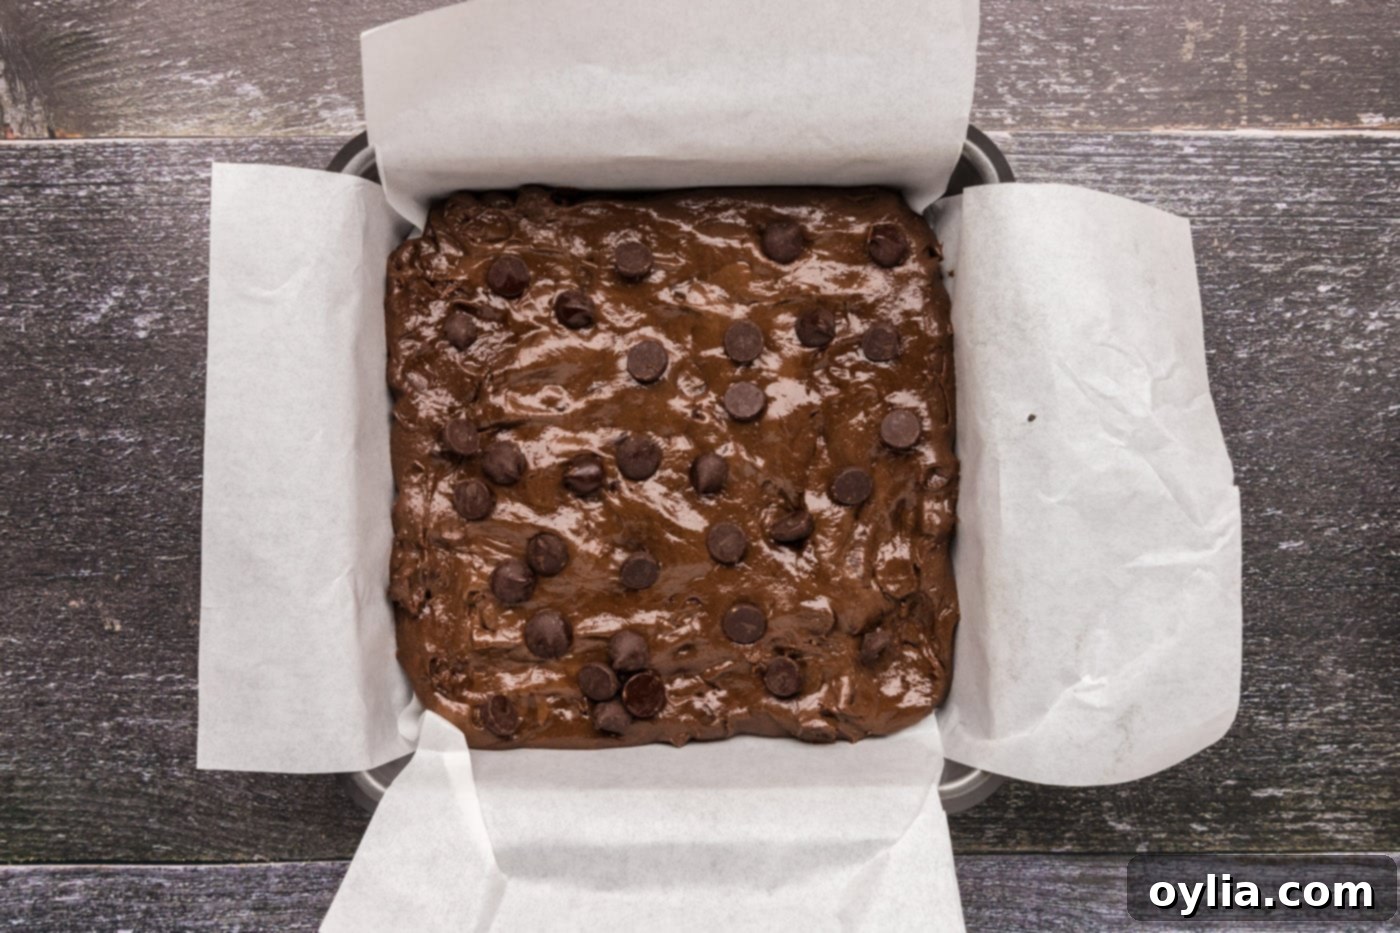
- Scoop the thick brownie batter into your prepared 8×8 inch pan. Because the batter is so dense, it can be tricky to spread. Lightly spray your hands with cooking spray, then gently press the batter into the pan until it forms an even layer from edge to edge. Finally, sprinkle the reserved chocolate chips over the top for a gorgeous finish.


- Bake your brownies in the preheated oven for 19-21 minutes. Baking times can vary slightly depending on your oven, so keep an eye on them. A good indicator of doneness for fudgy brownies is when the edges are set and a toothpick inserted into the center comes out with moist crumbs, but not wet batter. Avoid overbaking, as this can lead to dry brownies.
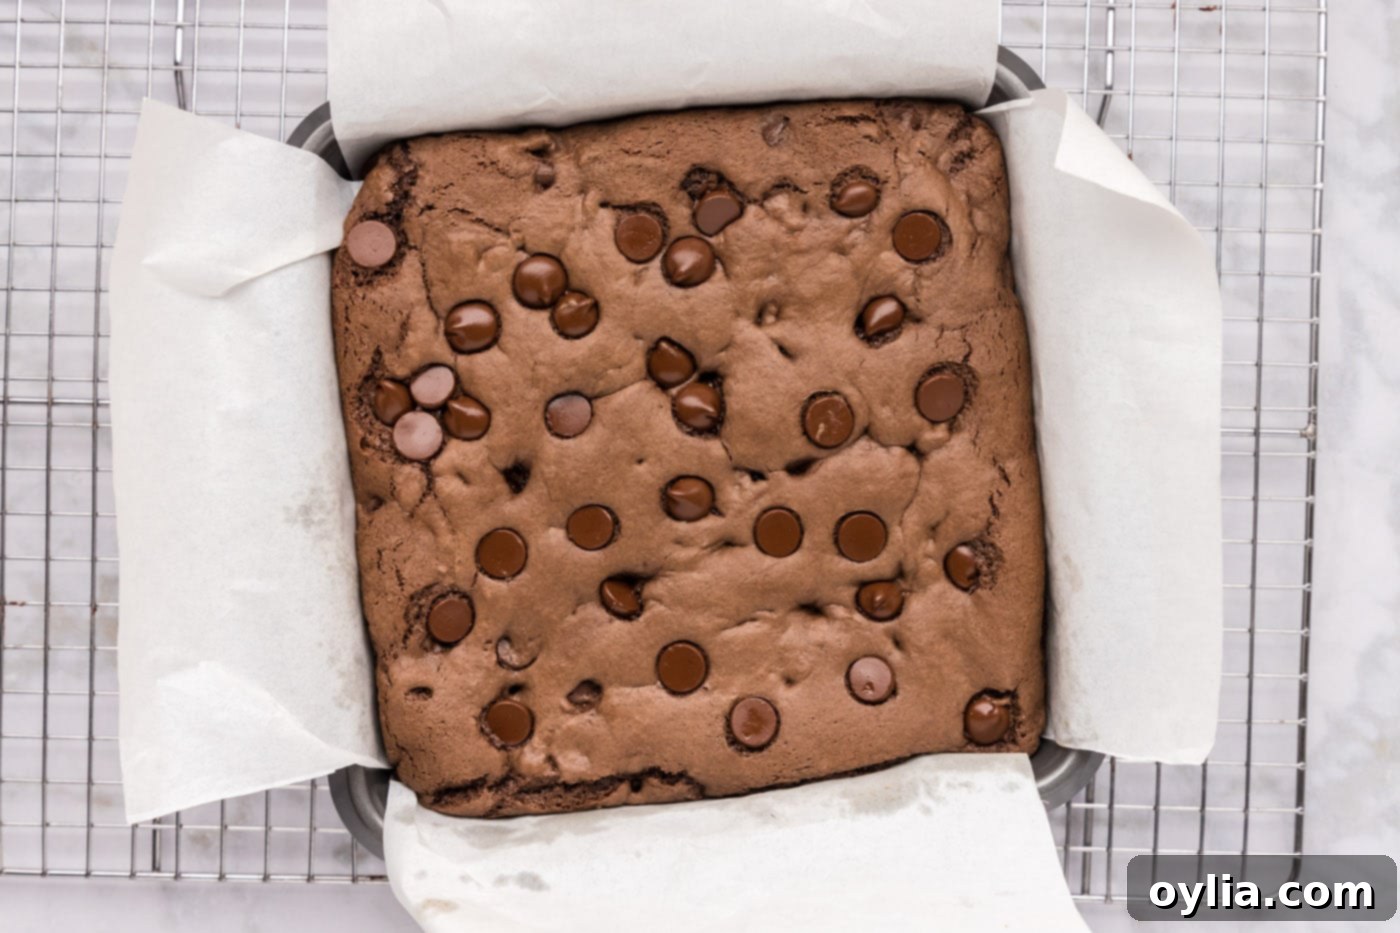
- Once baked, remove the pan from the oven and place it on a wire cooling rack. Allow the brownies to cool in the pan for at least 20 minutes. This is crucial for them to set properly and become truly fudgy. After 20 minutes, use the parchment paper handles to carefully lift the brownies out of the pan and transfer them to the cooling rack to cool completely. Resist the urge to cut into them while they are warm – patience will be rewarded with perfectly textured brownies!

Frequently Asked Questions & Expert Tips for Perfect Brownies
Absolutely! Nuts are a fantastic addition for extra texture and flavor. You can incorporate chopped nuts (like walnuts, pecans, or almonds) directly into the batter along with the chocolate chips, or simply sprinkle them over the top before baking for a crunchy topping. Toasting the nuts lightly before adding them can enhance their flavor even further. Treat these cake mix brownies just as you would a batch of homemade brownie batter – customize away!
Once fully cooled, store your delicious brownies in an airtight container at room temperature for up to 5 days. Keeping them properly sealed with a lid is essential to prevent them from drying out and becoming hard or crumbly. For longer storage, you can also freeze brownies. Wrap individual brownies tightly in plastic wrap, then place them in a freezer-safe bag or container for up to 3 months. Thaw at room temperature before serving.
The key to fudgy brownies is to avoid overbaking. Start checking around the 19-minute mark. Insert a toothpick into the center of the brownies. If it comes out with moist crumbs attached but no wet batter, they are ready. A perfectly clean toothpick often means they are overbaked and will be dry. The edges should look set, but the center might still look slightly soft. Remember, brownies continue to cook slightly as they cool in the hot pan.
This recipe is optimized for an 8×8 inch pan, which yields thicker, fudgier brownies with a good chewy edge. If you use a larger pan, such as a 9×13 inch pan, your brownies will be thinner and may bake faster. You’ll need to reduce the baking time by several minutes, likely to 15-18 minutes, and keep a close eye on them using the toothpick test. For a smaller pan, like a 9×5 inch loaf pan, the brownies would be much thicker and require a longer baking time, potentially 25-30 minutes, or even more. Adjusting pan size will change the texture and bake time, so an 8×8 is highly recommended for the best results.
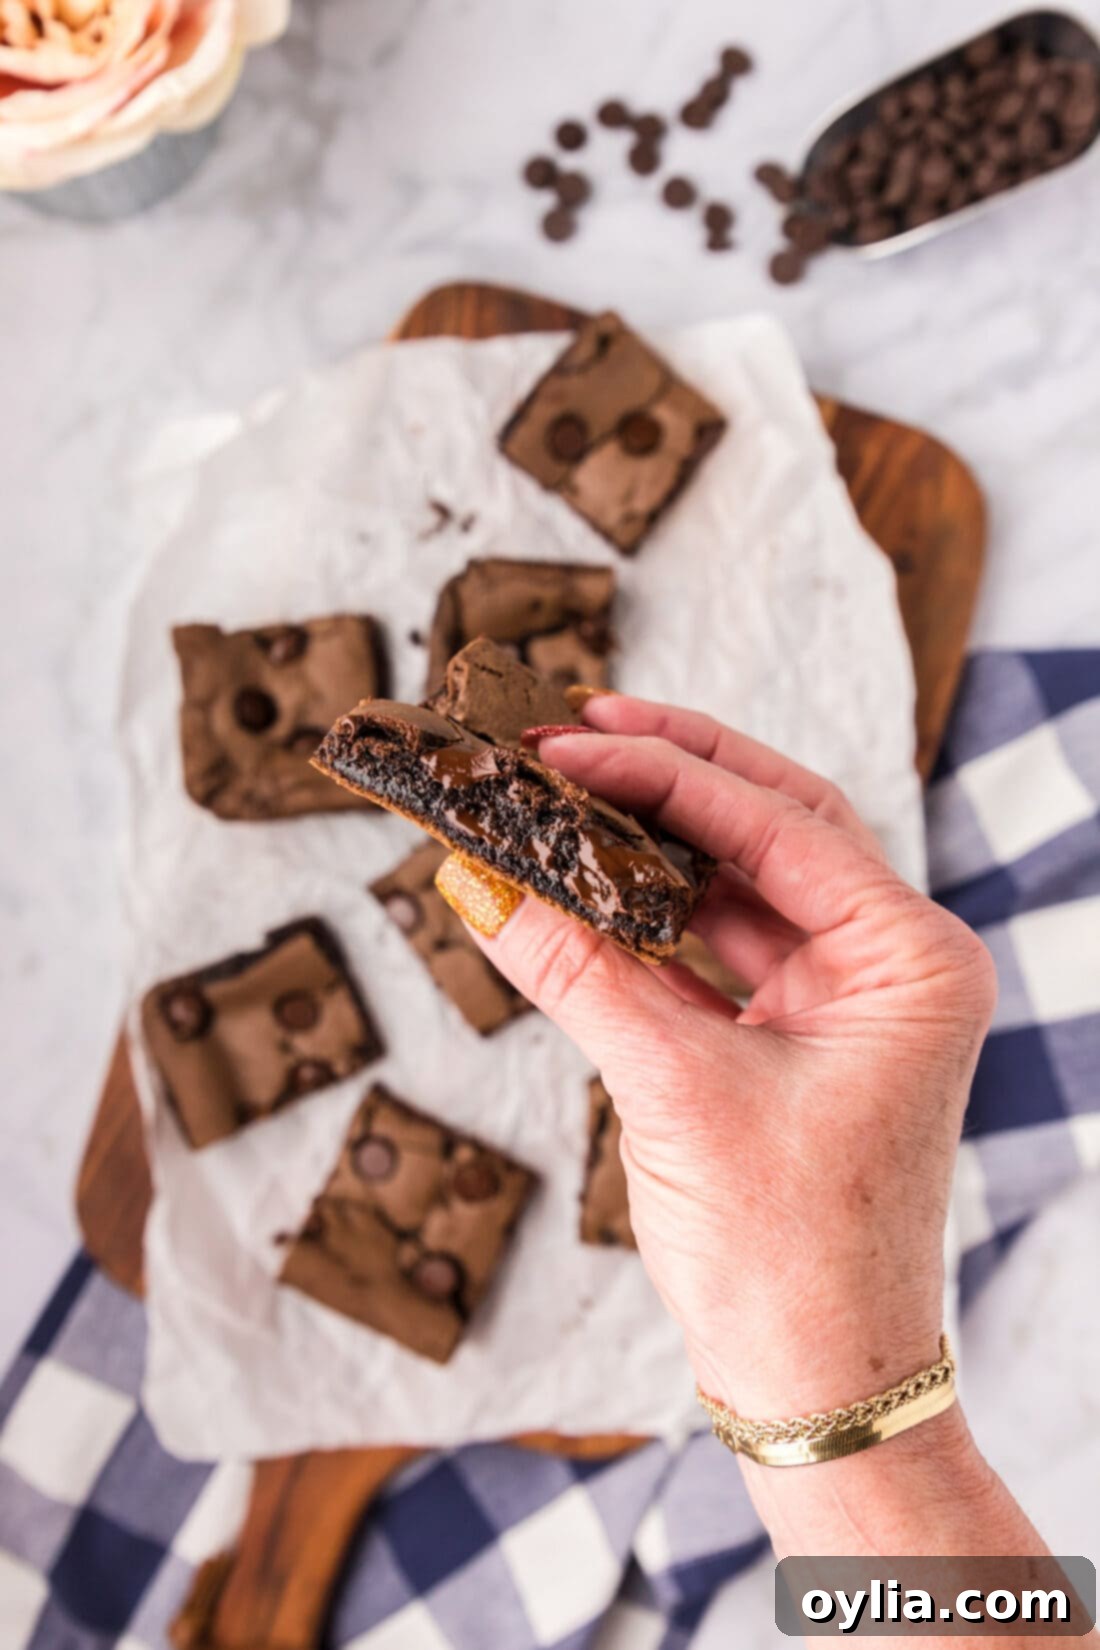
Delightful Serving Suggestions
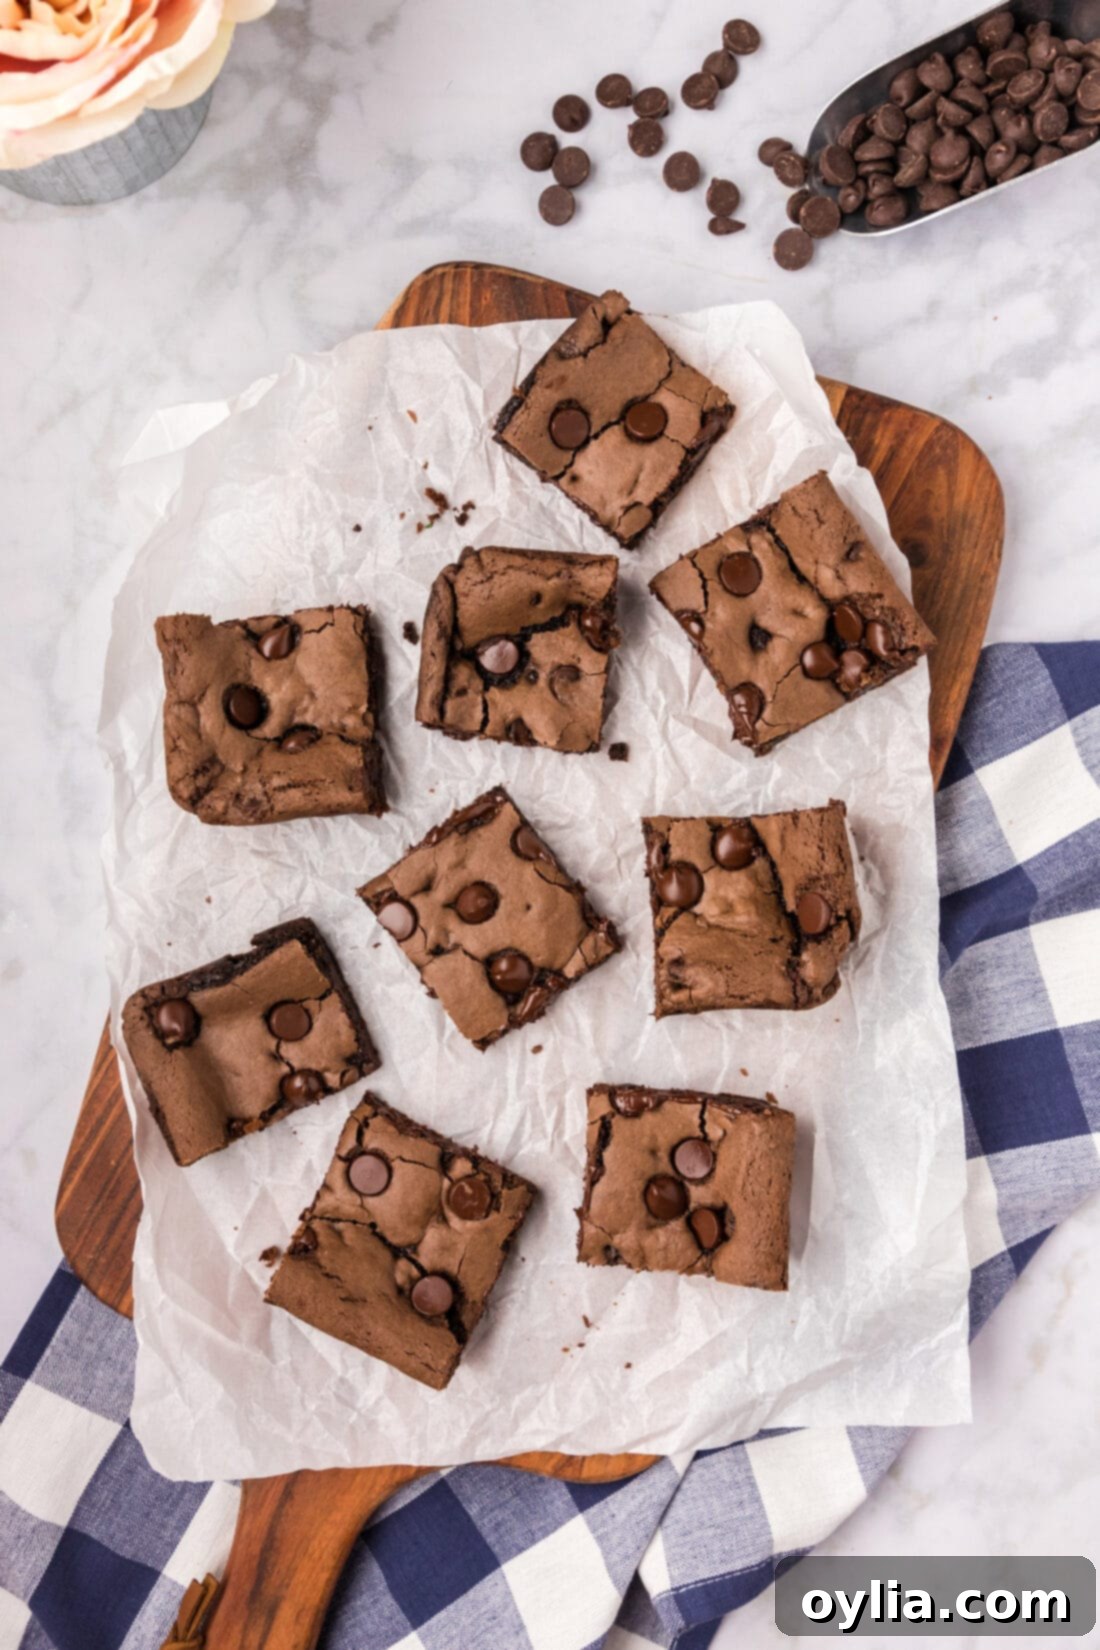
These fudgy cake mix brownies are absolutely delicious on their own, a perfect treat enjoyed straight from the cooling rack (once completely cool, of course!). For an extra special indulgence, serve them warm with a generous scoop of vanilla bean ice cream or a dollop of freshly whipped cream. A drizzle of caramel sauce or chocolate syrup can take them to the next level. They also pair wonderfully with a tall, cold glass of milk, a hot cup of coffee, or a cozy mug of hot chocolate. Remember, waiting until they’re fully cooled before slicing will ensure clean, perfectly structured squares every time. Enjoy every bite!
Explore More Easy Cake Mix Recipes
Cake mixes are incredibly versatile and can be used to create a wide array of effortless desserts and treats beyond just brownies. If you love the simplicity and delicious results of this recipe, you’ll definitely want to try some of our other favorite cake mix creations:
- Cake Mix Donuts
- Cake Mix Cookie Bars
- Chocolate Cake Mix Cookies
- Peanut Butter Cake Mix Cookies
- Cake Mix Waffles
I love to bake and cook and share my kitchen experience with all of you! Remembering to come back each day can be tough, that’s why I offer a convenient newsletter every time a new recipe posts. Simply subscribe and start receiving your free daily recipes!
Cake Mix Brownies
IMPORTANT – There are often Frequently Asked Questions within the blog post that you may find helpful. Simply scroll back up to read them!
Print It
Pin It
Rate It
Save ItSaved!
Ingredients
- 2 large eggs
- ⅓ cup vegetable oil
- 1 teaspoon pure vanilla extract
- 15.25 ounce box of chocolate cake mix dry mix only, we used chocolate fudge
- 1 cup dark chocolate chips
Things You’ll Need
-
8×8 baking pan
-
Rubber spatula
-
Wire cooling racks
Before You Begin
- We opted for a standard-size (15.25 ounce) chocolate fudge cake mix. I would recommend sticking to cake mixes that call for oil as opposed to butter because the end result is much fudgier.
- We like the richness that the dark chocolate chips bring to these brownies, but if you prefer, you can substitute them with semi-sweet chocolate chips or peanut butter chips.
- Store the cooled brownies in an air-tight container kept at room temperature for up to 5 days. Keep them sealed with a lid to prevent them from becoming hard and crumbly.
- To avoid overbaking, check your brownies around the 19-minute mark. A toothpick inserted into the center should come out with moist crumbs, not wet batter.
Instructions
-
Preheat oven to 350 F. Line an 8×8 metal pan with parchment paper, allowing excess to hang over the sides for handles.
-
In a large bowl, whisk together eggs, oil, and vanilla.
-
Add dry cake mix and stir to combine using a sturdy rubber spatula or wooden spoon. Mixture will be very thick.
-
Reserve one handful of the chocolate chips to sprinkle on top. Stir the remaining chocolate chips into the batter.
-
Scoop batter into lined pan. Spray your hands with cooking spray and press the batter into the pan until even. Sprinkle with reserved chocolate chips.
-
Bake in preheated oven for 19-21 minutes.
-
Cool in pan on a cooling rack for 20 minutes. Lift the brownies from the pan using parchment paper handles and place on rack to cool completely.
Nutrition
The recipes on this blog are tested with a conventional gas oven and gas stovetop. It’s important to note that some ovens, especially as they age, can cook and bake inconsistently. Using an inexpensive oven thermometer can assure you that your oven is truly heating to the proper temperature. If you use a toaster oven or countertop oven, please keep in mind that they may not distribute heat the same as a conventional full sized oven and you may need to adjust your cooking/baking times. In the case of recipes made with a pressure cooker, air fryer, slow cooker, or other appliance, a link to the appliances we use is listed within each respective recipe. For baking recipes where measurements are given by weight, please note that results may not be the same if cups are used instead, and we can’t guarantee success with that method.
