Homemade Crispy Kale Chips: Your Ultimate Healthy & Easy Snack Recipe
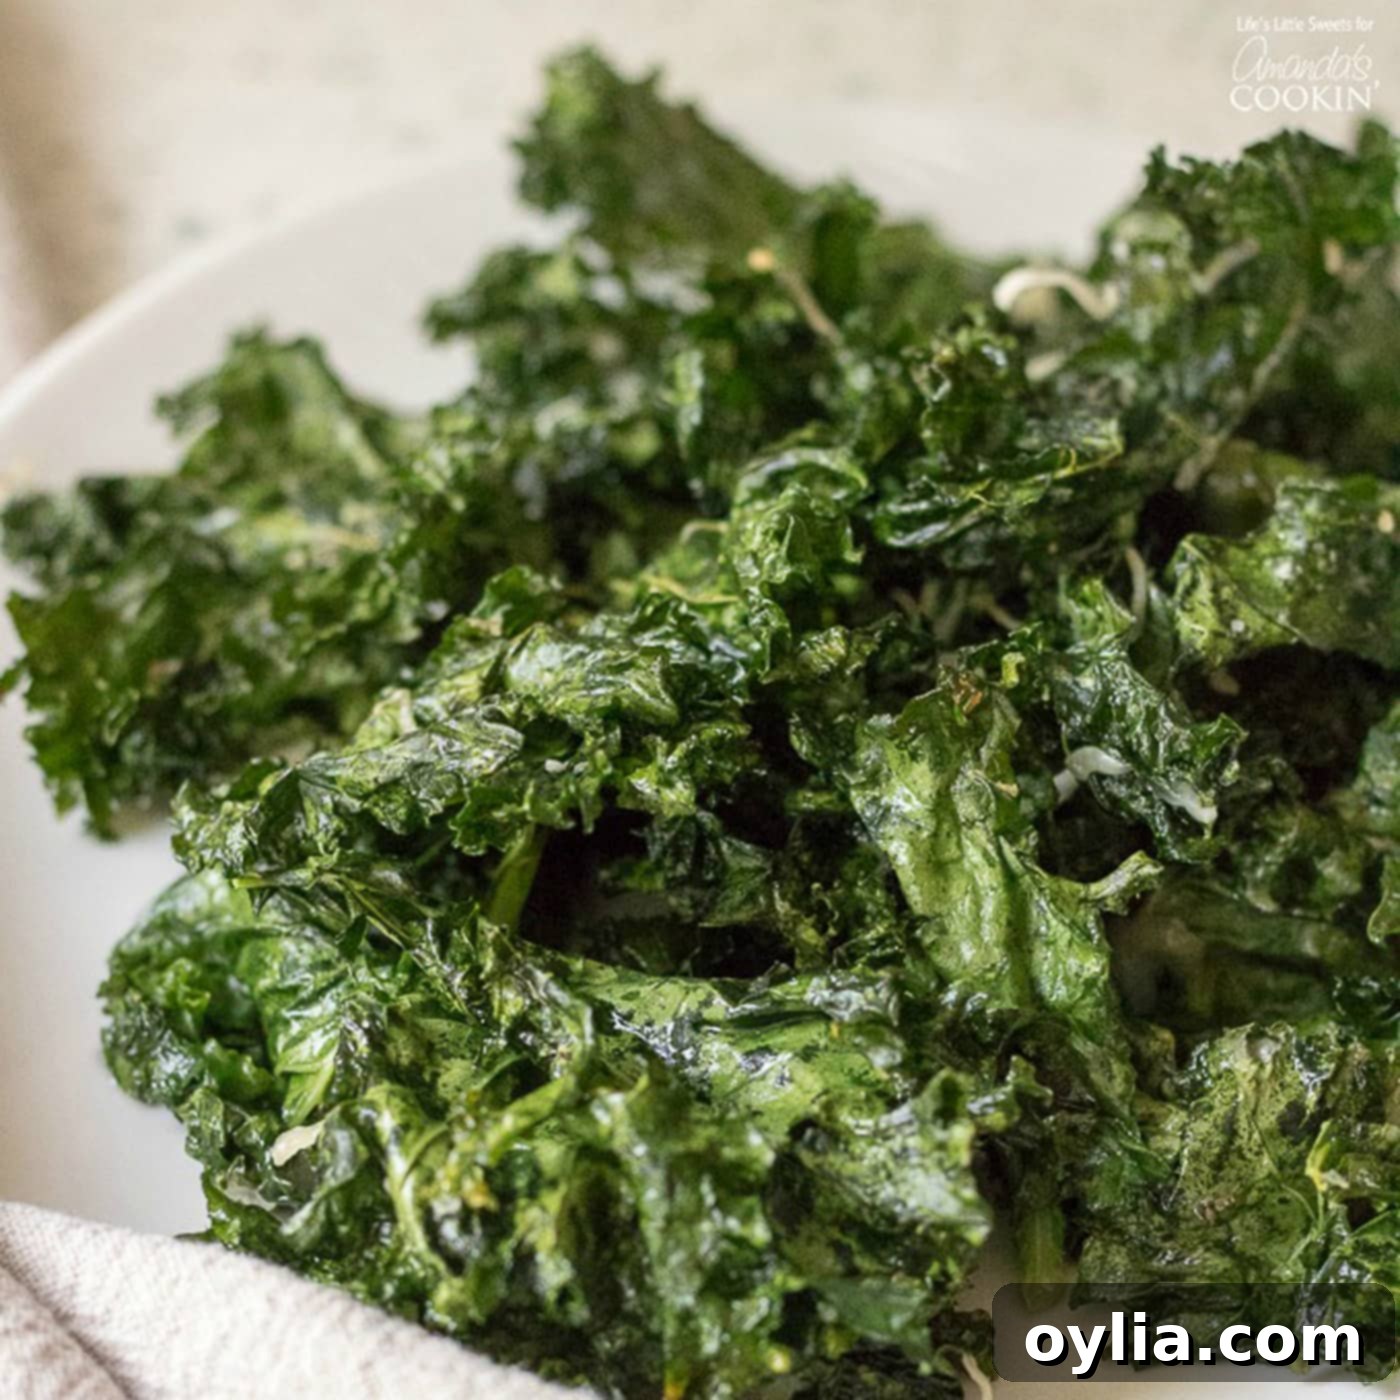
Kale Chips are a delightful culinary paradox: incredibly simple to prepare, yet immensely satisfying and packed with nutrition. Far healthier than traditional potato chips, these savory, crunchy snacks can be effortlessly tailored to your taste preferences. With just a few basic ingredients – regular olive oil, sea salt, fresh ground pepper, and an optional Italian four-cheese blend – and about 20 minutes in the oven, you can create a batch of these delicious and guilt-free treats right in your own kitchen.
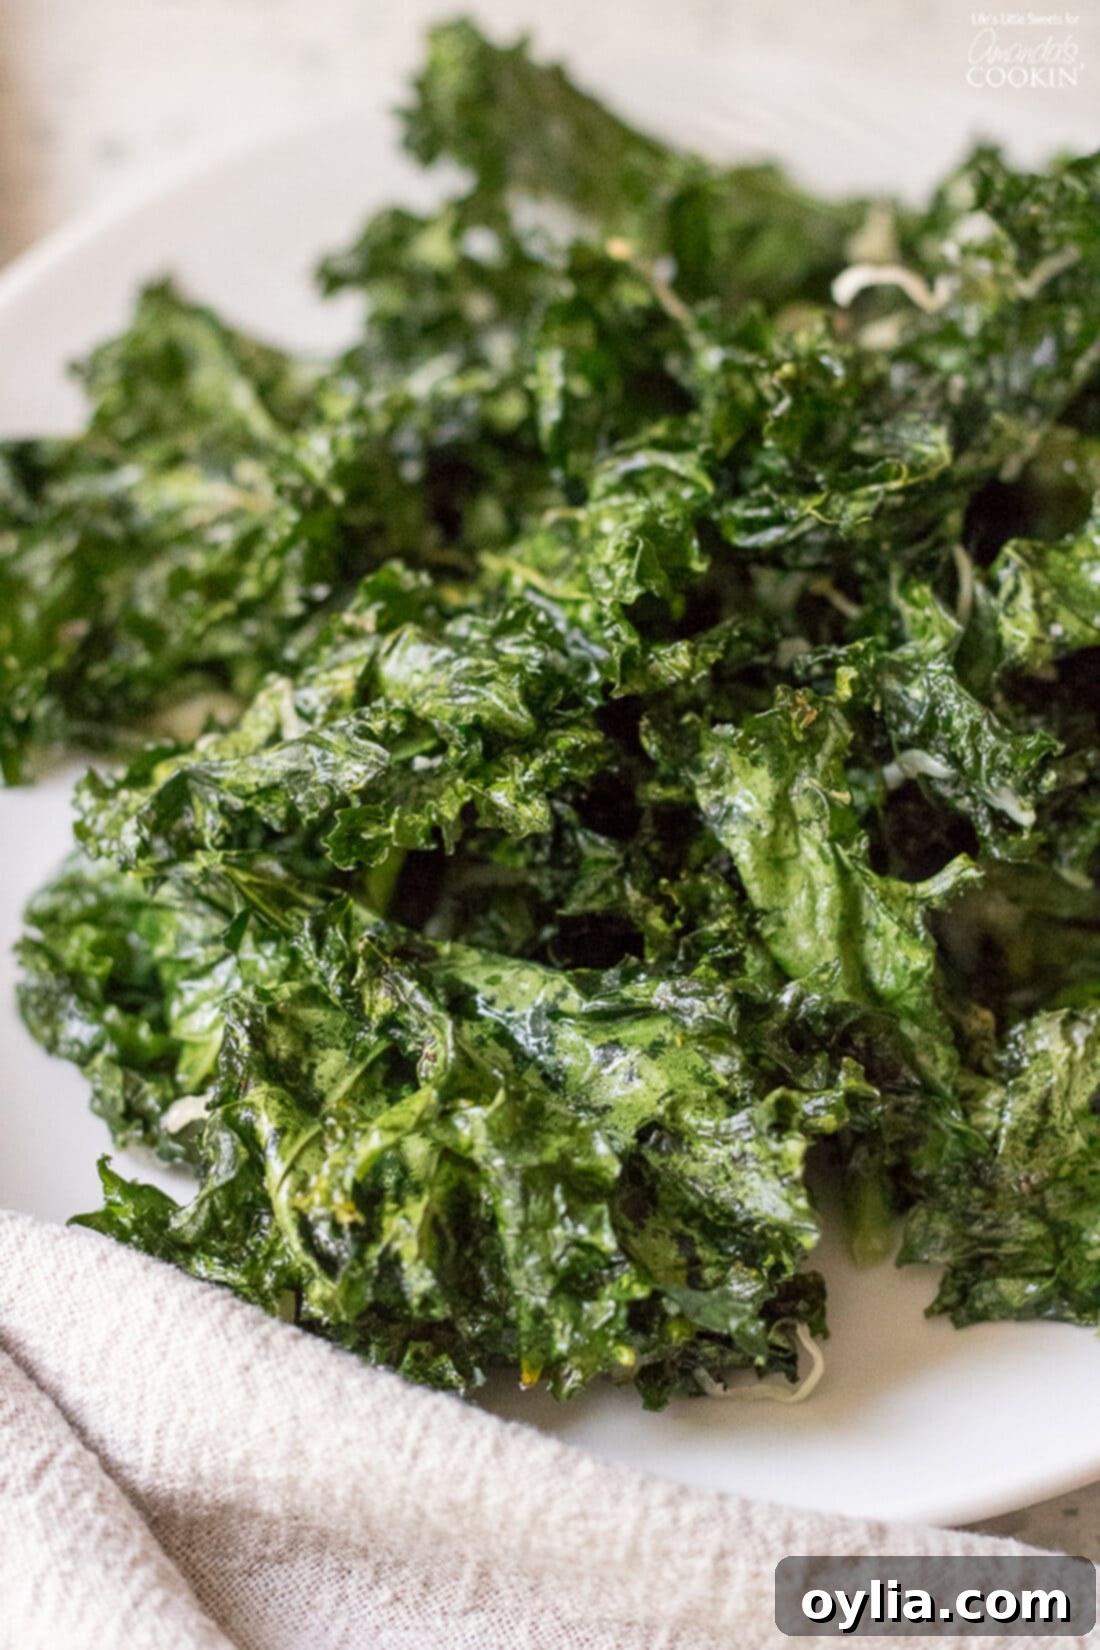
Embrace the Superfood: Why Kale Chips Are Your Next Healthy Obsession
Are you actively searching for a healthy snack that doesn’t compromise on taste and also qualifies as a “superfood”? If so, you’ve landed in the perfect place. These homemade kale chips are not only incredibly savory and delicious, but they are also remarkably versatile, allowing you to customize their flavor profile to suit virtually any craving. Beyond their enticing crunch, kale chips offer an abundance of health benefits, making them an ideal addition to a balanced diet.
Kale is a powerhouse of nutrition. It plays a significant role in promoting a healthy digestive tract due to its high fiber content and is densely packed with essential nutrients, including vitamins A, B, C, and K, along with numerous other vital minerals and antioxidants. Its impressive nutritional profile has made it a popular choice for enhancing various dishes, from refreshing green smoothies to hearty soups, such as our comforting Zuppa Toscana copycat recipe. By transforming kale into crispy chips, you unlock a delicious and convenient way to enjoy its goodness.
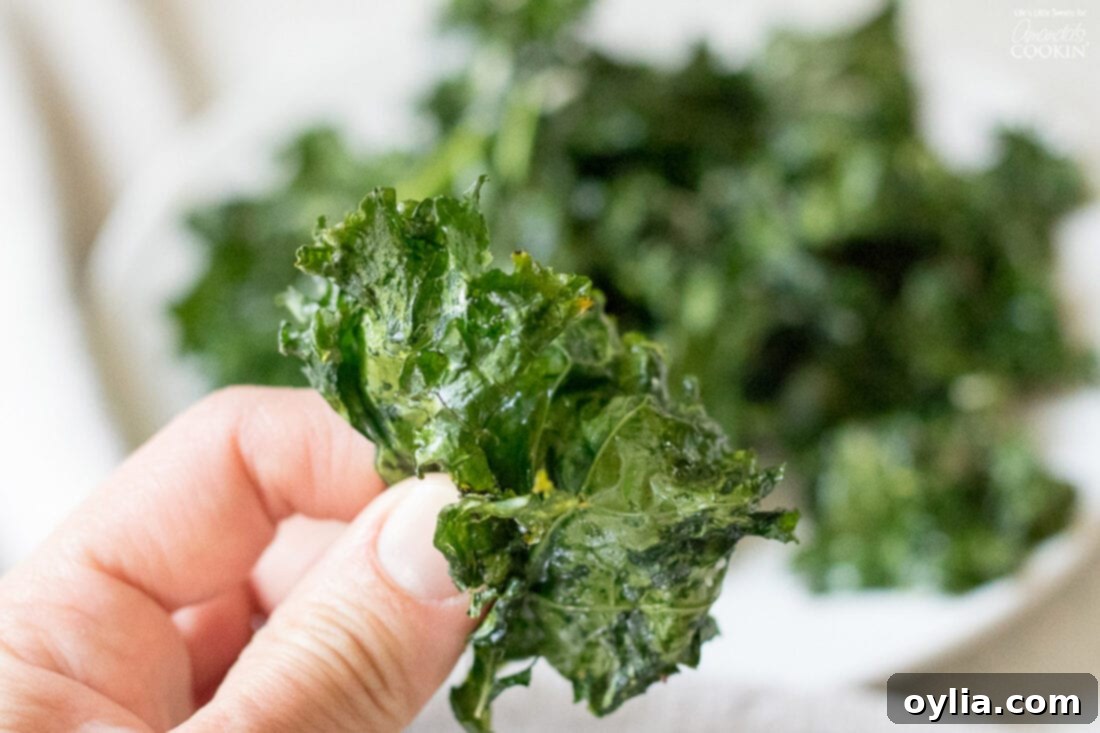
One glance at store-bought kale chips will quickly reveal that they are often disproportionately expensive for the small amount of product in the packaging. This high cost can make it prohibitive for many to enjoy this healthy snack regularly. However, the good news is that making them at home is remarkably simple, cost-effective, and yields a far greater quantity. In fact, it’s so easy and rewarding that you will likely never want to purchase them from the store again once you’ve experienced the joy of homemade crispy kale chips.
Crafting Your Own: How to Make Irresistibly Crispy Kale Chips
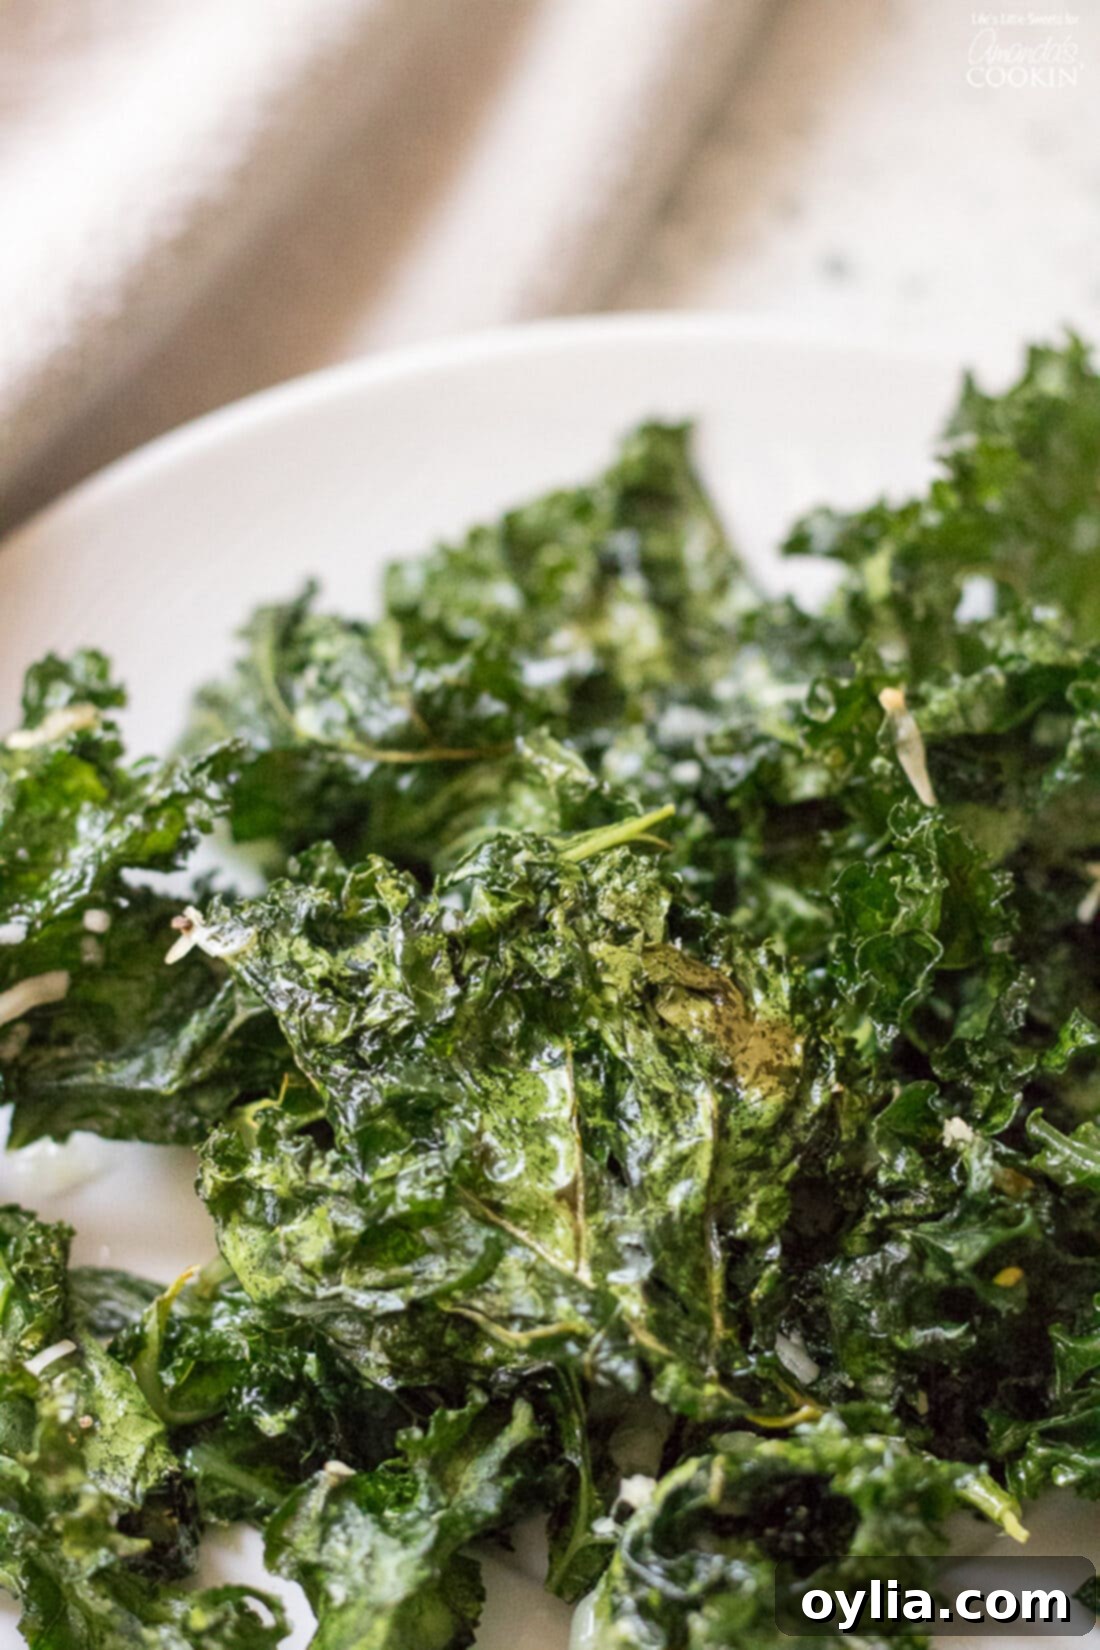
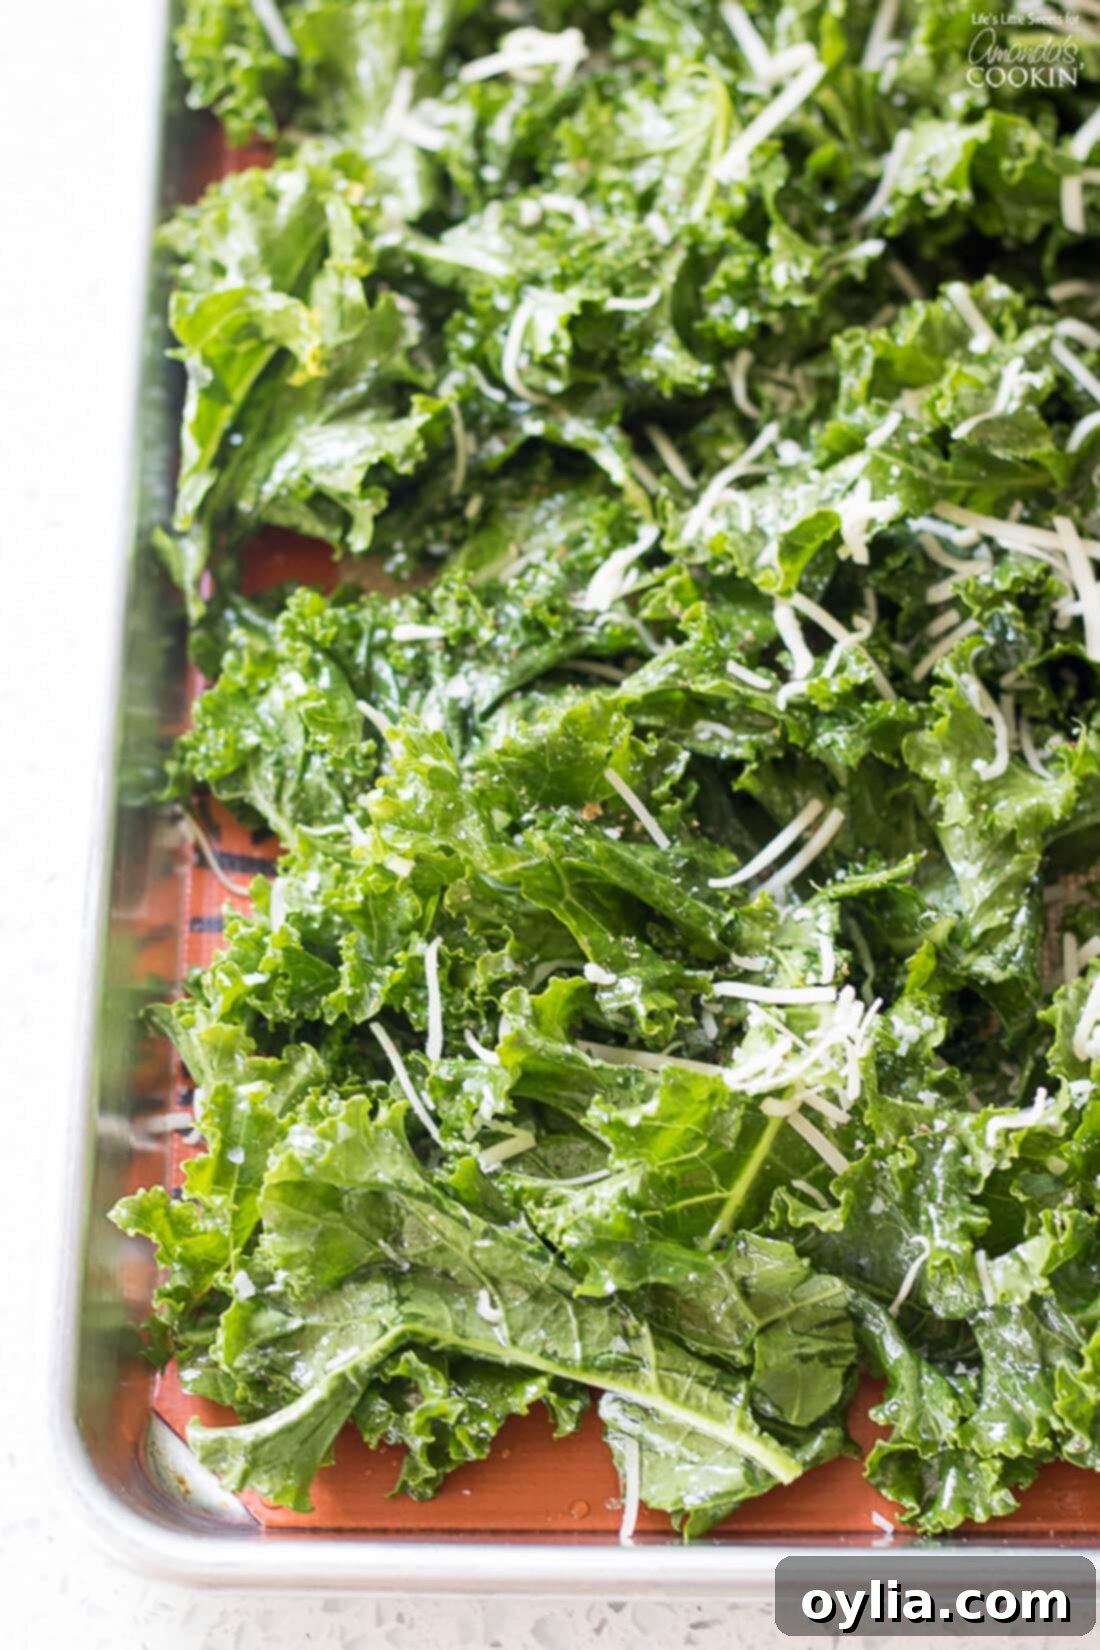
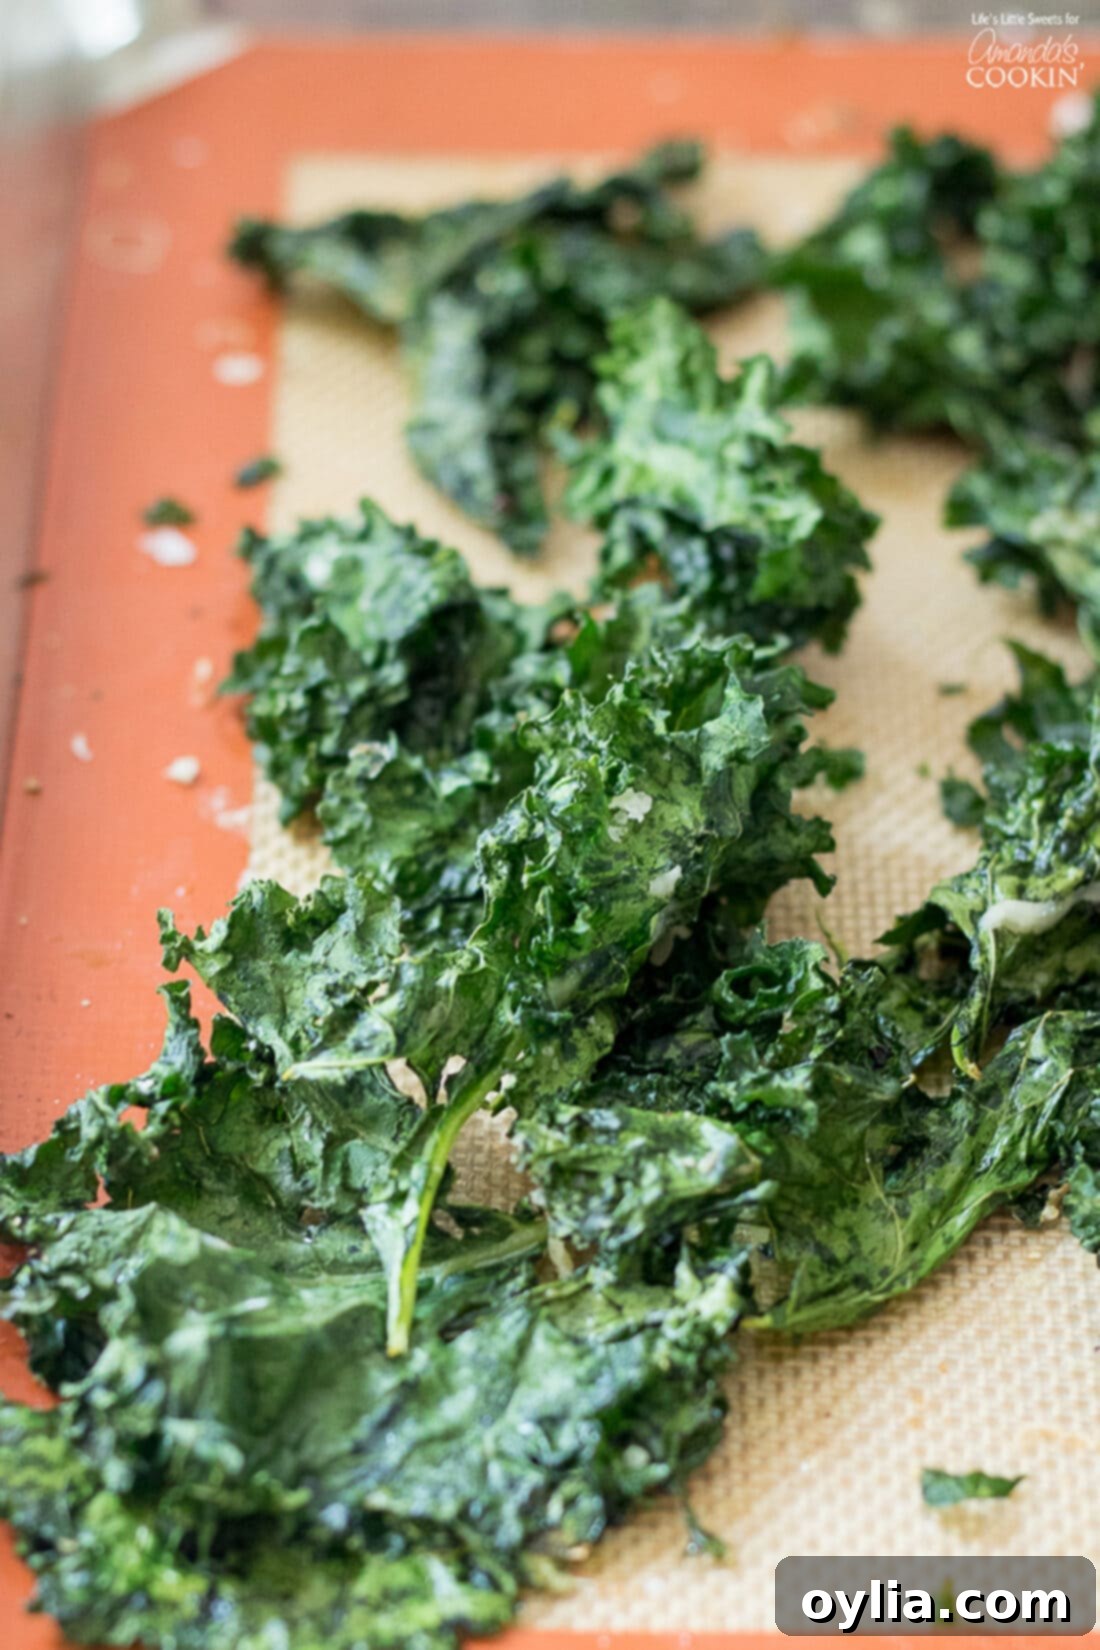
Creating perfectly crispy kale chips involves a few simple yet crucial steps that guarantee a satisfying crunch with every bite. The images you see illustrate a classic preparation, where I’ve used just regular olive oil, flakes of Maldon sea salt, and freshly ground pepper. To elevate the flavor, I added a sprinkle of shredded Italian four-cheese blend, offering a savory, cheesy dimension to the chips. After the kale is thoroughly coated with these simple ingredients, it’s roasted in the oven for approximately 20 minutes (or a little longer, depending on your oven and desired crispness), resulting in these remarkably crisp, intensely flavorful snacks. It truly is that easy!
Opting for kale chips instead of traditional potato chips is a fantastic way to upgrade your snacking habits for a healthier lifestyle. Did you know that, ounce for ounce, kale boasts more calcium than milk? This makes kale chips an excellent, delicious way to boost your daily calcium intake, support bone health, and easily incorporate more servings of essential vegetables into your diet. This simple swap provides not only an incredible crunch but also a wealth of vitamins, minerals, and fiber, making it a snack you can feel good about.
Tips for the Crispiest Kale Chips Every Time:
- Dry, Dry, Dry: This cannot be stressed enough. After washing your kale, dry it thoroughly. A salad spinner followed by patting with paper towels works wonders. Excess moisture will steam the kale, preventing it from crisping.
- Don’t Over-Oil: While oil is crucial for crisping, too much will make the chips greasy and soggy. A light, even coating is ideal. Gently massage the oil into every leaf.
- Massage Thoroughly: Ensure every piece of kale is well coated with oil and seasoning. This helps the flavors adhere and promotes consistent crisping.
- Single Layer is Key: Never overcrowd your baking sheets. Kale needs space for air to circulate, which is essential for that perfect crunch. Use multiple sheets if necessary.
- Watch the Temperature: A moderate oven temperature (325°F or 160°C) prevents burning while allowing the kale to crisp evenly.
- Monitor Closely: Kale chips can go from perfectly crispy to burnt in minutes. Start checking around 15-18 minutes and continue baking until golden and brittle.
- Cool Completely: Allow the chips to cool entirely on the baking sheet. They will become even crispier as they cool.
Flavor Variations & Customization:
While the classic olive oil, salt, and pepper combination is delicious, making kale chips at home opens up a world of flavor possibilities:
- Cheesy Boost: Beyond the Italian four-cheese blend, nutritional yeast offers a fantastic dairy-free, savory, and cheesy flavor. Grated Parmesan is another excellent choice.
- Spicy Kick: For those who love a bit of heat, add a pinch of cayenne pepper, red pepper flakes, or a dash of your favorite chili powder.
- Garlic & Herb: Garlic powder, onion powder, or a blend of dried Italian herbs like oregano and basil can add deep, aromatic flavors.
- Smoky Undertones: A touch of smoked paprika or a tiny amount of liquid smoke can impart a wonderful smoky essence.
- Sweet & Savory: For an adventurous twist, a very light drizzle of maple syrup or honey along with the salt can create a unique sweet and savory profile.
Essential Ingredients you’ll need
Gathering your ingredients is the first step towards these delightful homemade kale chips. The beauty of this recipe lies in its simplicity, requiring just a handful of items you likely already have in your pantry.
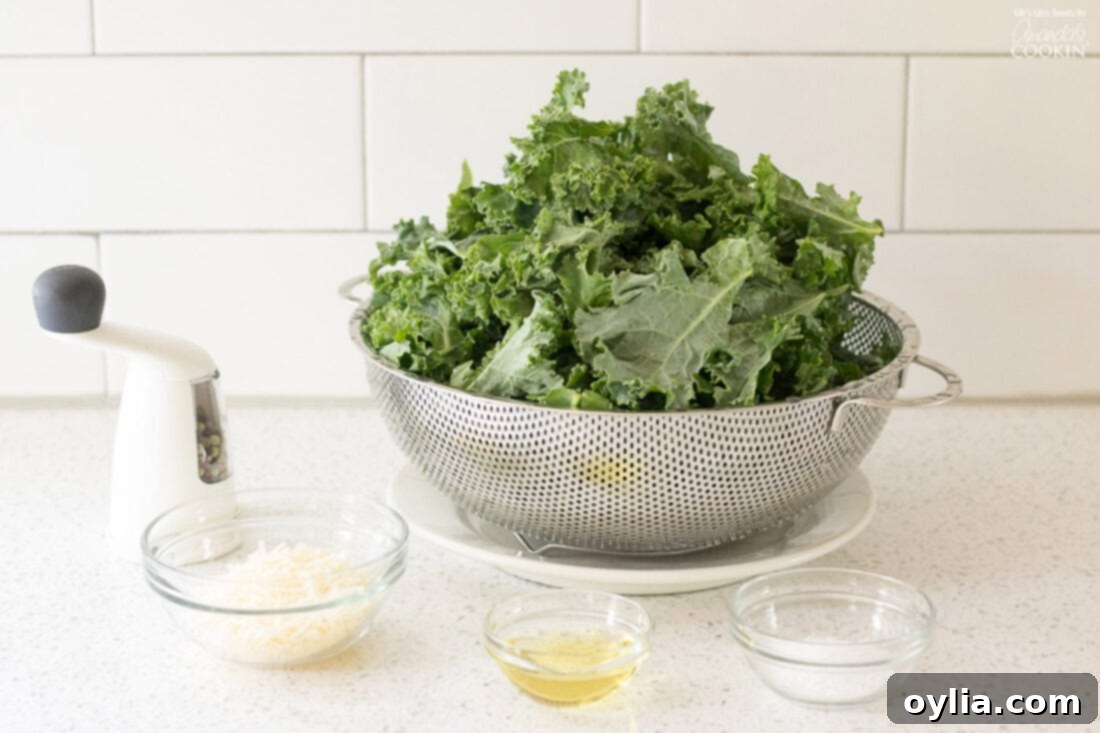
- 1 bunch of kale, stems removed, ripped or cut into smaller, bite-size pieces
- 1-2 Tablespoons regular olive oil
- 1/2 teaspoon sea salt, or amount to taste
- 1/4 teaspoon fresh ground black pepper or pepper medley, or amount to taste
- optional: 1/4 cup grated Italian four-cheese blend for topping – the mixture I use had Asiago, Fontina, Parmesan and Provolone
Handy Kitchen Tools for Kale Chip Success
While the recipe itself is straightforward, having the right tools on hand can make the preparation process even smoother and more efficient. These kitchen essentials will ensure your kale chips turn out perfectly every time.
- 2 rimmed baking sheets
- 2 silicone baking mats, parchment paper or aluminum foil to line the baking sheet
- cutting board
- chef’s knife for chopping kale
- colander
- mixing bowl
- measuring spoons and cups
Storage & Serving Suggestions:
Once your kale chips have cooled completely, store them in an airtight container at room temperature. For optimal crispness, it’s best to enjoy them within 2-3 days. If they start to lose their crunch, a quick refresh in a 275°F (135°C) oven for 5-10 minutes can often restore their crispiness.
Kale chips are incredibly versatile! Enjoy them straight off the baking sheet as a delicious standalone snack, pack them in lunchboxes for a healthy crunch, or use them as a vibrant, nutrient-rich accompaniment to sandwiches, salads, or soups. They can also be crushed and sprinkled over casseroles or roasted vegetables for added texture and flavor.
Frequently Asked Questions (FAQs) About Kale Chips:
- Q: Can I use different types of kale for this recipe?
- A: Absolutely! Curly kale is most commonly used for chips due to its textured leaves, but lacinato (dinosaur) kale also works wonderfully. The most important step is always to remove the tough stems from any variety you choose.
- Q: My kale chips aren’t crispy; what went wrong?
- A: The most common reasons for soggy kale chips include insufficient drying of the kale leaves after washing, overcrowding the baking sheet, or an oven temperature that’s too low or not baking for long enough. Be sure to review the “Tips for the Crispiest Kale Chips Every Time” section for detailed guidance!
- Q: How do I know when my kale chips are perfectly done?
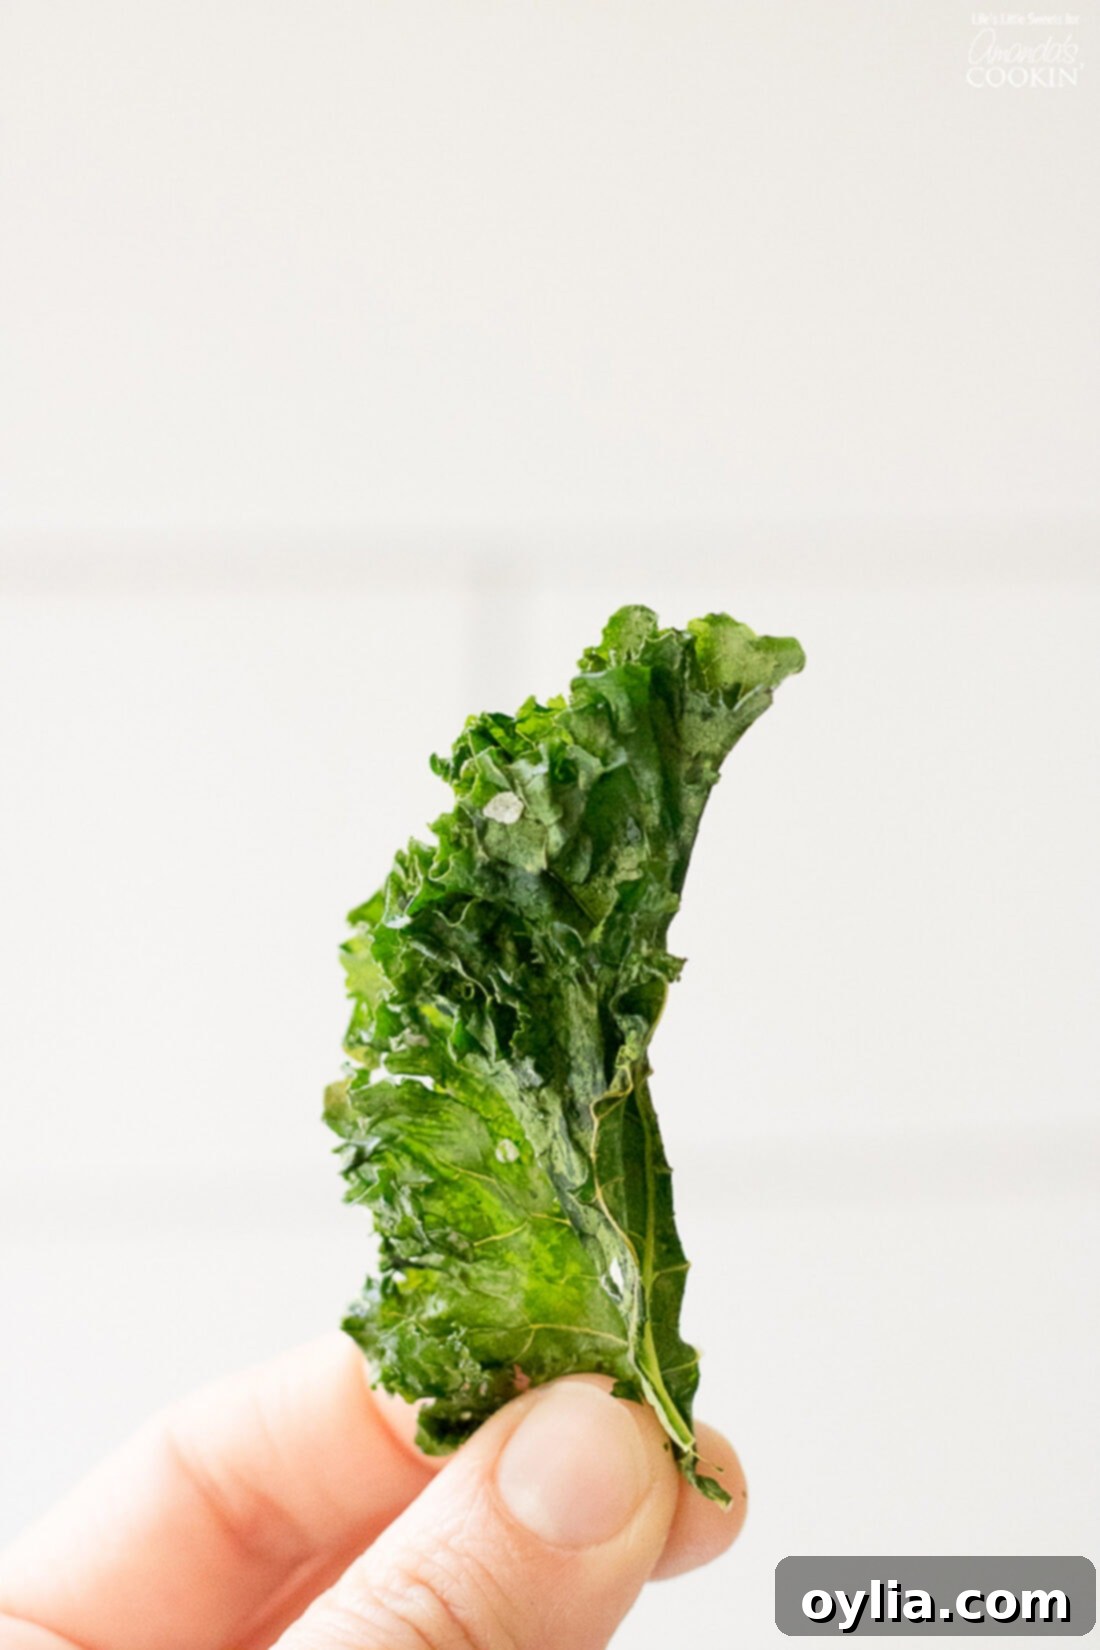
- A: Perfectly cooked kale chips will be visibly shrunken, crispy to the touch, and have a vibrant green color, possibly with slightly browned edges. They should snap easily when bent or broken.
- Q: Can I make kale chips in an air fryer?
- A: Yes, air fryers are fantastic for making crispy kale chips! Toss the kale with oil and seasonings as directed, then air fry at 300-325°F (150-160°C) for about 5-10 minutes, shaking the basket halfway through. Air fryers cook faster, so watch them closely to prevent burning.
- Q: Are kale chips truly healthier than traditional potato chips?
- A: Absolutely! Kale chips offer a significantly higher content of essential vitamins (especially A, C, and K), beneficial minerals (like calcium and iron), and dietary fiber. Depending on the oil and seasonings used, they are generally much lower in calories and unhealthy fats compared to most potato chip varieties, making them a superior nutritional choice.
If you try and love these healthy and delicious chips, please take a moment to give them a rating and let us know your thoughts in the comments below. Thank you for reading and following along on this culinary journey!
For more healthy and flavorful snack ideas, be sure to check out our easy homemade fruit roll-ups, our nourishing fruit and nut granola, or follow the link to discover how to make delicious hummus at home using another fantastic superfood, chickpeas! Happy snacking!
Kale Chips
IMPORTANT – There are often Frequently Asked Questions within the blog post that you may find helpful. Simply scroll back up to read them!
Print It
Pin It
Rate It
Save ItSaved!
Ingredients
- 1 bunch Kale stems removed, ripped into smaller “chip-size” pieces
- 1-2 Tablespoons olive oil regular
- ½ teaspoon sea salt or amount to taste
- ¼ teaspoon fresh ground black pepper or pepper medley or amount to taste
- ¼ cup Italian four-cheese shredded cheese blend Asigio, Fontina, Parmesan and Provolone- optional, or same amount favorite shredded cheese, amount to taste
Instructions
-
Preheat your oven to 325 degrees F (160°C). Line 2 baking sheets with silicone baking mats (parchment paper or aluminum foil also work) and set them aside.
-
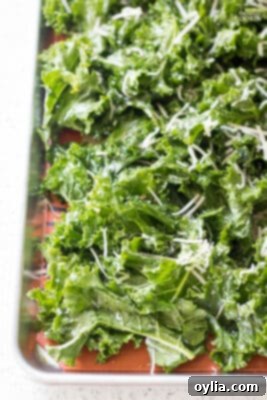
In a large mixing bowl, add the prepared kale. Drizzle 1-2 tablespoons of olive oil over the kale. Using your clean hands, gently “massage” the kale until every piece is evenly coated. If you have a particularly large bunch of kale, you might need to work in batches to ensure proper coating. Spread the massaged kale in a single, even layer over the lined baking sheet(s). Avoid overcrowding to ensure maximum crispiness.

-
Evenly sprinkle the sea salt, fresh ground black pepper, and the optional cheese blend over the kale. Bake for approximately 20 minutes, or until the kale becomes wonderfully crispy. You may need to use tongs to gently move the kale chips around halfway through baking to ensure they roast evenly. Keep a close eye on them to prevent burning.

-
Once the kale chips reach your desired level of crispiness and are slightly golden, remove them from the oven. Let them cool completely on the baking sheet to achieve maximum crunchiness. Enjoy these wholesome treats as a snack or a delightful appetizer!

Nutrition
The recipes on this blog are tested with a conventional gas oven and gas stovetop. It’s important to note that some ovens, especially as they age, can cook and bake inconsistently. Using an inexpensive oven thermometer can assure you that your oven is truly heating to the proper temperature. If you use a toaster oven or countertop oven, please keep in mind that they may not distribute heat the same as a conventional full sized oven and you may need to adjust your cooking/baking times. In the case of recipes made with a pressure cooker, air fryer, slow cooker, or other appliance, a link to the appliances we use is listed within each respective recipe. For baking recipes where measurements are given by weight, please note that results may not be the same if cups are used instead, and we can’t guarantee success with that method.
This post originally appeared on this blog on May 7, 2019. This updated version includes additional tips, FAQs, and expanded content for an even better culinary experience!
