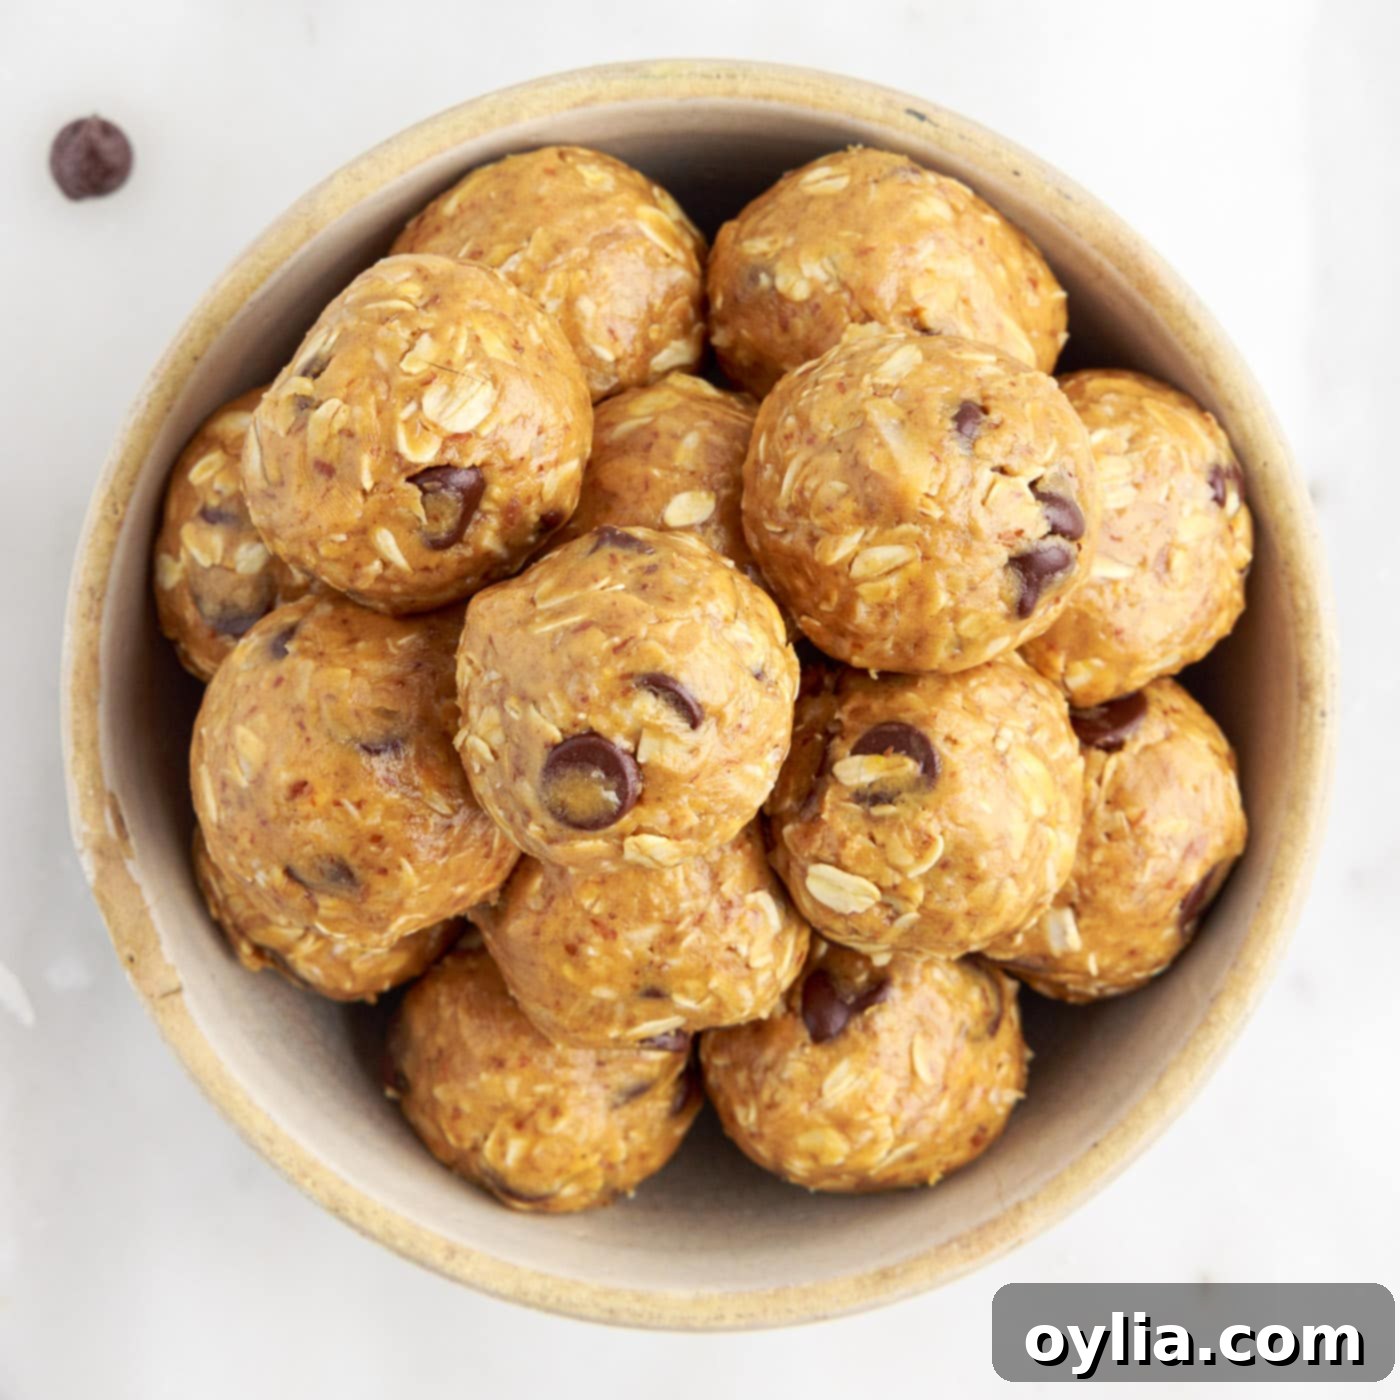
The Ultimate No Bake Energy Balls Recipe: Easy, Healthy, and Delicious Grab-and-Go Snacks
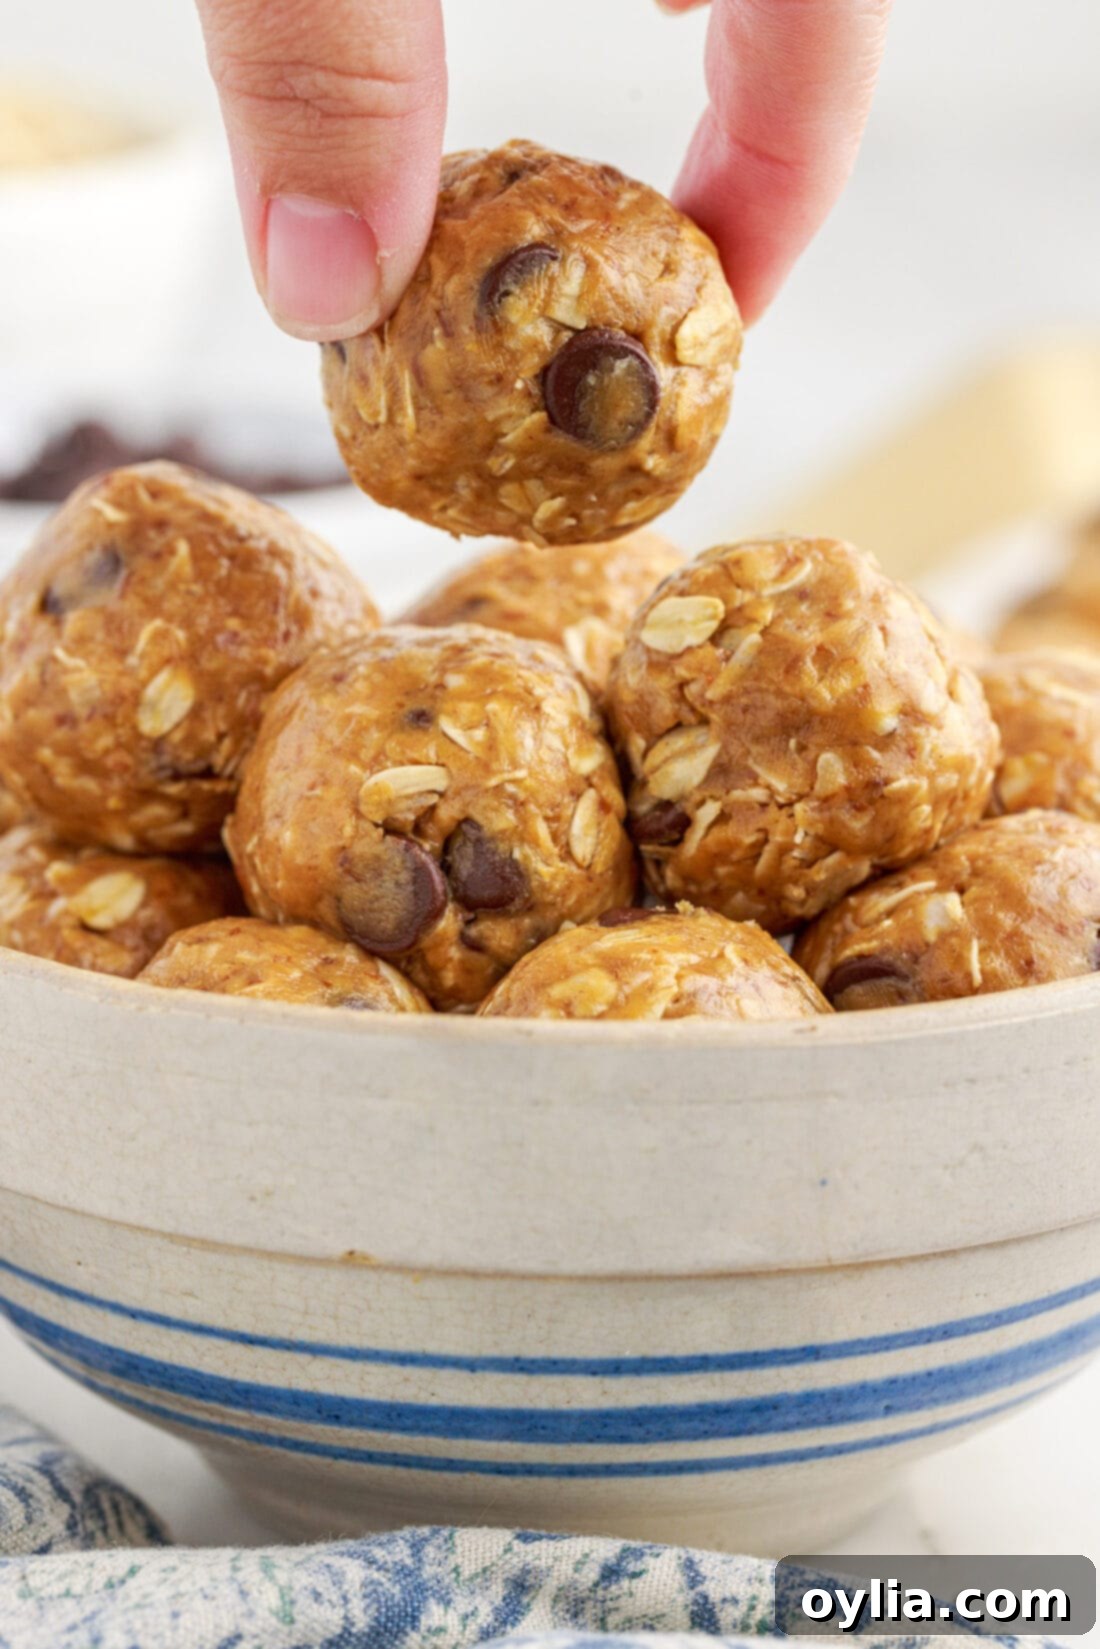
In today’s fast-paced world, finding quick, healthy, and satisfying snacks can feel like a challenge. That’s where these incredible **no bake energy balls** come in! Bursting with essential protein, fiber, and healthy fats, these convenient treats are elevated with delightful chocolate chips and optional shredded coconut for an irresistible flavor. Perfect as an energizing grab-and-go breakfast or a wholesome snack, they are incredibly simple to prepare in advance, making your busy mornings and demanding afternoons much smoother.
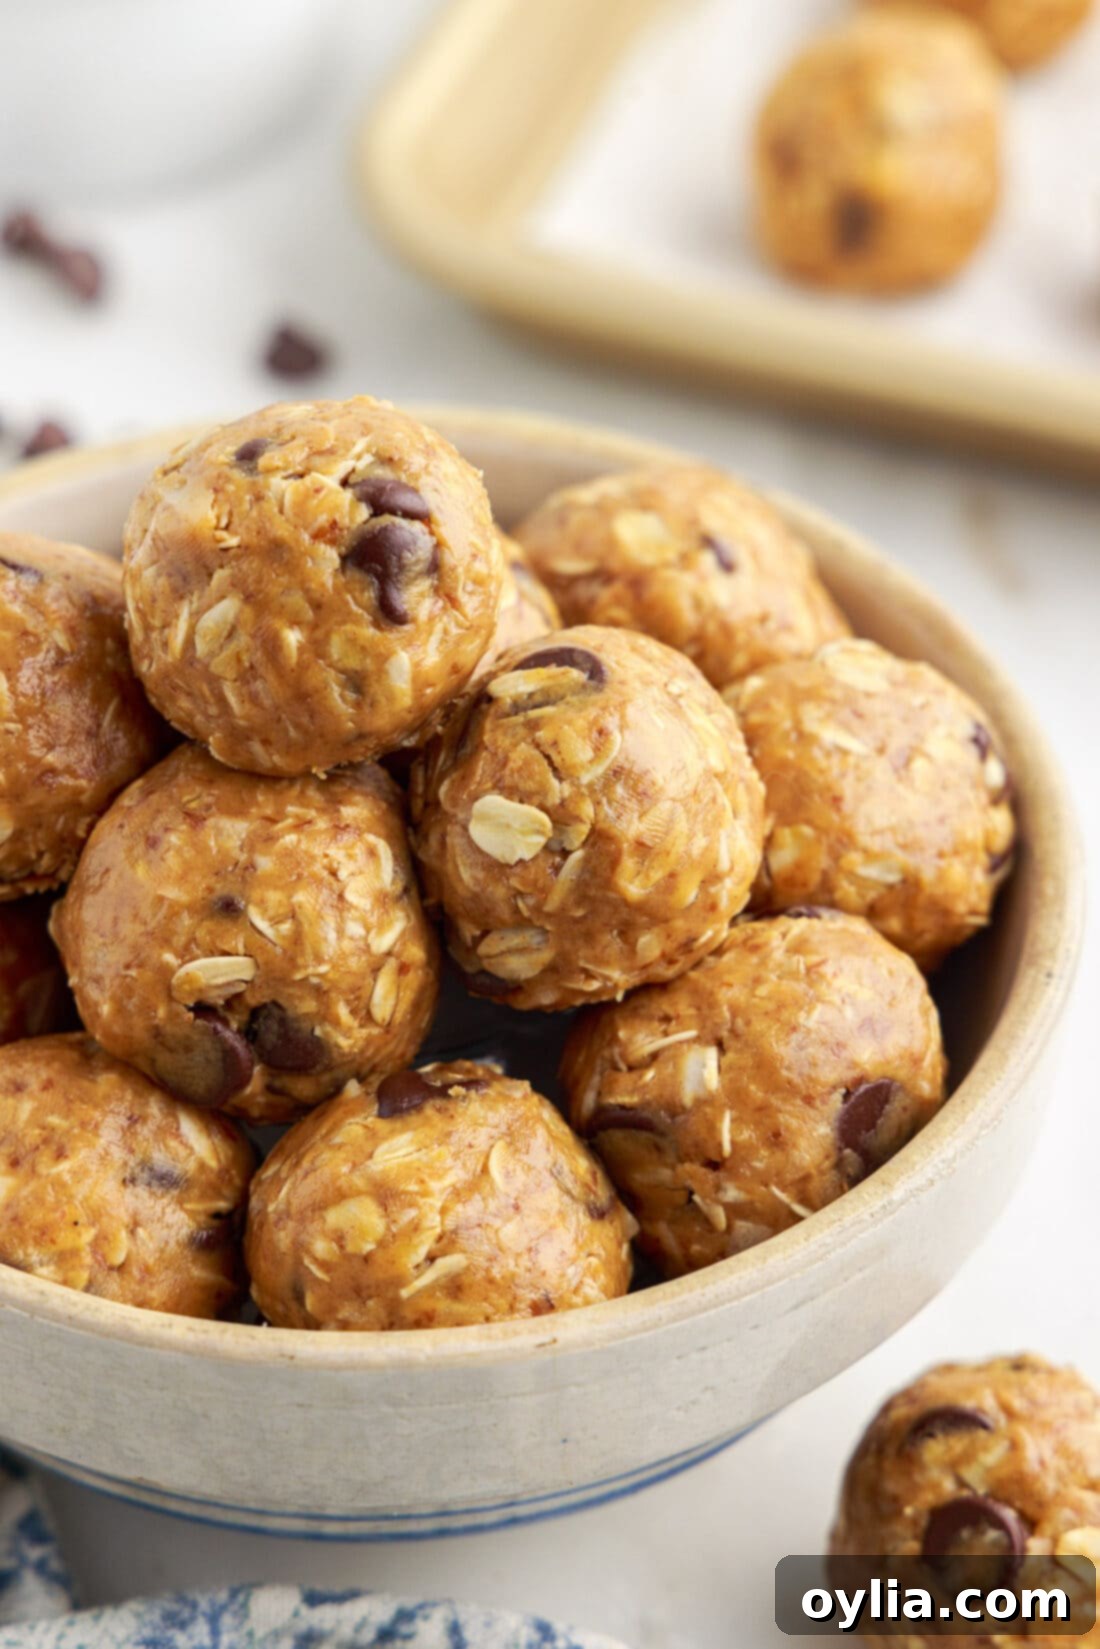
Why These No Bake Energy Balls Are Your New Favorite Healthy Snack
This **no bake energy ball recipe** is a game-changer for anyone seeking a nutritious boost without the hassle of baking. Requiring just 7 simple ingredients – creamy peanut butter, golden honey, fragrant vanilla extract, wholesome rolled oats, flavorful shredded coconut, nutrient-dense flaxseed meal, and delightful chocolate chips – it’s designed for efficiency and deliciousness. What makes this recipe truly shine is its incredible versatility. Don’t be afraid to get creative; if you’re looking for inspiration, our cherry cheesecake energy bites demonstrate just how adaptable these snacks can be!
Beyond their ease of preparation, these energy balls are a nutritional powerhouse. Each ingredient plays a vital role in keeping you fueled and satisfied. For instance, **flaxseed meal** is often hailed as a superfood. It’s packed with dietary fiber, which aids digestion and promotes a feeling of fullness. More importantly, it’s an excellent source of Omega-3 fatty acids, crucial for brain health and reducing inflammation, and high in plant-based protein, contributing to muscle repair and sustained energy. When combined with the rich protein from peanut butter and the natural sweetness of honey, chocolate chips, and coconut, these **no bake energy bites** offer a perfect balance of macro and micronutrients, ensuring you stay energized and productive throughout your day. They are not just a treat; they are a smart, wholesome choice for busy individuals and families alike, helping to curb cravings and provide a sustained release of energy without the sugar crash.
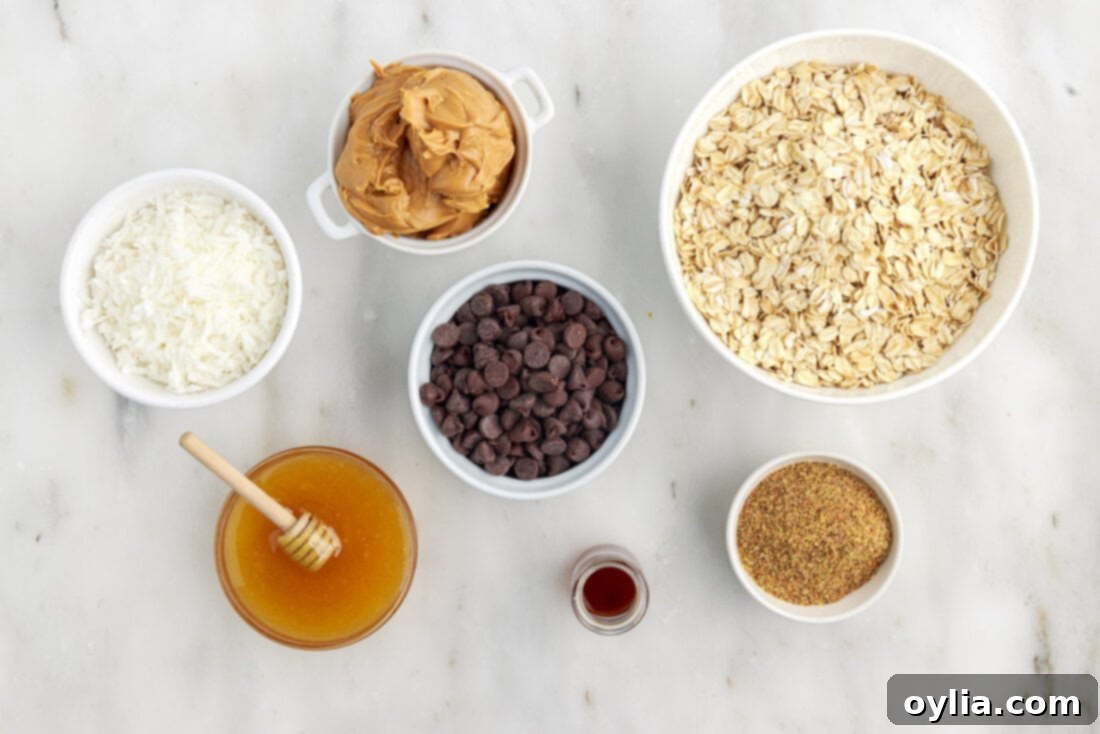
Gather Your Ingredients for These Easy Energy Bites
To whip up a batch of these delicious and healthy **energy balls**, you’ll need just a few pantry staples. For exact measurements, a comprehensive list of ingredients, and detailed instructions, be sure to check out the printable recipe card available at the very end of this post.
Ingredient Spotlight & Customization Tips
Understanding each ingredient and its potential substitutes allows you to truly make these **no bake energy balls** your own. Whether you’re dealing with allergies, dietary preferences, or simply want to experiment with flavors, here’s what you need to know:
- PEANUT BUTTER: The creamy texture of peanut butter acts as the primary binder and a rich source of protein and healthy fats. For those with peanut allergies or simply looking for a different flavor profile, feel free to substitute with other nut or seed butters. Almond butter, cashew butter, or even sunflower seed butter (SunButter) work wonderfully and deliver equally delicious results. Opt for natural, unsweetened varieties if possible to control sugar content.
- HONEY: Beyond adding a delightful natural sweetness, honey is crucial as a binding agent, working in tandem with the peanut butter to hold the energy balls together. If you prefer a vegan option or another natural sweetener, maple syrup or agave nectar can be used as direct substitutes, though they might alter the flavor slightly.
- OLD FASHIONED ROLLED OATS: These provide the bulk and a significant amount of soluble fiber, which helps keep you feeling full and supports digestive health. Rolled oats are preferred over instant oats for their texture and superior nutritional profile. For a gluten-free version, ensure you use certified gluten-free rolled oats. Steel-cut oats are too tough and will not work in this recipe.
- COCONUT: Shredded coconut adds a fantastic texture, tropical flavor, and some healthy fats. You can use either sweetened or unsweetened shredded coconut based on your preference for sweetness. For an extra layer of flavor, lightly toast the shredded coconut in a dry pan over medium heat until golden brown before adding it to the mixture. If you’re not a fan of coconut, it can be easily omitted; simply add an equivalent amount of extra old-fashioned rolled oats to maintain the mixture’s stability and consistency.
- FLAXSEED MEAL: This ingredient is a nutritional powerhouse! Flaxseed meal is widely available in most local grocery stores, often found alongside specialty flours like almond or gluten-free flours. Its finely ground consistency blends seamlessly into the energy balls without altering the texture, and its flavor is much more subtle than whole flaxseeds, which can be difficult to digest and absorb nutrients from. Flaxseed meal is an excellent source of plant-based protein, dietary fiber, and alpha-linolenic acid (ALA), an Omega-3 fatty acid beneficial for heart health and inflammation. You can also substitute with chia seeds for similar nutritional benefits.
- CHOCOLATE CHIPS: These are a delightful addition, offering bursts of sweetness and a touch of indulgence. Semi-sweet chocolate chips are a popular choice, but feel free to experiment with dark chocolate chips for a richer, less sweet flavor, or milk chocolate for a sweeter bite. Mini chocolate chips or even chopped chocolate chunks can also be used. If you want to reduce sugar, consider using cacao nibs for a bitter, intense chocolate flavor or omit them entirely and add more dried fruit.
- VANILLA EXTRACT: A dash of vanilla extract enhances all the other flavors, adding a warm, inviting aroma and depth to the energy balls. Don’t skip it!
Step-by-Step Guide: Crafting Your Perfect No Bake Energy Balls
These step-by-step photos and instructions are here to help you visualize how to make this recipe. You can Jump to Recipe to get the printable version of this recipe, complete with precise measurements and instructions at the bottom.
- In a large mixing bowl, begin by combining the creamy peanut butter, golden honey, and fragrant vanilla extract. Stir these wet ingredients thoroughly until they are well integrated and form a smooth, uniform base. This initial step helps ensure even distribution of flavor and acts as a crucial binding foundation for your energy balls. Next, add the remaining dry ingredients: rolled oats, shredded coconut, flaxseed meal, and chocolate chips. Continue to stir with a sturdy spoon or spatula until all ingredients are completely combined and a cohesive “dough” forms. Make sure there are no dry pockets and everything is evenly coated.
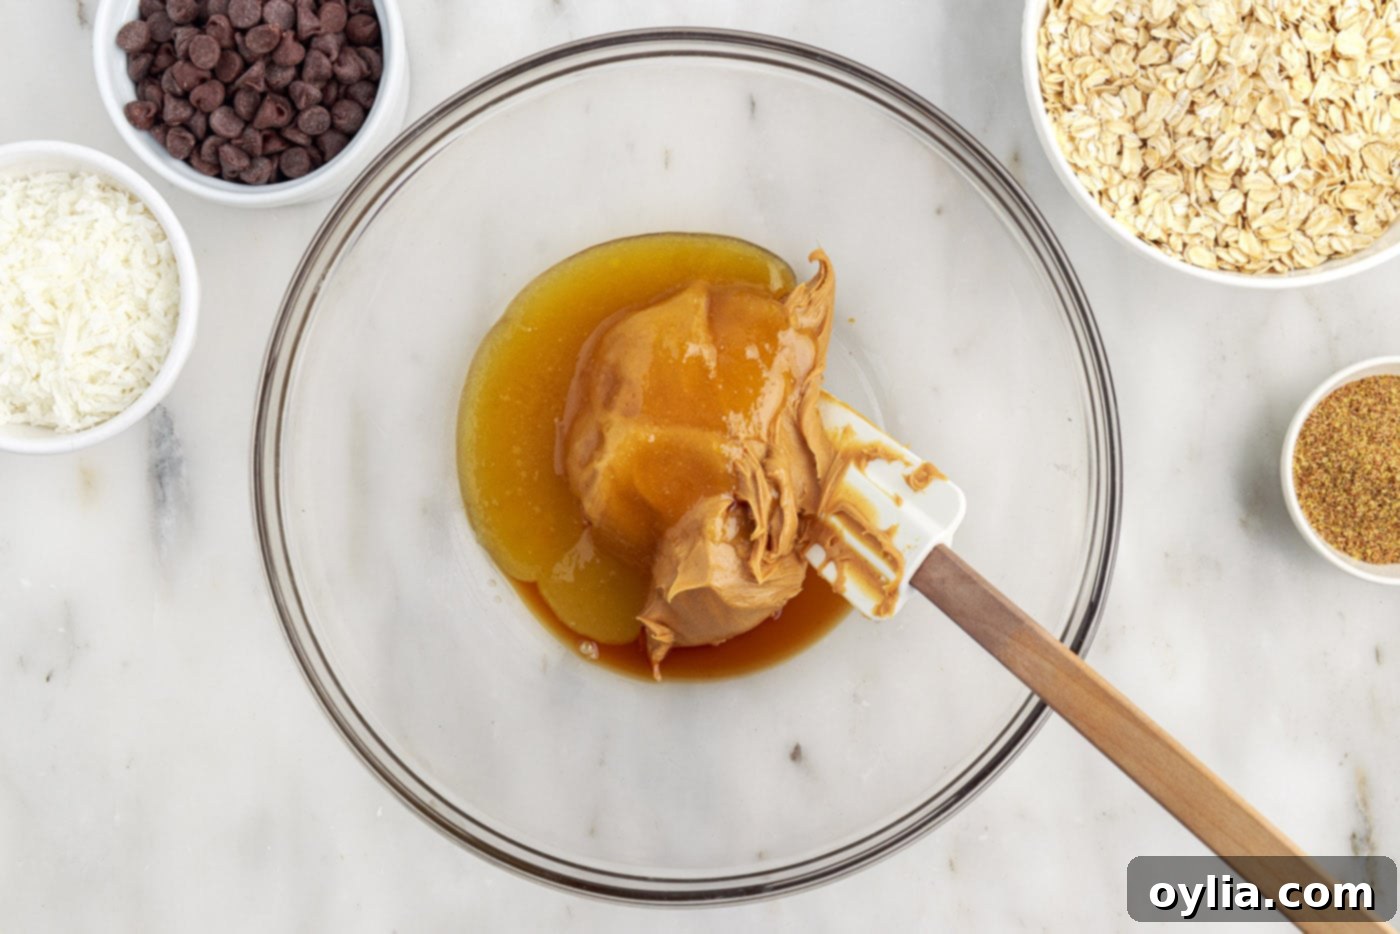
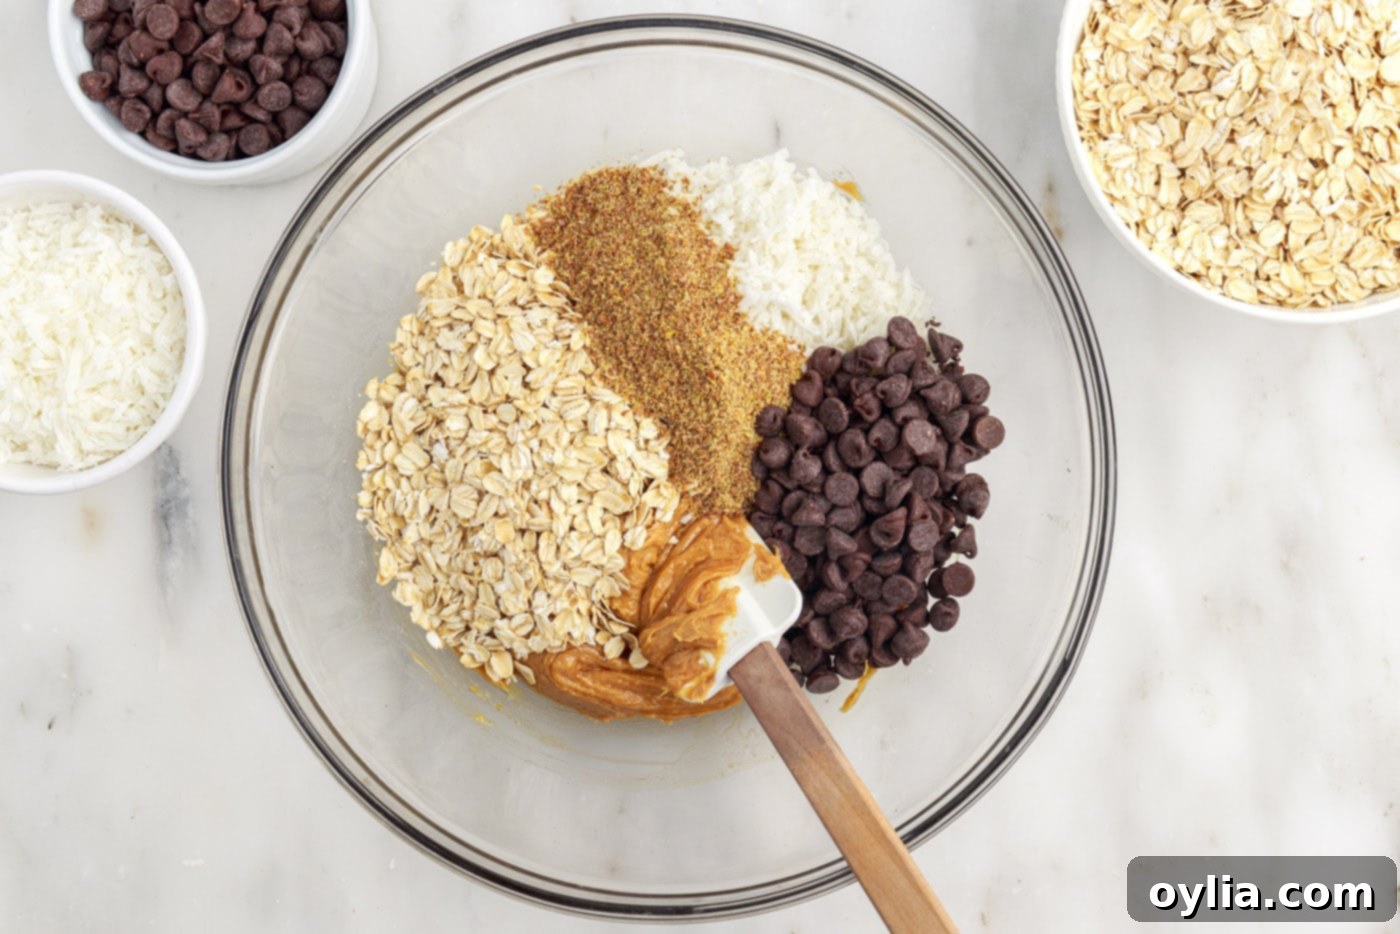
- Once thoroughly mixed, cover the bowl and refrigerate the mixture for at least 30 minutes. This crucial chilling period allows the oats to soften slightly and the mixture to firm up, making it much easier to handle and roll into uniform balls.
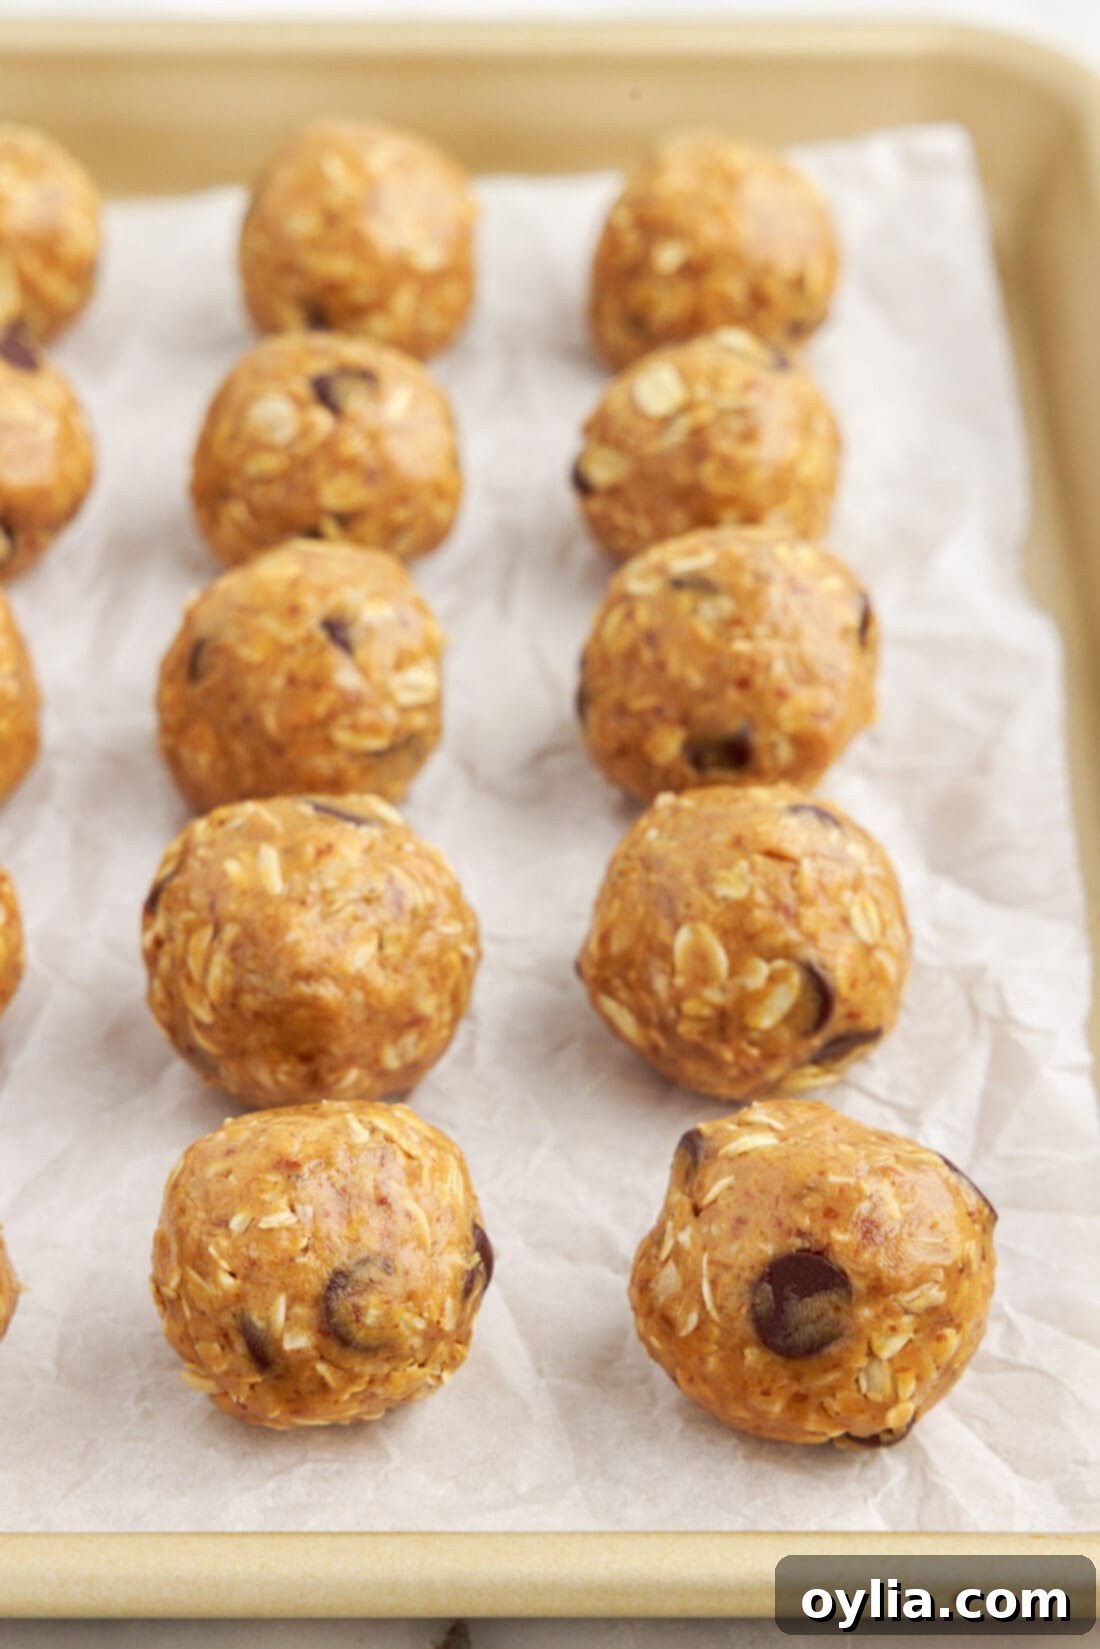
- After chilling, use a cookie scoop (about 1 tablespoon in size) to portion out the “dough.” Scoop a consistent amount, then gently roll it between your palms to form smooth, round energy balls. Apply slight pressure to ensure they hold their shape well.
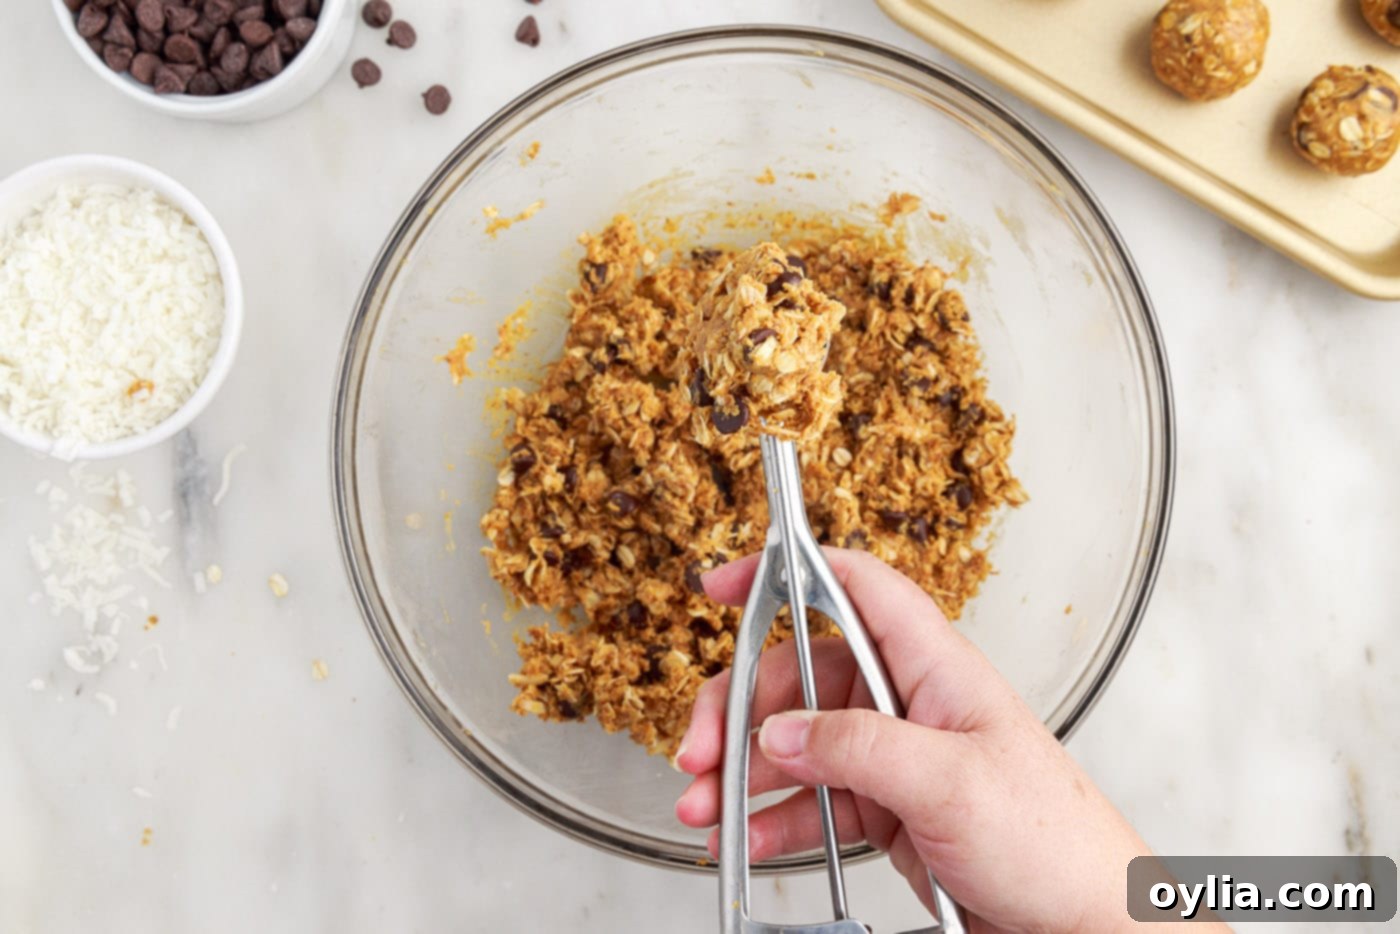
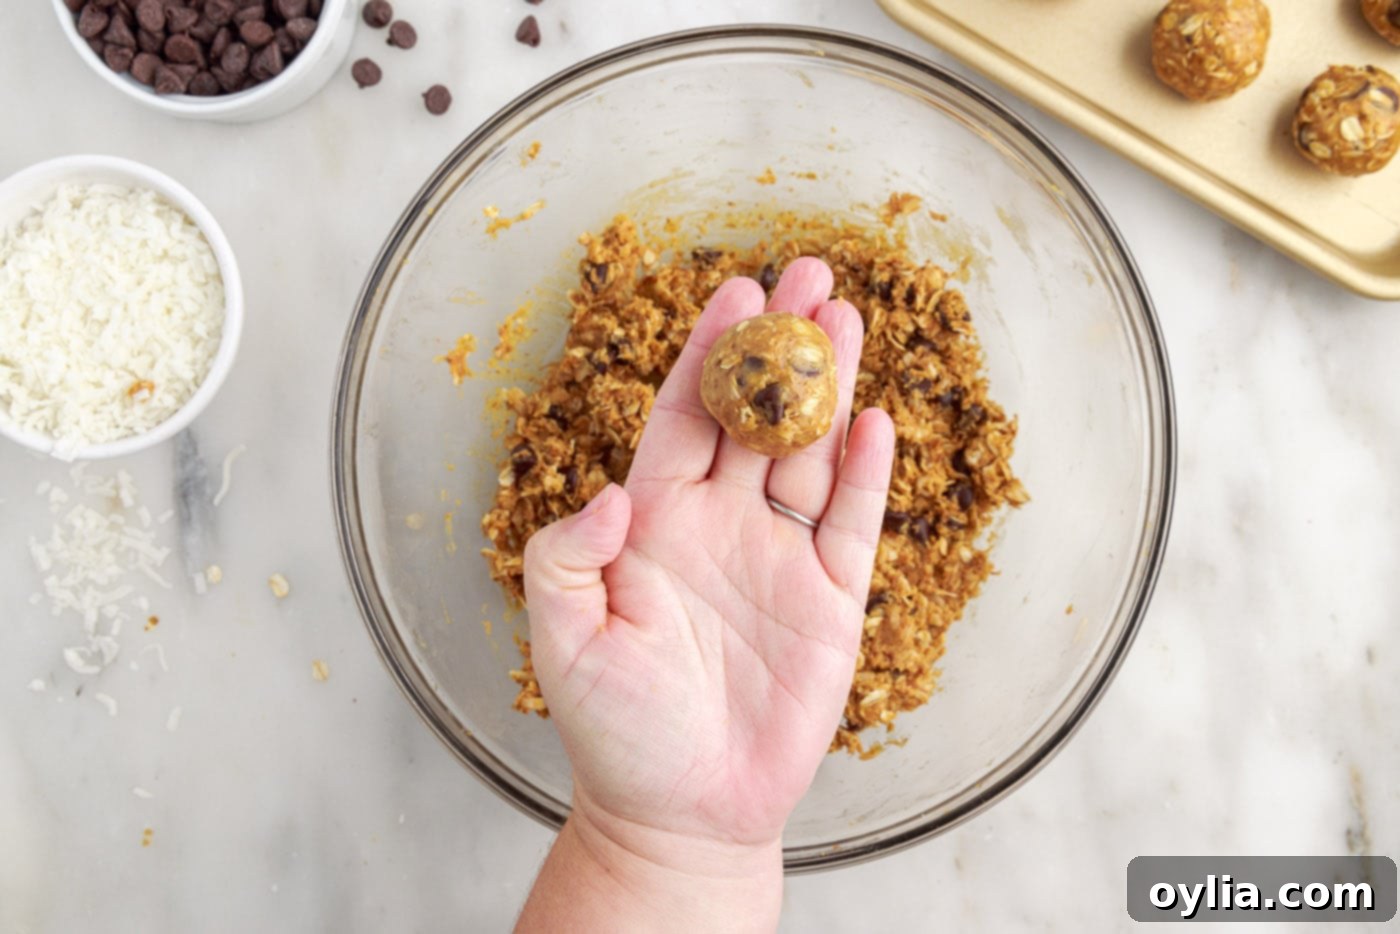
- Once all the energy balls are formed, transfer them to an airtight container. Store them in the refrigerator to keep them firm and fresh, ready for whenever you need a quick, healthy boost.
Frequently Asked Questions & Expert Tips for Perfect Energy Balls
Yes, absolutely! Transforming these into **no bake energy bars** is a fantastic option for easy portioning and transport. To do so, simply press the entire dough mixture evenly into a parchment-lined 8×8 or 9×9 inch baking pan. Use another piece of parchment paper or the back of a spoon to ensure it’s pressed firmly and uniformly. Chill the pan in the refrigerator for at least 1-2 hours until very firm. Once chilled, lift the parchment paper out of the pan and cut the solid block into your desired bar shapes. This method creates a convenient, mess-free snack ideal for lunchboxes or post-workout fuel.
To maintain their fresh texture and flavor, always store your **no bake energy balls** in an airtight container. Keep them refrigerated for up to 7 days. This prevents them from drying out or becoming too soft and ensures they stay perfectly firm and delicious for your daily snacking needs.
Freezing these **energy balls** is an excellent strategy for meal prepping and having a healthy snack on hand for weeks. To freeze, arrange the formed energy balls in a single layer on a parchment-lined baking sheet and freeze for about 1-2 hours until solid. Once frozen, transfer them to a freezer-safe airtight container or a large zip-top bag, ensuring you remove as much air as possible to prevent freezer burn. They can be stored in the freezer for up to 3 months. When you’re ready to enjoy one, simply take it out a few minutes before eating to allow it to thaw slightly, or enjoy them frozen for a firmer, chewy treat.
The consistency of your energy ball mixture can sometimes vary due to factors like the brand of peanut butter (some are oilier than others) or even humidity. If your mixture is too sticky to roll, try adding a tablespoon or two of extra rolled oats or flaxseed meal until it’s more manageable. If it’s too crumbly and won’t hold together, add a small amount (about 1 teaspoon at a time) of extra peanut butter or honey, mixing well after each addition, until it reaches a rollable consistency. Chilling the mixture adequately (at least 30 minutes) is also crucial for better handling.
Absolutely! To make them vegan, simply substitute the honey with an equal amount of maple syrup or agave nectar. For a gluten-free version, ensure you use certified gluten-free rolled oats. All other ingredients are typically naturally vegan and gluten-free, but always double-check labels, especially for chocolate chips, if you have severe dietary restrictions.
Creative Ways to Customize Your No Bake Energy Balls
The beauty of these **no bake energy balls** lies in their endless customization possibilities. Once you have the basic recipe down, you can truly make them your own by incorporating different flavors and textures. Here are some fantastic ideas to spark your culinary creativity:
- Spices & Warmth: Add a pinch of ground cinnamon, nutmeg, cardamom, or even a touch of ginger to infuse your energy balls with a cozy, aromatic flavor. These spices pair wonderfully with oats and honey.
- Dried Fruits: Beyond cranberries and raisins, consider adding finely chopped dried apricots, dates, figs, or even candied ginger for a chewy texture and natural sweetness. Ensure they are chopped small enough to blend well.
- Nuts & Seeds: Boost the nutritional content and crunch factor with various additions. Try chopped almonds, walnuts, pecans, or sunflower seeds. For an extra superfood punch, mix in chia seeds, hemp hearts, or pumpkin seeds.
- Chocolate Variations: Experiment with different types of chocolate chips – white chocolate, butterscotch, or even peanut butter chips. For a richer, less sweet option, cacao nibs can add an intense chocolate flavor and a healthy crunch.
- Citrus Zest: A little lemon or orange zest can brighten up the flavor profile and add a refreshing tang, especially if paired with dried cranberries.
- Protein Boost: For those looking to increase their protein intake, a scoop of your favorite unflavored or vanilla protein powder can be mixed in. You might need to add a touch more liquid (honey or a splash of milk/water) to adjust the consistency.
- Fun Add-ins: For a more indulgent treat, especially popular with kids, consider adding mini M&Ms, sprinkles, or a handful of mini marshmallows.
These **homemade energy balls** are incredibly versatile. Enjoy them as a quick breakfast on the go, a satisfying afternoon snack, a pre- or post-workout fuel, or even a healthier dessert option. They’re perfect for meal prepping at the start of the week, ensuring you always have a wholesome snack within reach.
Discover More Healthy Snack Recipes
If you loved making these energy balls, you’ll be thrilled to explore more of our easy and delicious healthy snack recipes designed to keep you feeling great:
- Crispy Kale Chips
- Air Fryer Apple Chips
- Cranberry Breakfast Bites
- Fresh Mexican Style Summer Rolls
- Easy Homemade Fruit Roll Ups
I love to bake and cook and share my kitchen experience with all of you! Remembering to come back each day can be tough, that’s why I offer a convenient newsletter every time a new recipe posts. Simply subscribe and start receiving your free daily recipes!
No Bake Energy Balls
IMPORTANT – There are often Frequently Asked Questions within the blog post that you may find helpful. Simply scroll back up to read them!
Print It
Pin It
Rate It
Save ItSaved!
Ingredients
- 1 cup creamy peanut butter
- ½ cup honey
- 2 teaspoons vanilla extract
- 1 cup old fashioned rolled oats
- ½ cup shredded coconut sweetened or unsweetened. optionally toasted
- ¼ cup flaxseed meal
- ⅔ cup semi-sweet chocolate chips
Things You’ll Need
-
Large mixing bowl
-
Cookie scoop or 1 Tablespoon measuring spoon
Before You Begin
- Store in the refrigerator for up to 1 week or in the freezer for up to 3 months – use airtight containers to keep energy balls sealed.
- You can substitute with almond butter, sunflower butter, or cashew butter and still get delicious results.
- You don’t have to mix the peanut butter, honey, and vanilla first, but I feel like it helps combine those ingredients more evenly so that it’s easier once you start stirring in the bulky ingredients.
- Refrigerating for 30 minutes before rolling the balls gives the ingredients a little time to bind together and soften the oats. You can also make rough scoops of the “dough” and lay it out on a parchment paper lined baking sheet then refrigerate and then give them a quick roll between your palms.
- The flaxseed meal is typically available in your local grocery store with the specialty flours like almond flour, coconut flour, or gluten free flour. The consistency of flaxseed meal is soft and easy to mix in to the energy balls. The flavor is also more subtle than using whole flaxseeds. Flaxseed meal is an excellent source of protein.
Instructions
-
In a large mixing bowl, combine the peanut butter, honey, and vanilla extract. Add the remaining ingredients and stir to combine.
-
Refrigerate for 30 minutes.
-
Use a cookie scoop or tablespoon to scoop the “dough” and roll between your palms to form the energy balls.
-
Keep in an airtight container in the refrigerator.
Nutrition
The recipes on this blog are tested with a conventional gas oven and gas stovetop. It’s important to note that some ovens, especially as they age, can cook and bake inconsistently. Using an inexpensive oven thermometer can assure you that your oven is truly heating to the proper temperature. If you use a toaster oven or countertop oven, please keep in mind that they may not distribute heat the same as a conventional full sized oven and you may need to adjust your cooking/baking times. In the case of recipes made with a pressure cooker, air fryer, slow cooker, or other appliance, a link to the appliances we use is listed within each respective recipe. For baking recipes where measurements are given by weight, please note that results may not be the same if cups are used instead, and we can’t guarantee success with that method.
