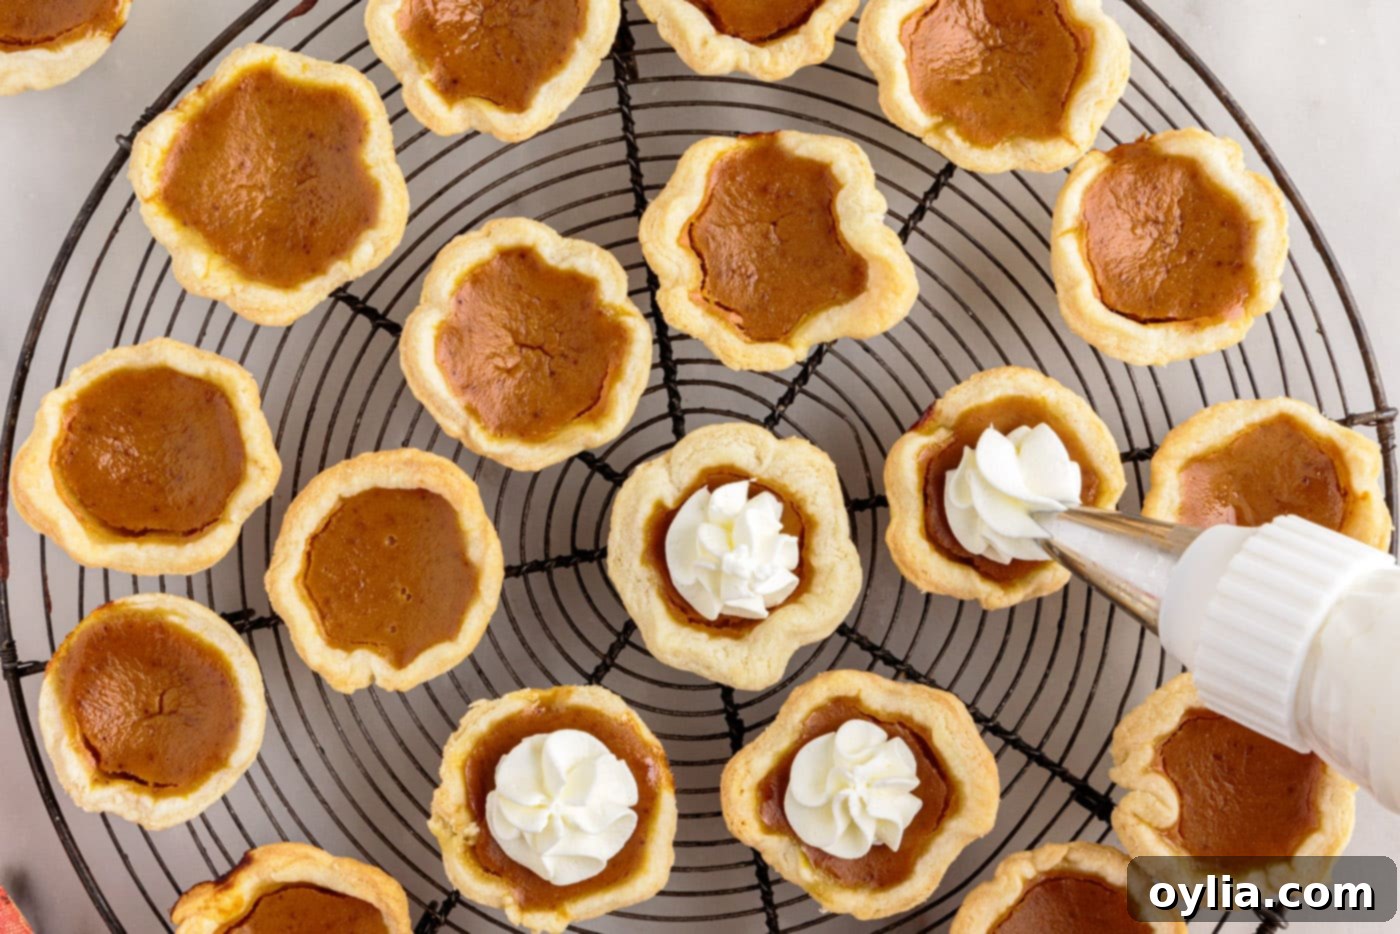
Irresistible Mini Pumpkin Pies: Your Perfect Fall & Holiday Dessert
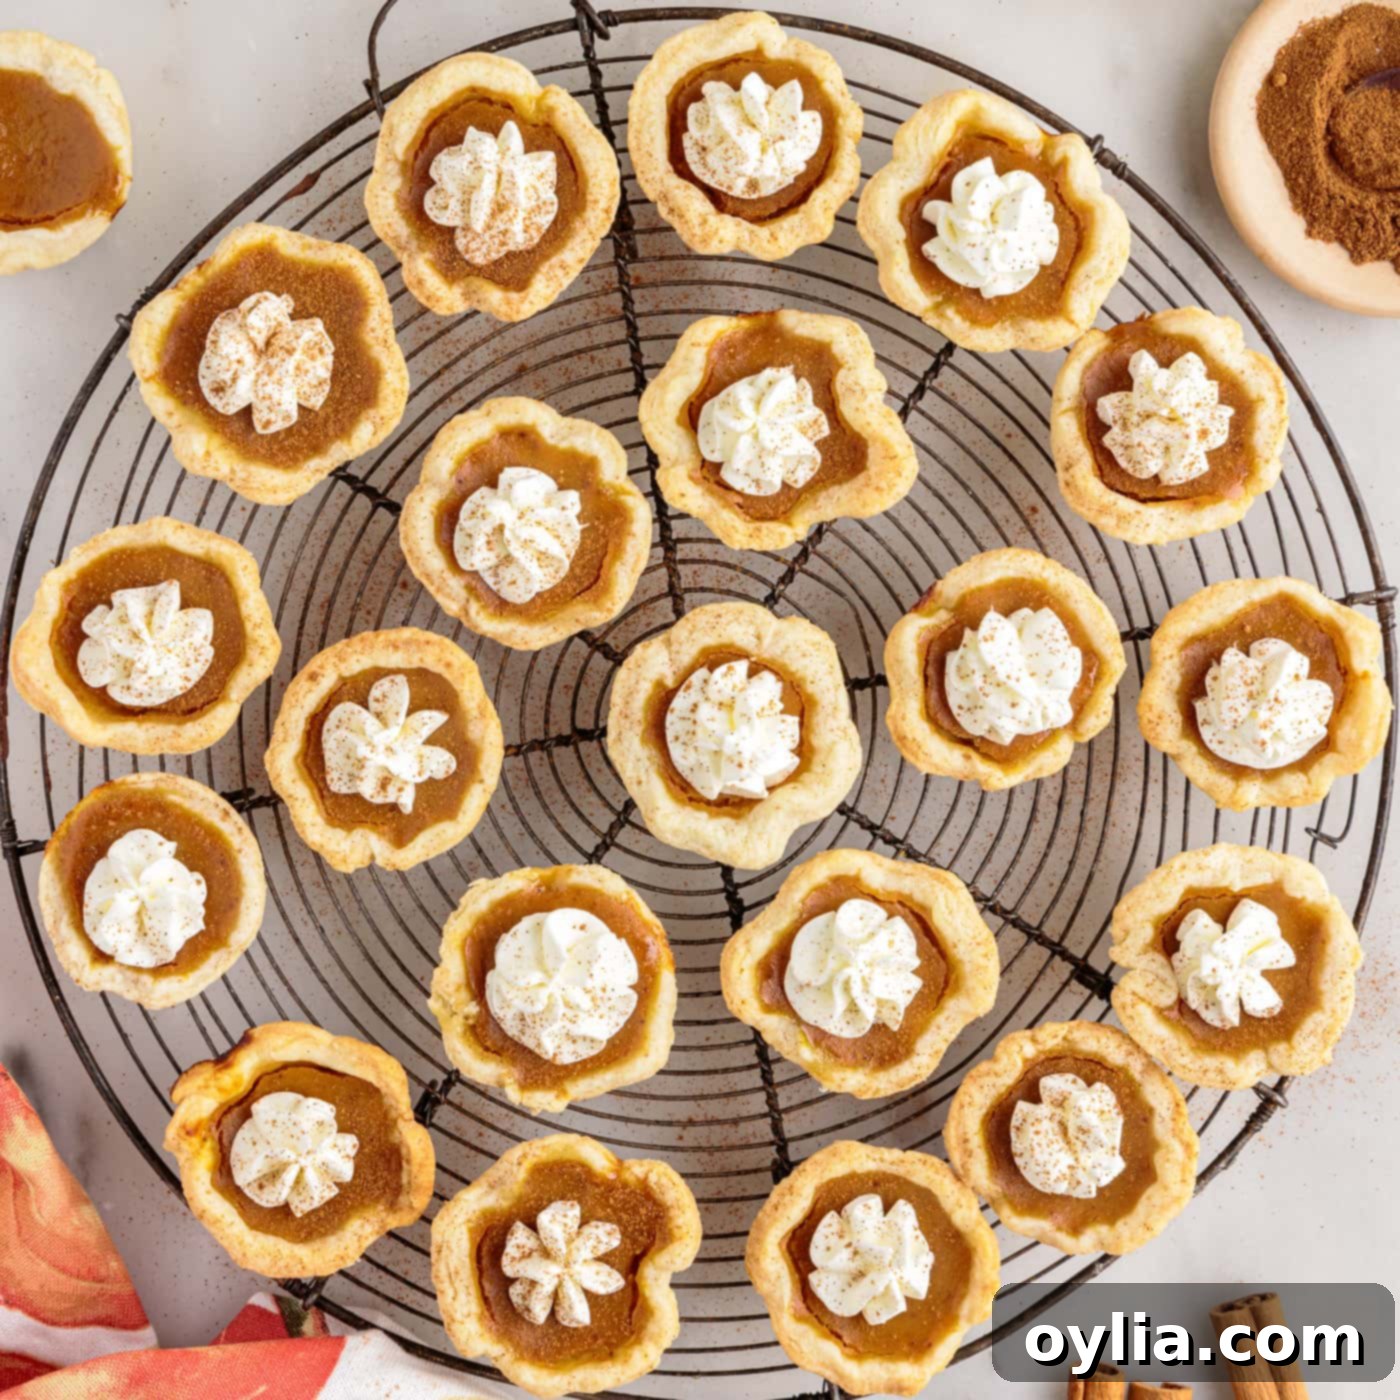
Prepare to delight your taste buds with these enchanting mini pumpkin pies! Each bite-sized treat features a beautifully flaky, homemade crust, cradling a rich and creamy pumpkin filling expertly spiced with warm cinnamon, aromatic cloves, and a touch of zesty ginger. To crown this autumnal masterpiece, a generous dollop of freshly whipped cream adds a cloud-like finish, making these individual pies truly special and memorable.
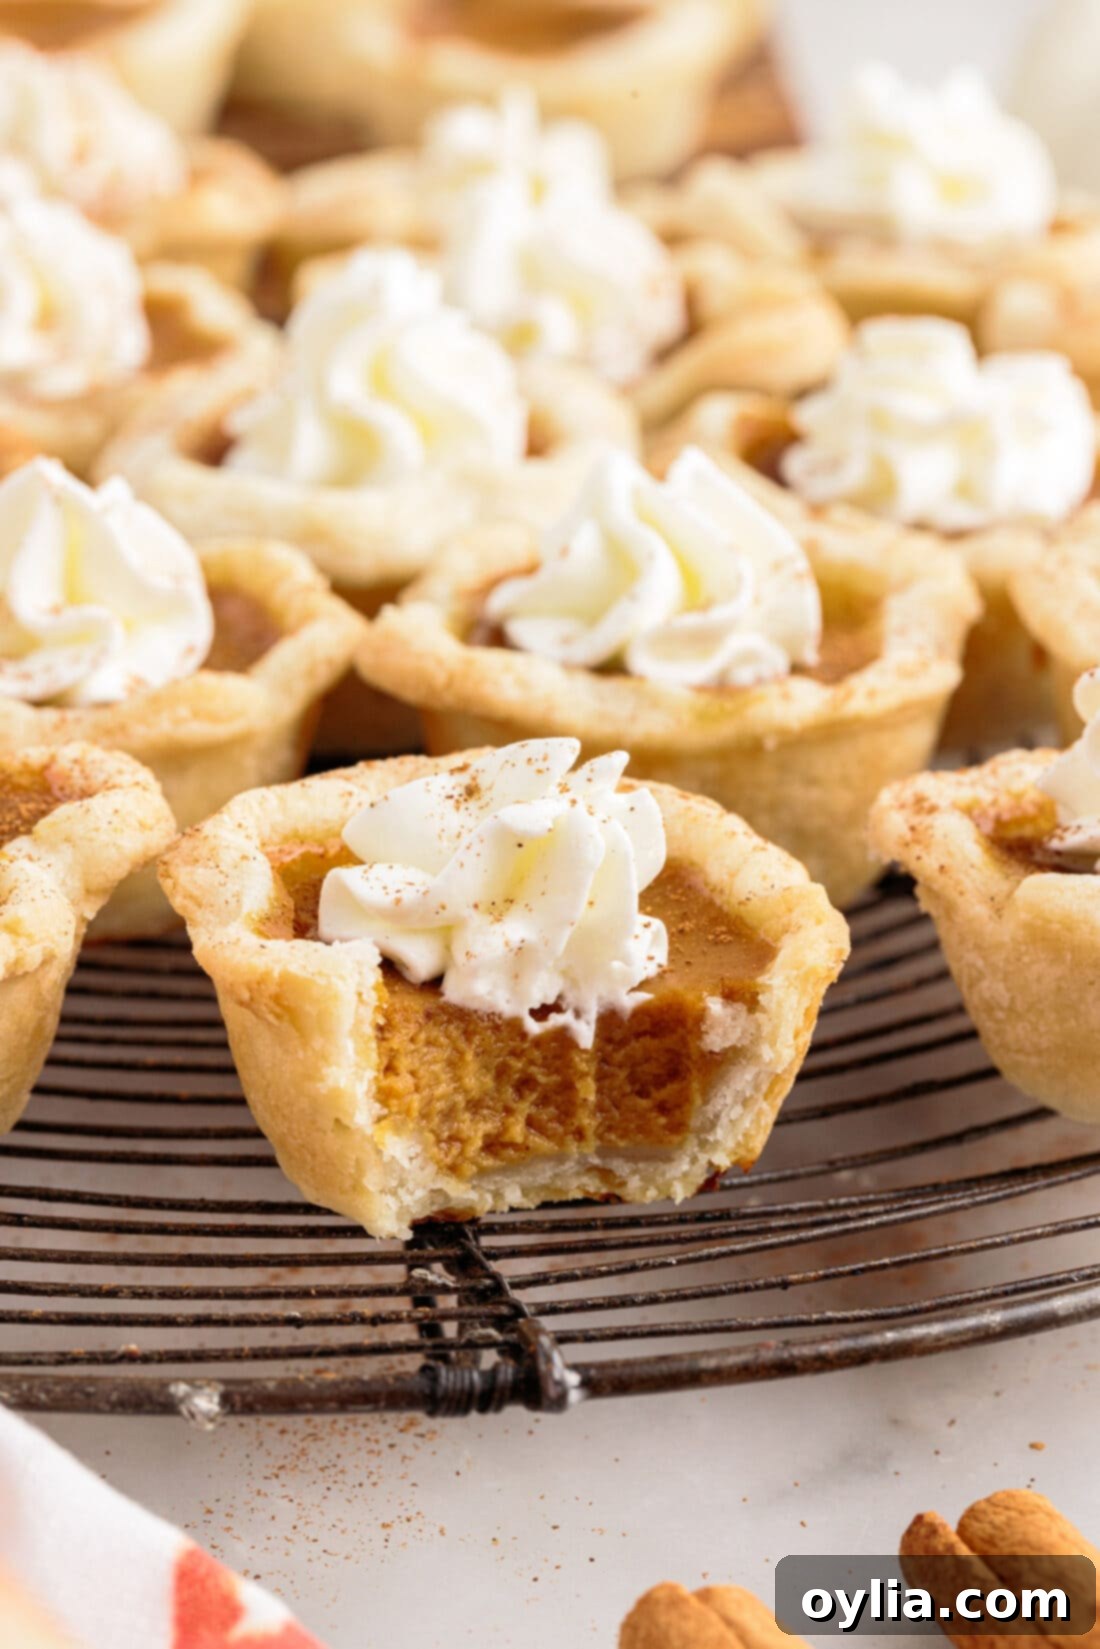
Why These Mini Pumpkin Pies Are a Must-Try
There’s an undeniable charm to miniature versions of beloved classics, and homemade pumpkin pie is certainly no exception! These mini pumpkin pies are not just cute; they are incredibly practical and delicious. After a hearty holiday feast of turkey, stuffing, and various casseroles, the idea of a whole slice of pie can feel a bit overwhelming. That’s where these delightful individual servings shine. Perfectly portioned, each mini pie offers a satisfying taste of warm, spiced pumpkin goodness, often enjoyed in just a couple of bites.
These adorable desserts are ideal for a range of autumnal celebrations. Whether you’re hosting a festive Friendsgiving gathering, preparing for the grand Thanksgiving dinner, or simply craving the comforting flavors of pumpkin pie on a crisp fall evening, these mini pies are your go-to. Their small size makes them incredibly easy to serve and eat, eliminating the need for plates and forks if you wish, making them perfect for mingling and dessert bars. Plus, you’ll love the convenience of having perfectly sized treats without the commitment of a large, traditional pie. If you’re a fan of miniature delights, you’ll probably also adore our mini apple pies!
Gather Your Ingredients for Delicious Mini Pumpkin Pies
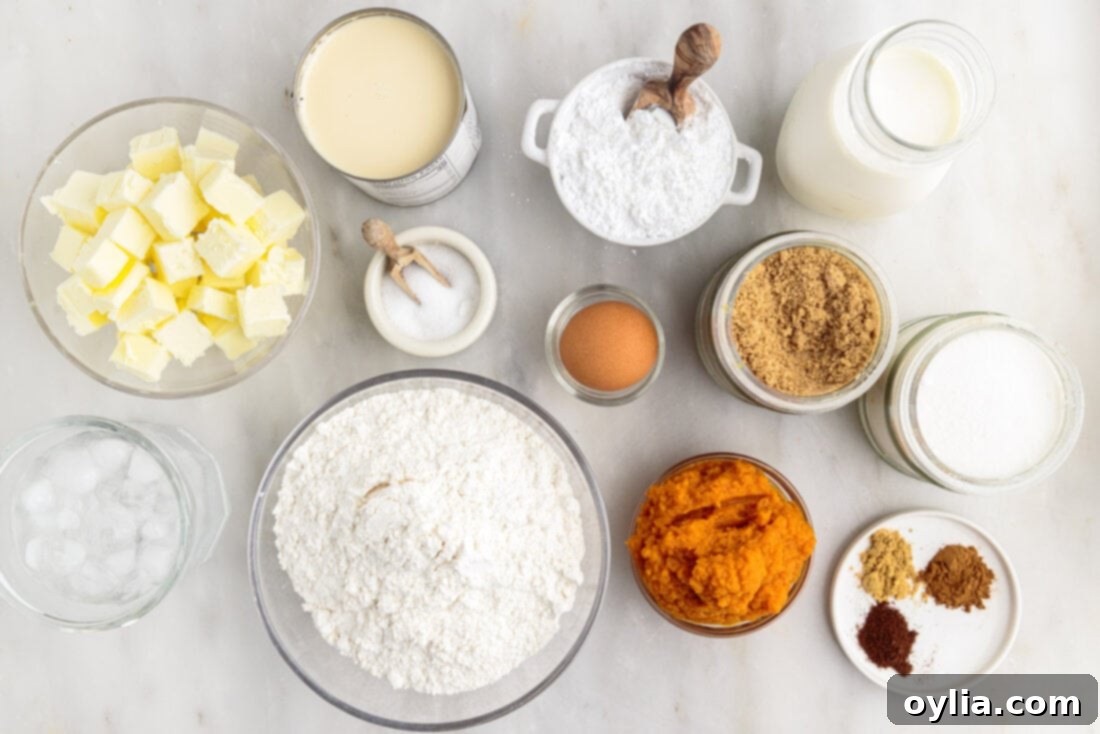
Crafting these mini pumpkin pies requires a few simple, high-quality ingredients that come together to create an unforgettable dessert. From the foundational flour for the crust to the vibrant pumpkin puree and aromatic spices for the filling, each component plays a vital role. You’ll find a detailed list of all measurements, ingredients, and instructions in the printable recipe card located at the end of this comprehensive post. Get ready to embark on a baking adventure that promises delightful results!
Ingredient Insights & Clever Substitutions
Understanding your ingredients and knowing when and how to make substitutions can elevate your baking experience. Here’s a deeper dive into the components of these delicious mini pumpkin pies:
Crafting the Perfect Pie Dough
DOUGH – For the ultimate flakey experience, we highly recommend trying our provided recipe for light and delicate homemade pie dough. The secret to its incredible texture lies in keeping the butter and water extra cold. A simple trick is to cut your unsalted butter into small cubes and then pop it back into the refrigerator while you gather and measure your other ingredients. This ensures the butter remains firm, creating those desirable pockets of steam during baking that result in a truly flaky crust. However, if time is of the essence, you can certainly opt for convenience by using about two store-bought pie crust discs, typically found in the refrigerated section of your grocery store. Just be sure to handle them gently to avoid overworking the dough.
The Heart of the Pie: Creamy Pumpkin Filling
FILLING – The rich, creamy pumpkin filling is what gives these mini pies their signature fall flavor. We use a blend of classic spices: cinnamon, ginger, and cloves, which perfectly complement the sweet earthiness of the pumpkin puree. If you’re looking to simplify, a convenient alternative is to substitute 3⁄4 teaspoon of pre-mixed pumpkin pie spice for the individual cinnamon, ginger, and cloves. This blend often includes other warm spices like nutmeg and allspice, adding another layer of complexity. Remember, you won’t necessarily use a full can of pumpkin puree or evaporated milk for this recipe, so measure carefully as instructed in the recipe card.
The Whipped Cream Crown
WHIPPED CREAM – A dollop of fresh, homemade whipped cream is the quintessential topping for any pumpkin pie. For best results, ensure your heavy whipping cream and even your mixing bowl and whisk attachment are thoroughly chilled before you begin. This helps the cream whip up faster and hold its volume better. Whip the heavy cream and powdered sugar together until stiff peaks form, indicating it’s perfectly airy and stable. If you’re short on time or prefer a quicker option, store-bought whipped cream in a can can be used, though it won’t have the same rich flavor and texture as homemade.
Your Step-by-Step Guide to Baking Mini Pumpkin Pies
These step-by-step photos and detailed instructions are provided to help you visualize each stage of making this delightful recipe. For the complete printable version, including all measurements and comprehensive instructions, simply Jump to Recipe at the bottom of this page.
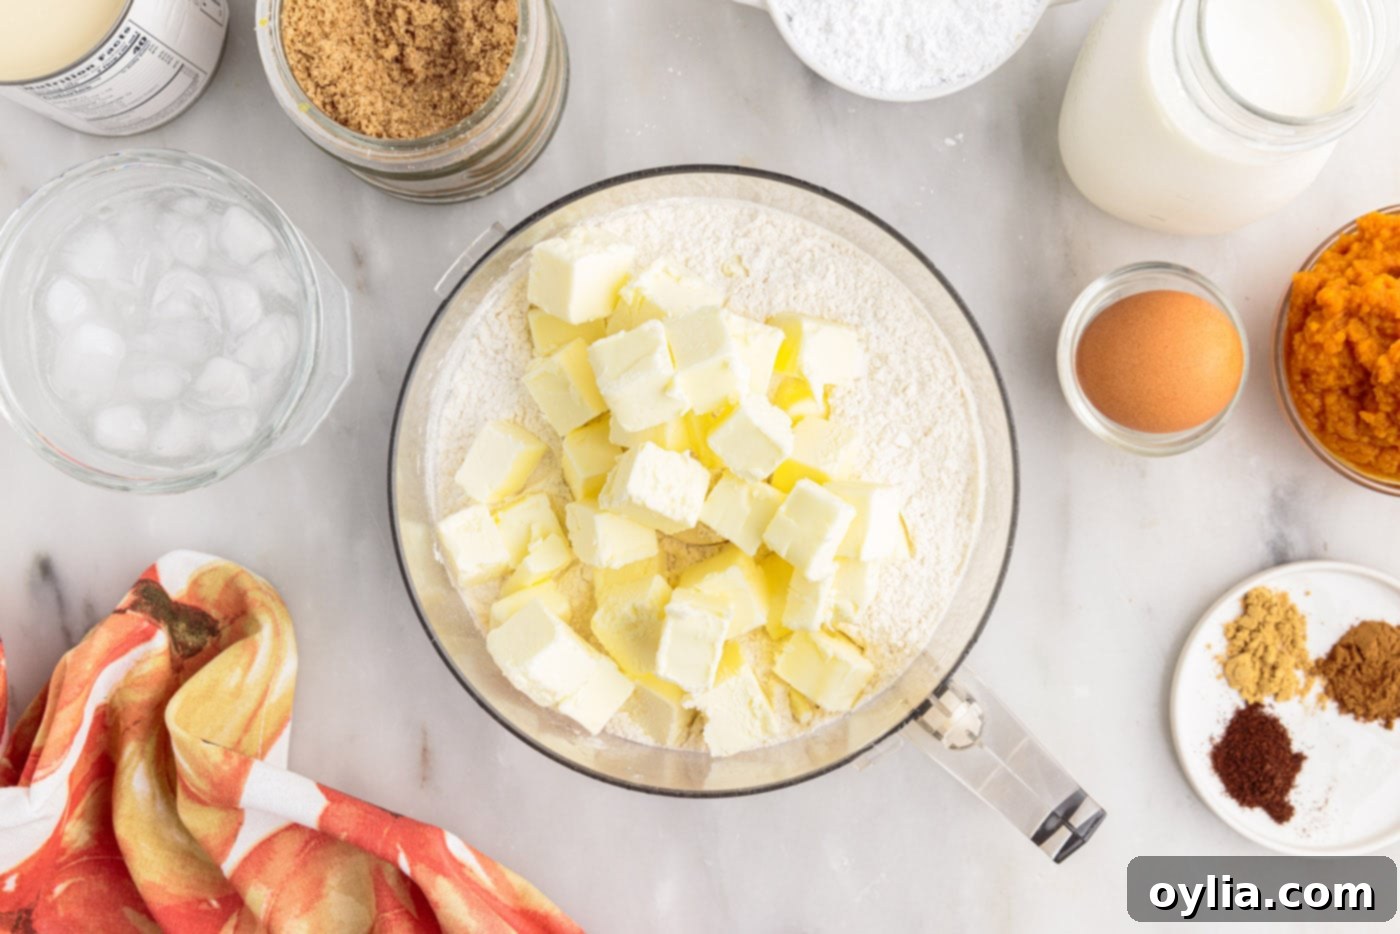
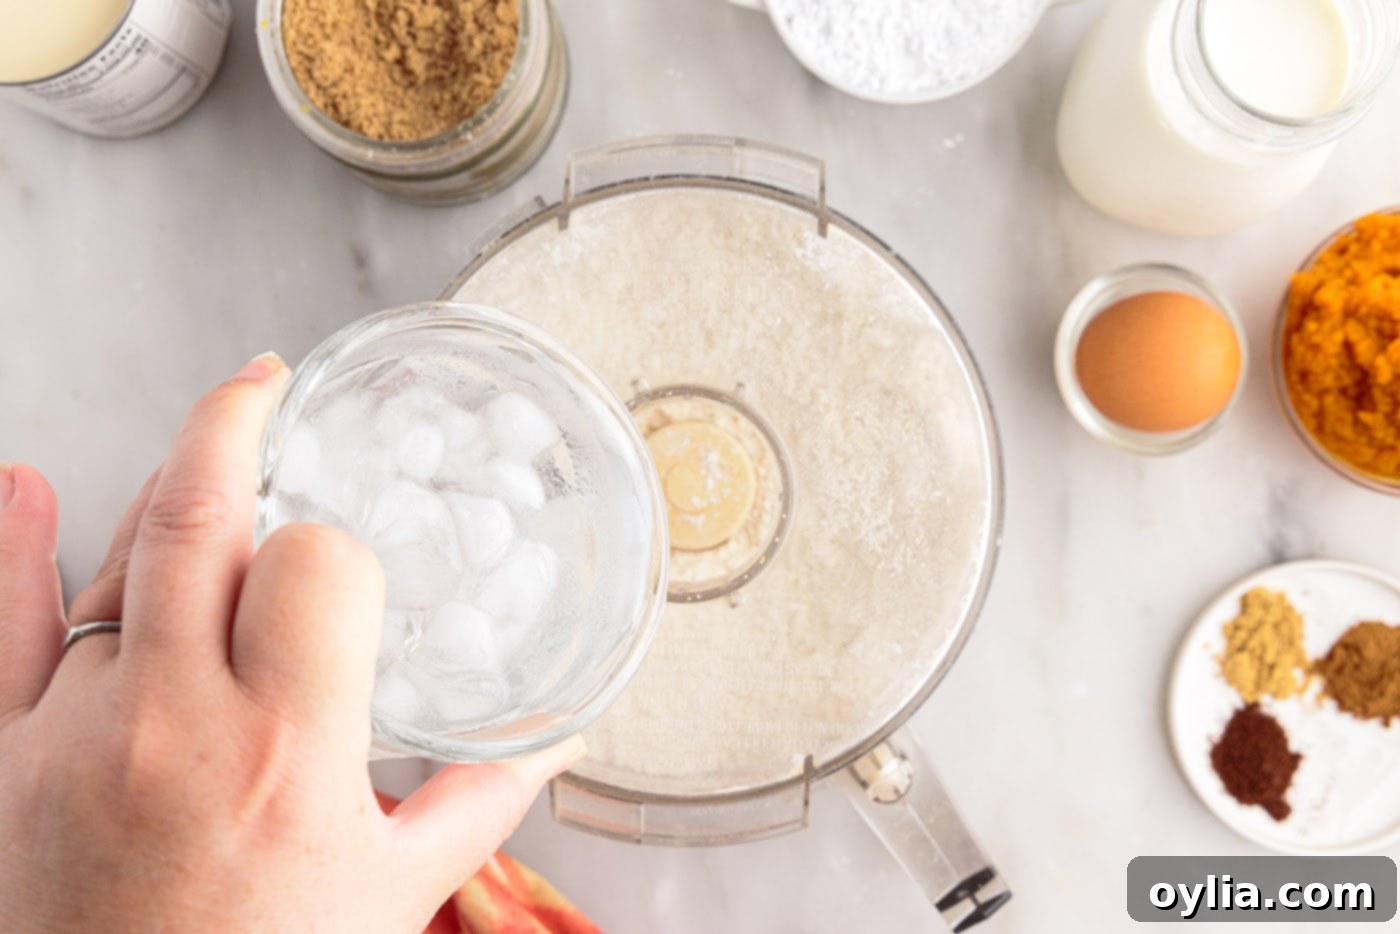
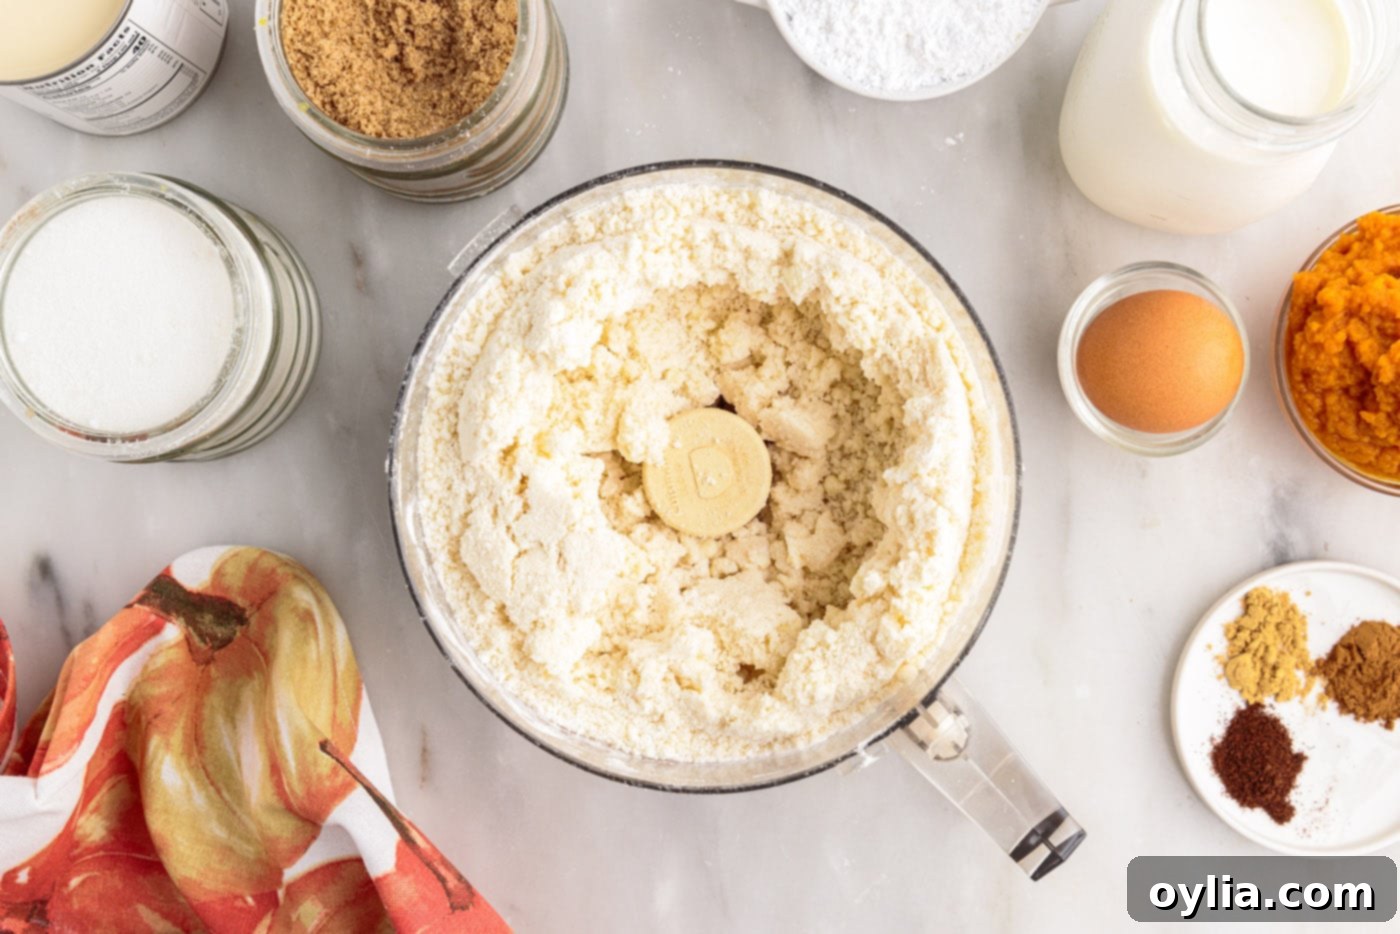
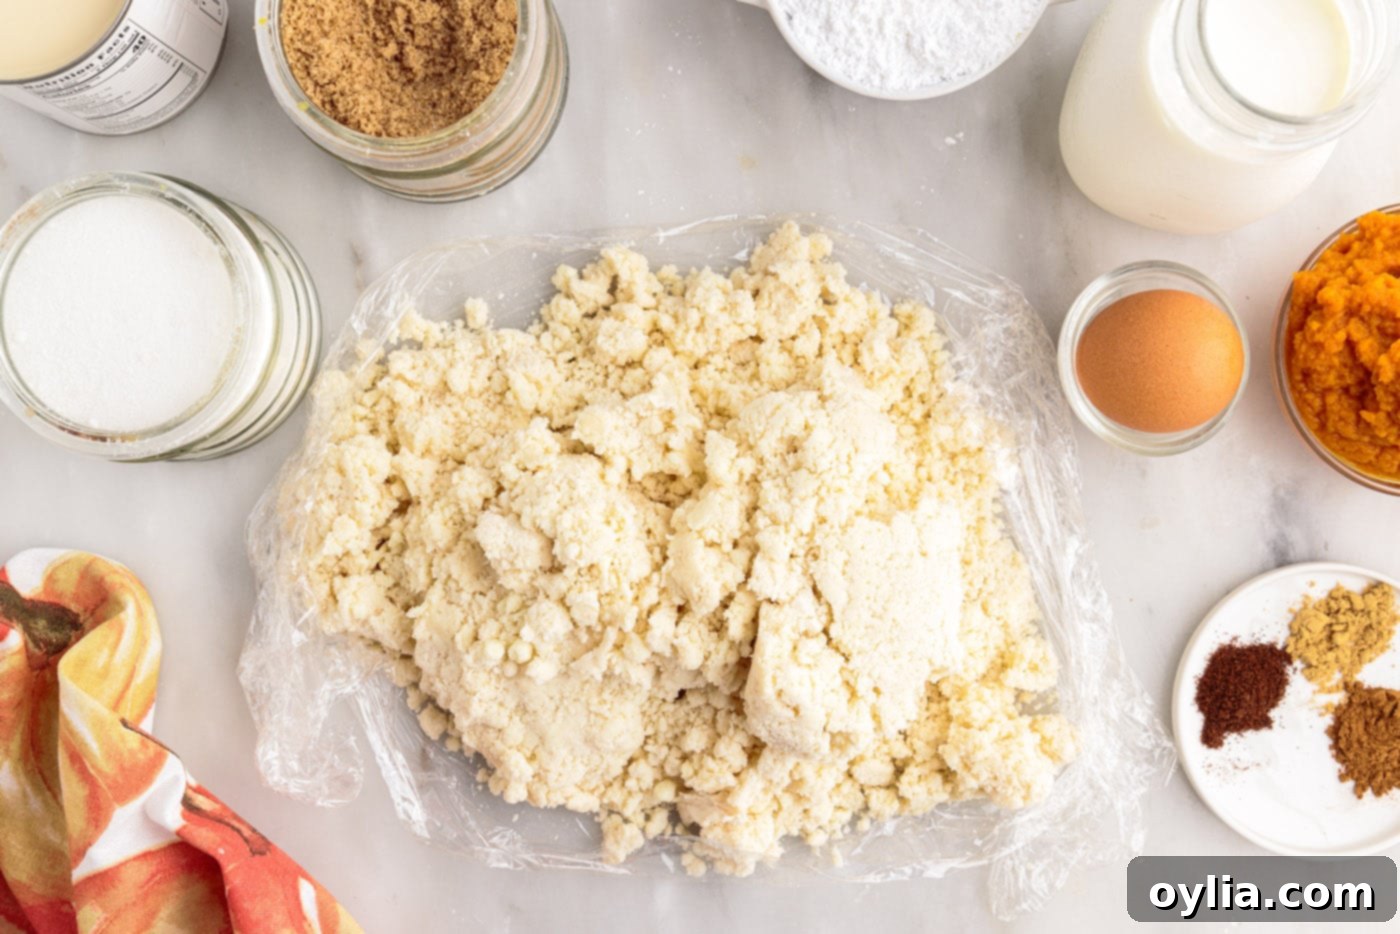
- In the bowl of a food processor, combine the all-purpose flour and 3⁄4 teaspoon of salt. Distribute the cold, cubed butter over the flour mixture. Pulse the food processor several times until the butter is broken down into small, pea-sized pieces and evenly dispersed throughout the flour. Gradually drizzle the ice water into the flour mixture while continuously pulsing the food processor, just until the mixture begins to come together and form a crumbly dough.


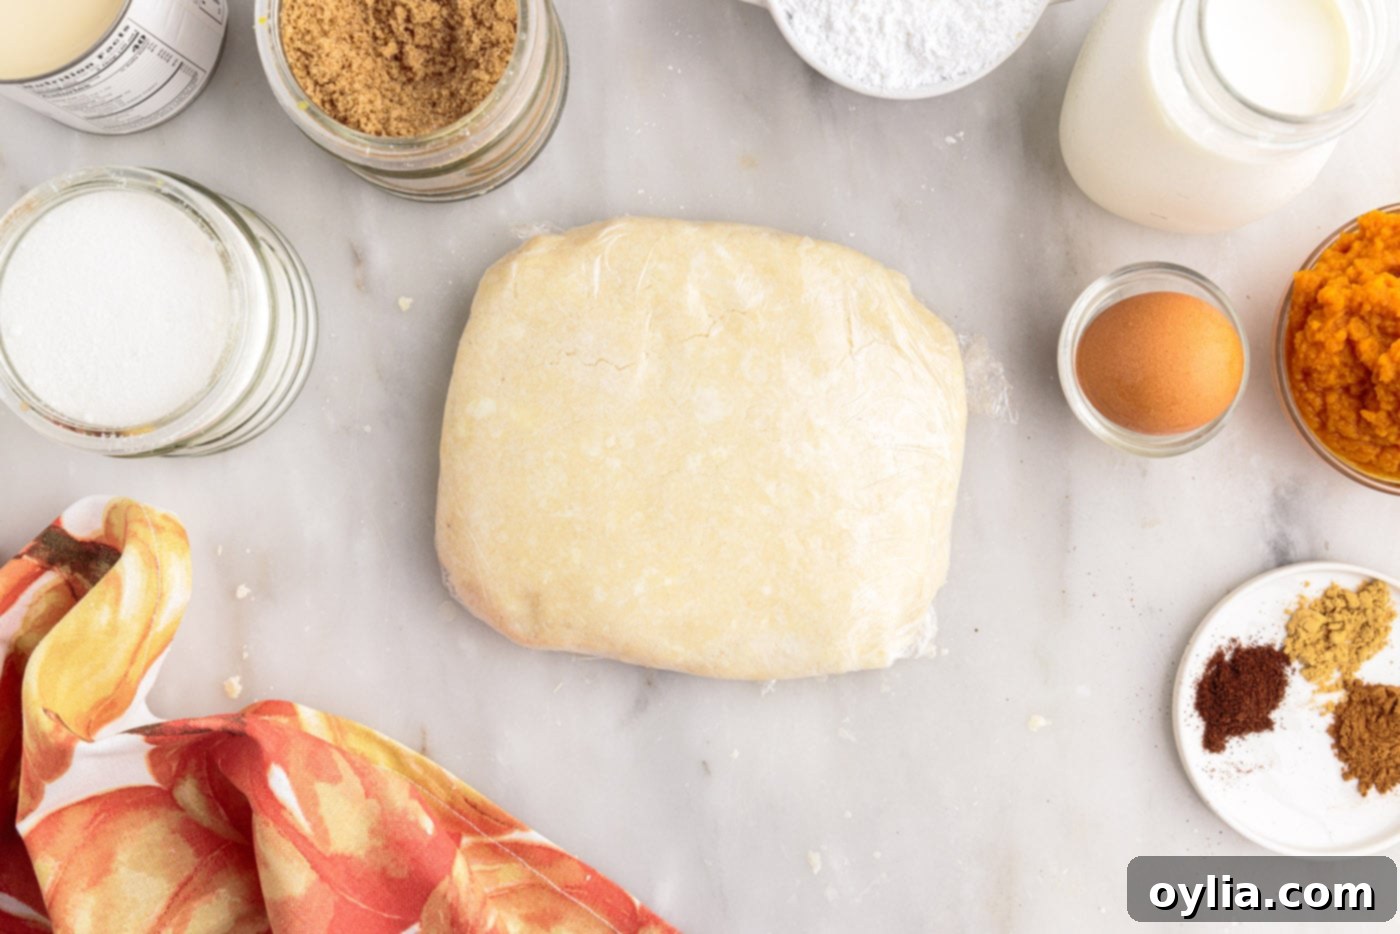
- Carefully turn the crumbly dough out onto a large piece of plastic wrap. Gently gather the dough into a single mound with your hands, being careful not to overwork it. Wrap the dough tightly in the plastic wrap and flatten it into a disc shape. This disc needs to chill in the refrigerator for at least 30 minutes. This crucial step allows the gluten to relax, resulting in a more tender and flaky crust.


- Preheat your oven to 375°F (190°C). Lightly spray mini muffin tins with nonstick cooking spray to prevent sticking and ensure easy removal of your baked pies. Set the prepared tins aside.
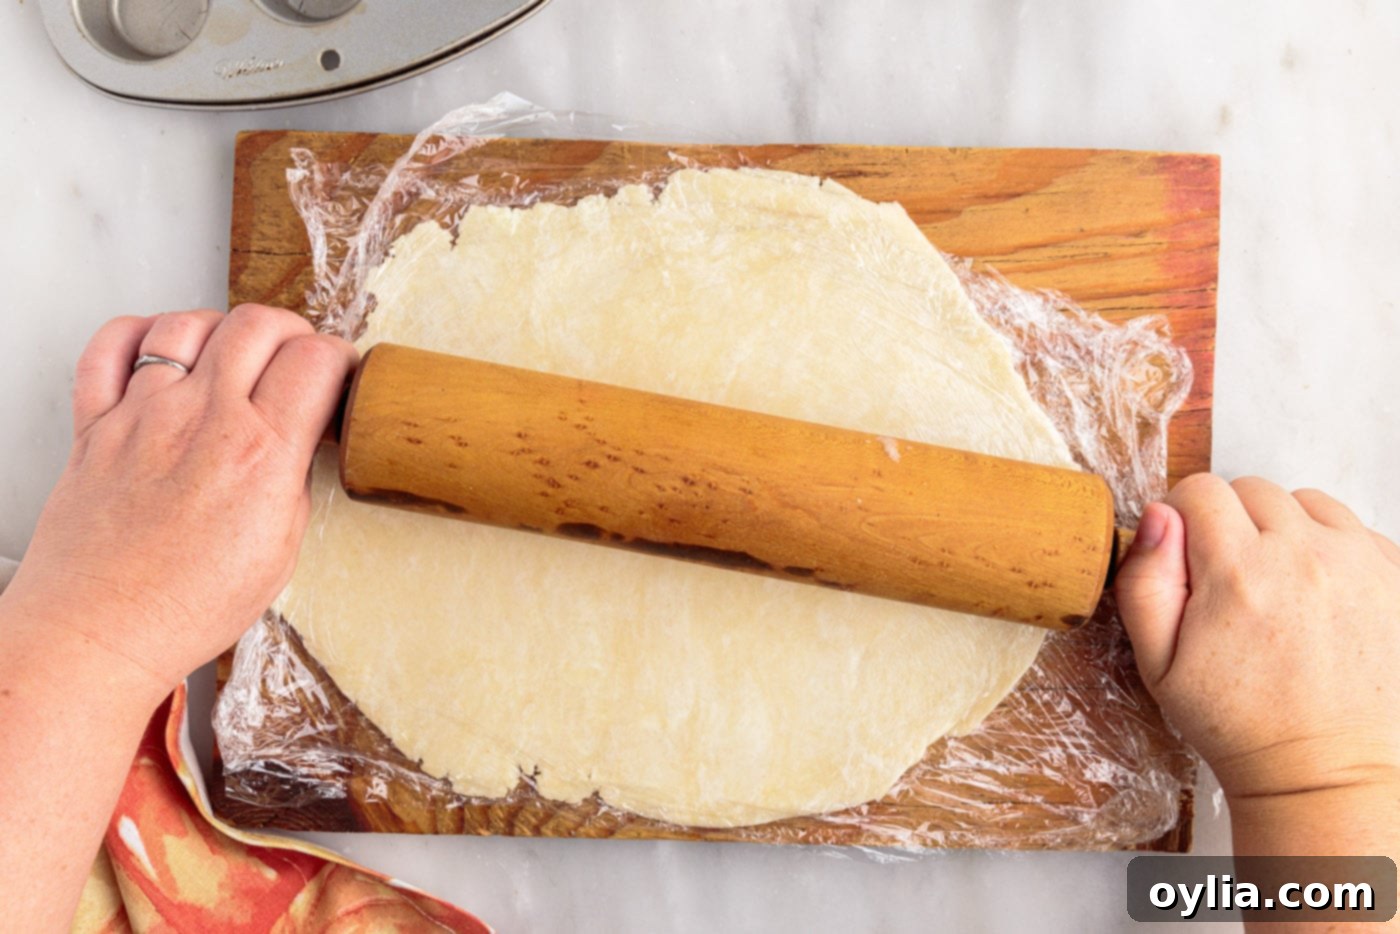
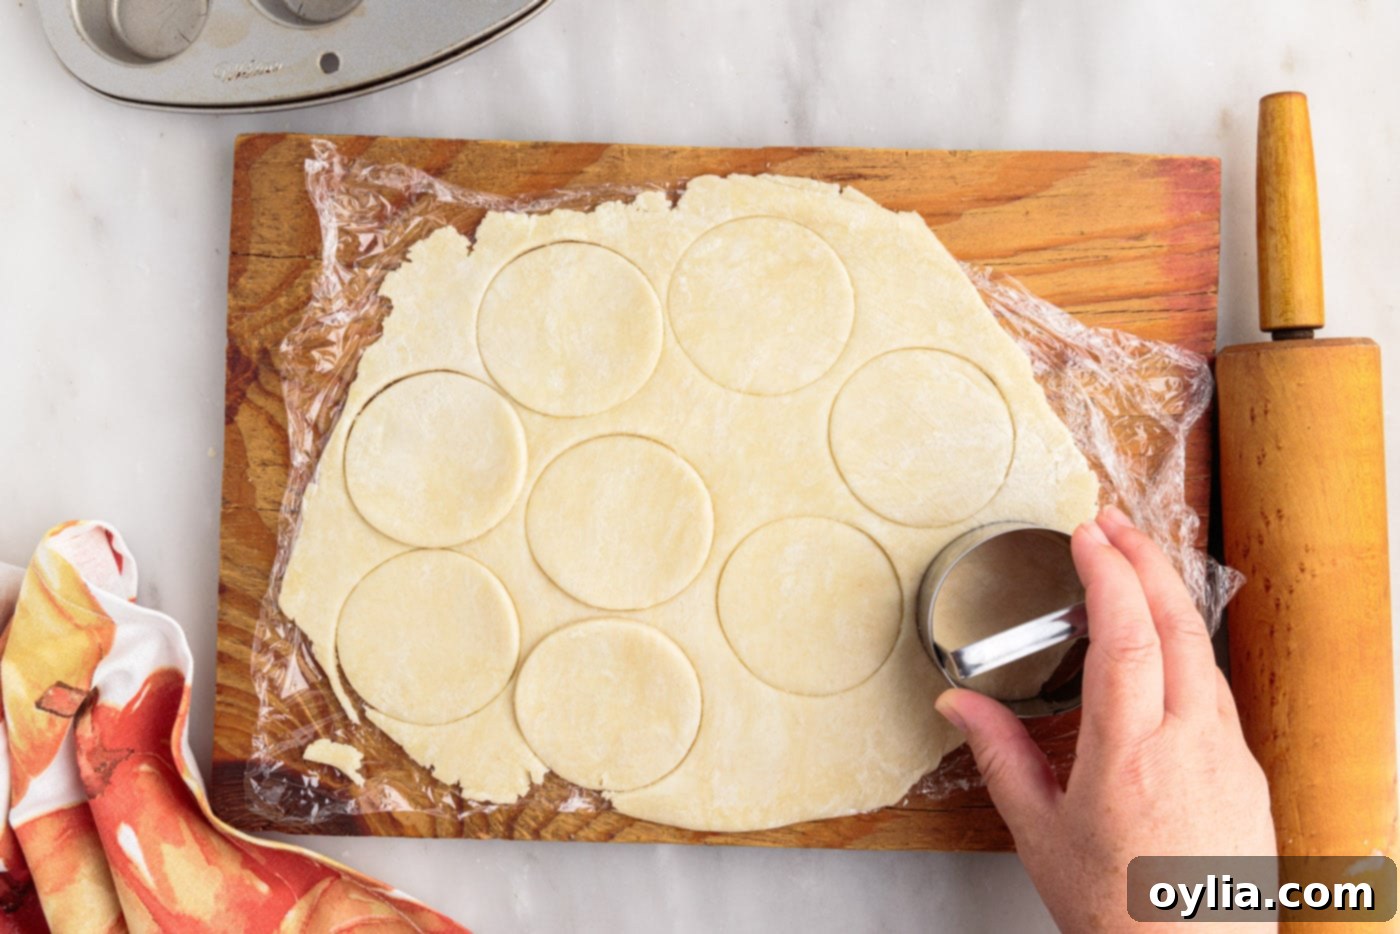
- On a lightly floured surface or between two sheets of parchment paper/plastic wrap, roll out half of the chilled pie crust dough at a time. Aim for an even thickness. Use a 2 1⁄2” biscuit cutter to cut out circular rounds from the rolled dough. Carefully gather any leftover scraps of crust, gently re-roll them, and continue cutting out small rounds until all the dough is used.


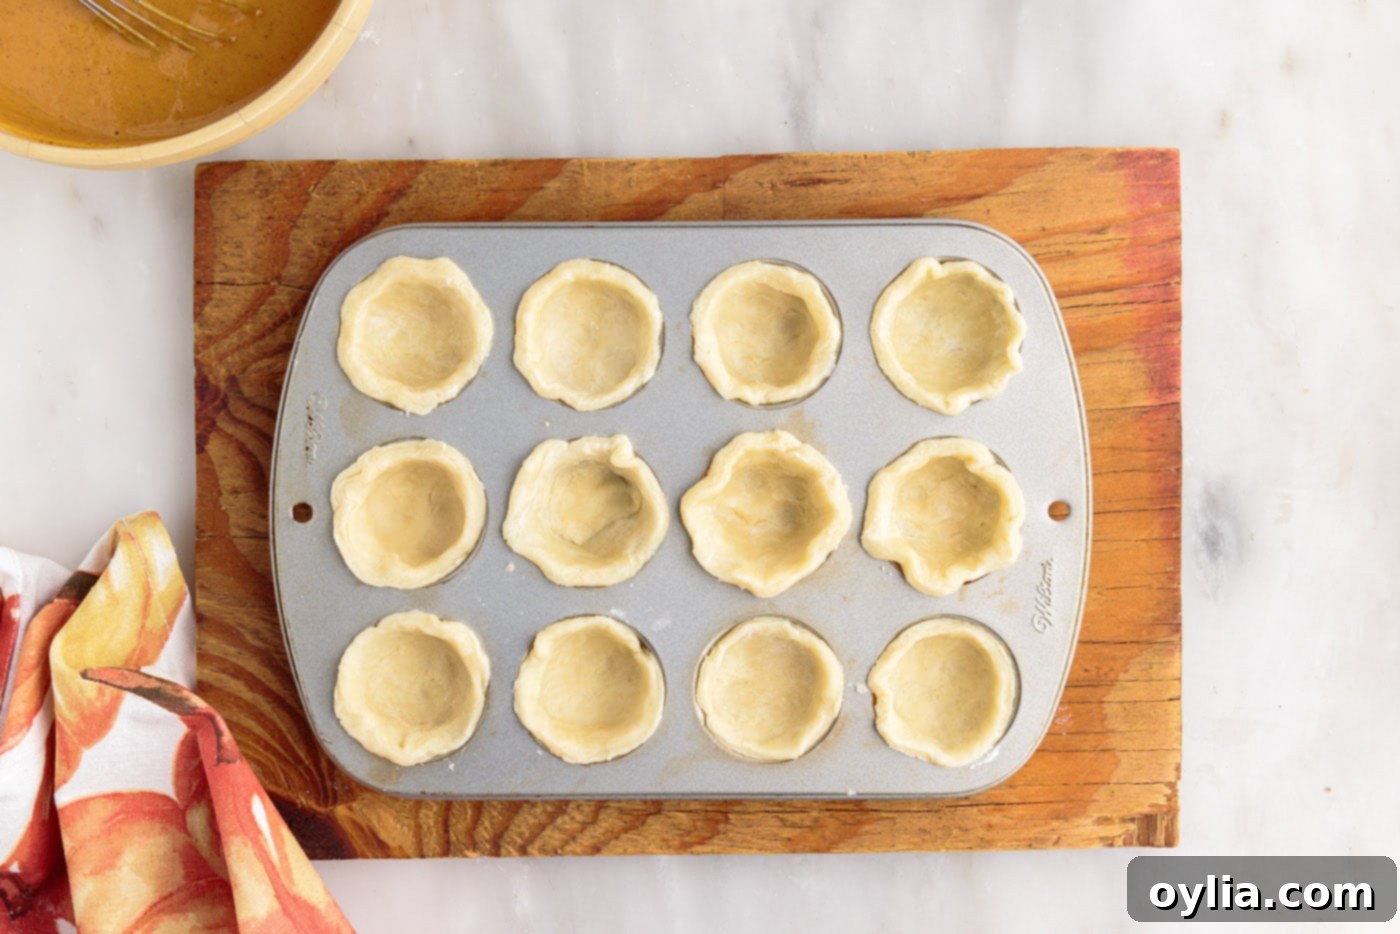
- Carefully press each dough round into the prepared mini muffin tins. Ensure the dough is firmly pressed all the way to the bottom of each cavity and extends to the top of the sides. It doesn’t need to overflow, but having it slightly above the rim will account for any shrinkage during baking, ensuring a perfect little cup for your filling.

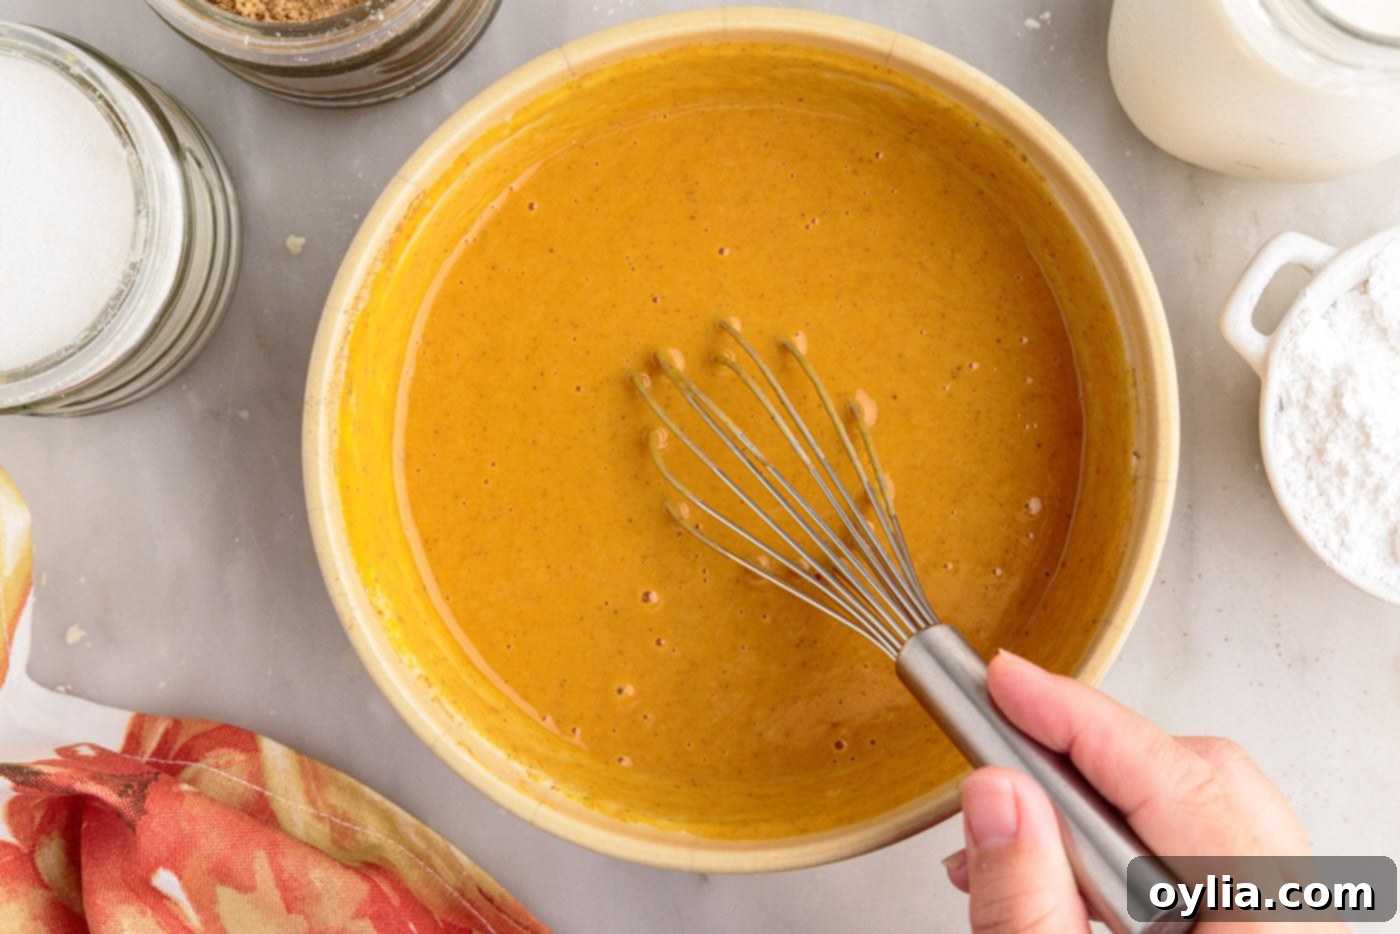
- In a large mixing bowl, combine all the pumpkin pie filling ingredients: pure pumpkin puree, evaporated milk, granulated sugar, light brown sugar, salt, large egg, ground cinnamon, ground cloves, and ground ginger. Whisk vigorously until all ingredients are thoroughly combined and the mixture is smooth and uniform.

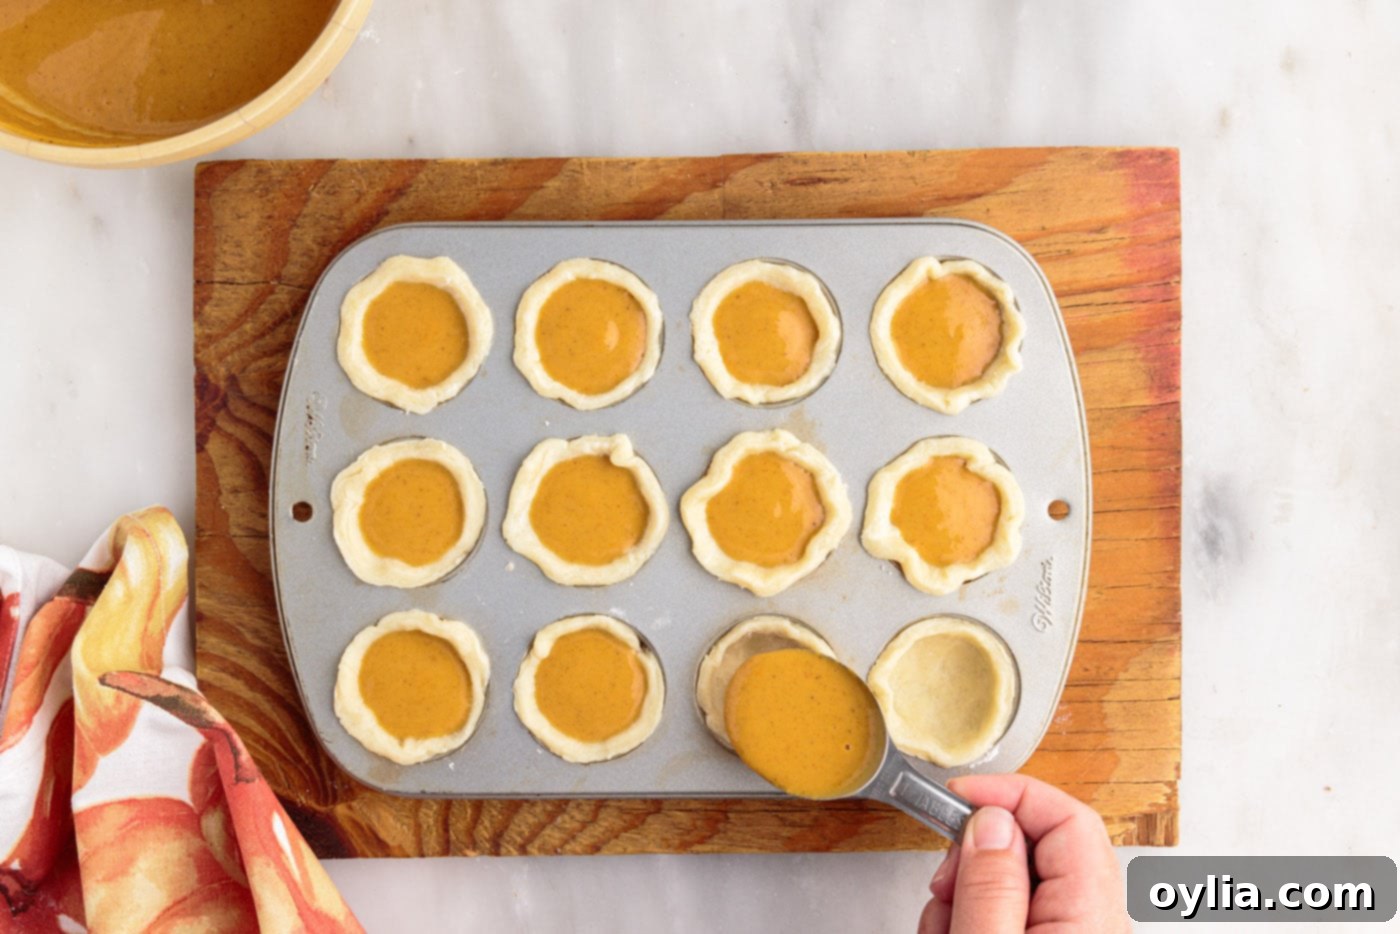
- Using a tablespoon, carefully spoon one tablespoon of the prepared pumpkin pie filling into each mini crust, filling them almost to the brim. Be careful not to overfill, as the pies will puff slightly during baking.

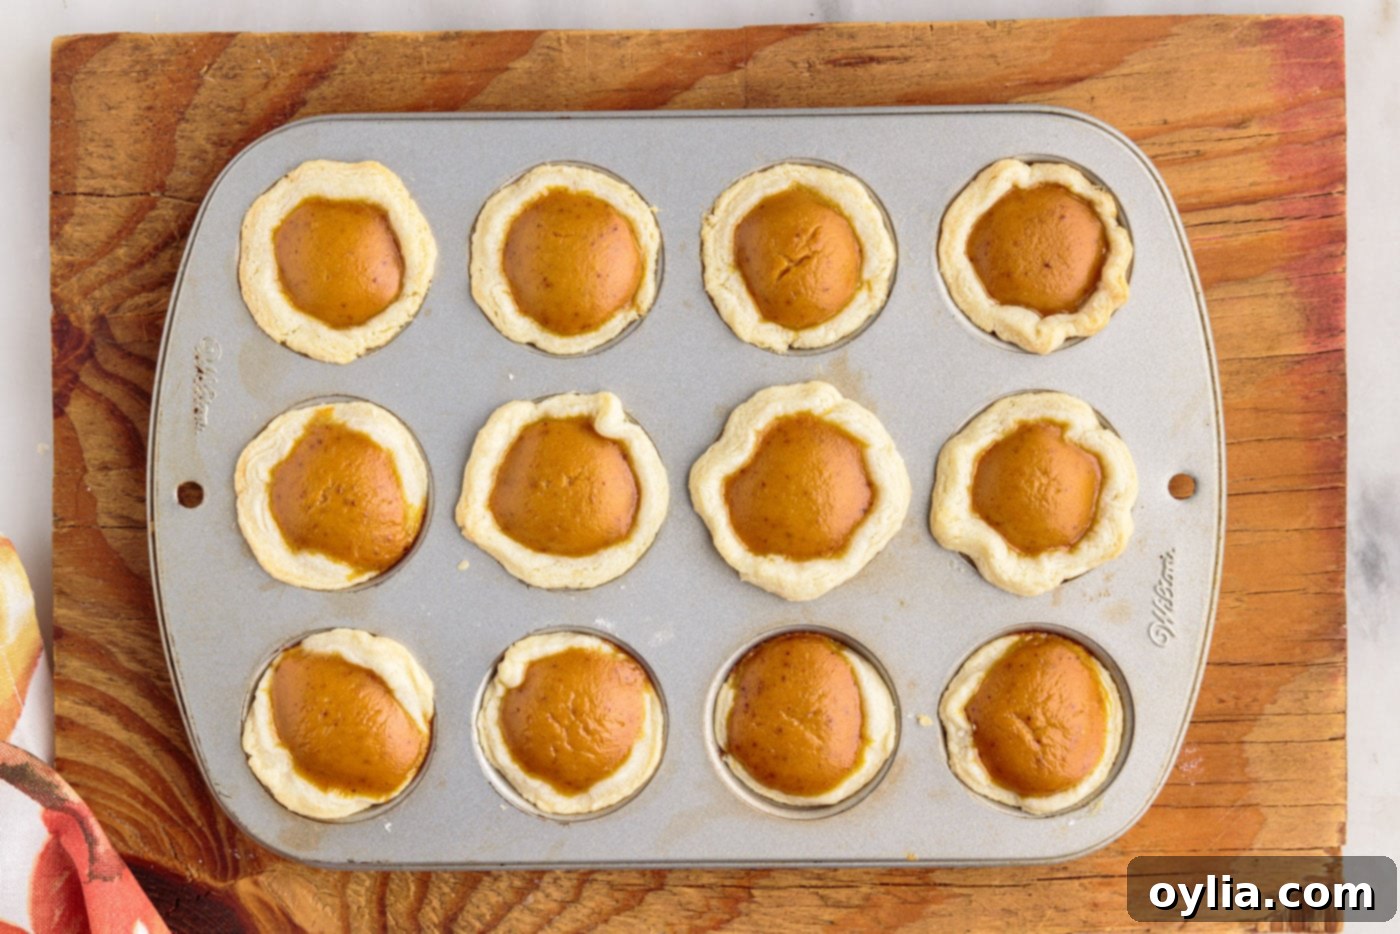
- Bake the mini pumpkin pies in the preheated oven for 18-20 minutes. The pies are ready when the filling is set and no longer jiggly in the center, and the crusts are lightly golden brown.
- Once baked, remove the muffin tin from the oven and allow the mini pumpkin pies to cool completely within the tin before attempting to remove them. This allows the filling to firm up properly and prevents the delicate crusts from breaking.

- For the final flourish, whip heavy cream and powdered sugar together until stiff peaks form. Just before serving, pipe or dollop a generous amount of this fresh whipped cream on top of each cooled pumpkin pie. For an extra touch of seasonal flavor, lightly sprinkle with a dash of ground cinnamon or pumpkin pie spice.

Frequently Asked Questions & Expert Baking Tips
Baking can sometimes bring up questions, especially when adapting recipes. Here are some common queries and expert tips to ensure your mini pumpkin pies turn out perfectly every time:
Absolutely! While mini muffin tins create adorable bite-sized treats, you can certainly use a standard muffin pan. When using a regular muffin tin, you’ll need to cut your dough into larger discs, typically around 3 1/2 inches in diameter, to adequately line the cavities. Be sure to press the dough firmly into the larger cups. Due to the increased size, the bake time will also need to be adjusted; expect them to bake for closer to 30 minutes. Always check for doneness by ensuring the filling is set (a slight jiggle in the very center is okay) and the crust has achieved a beautiful light golden brown color.
To maintain their freshness and flavor, these mini pumpkin pies should be stored in an airtight container. Place the container in the refrigerator, where they will remain delicious for 4-5 days. If you’ve already topped them with whipped cream, it’s best to enjoy them within 1-2 days, as whipped cream can start to deflate or weep over time.
Yes, these mini pumpkin pies freeze wonderfully! To freeze them, first ensure they have completely cooled to room temperature. Then, arrange them in a single layer in an airtight freezer-safe container. For added protection and to prevent them from sticking together, you can place small pieces of parchment paper between layers if stacking. They will keep well in the freezer for 2-3 months. When ready to enjoy, thaw them in the refrigerator overnight, or for a quicker thaw, gently warm them in a low oven.
Absolutely, making these mini pies ahead of time is a fantastic idea, especially during busy holiday seasons! You can fully prepare and bake the mini pies a day in advance. Once they are completely cooled, store them covered with an airtight lid in the refrigerator. The key is to hold off on adding the whipped cream topping until you are just ready to serve. This ensures the whipped cream remains fresh and maintains its perfect texture.
Achieving a truly flaky crust is all about keeping your ingredients, especially the butter and water, as cold as possible. Work quickly to minimize handling the dough, as the warmth from your hands can melt the butter. Using a food processor helps achieve this quickly. Also, don’t skip the chilling step! It allows the butter to firm up again and the gluten to relax, which prevents shrinkage and contributes to that desirable flaky texture.
While canned pumpkin puree is convenient and works perfectly, you can definitely use fresh pumpkin puree if you prefer. To make your own, cut a small pie pumpkin (sugar pumpkin) in half, remove the seeds, and roast it until tender. Scoop out the flesh and puree it until smooth. Just ensure it’s thick enough; if it’s too watery, you might need to blot it with paper towels or gently cook it down to remove excess moisture.
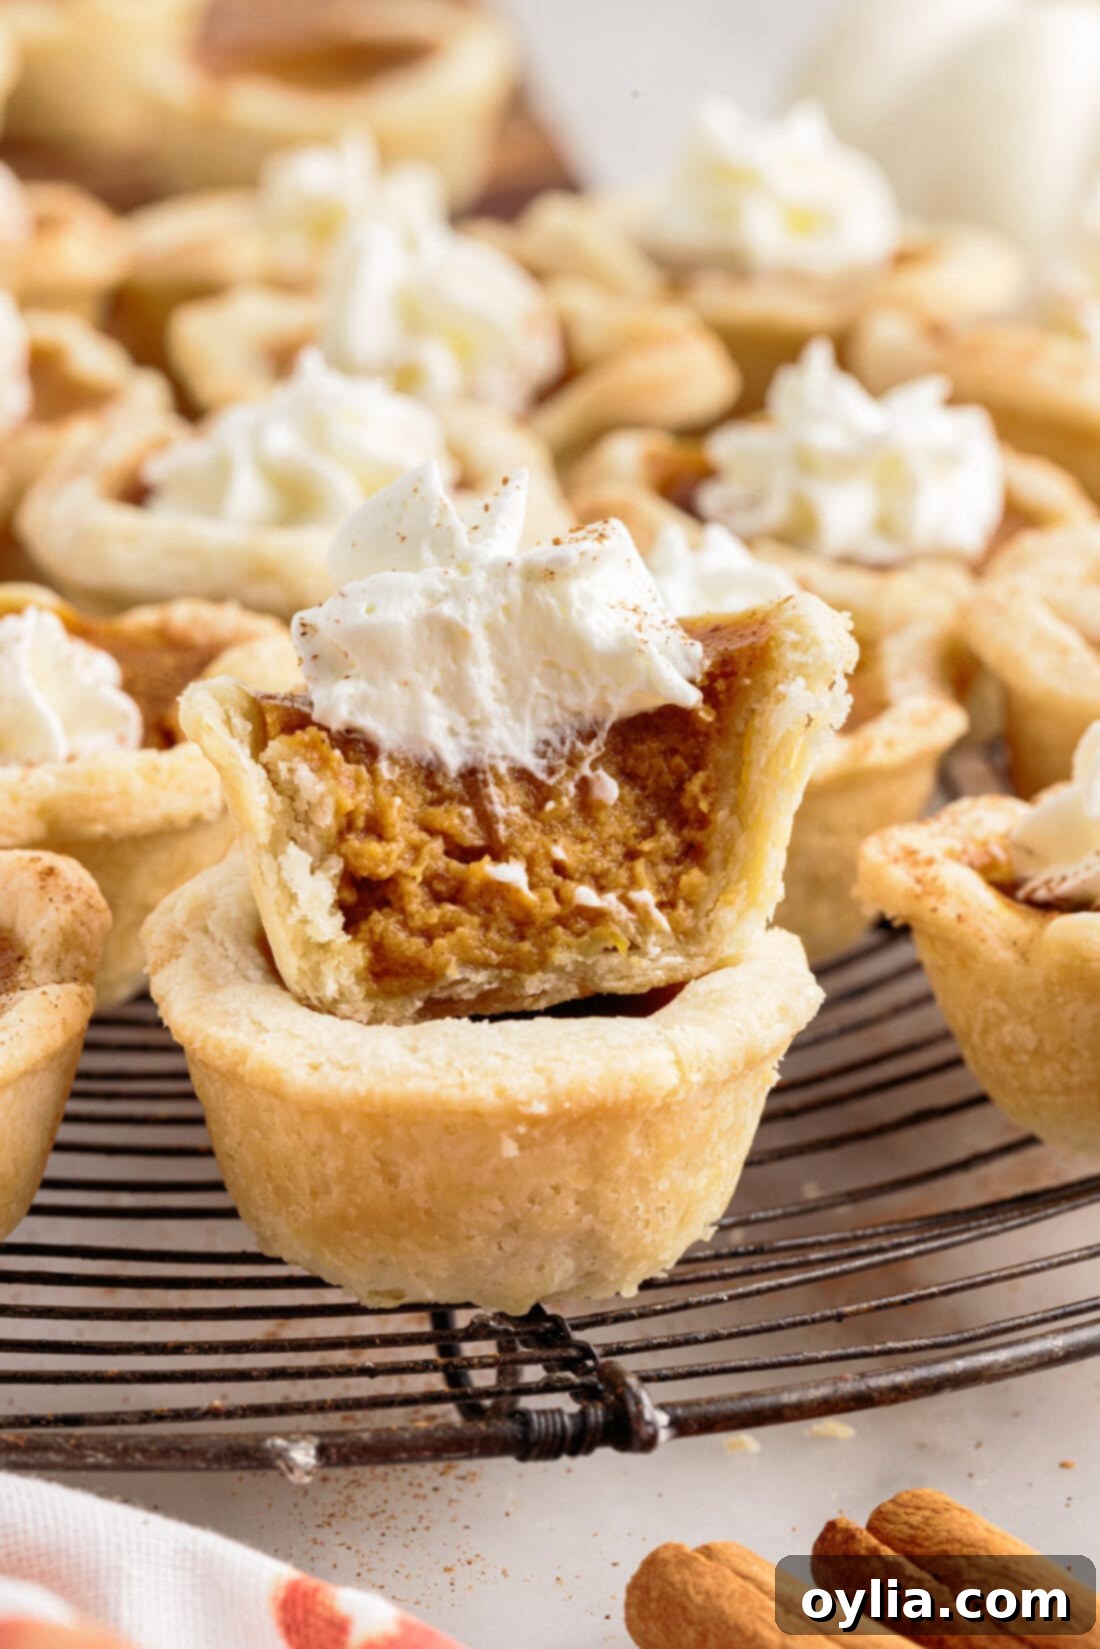
Elevate Your Mini Pumpkin Pie Experience
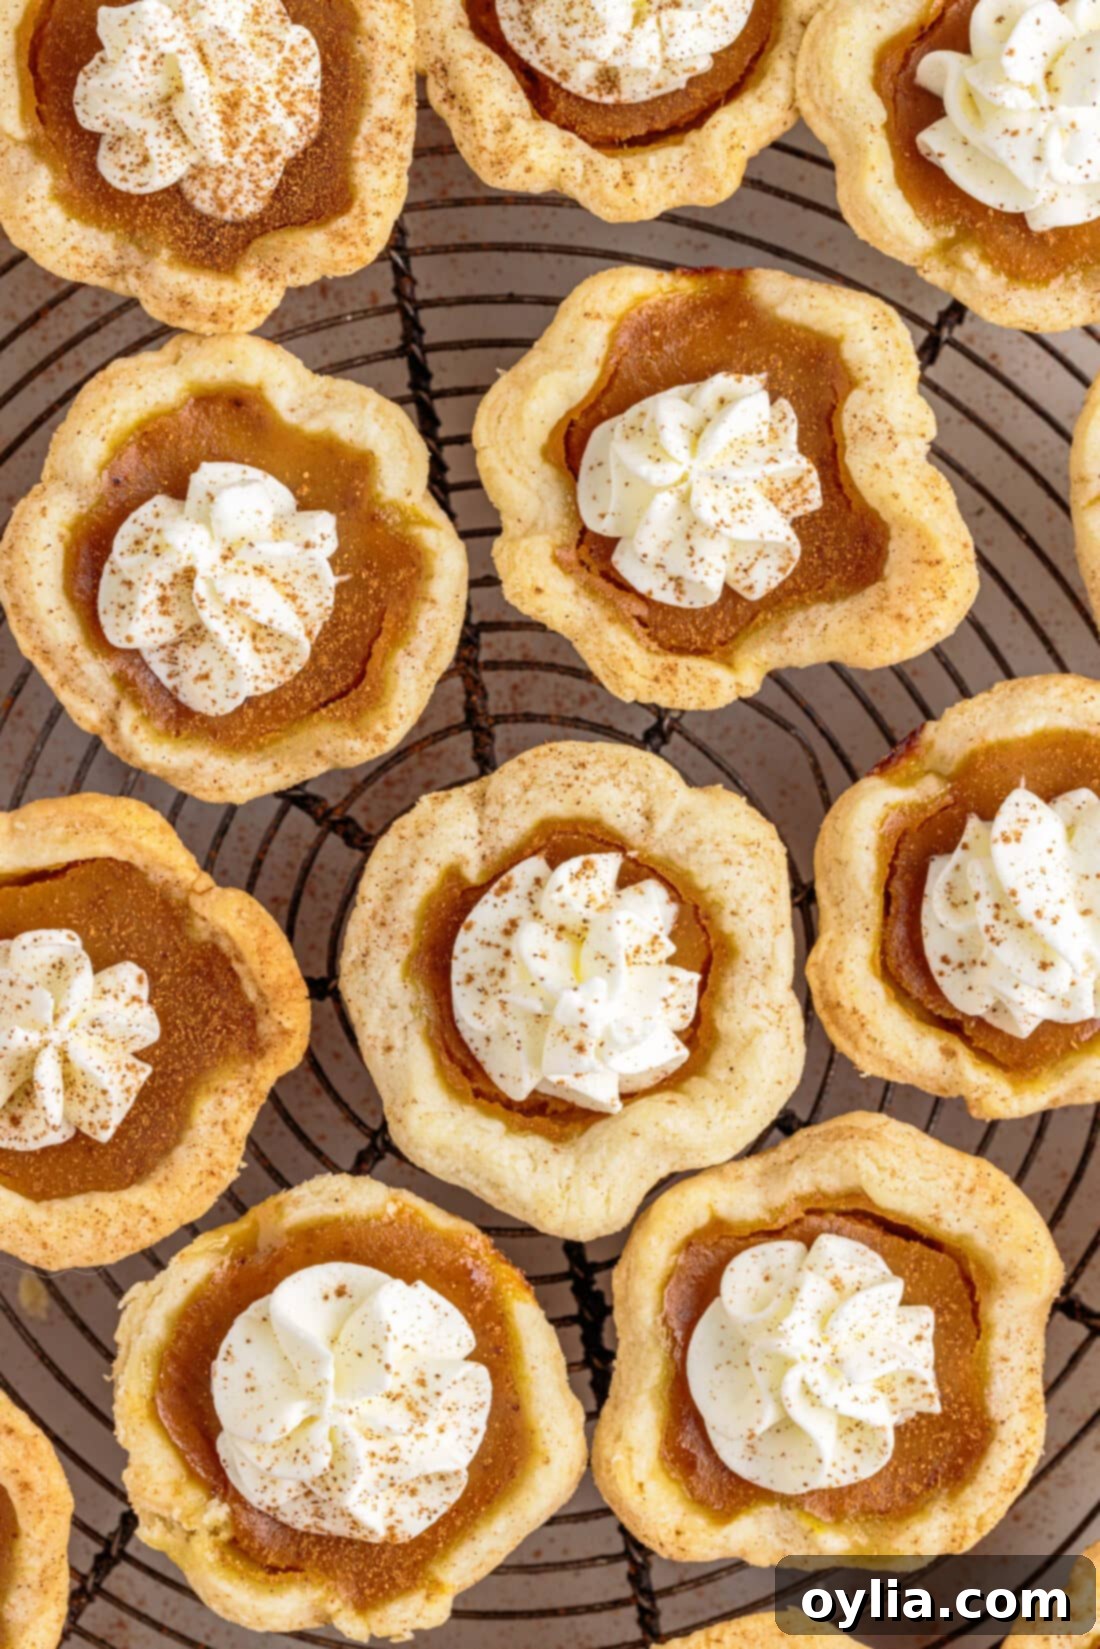
The beauty of these mini pumpkin pies lies in their versatility. Serve them warm straight from the oven for a comforting treat that melts in your mouth, or chilled for a refreshing twist. Whether you prefer the cozy warmth or the cool, creamy texture, they are equally delightful. While I’m undeniably partial to a generous swirl of fresh whipped cream – truly believing it brings all the flavors together in perfect harmony – these pies are undeniably tasty served simply as-is. For an extra festive touch, sprinkle the whipped cream with a dash of ground cinnamon or a pinch of pumpkin pie spice just before serving. You could also experiment with a drizzle of caramel sauce or a sprinkle of chopped pecans for added texture and flavor. However you choose to present them, these mini pumpkin pies are sure to be a crowd-pleaser and a highlight of your dessert table!
Explore More Pumpkin Delights
If these mini pumpkin pies have left you craving more of that wonderful fall flavor, you’re in luck! Pumpkin is a versatile ingredient that shines in both sweet and savory dishes. Here are some of our other favorite pumpkin-inspired recipes that are perfect for autumn gatherings, holiday feasts, or simply enjoying the cozy flavors of the season:
- Classic Pumpkin Roll
- Moist & Flavorful Pumpkin Cake
- Creamy Pumpkin Pie Dip
- Adorable Pumpkin Hand Pies
- Homemade Pumpkin Spice Donuts
- Easy No-Bake Pumpkin Cheesecake
- Individual Mini Pumpkin Cheesecakes
I absolutely love to bake and cook, and there’s nothing I enjoy more than sharing my culinary adventures and favorite recipes with all of you! Remembering to check back for new recipes every day can be a challenge, which is why I offer a convenient newsletter delivered straight to your inbox every time a new recipe posts. Simply subscribe to start receiving your free daily recipes and never miss a delicious update!
Mini Pumpkin Pies
IMPORTANT – There are often Frequently Asked Questions within the blog post that you may find helpful. Simply scroll back up to read them!
Print It
Pin It
Rate It
Save ItSaved!
Ingredients
Pie Crust
- 2 ½ cups all-purpose flour
- ¾ teaspoon salt
- 1 cup unsalted butter cold, cut into cubes
- ⅓ cup ice cold water
Filling
- 1 cup pure pumpkin puree
- ¾ cup evaporated milk
- ¼ cup granulated sugar
- ¼ cup light brown sugar packed
- ¼ teaspoon salt
- 1 large egg
- ½ teaspoon ground cinnamon
- ⅛ teaspoon ground cloves
- ¼ teaspoon ground ginger
Whipped Cream
- 1 cup heavy whipping cream
- 3 Tablespoons powdered sugar
Things You’ll Need
-
Mini muffin tin
-
Food processor
-
Rolling pin
-
2 1/2 inch biscuit cutter or similar shaped object such as the bottom of a cup
-
Hand mixer for making the whipped cream
Before You Begin
- To ensure the flakiest crust, it is crucial to keep both your butter and ice water as cold as possible throughout the dough preparation process.
- Note that this recipe will not require a full can of pumpkin puree or evaporated milk; measure precisely as indicated.
- For a convenient spice blend, you can substitute the individual cinnamon, ginger, and cloves with 3⁄4 teaspoon of pre-mixed pumpkin pie spice.
- The mini pies will puff up charmingly during baking, but they will naturally recede as they cool. Make sure they are completely cool before adding any whipped cream topping, as residual heat will cause the cream to melt and become watery. If whipping your own cream isn’t an option, a good quality store-bought squirt whipped cream can be used as a quick alternative.
Instructions
-
To prepare the pie crust, combine the all-purpose flour and ¾ teaspoon of salt in the bowl of a food processor. Add the cold, cubed unsalted butter to this mixture. Pulse the food processor several times until the butter has broken down into small, pea-sized pieces and is evenly distributed throughout the flour. With the food processor running, slowly drizzle in the ice water. Continue pulsing just until the mixture begins to come together into a crumbly dough consistency.
-
Turn the crumbly dough out onto a large piece of plastic wrap. Gently gather the dough with your hands, forming it into a single mound. Wrap the dough tightly in the plastic wrap and flatten it into a disc. Place this dough disc in the refrigerator to chill for a minimum of 30 minutes before proceeding with the rest of the recipe. This chilling step is essential for a flaky crust.
-
Preheat your oven to 375°F (190°C). Prepare your mini muffin tins by lightly spraying each cavity with nonstick cooking spray. Set the prepared tins aside, ready for the pie crusts.
-
On a lightly floured surface or between two sheets of parchment paper or plastic wrap, roll out half of the chilled pie crust dough at a time. Using a 2 1⁄2-inch biscuit cutter, cut out circular rounds from the rolled dough. Carefully gather any leftover dough scraps, gently re-roll, and continue cutting out more small rounds until all the dough is used.
-
Carefully press each dough round into the mini muffin tins. Ensure that the dough is firmly pressed all the way to the bottom of each cavity and that it extends to the top edge of the sides. It’s okay if it rises slightly above the top; this allows for any minimal shrinkage that might occur during baking, ensuring a neat crust.
-
In a large mixing bowl, combine all the ingredients for the pumpkin pie filling: pure pumpkin puree, evaporated milk, granulated sugar, light brown sugar (packed), ¼ teaspoon of salt, one large egg, ½ teaspoon of ground cinnamon, ⅛ teaspoon of ground cloves, and ¼ teaspoon of ground ginger. Whisk the mixture thoroughly until all ingredients are completely combined and the filling is smooth and uniform in consistency.
-
Carefully spoon one tablespoon of the prepared pumpkin pie filling into each mini crust, filling them almost to the top. Be mindful not to overfill, as the filling will expand slightly during baking.
-
Bake the mini pumpkin pies in your preheated oven for 18-20 minutes. They are done when the pumpkin filling is set (it should only have a slight jiggle in the center) and the crusts are beautifully golden brown.
-
Once baked, remove the mini muffin tin from the oven. Allow the mini pumpkin pies to cool completely within the muffin tin before attempting to remove them. This cooling time allows the filling to firm up properly and prevents the delicate crusts from breaking.
-
For the finishing touch, whip the heavy cream and powdered sugar together until stiff peaks form, creating a luscious whipped cream. Just before serving, pipe or gently dollop a generous amount of this fresh whipped cream on top of each cooled mini pumpkin pie. For an extra aromatic flourish, sprinkle with a dash of ground cinnamon or pumpkin pie spice if desired.
Nutrition
The recipes on this blog are tested with a conventional gas oven and gas stovetop. It’s important to note that some ovens, especially as they age, can cook and bake inconsistently. Using an inexpensive oven thermometer can assure you that your oven is truly heating to the proper temperature. If you use a toaster oven or countertop oven, please keep in mind that they may not distribute heat the same as a conventional full sized oven and you may need to adjust your cooking/baking times. In the case of recipes made with a pressure cooker, air fryer, slow cooker, or other appliance, a link to the appliances we use is listed within each respective recipe. For baking recipes where measurements are given by weight, please note that results may not be the same if cups are used instead, and we can’t guarantee success with that method.
