Easy No-Bake Peanut Butter Bars: The Ultimate 30-Minute Chocolatey Treat
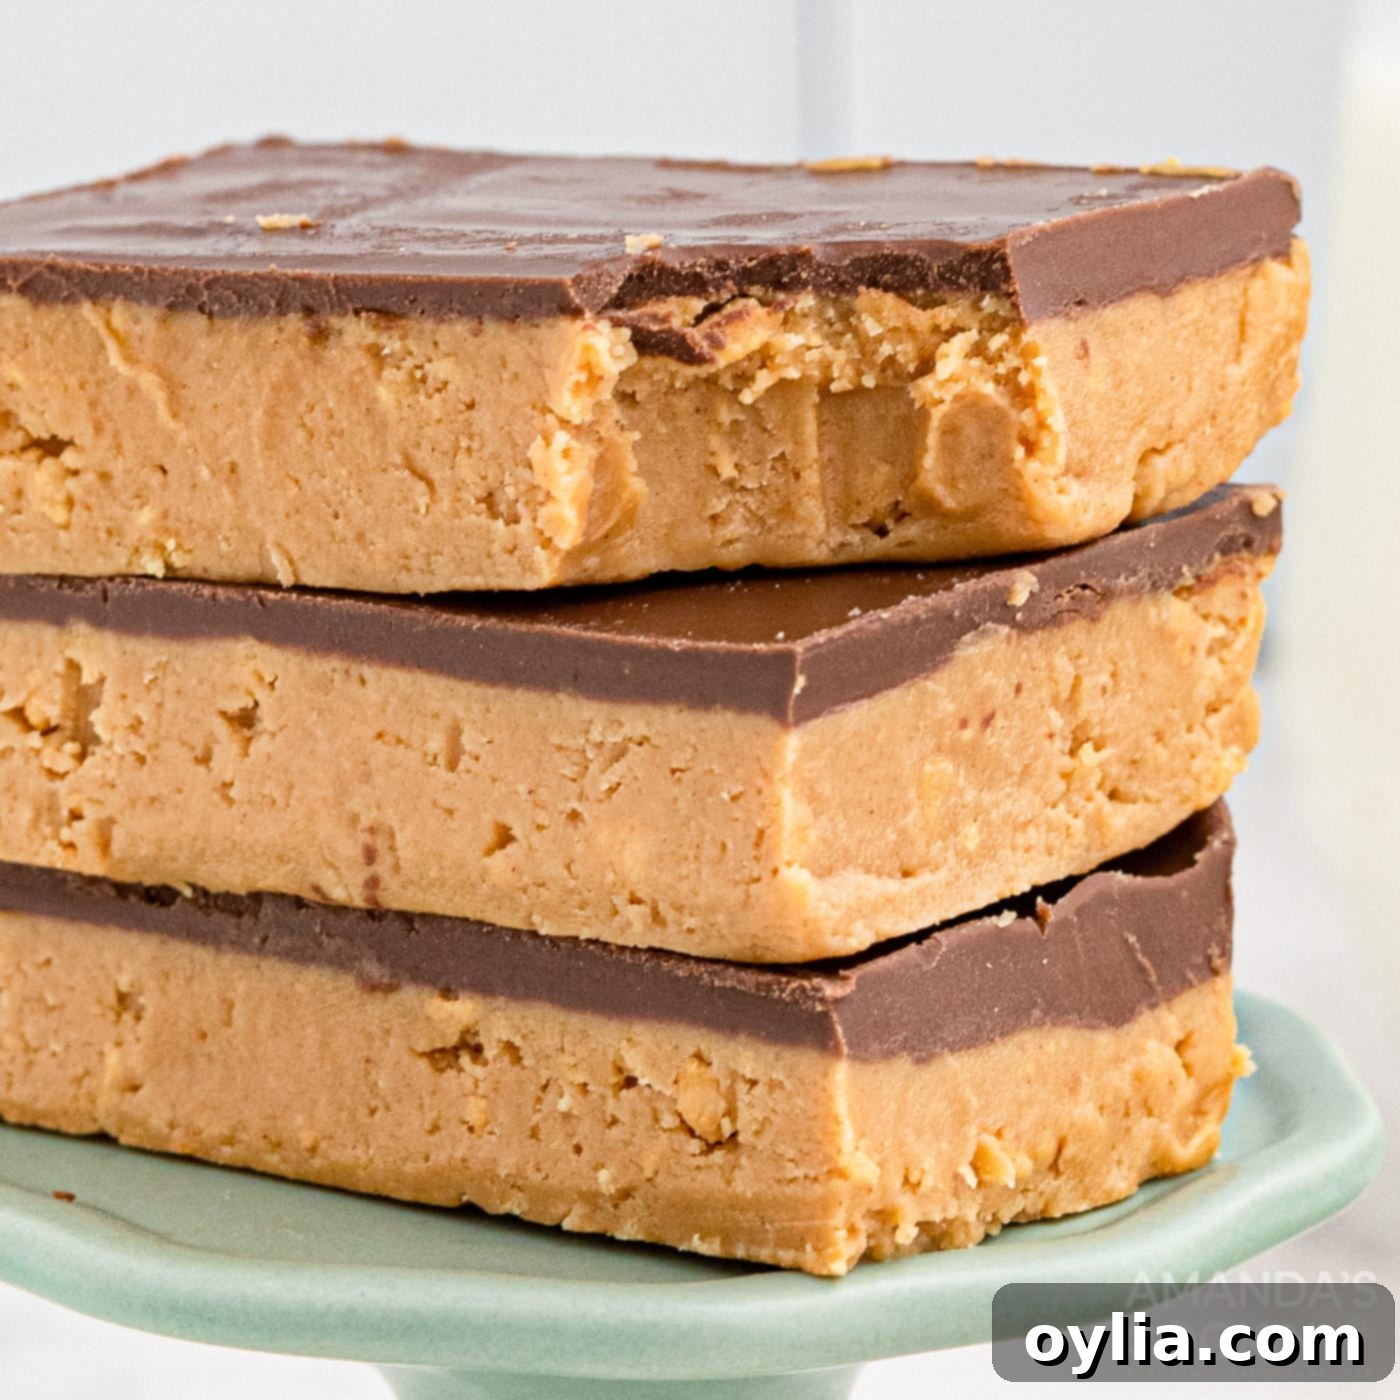
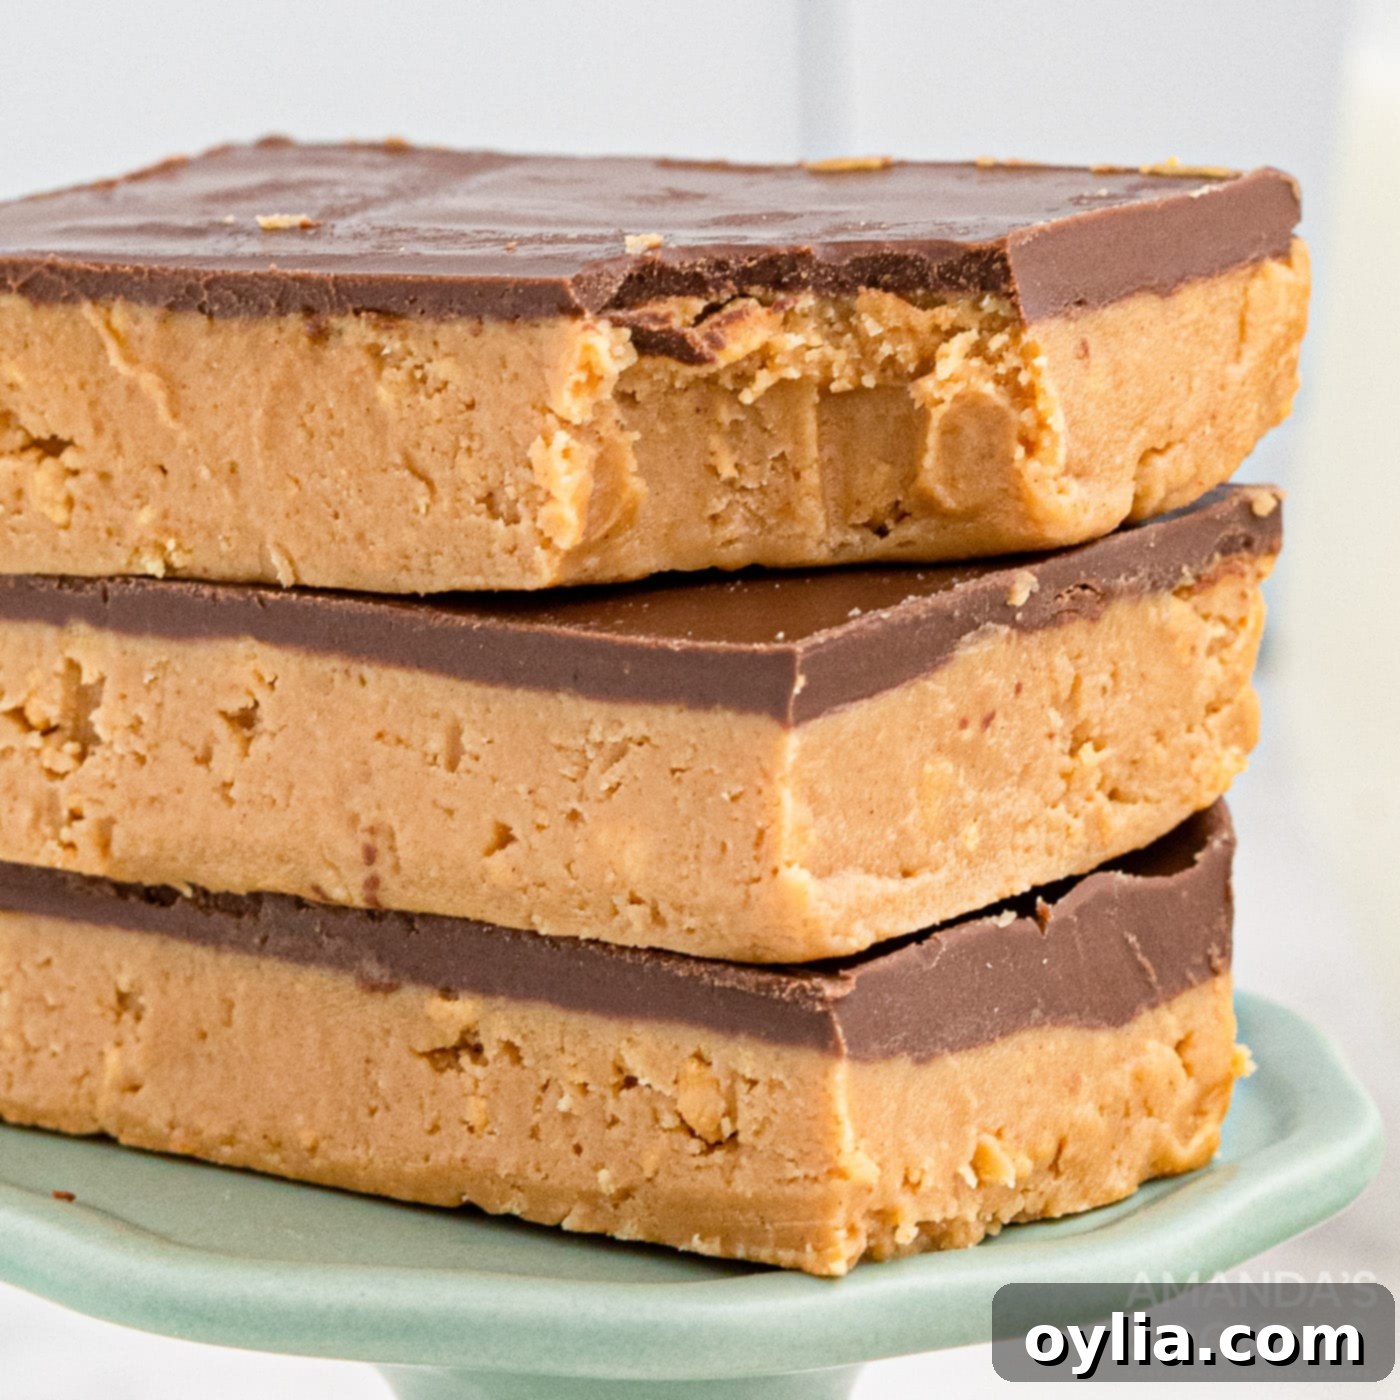
Imagine a decadent, creamy dessert that melts in your mouth, combines the beloved flavors of chocolate and peanut butter, and requires absolutely no oven time. Sound too good to be true? Not with these incredible **No-Bake Peanut Butter Bars**! This recipe is a game-changer for anyone craving a quick and satisfying sweet treat. In 30 minutes or less, you can whip up a batch of these irresistible bars, perfect for any occasion. The best part? You likely already have most, if not all, the ingredients right in your pantry, making this a spontaneous dessert dream come true.
Whether you’re a seasoned baker or a kitchen novice, the simplicity of this recipe will surprise and delight you. It’s perfect for busy weeknights, last-minute gatherings, or simply when a serious chocolate peanut butter craving strikes. Get ready to impress your family and friends with a dessert that tastes like it took hours, but only took minutes!
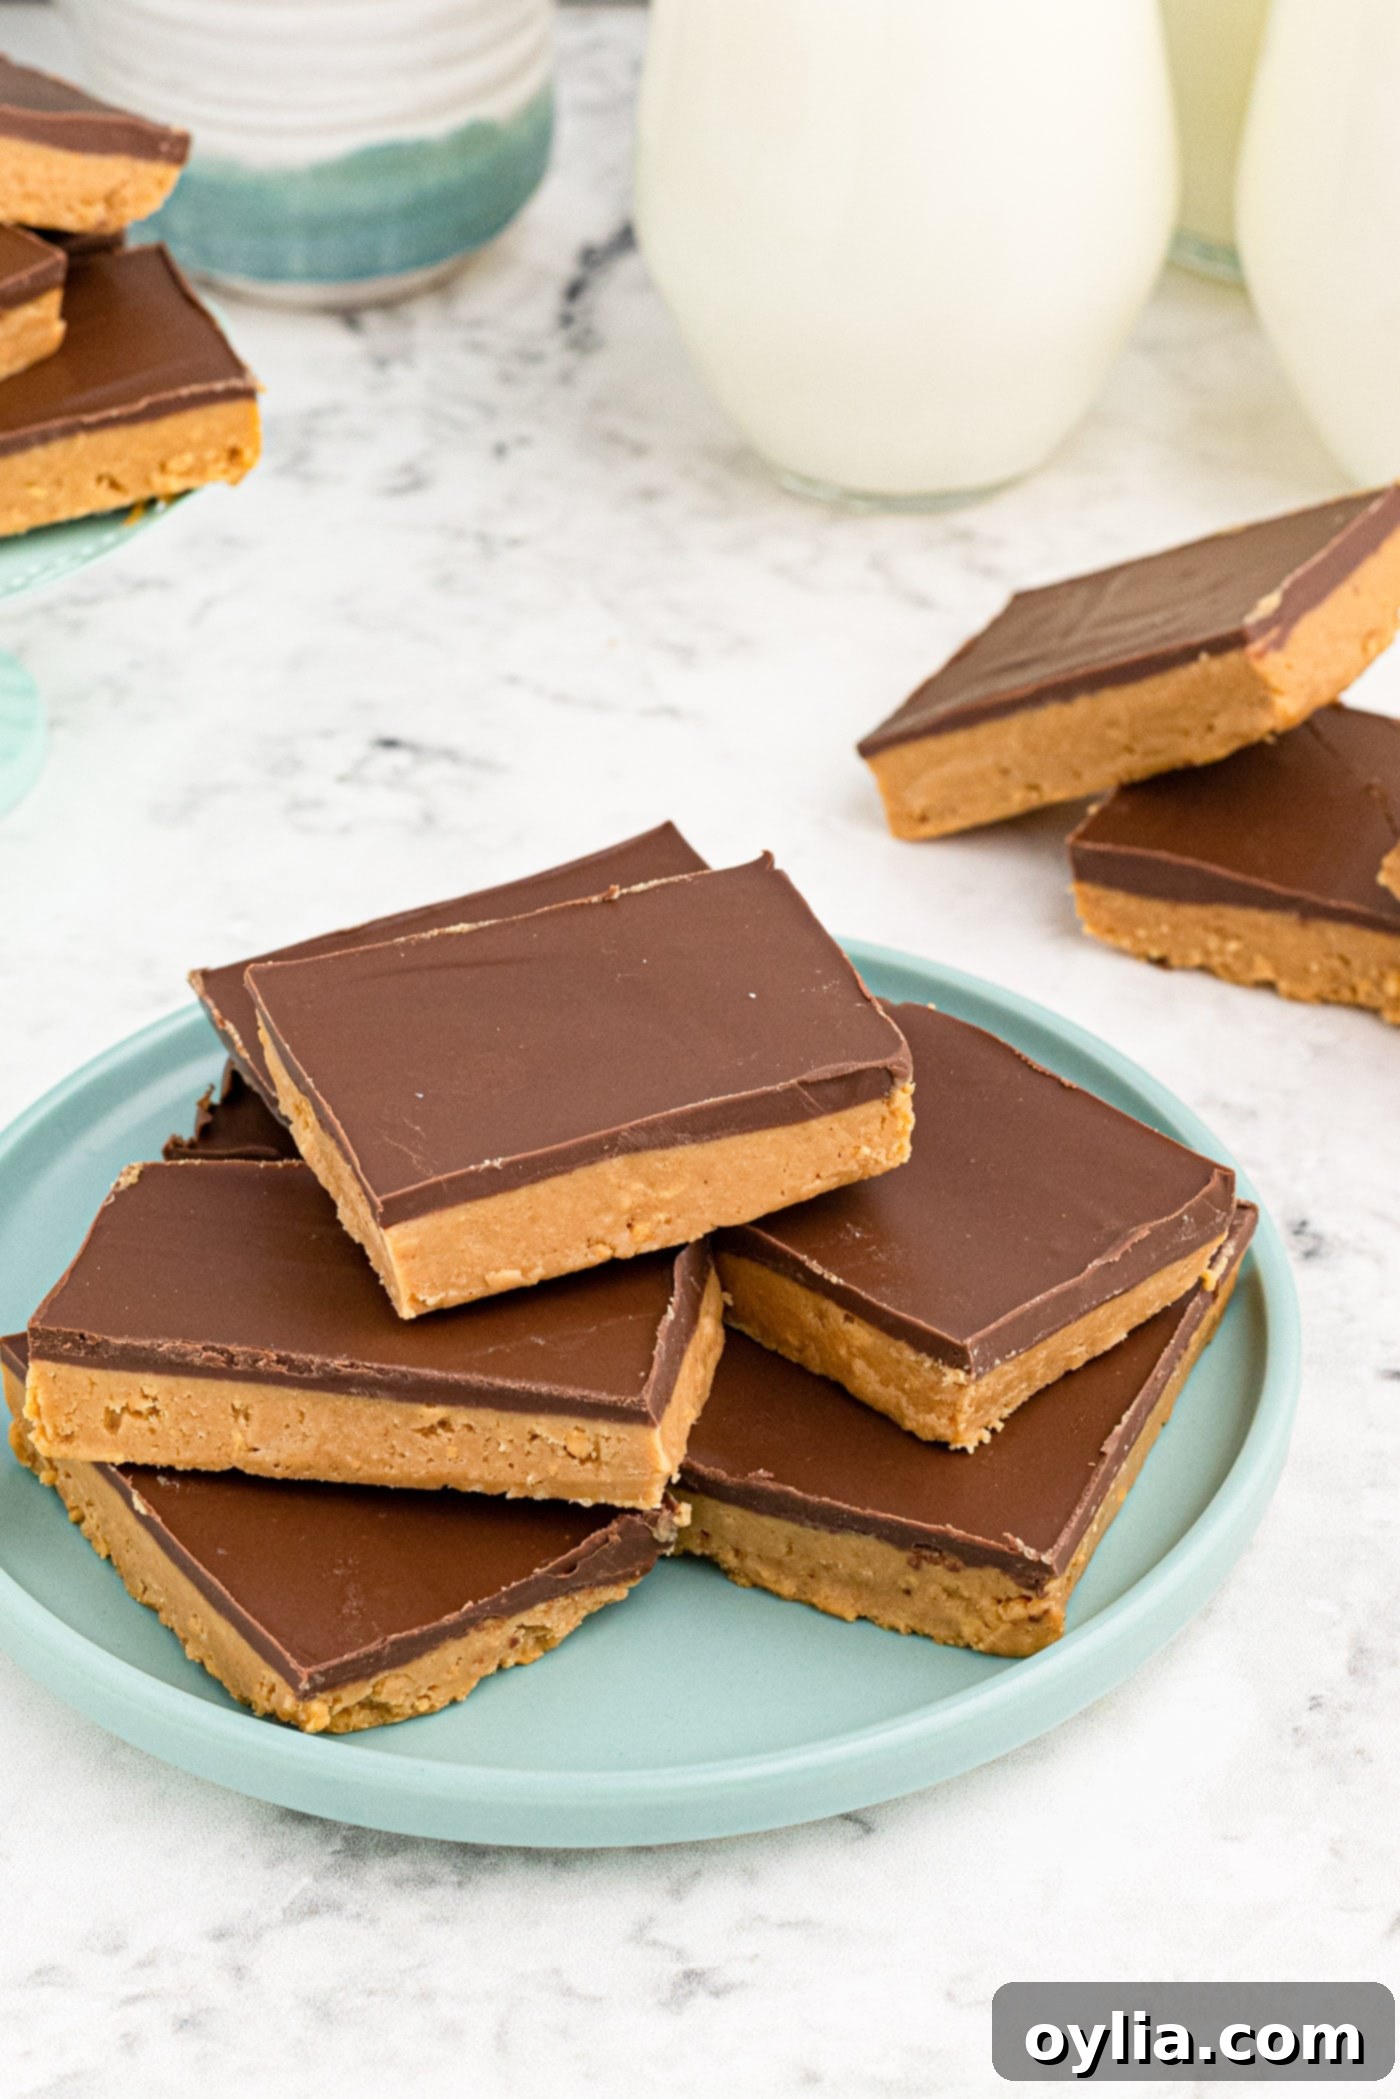
Why These No-Bake Peanut Butter Bars Are a Must-Try Recipe
There’s a special kind of magic in recipes that don’t require baking, and these **easy no-bake peanut butter bars** are a prime example. Their incredible simplicity and quick preparation time make them perfect for virtually any situation, any time of year. While they are undoubtedly a year-round delight, these chocolate peanut butter bars truly shine during the warmer months. When the sun is blazing and the thought of turning on your oven makes you sweat, these no-bake treats become your best friend. They offer all the indulgence of a rich dessert without heating up your kitchen.
Beyond beating the heat, their rapid preparation is a huge advantage. Imagine unexpected guests dropping by, or a sudden craving for something sweet. With this recipe, you can have a luscious dessert ready to chill in mere minutes. They are also fantastic for school lunchboxes, picnics, potlucks, or as a delightful snack for kids and adults alike. The classic combination of creamy peanut butter and smooth chocolate is universally adored, ensuring these bars will be a hit wherever they go. It’s truly a foolproof recipe that delivers maximum flavor with minimal effort, cementing its place as a go-to treat in any recipe arsenal.
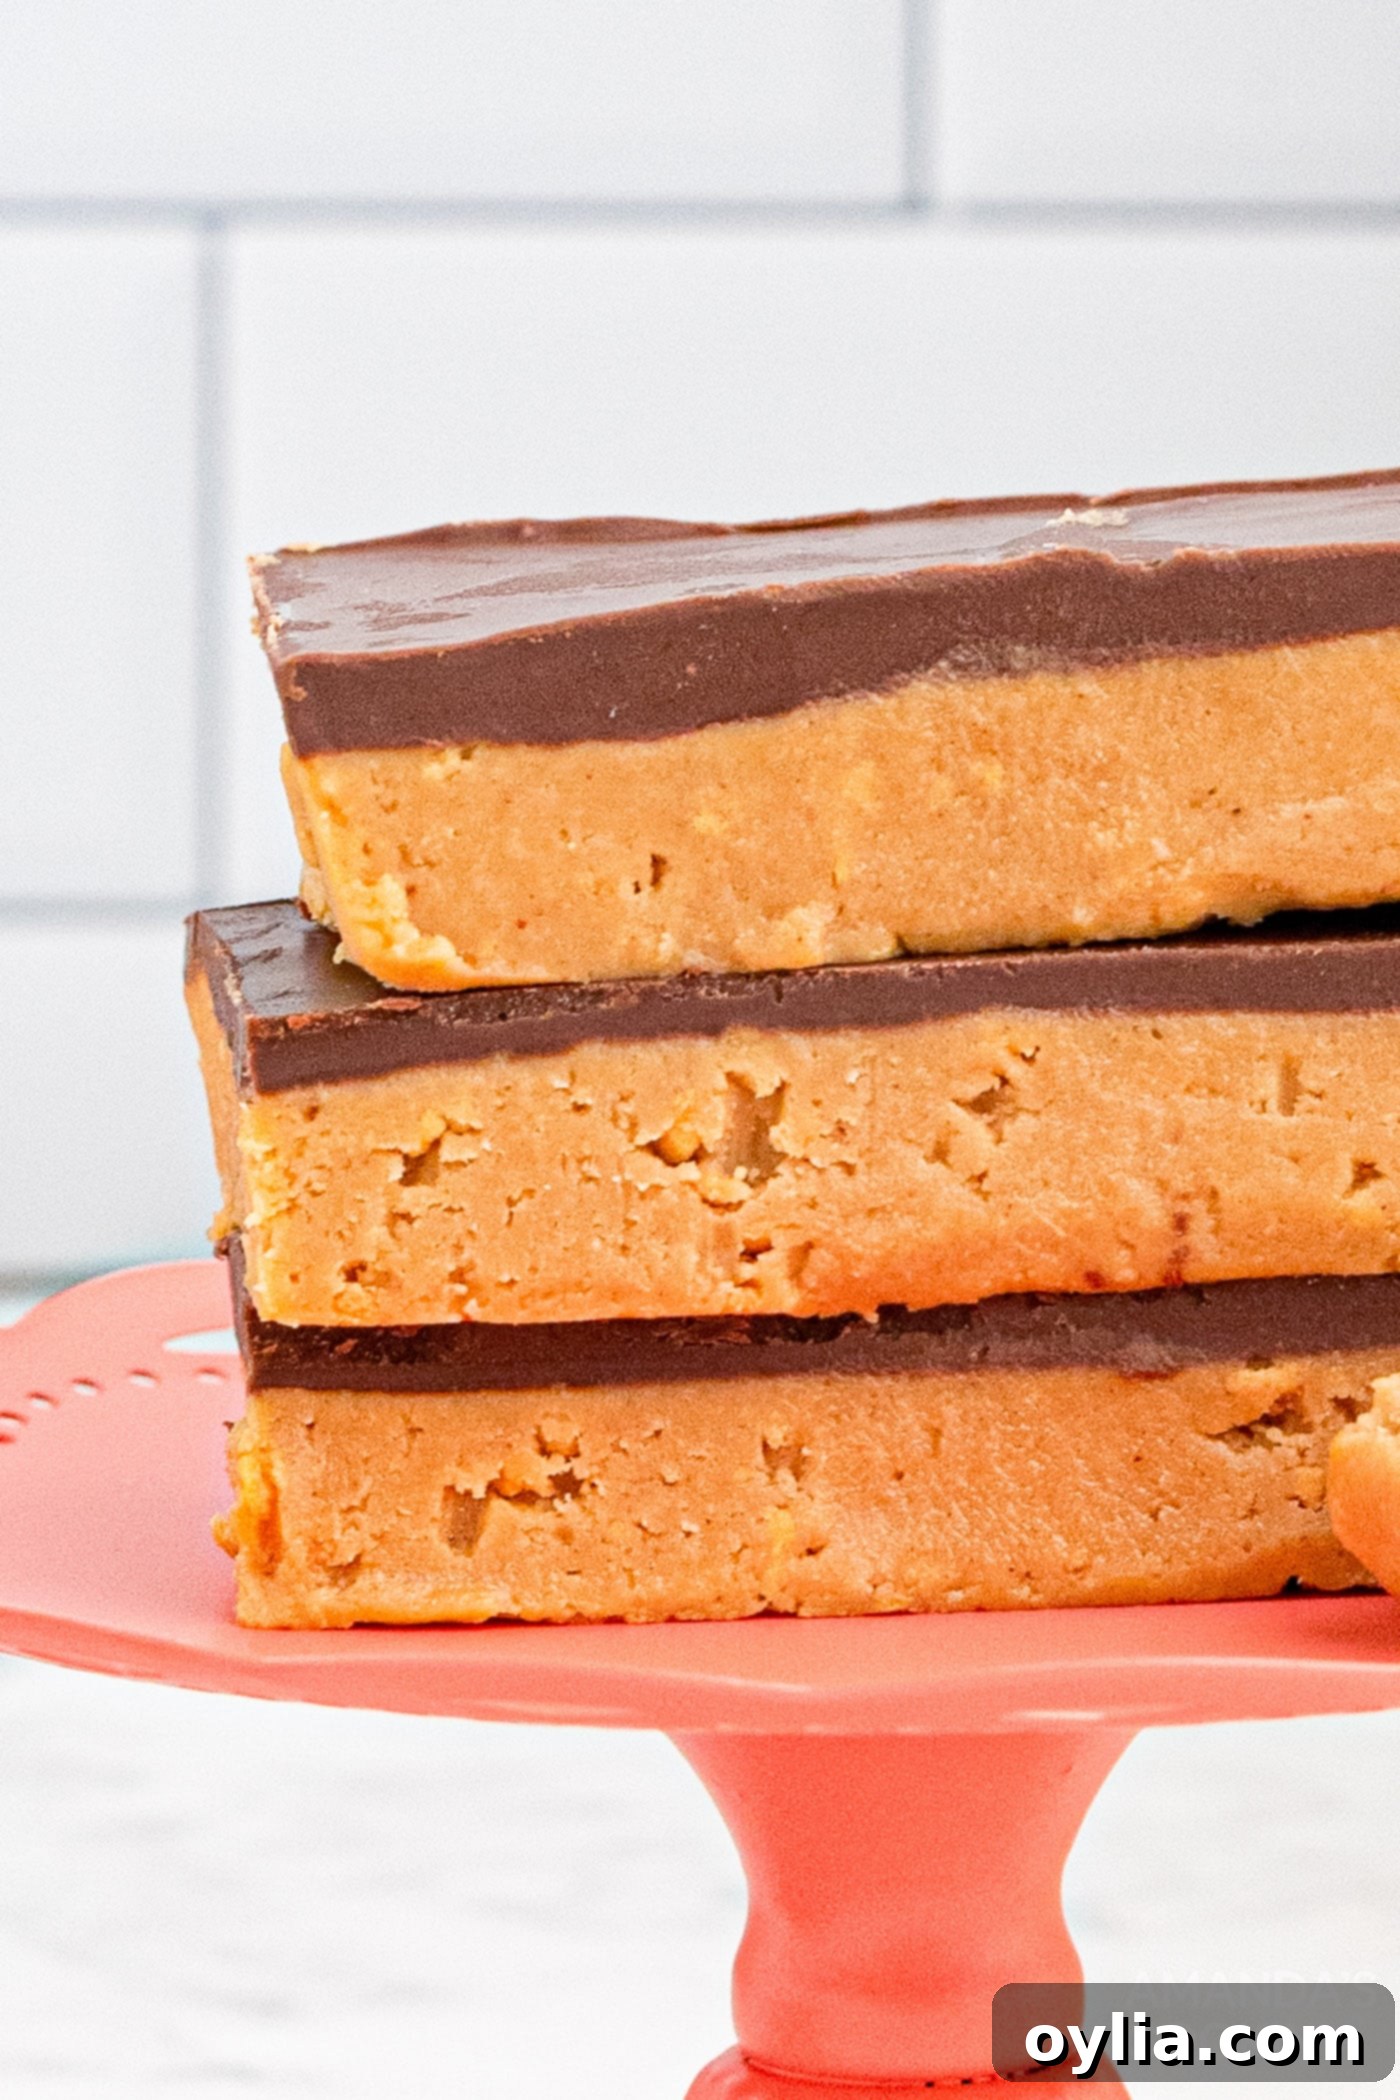
Simple Ingredients for the Best No-Bake Peanut Butter Bars
One of the many reasons these **no-bake peanut butter chocolate bars** are so popular is their reliance on everyday pantry staples. You won’t need to hunt for obscure ingredients; everything is readily available at your local grocery store. For precise measurements, a detailed list of ingredients, and complete instructions, please refer to the printable recipe card located at the very end of this post. For now, let’s explore the key components that make these bars so irresistibly delicious.
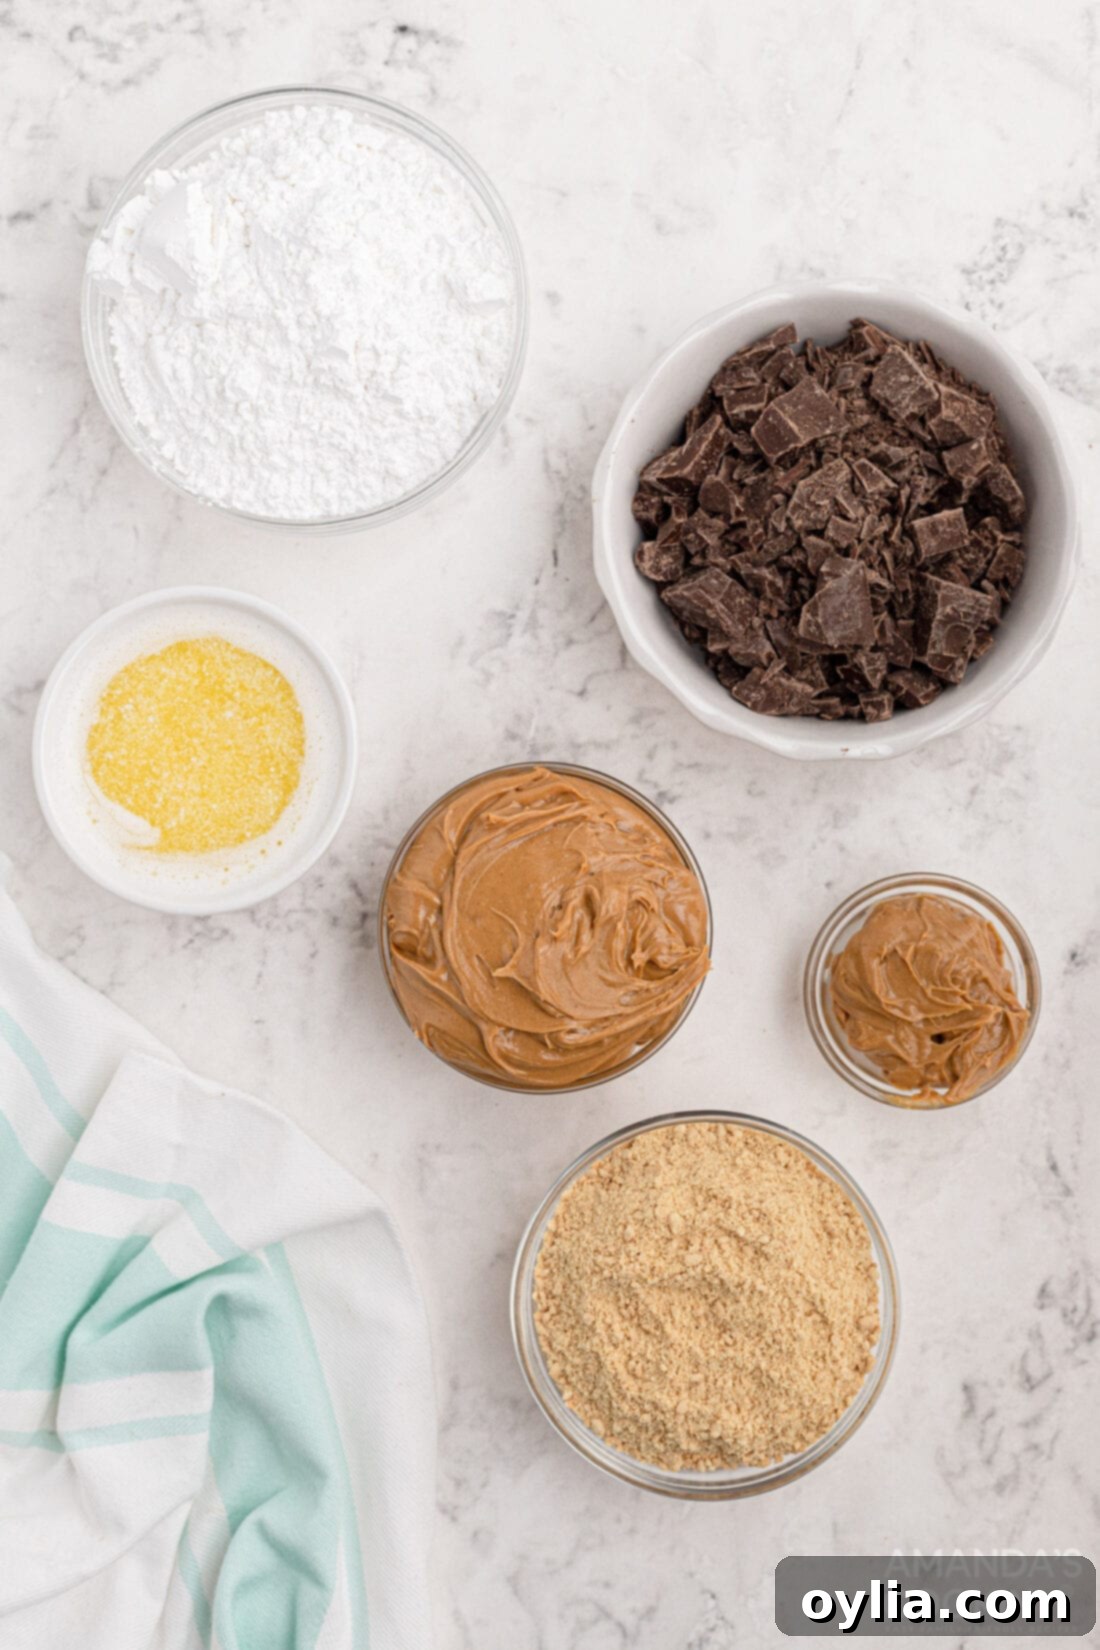
Ingredient Info and Helpful Substitute Suggestions
- Unsalted Butter: Using unsalted butter allows you to control the overall saltiness of the bars. Ensure it’s fully melted for easy incorporation into the peanut butter mixture. If you only have salted butter, you can still use it, but you might want to slightly reduce any added salt if your recipe calls for it (though this recipe doesn’t).
- Animal Cracker Crumbs (or alternatives): These crumbs form the delightful base of your peanut butter bars. While animal cracker crumbs provide a unique, slightly sweet flavor, feel free to get creative with substitutes.
- Graham Crackers: A classic choice for many no-bake desserts, offering a subtly spiced flavor.
- Vanilla Wafers: These provide a sweet, buttery vanilla note, making the bars even more decadent.
- Shortbread Cookies: For a richer, more buttery base.
- Gluten-Free Cookies: If catering to dietary needs, simply use your favorite gluten-free crunchy cookies, crushed.
To make crumbs, simply pulse your chosen crackers or cookies in a food processor until finely ground, or place them in a zip-top bag and crush them with a rolling pin.
- Powdered Sugar (Confectioners’ Sugar): This fine sugar is crucial for achieving the smooth, creamy texture of the peanut butter layer. It dissolves easily and prevents a grainy mouthfeel. Do not substitute with granulated sugar, as it will alter the texture significantly.
- PEANUT BUTTER (for the base layer): For the primary peanut butter layer, I strongly recommend using **regular creamy peanut butter** (like Jif or Skippy). Its stable consistency is key to ensuring the bars set up properly and maintain their shape.
- Natural Peanut Butter: I have not thoroughly tested this recipe with natural peanut butter, as its oil tends to separate from the solids, which can prevent the bars from hardening completely. If you choose to use natural peanut butter, you might need to add a bit more of your chosen cracker crumbs to help absorb excess oil and aid in solidification. Also, make sure it’s very well stirred before measuring. Chilling the bars for a longer period may also help.
- Crunchy Peanut Butter: If you enjoy a bit of textural contrast, crunchy peanut butter can be used for the base. It will add a pleasant nutty bite to each bar.
- CHOCOLATE (for the topping): The chocolate topping adds that perfect balance to the rich peanut butter. I personally find **baking chocolate** (often found in blocks or bars) to melt more smoothly and consistently than chocolate chips. However, you absolutely can use chocolate chips if that’s what you have on hand.
- Semi-Sweet Chocolate: This is my preferred choice, offering a balanced sweetness that complements the peanut butter without being overly sweet.
- Dark Chocolate: For a more intense chocolate flavor and a slightly less sweet bar, dark chocolate is an excellent option.
- Milk Chocolate: If you prefer a sweeter, creamier topping, similar to a Reese’s Peanut Butter Cup, milk chocolate is the way to go.
Ensure your chosen chocolate is of good quality for the best flavor and melting properties.
- PEANUT BUTTER (for the topping): A small amount of peanut butter is mixed with the chocolate for the topping. This helps to create a smoother, more spreadable ganache-like consistency and enhances the overall peanut butter flavor in every bite. Again, creamy peanut butter works best here for smoothness.
How to Make the Best No-Bake Peanut Butter Bars
These step-by-step photos and detailed instructions are designed to help you visualize each stage of making this incredibly simple recipe. For exact measurements, the full list of ingredients, and a printable version, you can Jump to Recipe at the bottom of this post.
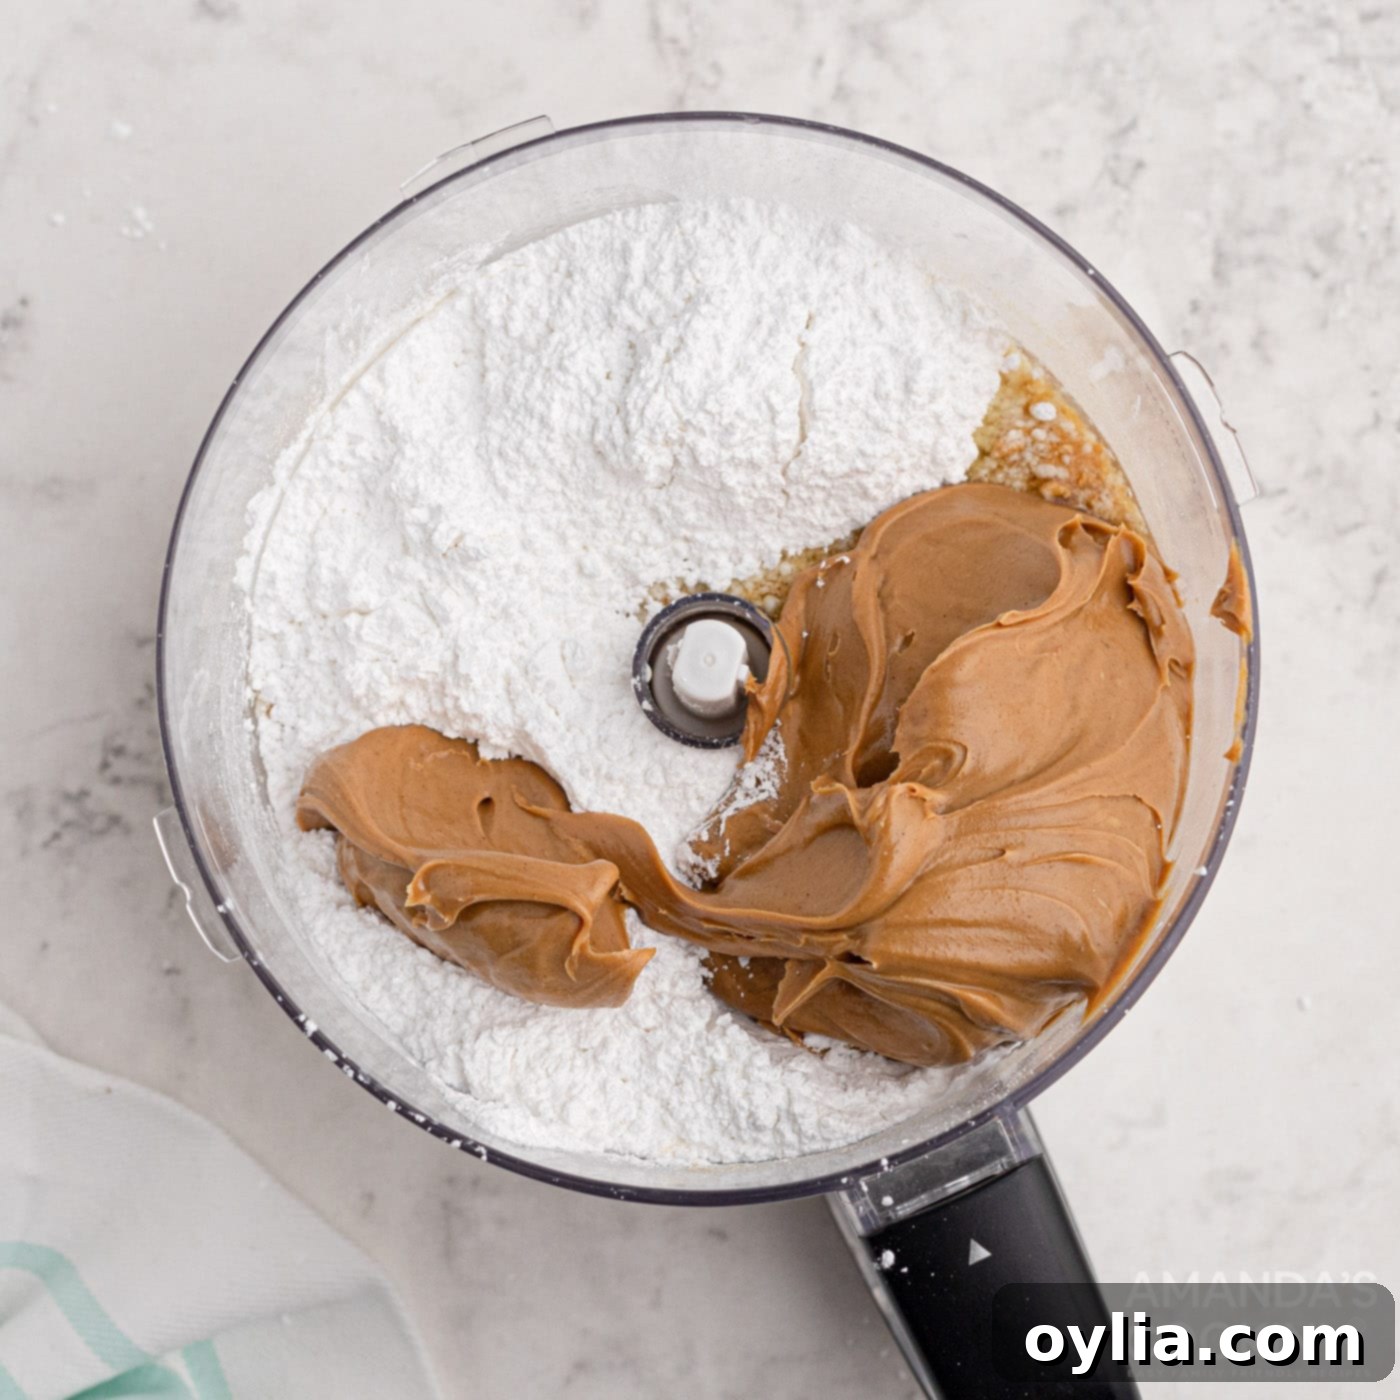
- Prepare the Peanut Butter Base: In a sturdy mixer or a food processor, combine the melted unsalted butter, animal cracker crumbs (or your chosen alternative), powdered sugar, and creamy peanut butter. Process or mix until all ingredients are thoroughly combined and the mixture is smooth and evenly moistened. It should have a thick, dough-like consistency that holds together when pressed.

- Press into Pan: Transfer the peanut butter mixture into a 13×9 baking pan. Using the back of a spoon or your hands (lightly greased if sticking), press the mixture firmly and evenly into the bottom of the pan. A well-compacted layer will ensure your bars hold their shape beautifully. For easier removal and cleaner cuts later, you can line the pan with parchment paper, leaving an overhang on the sides.
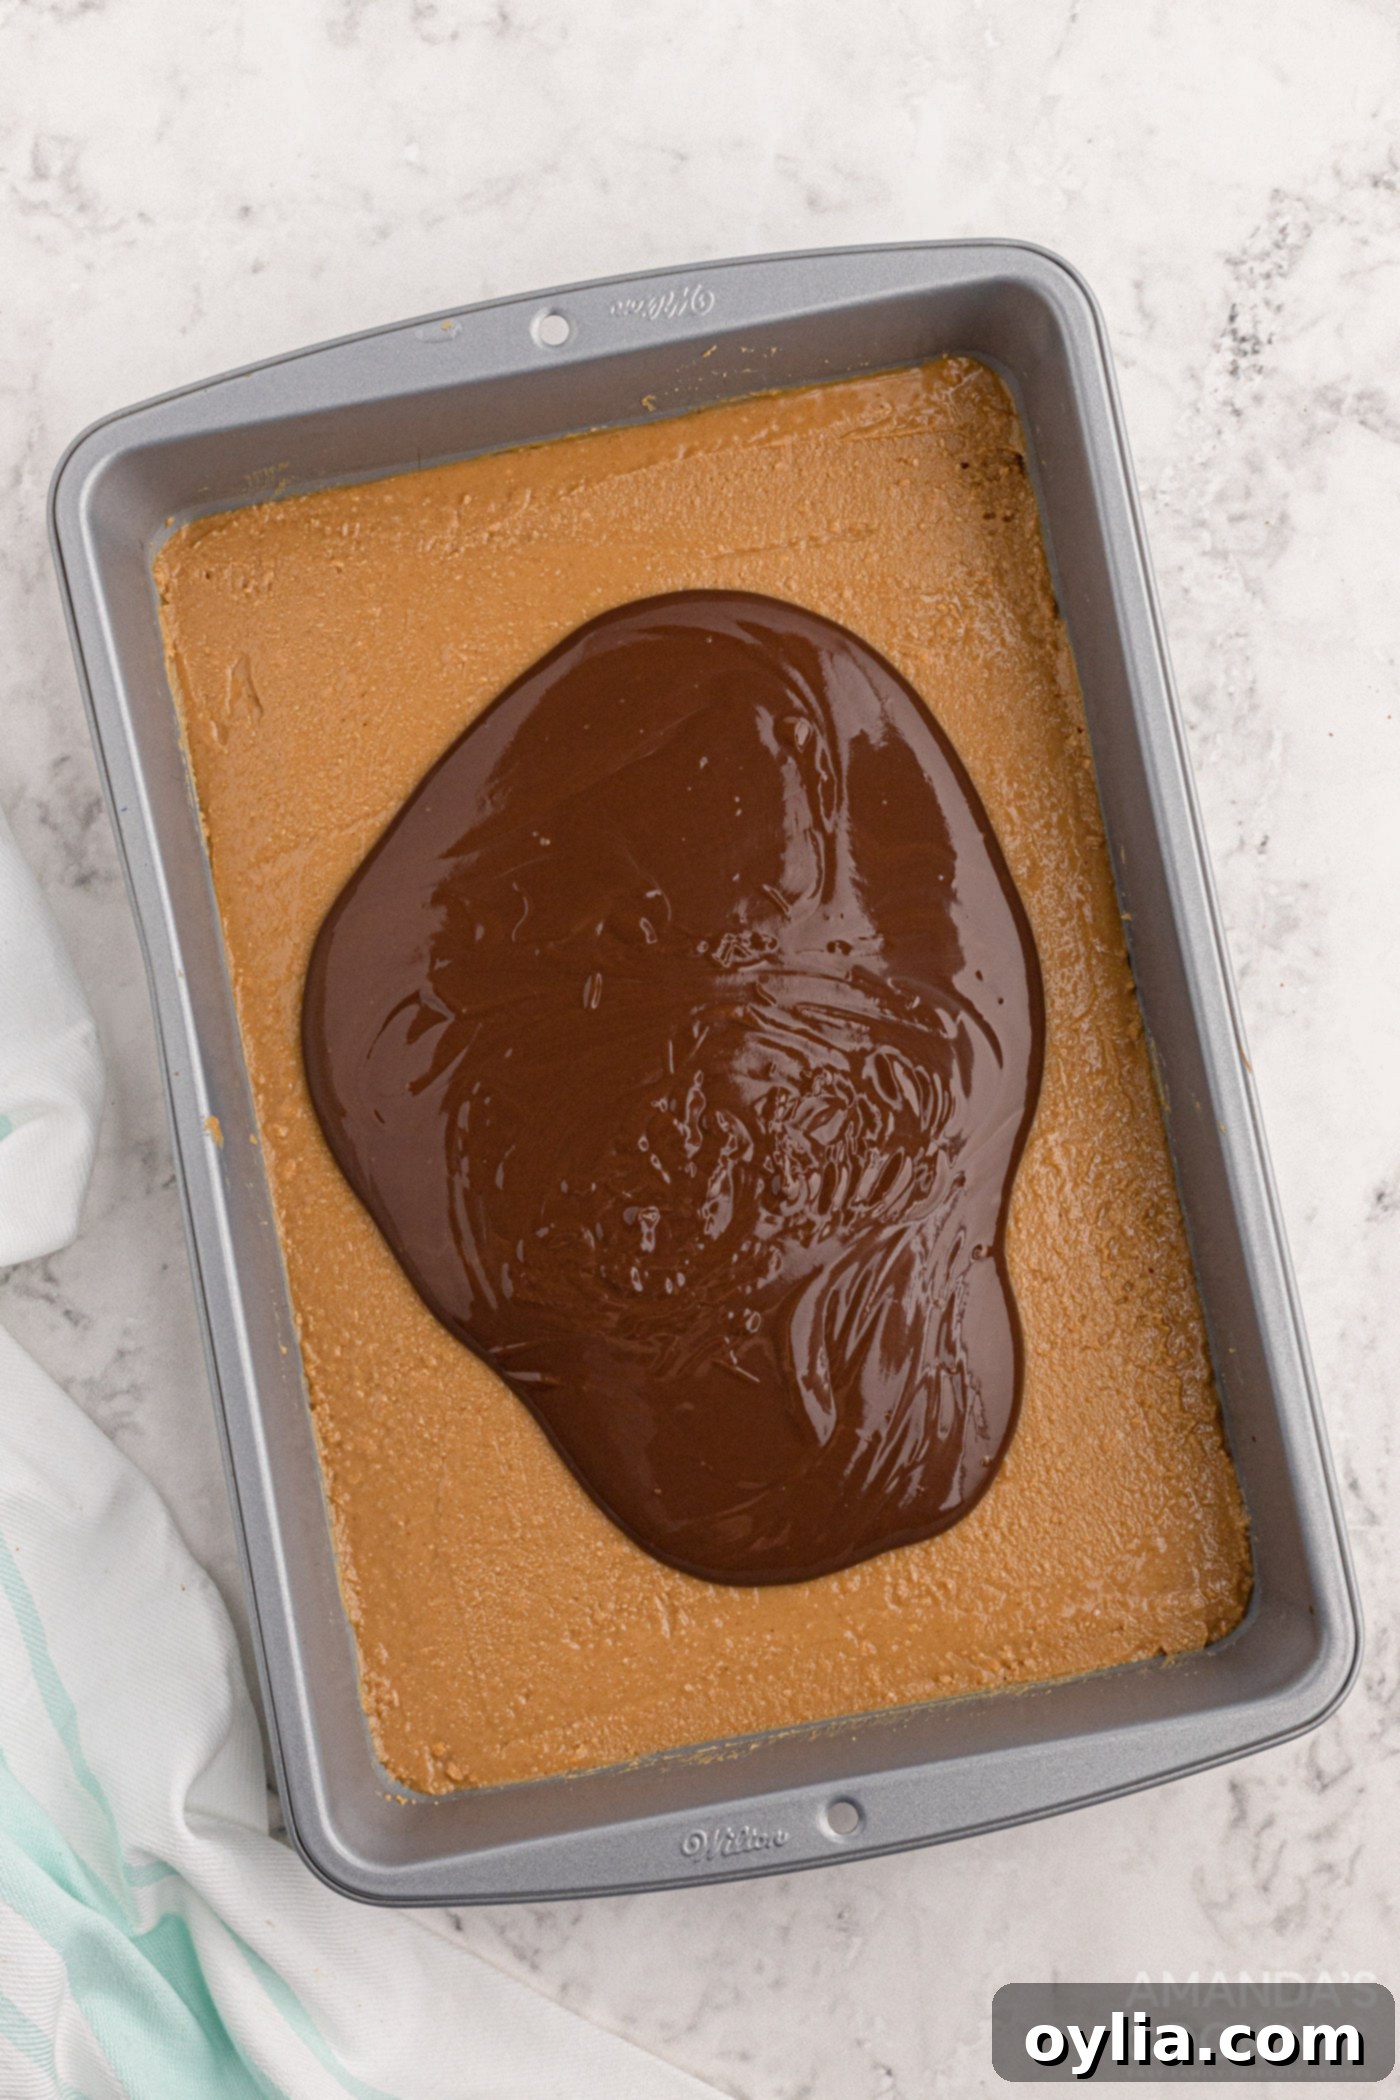
- Create the Chocolate Topping: For the delicious topping, combine the chopped chocolate (semi-sweet, dark, or milk, as preferred) and the remaining peanut butter in a microwave-safe bowl. Heat in the microwave for 1 minute. Remove and stir well. If the mixture isn’t completely smooth and melted, continue heating in short 10-second intervals, stirring after each, until you achieve a glossy, uniform consistency. Be careful not to overheat the chocolate, as this can cause it to seize.

- Spread the Topping: Carefully pour the melted chocolate and peanut butter mixture over the compacted peanut butter base in the baking pan. Using an offset spatula or the back of a spoon, gently spread the topping evenly across the entire surface. Aim for a smooth, uniform layer for a professional-looking finish.
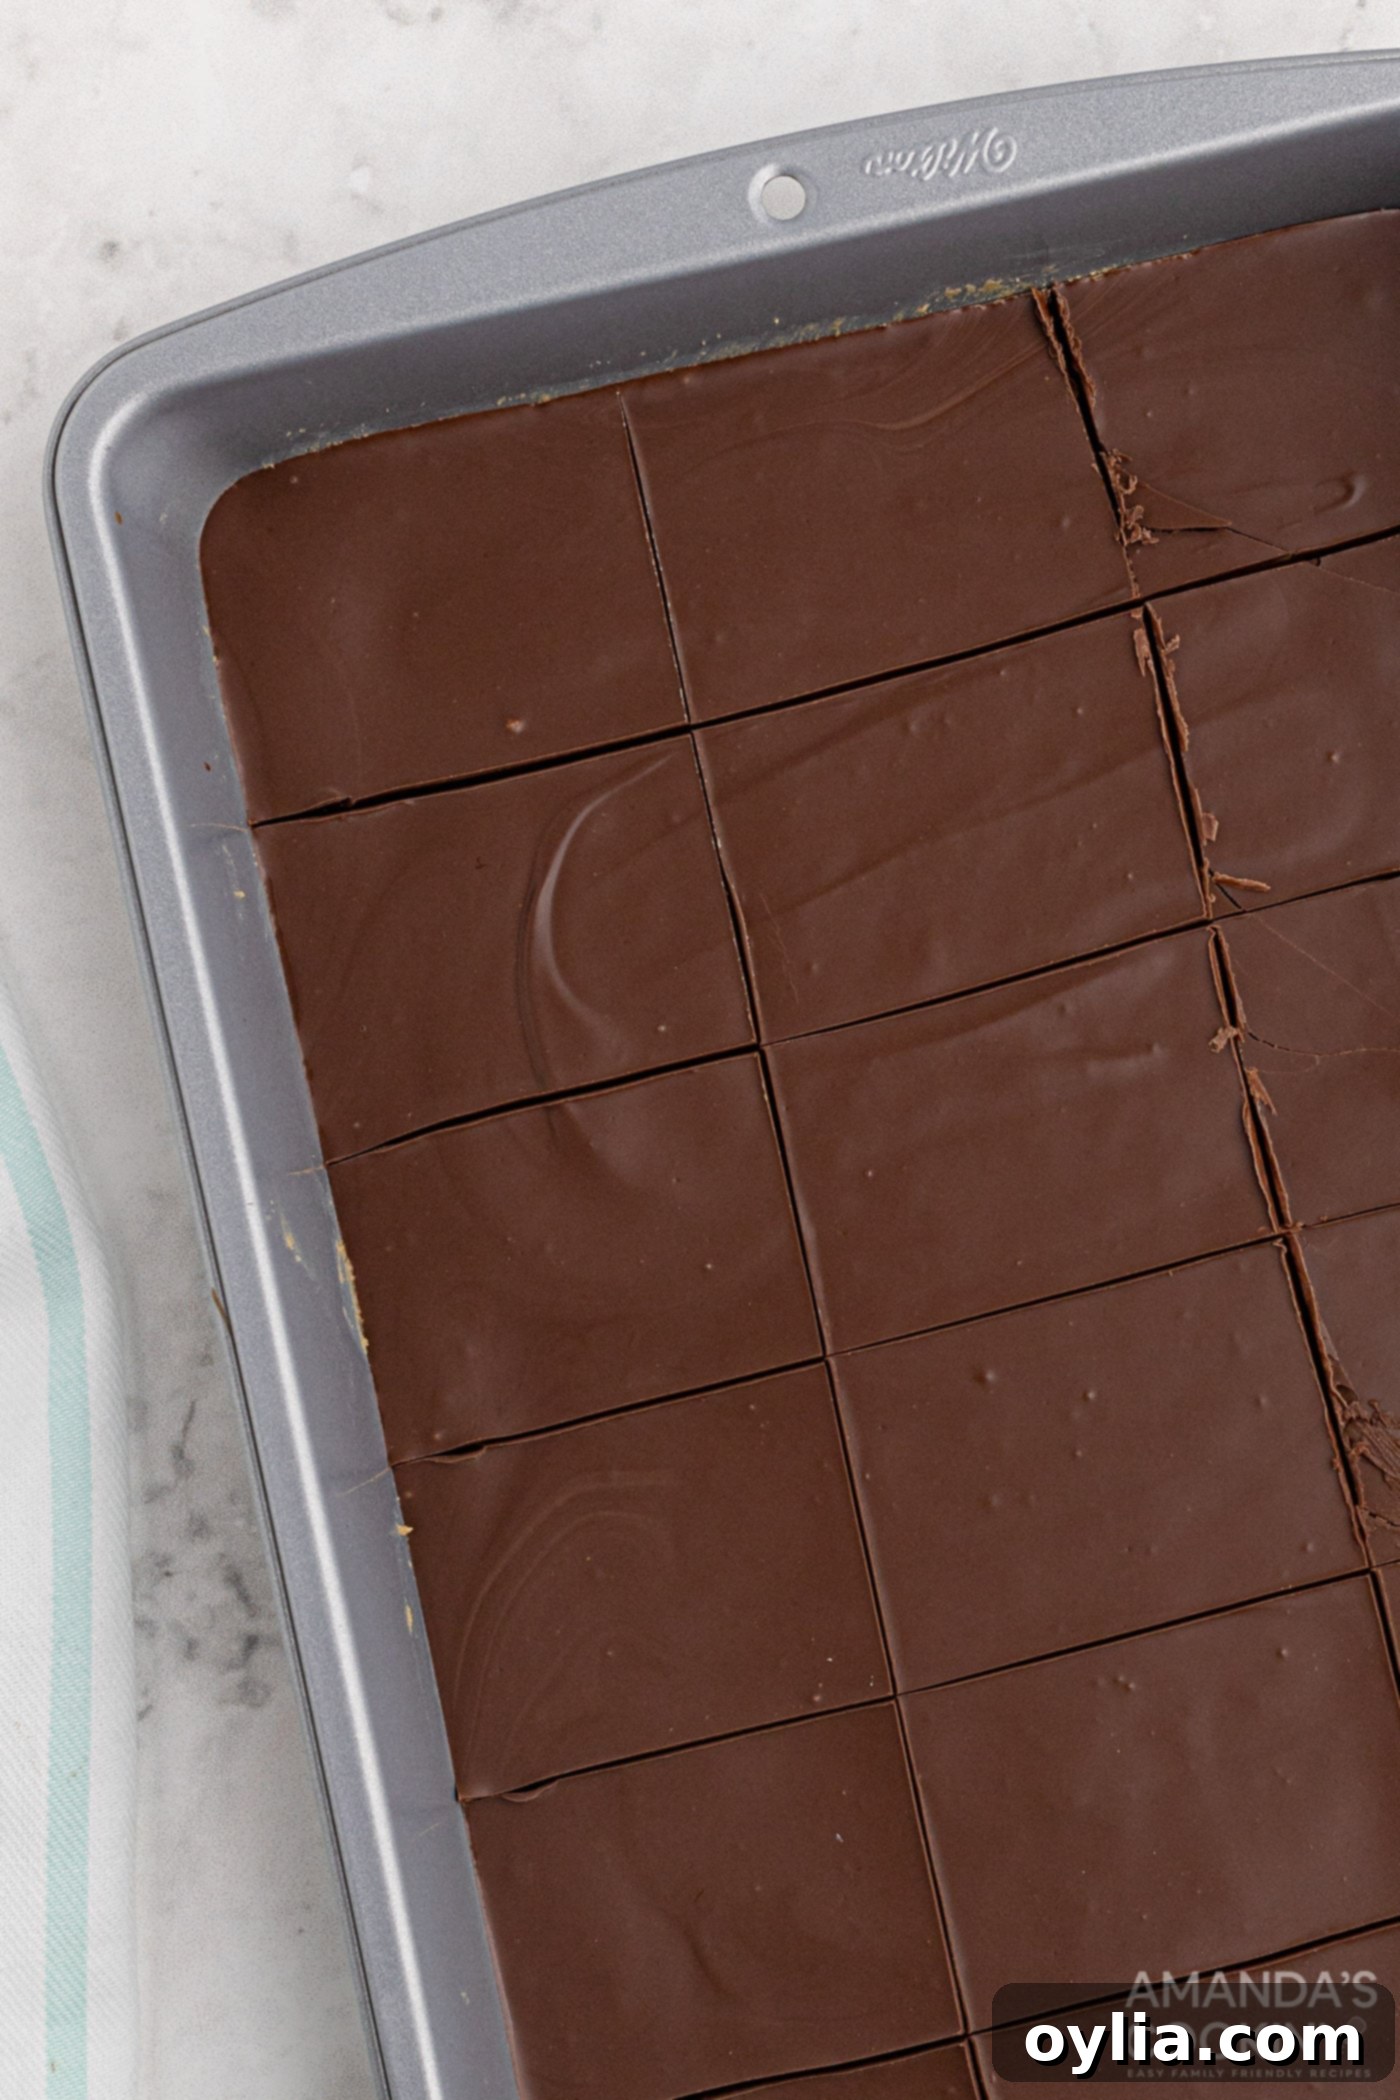
- Chill and Serve: This is the crucial step for setting your bars. Place the pan in the refrigerator for approximately one hour, or if you’re in a hurry, pop it into the freezer for about 15 minutes. The bars are ready when the chocolate topping is firm to the touch. Once set, lift the bars out of the pan using the parchment paper overhang (if you used it), or gently loosen the edges. Use a sharp knife to cut the large slab into individual bars. For the cleanest cuts, wipe your knife clean between each slice. Serve immediately and enjoy your homemade, **quick no-bake chocolate peanut butter bars**!

Frequently Asked Questions About No-Bake Peanut Butter Bars
No food processor? No problem! You can absolutely make these **easy peanut butter bars** using other kitchen tools. A hand mixer will work wonderfully to combine the base ingredients, though you might need to manually crush your crackers first (e.g., in a zip-top bag with a rolling pin). A blender can also be used, especially for crushing crackers and then combining the ingredients, though it might require stopping and scraping down the sides more frequently to ensure a smooth, uniform mixture. The key is to ensure all ingredients are well incorporated for that perfectly smooth peanut butter layer.
Many people compare these **chocolate peanut butter bars** to the classic Reese’s Peanut Butter Cups, and for good reason! The core flavors are definitely similar. This recipe, as written, uses semi-sweet chocolate for the topping, which provides a balanced sweetness that perfectly complements the rich peanut butter. If you’re aiming for a flavor profile that’s even closer to the iconic Reese’s, I recommend substituting milk chocolate for the semi-sweet chocolate in the topping. Milk chocolate will deliver that extra sweetness and creamy mouthfeel that is characteristic of the popular candy. Remember, I prefer baking chocolate for its smooth melt, but chocolate chips are also a perfectly viable option.
Absolutely, these **no-bake peanut butter bars** freeze beautifully, making them excellent for meal prepping desserts or stashing away for future cravings. To freeze them, I recommend flash freezing the individual bars first. This means placing the cut bars on a baking sheet lined with parchment paper and freezing them for about 1-2 hours until mostly solid. Once firm, transfer them to a large zip-top freezer bag or an airtight container, separating layers with parchment paper to prevent sticking. They can be stored in the freezer for up to 3 months. When ready to enjoy, simply take them out a few minutes before serving to let them soften slightly, or enjoy them directly from the freezer for a delightful frozen treat! Always keep any uneaten bars in an airtight container in the refrigerator for up to a week.
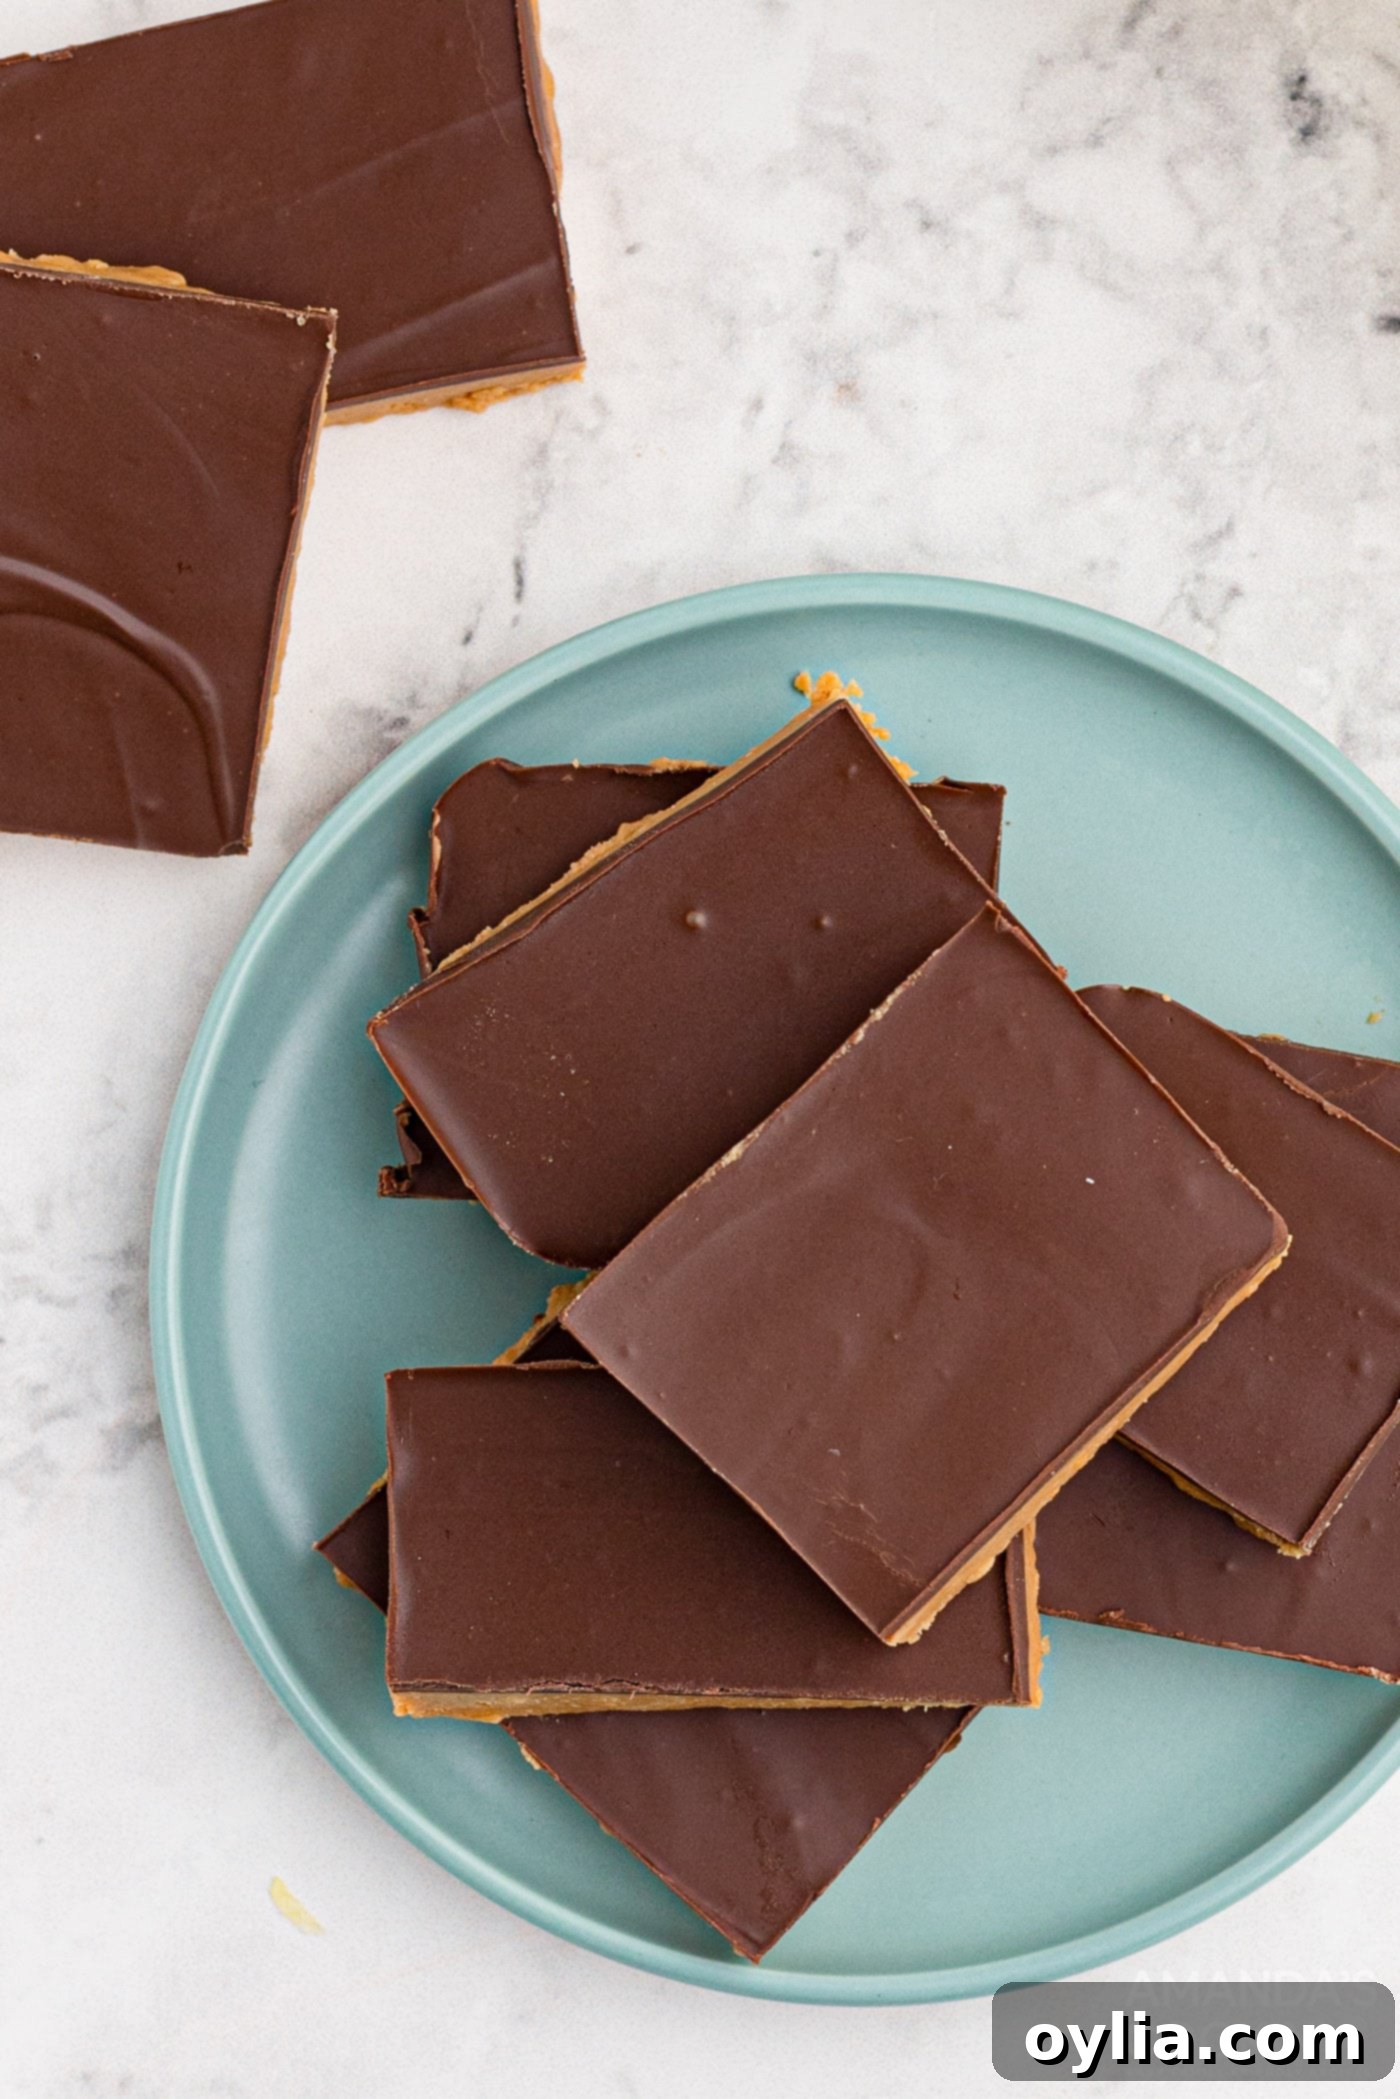
Ultimately, if you’re a devoted fan of that classic chocolate and peanut butter pairing, these **no-bake chocolate topped peanut butter bars** are truly designed for you. They deliver incredible flavor, a delightful texture, and the sheer joy of a homemade treat without any fuss. Simple to make and incredibly quick to prepare, they’ll become a staple in your dessert repertoire, ready to satisfy your sweet tooth in less than 30 minutes. Dive in and experience the magic of this effortless, delicious recipe!
More Irresistible Peanut Butter Recipes to Try
Can’t get enough of that glorious peanut butter flavor? We understand completely! If you loved these **easy no-bake peanut butter bars**, you’ll definitely want to explore these other fantastic recipes that celebrate the magic of peanut butter, often paired with chocolate for that ultimate sweet symphony:
- Classic Peanut Butter Blossoms
- Soft and Chewy Peanut Butter Cookies
- Decadent Chocolate Peanut Butter Lasagna
- Creamy Peanut Butter Apple Dip
- Rich Chocolate Peanut Butter Cookies
- Fluffy No-Bake Peanut Butter Pie
- Fudge Brownies with Peanut Butter Frosting
- Sweet Chocolate Peanut Butter Balls
- Homemade Peanut Butter Cups
- Indulgent Chocolate Peanut Butter Cupcakes
- Crunchy No-Bake Peanut Butter Cornflake Cookies
I love to bake and cook and share my kitchen experience with all of you! Remembering to come back each day can be tough, that’s why I offer a convenient newsletter every time a new recipe posts. Simply subscribe and start receiving your free daily recipes!
No Bake Peanut Butter Bars
IMPORTANT – There are often Frequently Asked Questions within the blog post that you may find helpful. Simply scroll back up to read them!
Print It
Pin It
Rate It
Save ItSaved!
Ingredients
- 1 cup unsalted butter melted
- 2 cups animal cracker crumbs or vanilla wafers, graham crackers, etc
- 2 cups powdered sugar
- 1 ½ cups creamy peanut butter
Topping
- ¼ cup peanut butter
- 10 oz semi-sweet chocolate chopped
Things You’ll Need
-
Food processor
-
13×9 baking pan
Before You Begin
- You can use a hand mixer or even a blender if you don’t have a food processor. We like the food processor because it makes for the smoothest mixture.
- This recipe uses semi sweet chocolate for the topping. If you want it a big sweeter, and closer to the flavor of a Reese’s Peanut Butter Cup, simply substitute milk chocolate for the semi sweet. I prefer to use baking chocolate, but you can certainly use chocolate chips instead.
Instructions
-
In a mixer or a food processor, combine the first four ingredients until smooth. Spread into a 13×9 baking pan.1 cup unsalted butter, 2 cups animal cracker crumbs, 2 cups powdered sugar, 1 1/2 cups creamy peanut butter
-
For the topping, melt the chocolate and peanut butter together in the microwave for 1 minute. Stir. If not completely melted you can heat in 10 second intervals until smooth. Spread over the top of the peanut butter layer.1/4 cup peanut butter, 10 oz semi-sweet chocolate
-
Chill dessert in the refrigerator for about an hour, or in the freezer for 15 minutes. Cut into bars and serve.
Nutrition
The recipes on this blog are tested with a conventional gas oven and gas stovetop. It’s important to note that some ovens, especially as they age, can cook and bake inconsistently. Using an inexpensive oven thermometer can assure you that your oven is truly heating to the proper temperature. If you use a toaster oven or countertop oven, please keep in mind that they may not distribute heat the same as a conventional full sized oven and you may need to adjust your cooking/baking times. In the case of recipes made with a pressure cooker, air fryer, slow cooker, or other appliance, a link to the appliances we use is listed within each respective recipe. For baking recipes where measurements are given by weight, please note that results may not be the same if cups are used instead, and we can’t guarantee success with that method.
This recipe for **No-Bake Peanut Butter Bars** was originally published on April 15, 2013, and has since been extensively updated and re-published with fresh insights, expert tips, enhanced ingredient information, and new photos to provide you with the most comprehensive and delightful baking experience possible.
